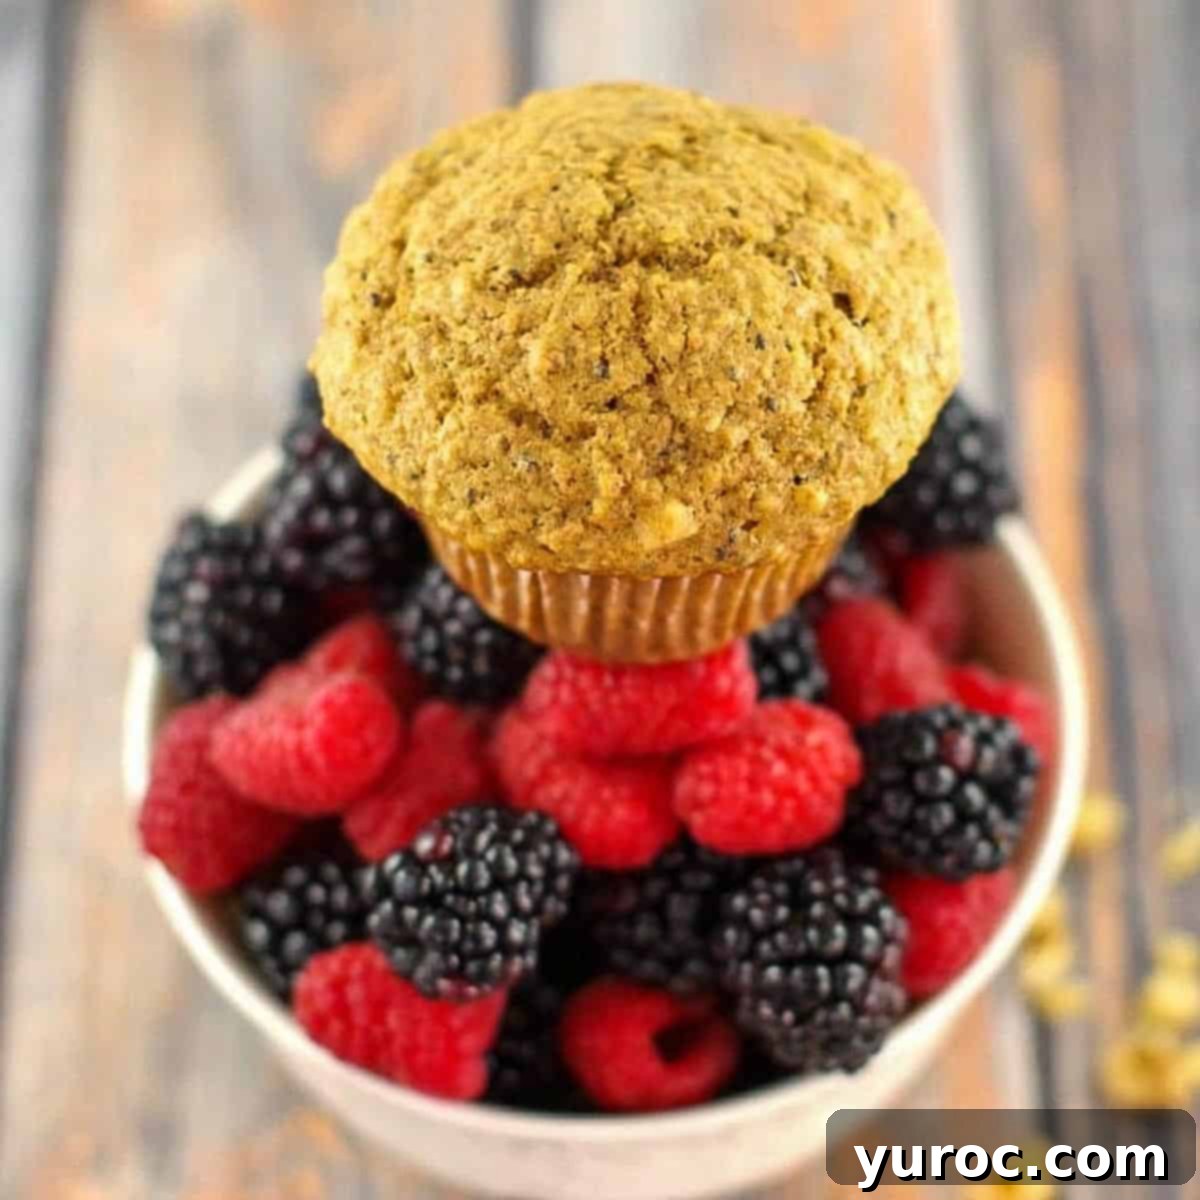
The Best Old Fashioned Wheat Bran Muffins: Healthy, Moist, & Simply Delicious
These Old Fashioned Wheat Bran Muffins are, without a doubt, the pinnacle of bran muffin perfection! They reign supreme in the world of wholesome baked goods, a significant achievement considering how challenging it is to find a truly good, let alone great, bran muffin. This recipe has even converted the staunchest bran muffin skeptics into enthusiastic fans. Packed with genuine, nutritious ingredients like rich butter, deep molasses, fiber-rich wheat bran, superfood chia seeds, nutty wheat germ, and crunchy walnuts, these muffins offer an ideal start to your day or a satisfyingly healthy snack.
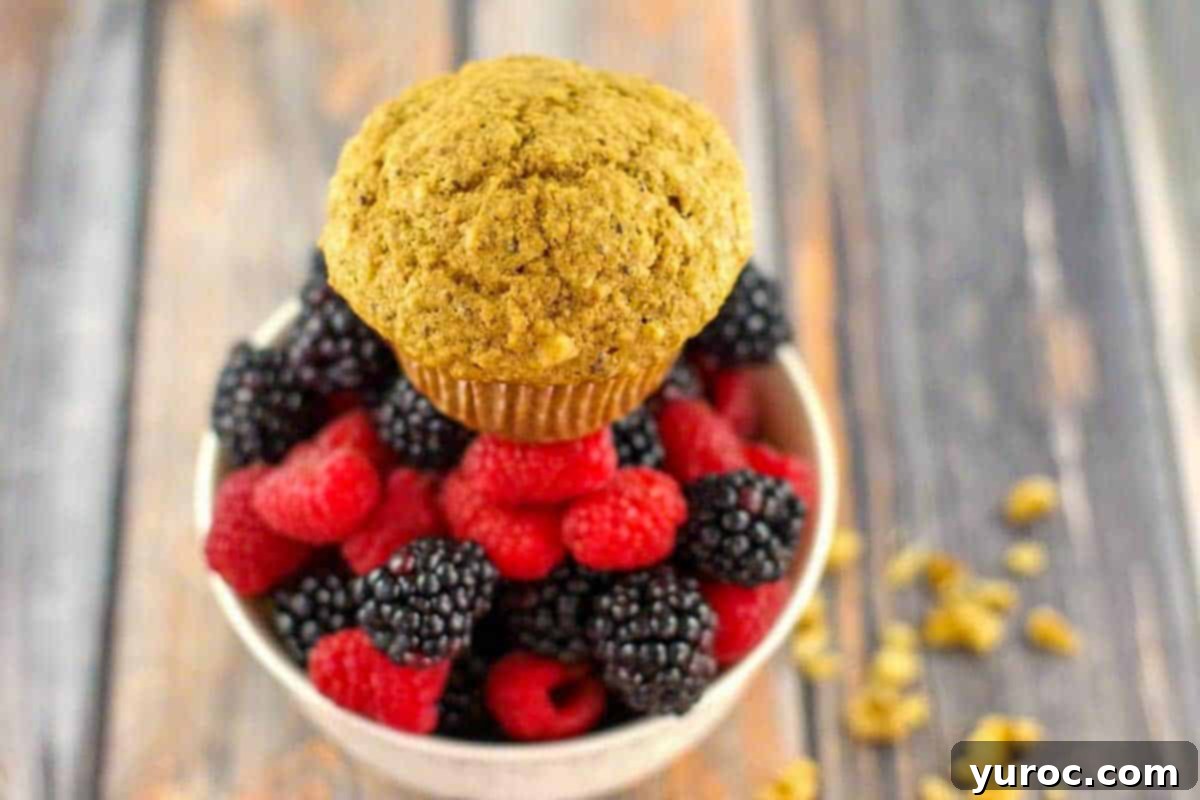
For many years, my personal quest for a truly healthy and delicious bran muffin led me down a path filled with bland, dry, and utterly disappointing baked goods. While I persevered for the undeniable fiber and health benefits, the taste often left much to be desired. That all changed the moment I discovered this particular recipe for healthy Bran Muffins. This incredible Wheat Bran Muffin recipe is not only perfect for a quick and nutritious breakfast at home but also an excellent addition to lunch bags or a welcome contribution to any breakfast potluck!
I originally received this cherished bran muffin with molasses recipe from my mother-in-law many years ago. She couldn’t recall its exact origin, but it quickly became a family favorite. Over time, she made a few thoughtful adjustments, and then I further refined it, experimenting until I achieved what I consider the absolute PERFECT bran muffin – a delightful balance of flavor, texture, and wholesome goodness.
If you’re eager to explore more delicious bran muffin recipes, I highly recommend giving my Apricot Bran Pumpkin Muffins a try. They offer another fantastic twist on this healthy classic!
🍲 Ingredient Notes
These healthy bran muffins have been a staple in my morning routine for about the past 15 years, and for good reason. Starting your day with a muffin that’s brimming with real and wholesome ingredients sets a fantastic tone for healthy eating. Here’s a closer look at the key components that make these muffins so special:
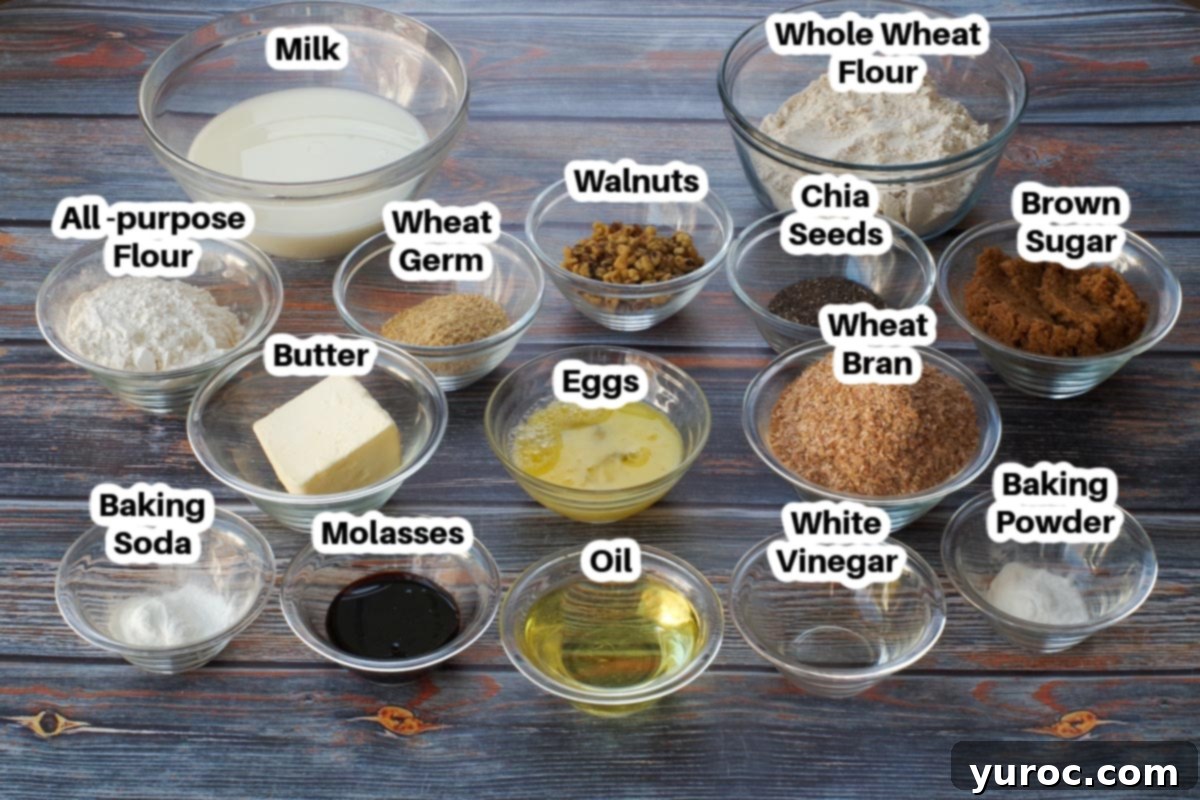
- Butter. Far superior to oil in imparting a rich flavor, butter also contributes significantly to the muffins’ tenderness and structural integrity. I always opt for unsalted butter to maintain precise control over the salt content in my baking, as the amount of salt in salted butter can vary considerably between brands.
- Wheat bran. This ingredient is a powerhouse of health benefits, most notably its crucial role in promoting excellent digestive health. While it has become slightly harder to locate in standard grocery stores over recent years, I’ve consistently found quality brands like Rogers and Bob’s Red Mill at larger supermarkets such as Superstore and Co-op.
- Chia seeds. These tiny seeds are nutritional marvels, packing a ton of essential nutrients into very few calories. They add a subtle texture and boost the health profile of these muffins. You can read more about the impressive health benefits of chia seeds HERE.
- Wheat germ. Another fantastic addition, wheat germ not only enhances the nutritional value of these muffins but also introduces a pleasant, slightly nutty flavor and a satisfying texture. It’s an often-overlooked ingredient that truly elevates the overall muffin experience.
- Molasses. Beyond its distinct, rich sweetness, molasses is crucial for adding deep moisture and a beautiful golden-brown color to the muffins. Its complex flavor profile provides a depth that refined sugar simply cannot match, contributing to the classic “old fashioned” taste.
- Walnuts. These nuts are chosen for their delightful crunch and earthy flavor, which perfectly complements the other ingredients. For an even more intense nutty aroma and taste, I highly recommend toasting them lightly before incorporating them into the batter.
📖 Variations & Substitutions
While this recipe for Old Fashioned Wheat Bran Muffins is perfect as is, it’s also wonderfully adaptable! Don’t hesitate to experiment with these variations to suit your taste or what you have on hand:
- Add-ins: Get creative with additional ingredients! Fresh or frozen berries, such as blueberries or raspberries, would add a lovely burst of fruitiness and moisture. Dried fruits like chopped apricots, cranberries, or even golden raisins are excellent for a chewy texture and concentrated sweetness. Just remember that adding wet ingredients like fresh fruit might slightly alter baking time.
- Nuts: If walnuts aren’t your preference or you’re simply out, feel free to substitute with other nuts. Pecans are a fantastic alternative, offering a similar buttery crunch and rich flavor that pairs beautifully with molasses. Almonds or even sunflower seeds could also work for a different flavor profile.
- Buttermilk: While the recipe includes a simple method for homemade buttermilk (adding vinegar to milk), you certainly don’t have to use it. The homemade version is great because it allows you to use lighter milk (like 1% or 2%) and achieve that desirable tangy flavor and tender crumb. However, if you have whole milk or 2% milk on hand, they can be used directly without the vinegar addition; the muffins will still be delicious, perhaps just slightly less fluffy.
- Bran: If you’re having trouble sourcing wheat bran, you have a couple of options. You can substitute a plain bran cereal, but it’s crucial to pulse it a few times in a food processor to achieve a finer texture closer to natural wheat bran. This helps it integrate better into the batter and prevents the muffins from being too coarse. Alternatively, oat bran can be used, but be aware that this will subtly alter both the taste and texture of the final muffin, giving it a slightly different, perhaps softer, crumb.
🔪 Step-by-Step: How to Make The BEST Wheat Bran Muffins
Making these truly excellent wheat bran muffins is a straightforward process. Follow these detailed steps to ensure perfectly moist, flavorful, and fluffy results every time:
PREP: Begin by preheating your oven to 350 degrees F (176 degrees C). This ensures the oven is at the correct temperature when your batter is ready. Next, prepare your muffin tins by filling each cup with paper muffin liners. These liners are highly recommended for this recipe, as they prevent sticking, aid in easy removal, and make cleanup a breeze. I strongly advise against making these muffins without using paper or parchment liners.
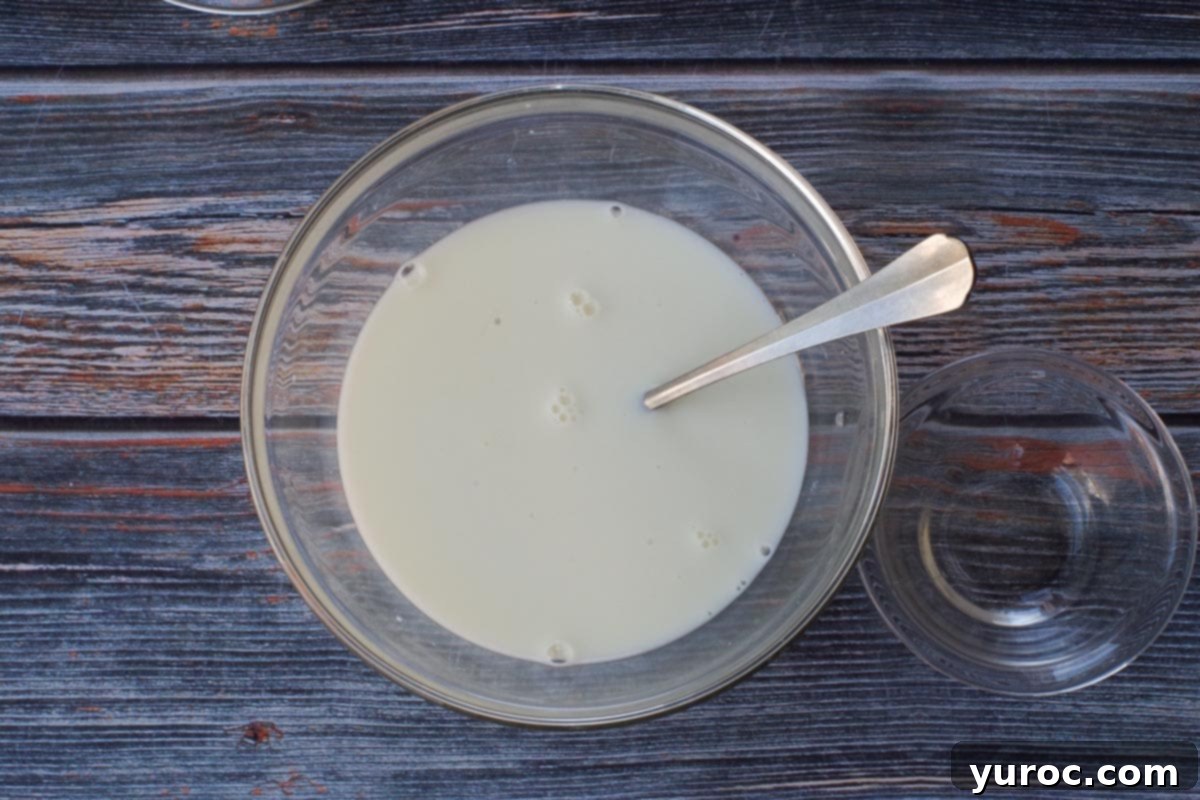
Step 1: Measure out the milk and add 1 teaspoon of vinegar to it. Give it a gentle stir and then set it aside. This simple step creates a homemade “buttermilk” substitute. The acidity of the vinegar will react with the baking soda later, contributing to the muffins’ wonderfully light and fluffy texture.
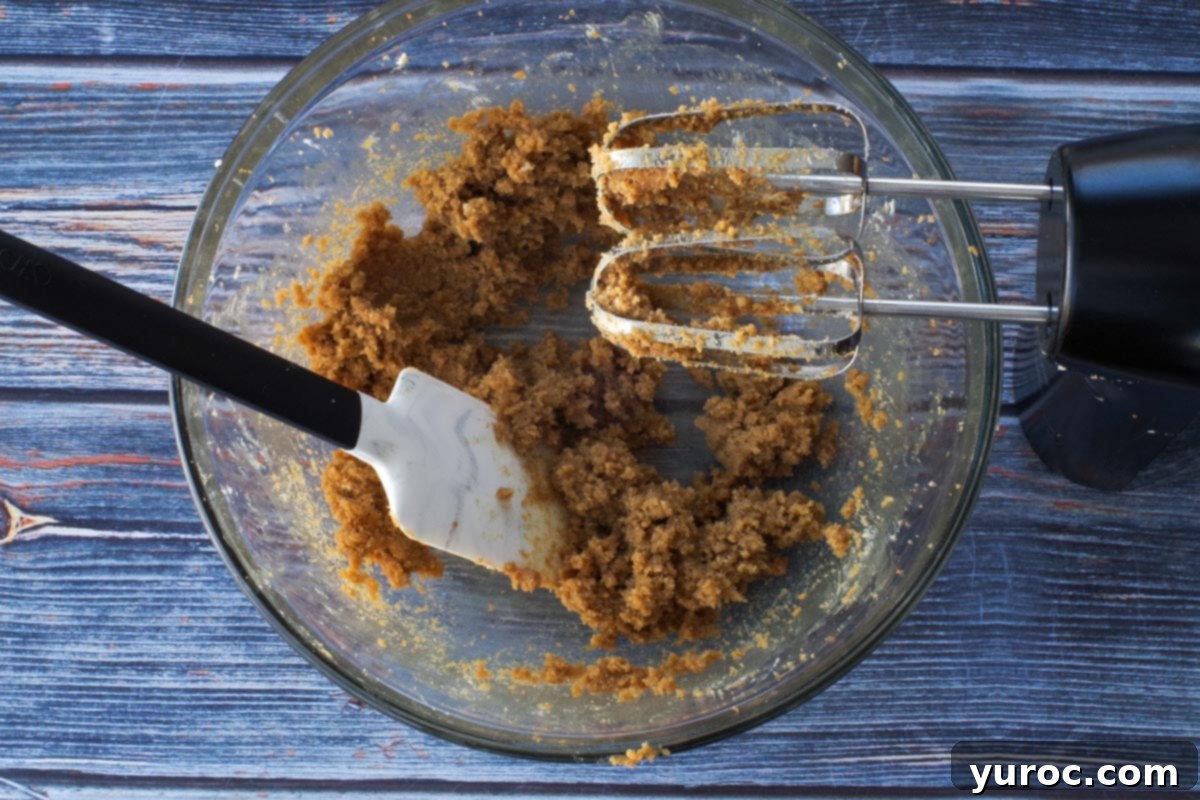
Step 2: In a large mixing bowl (or the bowl of a stand mixer fitted with a paddle attachment), combine the softened butter with the packed brown sugar. Cream these ingredients together until the mixture is light, fluffy, and well combined. This process incorporates air, which is crucial for a tender muffin crumb.
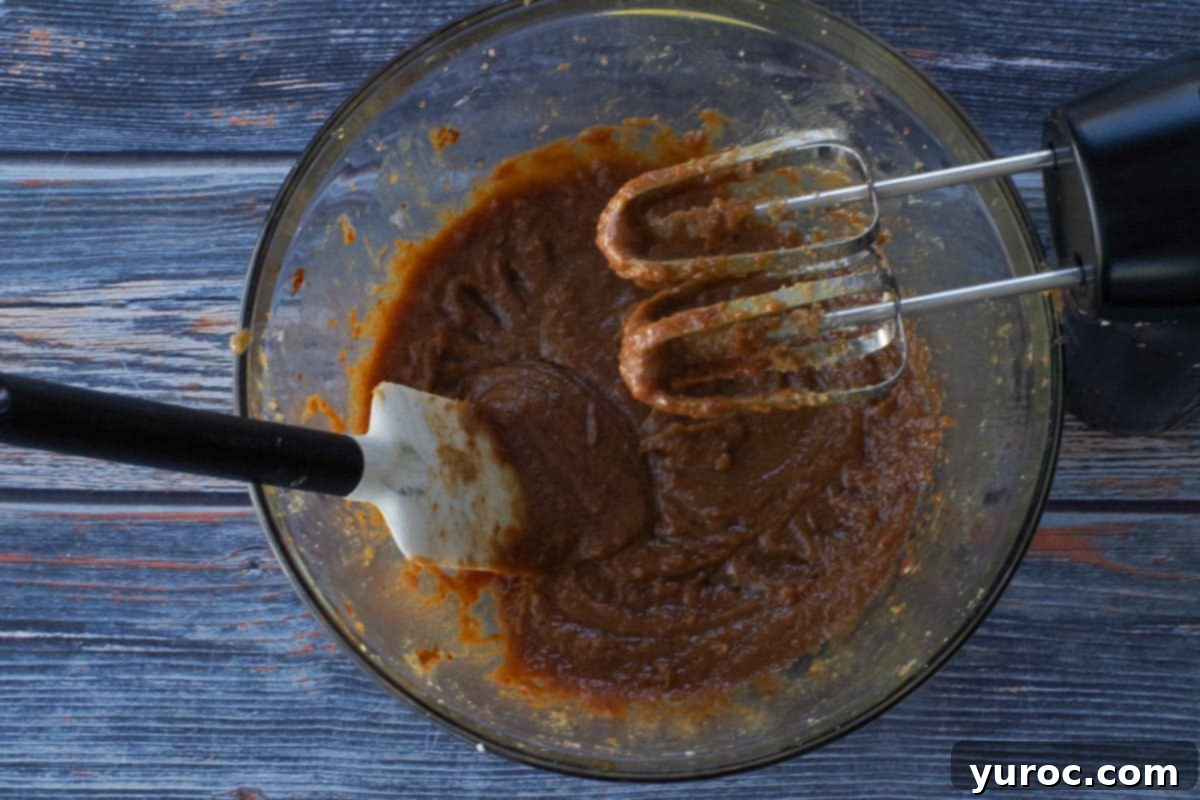
Step 3: Once the butter and sugar are creamed, add the oil and molasses to the mixture. Beat them in until everything is thoroughly incorporated and smooth. The molasses will add a rich color and depth of flavor, while the oil helps ensure extra moisture.
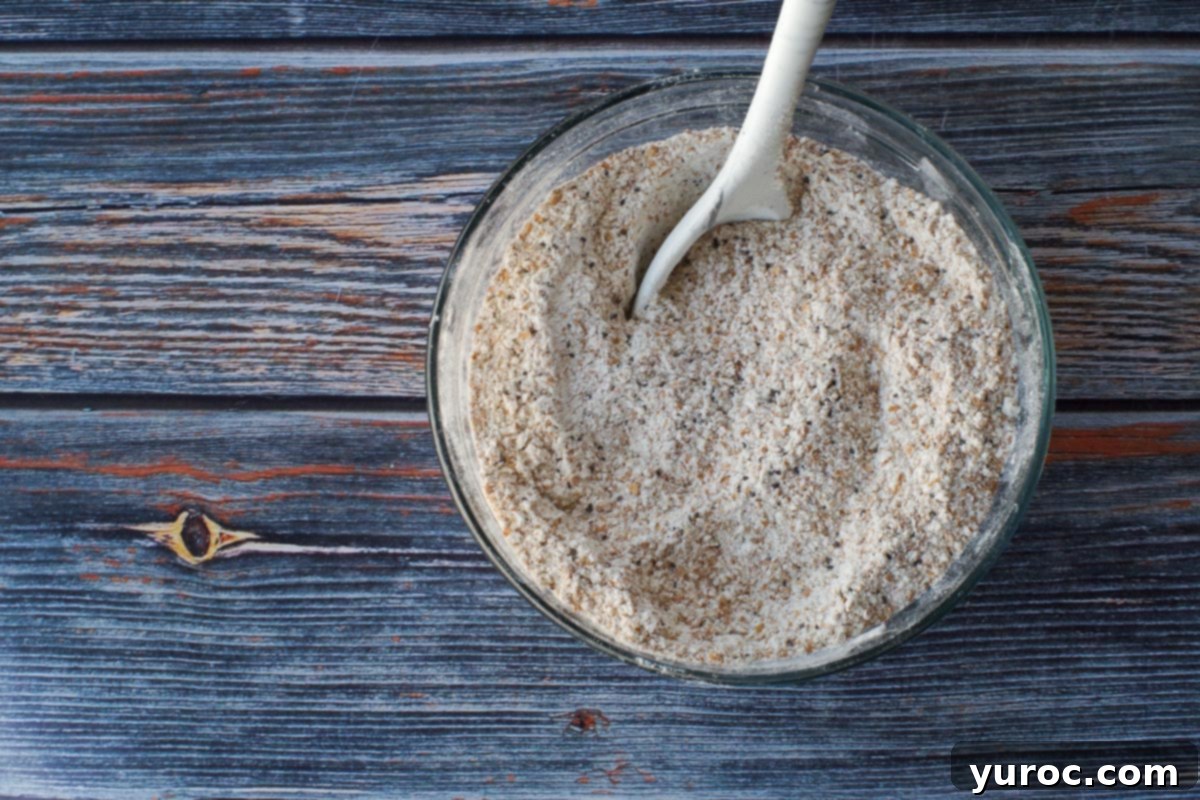
Step 4: In a separate, medium-sized bowl, whisk together all the dry ingredients: both whole wheat flour and all-purpose flour, wheat bran, wheat germ, baking powder, and chia seeds. Ensure these are well combined to distribute the leavening agents evenly throughout the batter.
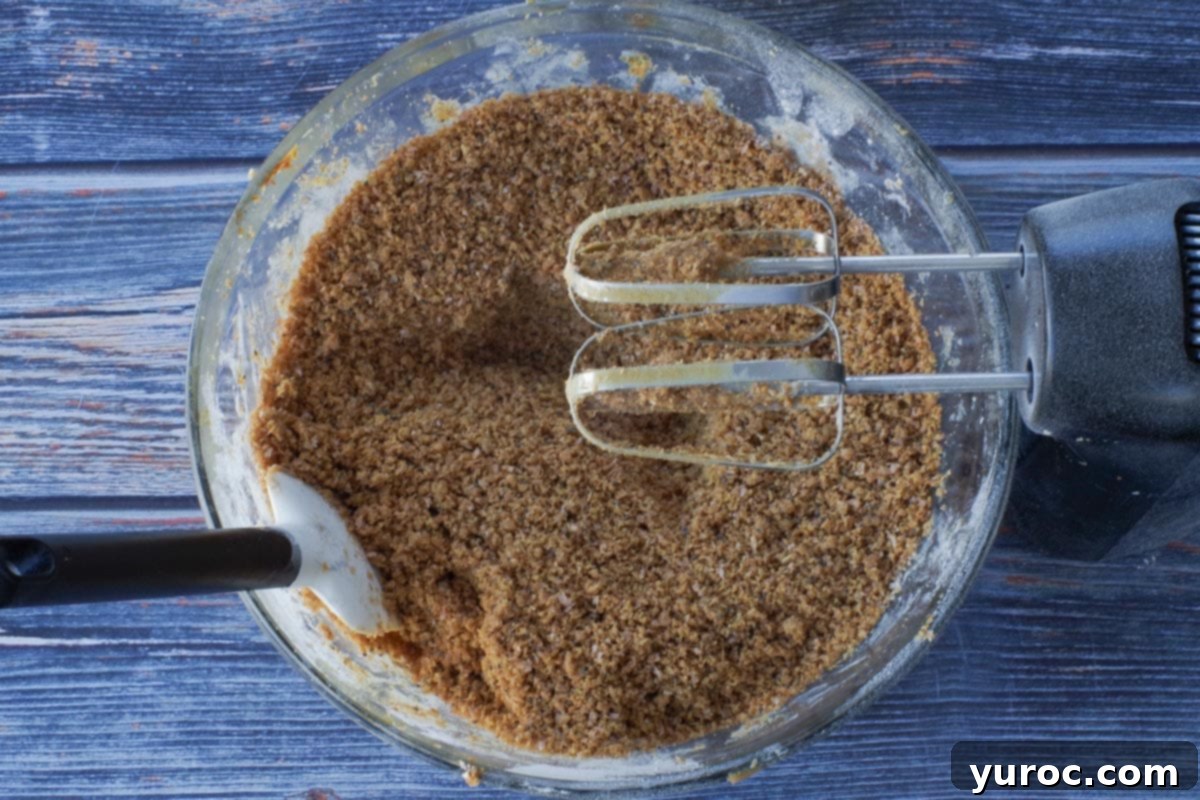
Step 5: Gradually add the dry ingredient mixture to the creamed butter and sugar mixture. Mix them together thoroughly. An electric mixer can be very helpful for this step, ensuring everything is well combined without overworking the gluten in the flour just yet.
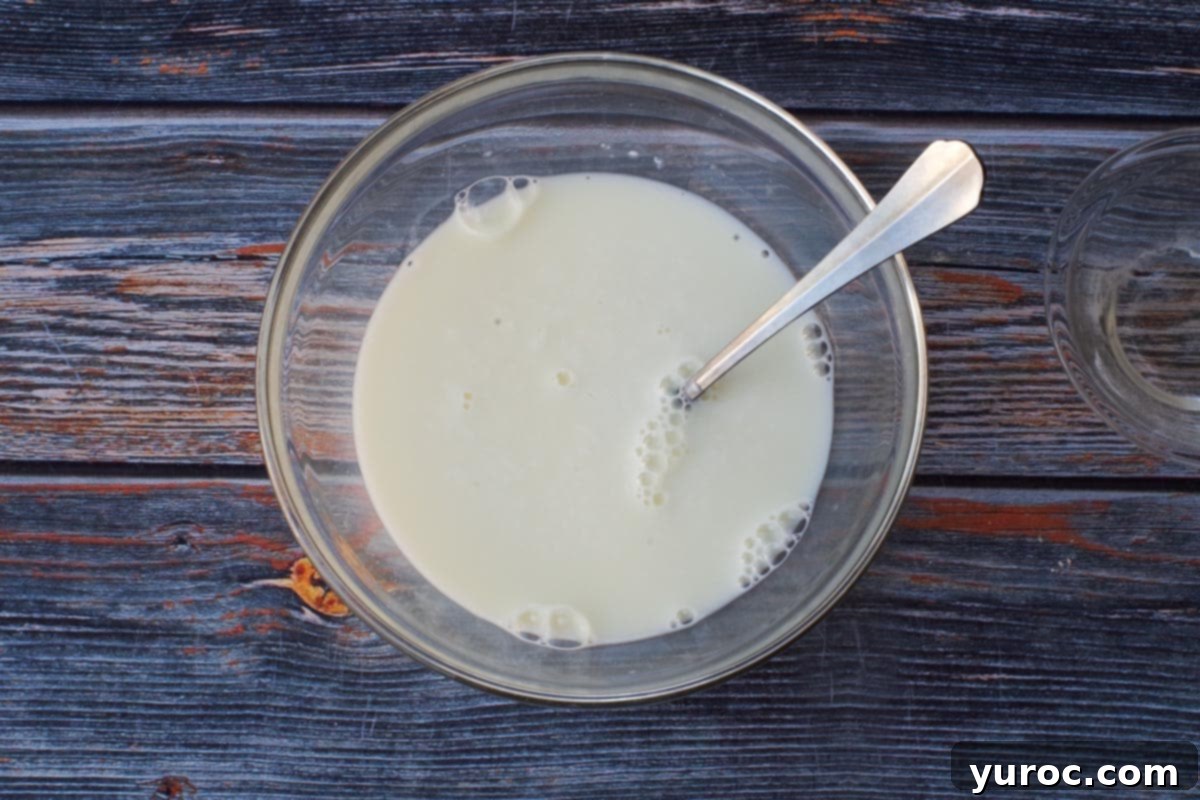
Step 6: Retrieve the milk and vinegar mixture from Step 1. Add the baking soda to it and stir well. You’ll notice a slight fizzing reaction as the baking soda activates with the acidity of the vinegar, which is exactly what we want for light and airy muffins.
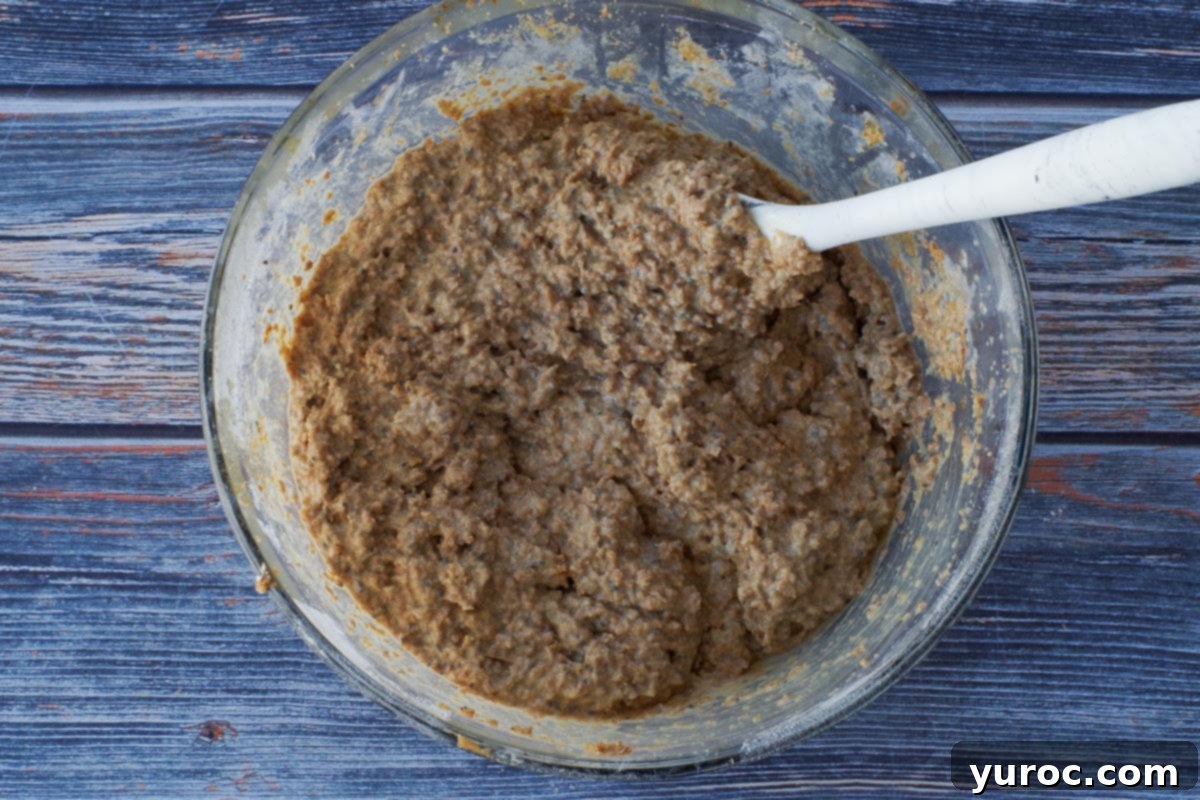
Step 7: Pour the wet ingredients (the milk and baking soda mixture) into the large bowl containing the dry mixture and combined butter-sugar. Stir gently with a spoon until just combined. Be careful not to overmix at this stage, as overmixing can lead to tough muffins.
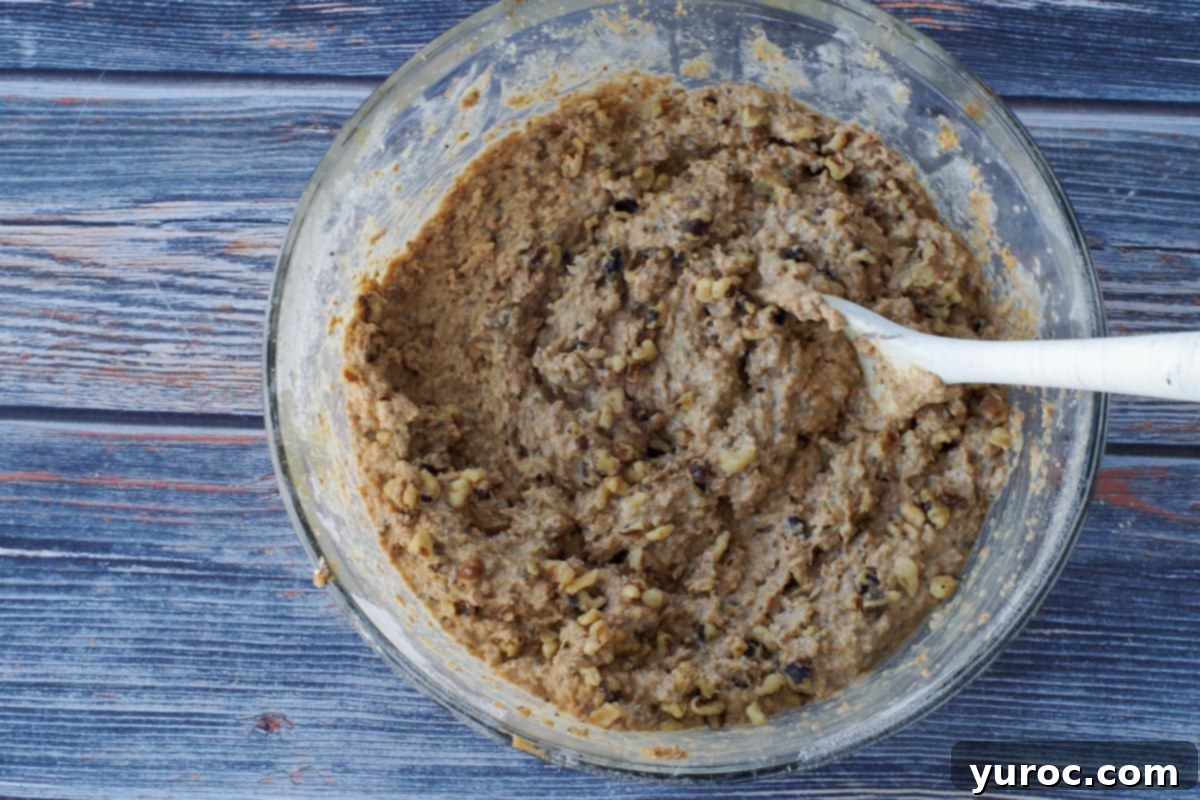
Step 8: Add the chopped walnuts to the batter. Gently stir them in until they are evenly distributed. Walnuts add a fantastic textural contrast and nutty flavor to each bite.
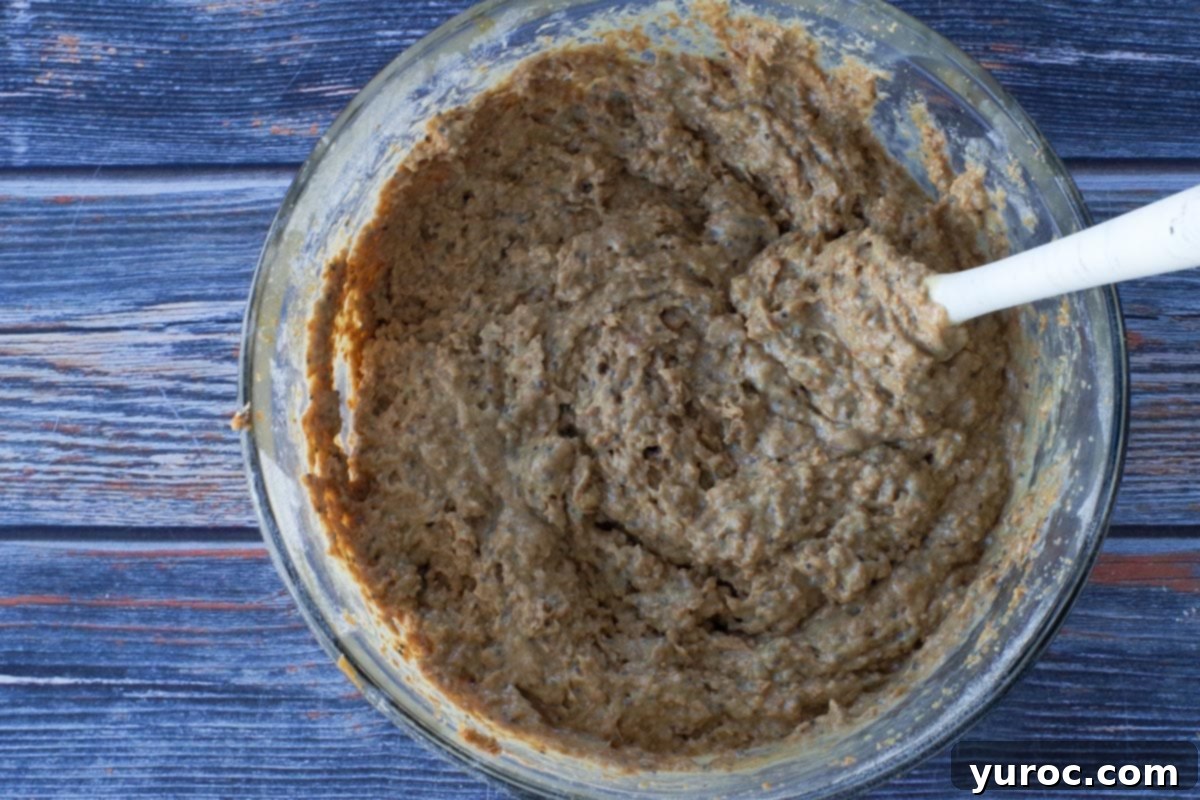
Step 9: Gently fold in the pre-beaten eggs. Stir just until they are combined with the rest of the batter. Again, avoid overmixing here to ensure the muffins remain tender and light rather than becoming dense and chewy.
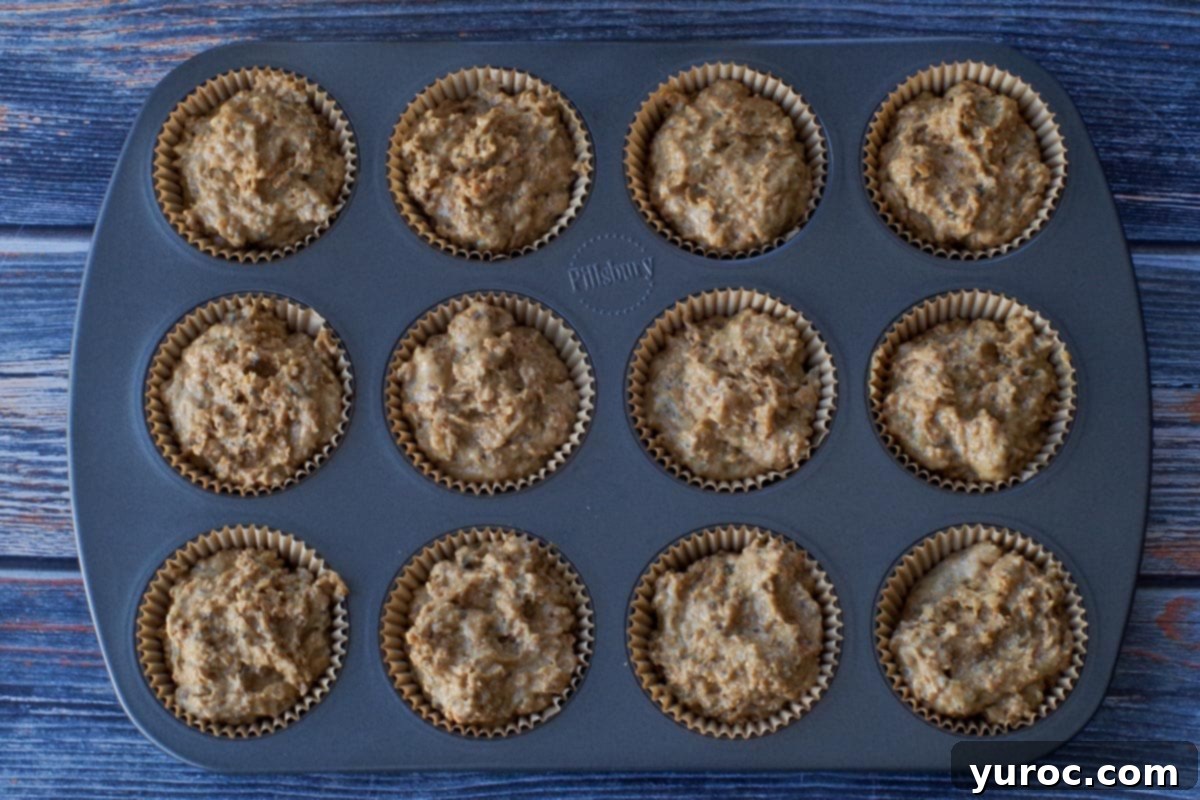
Step 10: Spoon the prepared muffin batter into the paper-lined muffin cups. Fill each cup almost to the very top. Filling them generously helps create those beautiful, domed muffin tops we all love.
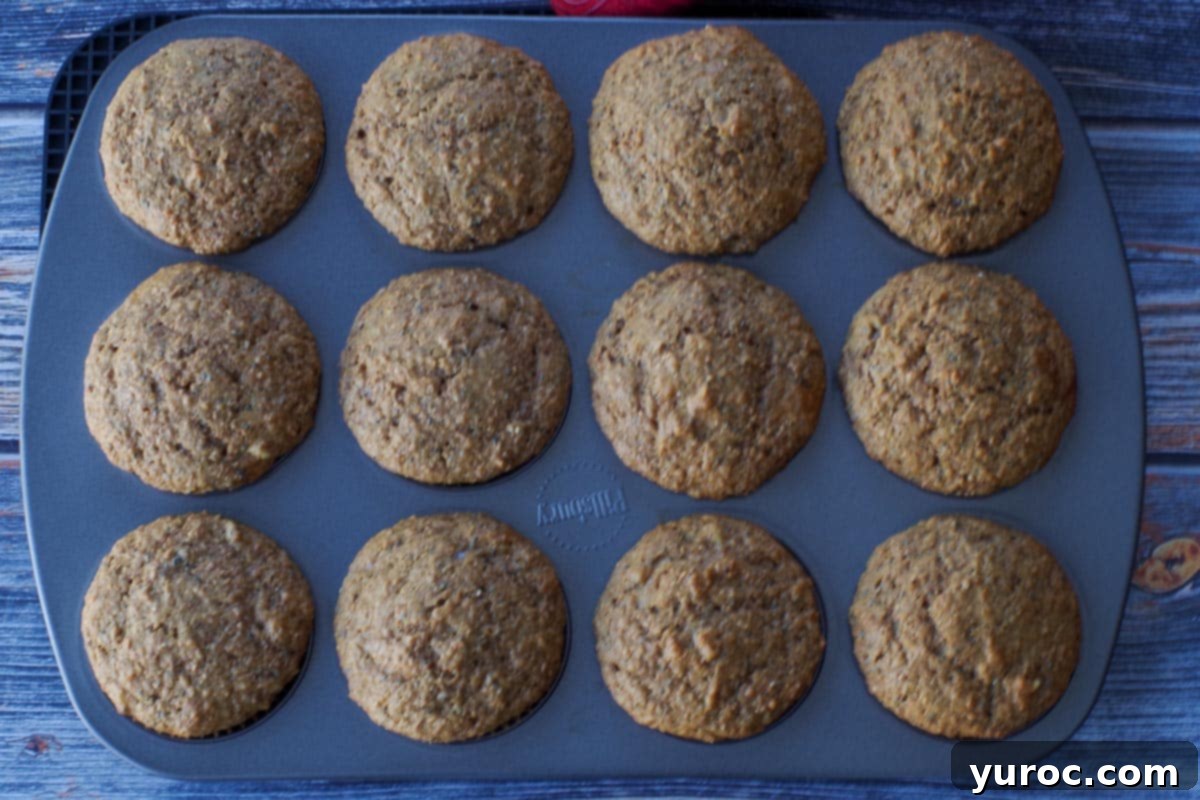
Step 11: Place the muffin tin into your preheated oven. Bake for approximately 20-23 minutes, or until a cake tester or toothpick inserted into the center of a muffin comes out clean. This indicates that the muffins are fully cooked through.
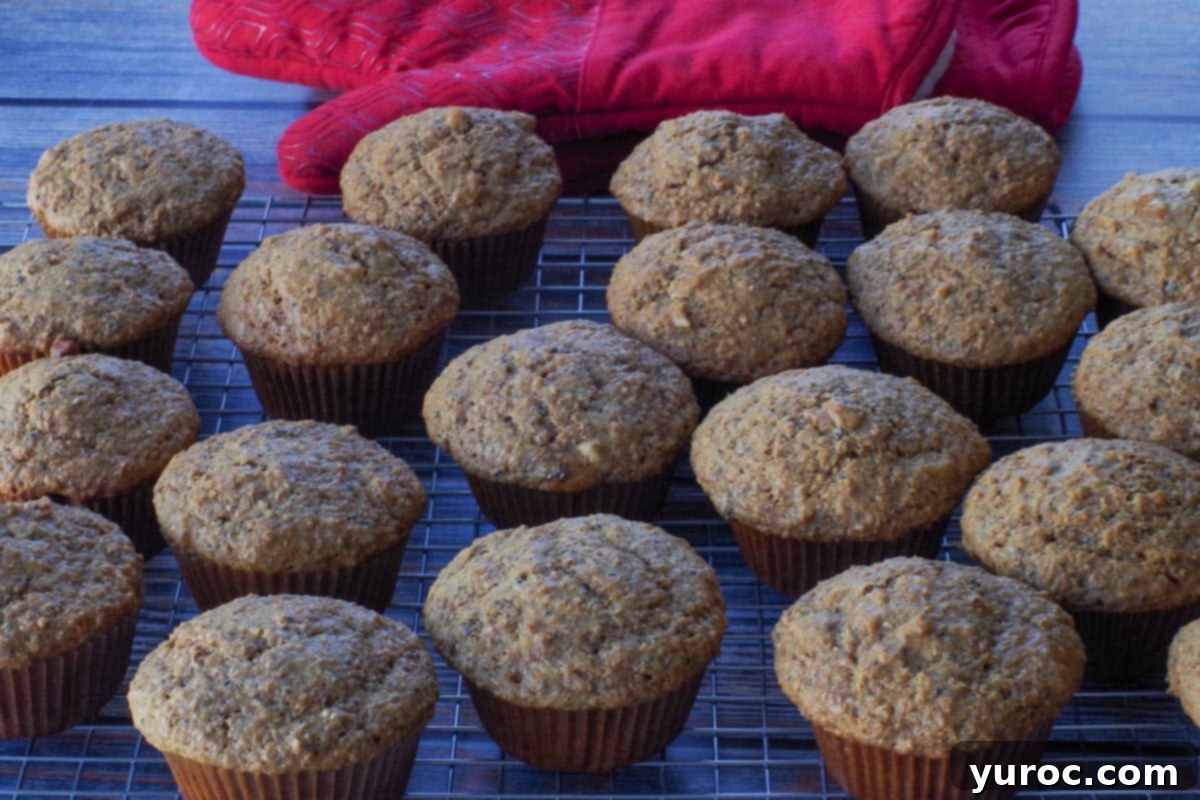
Step 12: Once baked, remove the muffin tin from the oven and allow the muffins to cool in the tin for about 5 minutes. This brief resting period helps them set. Afterward, carefully transfer the muffins to a wire rack to cool for another 5 minutes before serving them warm. Enjoy the delightful aroma and taste!
Expert Recipe Tips
Achieving bakery-quality muffins at home is easier than you think with these expert tips:
- Use Fresh Baking Soda and Baking Powder. Leavening agents, like baking soda and baking powder, can lose their potency over time, leading to flat or dense baked goods. To guarantee a perfect, fluffy rise, always test them before you begin. For baking soda, mix a small amount with vinegar; it should fizz vigorously. For baking powder, mix with hot water; it should bubble immediately. If there’s no reaction, it’s time to replace them!
- Soften Your Butter Properly. The texture of your butter is crucial for successful creaming. For the best muffin texture, butter should be soft but never melted or greasy. “Room temperature” butter means that if you gently press it with your finger, it should leave an indent but your finger shouldn’t sink right through. Cold butter won’t cream effectively with the sugar, and melted butter will result in a denser, greasier muffin.
- Cream the Butter and Sugar Well. This step is fundamental for incorporating air into your muffin batter, which creates a lighter, more tender crumb. Cream the butter and brown sugar together thoroughly until the mixture becomes visibly light in color and fluffy in texture, typically taking about 3-5 minutes with an electric mixer. This airy base is essential before you introduce the oil and molasses.
- Don’t Overmix the Batter. This is perhaps the most critical rule for tender muffins. Once you add the eggs and then the wet ingredients to the dry, mix only until the ingredients are just combined and no streaks of flour remain. Overmixing develops the gluten in the flour, which leads to tough, chewy muffins with an undesirable texture, often characterized by large air pockets or “tunnels” inside.
- Get Them in the Oven Right Away! The chemical reaction that causes your muffins to rise (thanks to baking soda and baking powder) begins as soon as these leavening agents come into contact with wet ingredients. If your batter sits for too long after mixing and before baking, you risk losing some of that crucial rising power. This can result in muffins that are dense, flat, or don’t achieve their full, beautiful dome. Ensure your oven is preheated and your muffin tins are lined before you even start mixing for the best possible results!
- Freeze Your Wheat Bran. Due to its natural oils, wheat bran can go rancid relatively quickly when stored at room temperature. To maintain its freshness, flavor, and extend its shelf life significantly, always store wheat bran in a sealed bag or an airtight container in the freezer. When stored properly, it can maintain its best quality for up to two years. Always check the ‘Use by’ date on the package for optimal freshness. The same storage advice applies to wheat germ to extend its shelf life.
🥗 What to Serve with Old-Fashioned Bran Muffins
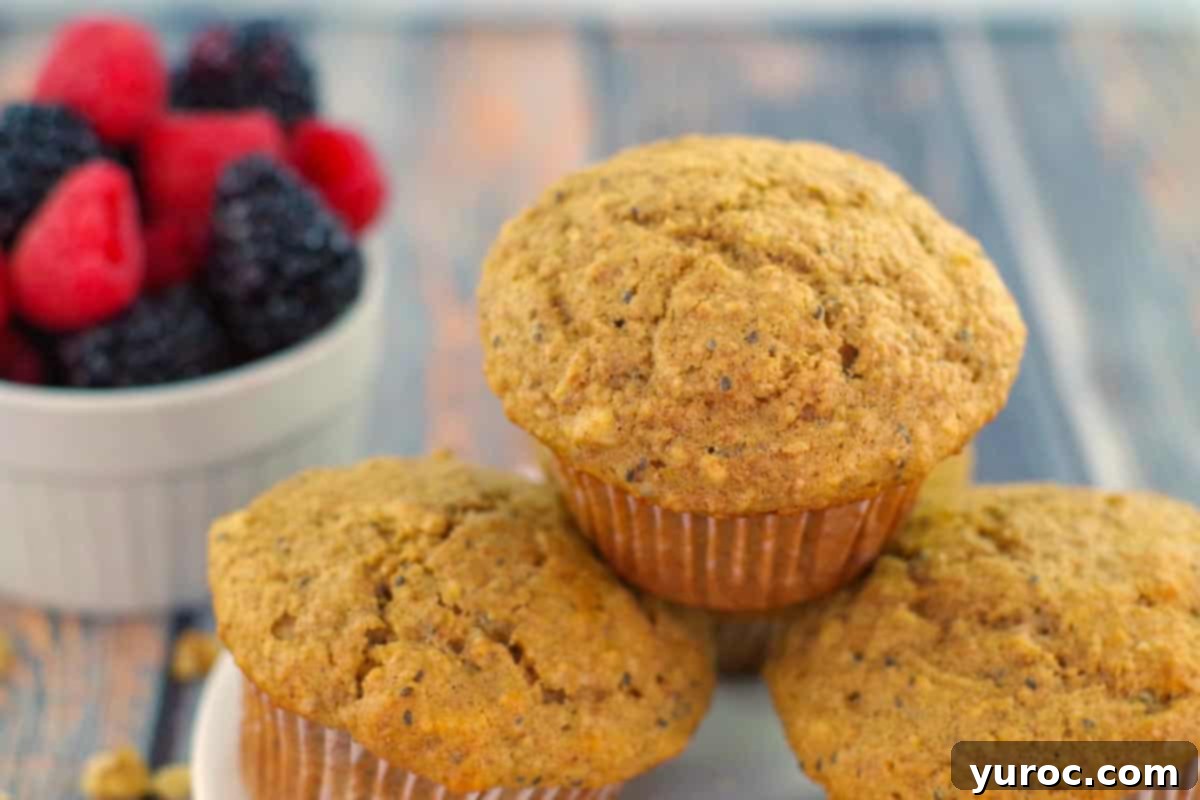
These Old-Fashioned Wheat Bran Muffins are incredibly versatile and pair beautifully with a variety of breakfast and brunch items. For a simple and satisfying start to your day, they are perfect alongside a freshly brewed cup of coffee or your favorite tea. They also complement a bowl of fresh fruit wonderfully. If you’re incorporating them into a larger brunch spread, consider including this refreshing Old Fashioned Fruit Salad with Honey-Lime Dressing. For a heartier meal or a delightful array of finger foods, serve them next to savory options like these Roasted Red Pepper Egg White Bites (as shown in the image below), a playful French Toast Pigs in a Blanket recipe, or savory Maple Sausage Brunch Bites.
And for those planning an extensive morning gathering, don’t forget to check out these comprehensive 35 Breakfast Potluck Ideas for even more culinary inspiration!

These healthy Wheat Bran Muffins are also fantastic when spread with a dollop of your favorite jam or a pat of creamy butter. However, their intrinsic flavor and moist texture are so exceptional that, honestly, you don’t even need to add anything to them! They are a complete and satisfying treat all on their own.
One of their best qualities is their portability. I often grab one every morning, making it incredibly convenient to enjoy a healthy and delicious breakfast on the go, whether I’m eating it during my commute or at my desk once I arrive at work.
🌡️ Storage
Proper storage is key to keeping these delicious Old Fashioned Wheat Bran Muffins fresh and enjoyable. While they can remain at room temperature in an airtight container for up to 48 hours, I highly recommend freezing them immediately after they cool. Freezing locks in their freshness and provides convenient access to a quick breakfast or snack whenever you need it. You can simply let them defrost in your lunch bag throughout the morning, or for a warm treat, pop them into the microwave for about 30 seconds.
- Fridge: If you prefer to keep them chilled for a few days, these delicious bran muffins will stay fresh in an airtight container in the refrigerator for up to 4 days.
- Freezer: For longer-term storage and ultimate convenience, they freeze exceptionally well. Place them in an airtight container or a heavy-duty Ziploc freezer bag, and they will maintain their quality for up to 6 months.

👪 Servings
This recipe yields a generous batch of 24 delicious muffins, making it perfect for meal prep or feeding a crowd. Personally, I often double the recipe to ensure I always have plenty on hand. However, you have complete flexibility with the serving size. You can easily halve the recipe if you need a smaller batch, or even triple it for a larger gathering. To do so, simply click on the serving number in the recipe card below and select your desired number of servings; the ingredient quantities will automatically adjust. Just remember that if you’re making a larger batch, you will need additional muffin tins to accommodate the increased volume of batter.
🔢 WW Points
For those mindful of Weight Watchers (WW) points, this recipe can be easily adapted to reduce the point value without sacrificing much flavor. To lower the WW points, consider making the following simple substitutions: replace the canola oil with unsweetened applesauce, use non-fat skim milk instead of 1% or 2%, and opt for a light butter alternative. Additionally, omitting the walnuts altogether will further decrease the point count, though you’ll miss out on some texture and healthy fats.
❔ Recipe FAQs
Yes, using paper muffin liners is highly recommended for this recipe. These Old-Fashioned Wheat Bran Muffins, like many bran-based baked goods, tend to stick to the muffin pan even when it’s meticulously greased. Paper liners provide the best results, ensuring easy removal and significantly simplifying the cleanup process. Parchment liners are also an excellent alternative if you have them.
These wheat bran muffins stand out as the “BEST” for several compelling reasons. Unlike many other recipes that can be dry or bland, these are exceptionally moist, rich, and flavorful. They boast a light and fluffy texture, a subtle and pleasant bran taste that isn’t overwhelming, and a perfectly balanced molasses flavor that adds depth without being overpowering. Furthermore, they are packed with healthy, wholesome ingredients, making them a delicious and nutritious choice that appeals even to those who typically dislike bran muffins.
Absolutely, these wheat bran muffins are indeed considered a healthy option. They are notably high in dietary fiber, which is essential for digestive health and satiety. Compared to most commercial or bakery bran muffins, they contain significantly lower amounts of refined sugar. Made with whole grains, healthy fats from ingredients like walnuts and chia seeds, and entirely real food components, they contain no artificial ingredients, making them a genuinely wholesome choice for a nutritious breakfast or snack.
If you, like me, have been on a long quest for the ultimate bran muffin, I am confident that you will adore these. They truly deliver a delicious, moist muffin experience with a subtle bran taste that is perfectly balanced, ensuring the molasses flavor enhances rather than overwhelms. Enjoy every wholesome bite!
And for even more delightful bran muffin recipe ideas to add to your repertoire, be sure to explore this collection of Delicious AND Healthy Bran Muffins!
📖 More Muffin Recipes
- Healthy Banana Chocolate Chip Muffins with Pineapple
- Healthy Morning Glory Muffins
- Healthy Rhubarb Muffins (Weight Watchers Friendly)
- Healthy Carrot Muffins with Pineapple
Did your family❤️this recipe? Did you know that commenting and⭐rating recipes is one of the best ways to support your favorite recipe creators? If you LOVED this recipe, please comment and rate it in the recipe card below or share photos on social media using the hashtag #foodmeanderings or tagging @foodmeanderings !


📋 Wheat Bran Muffins Recipe
Print Recipe
Pin
Save Recipe
Save Recipe
Rate
Breakfast, Snack
North American
Vegetarian
24
muffins
230
kcal
Terri Gilson
10 minutes
20 minutes
30 minutes
Prevent your screen from going dark
Add to Shopping List
Go to Shopping List
Equipment
-
electric mixer -
muffin tin -
large mixing bowl
Ingredients
-
½
cup
unsalted butter
at room temperature -
½
cup
canola oil
(substitute any vegetable oil) -
1
cup
packed brown sugar -
2
tablespoon
molasses -
2
cups
whole wheat flour -
¾
cup
all purpose flour -
2
cups
milk
I use 1% but you can substitute 2% -
1
teaspoon
vinegar -
2
teaspoon
baking soda -
2
teaspoon
baking powder -
2
eggs
beaten with a fork -
1 ½
cups
natural wheat bran -
3
tablespoon
wheat germ -
1
cup
chopped walnuts -
3
tablespoon
chia seeds
Instructions
-
PREP: Preheat your oven to 350 degrees F (176 degrees C). Line your muffin tins with paper muffin liners, which are highly recommended for optimal results and easy cleanup.
-
Add 1 teaspoon of vinegar to the milk and stir briefly. Set this mixture aside for a few minutes; it will create a light, homemade buttermilk which reacts with baking soda to give the muffins a delightful, fluffy texture.2 cups milk,
1 teaspoon vinegar -
In a large mixing bowl (or the bowl of a stand mixer), cream together the softened unsalted butter and packed brown sugar until the mixture is light and fluffy.½ cup unsalted butter,
1 cup packed brown sugar -
Next, beat in the molasses and canola oil (or your chosen vegetable oil) until fully combined and smooth.½ cup canola oil,
2 tablespoon molasses -
In a separate bowl, thoroughly mix the whole wheat flour, all-purpose flour, natural wheat bran, wheat germ, baking powder, and chia seeds until well combined.2 cups whole wheat flour,
¾ cup all purpose flour,
2 teaspoon baking powder,
1 ½ cups natural wheat bran,
3 tablespoon wheat germ,
3 tablespoon chia seeds -
Add the dry ingredients mixture to the creamed butter and sugar mixture. Mix well, using an electric mixer if preferred, until just combined.
-
Stir the baking soda into the milk and vinegar mixture prepared earlier. You should see it fizz slightly.2 teaspoon baking soda
-
Pour the wet ingredients into the dry mixture. Stir gently with a spoon until everything is just combined. Avoid overmixing to keep your muffins tender.
-
Stir in the chopped walnuts until they are evenly distributed throughout the batter.1 cup chopped walnuts
-
Finally, fold in the beaten eggs. Stir only until they are just combined with the batter. Again, do not overmix at this stage.2 eggs
-
Spoon the muffin batter into the paper-lined muffin cups, filling each cup almost to the top for beautifully domed muffins.
-
Bake in the preheated oven for 20-23 minutes, or until a cake tester or toothpick inserted into the center of a muffin comes out clean.
-
Allow the muffins to cool in the muffin tin for 5 minutes before transferring them to a wire rack. Cool for another 5 minutes, then serve and enjoy!
Notes
Expert Recipe Tips:
-
- Use fresh baking soda and baking powder. Leavening agents lose potency over time. To ensure a high, fluffy rise, test them first: For baking soda: mix with vinegar – it should fizz. For baking powder: mix with hot water – it should bubble immediately.
-
- Soften your butter properly. For the best texture, butter should be soft but not melted. Room temp means your finger should leave an indent, but not sink right through. Cold or melted butter won’t cream properly with the sugar.
-
- Cream the butter and sugar well. This step adds air and structure to the muffins. Cream until the mixture is light and fluffy (about 3-5 minutes) before adding oil and molasses.
-
- Don’t overmix the batter. Especially once the eggs go in, mix only until ingredients are just combined. Overmixing leads to tough, dense muffins with air pockets or tunnels.
-
- Get Them in the Oven Right Away! Once your muffin batter is mixed, don’t let it sit too long-get it into the oven immediately. The baking soda and baking powder start reacting as soon as they’re combined with the wet ingredients. If the batter sits too long before baking, you risk losing some of that rising power, which can lead to dense or flat muffins instead of light and fluffy ones. Have your oven preheated and muffin tins lined before you start mixing for best results!
-
- Freeze your wheat bran. Wheat bran can go rancid quickly because of its natural oils. Keep it in the freezer in an airtight container for best freshness and a longer shelf life.
🌡️Storage
These muffins can stay in an airtight container at room temperature for up to 48 hours. However, I freeze them right away and keep them frozen for freshness and easy access. You can let them defrost in your lunch bag or pop them in the microwave for 30-ish seconds.
- Fridge: Store these delicious bran muffins in an airtight container in the fridge for up to 4 days.
- Freezer: They freeze really well in an airtight container or Ziploc freezer bag for up to 6 months
*NOTE: Results may vary depending on type of flour and brown sugar used
**NOTE: The process photos look different than the main photos because they were taken in different lighting.
Nutrition
Serving:
1
muffin
|
Calories:
230
kcal
(12%)
|
Carbohydrates:
25
g
(8%)
|
Protein:
4
g
(8%)
|
Fat:
13
g
(20%)
|
Saturated Fat:
3
g
(19%)
|
Cholesterol:
25
mg
(8%)
|
Sodium:
123
mg
(5%)
|
Potassium:
227
mg
(6%)
|
Fiber:
3
g
(13%)
|
Sugar:
11
g
(12%)
|
Vitamin A:
170
IU
(3%)
|
Vitamin C:
0.1
mg
|
Calcium:
76
mg
(8%)
|
Iron:
1.5
mg
(8%)
Did you make this recipe?
Please leave a star rating and review below!
