Decadent Chocolate Genoise Sponge Cake with Fresh Summer Berries & Velvety Mousse: The Ultimate Italian Dessert
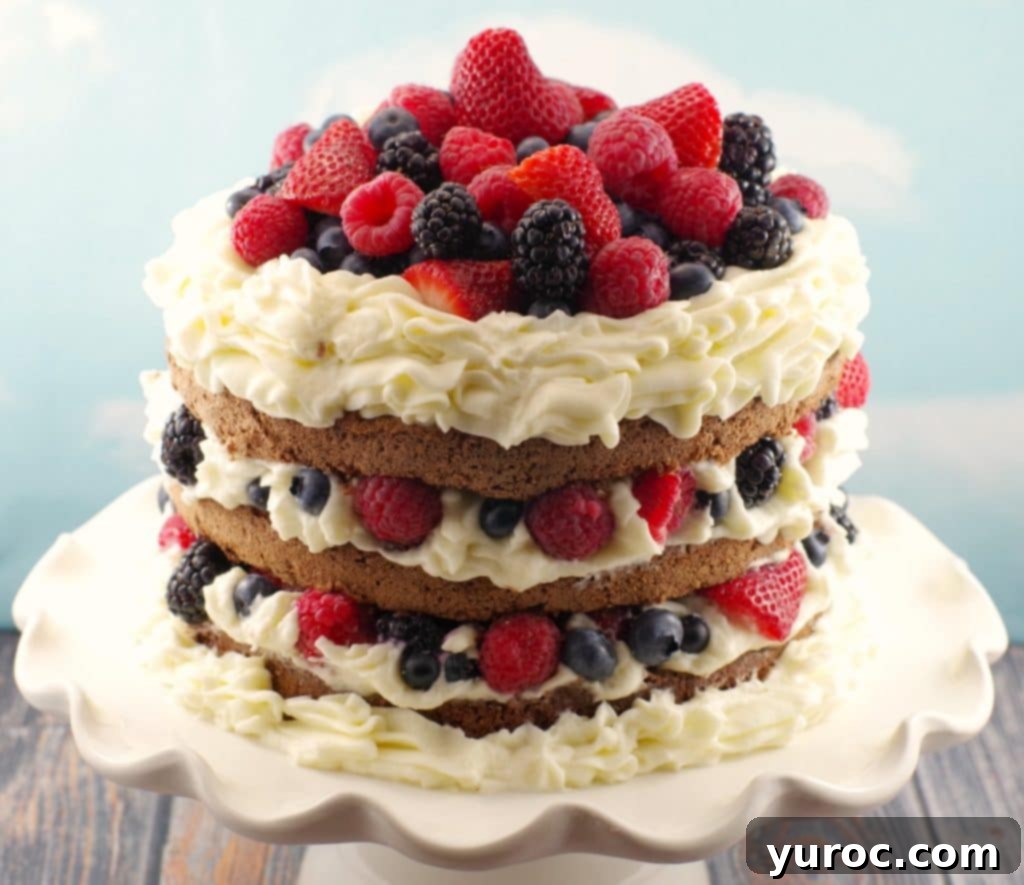
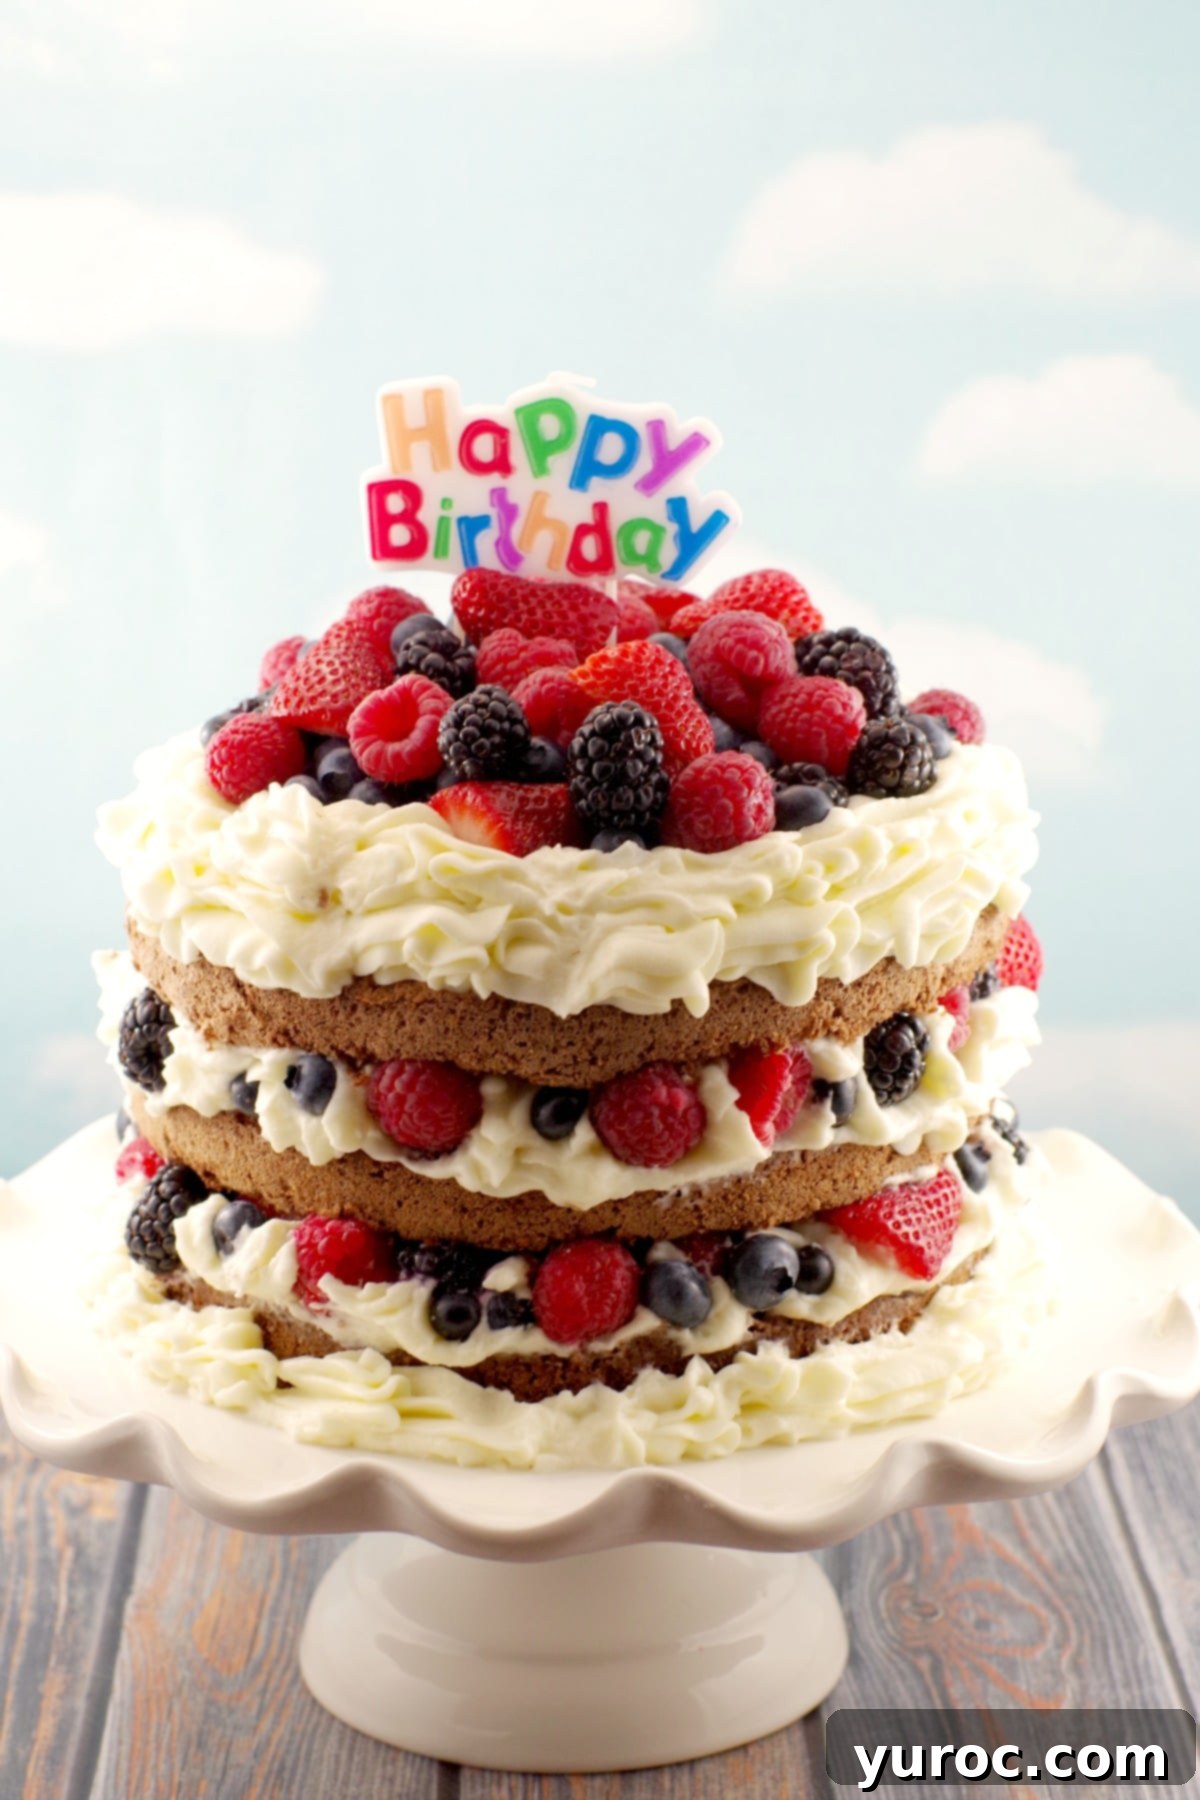
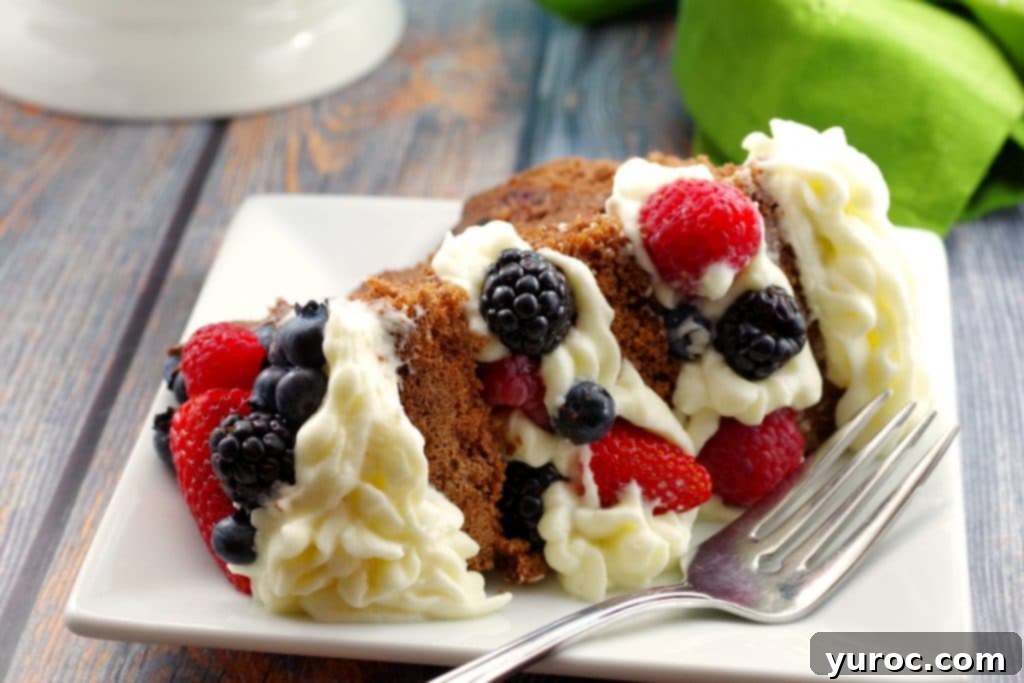
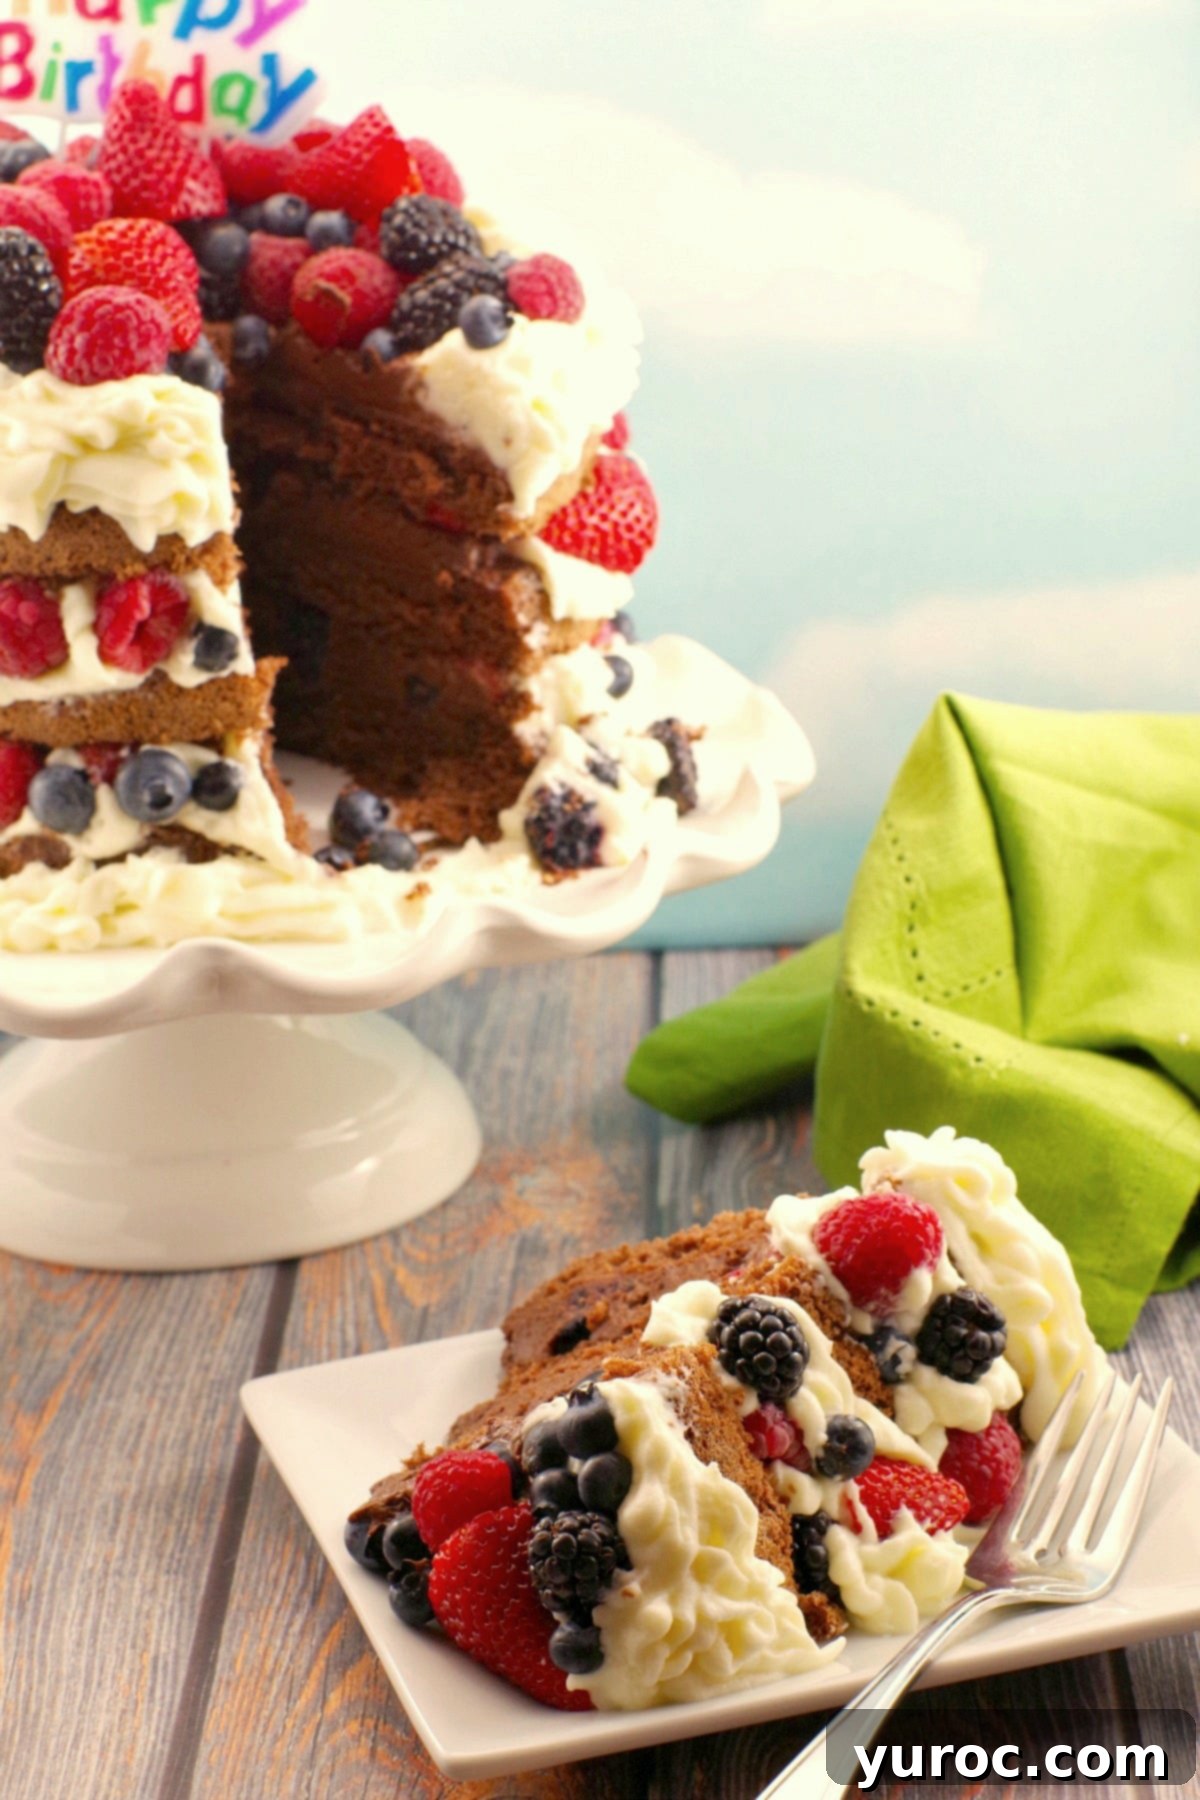
Prepare to be enchanted by this exquisitely light and airy Chocolate Genoise Sponge Cake, a delightful Italian-inspired masterpiece perfect for any celebration. This recipe features a delicate, airy chocolate sponge base, generously layered with a quick, easy, and irresistibly rich chocolate mousse. Each layer is beautifully adorned with an abundance of vibrant summer fruits, including juicy raspberries, sweet strawberries, luscious blackberries, and plump blueberries. The entire creation is then enveloped in a scrumptious, perfectly stabilized whipped cream icing, ensuring a cake that’s as beautiful as it is delicious.

I recently had the pleasure of baking this magnificent Italian chocolate sponge cake for my husband’s birthday, and the reviews were simply phenomenal! It was an absolute showstopper, receiving rave comments from everyone who tasted it. So, if you’re on the hunt for sophisticated birthday cake recipes for adults, yearning for an authentic Italian birthday cake experience, or seeking inspiring homemade birthday cake ideas that truly impress, look no further. This recipe is destined to become a family favorite, celebrated for its delicate texture, rich chocolate flavor, and the refreshing burst of fresh berries. Its elegant presentation and unforgettable taste make it ideal for any special occasion, from summer parties to milestone birthdays.
[feast_advanced_jump_to]
For those who love refreshing and fruity treats, don’t miss my vibrant Fruit Pizza Recipe with Glaze – another perfect dessert for warm weather!
🥘 Essential Ingredient Notes for Your Chocolate Genoise Cake
Crafting this exquisite chocolate genoise sponge cake requires attention to detail with each ingredient to achieve its signature light texture and rich flavor. Here’s a deeper dive into what you’ll need:
- Unsalted Butter: I strongly recommend using unsalted butter for this recipe. This allows you complete control over the salt content in your baking, which is crucial for balancing flavors. The amount of salt in salted butter can vary significantly between brands, potentially affecting the overall taste of your delicate genoise. Make sure it’s melted gently and cooled slightly before incorporating.
- Semi-Sweet Chocolate Chips: Opt for high-quality semi-sweet chocolate chips, as they will define the depth of flavor in your chocolate mousse. You can also use a good quality semi-sweet chocolate bar, finely chopped, for an even smoother melt and richer taste.
- Heavy Cream: This is essential for both the luscious chocolate mousse and the stabilized whipped cream icing. Ensure your heavy cream has at least 33% milk fat (often labeled as whipping cream) for optimal whipping results. Chilled cream whips best and holds its shape longer.
- Stabilized Whipped Cream Frosting: While regular whipped cream is delicious, a stabilized version is highly recommended for this recipe. The addition of a stabilizing agent (like gelatin or piping gel, as noted in the linked recipe) helps the whipped cream maintain its volume and structure for extended periods, preventing it from weeping or deflating. This is especially important for a layered cake and if your cake will be displayed for a while. It provides a beautiful, clean finish that lasts.
- Blueberries, Strawberries, Raspberries, Blackberries: This specific combination of berries offers a delightful balance of sweetness and tartness, enhancing the chocolate flavors perfectly. Feel free to use fresh, ripe berries for the best results. A mix of colors also adds visual appeal to your finished cake.
- Room Temperature Eggs: This is a critical factor for a successful genoise. Warm eggs whip up to a much greater volume and create a more stable emulsion with sugar, resulting in a lighter, airier sponge. Don’t skip this step!
- All-Purpose Flour & Unsweetened Cocoa Powder: Sifting these dry ingredients together before adding them to the batter is crucial. It ensures there are no lumps and that they are evenly distributed, contributing to the smooth texture of the genoise. Use good quality unsweetened cocoa powder for a deep chocolate flavor without added sugar.
📖 Creative Variations & Simple Substitutions
While this chocolate genoise cake recipe is perfect as is, it’s also incredibly versatile, allowing for delightful variations to suit your taste or the season. Here are some ideas to customize your next bake:
- Filling Alternatives: Although the rich chocolate mousse pairs impeccably with the delicate genoise, feel free to experiment with other fillings. Consider a classic vanilla pastry cream, a tangy lemon curd, or even a light fruit compote. A salted caramel mousse could also add an exciting twist, complementing the chocolate notes beautifully.
- Frosting Options: The Stabilized Whipped Cream Icing is ideal for its structural integrity and airy texture. However, if you prefer a different finish, an Italian Meringue Buttercream would offer a silky-smooth, less sweet alternative, providing excellent stability. For a richer, more decadent option, try this White Chocolate Whipped Cream Frosting, which adds another layer of indulgence. A simple chocolate ganache poured over the top can also create a stunning, glossy finish.
- Berry Combinations: The beauty of this cake is its adaptability to seasonal produce. While raspberries, strawberries, blackberries, and blueberries are a fantastic choice, you can easily substitute or combine them with other fresh fruits. Think sliced peaches, pitted cherries, kiwi, or even sliced mango for a more tropical twist. Always choose ripe, in-season fruits for the best flavor.
- Genoise Flavor: If you’re not in the mood for chocolate, you can easily adapt the genoise sponge to a vanilla or lemon flavor by omitting the cocoa powder and adjusting the vanilla extract, or adding lemon zest, respectively.
- Nutty Additions: For an added textural dimension and flavor boost, consider folding in a handful of finely chopped toasted nuts (like almonds or hazelnuts) into the batter before baking, or sprinkling them between the layers.

👪 Serving Size & Customization
This exquisite genoise recipe is designed to yield a generous 3-layer cake, providing approximately 16 delightful servings. This makes it an ideal choice for family gatherings, birthday celebrations, or when you simply want to share a substantial, impressive dessert.
Should you require a different quantity, perhaps for a smaller intimate dinner or a much larger party, the recipe can be easily adjusted. By clicking on the serving number in the recipe card below, you can conveniently select to half, double, or even triple the recipe. The ingredient quantities will automatically scale to your desired yield, simplifying your preparation. Just remember that if you’re increasing the recipe, you’ll need to ensure you have additional cake pans of the appropriate size to accommodate the extra batter. This flexibility ensures you can create the perfect chocolate genoise sponge cake for any occasion, big or small.
🍽 Essential Equipment for Baking Success
Having the right tools can make all the difference in achieving a perfect chocolate genoise sponge cake. Here are my top recommendations to ensure a smooth baking process and a beautiful result:
- Wilton Cake Release (affiliate link): This is my secret weapon for consistently perfect, crumb-free cakes every single time. It ensures your delicate genoise sponges slide effortlessly out of the pans, preventing breakage and preserving their beautiful edges. It’s a game-changer that eliminates the need for greasing and flouring.
- Parchment Paper Rounds (affiliate link): If you prefer using parchment paper, these pre-cut parchment liners are incredibly convenient. They fit perfectly into round cake pans (available in 8 or 9-inch sizes), providing a non-stick surface at the bottom of your pans.
- Three 8-9 Inch Round Cake Pans (affiliate link): To create the beautiful layered structure of this genoise, three high-quality round cake pans are necessary. Non-stick pans are a bonus, but good preparation with cake release or parchment will ensure easy removal.
- Mixing Bowls and Spoons: Standard kitchen essentials, but having a good selection of various sizes will make the preparation of the genoise batter and mousse much easier.
- Electric Mixer: For the extensive beating required to create the airy genoise batter, an electric mixer is non-negotiable. While a handheld electric mixer can work, I highly recommend investing in a stand mixer (affiliate links). Its consistent power and hands-free operation are invaluable for whipping eggs and sugar to the necessary volume and stiffness. A quality stand mixer is a significant investment that will serve you well for countless baking adventures.
🌡️ Storage Guidelines for Your Cake
Proper storage is key to maintaining the freshness and delicate texture of your Chocolate Genoise Sponge Cake. Here’s how to store it effectively:
- Storing a Decorated Cake: Once assembled and decorated, this chocolate genoise sponge cake should be stored in an airtight container in the refrigerator. It will remain wonderfully fresh and delicious for up to 3 days. The airtight container prevents the cake from drying out and absorbing other fridge odors.
- Freezing Undecorated Layers: If you’re looking to prepare components in advance, you can freeze the genoise cake layers (undecorated and unfilled) for up to 3 months. To do this, ensure the cooled cake layers are individually wrapped tightly in plastic wrap, then again in aluminum foil, and placed in a sealed extra-large cake carrier (affiliate link) or another freezer-safe, airtight container. This multi-layer wrapping protects against freezer burn and preserves the cake’s delicate texture.
- Defrosting: When ready to assemble, transfer the frozen cake layers to the refrigerator to defrost slowly overnight. It’s crucial that the cakes are completely thawed before you attempt to decorate or fill them, as working with partially frozen cake can affect the texture and stability of your finished dessert.
💡 Top Tip for a Perfect Genoise: Room Temperature Eggs!
The single most critical factor for achieving a truly light and voluminous genoise sponge cake is ensuring your eggs are at **room temperature**. This isn’t just a suggestion; it’s absolutely essential for success! Warm eggs emulsify much better with sugar, allowing them to incorporate more air and whip up to a significantly greater volume and stability. This airy foundation is what gives genoise its characteristic delicate texture.
Quick Warming Method: If you forget to take your eggs out in advance, don’t despair! You can quickly bring them to room temperature. Simply pour some boiling water into a shallow bowl. Gently crack your eggs into another, separate bowl (or use whole eggs directly, if safe to submerge in warm water without cracking), and then set this bowl on top of the bowl of boiling water. The gentle heat from the steam will gradually warm the eggs. Keep checking frequently to ensure they are warm but not cooked – you want them pleasantly warm to the touch, not hot. This method works incredibly well and can save your baking plans!

⭐ Italian Chocolate (Genoise) Sponge vs. Traditional Sponge
Often, the terms “sponge cake” and “genoise” are used interchangeably, leading to some confusion. While both are types of light, airy cakes, they possess distinct characteristics that set them apart, especially in their preparation and fat content. Understanding these differences can elevate your baking skills and appreciation for these classic desserts.
Sponge cakes, in their purest form, are celebrated for their exceptionally delicate texture and subtle flavor. They are traditionally made without any added fat beyond what naturally occurs in egg yolks. In a true sponge, the egg yolks and whites are typically beaten separately to achieve maximum aeration before being carefully folded together. This method creates a very light, almost cloud-like crumb.
A Génoise sponge cake, on the other hand, boasts Italian origins, though it has been widely embraced and adapted within French cuisine for various delicate treats. Unlike a traditional sponge, a genoise is enriched with butter, which is melted (or sometimes clarified) and gently folded into the batter. The batter itself is typically made by beating whole eggs, often with additional yolks, together with sugar until the mixture is incredibly light, thick, and greatly increased in volume. This rigorous beating is paramount for incorporating air and creating stability.
- A true sponge contains no fat other than that naturally present in egg yolks, and the yolks and whites are usually beaten separately to achieve ultimate lightness.
- With a genoise, melted butter (or clarified butter in some traditional recipes) is used to enrich the batter. The batter is prepared by vigorously beating whole eggs (and sometimes extra yolks) with sugar until it quadruples in volume and becomes pale and thick. This process creates the stable emulsion that defines a genoise.
The genoise technique is famously the foundation for many exquisite desserts, including the delicate Madeleines and classic ladyfingers, which are often used in tiramisu. It frequently forms the base for elaborate layer cakes, where it’s paired with luxurious fillings such as whipped cream, rich buttercreams, or silky mousses, much like the delicious iteration you’ll find in this recipe.
While mastering an Italian genoise can sometimes be perceived as complicated, this specific recipe is designed to be foolproof! It truly is the perfect chocolate genoise sponge cake recipe, even for those new to this style of baking. The most critical steps involve ensuring your eggs are at the correct warm temperature and meticulously following the instructions for whipping the eggs and sugar. The dramatic increase in volume during this process, ideally achieved with a stand mixer, is key to the cake’s signature airy texture and stability.
If you’re curious to learn more about the fascinating world of cakes and their unique classifications, you can delve deeper into the distinctions between various cake types by exploring additional resources HERE and HERE!

Whether you’re celebrating a birthday, hosting a summer gathering, or simply looking for a truly special dessert, this Chocolate Genoise Sponge Cake stands out as one of the best homemade cakes you will ever taste! Its combination of light chocolate sponge, decadent mousse, and fresh berries makes it an unforgettable culinary experience. And if you’re searching for more magnificent showstopper birthday cakes, be sure to give my nostalgic Root Beer Float Cake a try!
📋 More Decadent Chocolate Cake Recipes to Explore
- Old Fashioned Sour Cream Chocolate Cake
- Easy Black Forest Cake Recipe
- Red Wine Chocolate Strawberry Cake
- Chocolate Mayonnaise Cake
Did your family ❤️ this recipe? Your feedback means the world to us! Did you know that commenting and ⭐ rating recipes is one of the best ways to support your favorite recipe creators? If you LOVED this recipe, please take a moment to comment and rate it in the recipe card below, or share photos of your beautiful creation on social media using the hashtag #foodmeanderings or by tagging @foodmeanderings! We adore seeing your culinary successes!


🎂 Chocolate Genoise Sponge Cake with Mousse and Berries
Print Recipe
Pin
Save RecipeSave Recipe
Rate
Add to Shopping ListGo to Shopping List
Ingredients
Chocolate Sponge (Genoise) Cake:
- 1 cup + 2 tablespoon all-purpose flour
- ¼ cup + 2 tablespoon sifted unsweetened cocoa powder
- 9 large eggs at room temperature (this is absolutely critical for success!)
- 1 ½ cup white granulated sugar
- 1 ½ teaspoon vanilla extract
- ¼ cup + 2 tablespoon of unsalted butter, melted and cooled
Quick and Easy Chocolate Mousse:
- ½ cup hot water
- 4 tablespoon unsweetened cocoa powder
- 1 ½ cups semi-sweet chocolate chips
- 2 cups heavy cream (whipping cream) – at least 33% milk fat, chilled
- 2 tablespoon white granulated sugar
Stabilized Whipped Cream Icing & Fresh Berries:
For the stabilized whipped cream, you’ll need the ingredients from this recipe: https://foodmeanderings.com/stabilized-whipped-cream-icing/
- 2 small containers of fresh blueberries
- 2 small containers of fresh strawberries hulled and sliced (reserve a few halves and whole strawberries for garnishing the top)
- 2 small containers of fresh raspberries
- 2 small containers of fresh blackberries
Instructions
Chocolate Sponge (Genoise) Cake Preparation
-
Important Note: Before you begin any other steps or even preheat your oven, ensure your eggs are at room temperature. This is a crucial step for achieving the perfect light and airy genoise texture!
* If you need to warm your eggs quickly, place them in their shells into a bowl of warm (not hot!) water for about 5-10 minutes, or as described in the “Top Tip” section above, crack them into a bowl and set it over a bowl of boiling water until warmed.
-
Preheat your oven to 350°F (175°C). Prepare three 8-inch or 9-inch round cake pans by greasing them thoroughly with non-stick cooking spray, lining the bottoms with parchment paper (pre-cut parchment rounds are highly recommended for ease – see Equipment section), or generously applying a specialized cake release product. Ensure you grease both the bottom and the sides of the pans to prevent sticking.
** For consistently perfect, crumb-free cakes, I always use “Wilton Cake Release.” It eliminates the need for any other pan preparation!
-
In a small bowl, sift together the all-purpose flour and unsweetened cocoa powder. This step ensures there are no lumps and helps aerate the dry ingredients. Set this mixture aside.
-
In the bowl of your stand mixer, fitted with the whisk attachment, combine the room temperature eggs, granulated sugar, and vanilla extract. Beat this mixture on medium-high speed (or high speed if using an electric hand mixer) for approximately 10 minutes. The mixture is ready when it becomes very pale in color, thick, and has quadrupled significantly in volume, forming a ribbon when the whisk is lifted. Once achieved, gently fold in the cooled melted butter using a large rubber or silicone spatula, taking care not to deflate the airy egg mixture.
-
Carefully add the sifted dry ingredients (flour and cocoa) into the egg mixture. Gently fold them in with your spatula until just combined. Overmixing will deflate the batter and result in a dense cake.
-
Divide the genoise batter evenly among the three prepared cake tins. Remember to always fill pans to about two-thirds full to allow for proper rising. Bake for approximately 25 minutes, or until a cake tester or toothpick inserted into the center of a cake comes out clean.
* You might have a small amount of leftover batter, which is perfect for baking a few mini cupcakes!
-
Allow the cake layers to cool in their pans for about 10 minutes. Then, gently run a thin spatula around the edges of each pan to loosen the cake. Carefully invert them onto a wire rack to cool completely.
* Using Wilton cake release ensures your cakes will release perfectly and maintain a beautiful, crumb-free exterior!
Quick and Easy Chocolate Mousse:
-
In a small bowl, dissolve the unsweetened cocoa powder in the hot water, stirring until smooth and no lumps remain. Set aside.
-
Place the semi-sweet chocolate chips in a microwave-safe bowl. Melt them in the microwave at 50% power for 2 minutes and 30 seconds. Stir the chocolate well, then microwave for additional 30-second intervals, stirring after each, until the chocolate is completely smooth and melted.
* Ensure no water or moisture comes into contact with the chocolate or your utensils, as this can cause the chocolate to seize and become grainy.
-
Add the dissolved cocoa mixture to the melted chocolate and stir vigorously until thoroughly combined and smooth. Let it cool slightly.
-
In a separate, chilled bowl, beat the heavy cream and granulated sugar with an electric mixer until stiff peaks form. Gently fold about one-third of the whipped cream into the cooled chocolate mixture to lighten it, then fold in the remaining whipped cream until just combined. Be careful not to overmix. Refrigerate the chocolate mousse until you are ready to assemble the cake.
Stabilized Whipped Cream Icing:
-
For the full recipe and detailed instructions for the stabilized whipped cream icing, please refer to this dedicated post: https://foodmeanderings.com/stabilized-whipped-cream-icing/
Cake Assembly:
-
Place your first cooled genoise cake layer onto your chosen serving plate or cake stand. Spread approximately one-third of the prepared chocolate mousse evenly over this layer. Then, scatter about one-quarter of your mixed fresh berries over the mousse. To create a neat barrier and support the next layer, pipe a ring of stabilized whipped cream icing around the very edge of this layer before carefully placing the second cake layer on top.
-
Repeat the filling process for the second cake layer: spread another third of the chocolate mousse, add another quarter of the fresh berries, and pipe a border of whipped cream. Finally, carefully place the third and final cake layer on top.
Garnish and Finishing Touches:
-
Generously pile the remaining fresh berries onto the very top of the cake, creating a beautiful and enticing crown of fruit.
-
Using a spatula, spread the remaining stabilized whipped cream around the sides of the cake for a rustic look, or pipe decorative borders around the top edge, the base, and between each layer if desired, to further enhance its visual appeal.
-
For an even more captivating presentation, stud the whipped cream (especially between layers) with additional berries, as shown in the accompanying photos, if desired. Chill the cake for at least 30 minutes before serving to allow the layers to set.
Notes