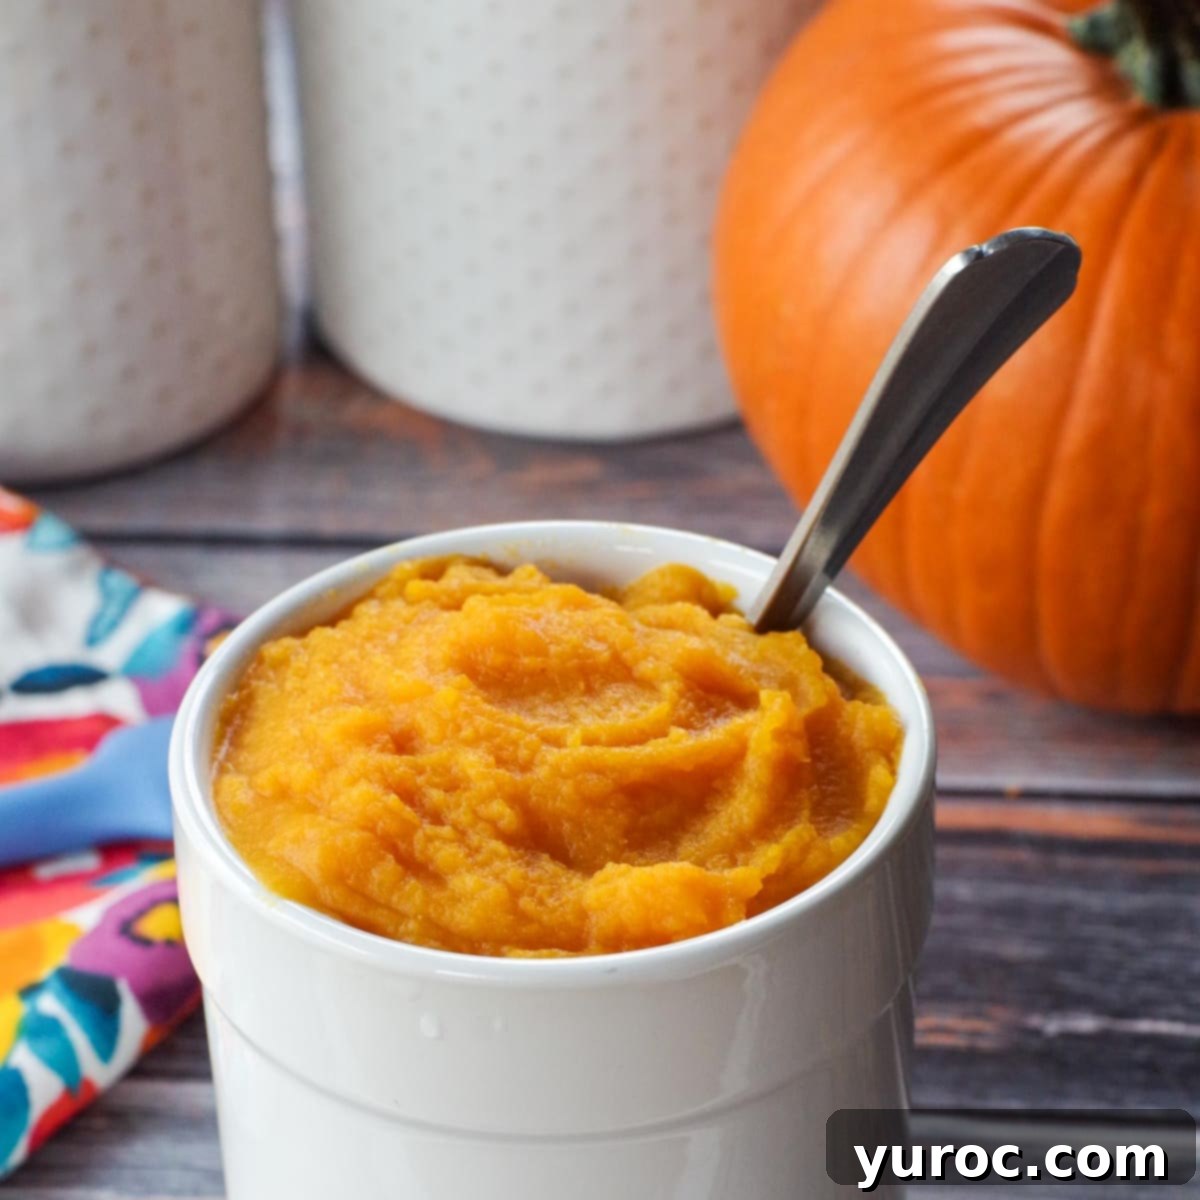
Mastering Homemade Pumpkin Puree: The Ultimate Guide to Cooking Whole Pumpkins (Carving Pumpkins Included!)
Unlock the secret to superior flavor and freshness by making your own homemade pumpkin puree. If you’ve ever wondered how to transform a whole pumpkin into that smooth, vibrant puree essential for countless recipes, you’re in the right place! This comprehensive guide makes the process surprisingly simple. Forget about special varieties; you can absolutely use a regular carving pumpkin from the grocery store – yes, even that Halloween pumpkin! – and the results will be wonderfully delicious.
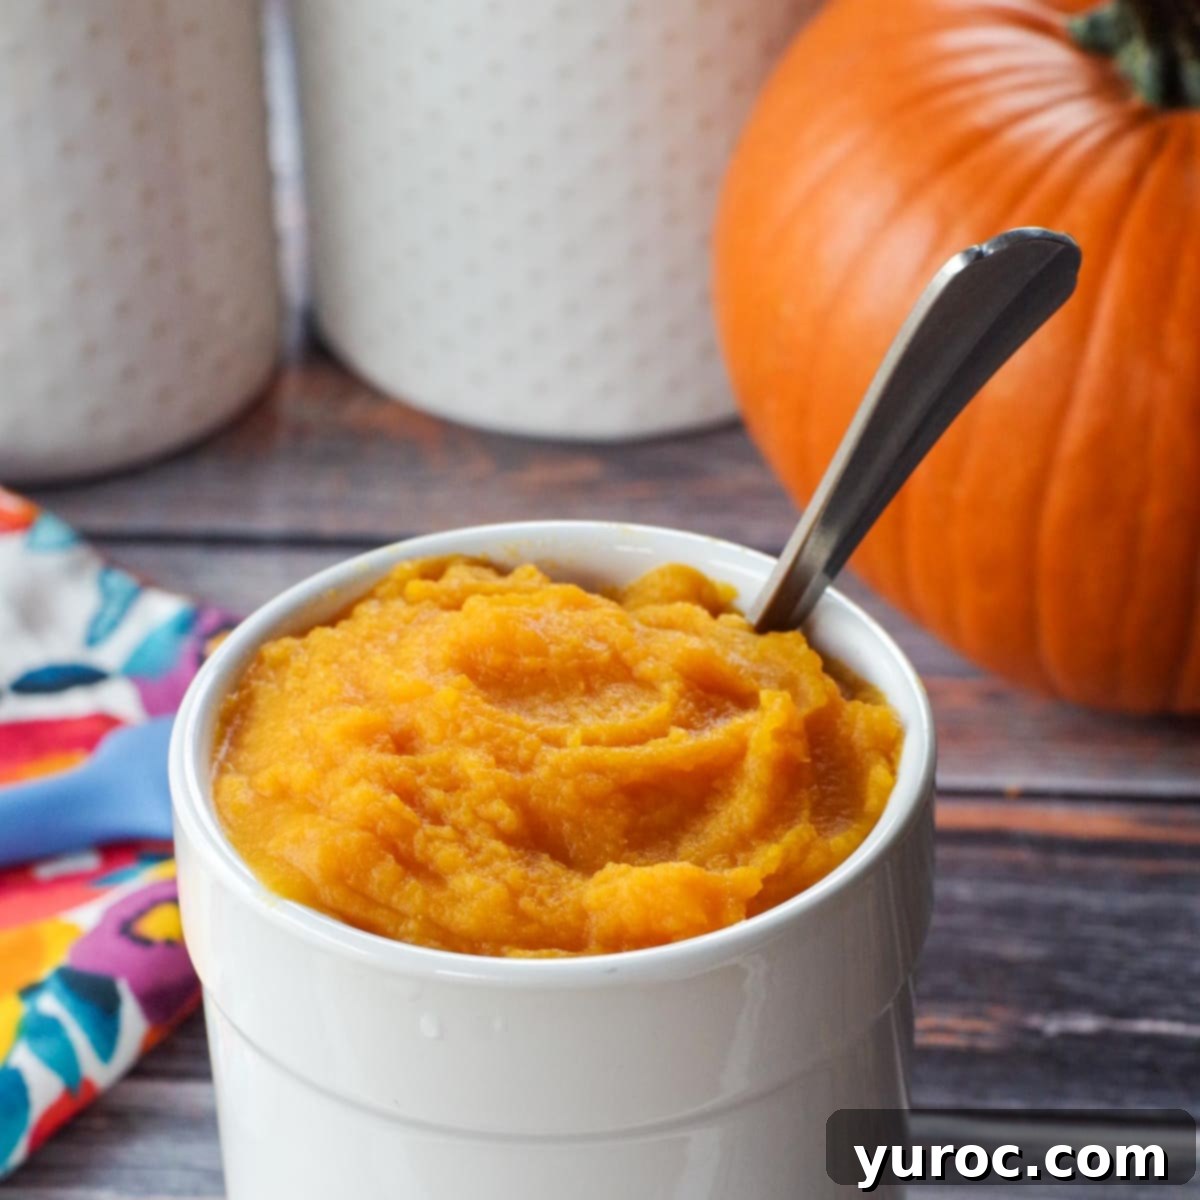
The true magic of cooking a whole pumpkin lies in the unparalleled taste and texture of the resulting fresh puree. Unlike canned versions that can sometimes be watery or metallic-tasting, homemade pumpkin puree offers a richer, more nuanced flavor profile that elevates any dish. It’s an ideal base for sweet and savory creations, from decadent desserts and creamy pie fillings to hearty soups and comforting baked goods. Best of all, once prepared, this golden goodness can be frozen and enjoyed throughout the entire year, allowing you to savor the essence of autumn long after the season ends.
While this recipe is undoubtedly a favorite during the fall season, having a stash of frozen homemade pumpkin puree means you can whip up pumpkin-spiced treats or wholesome pumpkin meals whenever the craving strikes, providing a healthy, economical, and incredibly flavorful alternative to store-bought options.
🎃 Delightful Recipes That Use Homemade Pumpkin Puree
Once you’ve mastered the art of making fresh pumpkin puree, a world of culinary possibilities opens up! The smooth, naturally sweet, and earthy flavor of homemade puree truly shines in these beloved recipes:
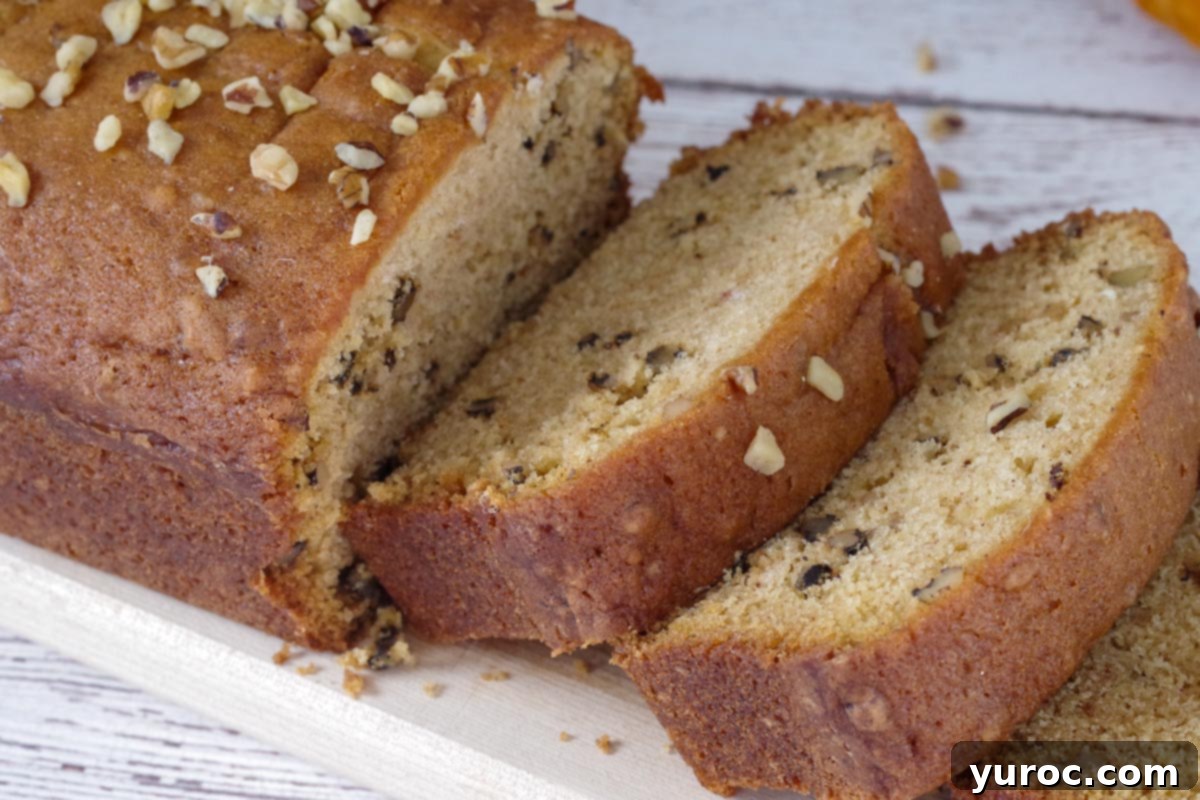
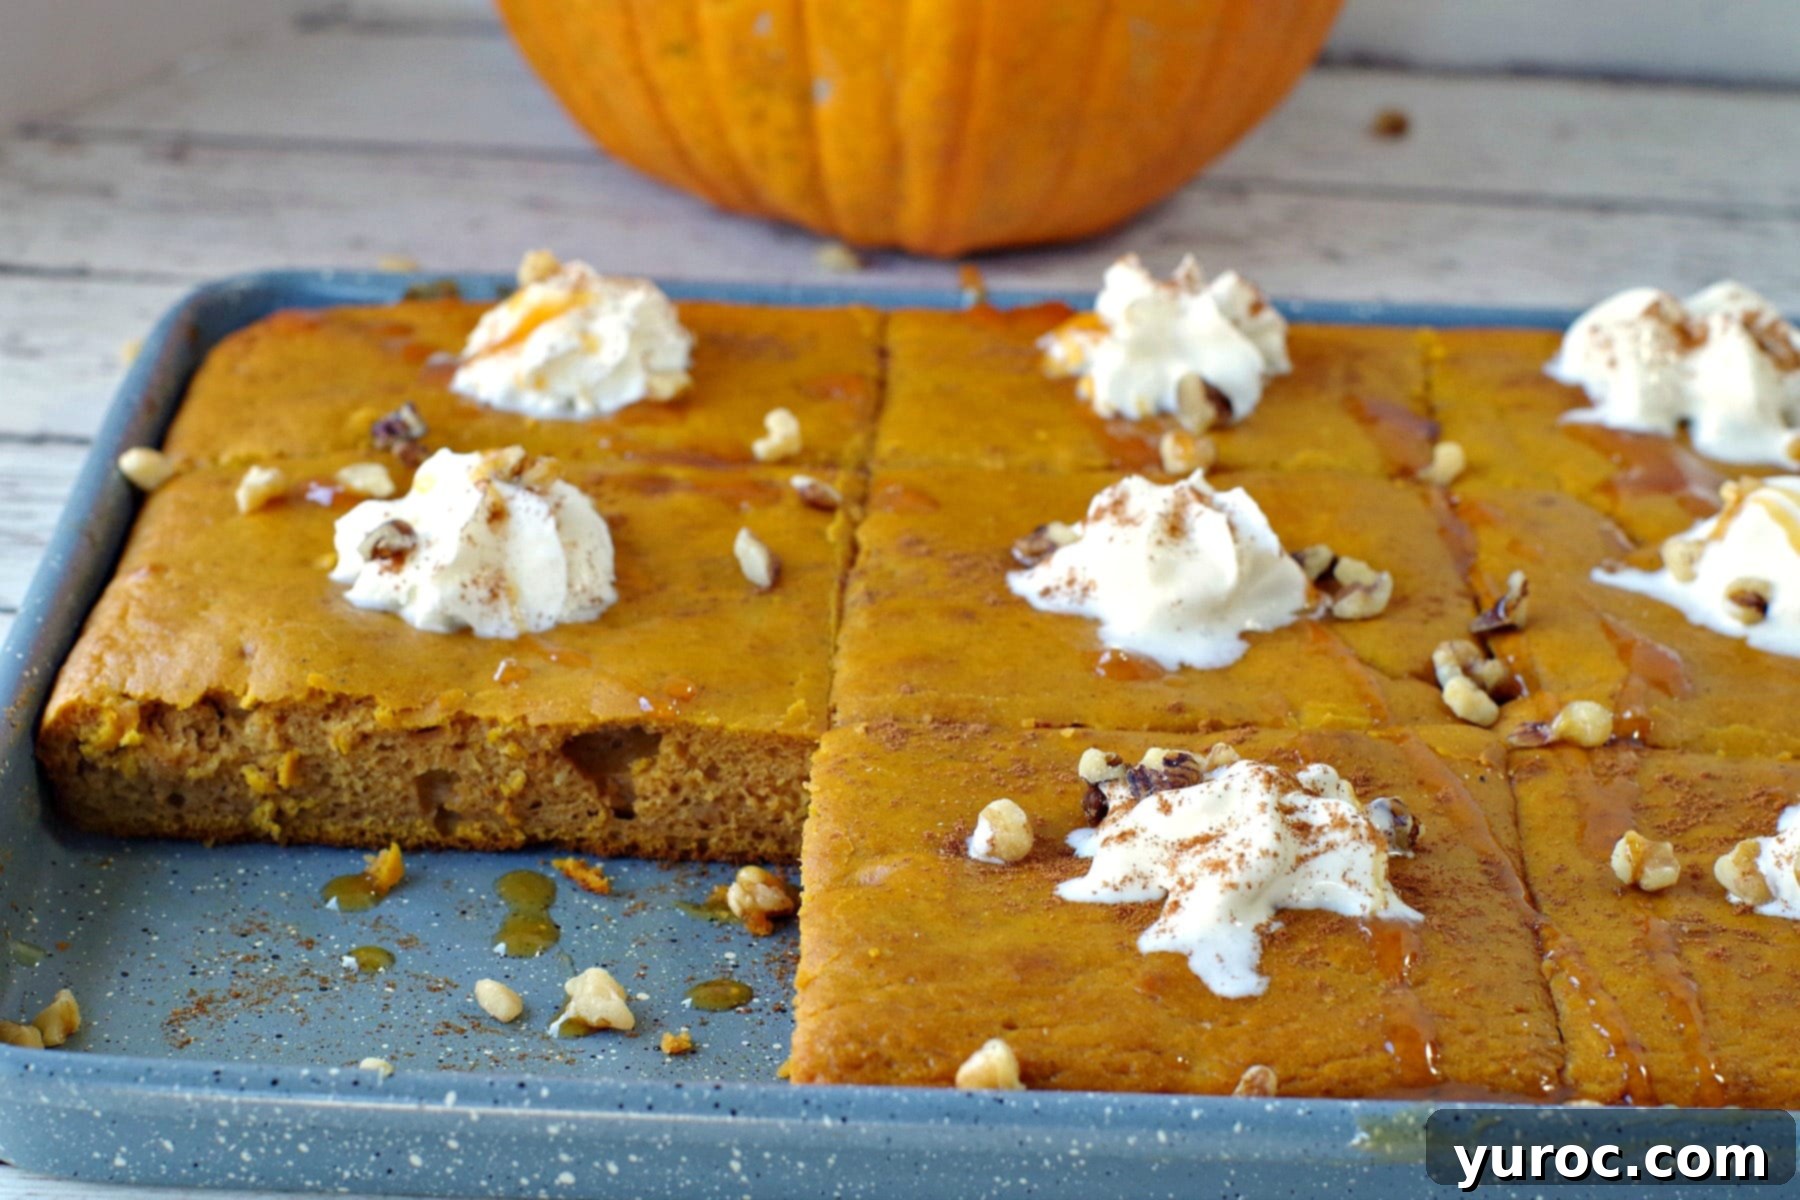
- Pumpkin Bread: Infuse your quick bread with deep pumpkin flavor and a moist, tender crumb.
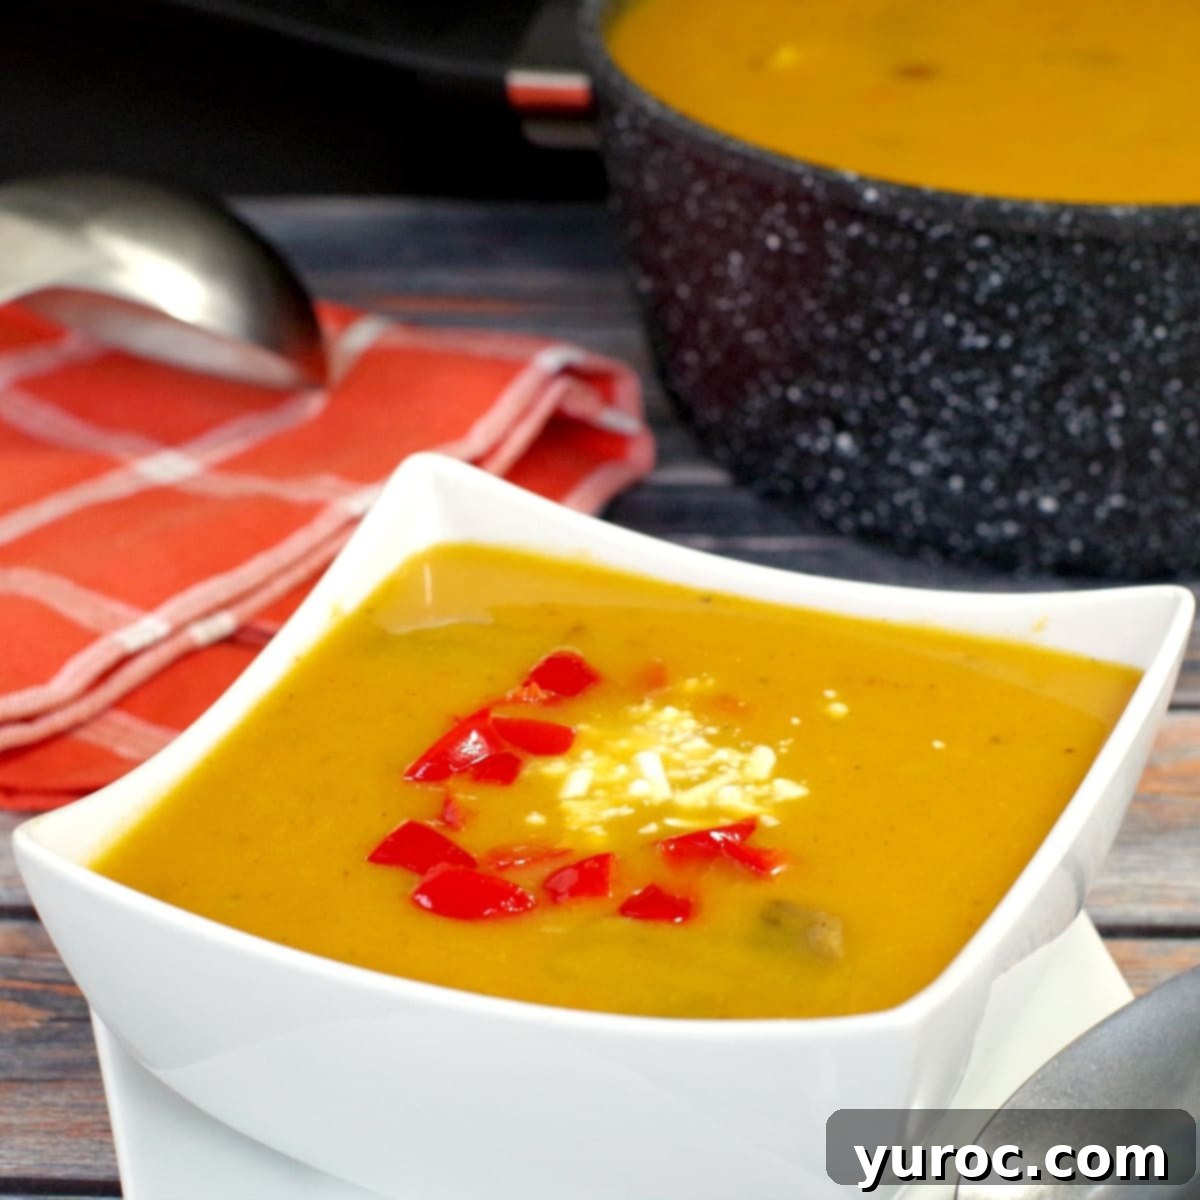
- Pumpkin Soup: Create a velvety, comforting soup that’s both healthy and bursting with natural sweetness.
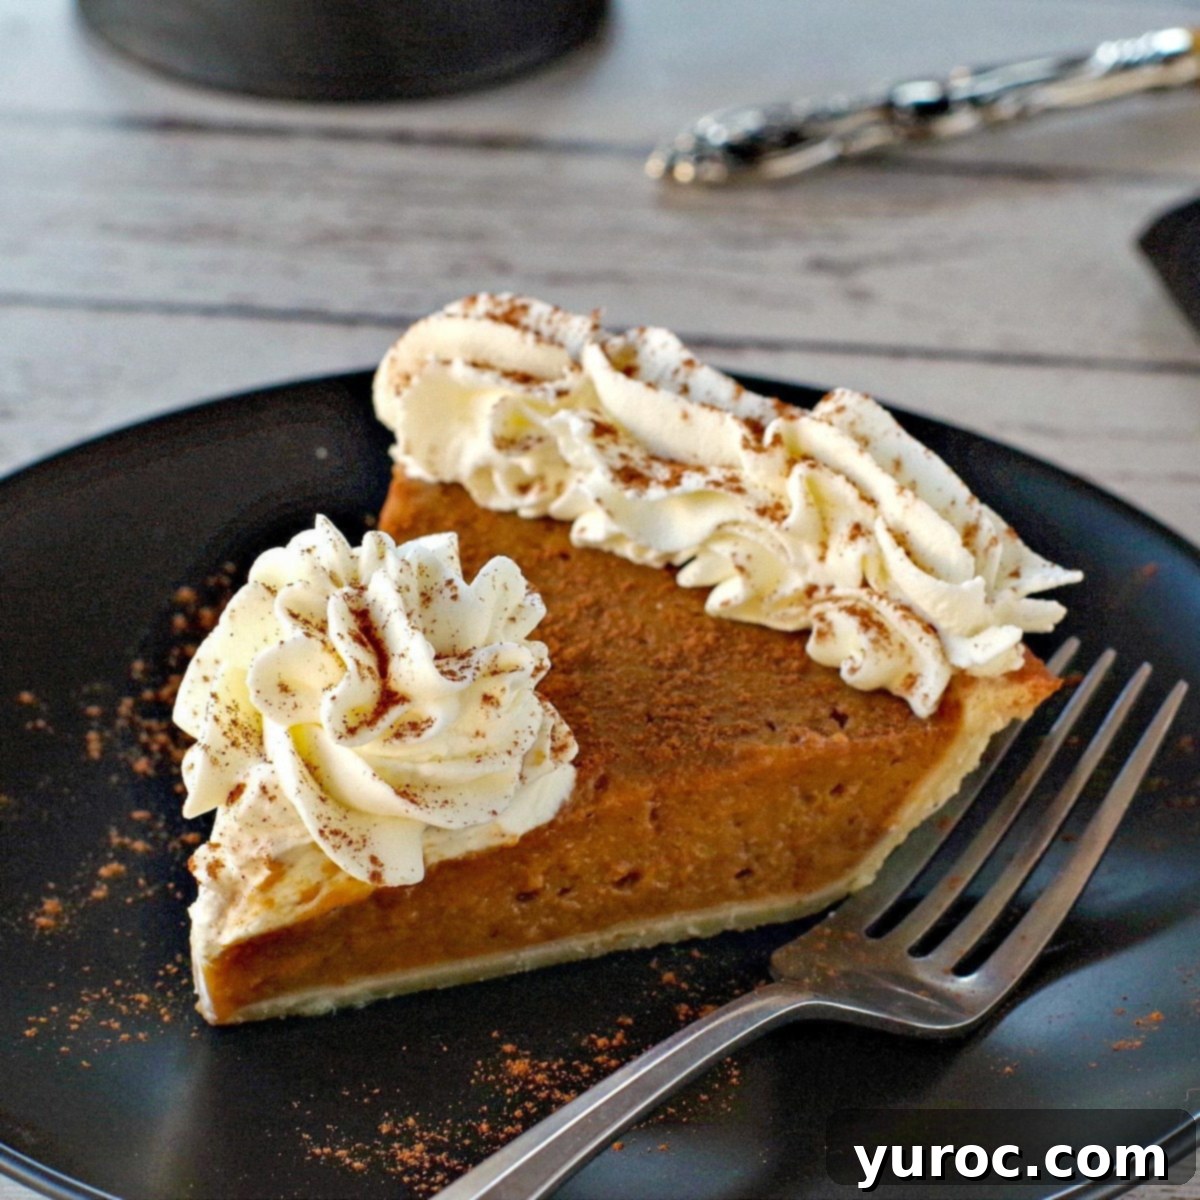
- Pumpkin Pie: Achieve that classic, rich texture and authentic taste that canned pumpkin often misses.
- Pumpkin Muffins: Bake light and fluffy muffins with a lovely pumpkin hue and subtle sweetness (not shown in gallery).
- Pumpkin Pancakes: Elevate your breakfast with fluffy pancakes offering a delightful autumnal twist.
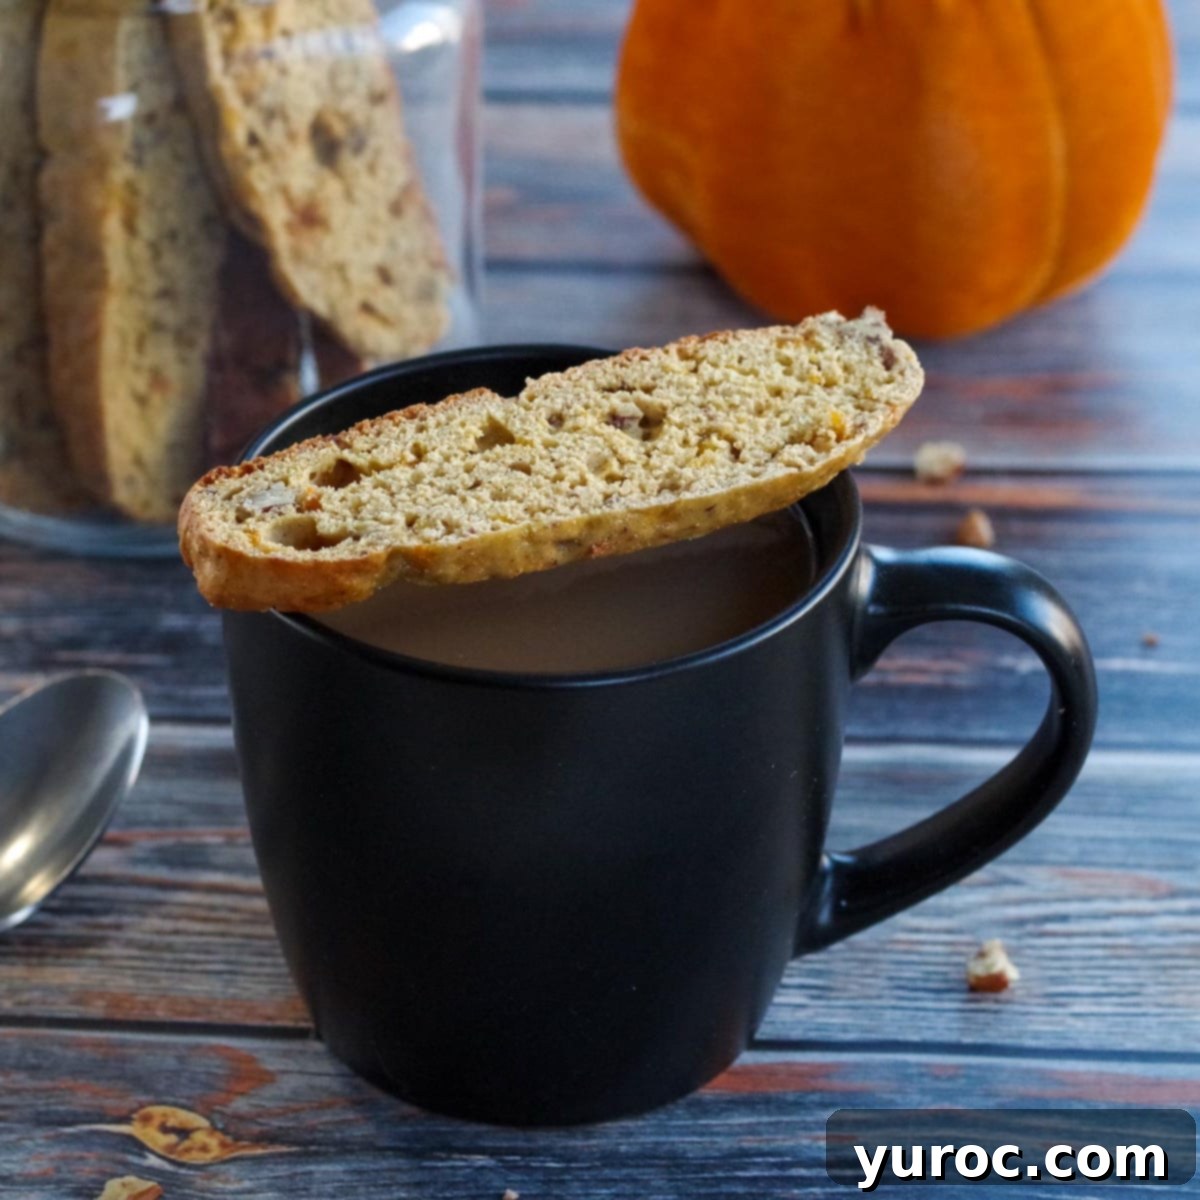
- Pumpkin Biscotti: Enjoy crisp, twice-baked cookies perfect for dipping, imbued with warm pumpkin spice.
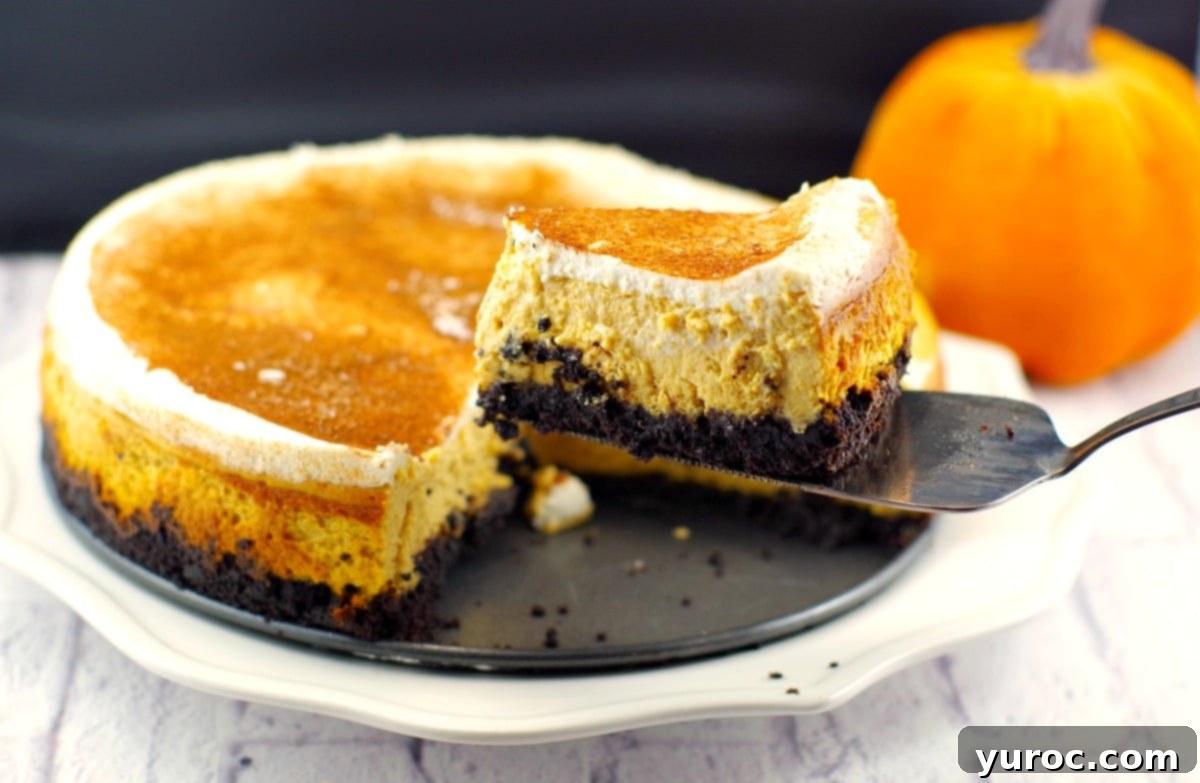
- Pumpkin Cheesecake: Indulge in a creamy, luxurious cheesecake, showcasing pumpkin’s versatility in desserts.
- Pumpkin Pie Ice Cream (No-Churn): A simple yet incredibly satisfying frozen treat, capturing all the flavors of pumpkin pie.
- Easy Pumpkin Delight: A layered dessert offering a delightful combination of textures and pumpkin goodness (not shown in gallery).
🥘 Essential Ingredient Notes for Homemade Pumpkin Puree
To successfully bake a whole pumpkin and create luscious homemade puree, you only need two simple things: a pumpkin and a bit of water! This minimalist approach highlights the pumpkin’s natural goodness.
Pumpkin Selection: While many recipes insist on “sugar pumpkins” or “pie pumpkins” for their supposedly sweeter, less stringy flesh, don’t let this deter you from using what’s readily available. These smaller pumpkins are indeed excellent, often found in grocery stores and farmer’s markets earlier in the autumn season. They tend to be denser and less watery, which can slightly reduce your cooking and draining time. However, they are also typically more expensive and might be harder to find, especially later in the season.
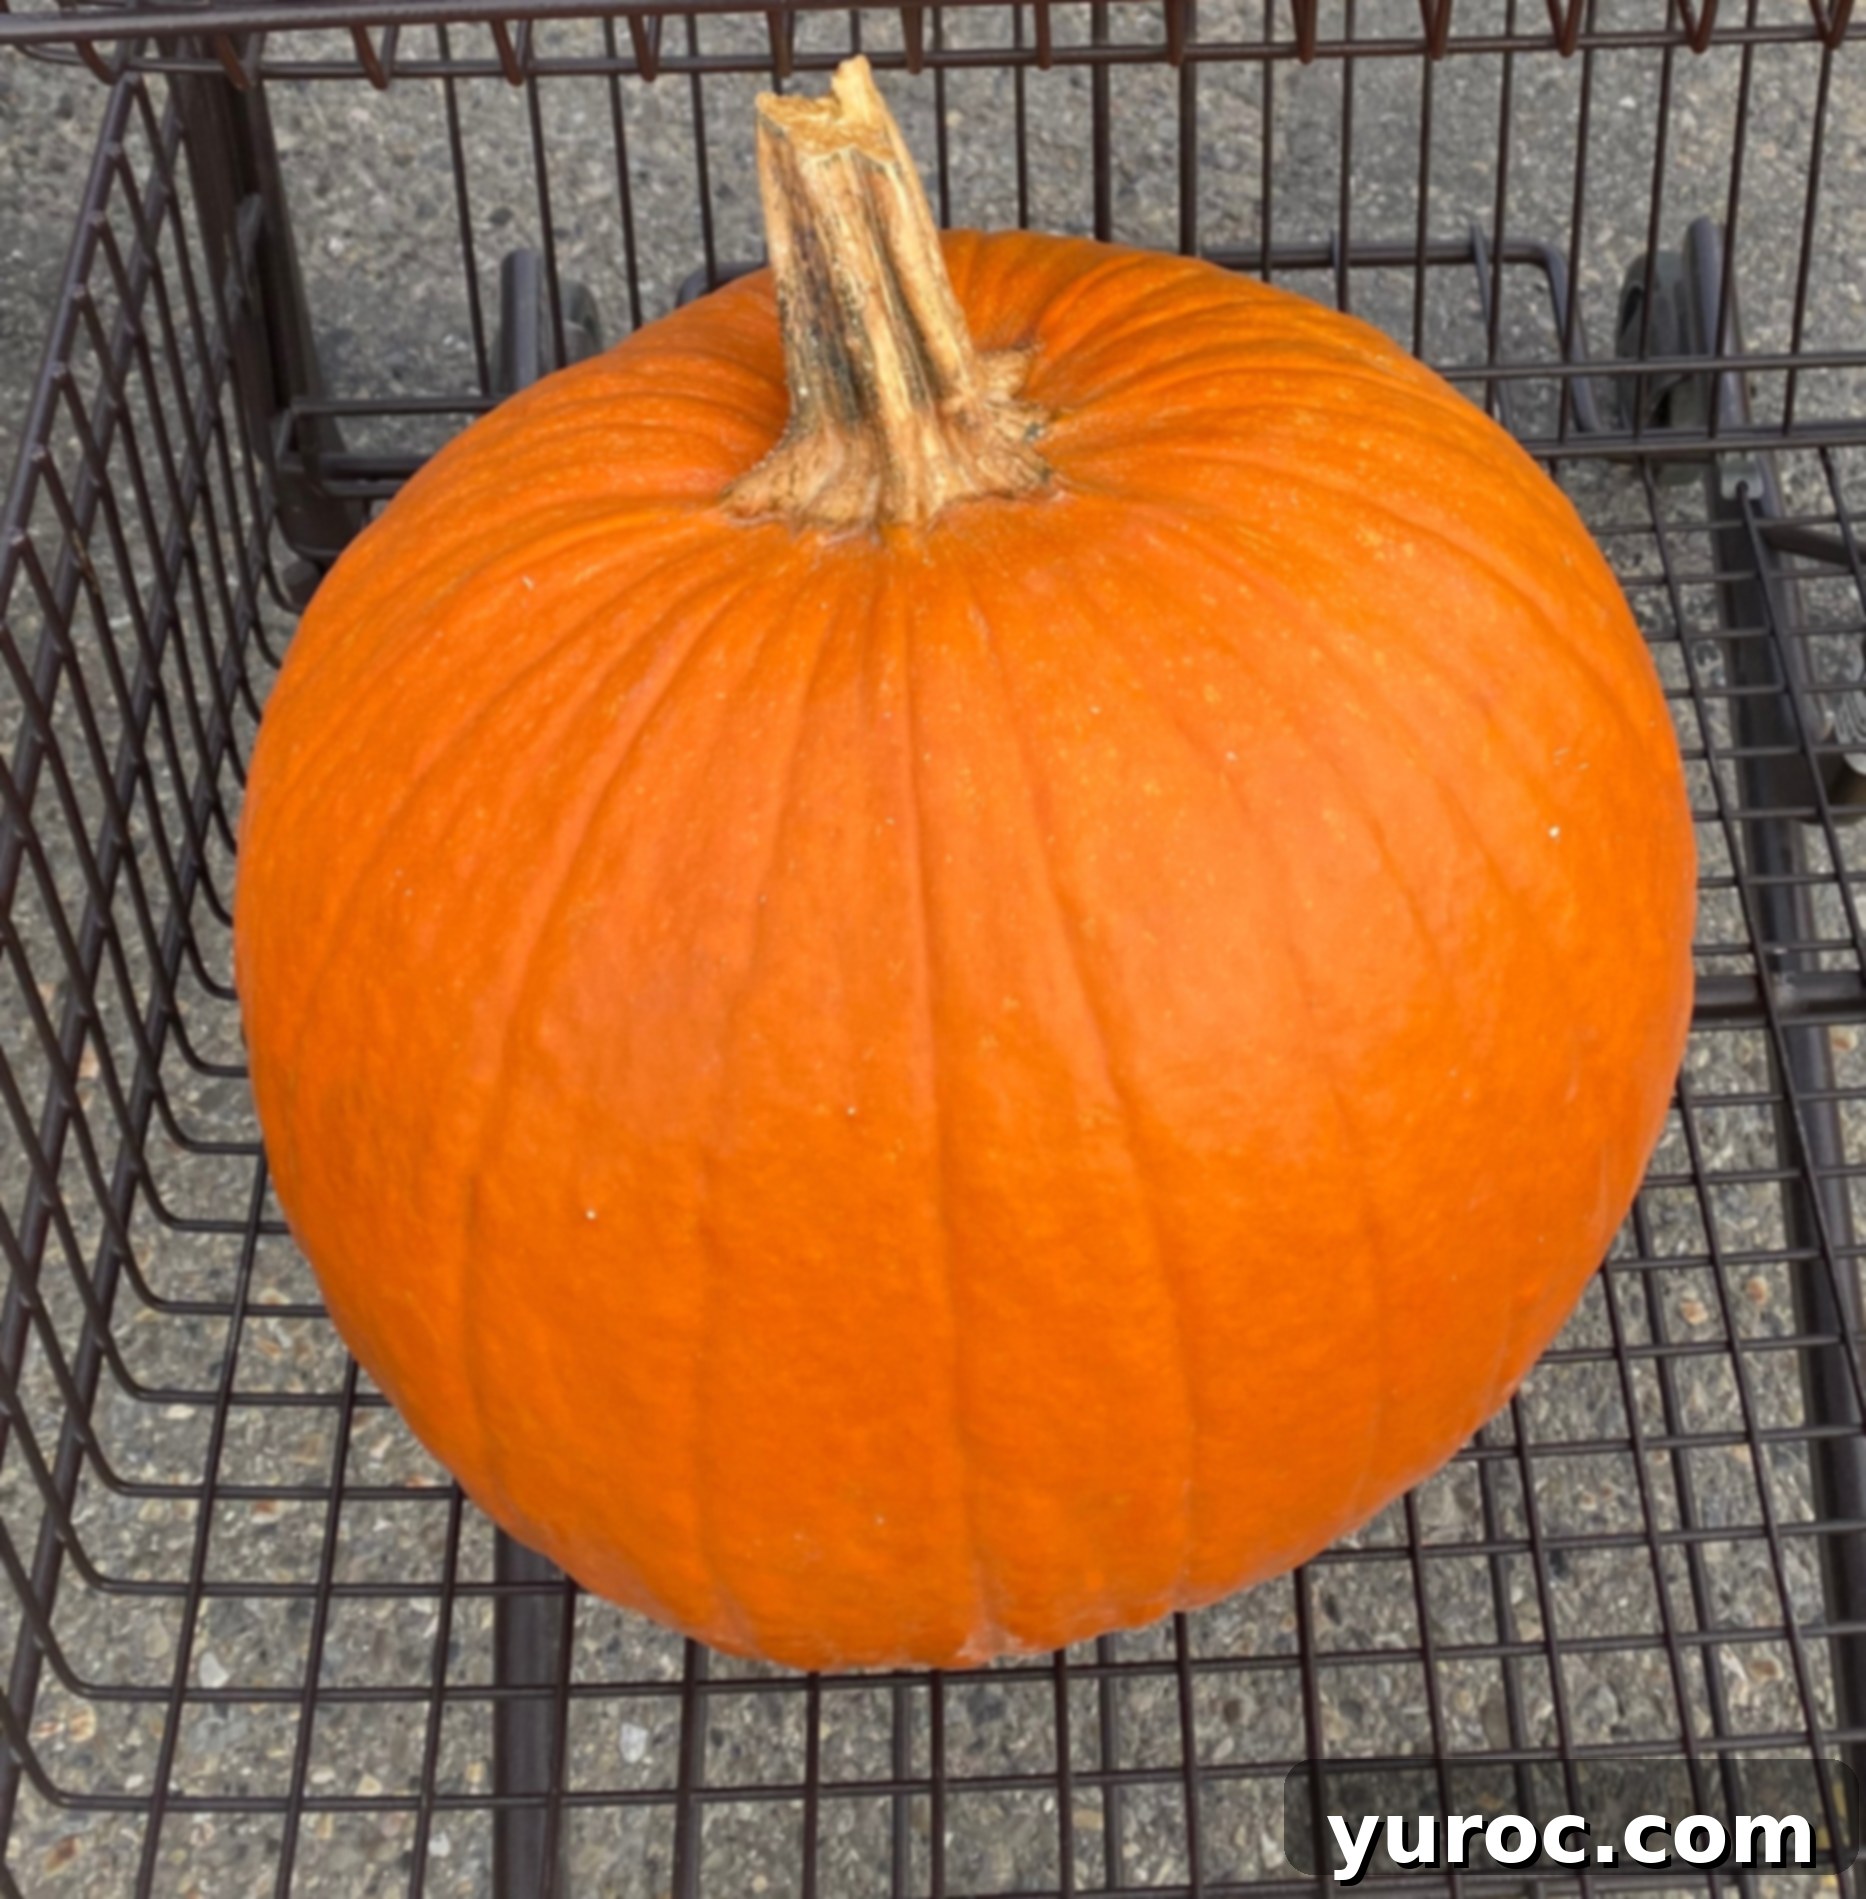
My personal experience over many years of making pumpkin puree from scratch confirms that a regular large carving pumpkin works wonderfully. I consistently buy pumpkins from the general bins at the grocery store, and the puree always tastes fantastic. In fact, to reduce food waste, I often even use the pumpkin my kids carve for Halloween, provided it’s only been carved a day or two before. Just make sure it hasn’t started to decay. The pumpkin pictured in the main photo of this post is a smaller sugar pumpkin that was available in late September, but the carving pumpkin shown above yielded equally delicious results last year. The key takeaway is to choose a pumpkin that feels heavy for its size and has no soft spots or blemishes.
Water: Plain tap water is all you need. It creates a steamy environment in the roasting pan, helping the pumpkin cook evenly and making the skin incredibly easy to remove.
🔪 Step-by-Step: How to Cook a Whole Pumpkin in the Oven for Perfect Puree
This method for cooking a whole pumpkin is tried, true, and consistently delivers a perfectly cooked, tender pumpkin ready for pureeing. You don’t need fancy equipment or specific pumpkin varieties – just your trusty oven and a large roasting pan!
- Prepare the Pumpkin: Using a large, sharp knife, carefully cut your pumpkin into 3-6 large wedges. The number of wedges will depend on the overall size of your pumpkin. Keeping them in larger pieces makes them much easier to handle after roasting compared to smaller, fiddly chunks. There is absolutely no need to peel the pumpkin before baking. In fact, trying to peel a raw pumpkin is considerably more difficult and unnecessary, as the skin will easily slip off once baked.
- Clean the Wedges: With a sturdy spoon (a tablespoon works great), thoroughly scrape out the seeds and stringy fibrous bits from the center of each pumpkin wedge, similar to how you would clean a cantaloupe. You can save the pumpkin seeds if you wish to roast them later for a delicious snack!
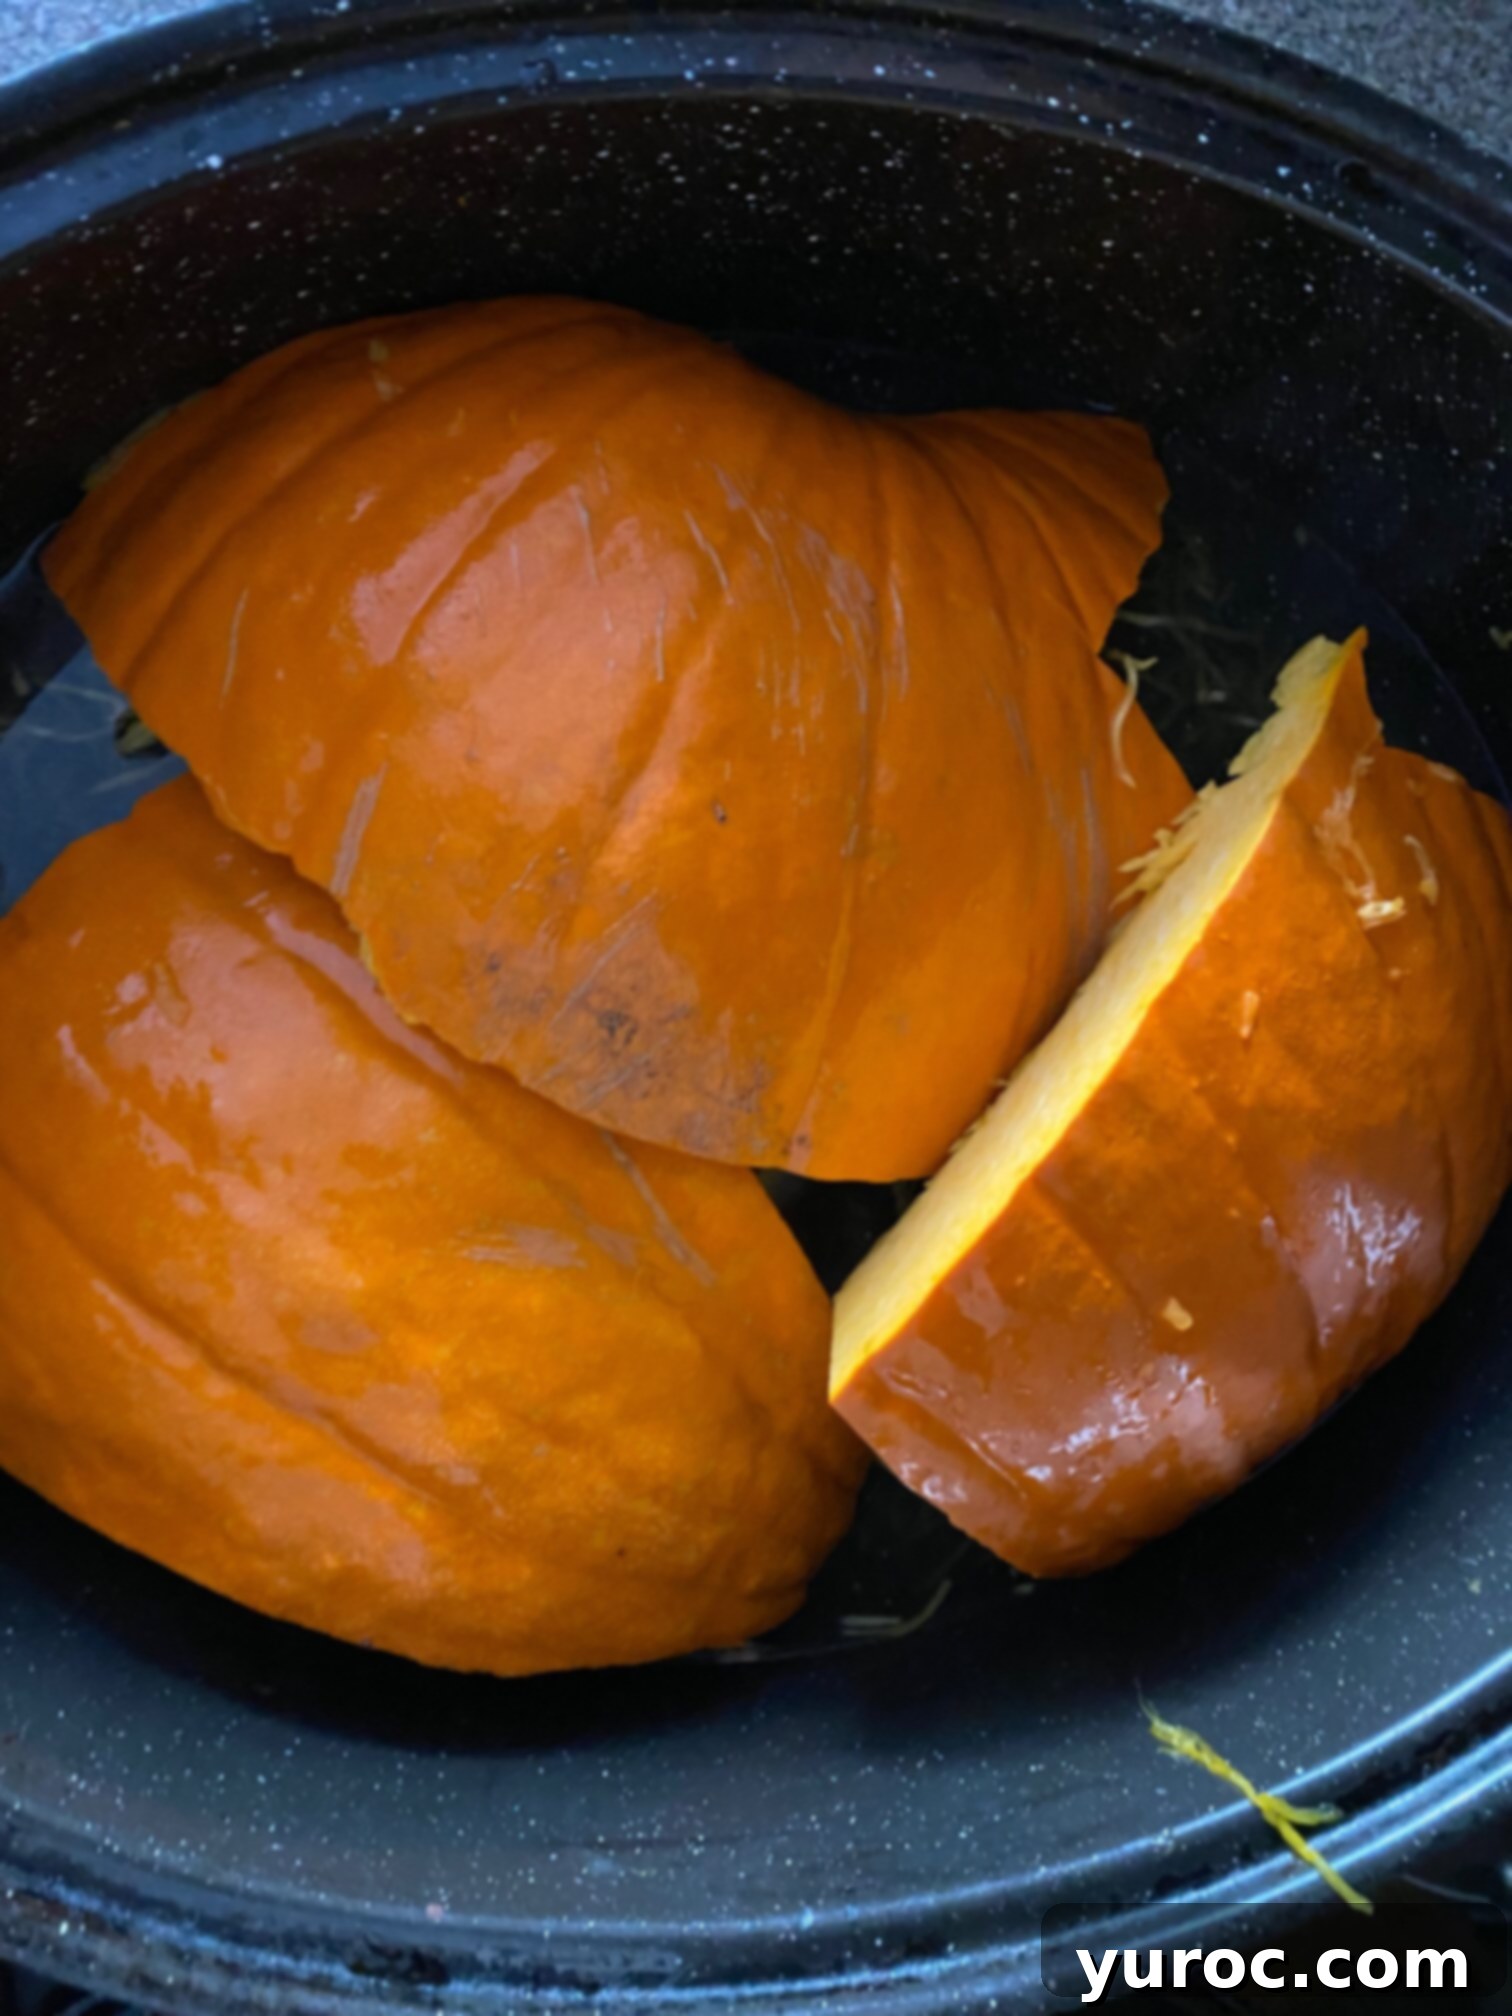
- Step 1: Roasting the Pumpkin. Fill a large roasting pan with approximately 1-2 inches of water. For a substantial 20 lb (9 kg) pumpkin, I typically use about 4 cups of water. Arrange your pumpkin wedges in the pan, ensuring they are flesh-side down and skin-side up. If you have a very large pumpkin and it doesn’t all fit in one go, you can roast it in batches or use two separate roasting pans. Cover the roasting pan with its lid or tightly with aluminum foil to trap the steam, which helps the pumpkin cook thoroughly and evenly. Roast in a preheated oven at 325°F (162°C) for about 50 minutes to 1 hour. *Cooking time can vary significantly based on the size and density of your pumpkin, so keep an eye on it.
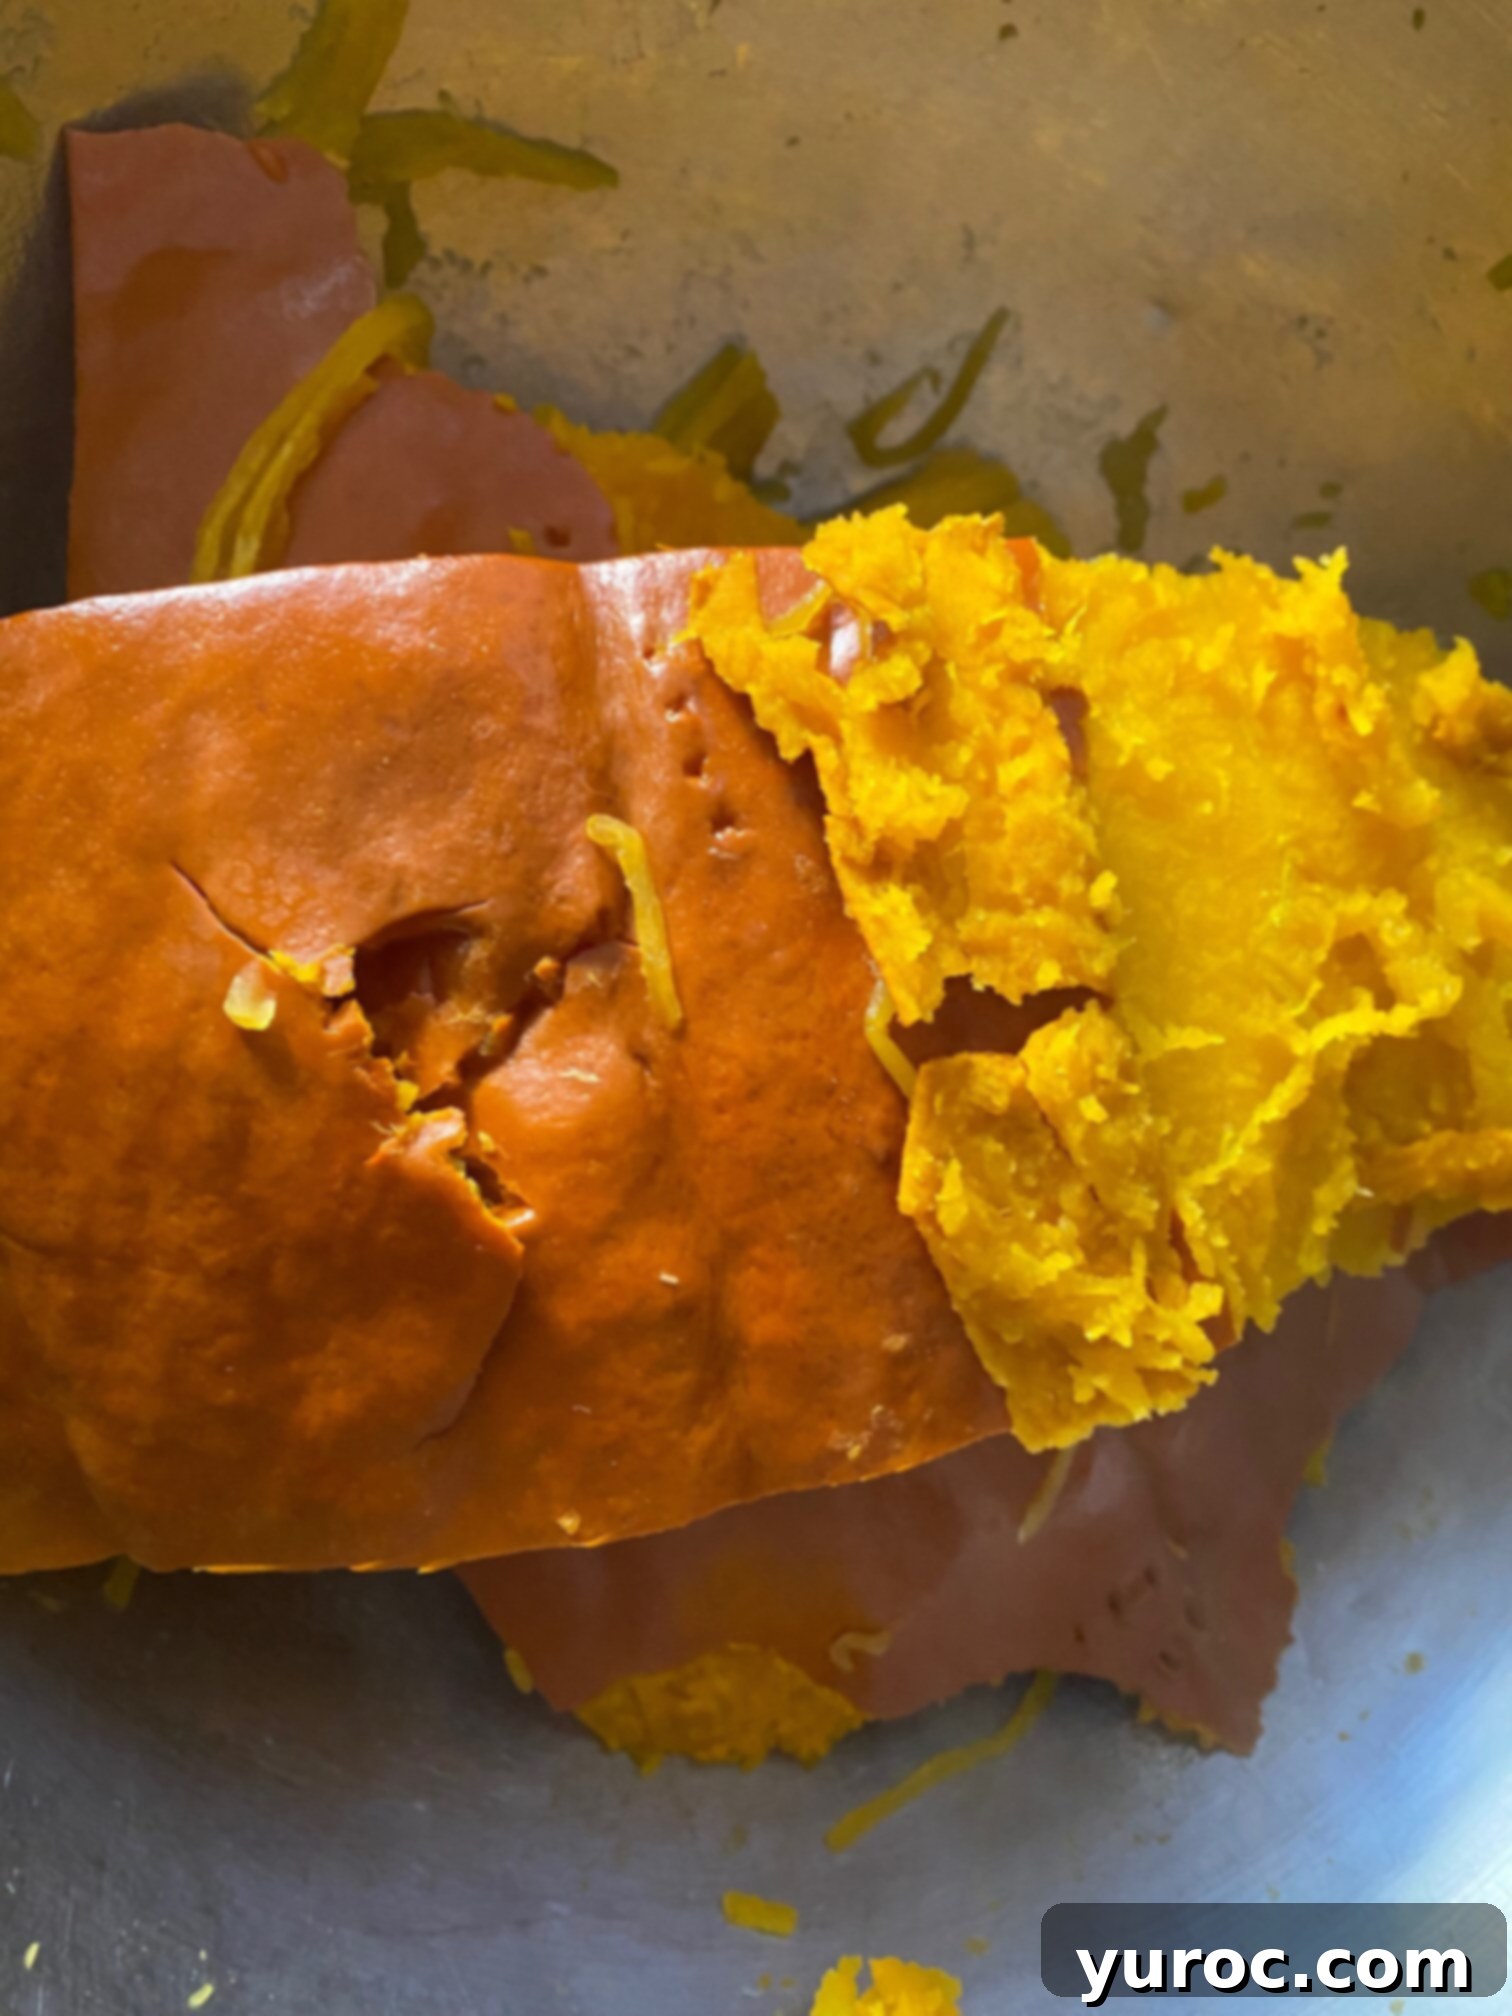
- Step 2: Remove the Skin. Once the pumpkin is cooked, it should be fork-tender. You’ll know it’s ready when a fork can easily pierce the flesh. The skin should also be noticeably softer and slightly puckered. Carefully remove the hot pumpkin wedges from the oven. Using an oven mitt for protection, gently get a fork or butter knife under the skin and peel it back. It should come off with remarkable ease! Discard all the skin.
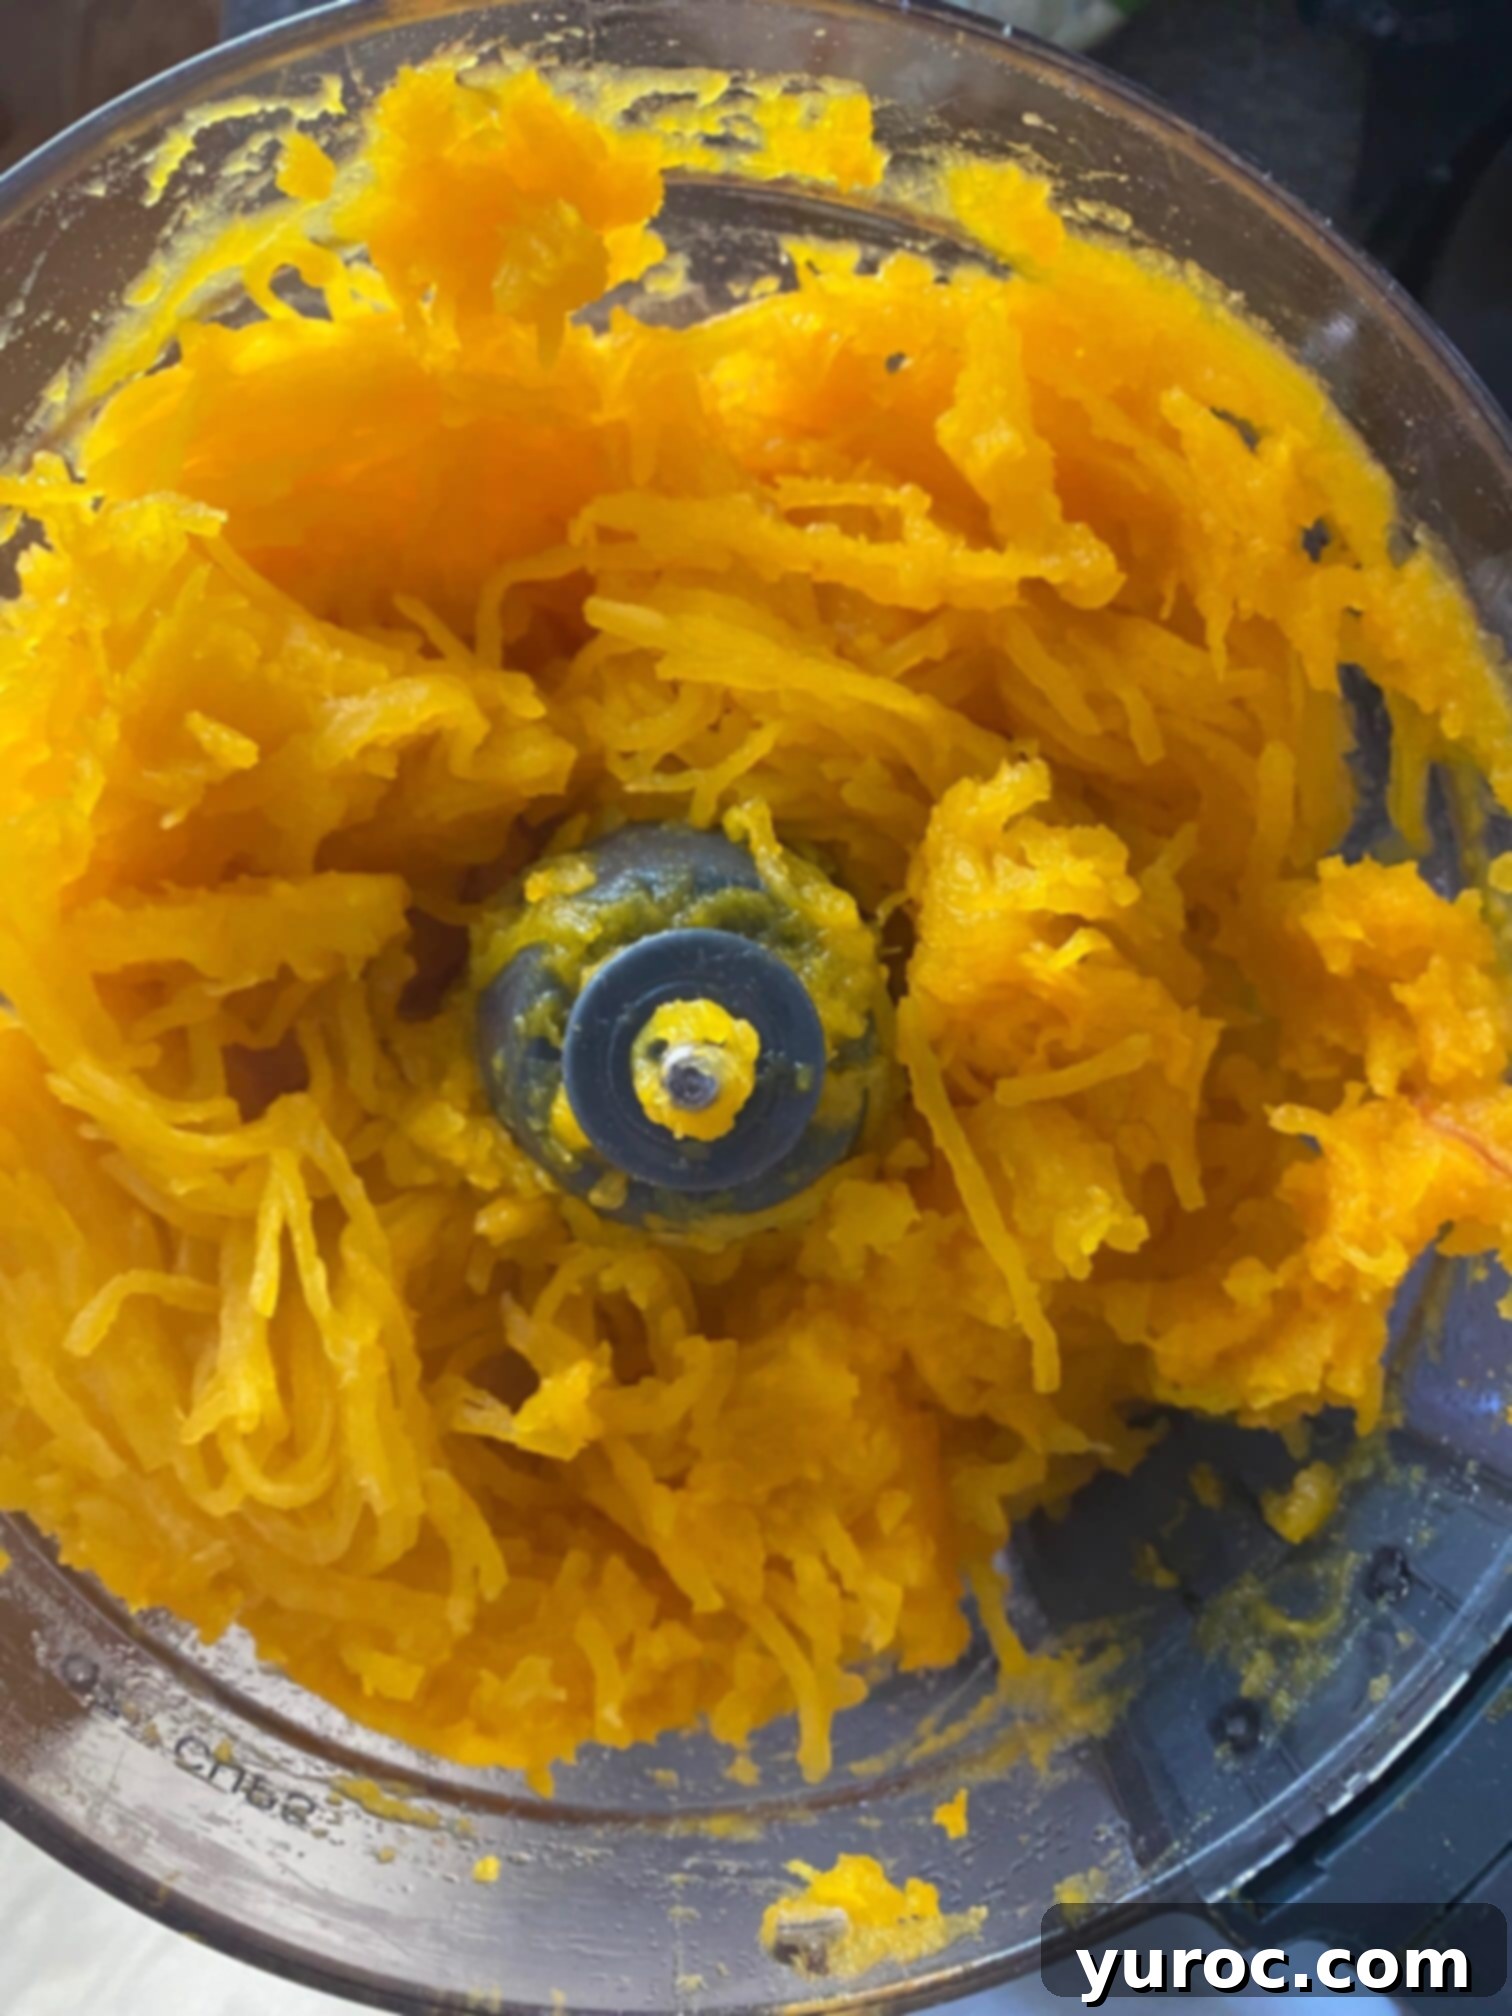
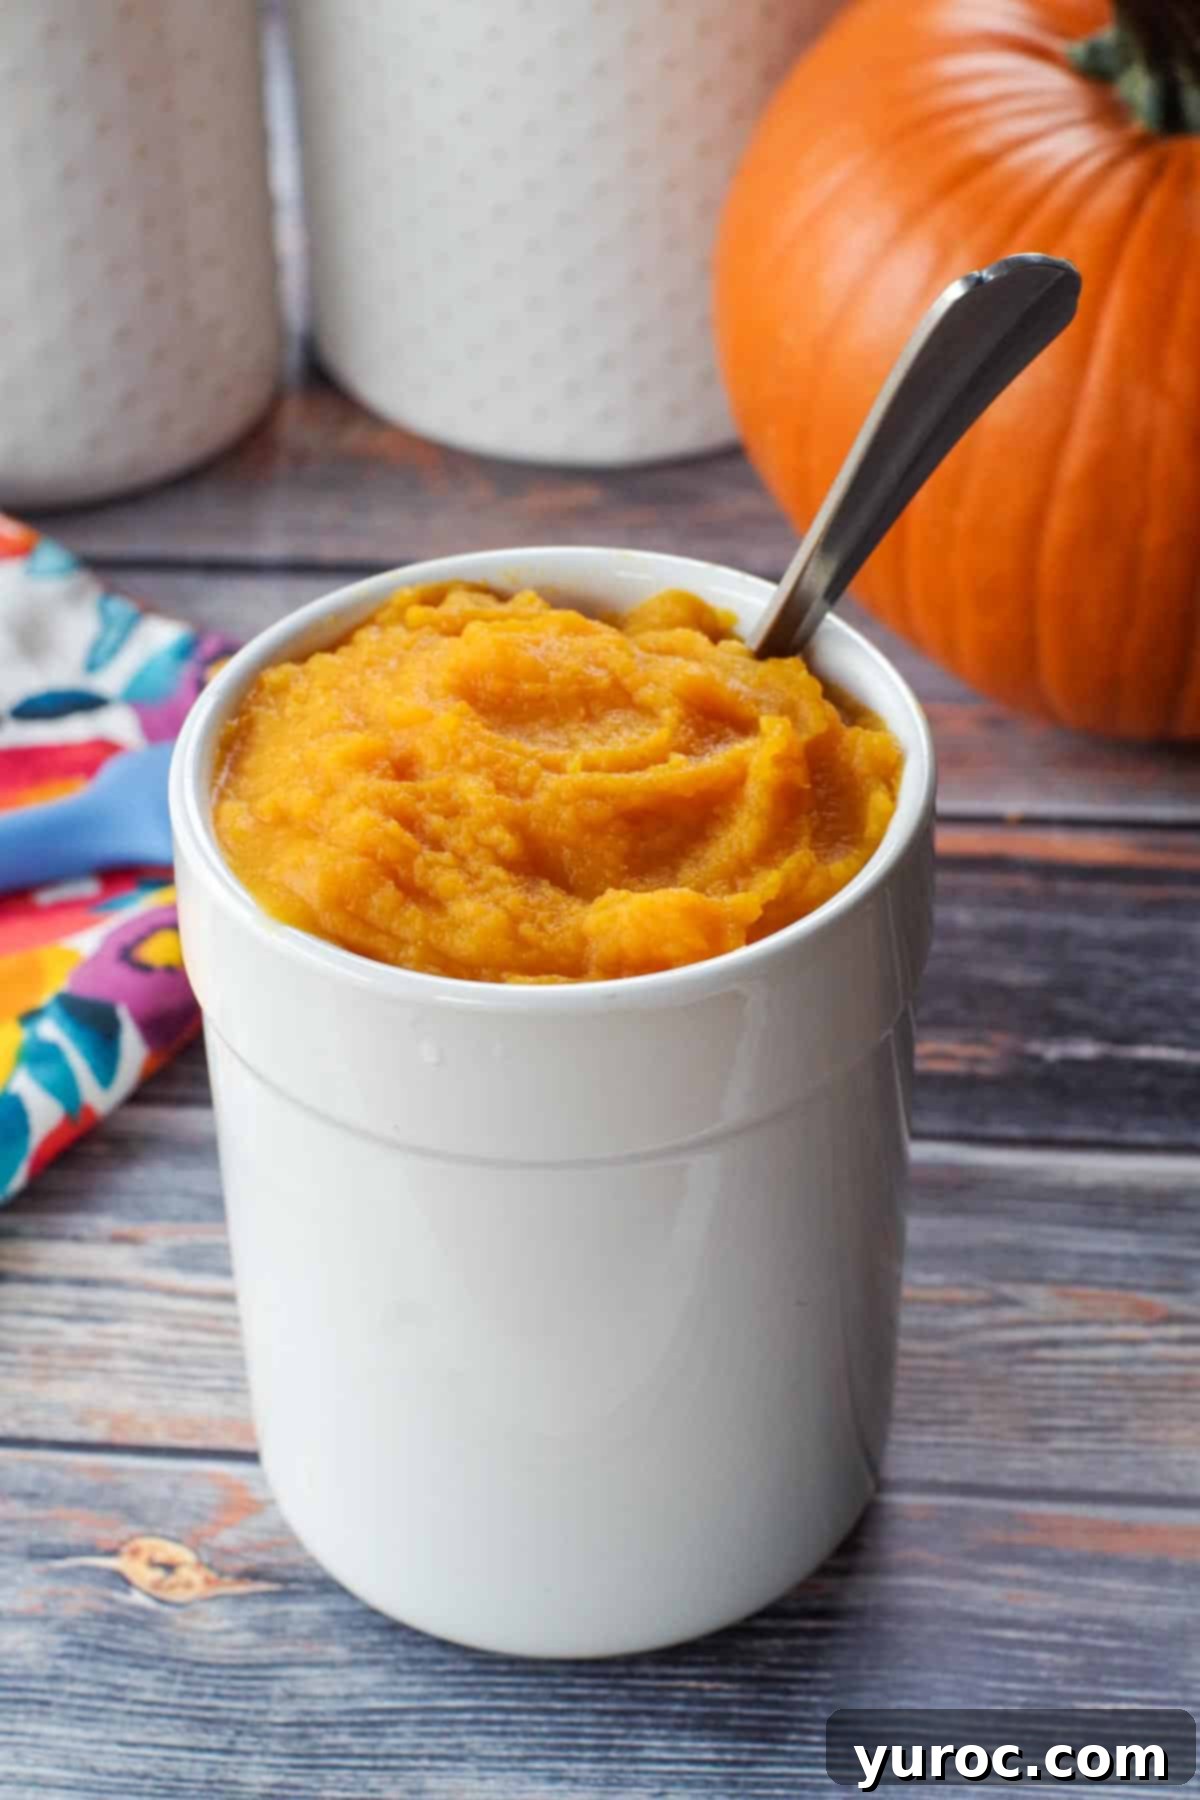
- Step 3: Puree the Pumpkin Flesh. Transfer the soft, cooked pumpkin flesh (often referred to as the “meat”) into a food processor. Process until it reaches a perfectly smooth consistency. For larger pumpkins, you will need to do this in batches to avoid overloading your food processor and ensure an even puree. Continue processing until absolutely no lumps remain.
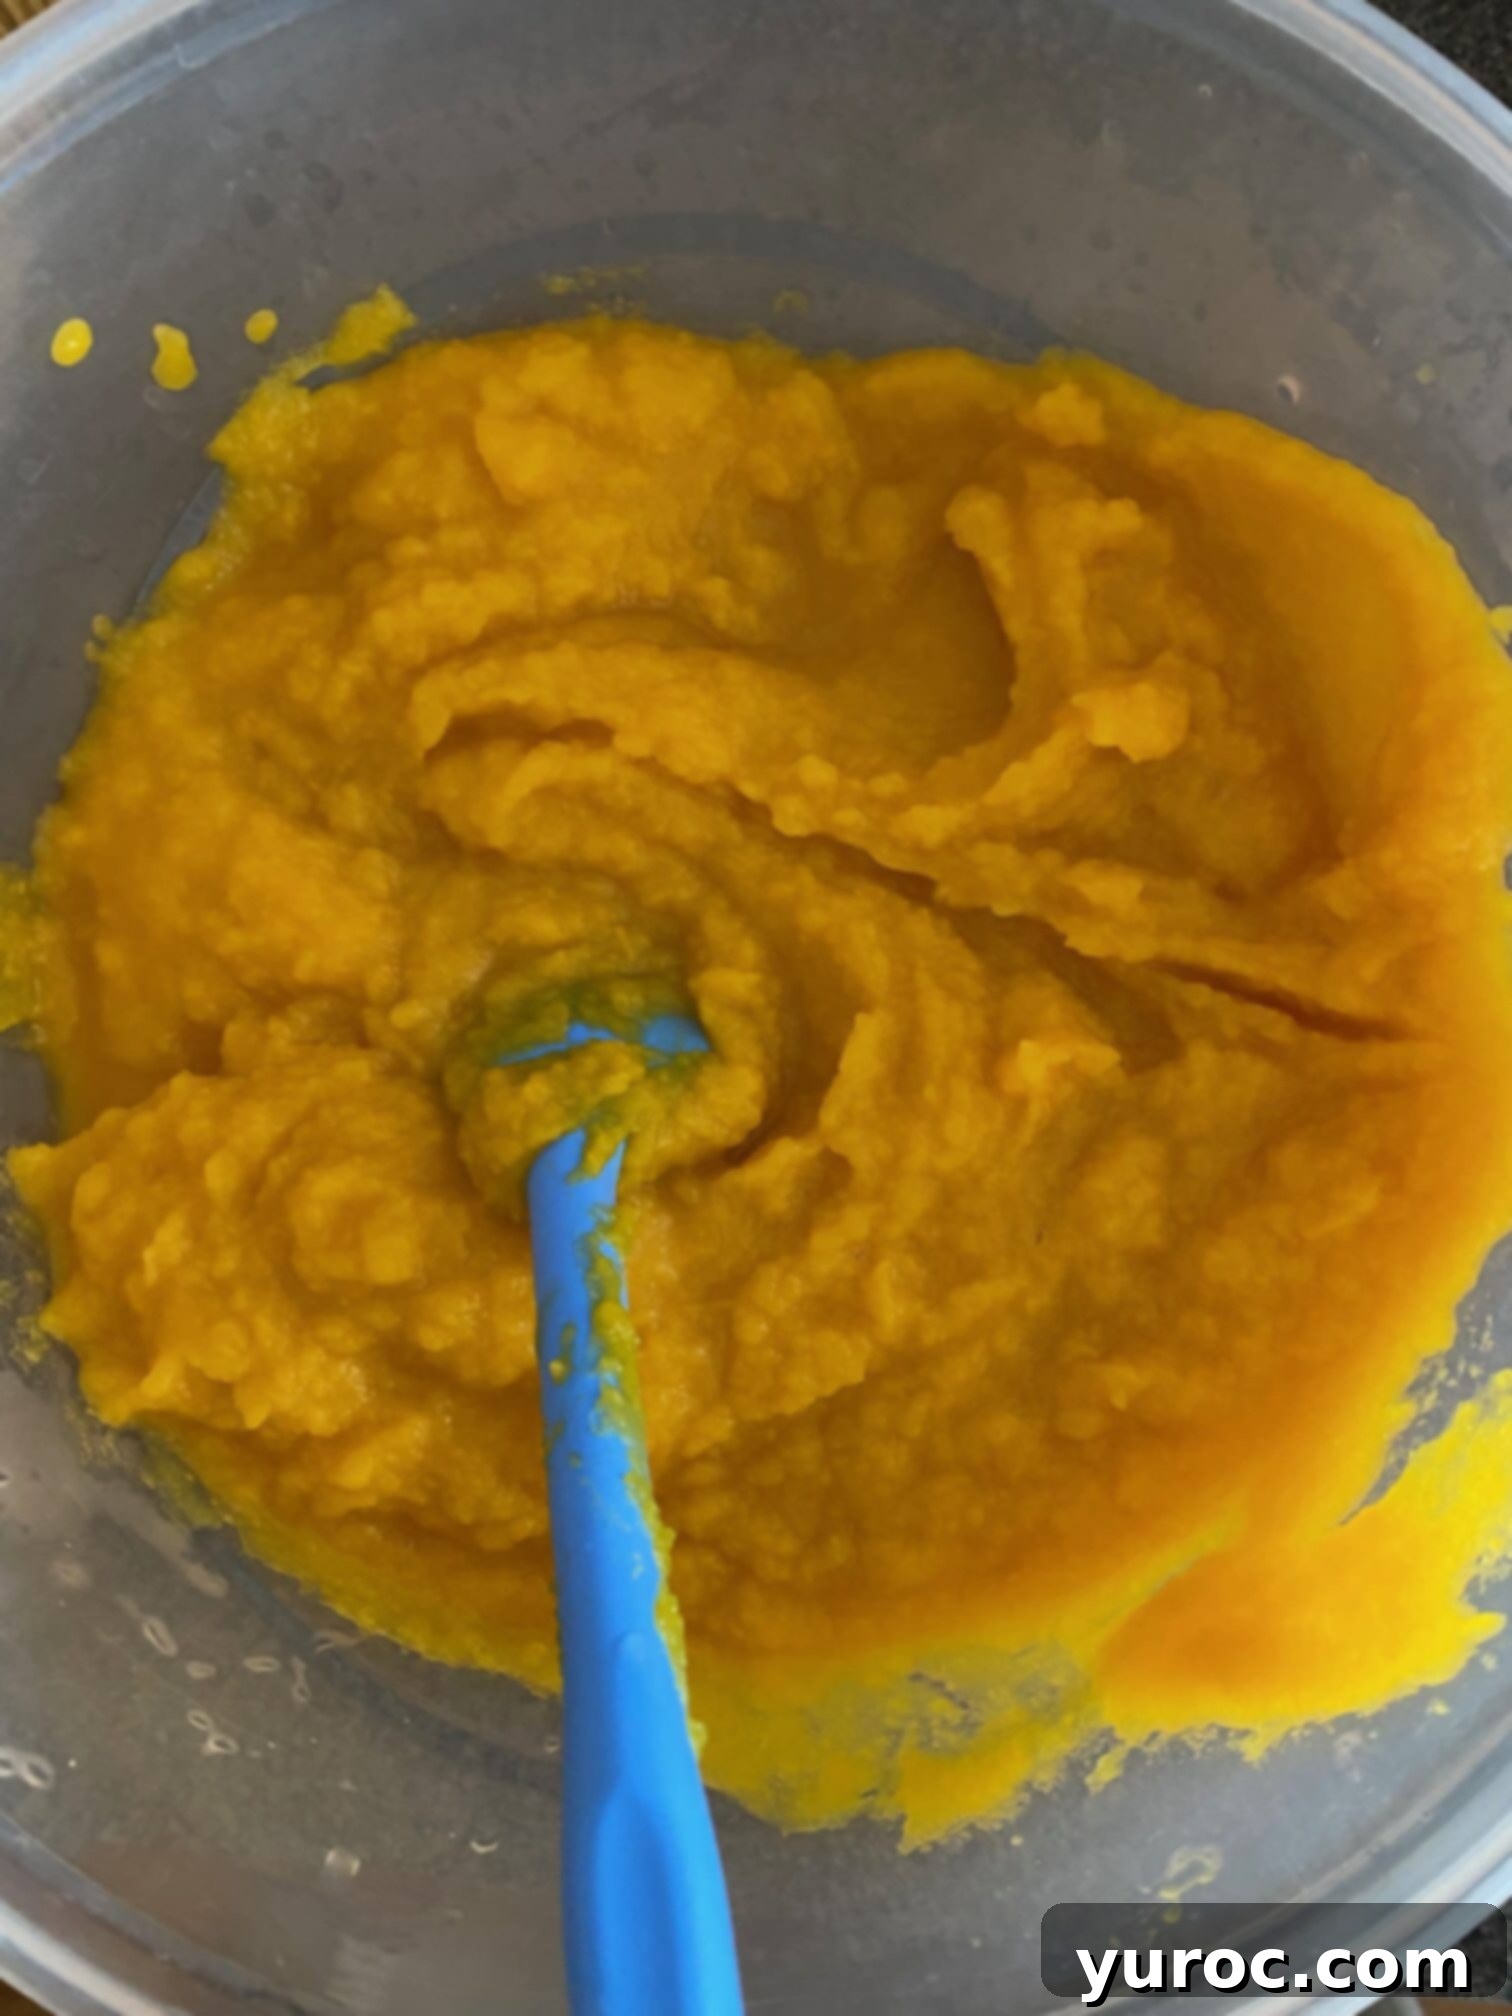
- Step 4: Check for Smoothness. Pour the pureed pumpkin into a large bowl. This is a crucial step: double-check the puree for any small pieces of skin, missed seeds, or stringy bits. These can easily spoil the texture of your final dishes. If you find any, remove them by hand. If the puree still seems stringy, return it to the food processor and blend for a little longer until it achieves the completely smooth, creamy texture shown in the image.
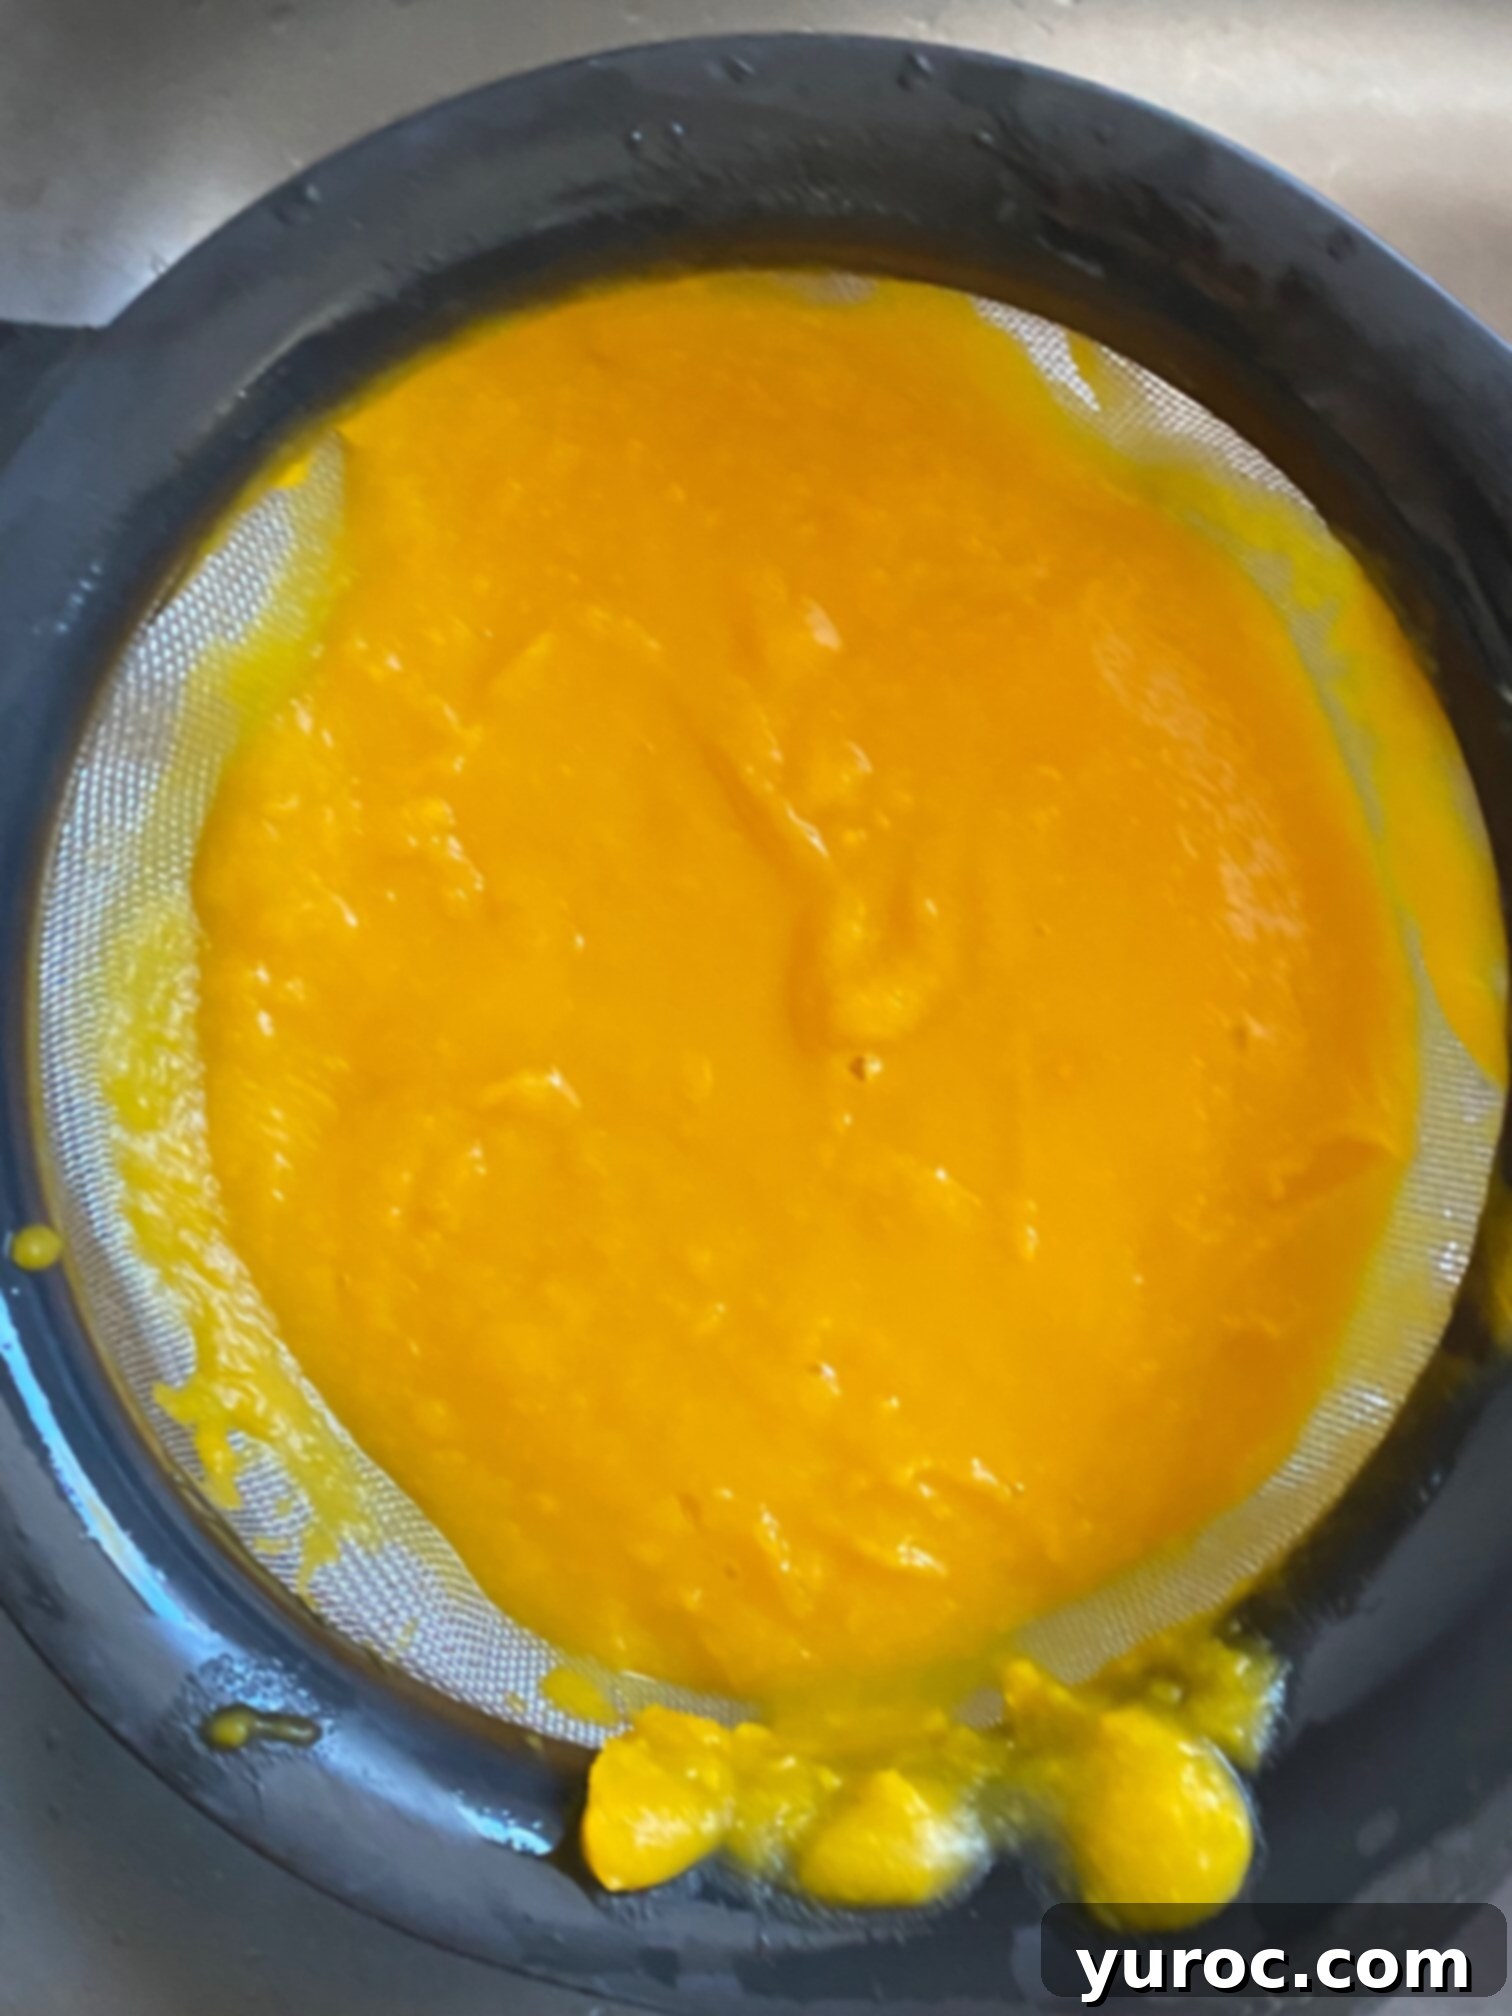
- Step 5: Strain the Puree. For the best consistency, especially for baking, pass the pureed pumpkin through a fine-mesh sieve or colander. This step helps to catch any remaining tiny strings or solid bits and ensures an ultra-smooth final product.
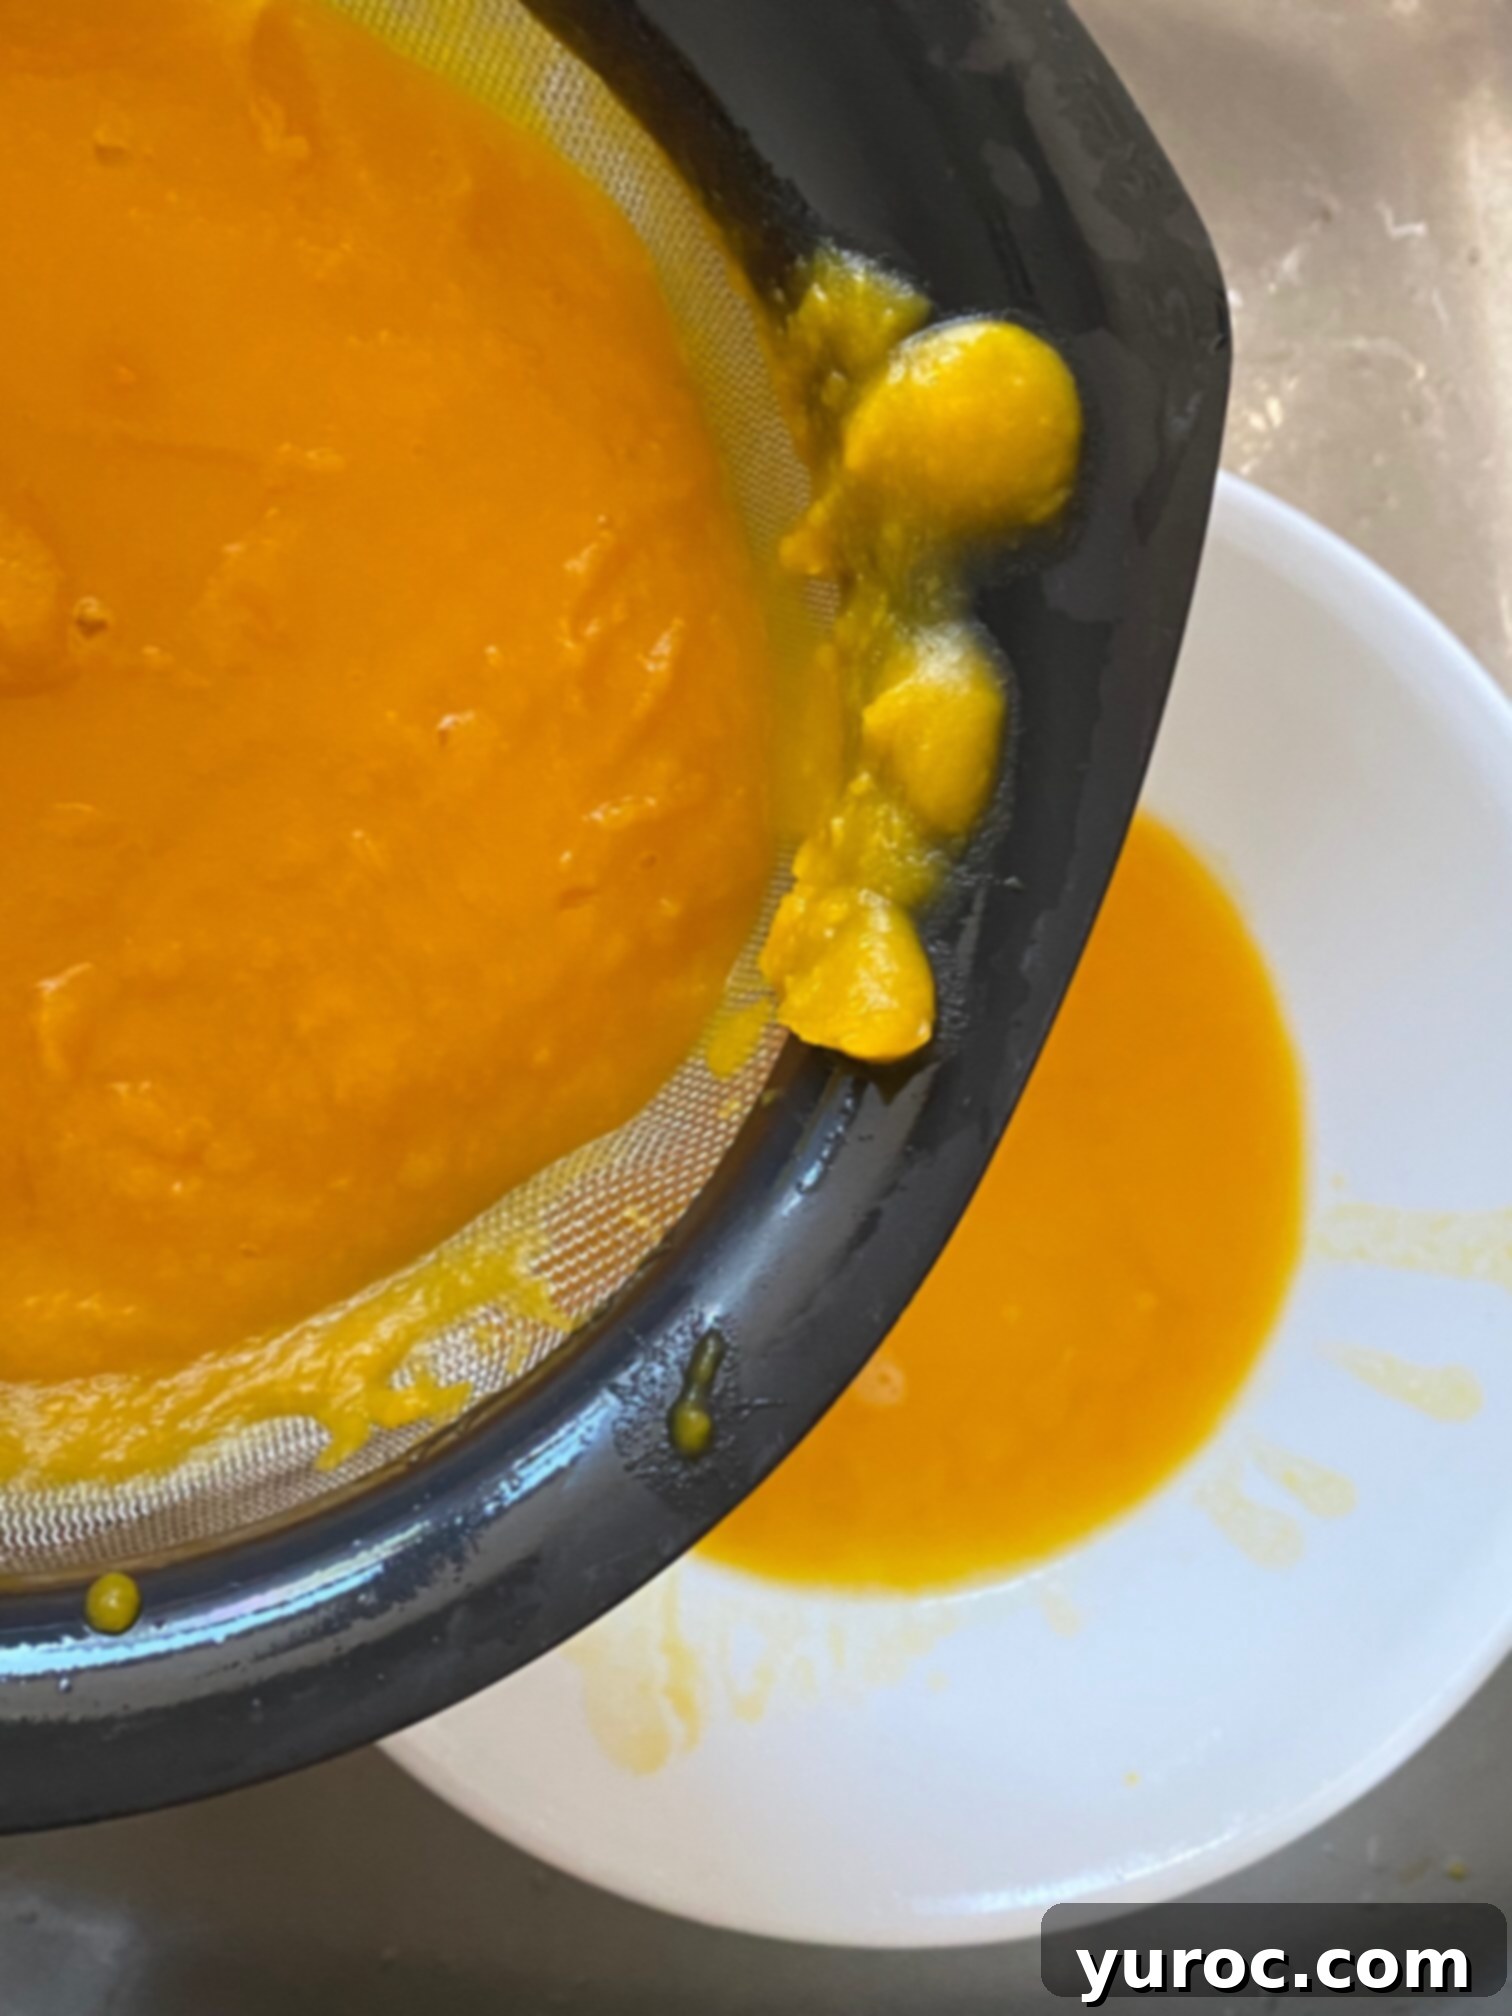
- Step 6: Drain Excess Fluid and Cool. After straining, allow the pumpkin puree to sit in the sieve over a bowl or lined with cheesecloth for at least 30 minutes, or longer, to drain off any excess fluid. This is vital for achieving the correct consistency for baking, as watery puree can lead to soggy results. Once sufficiently drained, allow the puree to cool completely before storing.
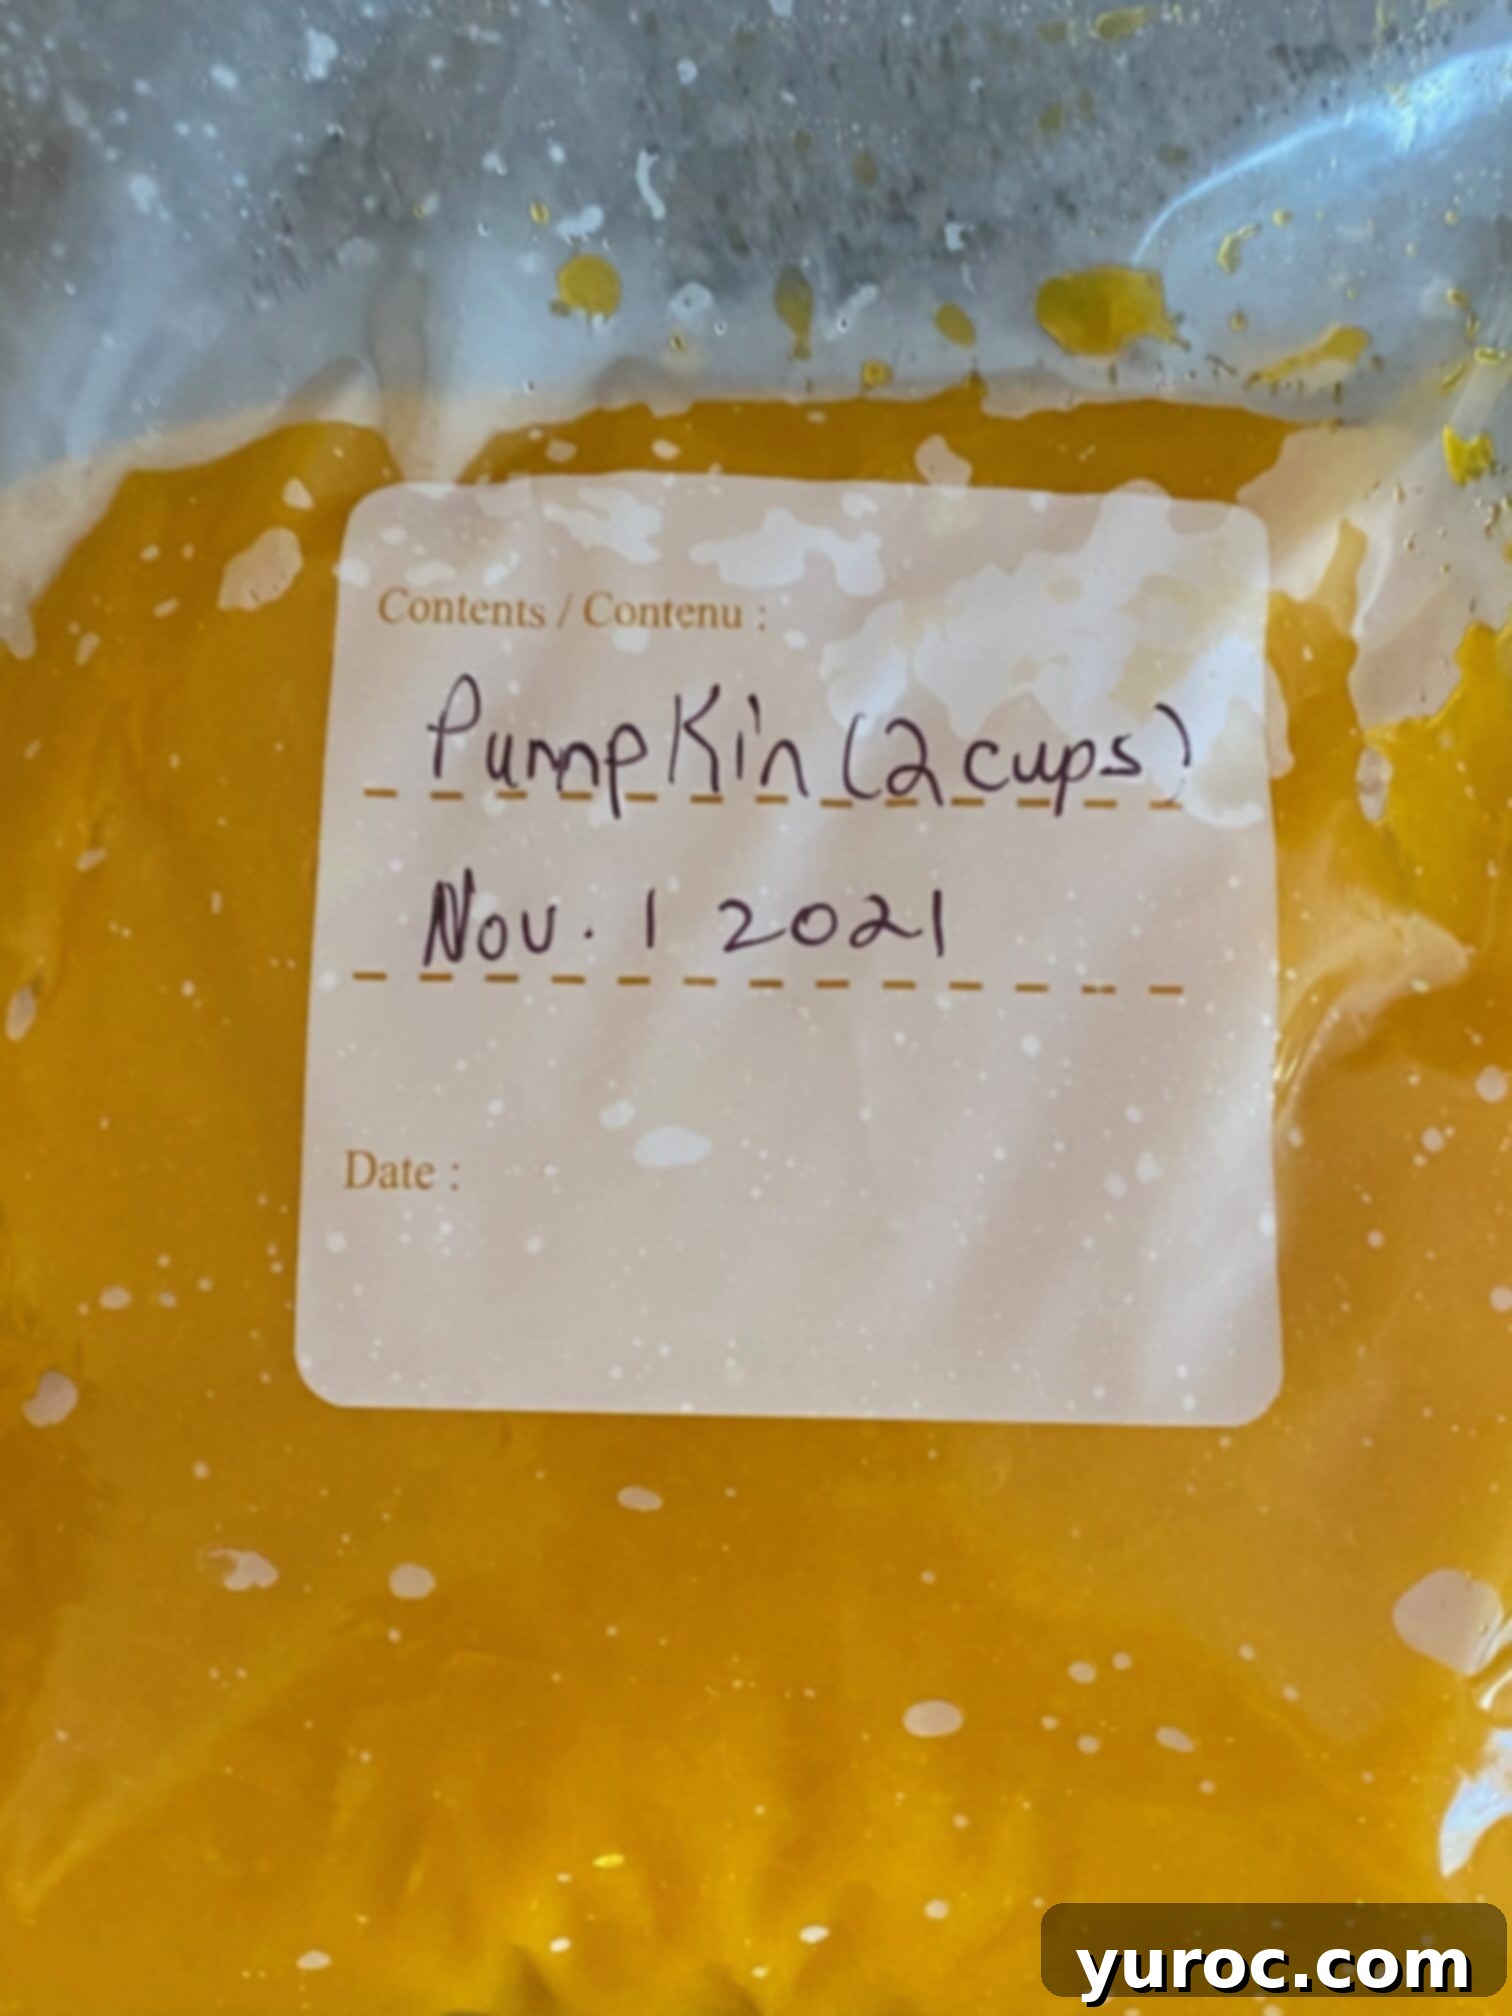
- Step 7: Portion and Label. Once cooled, scoop the pumpkin puree into Ziplock freezer bags. I recommend portioning it into 2-cup increments, which is a common amount called for in many recipes (similar to a standard can of pumpkin). Be sure to flatten the bags as much as possible to remove air, then clearly record the amount and the date on each bag with a permanent marker.
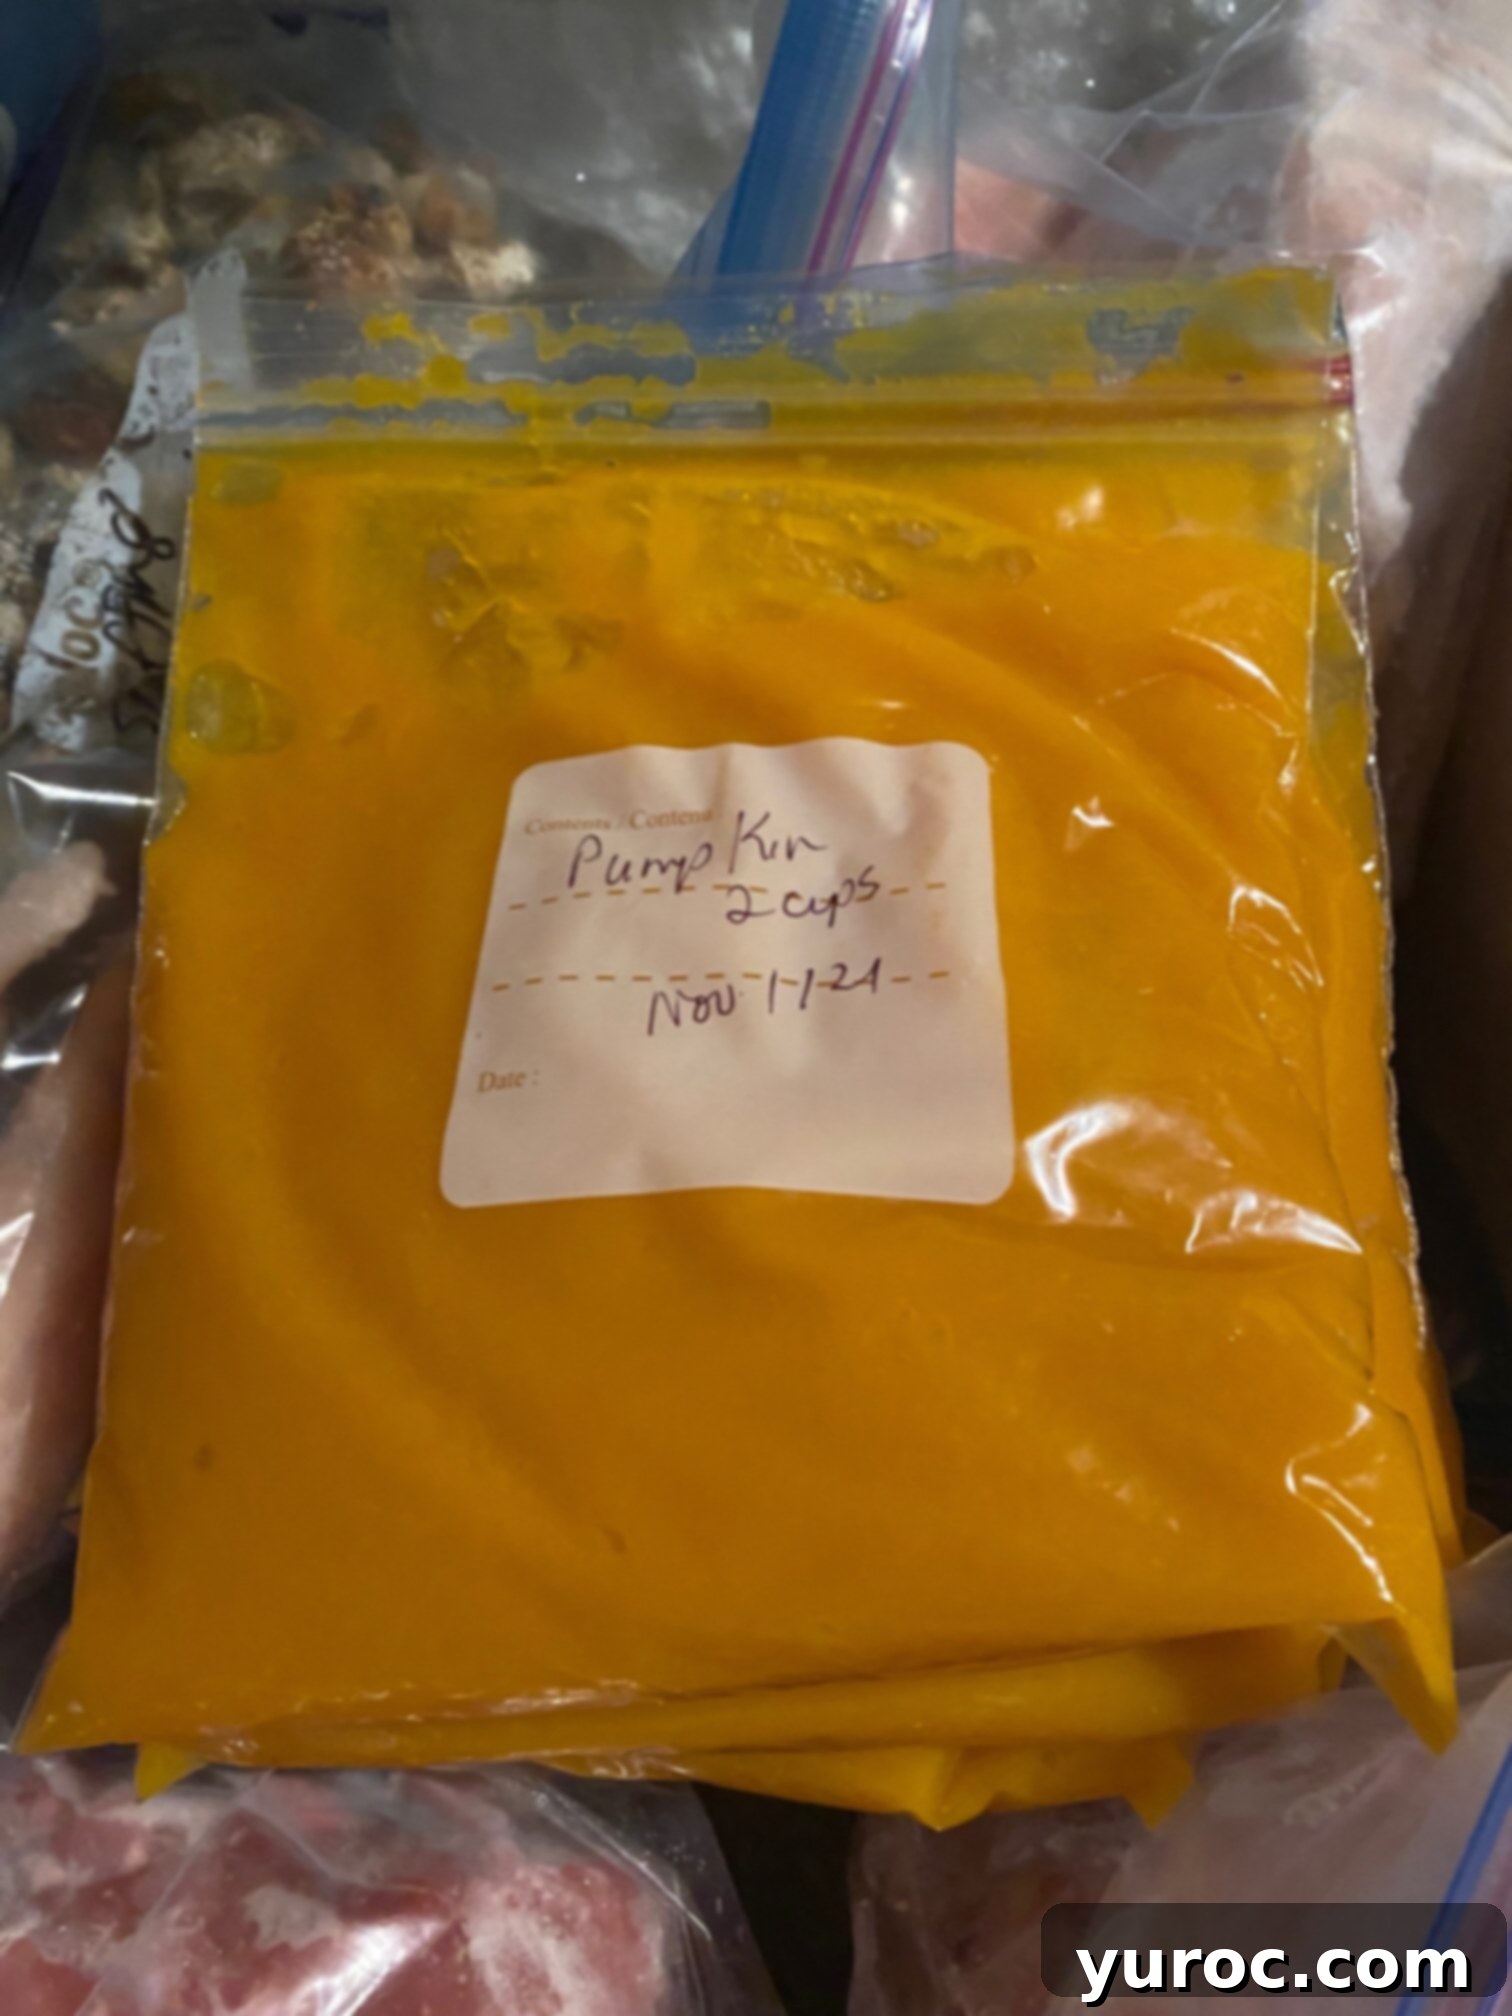
- Step 8: Freeze Flat. Place the filled and labeled freezer bags flat in your freezer. Once frozen solid, they can be stacked vertically or horizontally to save space, making your homemade puree readily accessible whenever you need it.
👪 Yield and Serving Size
The yield for this recipe (approximately 8 cups) is based on using a large carving pumpkin, typically weighing between 5-8 pounds. This is generally double the amount you would get from a smaller sugar pumpkin. A 5-8 lb pumpkin usually yields enough puree for several recipes, making it a highly efficient way to stock up!
🌡️ Storing Your Homemade Pumpkin Puree
Proper storage ensures your homemade pumpkin puree remains fresh and flavorful for future use:
- Refrigerator Storage: If you plan to use your puree within 2-3 days, you can store it in an airtight container in the refrigerator. Ensure it’s completely cooled before refrigeration to maintain freshness and prevent bacterial growth.
- Freezer Storage: For longer storage, freezing is your best option. Homemade pumpkin puree freezes exceptionally well for up to 6 months in sealed freezer bags or airtight containers. When thawing, transfer the frozen puree to the refrigerator overnight or use the defrost setting on your microwave. You’ll likely notice some excess water after thawing; it’s crucial to drain this off thoroughly before using the puree in recipes, especially for baking, to prevent a watery consistency.
💡 Top Tip for Perfect Puree
The most critical step for flawless homemade pumpkin puree, especially when using it for baking, is ensuring it’s both perfectly pureed and thoroughly drained. If your puree is stringy or contains too much moisture, your baked goods will turn out dense, wet, or bland. After pureeing, always check for smoothness. Even after initial draining, I highly recommend draining off any additional liquid *again* after the puree has defrosted from the freezer, just before you measure it for your recipe. This extra step guarantees the ideal consistency for all your culinary creations.
❔ Frequently Asked Questions About Making Pumpkin Puree
Traditionally, “sugar pumpkins” or “pie pumpkins” are recommended because they are generally sweeter, denser, and less stringy than large carving pumpkins. These smaller pumpkins typically weigh between 2-4 pounds. However, don’t let this limit you! I have consistently used regular large carving pumpkins for years to make my puree, and the results are always fantastic – rich in flavor and smooth in texture. The slight difference in sweetness or moisture content is easily adjusted in your recipes, and the cost-effectiveness and availability of carving pumpkins make them an excellent choice, especially if you’re looking to repurpose your Halloween décor.
The cooking time for a whole pumpkin in the oven typically ranges from 45 minutes to 1 hour. This duration largely depends on the pumpkin’s size, weight, and density. Smaller pumpkins will cook faster, while larger ones might require the full hour or even a little more. Always test for doneness by piercing the flesh with a fork – it should be very tender and easily penetrated.
Absolutely, yes! Roasting a regular carving pumpkin is not only possible but also a fantastic way to make delicious homemade pumpkin puree. I do this regularly, and the puree turns out flavorful and perfectly suitable for all culinary applications. While some might claim carving pumpkins are too watery or bland, proper roasting and draining (as outlined in this guide) mitigate these concerns, yielding a high-quality puree that tastes wonderful.
Yes, homemade pumpkin puree freezes exceptionally well! It can be stored in the freezer for 3-6 months when properly sealed in airtight containers or freezer bags. Freezing in pre-portioned amounts (e.g., 1 or 2 cups) makes it very convenient for future use. However, remember that once thawed, pumpkin puree often releases additional water. It is crucial to drain off any excess liquid before incorporating it into your recipes, especially for baking, to maintain the desired consistency.
Whether you’re choosing a sugar pumpkin or a carving pumpkin, look for one that feels firm and heavy for its size. The skin should be smooth, without any soft spots, bruises, or mold. A vibrant, uniform color is also a good indicator of freshness. Avoid pumpkins that feel light or hollow, as these may have drier, less flavorful flesh. If using a carving pumpkin, ensure it hasn’t been sitting out for too long or started to decay after carving.
Homemade pumpkin puree offers a distinctly fresher, richer, and more authentic pumpkin flavor compared to canned versions. It allows you to control the ingredients entirely, ensuring no additives or preservatives. The texture of homemade puree can also be superior – often smoother and less watery (after proper draining). While canned pumpkin is convenient, homemade puree provides a noticeable upgrade in taste and quality for any recipe, making the effort truly worthwhile.
Homemade pumpkin puree is vastly superior to the canned variety, offering a depth of flavor and freshness that simply can’t be matched. If you’re seeking an economical, healthy, and incredibly easy way to elevate your cooking and baking, then mastering how to cook a whole pumpkin is a skill worth acquiring. You don’t need a special type of pumpkin, olive oil, or any complex ingredients. All that’s required is a regular carving pumpkin, a little water, and these simple steps to create a versatile, delicious puree that will become a staple in your kitchen!
Did your family ❤️ this recipe? Did you know that commenting and ⭐ rating recipes is one of the best ways to support your favorite recipe creators? If you LOVED this recipe, please comment and rate it in the recipe card or share photos on social media using the hashtag #foodmeanderings or tagging @foodmeanderings!

🎃 How to Cook a Whole Pumpkin (and Make Pumpkin Puree) Recipe
Print Recipe
Pin
Save RecipeSave Recipe
Rate
Add to Shopping ListGo to Shopping List
Ingredients
- 1 whole pumpkin
- 4 cups water (approximately) *for a large (20 lb/ 9 k roaster)
Instructions
-
Fill a large roasting pan with about 1-2 inches of water. For a large (20 lb/ 9 kg) roaster, use approximately 4 cups of water.
Cut the pumpkin into about 3-6 wedges, depending on its size, and place them flesh side down in the roasting pan.
If you have a very large pumpkin, cook it in batches or use two separate roasting pans.
Roast the pumpkin wedges in the covered roaster at 325°F (162°C) for about 50 minutes to 1 hour. Roasting time will vary based on the pumpkin’s size and density.
-
Once cooked, the pumpkin should be fork-tender. You should be able to easily remove the skin by gently sliding a fork or butter knife underneath and peeling it back. Be careful as the pumpkin will be very hot! Use an oven mitt for protection.
Remove and discard all the skin from the roasted pumpkin flesh.
-
Place the cooked pumpkin flesh into a food processor and puree until it is completely smooth.
If you are using a large pumpkin, process it in batches to achieve the best consistency.
-
Ensure the puree is perfectly smooth and free of any lumps.
Pour the puree into a bowl and double-check for any tiny pieces of skin, seeds, or stringy bits. Remove any that you find. If it’s still stringy, return it to the food processor and puree for a little longer until thoroughly smooth.
-
Pour the pureed pumpkin through a fine-mesh sieve or colander to remove any remaining fibrous bits and excess moisture.
-
Allow the puree to drain further to remove any excess fluid. Let it cool completely before storing.
-
Scoop the cooled pumpkin puree into Ziplock freezer bags, typically 2 cups per bag. Be sure to clearly label each bag with the amount and date.
-
Place the filled bags flat in the freezer. Once frozen solid, they can be stacked to maximize freezer space.
Nutrition
