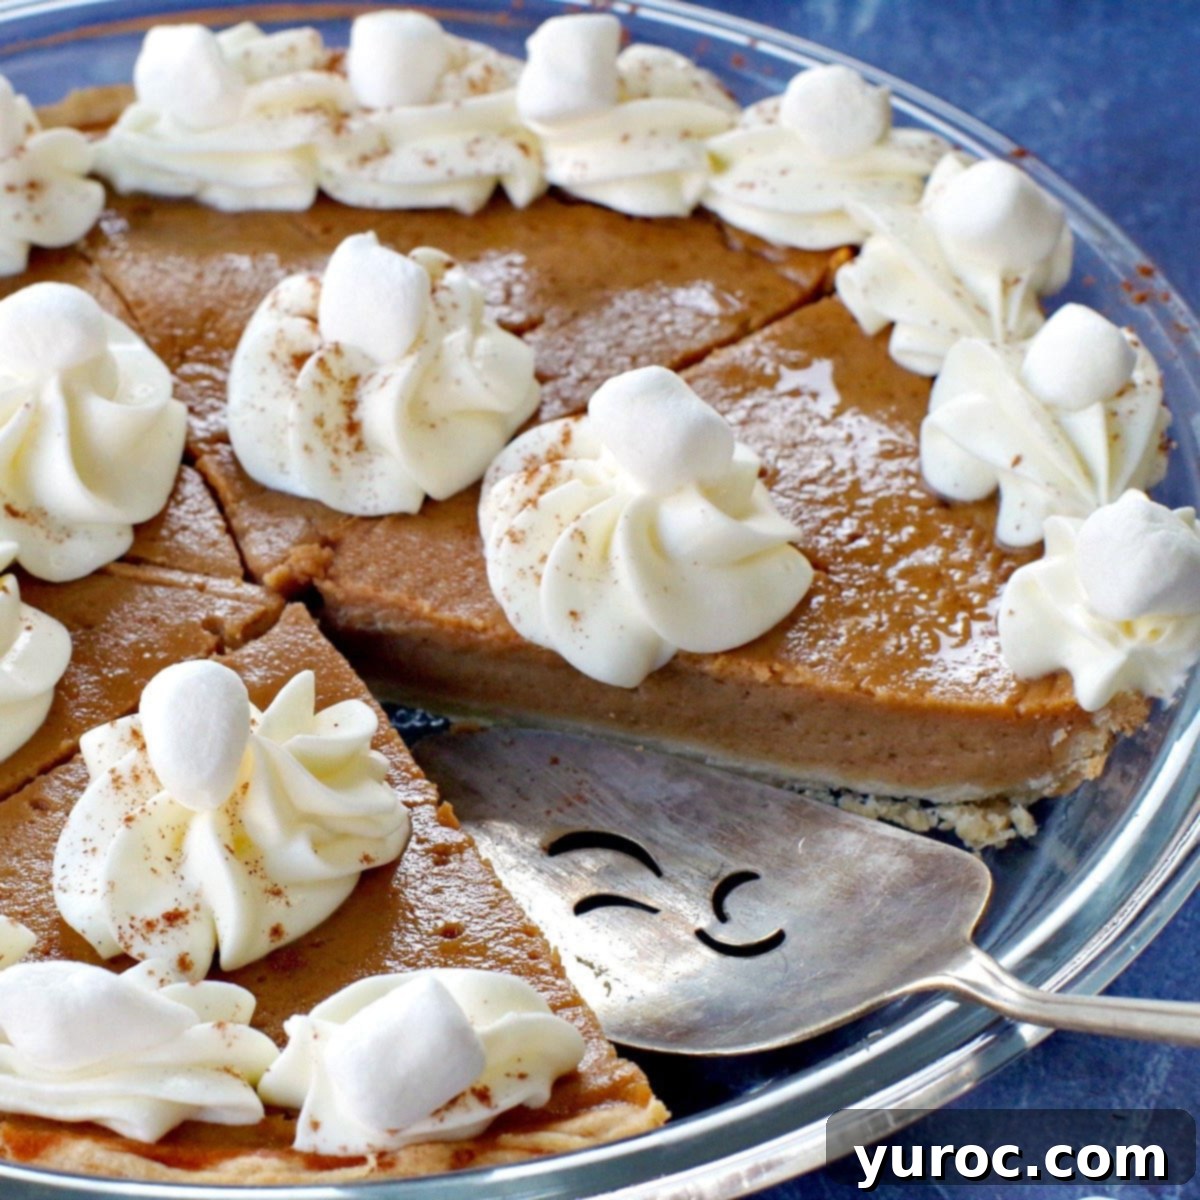
Easy & Delicious Sweet Potato Pie with Marshmallow Topping: Your Ultimate Holiday Dessert
Prepare to fall in love with a dessert that simplifies your holiday baking and brings unparalleled flavor to your table: this incredible Sweet Potato Pie with Marshmallows. What makes this recipe a true game-changer? We’re skipping the tedious peeling, chopping, and cooking of sweet potatoes entirely! Instead, we harness the convenience of pureed sweet potatoes (cleverly sourced from baby food) to create a perfectly smooth, rich filling. And for an extra layer of gourmet indulgence, brown butter elevates this pie to an entirely new level of deliciousness, infusing it with a warm, nutty, caramel-like essence.
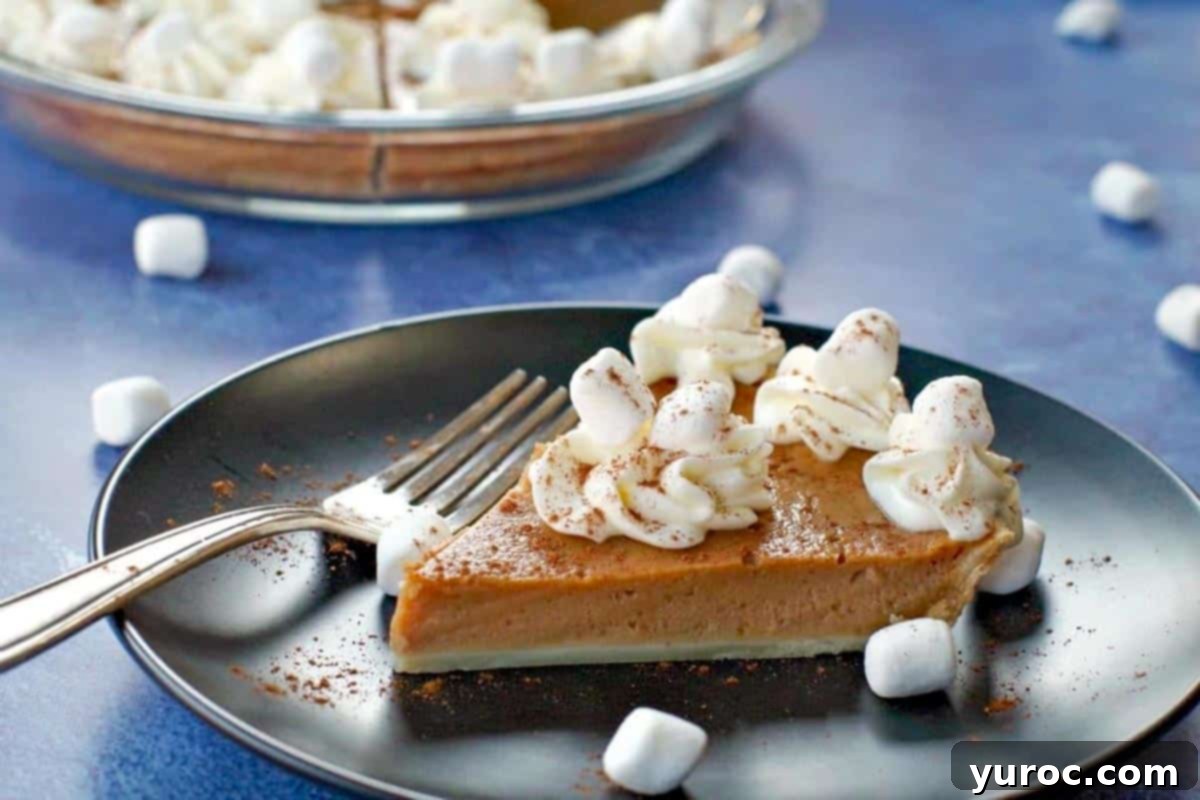
This Sweet Potato Marshmallow Pie is a festive favorite, making it an exquisite choice for Thanksgiving dessert, a delightful treat for Easter, or a comforting staple during Christmas celebrations. It serves as an ideal alternative to traditional pumpkin pie or a decadent Deluxe Apple Pie. Picture this rich, creamy pie perfectly complementing a hearty holiday meal, perhaps alongside my flavorful Crockpot Turkey Breast with Stuffing and a side of Healthy Glazed Carrots. It’s not just a dessert; it’s a centerpiece that promises to impress with minimal effort.
I genuinely adore sweet potato pie, almost as much as my beloved Prize Pumpkin Pie, which is saying a lot considering pumpkin pie graces my table for nearly every holiday. This recipe ensures you don’t have to choose between convenience and incredible taste.
🥘 Ingredient Notes for Your Perfect Sweet Potato Pie
My secret to making a rich, smooth, and utterly delicious sweet potato filling without spending hours on prep? Baby food! When my kids outgrew their pureed meals, I found myself with an abundance of perfectly smooth, ready-to-use sweet potato puree. It’s an ingenious shortcut that saves precious time and effort, offering a pure sweet potato base without any preservatives or unnecessary fillers. It’s simply pure sweet potatoes, perfectly pre-prepped for your baking convenience. I’ve often found it at major retailers like Walmart, but it’s also available online and in many grocery stores’ baby food aisles. For this recipe, you’ll need the following key ingredients:
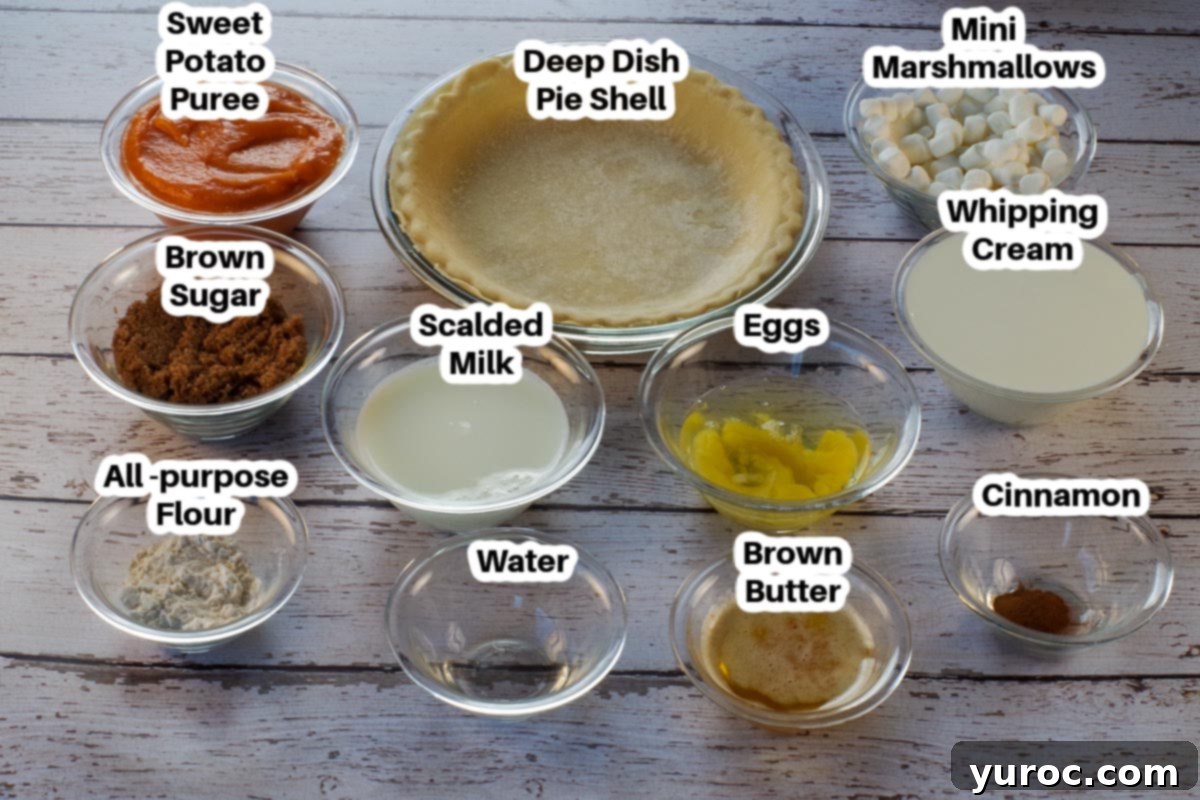
- Scalded Milk: This step, though seemingly minor, significantly enhances the pie’s richness and moisture. Scalding milk involves heating it just to the point of steaming, but not boiling. This process not only concentrates the milk’s flavor but also ensures a velvety smooth texture in your pie filling. I typically use 1% milk as it’s what I always have on hand, and it works beautifully. If you’re new to scalding milk, don’t worry – a quick video guide is available further down or in the recipe notes.
- Brown Butter: Oh, brown butter! This ingredient is a game-changer. I always opt for unsalted butter to maintain precise control over the salt content in my recipes. Browning butter transforms it, developing a complex, nutty, toffee-like flavor with an irresistible caramel aroma. It’s truly divine and adds a layer of sophistication to this pie that you won’t want to miss. For those unfamiliar with the process, a helpful video is linked below or in the notes section.
- Whipping Cream: For the ultimate fluffy marshmallow topping, use whipping cream with a fat content between 33% and 38%. This ensures it whips up beautifully to stiff peaks, providing the perfect airy texture for our topping.
- Mini Marshmallows: These small wonders are perfect for two reasons: they melt quickly and smoothly into our whipped cream to create the marshmallow topping, and they are also ideal for garnishing the finished pie, adding a delightful visual and textural touch.
- Sweet Potato Puree (Baby Food): This is the star of our shortcut! As mentioned, baby food offers pure, pre-pureed sweet potatoes, saving you immense time and effort. It’s naturally preservative-free and perfectly smooth, ensuring a consistent and delicious pie filling. Look for it in the baby food aisle of your local grocery store or check online retailers.

Once you experience how incredibly easy and efficient baby food purees are to use, you might find yourself incorporating them into many other recipes! Why stop at sweet potatoes when you can also avoid the fuss of peeling, chopping, and cooking carrots? Try this clever trick in my Carrot Cake Overnight French Toast Casserole or my delightful Carrot Cake Dessert Pizza for equally impressive results.
You’ll absolutely adore this easy Sweet Potato Pie with Marshmallows because it captures the authentic, old-fashioned taste you crave, yet it comes together quickly and tastes truly amazing. The Marshmallow Whipped Cream isn’t just a topping; it’s the crowning glory on this divine Thanksgiving dessert, adding a light, sweet, and perfectly toasted complement to the rich sweet potato filling.
📖 Variations & Substitutions for Your Sweet Potato Pie
While this recipe offers a fantastic shortcut, there are always ways to adapt it to your preferences or what you have on hand. Don’t hesitate to experiment!
- Sweet Potatoes: If baby food puree isn’t an option or you prefer to use fresh sweet potatoes, you certainly can. You can boil or roast whole sweet potatoes until tender, then peel and puree them until smooth. Alternatively, canned sweet potatoes are a convenient option; simply drain and puree them thoroughly before using. Make sure whichever method you choose yields a very smooth, consistent puree for the best pie texture.
- Pie Crust: For ultimate convenience, a store-bought deep dish pie shell is perfectly acceptable and will yield excellent results. However, if you enjoy making pie crust from scratch, my No Fail Pie Crust (Cold Water Pastry) recipe offers a flaky, tender base that’s truly unbeatable and is pictured below. It’s designed to be foolproof, even for novice bakers!
- Marshmallows: If mini marshmallows aren’t available, or you prefer a different texture, you have a few alternatives for the topping. You can use marshmallow fluff (also known as marshmallow creme or cream) directly, though it might yield a slightly different consistency than the whipped cream mixture. Full-size marshmallows can also be melted with a touch of water, similar to the mini marshmallows, then folded into the whipped cream. Just ensure they are fully melted and smooth.
- Butter: While unsalted brown butter is recommended for precise flavor control, if salted butter is all you have, it can be used. Just be mindful of the overall salt content in the pie, and perhaps omit any additional salt if your salted butter is particularly strong.
What sets this marshmallow sweet potato pie recipe apart is not just the luscious marshmallow whipped cream, but also the transformative power of brown butter. Brown butter contributes a deep, rich caramel-like flavor that elevates the entire pie experience, creating a taste profile that is truly unique. Furthermore, the scalded milk plays a crucial role in achieving the pie’s wonderfully light and fluffy texture, ensuring every bite is smooth and delightful.
🔪 How to Make Sweet Potato Pie with Marshmallows: Step-by-Step Guide
Creating this delicious sweet potato pie is simpler than you think, especially with our smart shortcuts. Follow these steps for a perfectly baked pie with a dreamy marshmallow topping.
PREP:
- Preheat your oven to 425 degrees F (218 degrees C). This initial high temperature is key to achieving a perfectly flaky crust.
- In a small saucepan, brown the butter over medium heat. Keep a close eye on it, stirring frequently, until it turns a rich golden-brown and smells nutty. Once achieved, immediately remove it from the heat to prevent burning. If you’re unsure about this technique, refer to the “How to brown butter” video linked below or in the Notes section.
- In a separate saucepan, scald the milk. Heat it gently until small bubbles form around the edges and steam rises, but do not let it boil vigorously. Remove from heat and allow it to cool slightly; it should be warm, not hot, when added to the filling. A video on how to scald milk is also available below or in the Notes.
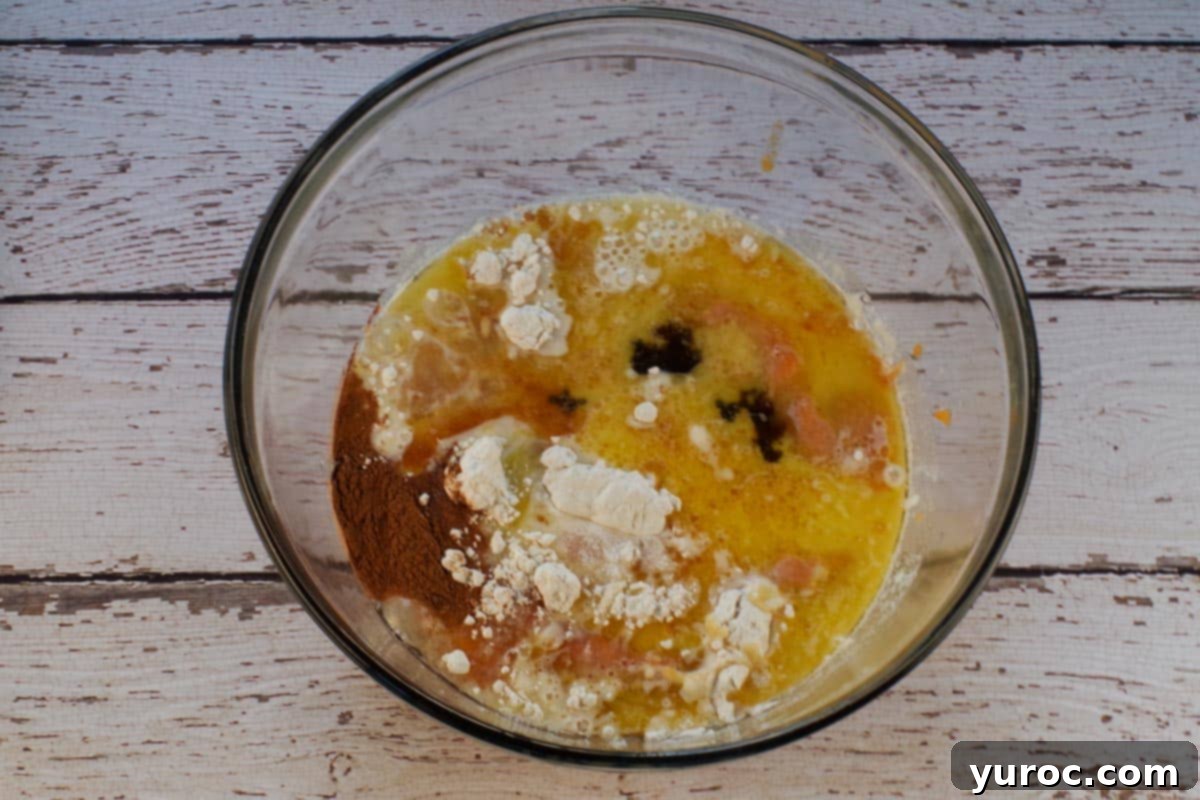
- Step 1: Prepare the Pie Filling. In a large mixing bowl, combine the pureed sweet potatoes, browned butter, cooled scalded milk (ensuring it’s warm but not hot), cinnamon, flour, brown sugar, and lightly beaten eggs.
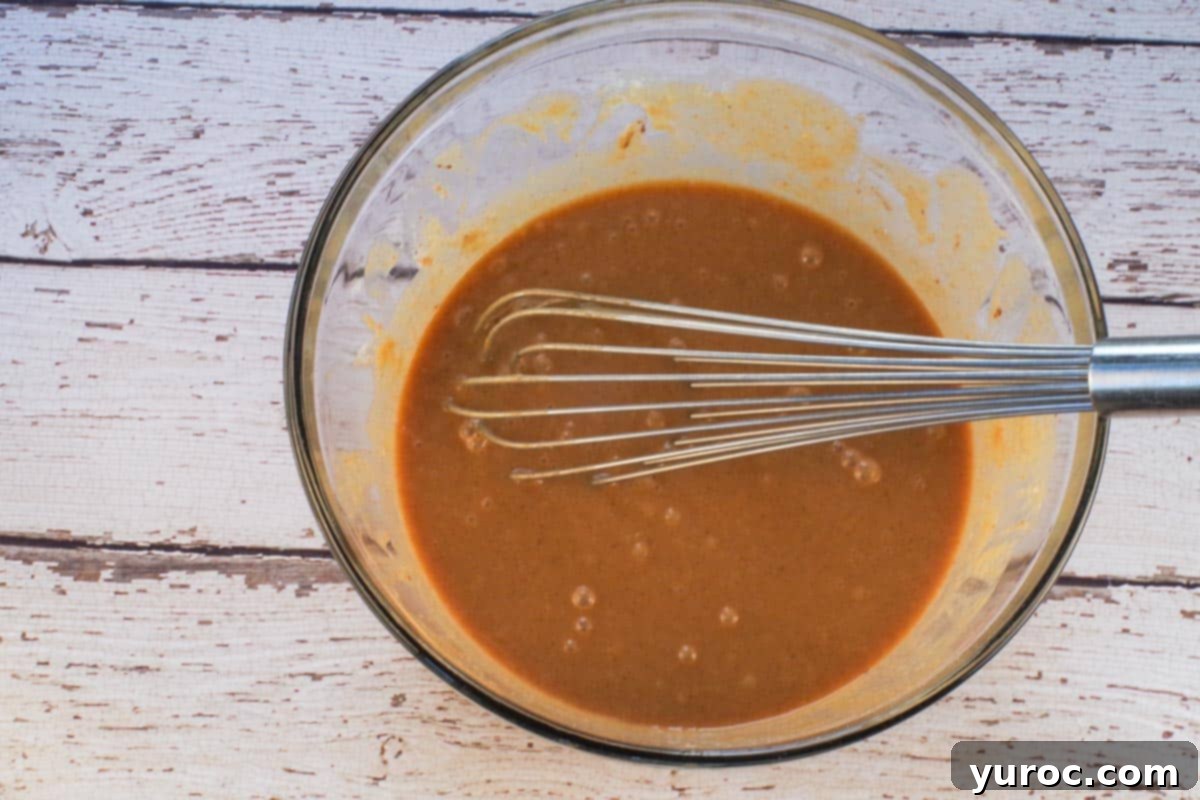
- Step 2: Whisk Gently. Whisk all the filling ingredients together just until they are fully combined and smooth. Be careful not to overmix, as this can lead to a tougher pie texture.
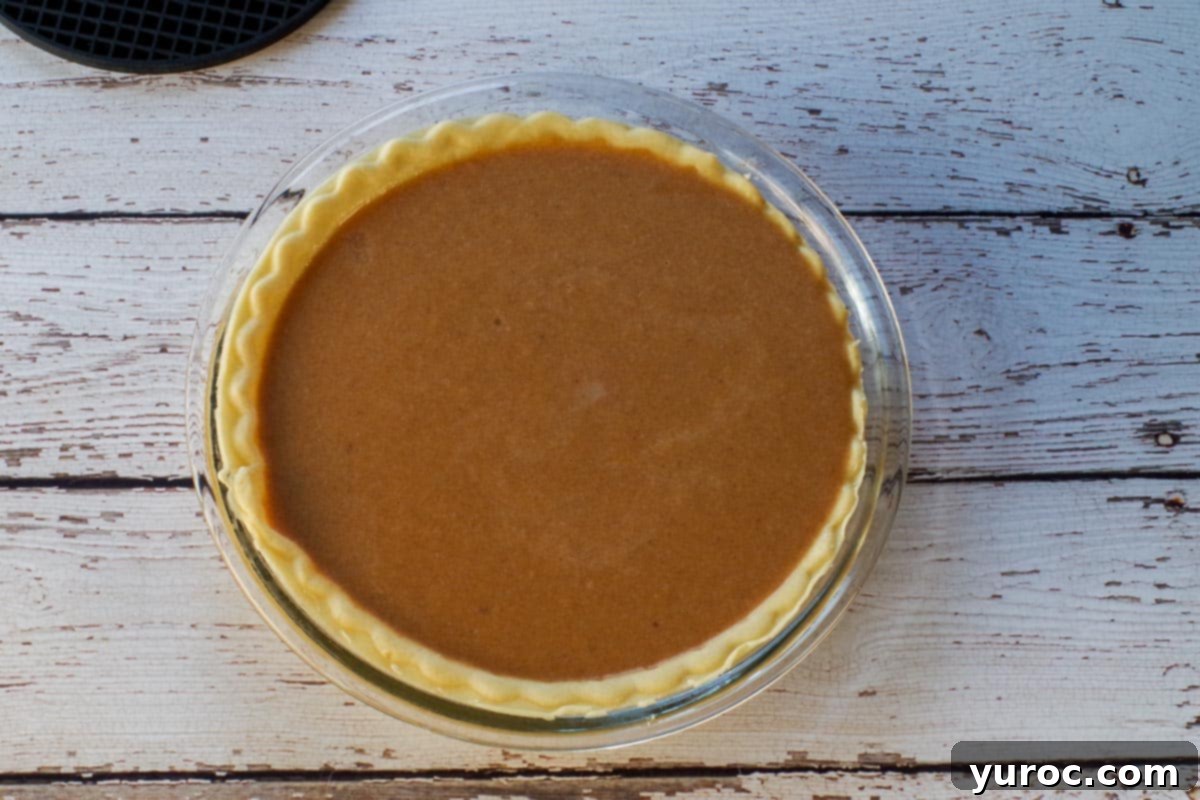
- Step 3: Bake the Pie. Pour the prepared sweet potato filling into your unbaked pie crust. Bake in the preheated oven at 425 degrees F (218 degrees C) for 10 minutes. This initial high heat helps set the crust and prevent sogginess. After 10 minutes, reduce the oven temperature to 325 degrees F (162 degrees C) and continue baking for another 30-35 minutes, or until the filling is firm. I found 30 minutes to be ideal for my oven. To ensure perfect doneness without overcooking, I highly recommend using an instant-read thermometer (affiliate link); the pie is ready when the thermometer registers 170 degrees F (76 degrees C) in the center. The pie might still look slightly jiggly, but it will continue to set as it cools. Remove from the oven and cool on a wire rack for 10 minutes, then transfer to the fridge to chill for at least 2 hours. Chilling is crucial for the pie to fully set and for easy slicing.
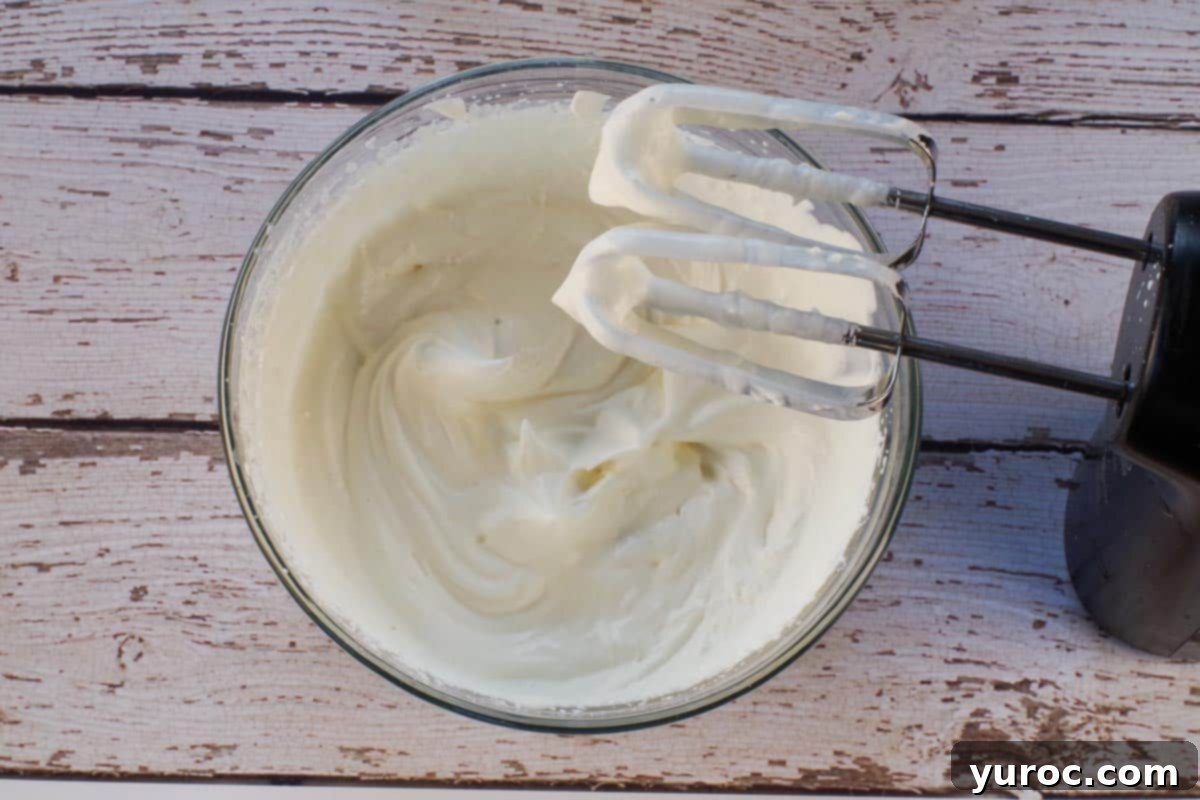
- Step 4: Prepare the Whipped Cream. In a medium bowl, use an electric mixer on high speed with a whisk attachment to whip the whipping cream until it forms soft peaks.
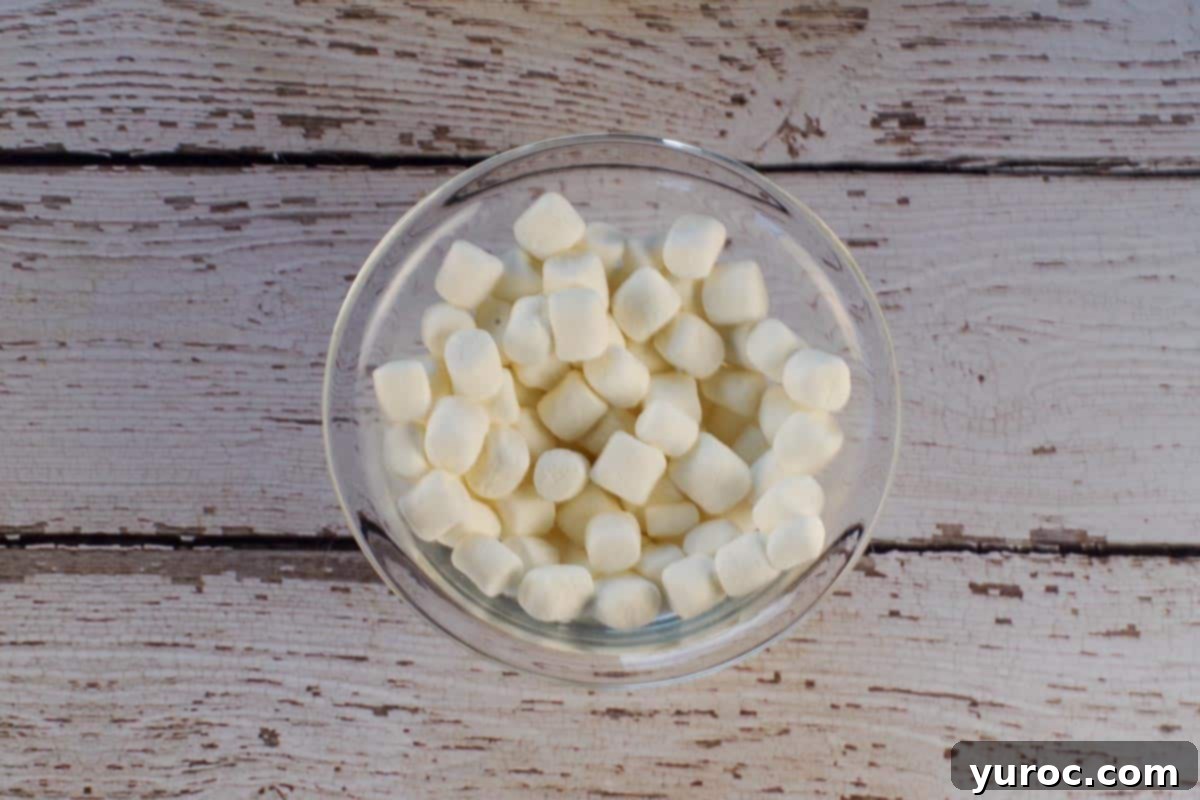
- Step 5: Melt the Marshmallows. In a separate, microwave-safe bowl, add ¼ teaspoon of water to the mini marshmallows. Microwave for approximately 10 seconds, then stir. The residual heat from the melted marshmallows and stirring action typically melts the remaining unmelted ones.
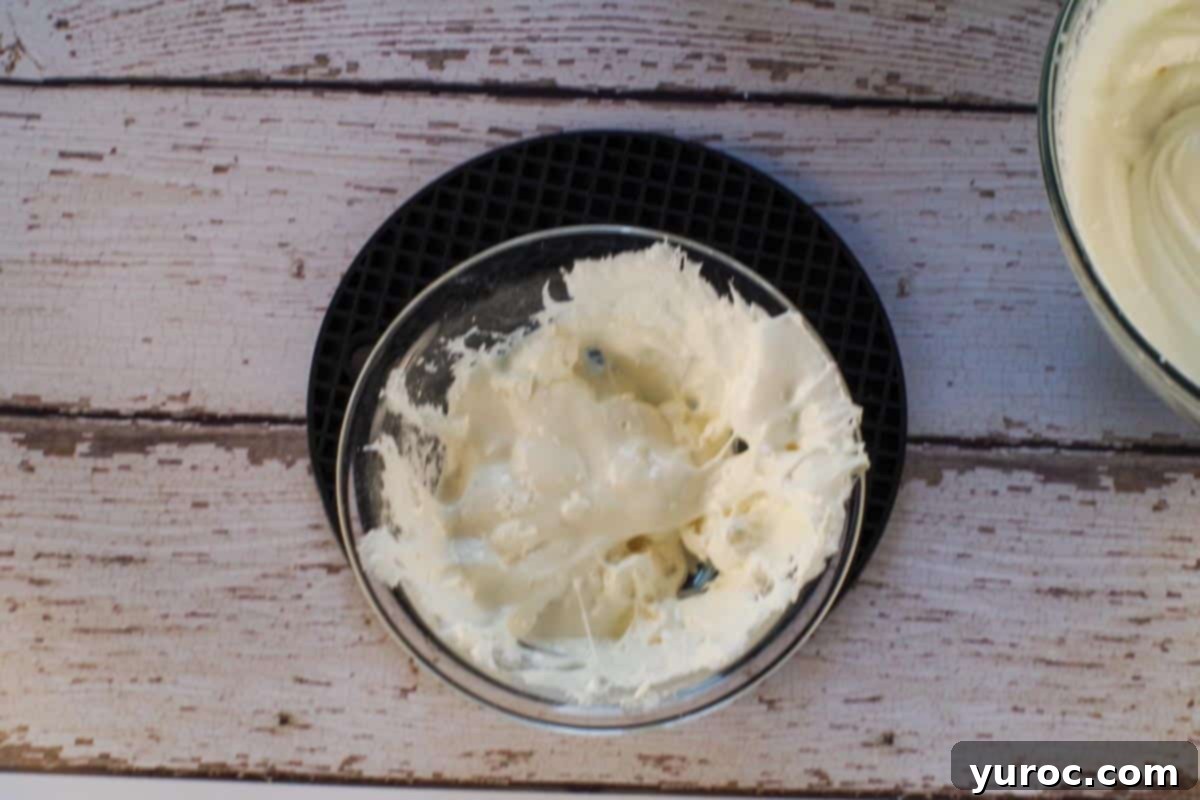
- Step 6: Ensure Smoothness. If any marshmallows remain unmelted after stirring, return the bowl to the microwave for additional 10-second intervals, stirring after each, until the mixture is completely smooth and liquid.
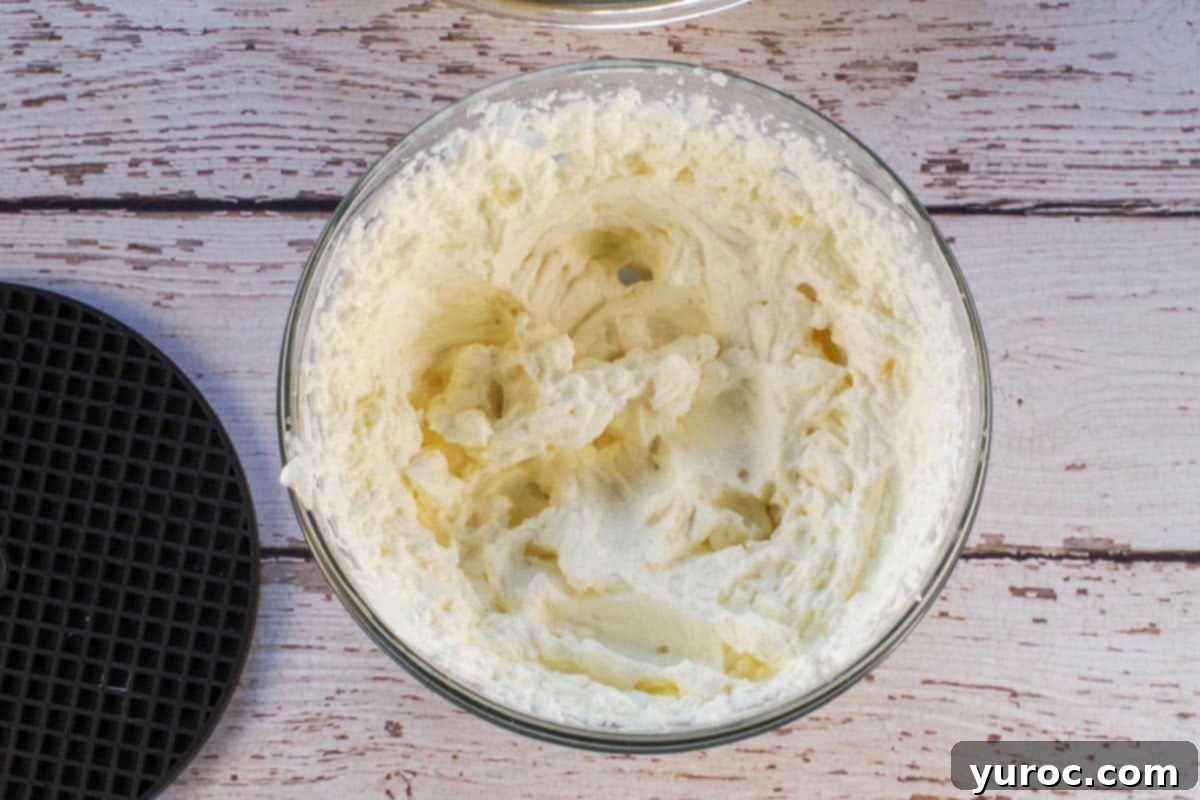
- Step 7: Create Marshmallow Whipped Cream. Immediately pour the melted marshmallows into the whipped cream. Beat on medium speed until stiff peaks form. Speed is crucial here; if you delay, the melted marshmallows will begin to harden, resulting in lumpy whipped cream. Work quickly to ensure a smooth, airy topping.
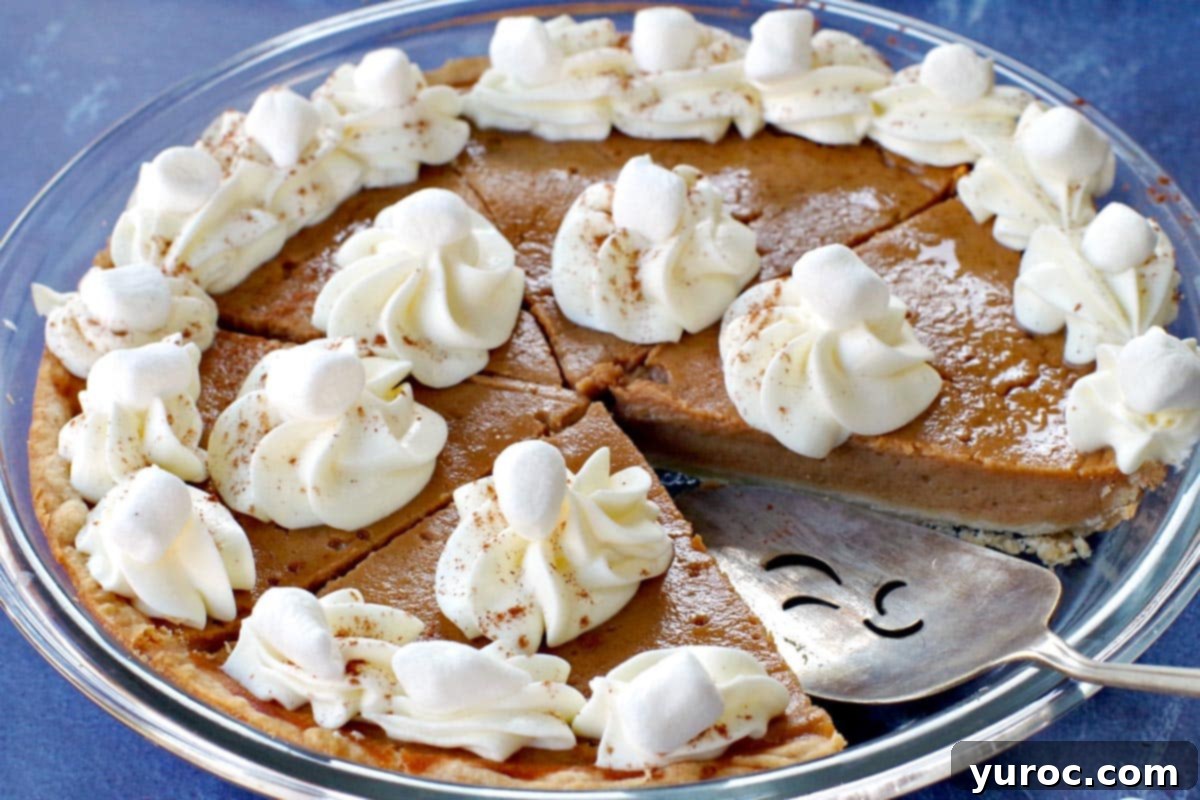
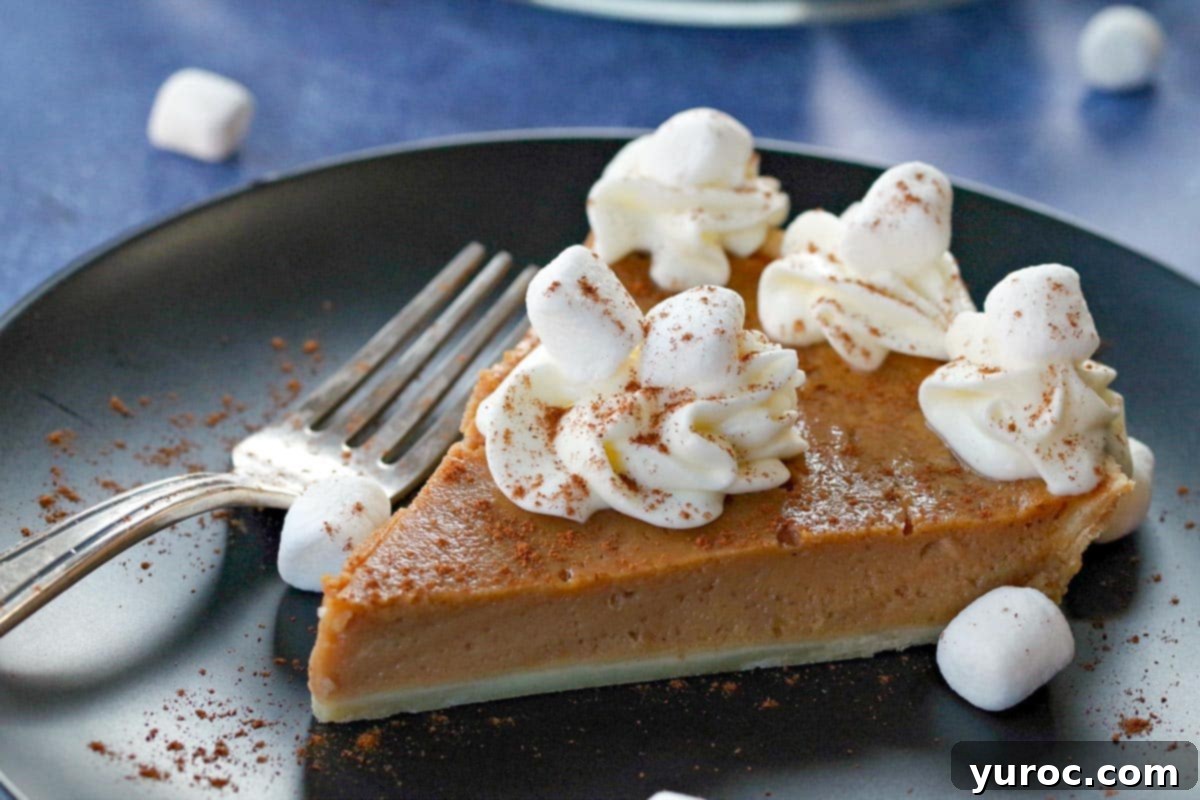
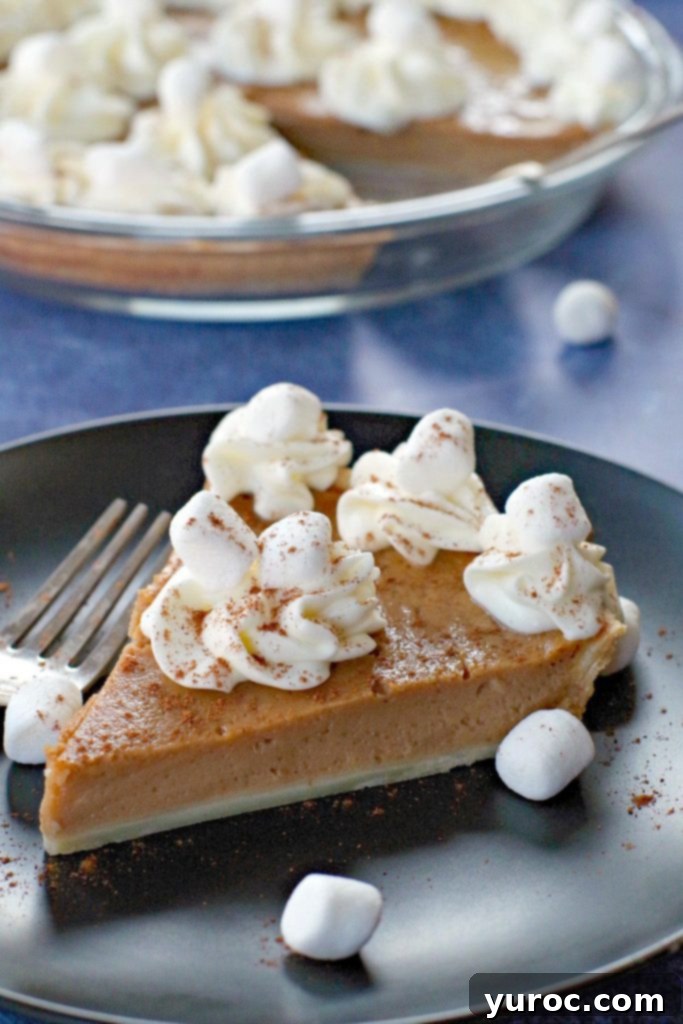
- Step 8: Garnish and Serve. Once the pie is thoroughly chilled, spread or pipe the marshmallow whipped cream generously over the top. For a more elegant presentation, I often use a pastry bag with a 1M frosting tip to pipe beautiful swirls, then add a few extra mini marshmallows and a sprinkle of cinnamon for decoration. The pie should be chilled for at least 2 hours before serving to ensure it holds its shape. Serve it cold or at room temperature, according to your preference.
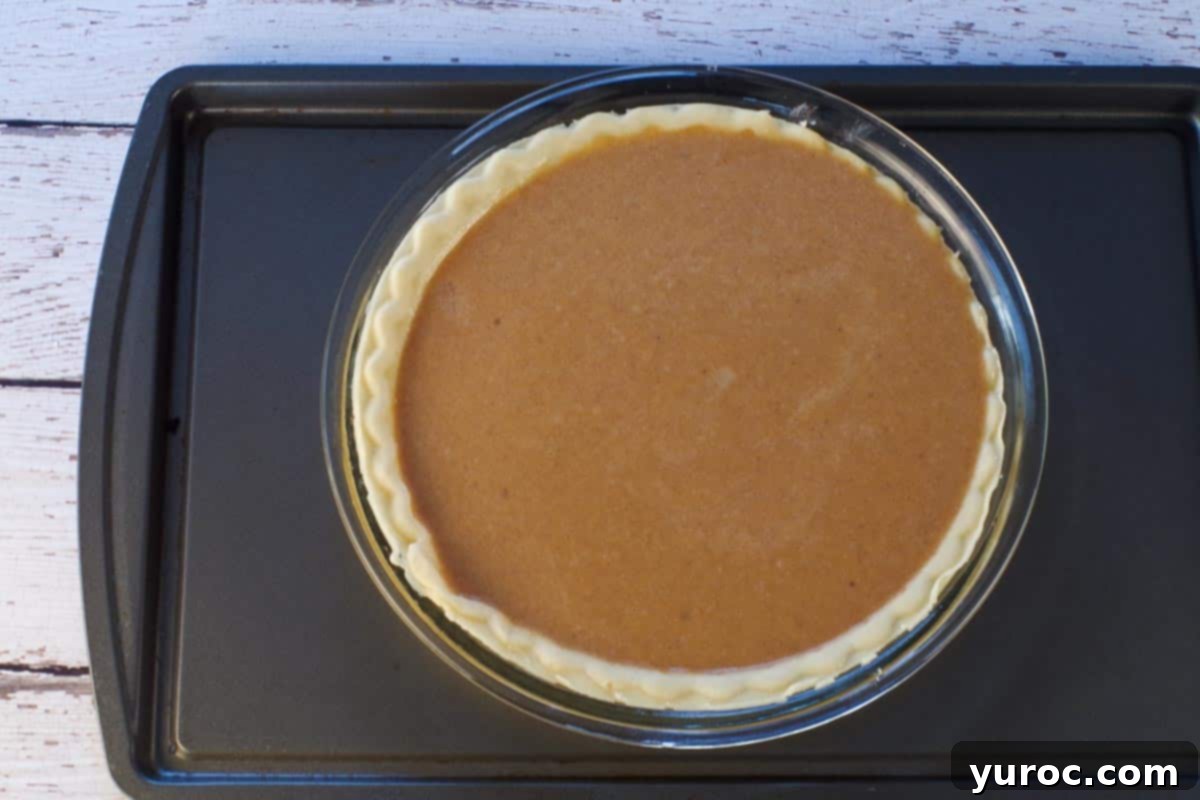
PRO TIP: To prevent spills and make transferring your pie to and from the oven much easier, always place your pie shell, once filled, onto a sturdy baking sheet before baking.
🎥 Essential How-To Videos
Mastering certain baking techniques can elevate your results. Here are quick video guides for key steps in this recipe:
Video – How to brown butter
Video – How to scald milk
💡 Top Tip for a Flaky Pie Crust
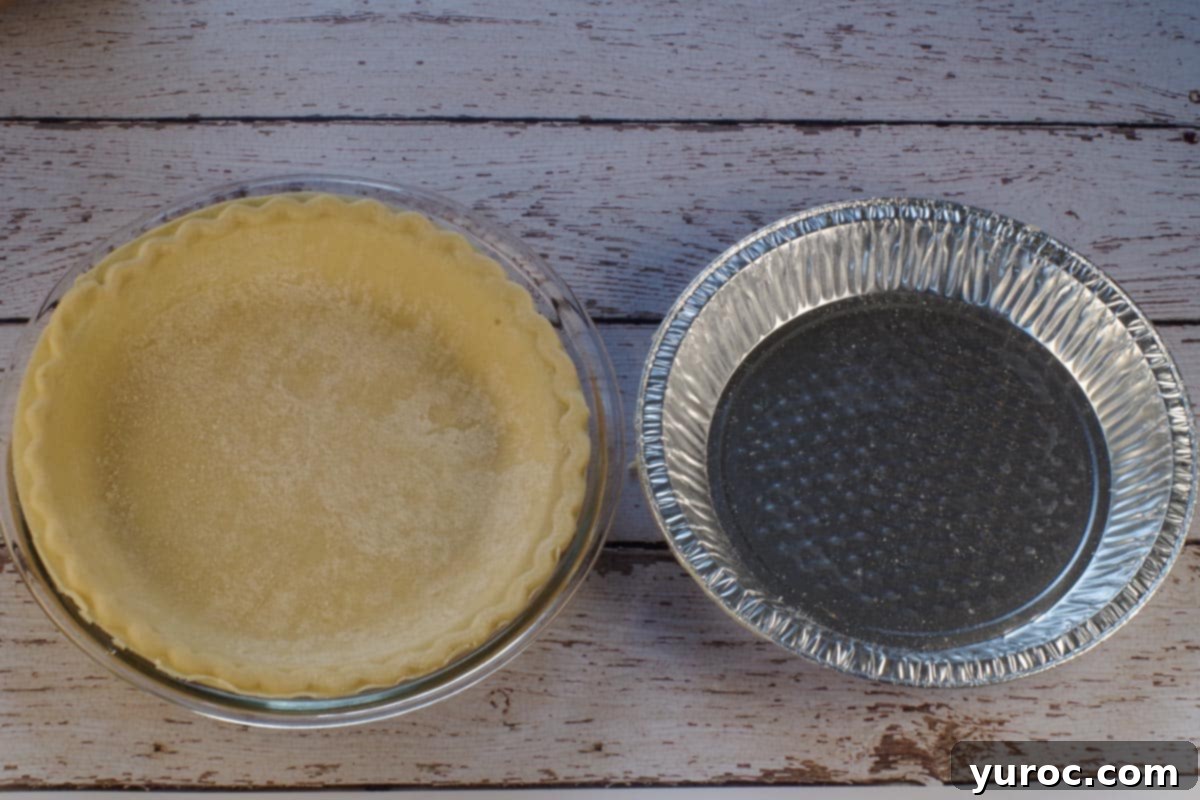
For the absolute best pie crust results with this sweet potato pie and marshmallow topping, especially if you’re using a store-bought pie shell, consider transferring it to a glass pie pan (affiliate link) before baking. Glass pie pans are widely recognized as superior for achieving a consistently flaky and evenly baked crust due to their ability to conduct heat slowly and steadily. This helps the bottom crust cook thoroughly without burning the top. While ceramic, steel, or aluminum pans can also be used, you might find it takes a bit longer to get that perfectly crisp, flaky bottom crust in those materials.
A smart trick for transferring a store-bought pie shell: gently loosen the crust around the rim of its original aluminum plate. Then, carefully move the pie shell to the glass pan while it is still frozen. The frozen state makes the crust much firmer and less prone to cracking during the transfer. Before placing the crust, make sure your glass pie pan is generously coated with a non-stick cooking spray to prevent sticking.
👪 Serving Size Information
This easy sweet potato pie recipe yields one full 9-inch pie, which traditionally provides 8 generous servings. However, you have the flexibility to cut larger or smaller pieces based on your guests’ appetites and your preference. Should you need to feed a larger crowd, you can easily double or triple the recipe; simply adjust the serving quantity in the recipe card, and the ingredient amounts will automatically update.
🌡️ Storage Instructions for Leftovers
Proper storage ensures your sweet potato pie remains delicious for days to come. Here’s how to store it:
Fridge: Any leftover sweet potato pie should be stored in an airtight container in the refrigerator for up to 4 days. If you plan to store it overnight or for a short period and haven’t yet decorated it with the marshmallow whipped cream, you can simply cover the pie tightly with plastic wrap. It’s best to store the marshmallow whipped cream separately in an airtight container in the fridge to maintain its texture and freshness until serving.
Freezer: This pie freezes beautifully! For longer storage, you can freeze the baked and cooled pie (without the marshmallow topping) for up to 3 months in an airtight, freezer-safe container. Ensure it’s well-wrapped to prevent freezer burn.
To Defrost: When ready to enjoy, transfer the frozen pie to your refrigerator and allow it to defrost overnight. Serve cold or at room temperature, then add your freshly prepared marshmallow whipped cream and garnish.
❔ Frequently Asked Questions About Sweet Potato Pie
A soggy sweet potato pie crust is a common concern, often stemming from the pie filling’s naturally high moisture content. If the pie crust doesn’t cook quickly and thoroughly enough, it will absorb too much moisture from the filling, leading to a soft or even mushy bottom. There are a couple of excellent strategies to prevent this: firstly, baking the pie at an initial high temperature (as this recipe instructs) rapidly sets the crust, creating a barrier against moisture. Secondly, consider blind baking your crust with pie weights before adding the filling. Lastly, using a glass pie pan, as recommended in our top tip, significantly helps in producing a flakier, crispier crust by distributing heat more evenly to the bottom.
While not strictly necessary for food safety in modern baking (thanks to pasteurization!), scalding milk serves a valuable purpose in this sweet potato pie. Historically, it was done to kill bacteria. Today, in recipes that call for it, scalding milk is used because it becomes an excellent carrier for flavors, intensifying the overall taste of the final dish. It also helps to create a smoother, more cohesive filling by dissolving sugar more effectively and sometimes reduces overall cooking time by jump-starting the heating process of the filling. So, while you could skip it, following this step will contribute to the superior texture and flavor of your pie.
The initial high oven temperature of 425 degrees F (218 degrees C) is a critical technique for achieving a beautifully flaky and non-soggy pie crust. At this temperature, the fat in the pie dough melts rapidly and produces a burst of steam. This steam quickly separates the layers of dough, creating that desirable flaky texture. It also helps the bottom crust to firm up quickly, preventing it from absorbing too much moisture from the filling. After this crucial initial period (typically 10-15 minutes), the oven temperature is reduced to allow the pie to bake through gently and evenly without burning the crust or overcooking the filling.
Preventing cracks in your sweet potato pie filling comes down to a few key practices: primarily, avoiding both overcooking and overmixing. Overmixing can develop too much gluten in the flour, leading to a tougher, more prone-to-crack texture. Overcooking is the most common culprit, as it dries out the filling and causes it to pull apart as it cools. To combat this, bake your pie on a lower (but not the lowest) oven rack for more even heat distribution. Most importantly, use an instant-read thermometer. This pie is perfectly done when the thermometer inserted into the center registers 170 degrees F (76 degrees C). Even if it appears a bit jiggly, trust the thermometer – the pie will continue to set as it cools. For new pie bakers, a thermometer is your best friend in ensuring perfect texture every time!
No, yams and sweet potatoes are not the same, though they are often confused or used interchangeably in North American grocery stores. They belong to entirely different plant families. True sweet potatoes are sweeter, have a softer texture, and come in various colors (orange, purple, white). True yams, on the other hand, are typically starchier, less sweet, and have a rough, bark-like skin and a drier, more fibrous flesh, similar to a regular potato or yucca. I strongly advise against substituting canned yams for sweet potatoes in this particular pie recipe. Canned “yams” in the US are usually a type of sweet potato, but even then, their sugar content and texture can vary significantly. Using actual yams would result in a pie that is not sweet enough, and the texture of the filling would be substantially drier and starchier, detracting from the desired rich and creamy consistency.
My husband had never experienced the delight of a sweet potato pie until I introduced him to this recipe, and he was instantly smitten! If you’re searching for an effortlessly delicious Sweet Potato Pie with Marshmallows that tastes homemade, you will absolutely adore this easy recipe. It’s perfect for creating new holiday traditions or simply enjoying a comforting dessert.
Happy Holidays and enjoy your pie baking!
🍽 More Delicious Thanksgiving Desserts to Explore
- Light Pumpkin Cheesecake (with Oreo Crust)
- Cranberry Bread Pudding Cheesecake
- Maple Pecan Pie (with Bourbon Whipped Cream)
- Easy Caramel Apple Cheesecake Pie
Did your family ❤️ this recipe? Did you know that commenting and ⭐ rating recipes is one of the best ways to support your favorite recipe creators? If you LOVED this recipe, please comment and rate it in the recipe card or share photos on social media using the hashtag #foodmeanderings or tagging @foodmeanderings!
📋 Sweet Potato Pie with Marshmallows Recipe
This easy Sweet Potato Pie with Marshmallows involves no peeling, cooking, chopping, or pureeing of sweet potatoes because it uses baby food (or canned sweet potatoes/yams)! The Marshmallow Whipped Cream is the crowning glory on this delicious Thanksgiving dessert.
Print Recipe |
Pin Recipe |
Rate This Recipe
Course: Dessert | Cuisine: American, Southern | Special Diet: Vegetarian
Servings: 8 pieces | Calories: 470 kcal | Author: Terri Gilson
Prep Time: 15 minutes | Cook Time: 40 minutes | Total Time: 55 minutes
Equipment
- 9 inch pie pan
- electric mixer
- mixing bowl
Ingredients
Crust
- 1 deep dish pie shell (store-bought or homemade)
Filling
- 2 tablespoons flour
- ⅔ cup brown sugar
- 1 cup scalded milk (* See video in post/notes)
- 1.5 cups sweet potato puree (* I use baby food – 3 ½-cup/4 ounce squeeze bottles)
- ½ teaspoon cinnamon
- 2 eggs, lightly beaten
- ¼ cup unsalted butter, browned (* See video in post/notes)
Marshmallow Whipped Cream
- 1 ½ cups whipping cream
- 1 cup mini marshmallows
- ¼ teaspoon water
Garnish
- Additional cinnamon sprinkles and mini marshmallows (optional)
Instructions
- Preheat oven to 425 degrees F (218 degrees C).
- Brown butter in a small saucepan. Once browned, remove from heat. (*See video on how to brown butter in NOTES.)
- Scald milk in a separate saucepan. Cool (it can be warm, but not hot). (*See video on how to scald milk in NOTES.)
- Add pureed sweet potatoes to a large bowl, then add browned butter, cooled scalded milk, cinnamon, flour, brown sugar, and eggs. Whisk just until combined.
- Pour into the unbaked pie crust. Bake for 10 minutes at 425 degrees F (218 degrees C).
HINT: When you fill your pie shell with filling, place it on a baking sheet. It will be so much easier to move your pie from the countertop to the oven and avoid spills. - Turn oven down to 325 degrees F (162 degrees C) and bake for another 30-35 minutes or until firm. I found 30 minutes was perfect. *I recommend using a thermometer (I use my meat thermometer) to check for doneness. The thermometer should register 170 degrees F (76 degrees C). The pie may not “look” ready, but it is. You don’t want to overcook it.
- Cool on a wire rack for 10 minutes, then chill in the fridge for at least 2 hours.
Marshmallow Whipped Cream
- In a medium bowl, whip the whipping cream to soft peaks with an electric mixer on high speed (with the whisk attachment).
- In a separate bowl, add ¼ teaspoon of water to marshmallows, then melt the marshmallows in the microwave for about 10 seconds and stir. *The stirring will usually melt the remaining unmelted marshmallows. However, if not melted, return to microwave in 10-second intervals until melted.
- Immediately add melted marshmallows to whipped cream and beat on medium speed, to stiff peaks. *If you don’t add them immediately, they will harden and you’ll have lumpy whipped cream.
Garnish
- Add marshmallow whipped cream to the top of the cold pie. Sprinkle with cinnamon sprinkles and additional marshmallows, if desired.
Notes
HINT: When you fill your pie shell with filling, place it on a baking sheet. It will be so much easier to move your pie from the countertop to the oven and avoid spills.
Videos:
Video – How to brown butter
Video – How to scald milk
Top Tip: If you are using a store-bought pie shell, for best results, you’ll want to transfer it to a glass pie pan (affiliate link) before baking, as these are the best type of pie pan for achieving a flaky crust. Gently loosen the pie shell around the rim of the pie plate and transfer the pie shell to the glass pan when it is still frozen – this makes it much easier and you’re less likely to crack it. *Make sure the glass pie pan is generously coated with non-stick cooking spray.
Storage:
Store this sweet potato pie for up to 4 days in an airtight container in the fridge. You can cover it in plastic wrap if you are storing it for a short time (overnight) and have not yet decorated it.
Store marshmallow whipped cream separately.
The pie freezes well for up to 3 months in an airtight container. Defrost in the fridge overnight and serve cold or at room temperature.
Nutrition
Serving: 1 piece | Calories: 470 kcal (24%) | Carbohydrates: 42g (14%) | Protein: 6g (12%) | Fat: 32g (49%) | Saturated Fat: 17g (106%) | Cholesterol: 119mg (40%) | Sodium: 167mg (7%) | Potassium: 227mg (6%) | Fiber: 1g (4%) | Sugar: 22g (24%) | Vitamin A: 4488IU (90%) | Vitamin C: 1mg (1%) | Calcium: 104mg (10%) | Iron: 1mg (6%)
Did you make this recipe? Please leave a star rating and review below!
Rate this Recipe
