Grandma’s Classic Old Fashioned Chocolate Pie Recipe: Rich, Creamy & Irresistible
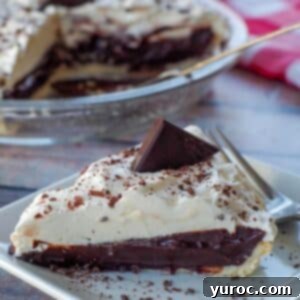
This **Old Fashioned Chocolate Pie** is more than just a dessert; it’s a timeless classic that brings warmth and nostalgia to any table. Perfect for holidays, special occasions, or simply when you crave a truly comforting treat, this pie features an intensely rich and velvety chocolate pudding filling. It’s perfectly complemented by a beautifully flaky pie crust and crowned with a generous, light, and fluffy whipped cream topping, which masterfully balances the deep richness of the chocolate. Crafted with simple pantry ingredients and requiring minimal effort, this easy chocolate pie recipe is quick to whip up, making it an ideal choice for a delicious homemade dessert.
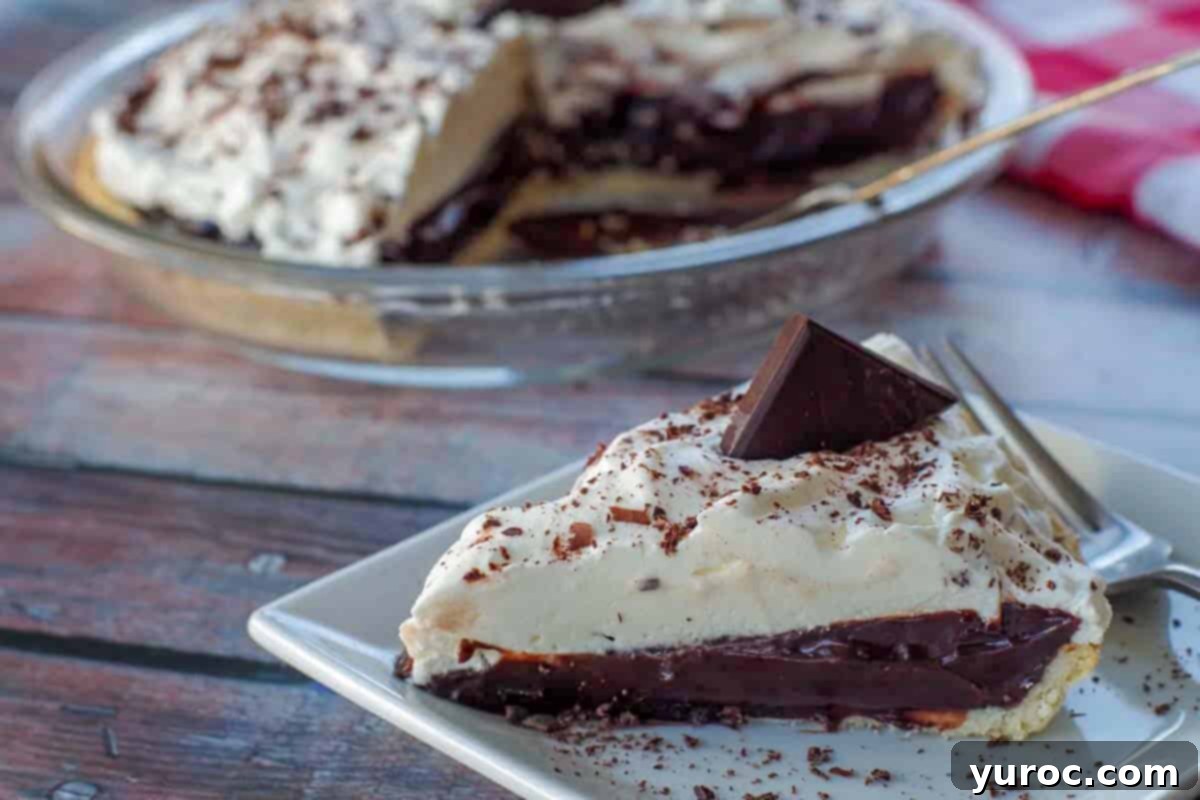
Certain recipes have a magical way of transporting us back to cherished childhood memories, and this chocolate pie is undoubtedly one of them. At every holiday gathering, my Grandma would lay out an impressive buffet of homemade pies, each one a testament to her incredible baking skills. Among her legendary spread – which included her tangy lemon pie, comforting pumpkin pie, unique saskatoon berry pie, and her renowned award-winning apple pie – her scrumptious chocolate pie was always highly coveted. This particular Old Fashioned Chocolate Pie isn’t just a holiday favorite; its universal appeal makes it popular all year ’round. It pairs beautifully with any festive or special occasion meal, such as my succulent Picnic Ham with Orange Glaze and classic Old Fashioned Scalloped Potatoes, creating a truly memorable dining experience.
[feast_advanced_jump_to]
My Grandma’s chocolate pie was always the dessert I looked forward to most – it’s a beloved family favorite passed down through generations. This is an authentic old-fashioned recipe, reminiscent of those popular during the 1930s and 40s, a true taste of Americana. The simplicity of its ingredients combined with its profound flavor makes it an enduring classic that continues to delight all who try it. It’s more than just food; it’s a piece of family history, lovingly prepared and shared.
🥘 Essential Ingredients for Your Homemade Chocolate Pie
One of the best things about this homemade chocolate pie recipe is that you likely already have most, if not all, of the ingredients on hand. This means no last-minute dashes to the grocery store, just pure baking bliss! Each ingredient plays a crucial role in creating the rich, creamy texture and deep chocolate flavor that makes this pie so irresistible.
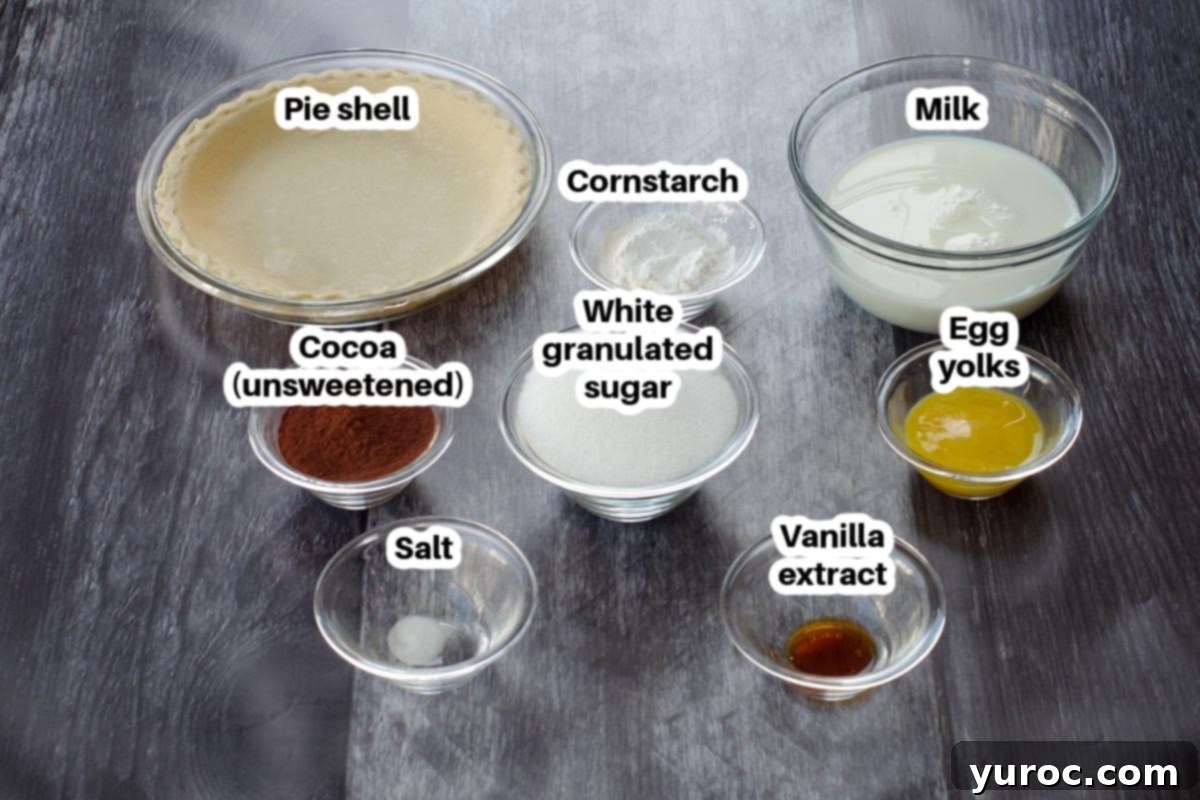
- Pie Crust: The foundation of any great pie begins with its crust. For the absolute best flavor and a truly homemade touch, I highly recommend using my Grandma’s Never Fail Pie Crust. As its name suggests, it’s reliably flaky and delicious every time. However, if you’re short on time or not in the mood for making pastry from scratch, a good quality store-bought pie shell works perfectly well. The key is to blind-bake it correctly to prevent a soggy bottom and ensure a crisp texture that contrasts beautifully with the creamy filling.
- Unsweetened Cocoa Powder: To achieve that intensely deep and authentic chocolate flavor, unsweetened cocoa powder is essential. Unlike baking chocolate, cocoa powder contains less fat and no added sugar, giving you complete control over the pie’s sweetness. This allows the rich, pure chocolate notes to shine through without being overly cloying.
- Cornstarch: This ingredient is the magic behind the pie’s perfectly thick and smooth, pudding-like consistency. Cornstarch acts as a superb thickening agent, ensuring your filling sets beautifully without being too firm or watery. It creates that luxurious, velvety mouthfeel we all love in a classic cream pie.
- Egg Yolks: The egg yolks are critical for lending extra richness and a wonderfully smooth, velvety texture to the chocolate filling. The fat content in the yolks helps to emulsify and bind the liquids and fats together, resulting in a more cohesive and decadent custard. They contribute significantly to the pie’s luxurious mouthfeel and deep, satisfying flavor profile. Save the egg whites if you plan on making a meringue topping!
- Granulated White Sugar: Sugar isn’t just for sweetness; it also plays a role in the texture of the filling and balances the slight bitterness of the unsweetened cocoa. The recipe specifies quantities for both the filling and the whipped cream topping, ensuring perfect sweetness throughout.
- Salt: A small amount of salt is a secret weapon in many chocolate desserts. It doesn’t make the pie taste salty; instead, it cleverly enhances and amplifies the complex chocolate flavors, making them richer and more pronounced.
- Milk: The type of milk you use can influence the ultimate creaminess of your pie. While I typically use 1% milk, 2% or whole milk will yield an even richer, more luxurious filling. Dairy-free milk alternatives can also be used for a lactose-free version.
- Vanilla Extract: A touch of pure vanilla extract is crucial for rounding out the flavors. It adds a warm, aromatic depth that complements and enhances the chocolate, preventing the pie from tasting flat and boosting its overall appeal.
*Please see the recipe card below for a full list of ingredients and precise quantities.
📖 Delicious Variations & Easy Substitutions
This Old Fashioned Chocolate Pie recipe is wonderfully versatile, allowing for several variations and substitutions to suit your dietary needs or personal preferences. Don’t be afraid to get creative and make it your own!
- Cornstarch alternatives – If you don’t have cornstarch on hand, you can substitute it with arrowroot powder, which works similarly. Alternatively, all-purpose flour can be used, but you might need a slightly larger quantity – up to ½ a cup – to achieve the same thickening power. Keep in mind that flour can sometimes give a slightly different texture than cornstarch.
- Milk options – You have flexibility with the type of milk. Feel free to use 1%, 2%, or whole milk, depending on your desired level of richness. Whole milk will yield the creamiest, most decadent filling. For a lactose-free version, simply opt for lactose-free dairy milk or your favorite dairy-free milk alternative like almond or soy milk.
- Whipped cream alternatives – While homemade whipped cream adds an unparalleled freshness and lightness, you can certainly use a store-bought topping like Cool Whip for convenience. Another classic option is to make a meringue topping using the leftover egg whites, which adds a beautiful, airy contrast. However, a crucial tip: **do NOT use spray whipped cream from a can** unless you are serving it immediately on individual slices, as it will quickly lose its structure and start to run.
- Pie shell variations – The choice of pie shell can also be customized. A high-quality store-bought pie shell is a great shortcut. For those who love to bake, a homemade pie crust provides superior flavor and texture. If you’re looking for something different, a graham cracker crust offers a delightful crumbly texture and sweet base that pairs wonderfully with chocolate.
- Lactose-free/Dairy-free options – Making this pie suitable for those with dietary restrictions is straightforward. Simply use lactose-free milk or a plant-based dairy-free milk alternative (such as almond, soy, or oat milk) and pair it with a non-dairy whipped topping.
- Gluten-free adaptation – For a gluten-free version, the easiest modification is to use a pre-made gluten-free pie crust. Ensure all other ingredients, like cocoa powder and cornstarch, are certified gluten-free if cross-contamination is a concern.
🔪 How to Make This Irresistible Old Fashioned Chocolate Pie
Crafting this classic chocolate pie is a straightforward process, broken down into a few simple steps. The key is to pay attention to the details, especially when cooking the filling, to ensure a perfectly smooth and creamy result.
Prep Work: Before you even start on the filling, you’ll need to prepare your pie crust. Blind bake your pie shell according to the instructions for your chosen recipe or package, until it’s golden brown and fully cooked. Allow it to cool completely before adding the filling. Whether you opt for a store-bought or a homemade pie crust, proper blind baking is crucial for a crisp base.
*Pro Tip for Blind Baking: If you’re using a deep-dish store-bought pie shell, make sure to prick the bottom of the crust generously with a fork. Alternatively, you can use pie weights to keep the crust from puffing up. Bake it for approximately 8-10 minutes at 400°F (204°C) until it’s lightly golden and set.
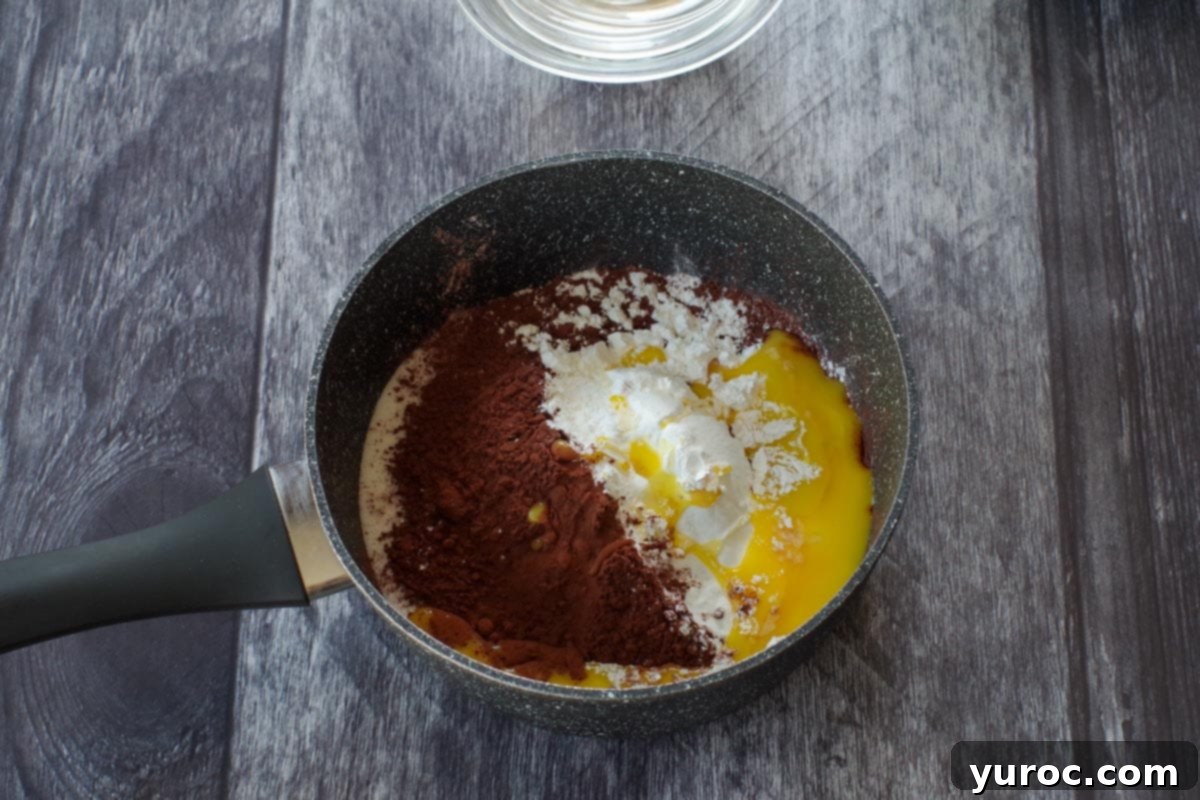
In a medium-sized saucepan, combine the unsweetened cocoa powder, cornstarch, beaten egg yolks, granulated sugar, vanilla extract, and salt. Whisk these ingredients together until well combined and smooth. Gradually add the milk to the mixture, stirring constantly to prevent lumps from forming. Place the pot over medium heat, continuing to stir gently.
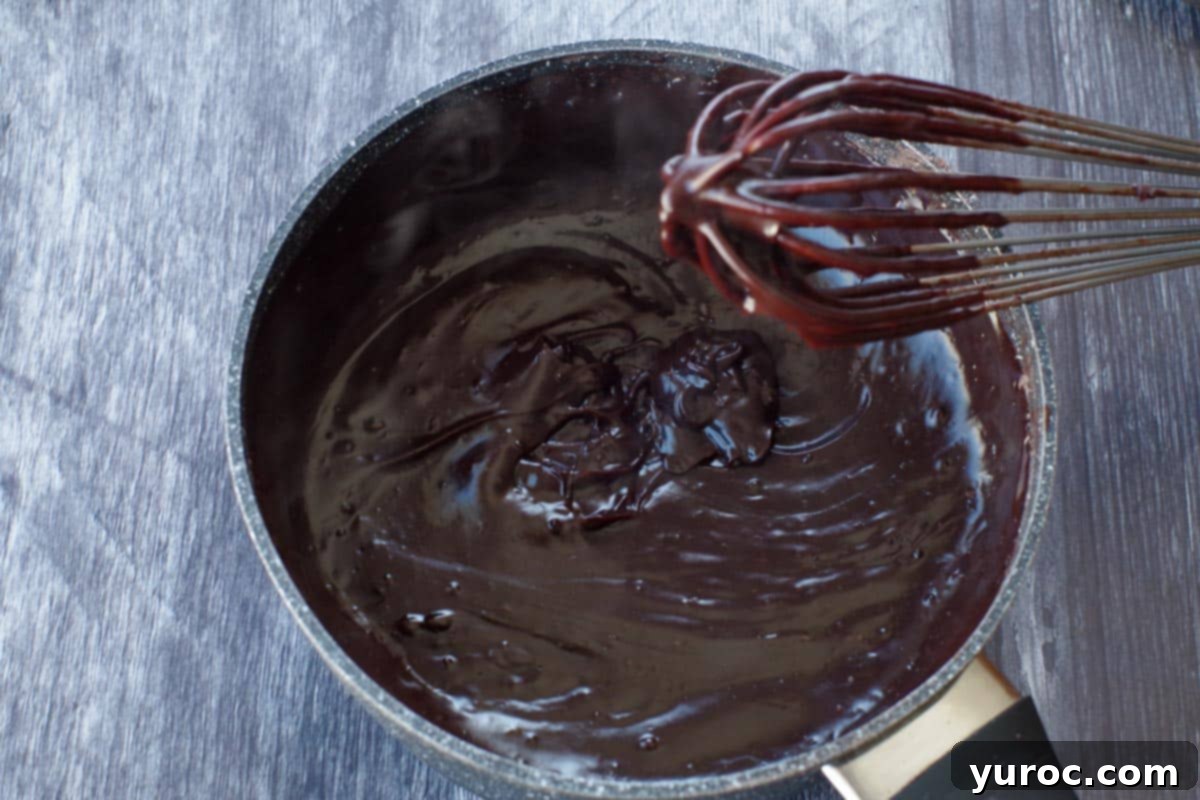
Continue to cook the chocolate mixture, stirring constantly with a whisk, until it becomes very thick, resembling a rich pudding. Be patient, as it typically won’t begin to thicken significantly until around 14-15 minutes of cooking. Once it starts to thicken, continue cooking and stirring for an additional 3-4 minutes to ensure the cornstarch is fully cooked and the filling reaches its ideal consistency. Cream pie fillings often take a little while to achieve the right thickness. Once thickened, remove from heat and let it cool for about 10 minutes, stirring occasionally to prevent a skin from forming.
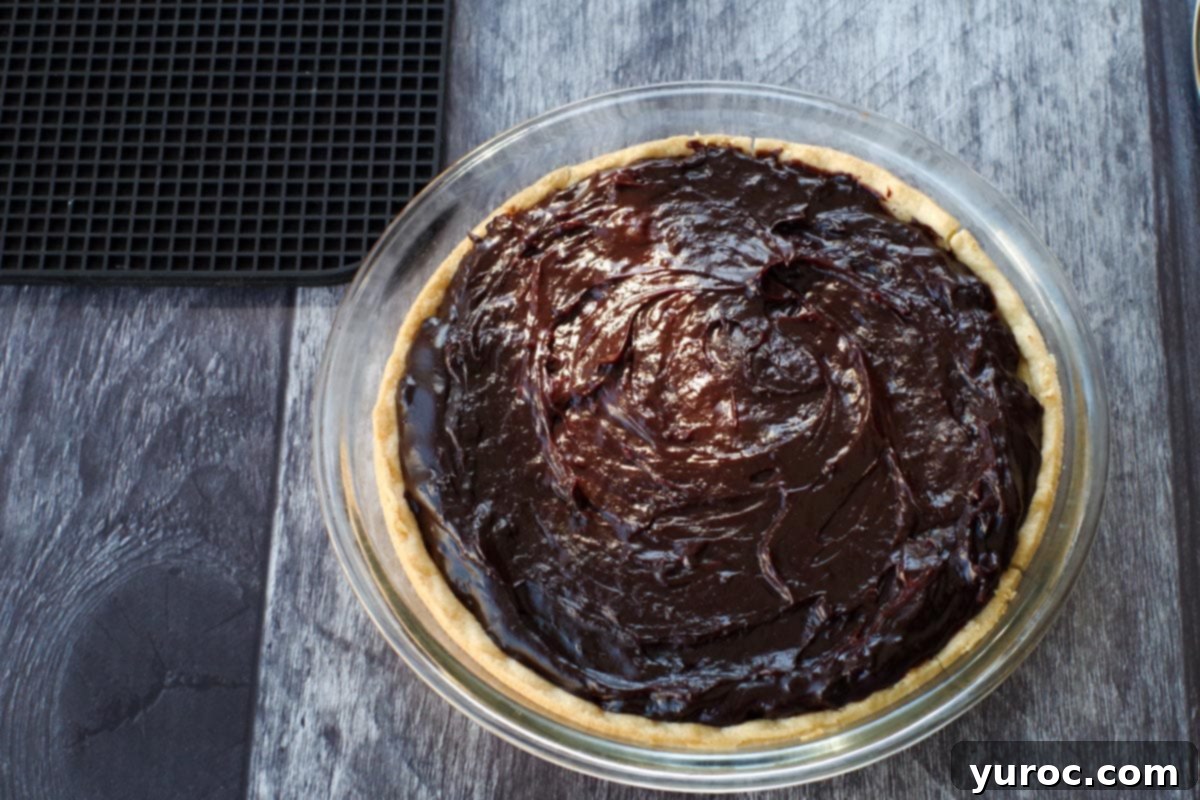
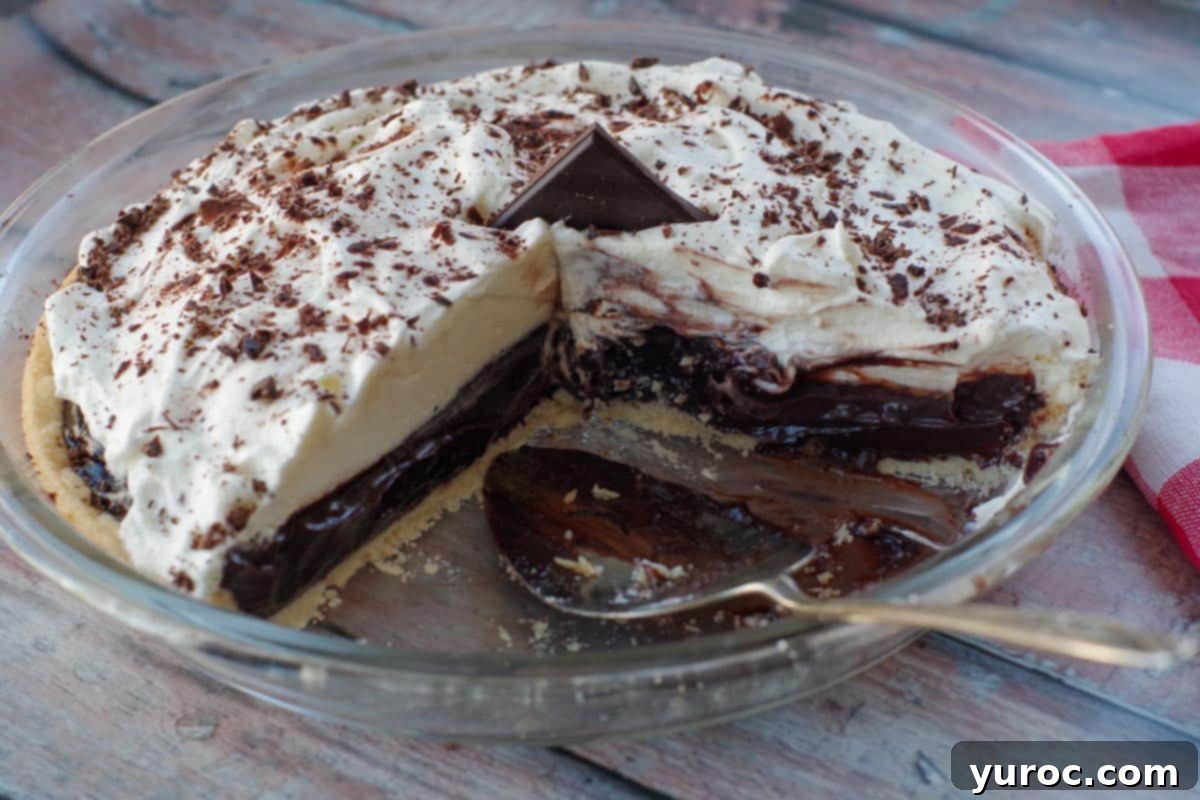
Carefully pour the warm, thick chocolate pie filling into your prepared and cooled pie crust. Spread it evenly. Once poured, immediately place the pie in the refrigerator to chill for at least 1-2 hours. This chilling step is absolutely essential to allow the filling to set completely and firm up before you add any topping.
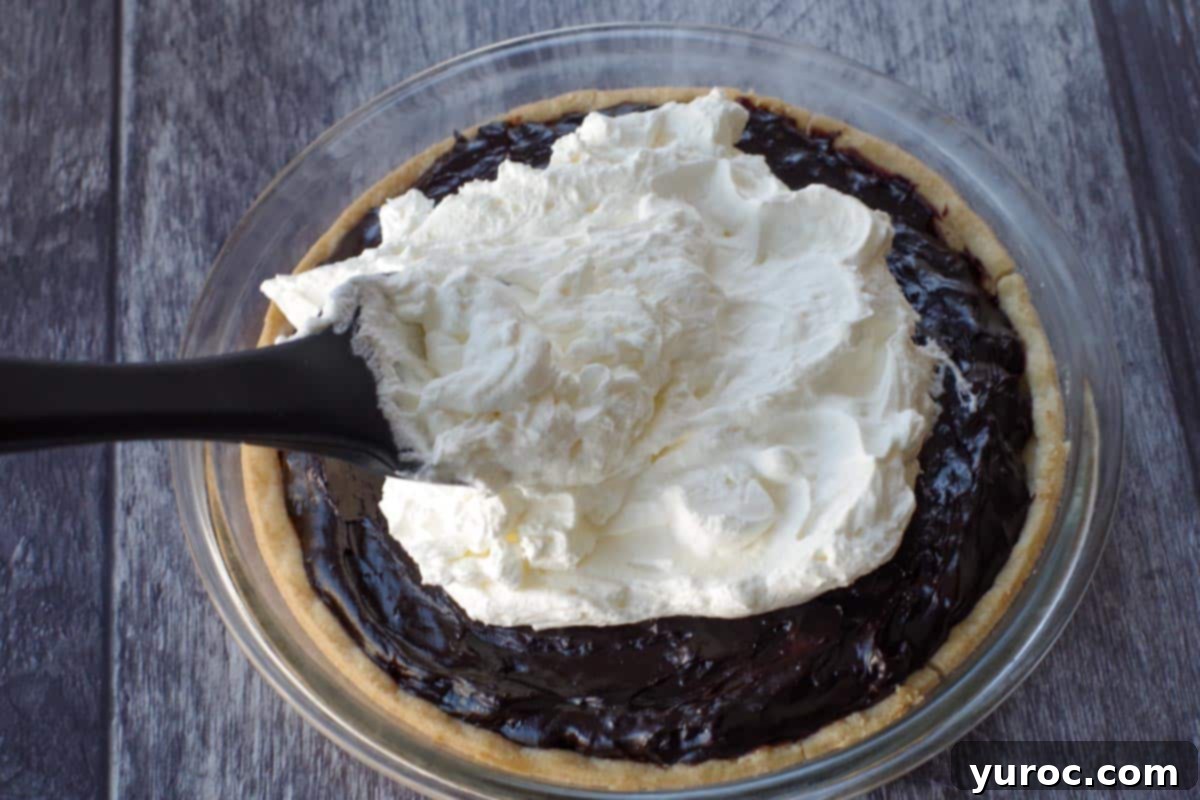
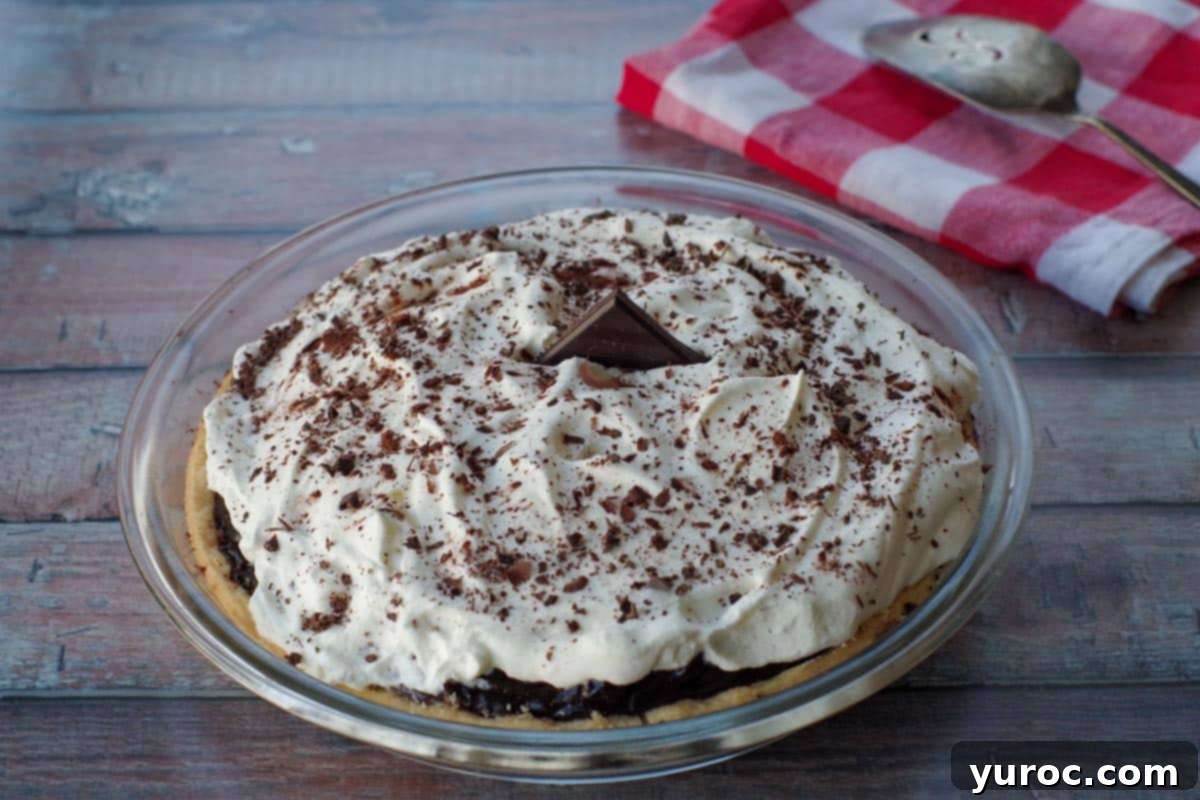
Just before you’re ready to serve your masterpiece, add a generous amount of freshly made whipped cream to the top of the chilled pie. Spread it evenly to cover the entire surface. If you prefer, you can use the leftover egg whites from the recipe to create a fluffy meringue topping instead. If opting for meringue, you would then bake the pie briefly to brown the meringue, similar to how you would prepare a lemon meringue pie.
How to Make Perfect Whipped Cream:
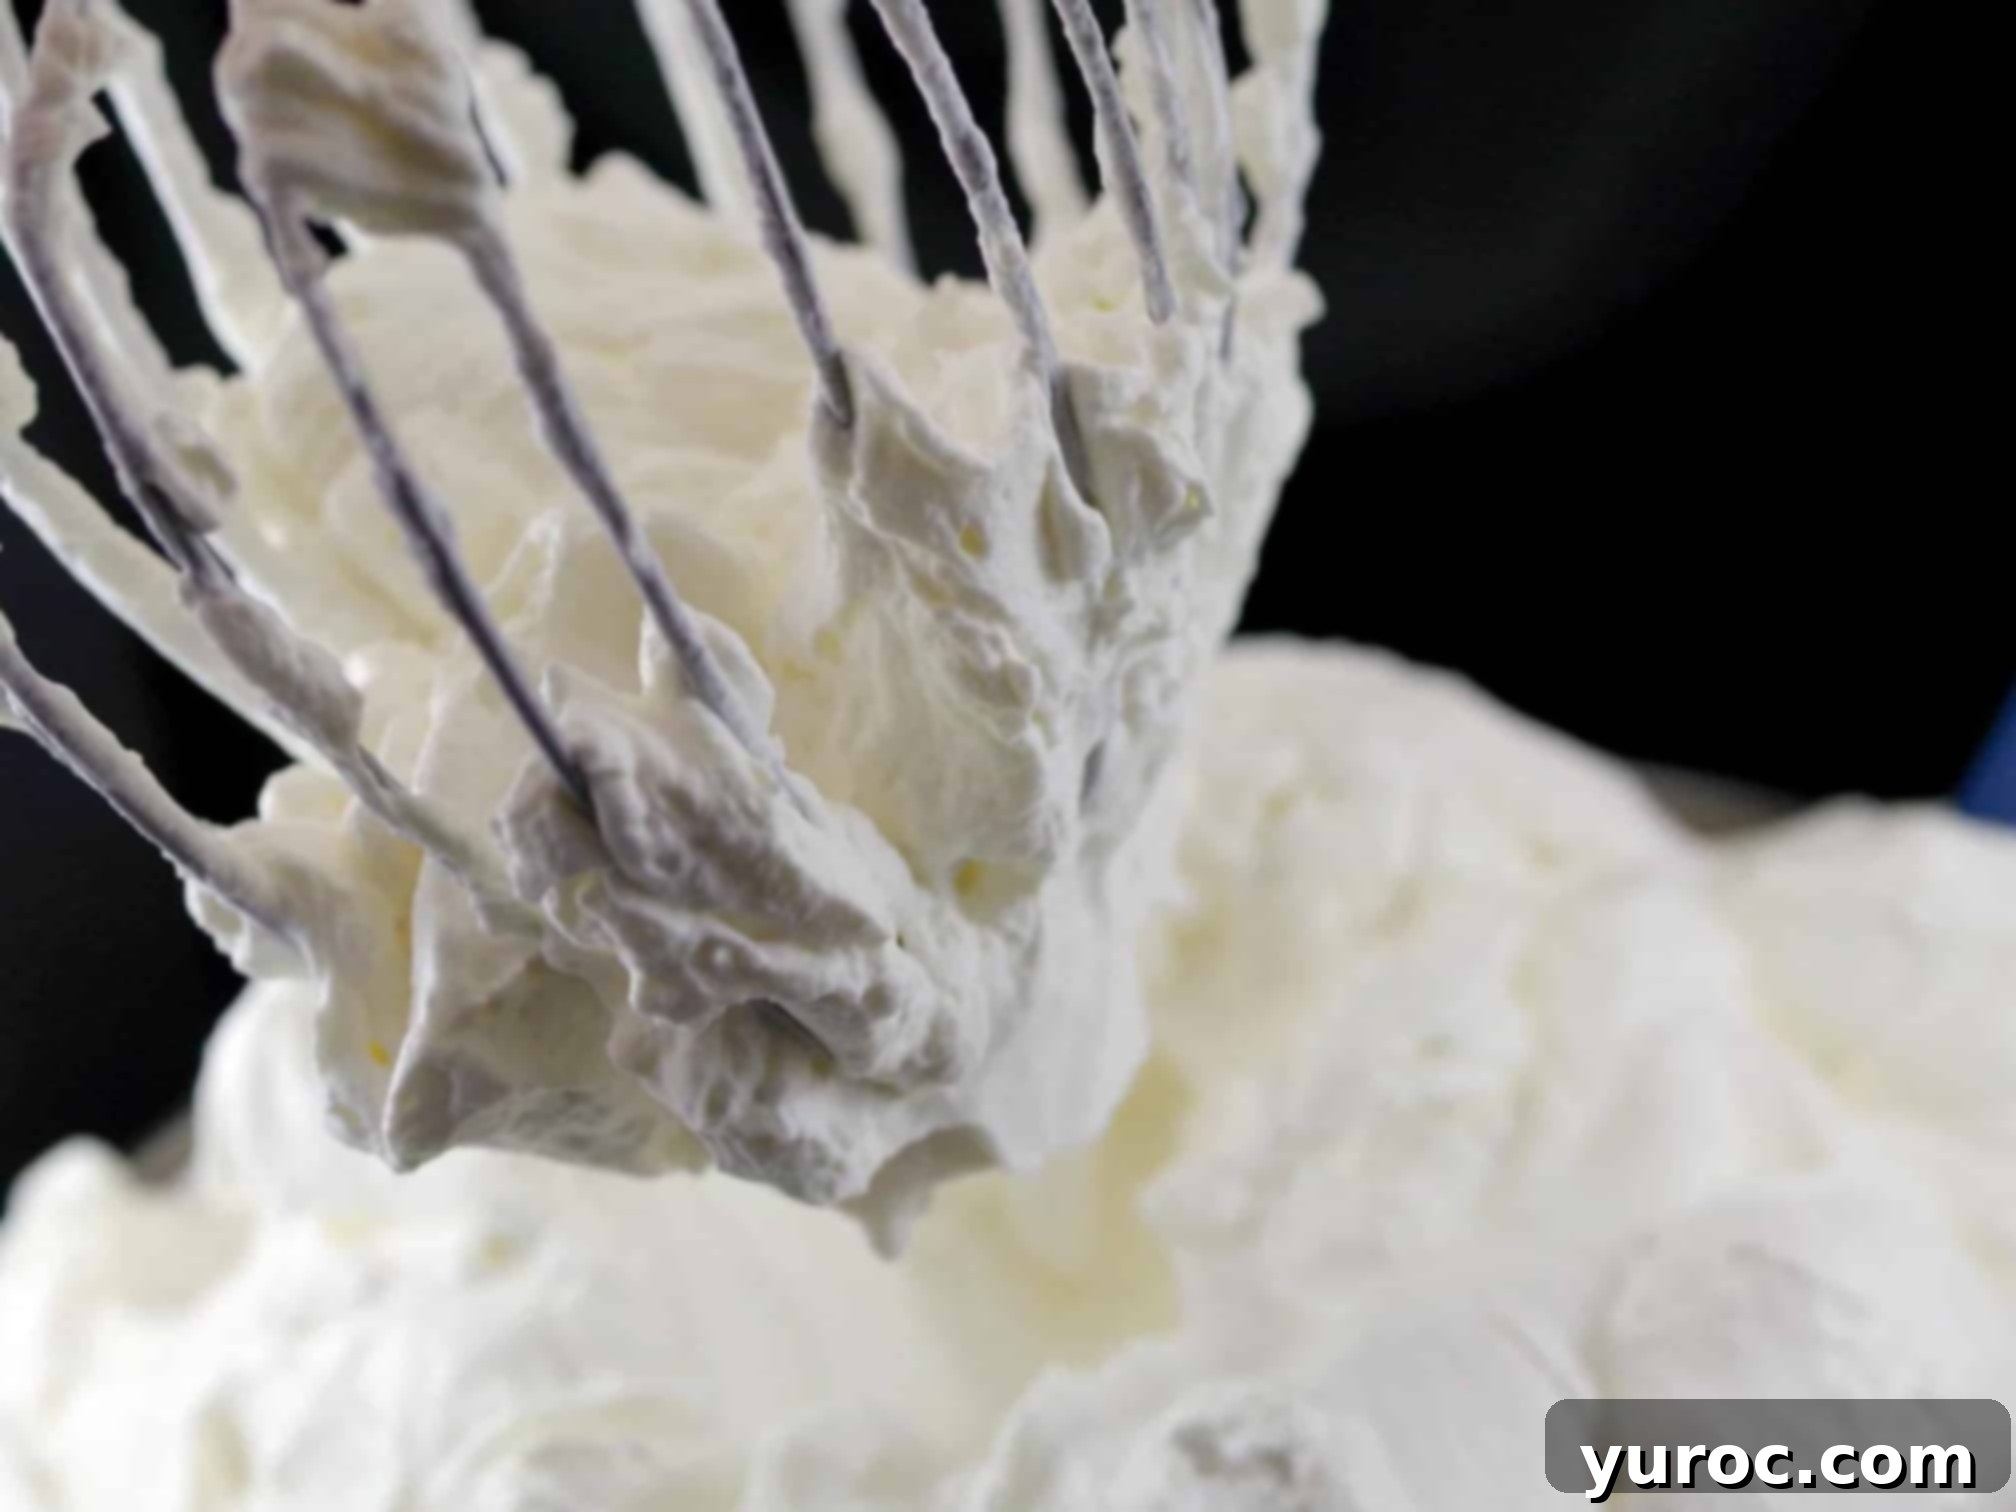
To make the luscious whipped cream topping, pour your cold heavy whipping cream (33-35% fat) into a large mixing bowl. Using an electric mixer on high speed, beat the cream until soft peaks begin to form. At this point, gradually add 2 tablespoons of granulated sugar (or more, to taste) and continue beating until stiff peaks form. Be careful not to overbeat, or you’ll end up with butter!
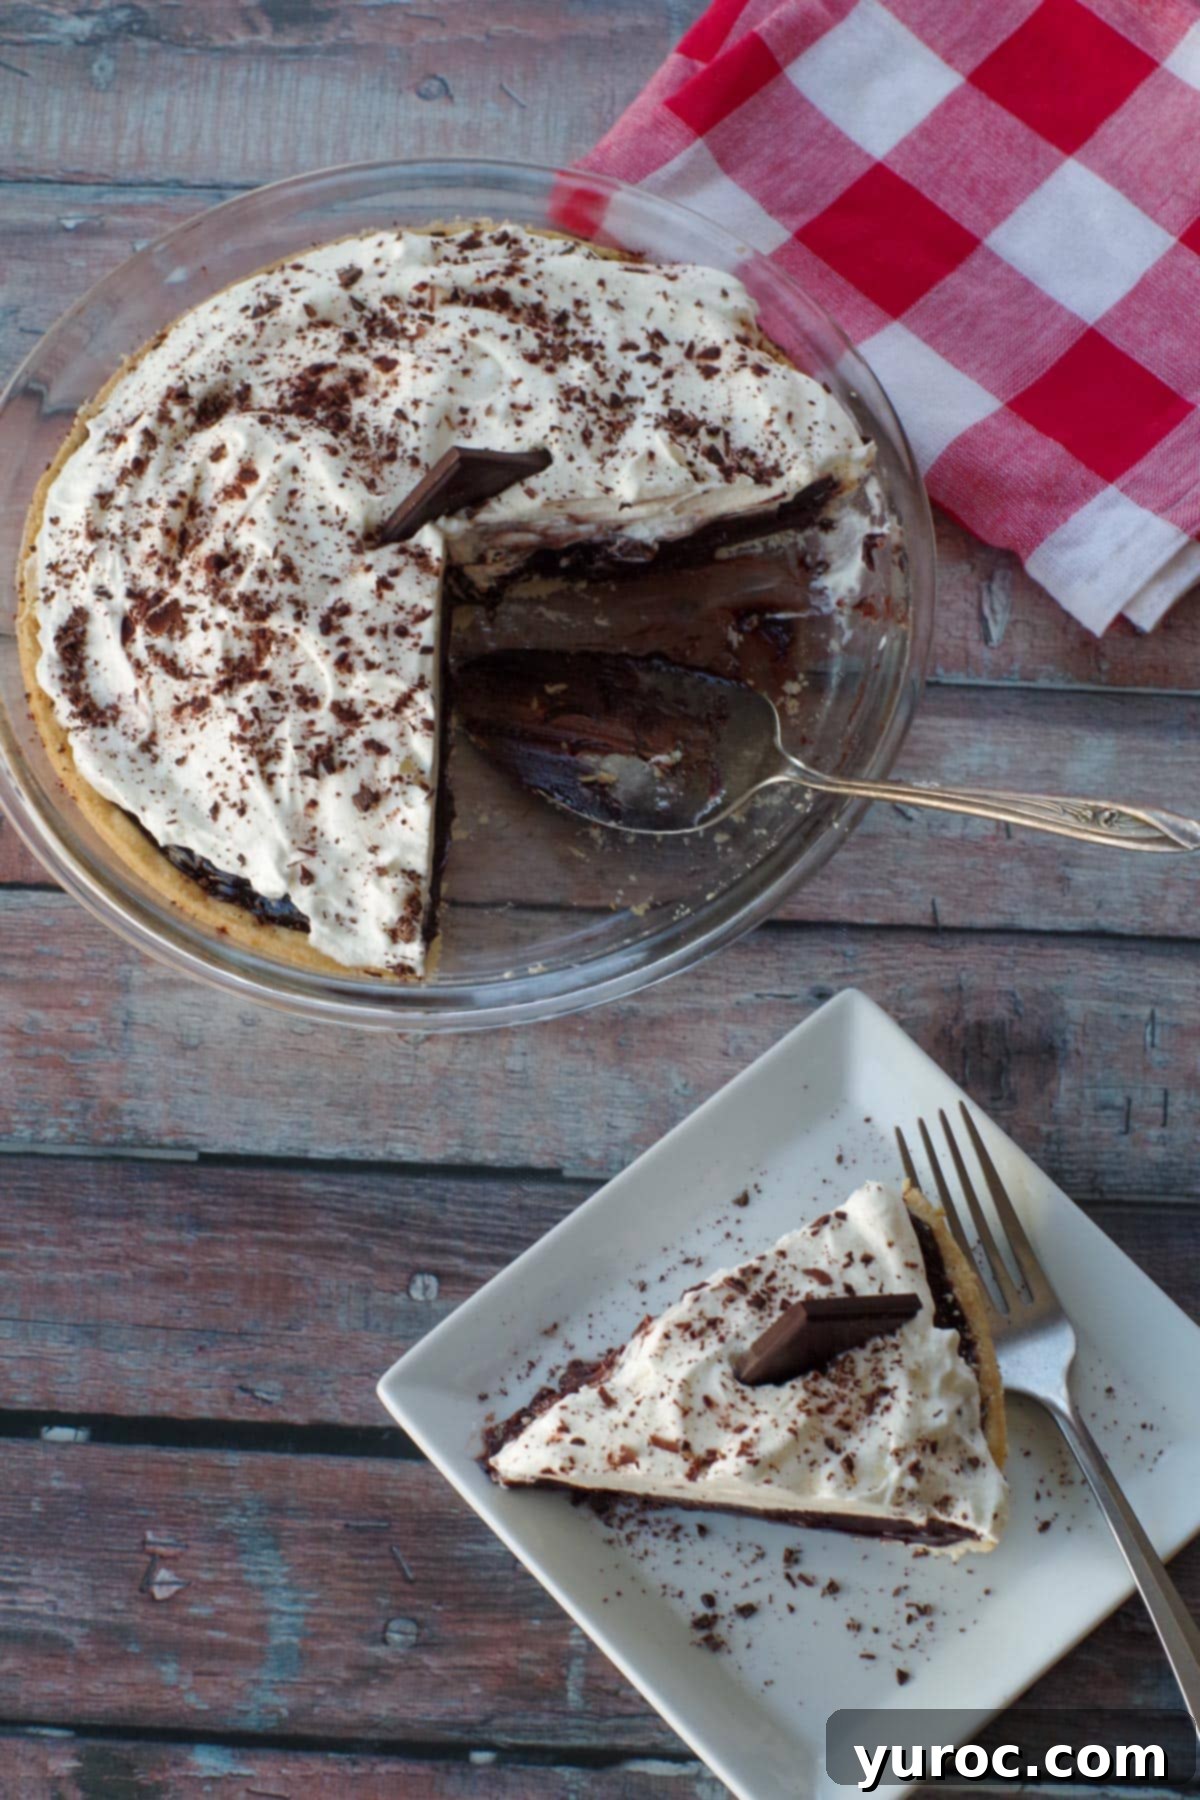
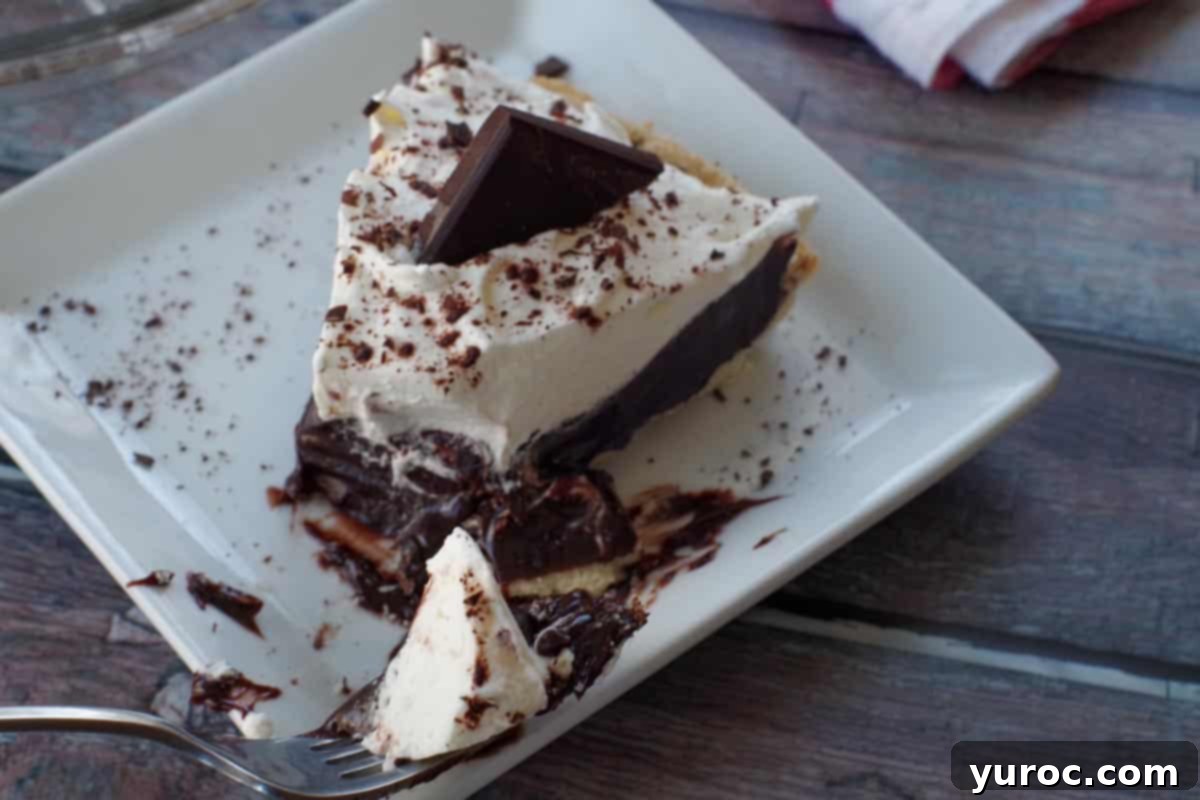
For an extra touch of elegance and visual appeal, garnish your Old Fashioned Chocolate Pie as desired. A light dusting of additional cocoa powder, delicate chocolate shavings, or small pieces of dark chocolate (I often use pieces of a Lindt dark chocolate bar for a touch of gourmet flavor) can truly elevate its presentation and add another layer of chocolatey goodness.
Top Tips for a Perfect Chocolate Pie
Achieving a perfect Old Fashioned Chocolate Pie is easier than you think, especially with these helpful tips and tricks:
- Avoid Overcooking the Filling: This is crucial! Be very careful not to overcook the chocolate pudding filling. Overcooking can lead to a dense, rubbery texture and may even cause the filling to “weep” (separate liquid) or become gritty. Cook it just until it’s thick and smooth, as described in the instructions.
- Monitor Temperature for Optimal Set: For precision, use an instant-read thermometer to check the temperature of your pie filling. It should be cooked to 160°F (71°C). This ensures that the cornstarch is fully activated and the egg yolks are safely cooked, without overdoing it.
- Blind Bake Your Pie Shell Correctly: When blind baking the pie shell, it’s essential to prick the bottom thoroughly with a fork or use pie weights (or dried beans/rice). This prevents the crust from shrinking down the sides of the pan and forming large air pockets, ensuring a beautifully even and crisp base for your filling.
- Chill Thoroughly Before Topping: Patience is a virtue when it comes to this pie. It is absolutely vital to chill the pie in the refrigerator for at least 1-2 hours (or even longer) before adding any whipped cream or other topping. This allows the chocolate filling ample time to set completely, ensuring clean slices and preventing the topping from melting or sinking into a still-warm filling.
- Use Quality Ingredients: While simple, the quality of your ingredients makes a difference. Good unsweetened cocoa powder, fresh eggs, and high-quality dairy will contribute to the best possible flavor.
- Whisk Consistently: Continuous whisking during the cooking process is key to preventing lumps and achieving a silky-smooth chocolate pudding. Don’t step away from the stovetop!
🥗 Main Dishes to Serve with This Heavenly Chocolate Pie
While this Old Fashioned Chocolate Pie is undeniably a showstopper on its own, it also makes the perfect sweet ending to a wide variety of main courses. Honestly, I can hardly think of a meal that wouldn’t be enhanced by a slice of this decadent treat!
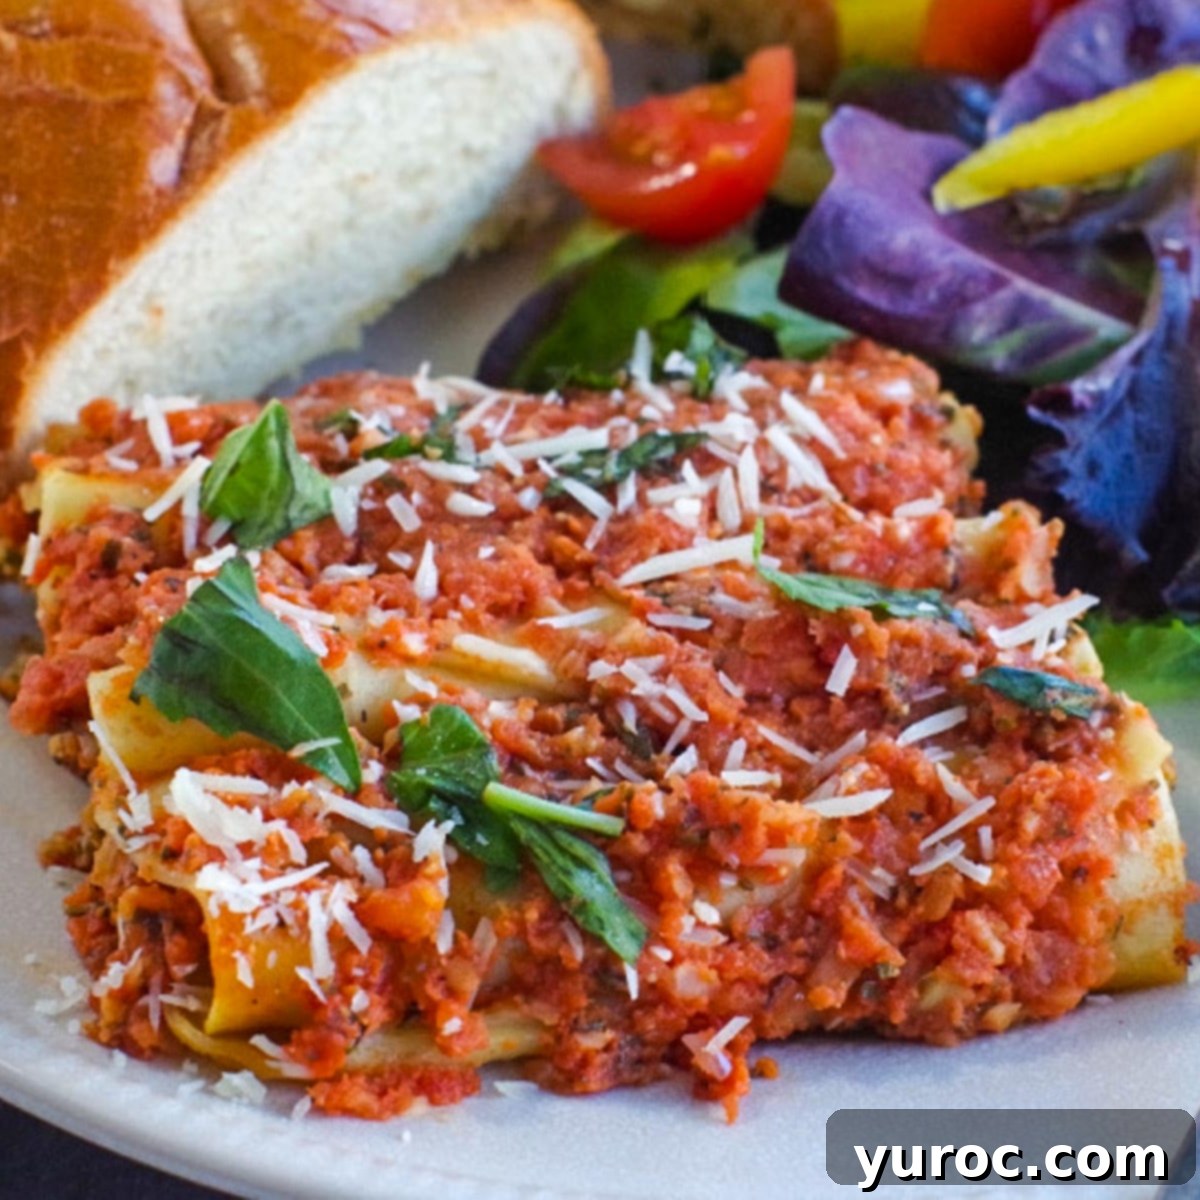
If you’re planning a more casual occasion, like a summer family get-together or a relaxed weeknight dinner, consider serving this chocolate pie after my hearty Slow Cooker Beef on a Bun. The savory, tender beef and soft buns create a satisfying contrast to the sweet richness of the pie. For those busy days when you need a make-ahead solution, this pie beautifully follows my comforting Make Ahead Lasagna! The classic flavors of lasagna and chocolate pie are a match made in heaven for easy entertaining.
Should you be aiming for a more elegant dinner and have a bit more time to spare in the kitchen, I highly recommend serving this classic chocolate pie after my exquisite Baked Beef Cannelloni. The robust, Italian-inspired flavors of the cannelloni provide a wonderful counterpoint to the sweet, creamy chocolate, elevating the entire dining experience to something truly special. The rich, savory notes of the main dish set the stage perfectly for the indulgent sweetness of the pie.
🌡️ How to Store Your Old Fashioned Chocolate Pie
Proper storage is key to keeping your Old Fashioned Chocolate Cream Pie fresh and delicious for as long as possible. Given its creamy filling, refrigeration is a must.
Store any leftover chocolate pie in an airtight container in the fridge. This will keep it fresh and tasting great for up to 3 days. An airtight container prevents the pie from absorbing other odors in the refrigerator and keeps the crust from becoming soggy.
If you’re looking to prepare this pie further in advance, it freezes surprisingly well. However, there’s a crucial caveat: **do not add any whipped cream or meringue topping before freezing.** Freeze the pie with just the chocolate filling in its crust. Once completely frozen, you can wrap it tightly in several layers of plastic wrap and then aluminum foil to prevent freezer burn. It will last in the freezer for up to 1-2 months. When you’re ready to serve, thaw the pie completely in the refrigerator, and then add your freshly whipped cream or meringue topping just prior to serving for the best texture and appearance. If you are only storing it overnight, simply covering it tightly with plastic wrap will suffice.
*If you plan to use a meringue topping instead of whipped cream, please refer to this post for detailed directions on making meringue. Remember, **do not freeze the pie with meringue or whipped cream on it**, as both toppings will significantly degrade in texture upon thawing.
👪 Serving Size and Adjustments
This delightful recipe for Old Fashioned Chocolate Pie is designed to yield 6 generous servings, making it perfect for a family dessert or a small gathering. However, if you need to adjust the recipe to accommodate more or fewer guests, it’s incredibly simple to do so.
You can easily half, double, or even triple the recipe by clicking on the serving number (typically highlighted or adjustable within the recipe card) and selecting your desired number of servings. The ingredient quantities will automatically adjust to scale accordingly, taking the guesswork out of conversion. Please keep in mind that if you significantly increase the recipe, you will likely need additional pie pans to accommodate the larger volume of filling and crust. Always ensure you have enough bakeware if you’re planning a bigger batch!
❔ Frequently Asked Questions About Chocolate Pie
Got questions about making this classic chocolate pie? We’ve got answers to some of the most common queries to ensure your pie turns out perfectly every time.
Absolutely! You can prepare the chocolate pudding filling up to 3 days in advance. Once it’s cooked and cooled, transfer it to an airtight container and store it in the refrigerator. When you’re ready to assemble the pie, simply give the chilled pudding a quick whisk to smooth it out before pouring it into your pre-baked pie shell. This is a great time-saver for busy schedules or holiday meal prep.
Yes, this step is absolutely critical for the success of your pie. The chocolate filling needs to cool completely and set firm before you even think about adding the whipped cream or any other topping. This typically requires at least 1-2 hours in the refrigerator, but longer is even better. Adding whipped cream to a warm or even slightly warm filling will cause it to melt, weep, or sink, ruining the texture and appearance of your beautiful pie.
There are several common reasons why your chocolate pie filling might not be setting correctly. The most frequent culprits include: the heat from the stovetop element was too high, causing the starch to break down; the filling was undercooked and didn’t reach the proper thickening temperature; the pie wasn’t allowed enough time to chill in the refrigerator; or there were ingredient substitutions (like using less cornstarch or a different type of milk) that affected the setting power. Ensure you cook the filling until visibly thick and allow ample chilling time.
Yes, due to its dairy-based pudding filling and whipped cream topping, this type of chocolate pie absolutely needs to be stored in the refrigerator. It is not safe to leave it at room temperature for extended periods. When stored properly in an airtight container in the fridge, it will last deliciously for up to 5 days, though it’s often best enjoyed within 2-3 days.
This decadent Old Fashioned Chocolate Pie truly is a chocolate lover’s dream and a dessert the whole family will adore. With its creamy, rich filling and satisfying textures, it’s a nostalgic treat that never goes out of style. So, if you’re searching for a simple, yet incredibly delicious and impressive pie that’s easy to make, you’ll fall in love with this classic Old Fashioned Chocolate Pudding Pie!
And for those who believe there’s no such thing as too much chocolate, if you find yourself utterly captivated by rich chocolate desserts like this timeless pie, then another absolute must-try recipe for true chocoholics is my incredibly indulgent Death by Chocolate Trifle (with Kahlua)! It’s an experience in pure chocolate bliss.
🥧 More Irresistible Pie Recipes to Explore
- Award-winning Deluxe Apple Pie Recipe
- Old Fashioned Lemon Pie
- Maple Pecan Pie (with Bourbon Whipped Cream)
- Saskatoon Berry Pie (Filling and Sauce)
Did your family ❤️ this recipe? Did you know that commenting and ⭐ rating recipes is one of the best ways to support your favorite recipe creators? If you LOVED this recipe, please comment and rate it in the recipe card below, or share photos on social media using the hashtag #foodmeanderings or tagging @foodmeanderings!

📋 Old Fashioned Chocolate Pie Recipe
Print Recipe
Pin
Save RecipeSave Recipe
Rate
Add to Shopping ListGo to Shopping List
Equipment
-
9 inch pie plate
-
whisk
-
electric mixer
-
instant read thermometer
Ingredients
- 9 inch -pie shell (blind baked) *See NOTES for blind baking instructions. I used a deep dish pie shell.
- ½ cup unsweetened cocoa powder
- ¼ cup cornstarch
- 3 large egg yolks
- 1 ½ cup white granulated sugar + 2-4 tablespoons for whipped cream topping
- ¼ teaspoon salt
- 2 cups milk * I typically use 1% milk, but 2% or whole milk can be used for a richer pie.
- 1 teaspoon vanilla extract
- 2 cups cold whipping cream (heavy cream 33-35%)
Optional Garnish
- Additional cocoa powder for dusting
- Chocolate shavings
- Chocolate pieces * I prefer using small pieces of a Lindt dark chocolate bar for extra richness.
Instructions
-
Prepare Pie Shell: Blind bake a 9-inch pie shell according to the directions of your preferred pie crust recipe or package. Ensure it’s fully cooked and golden brown.
*Refer to the NOTES section if you need guidance on how to blind bake a pie shell properly.
-
Make Chocolate Filling: In a medium saucepan, whisk together the cocoa powder, cornstarch, beaten egg yolks, granulated sugar, vanilla extract, and salt until smooth.
Gradually add the milk, stirring continuously, then place the pot over medium heat.
-
Cook the Filling: Cook the mixture, whisking constantly, until it becomes very thick, like a pudding. Note that it typically takes about 14-15 minutes to start thickening, then continue cooking for another 3-4 minutes to ensure it reaches its full thickness and the cornstarch is cooked through.
Remove from heat and let the filling cool for about 10 minutes, stirring occasionally.
-
Pour and Chill: Pour the slightly cooled chocolate filling into your pre-baked and cooled pie shell. Spread it evenly. Immediately place the pie in the refrigerator to chill for at least 1-2 hours until the filling is completely set.
-
Add Topping: Just prior to serving, add your freshly prepared whipped cream generously over the top of the chilled pie.
*Alternatively, you can use the 3 leftover egg whites to make a fluffy meringue topping, then bake the pie briefly to brown the meringue.
Garnish
-
For an extra touch, garnish your pie with a sprinkle of cocoa powder, delicate chocolate shavings, or small chocolate pieces, if desired.
Notes
Recipe Tips for a Perfect Pie:
-
- Be careful not to overcook the filling, which will make it very dense and can even cause it to weep and separate. Cook just until thickened.
-
- For optimal texture and safety, the pie filling should be cooked to an internal temperature of 160°F (71°C). Use an instant-read thermometer to check.
-
- When blind baking the pie shell, ensure you prick the bottom of the crust thoroughly with a fork or use pie weights. This prevents the crust from puffing up or shrinking during baking.
-
- A crucial step: Be sure to chill the pie in the fridge for at least 1-2 hours before adding your whipped cream or any other topping. This ensures the filling is fully set.
🌡️ How to Store Chocolate Cream Pie
Store any leftover Old Fashioned Chocolate Cream Pie in an airtight container in the fridge for up to 3 days.
The pie freezes well if you want to prepare it ahead. However, do NOT put any whipped cream or meringue topping on it until it’s fully thawed and just prior to serving. Wrap the filling-only pie tightly in plastic wrap and then foil. If only storing overnight, plastic wrap is sufficient.
*If you choose to make a meringue topping instead of whipped cream, please refer to this post for detailed directions on creating the meringue. **Do not freeze the pie with meringue or whipped cream on it, as the texture will be compromised upon thawing.**