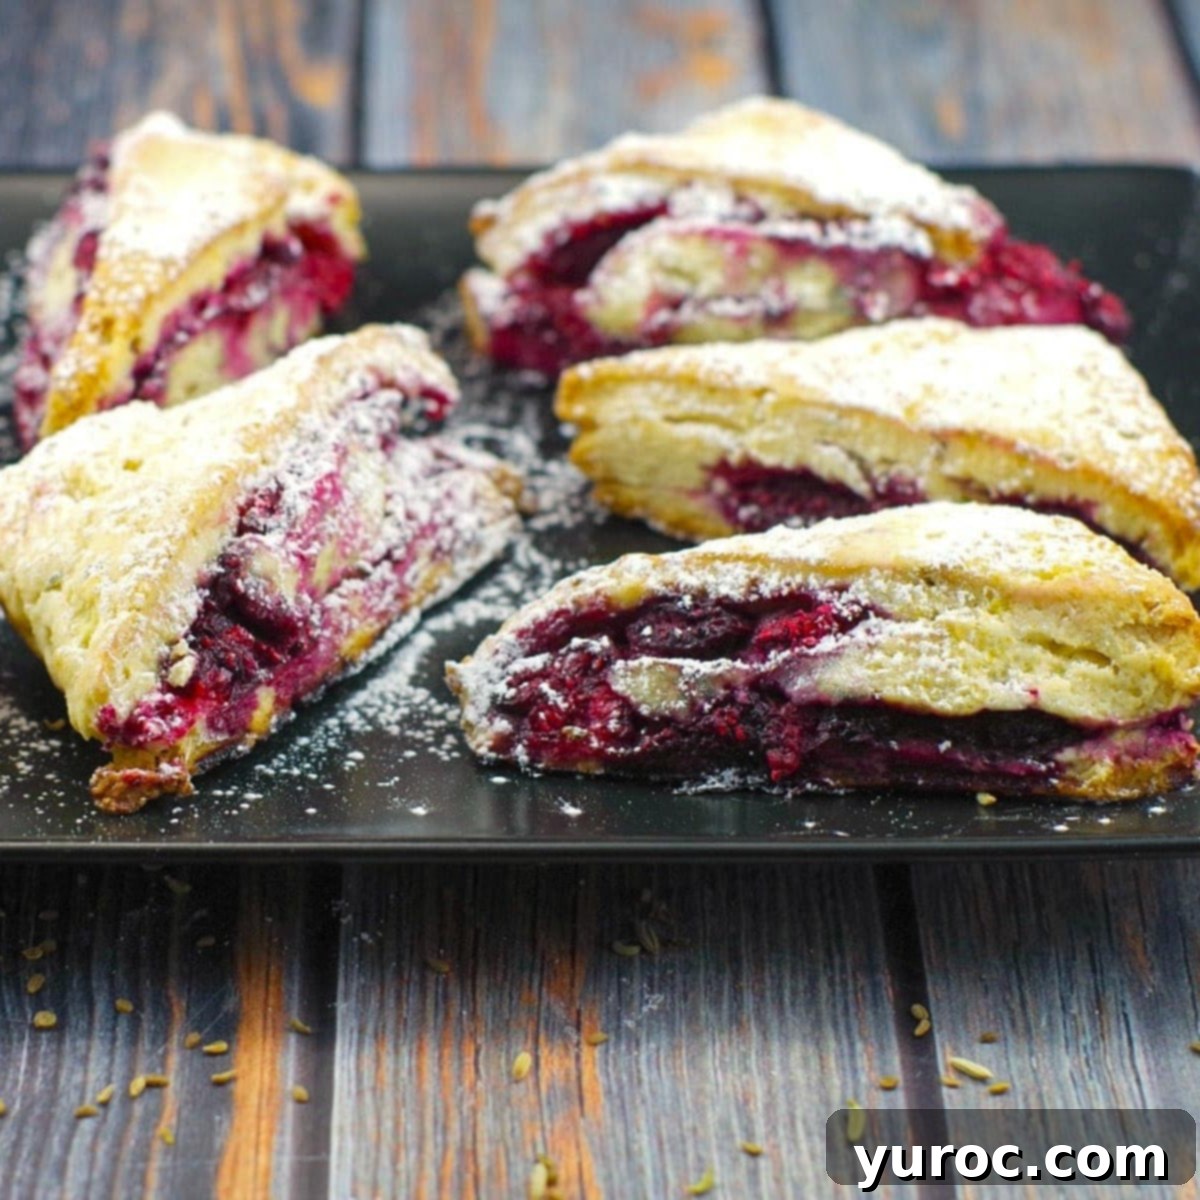
Fluffy Raspberry Lemon Scones: An Easy, Buttermilk-Free Recipe with a Hint of Anise
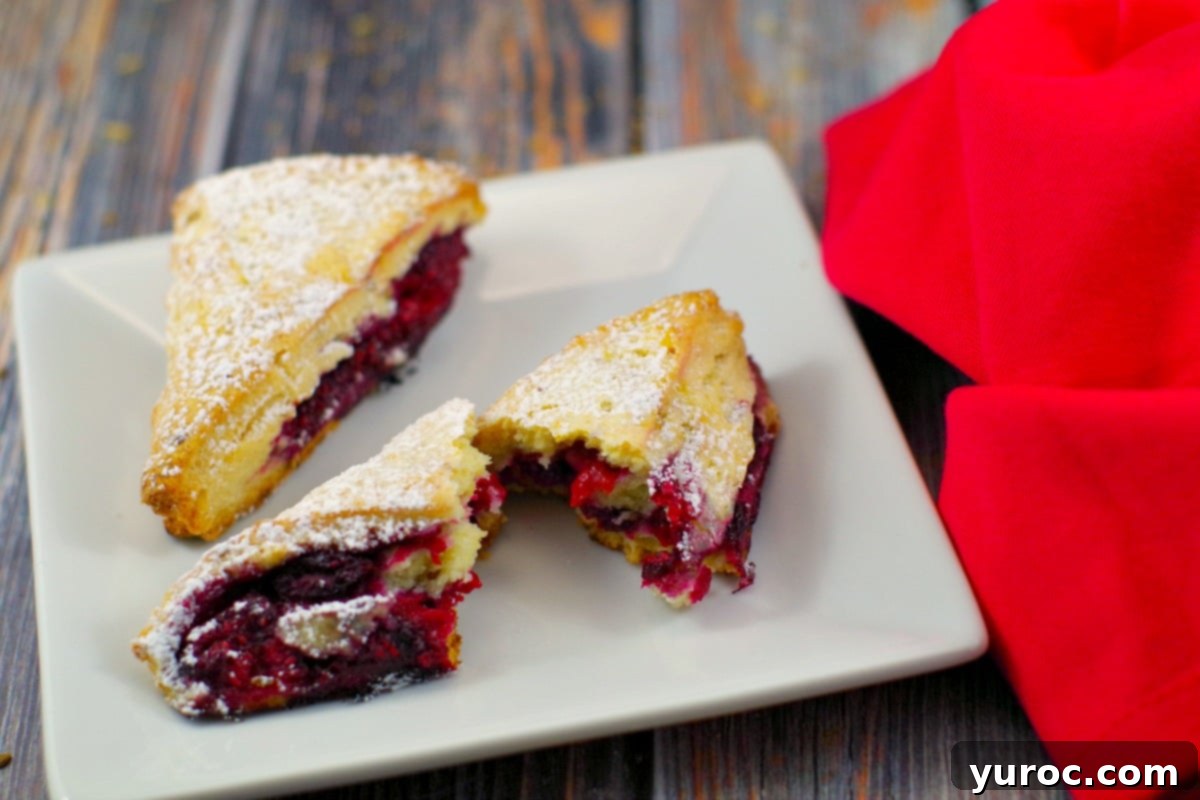
Discover the delightful secret to truly tender and flaky scones with our unique Raspberry Lemon Scones recipe. Crafted without buttermilk, these scones achieve an unparalleled texture thanks to heavy cream and a special technique. What truly sets them apart, however, is a subtle, enchanting hint of licorice flavor from aniseed and fennel. This unexpected twist creates a perfect balance of sweet and tart, elevating these scones from a simple baked good to a memorable breakfast or brunch centerpiece.
For years, I believed scones belonged to a category of “old-fashioned” foods I wouldn’t enjoy – perhaps a lingering misconception from encountering dry, crumbly versions. However, a bite of a truly exceptional scone, much like this Raspberry Lemon Scone, completely transformed my perspective. It proved that a well-made scone is a culinary masterpiece of light, buttery layers and vibrant fruit flavors. If your past experiences with scones haven’t been stellar, prepare for an awakening! This recipe is designed to convert even the skeptics.

These exquisite raspberry lemon scones are more than just a treat; they’re an experience. They’re ideal for special occasions like Mother’s Day brunch, a festive holiday gathering, or simply to elevate an everyday weekend breakfast. Their impressive appearance and irresistible flavor also make them a fantastic choice for potlucks, sure to gather compliments. If you’re planning a potluck, be sure to explore our other delicious breakfast potluck recipes for more inspiration!
🍒 Reader Review
“I accidentally left out the sugar, and everyone said they were great! Oh, also. I did not have aniseed or fennel, so I substituted allspice🤪. But as I said, everyone said they were great!” ⭐⭐⭐⭐⭐
This fantastic reader review perfectly captures the adaptable and universally loved nature of these scones. Even with ingredient adjustments, the core elements of tender texture and bright fruit flavor shine through, proving just how robust and delightful this recipe is!
Scones boast a rich history, tracing their origins back to Scotland as early as the 1500s. Originally round, flat, and oat-based, they were often cooked on a griddle. Over centuries, they evolved, becoming more refined with the introduction of leavening agents like baking powder and butter, and transitioning to oven-baking. Their enduring popularity across generations and cultures, from traditional British tea-time to American brunch tables, is a testament to their comforting appeal and delicious versatility. Foods that stick around for this long usually do so for a very good reason: they’re incredibly good!
If you’re already a connoisseur of delightful scones and are looking for more variations, you absolutely must try my Rustic Apple Scones recipe. It offers a different, yet equally satisfying, flavor profile perfect for autumn or any time you crave a touch of spiced apple goodness.
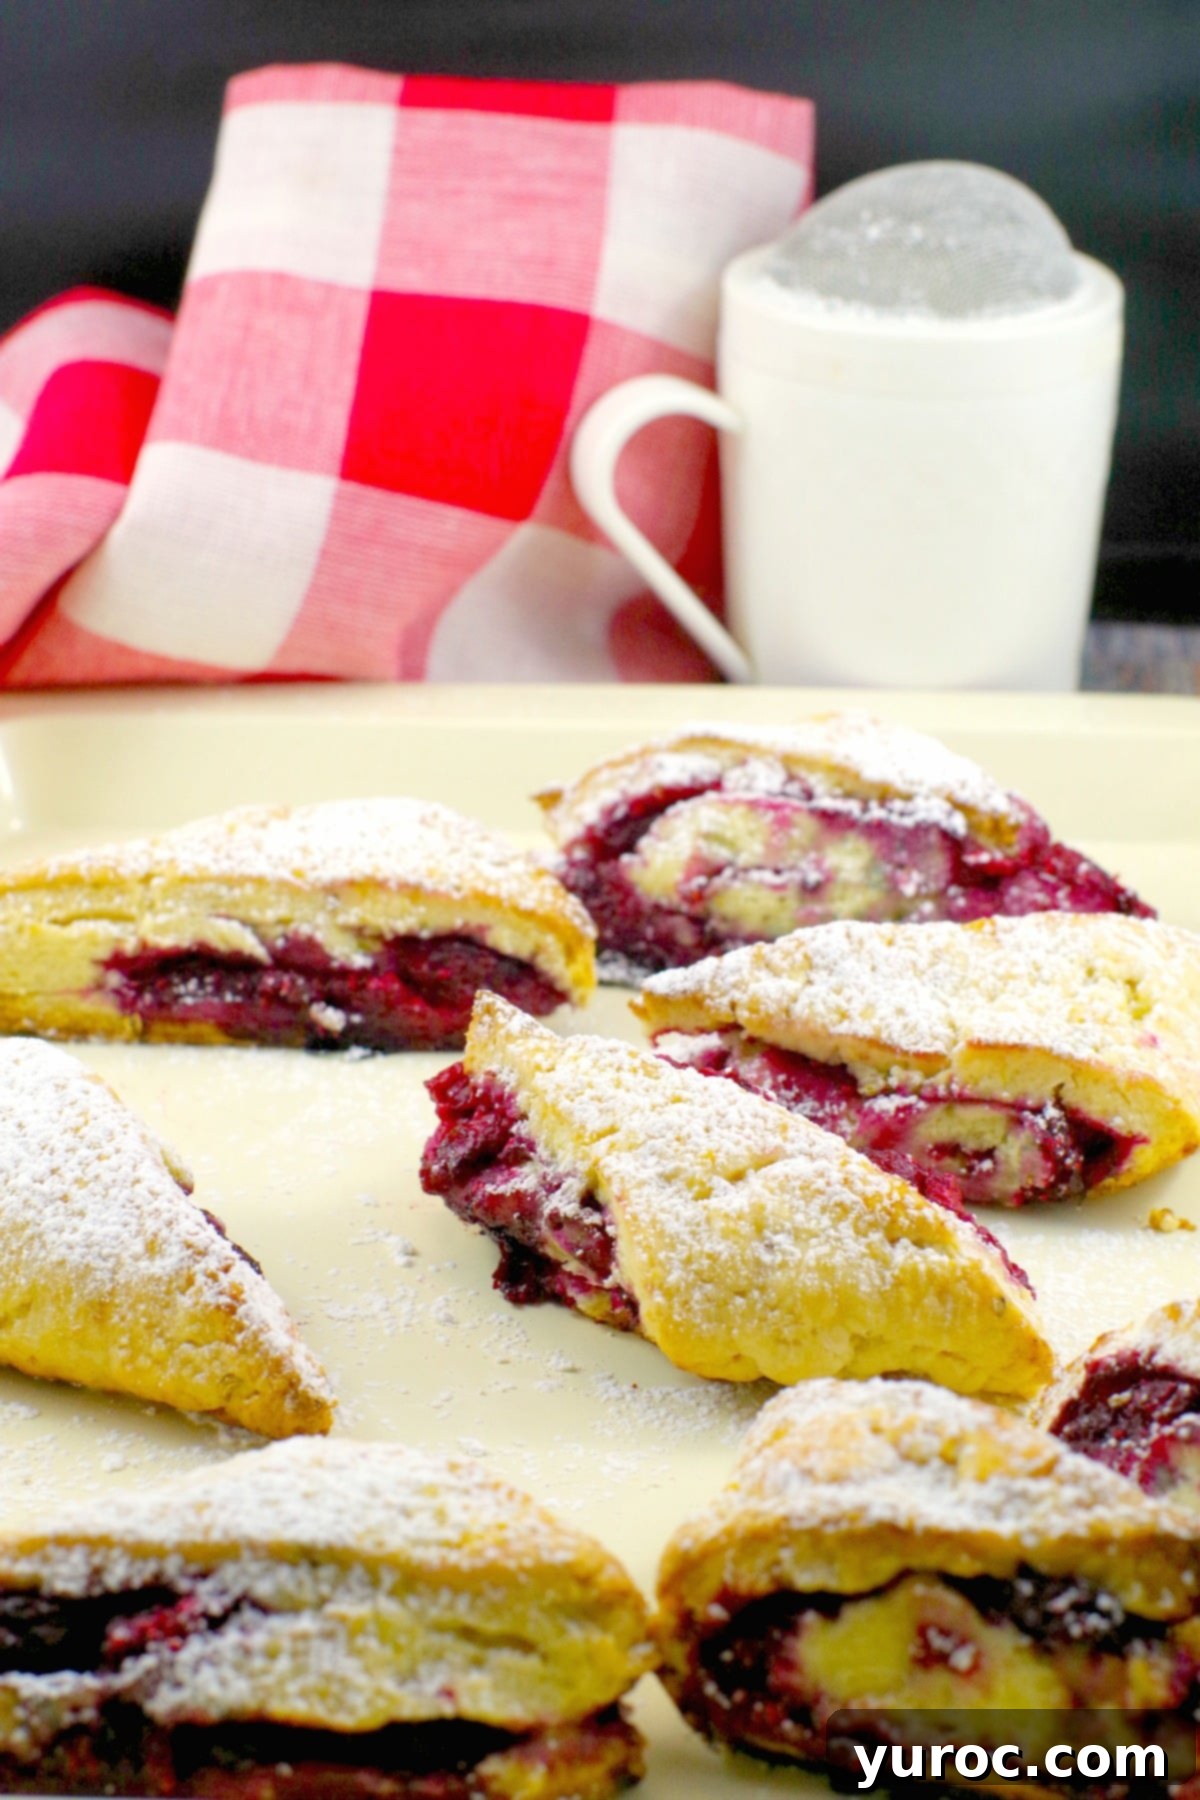
🥘 Ingredient Notes for Perfect Scones
Crafting these soft, tender, and uniquely flavorful scones relies on a careful selection of ingredients and techniques. This recipe thoughtfully incorporates frozen raspberries, rich heavy cream, and vibrant fresh lemon zest into the dough, creating a harmonious blend of textures and tastes. But the real game-changer is the subtle addition of aniseed and fennel, which infuse the scones with an unexpectedly delicious hint of licorice. Prepare to be amazed by how these flavors intertwine!
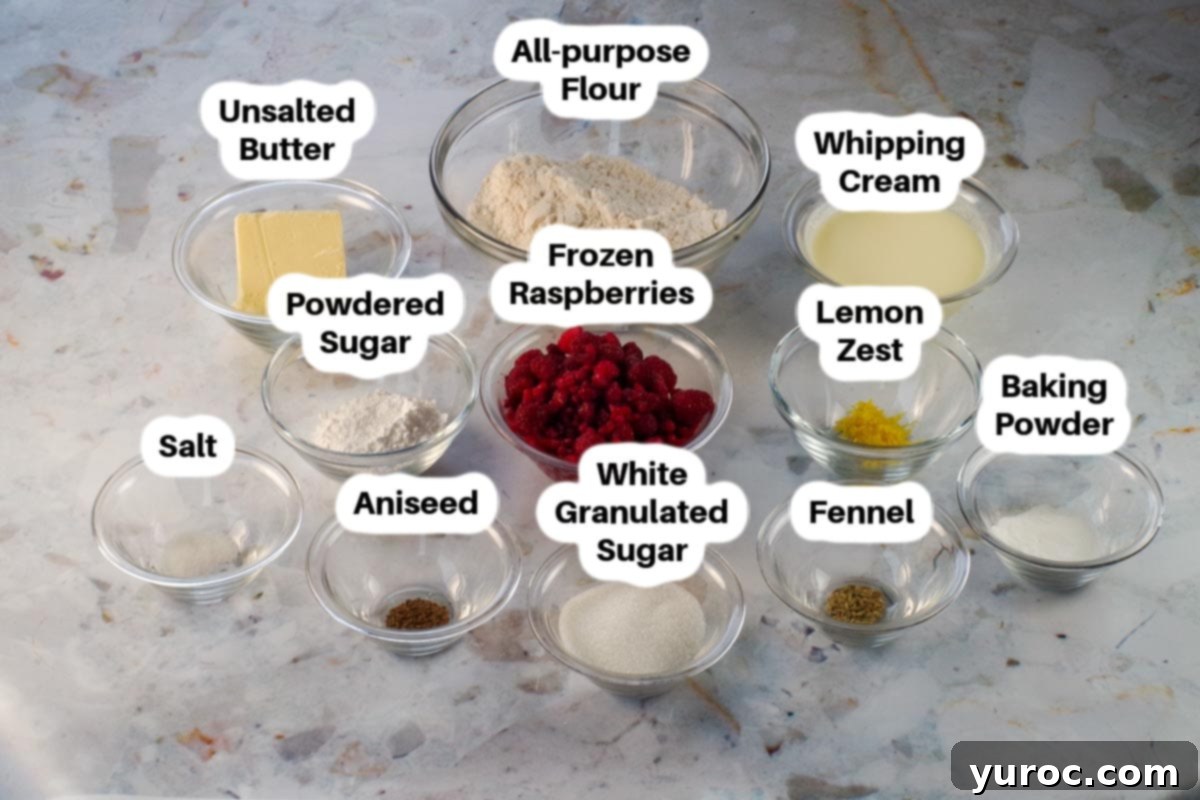
The combination of fennel and aniseed adds a depth of flavor that is truly special in baking. If you find yourself drawn to this aromatic warmth, you’ll be thrilled to explore some of my other recipes that showcase these spices, such as my No-Bake Healthy Chocolate Raspberry Lasagna and my Butterscotch Toffee Crunch Cookies. These recipes prove how versatile and delightful these spices can be beyond traditional savory dishes.
- Lemon zest: This isn’t just for flavor; it’s a game-changing addition for enhancing the overall brightness and depth of your baked goods. I picked up this brilliant trick from a talented chef I worked with in seniors’ housing. She used it in her legendary cinnamon buns to make them truly shine, and it works absolute wonders in this scone dough, contributing a fresh, aromatic lift that perfectly complements the raspberries.
- Aniseed and Fennel seed: These spices are the secret behind the delightful, mild licorice hint in these scones. The flavor is subtle but incredibly effective, adding a unique warmth and complexity that you won’t believe until you taste it. It’s important to note that aniseed is distinct from star anise; while both share a similar licorice-like flavor, star anise tends to be more potent and slightly bitter, making aniseed the preferred choice for this delicate scone recipe.
- Whipping cream (Heavy Cream): The key to achieving supremely tender and rich scones without buttermilk lies in the fat content of your cream. Ensure you use whipping cream with a fat content between 33-36%. This high fat content not only contributes to the scone’s incredible flavor but also helps create a wonderfully moist and flaky crumb, preventing them from drying out.
- Unsalted Butter: For consistent baking results, unsalted butter is always my preference. The reason is simple: controlling the salt content allows for precise flavor balance in your recipe. Salted butter’s sodium levels can vary significantly between brands, potentially leading to an overly salty scone or an imbalance in the overall taste profile. By adding salt separately, you ensure perfect seasoning every time.
- Frozen Raspberries: Raspberries are notoriously delicate and can easily turn into a mushy mess during baking prep if used fresh. This is precisely why frozen raspberries are an absolute brilliant choice for scones. They hold their shape much better, release less moisture into the dough, and distribute beautifully, ensuring bursts of tart raspberry flavor throughout each flaky scone. You can use store-bought frozen berries or freeze your own fresh ones after picking.
📖 Delicious Variations to Try
While this raspberry lemon scone recipe is perfect as is, it’s also wonderfully adaptable! Don’t hesitate to experiment with different ingredients or adjust the recipe to suit your preferences. Here are some exciting variations you can explore:
- Other Berries: If raspberries aren’t your top choice or you simply want to try something new, feel free to substitute them with other frozen berries. These scones would be absolutely fantastic with Saskatoon berries, offering a slightly earthier and sweeter note, or vibrant blueberries, which provide a classic scone pairing. Just ensure any substitute berries are frozen to maintain structure during mixing.
- Salted Butter: If you only have salted butter on hand, you can certainly use it. However, to prevent your scones from becoming too salty, make sure to skip the ½ teaspoon of salt called for in the recipe. This adjustment will help maintain the perfect flavor balance.
- Spice Alternatives: The licorice flavor from aniseed and fennel is subtle and distinctive, but if it’s not to your taste, you can easily omit both. For a different aromatic twist, consider adding ½ to 1 teaspoon of ground cardamom, which offers a warm, floral, and slightly spicy note that pairs beautifully with lemon and raspberries. Cinnamon or a touch of nutmeg would also be lovely alternatives for a cozy flavor.
- Mini Scones: For delightful bite-sized treats perfect for a tea party or a diverse breakfast platter, simply make mini scones! After you’ve shaped the dough into a rectangle and folded it, cut the dough into smaller triangles. Instead of the standard 12 scones, you might get 16-24 mini scones. Remember to adjust the baking time: reduce it by approximately 5-7 minutes and keep a close eye on them to prevent overbaking, as they will cook faster.
🔪 Step-by-Step: How to Make Flaky Raspberry Lemon Scones
Follow these detailed steps to create perfectly flaky and flavorful raspberry lemon scones:
PREP WORK: Before you begin mixing, ensure your oven is preheated to 400°F (204°C) with a rack positioned in the middle. Prepare a baking sheet by lining it with parchment paper; this prevents sticking and makes cleanup a breeze. Lightly flour a large plate and set it aside – this will be used for chilling your formed scones.
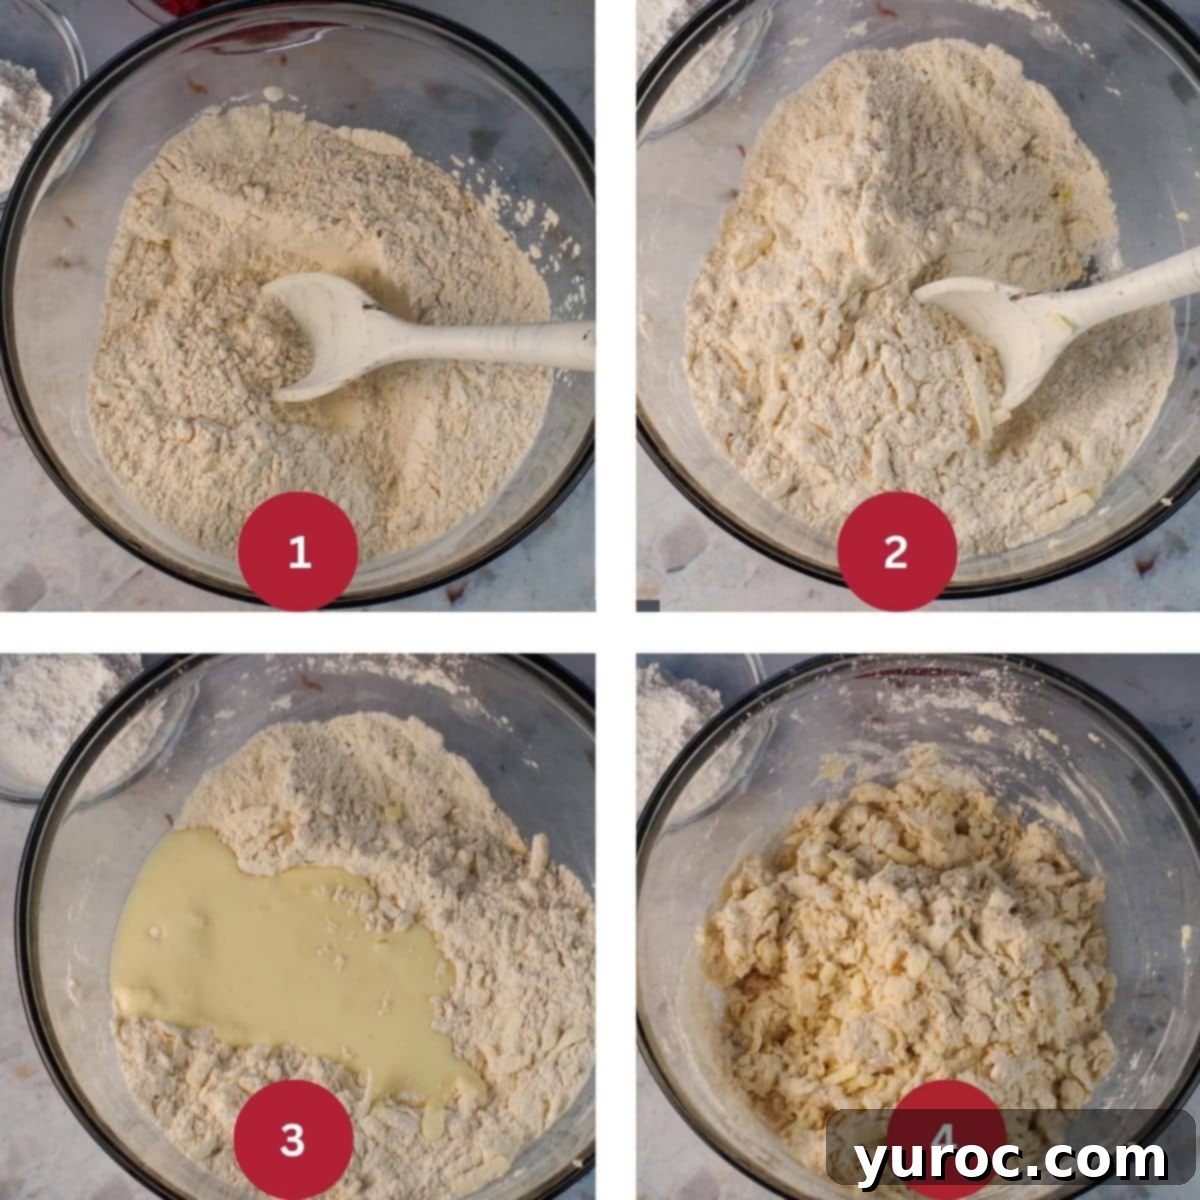
STEP 1 (MAKE THE DOUGH): In a spacious mixing bowl, combine all your dry ingredients: the all-purpose flour, ¼ cup of granulated sugar, baking powder, grated lemon zest, aniseed, fennel seed, and salt. Whisk these ingredients thoroughly to ensure everything is evenly distributed and there are no lumps (IMAGE 1). Next, it’s time to incorporate the cold butter. You can use a pastry blender, two knives, or even a cheese grater (my preferred method for ensuring small, consistent pieces). Cut or grate the unsalted butter into the flour mixture until it resembles small, pea-sized crumbs (IMAGE 2). This is crucial for flakiness. Pour in ¾ cup of the heavy cream (IMAGE 3). Using just your index finger, gently mix the ingredients until they are just incorporated and a rough, slightly sticky mound of dough forms. Don’t worry if not all the flour is perfectly integrated at this stage; overmixing leads to tough scones (IMAGE 4).
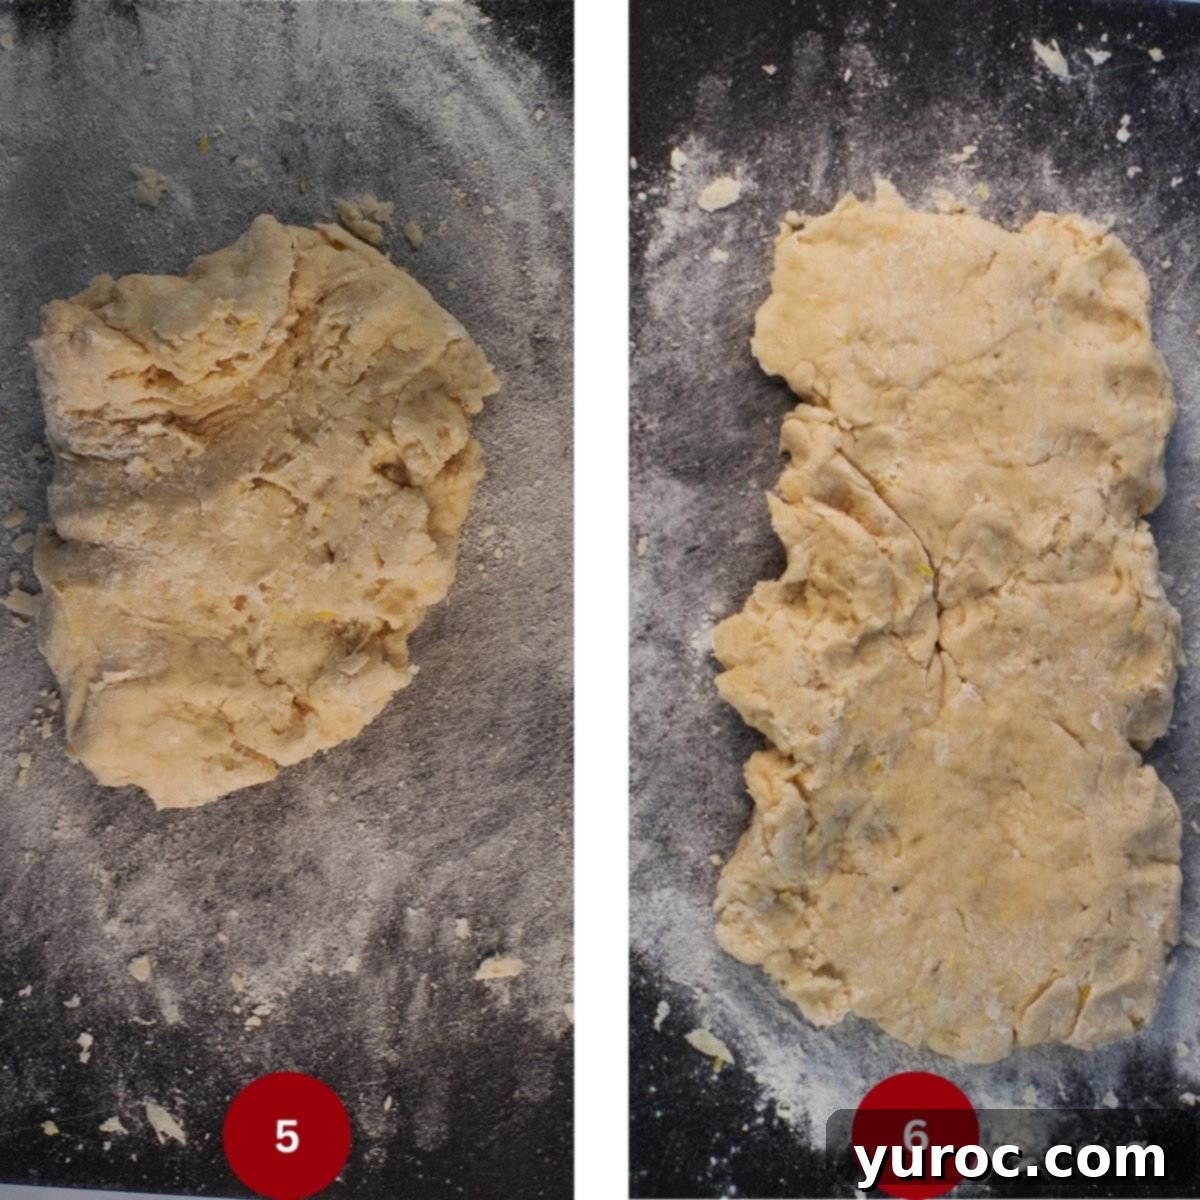
STEP 2 (SHAPE THE DOUGH): Transfer the scone dough and any loose flour onto a lightly floured surface (a large cutting board works well). Gently knead the dough just enough for most of the flour to be incorporated and for the dough to barely hold together. Remember, the less you handle the dough, the more tender your scones will be. Lightly flour a rolling pin and your work surface. Using your hands, gently press and shape the dough into a rough rectangle, positioning the long edge towards you (IMAGE 5 & 6).
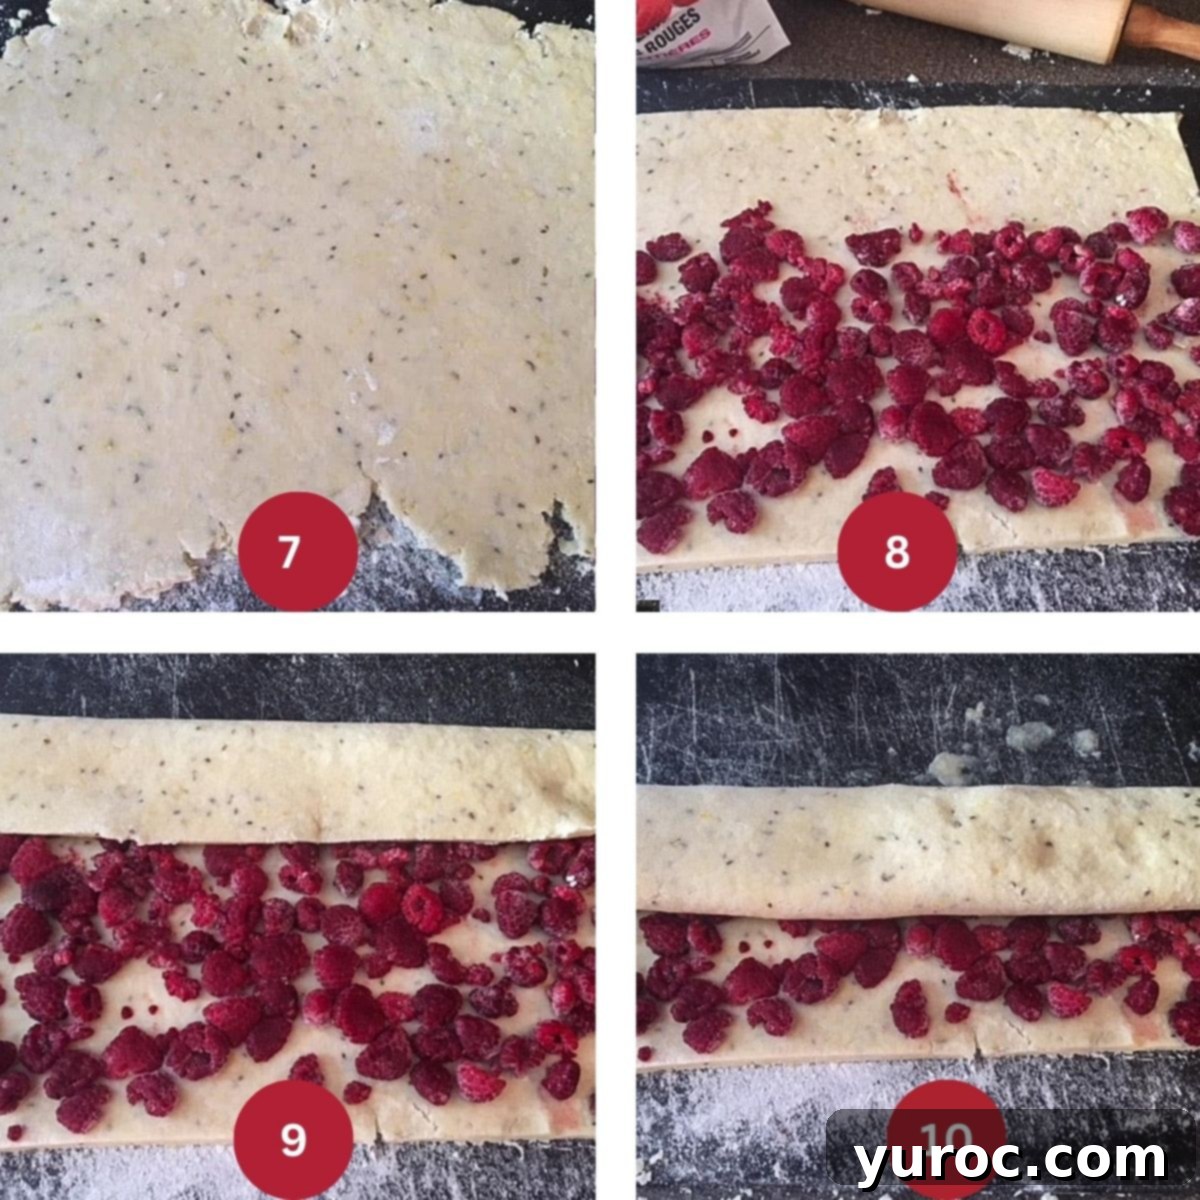
STEP 3 (ASSEMBLY PART 1): Using your lightly floured rolling pin, roll the dough into an 8-by-10-inch rectangle, ensuring the long edge remains facing you (IMAGE 7). If the dough cracks a little, gently push it back together. Next, trim the edges of the dough to create a cleaner rectangle. Retrieve the frozen raspberries from the freezer and evenly arrange them in a single layer over the lower two-thirds of the dough rectangle. Gently press the berries into the dough; it’s perfectly fine if a few break (IMAGE 8). Starting with the top, berry-less third of the dough, fold it lengthwise down to cover the middle third. Then, fold the entire dough again, lengthwise, into thirds, creating a neat stack of layers (IMAGE 9). As you fold, gently press on the layers to encourage them to adhere (IMAGE 10).
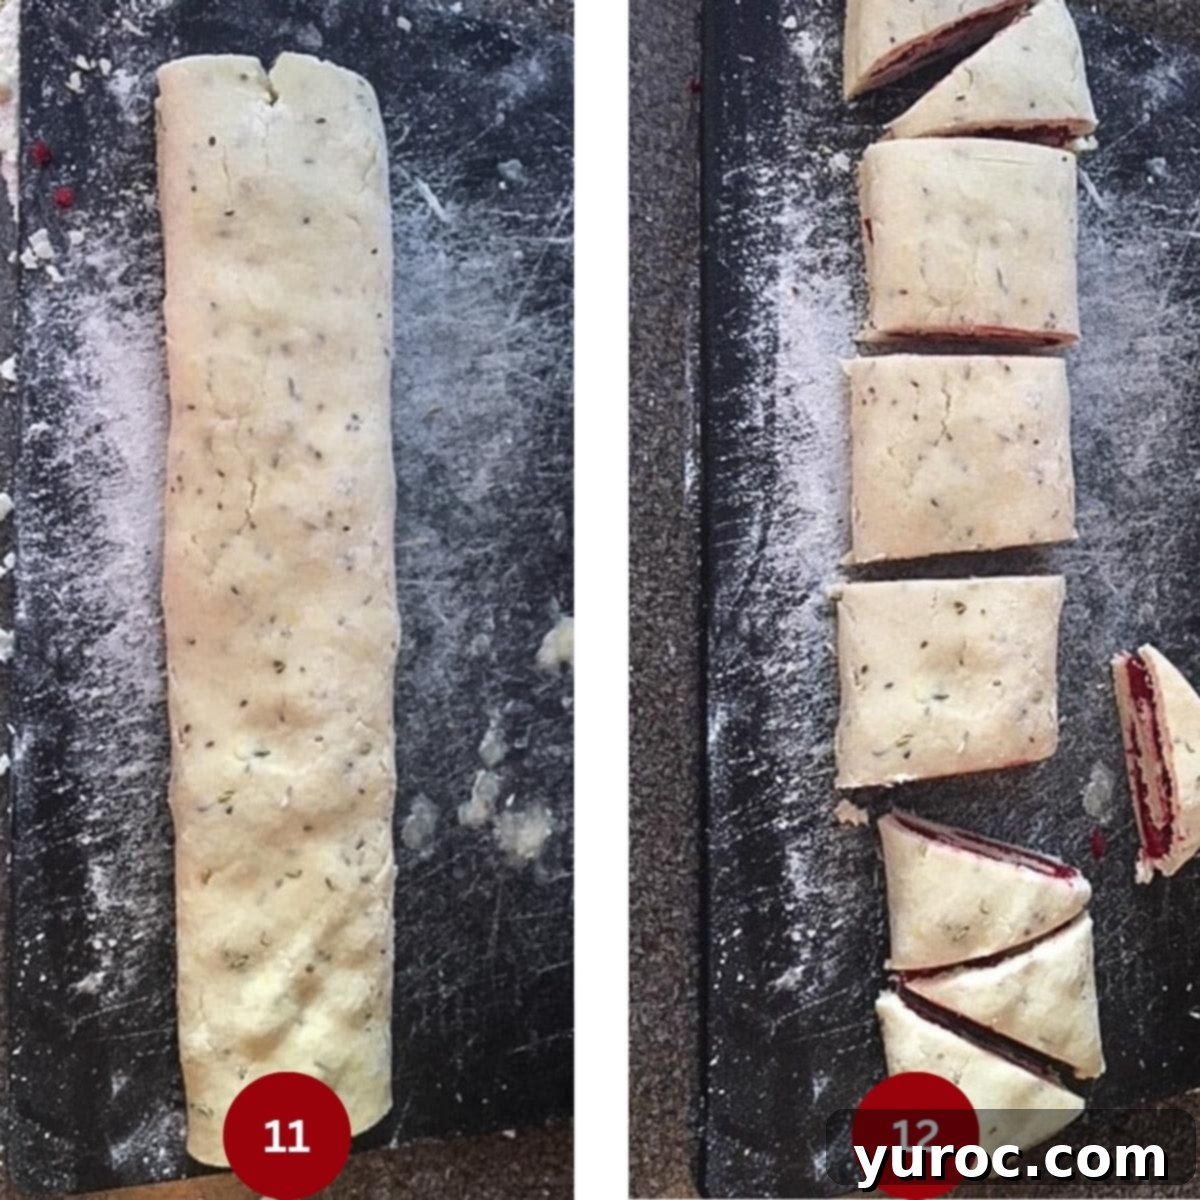
STEP 4 (ASSEMBLY PART 2 & CUTTING): Carefully fold the entire dough over until the seam is positioned at the bottom. If the dough seems to stick to your work surface, a spatula or bench scraper can be very helpful for this step (IMAGE 11). Now, using a very sharp knife or a pizza cutter, slice the dough crosswise into 4-6 equal pieces. It’s important to press straight down without a sawing motion to maintain those flaky layers. Each of these pieces should then be cut diagonally to form two perfect triangles (IMAGE 12).

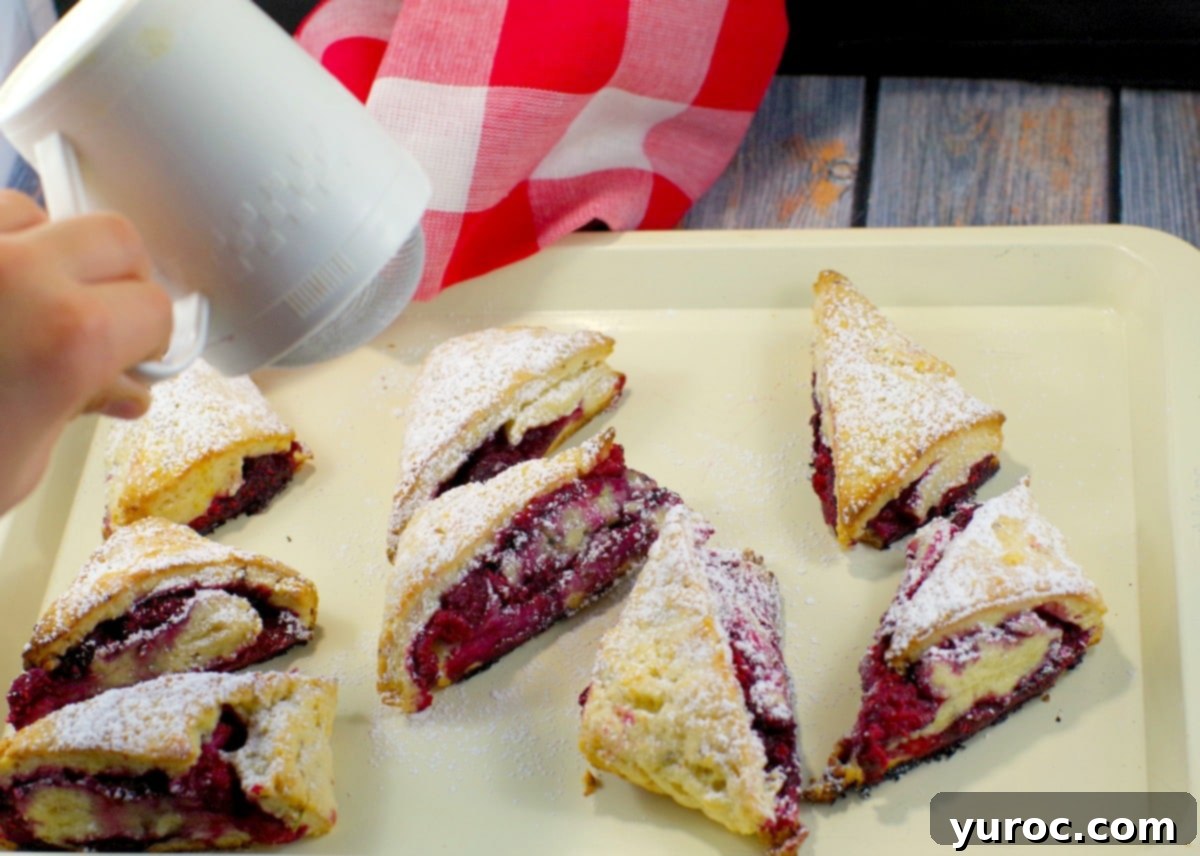
STEP 5 (CHILL & BAKE THE SCONES): Transfer your carefully shaped scones to the lightly floured plate you prepared earlier and place them in the freezer for a crucial 5-minute chill. This brief freezing period helps solidify the butter, which is key to achieving a high rise and an incredibly flaky texture. After chilling, remove the scones from the freezer and arrange them on the prepared baking sheet, ensuring they are spaced about 2 inches apart to allow for even baking. In a small bowl, pour the remaining 1 tablespoon of heavy cream. Lightly brush a thin layer of this cream over the tops of the scones and then generously sprinkle them with the remaining 1 tablespoon of sugar (IMAGE 13). Bake in your preheated oven for approximately 20 minutes, or until the tops and bottoms are beautifully golden brown and the scones are cooked through. Let them cool on the baking sheet for about 5 minutes (IMAGE 14), then transfer them to a wire cooling rack to cool completely. Once cooled, a light dusting of powdered sugar adds a final touch of elegance and sweetness. Serve and enjoy! (IMAGE 15)
Expert Recipe Tips for Unforgettable Scones
Achieving bakery-quality scones at home is entirely possible with a few expert insights. These tips will guide you to a perfect batch of flaky, tender, and incredibly delicious Raspberry Lemon Scones every time:
- Don’t skip the chilling step: This is arguably one of the most critical steps for superior scones. Freezing the scones for a short period before they go into the hot oven solidifies the butter within the dough. As the scones bake, the cold butter melts slowly, releasing steam that creates distinct, airy layers and contributes significantly to a higher rise and an incredibly flaky texture. It also helps prevent the dough from spreading too much, ensuring beautifully shaped scones.
- Use a sharp knife or bench scraper to cut: Precision in cutting prevents dense scones. A dull blade can compress the delicate layers of dough you’ve worked so hard to create, preventing them from rising properly and resulting in a less flaky texture. Always press straight down with a very sharp knife or a clean bench scraper – avoid any sawing motion that can seal the edges and inhibit layers.
- Avoid overworking the dough: The secret to tender scones lies in minimal handling. The more you knead, mix, or handle the dough, the more gluten develops. While gluten is desirable in bread for structure, too much in scones leads to a tough, dense, and chewy texture instead of the desired light and crumbly consistency. Mix only until the ingredients are just combined and the dough barely holds together.
- Grate frozen butter directly into the flour: This technique is a game-changer for achieving ultimate flakiness. Grating frozen butter ensures that the butter is distributed evenly throughout the flour in tiny, consistent pieces. These small pieces of cold butter create numerous steam pockets during baking, which are essential for developing those irresistible, flaky layers. It also minimizes handling, preventing the butter from melting and the dough from being overworked.
- Use heavy cream with high fat content (33-36%): For the richest flavor and most tender crumb, heavy cream is non-negotiable. The high fat content in whipping cream (33-36%) is what helps create that luxurious, melt-in-your-mouth texture. Substituting with milk or lighter cream will result in drier, less flavorful, and denser scones, as they lack the necessary fat for optimal tenderness and moisture.
- Dust raspberries lightly with flour before adding: Raspberries, especially when frozen, can release moisture as they thaw slightly or as the dough is worked. A light dusting of flour on your frozen raspberries before incorporating them into the dough helps to absorb any excess juice. This prevents the fruit from bleeding into the dough, keeps your layers more distinct, and ensures the dough’s consistency remains ideal for flakiness.
- Rotate your pan halfway through baking: Ovens often have hot spots, leading to uneven baking and browning. To ensure your scones bake uniformly and achieve a beautiful golden crust on all sides, rotate your baking sheet 180 degrees halfway through the baking time. This simple step guarantees a consistent color and texture across the entire batch.
- Let them cool slightly before eating: While the aroma of freshly baked scones is intoxicating, resist the urge to devour them immediately. Scones continue to “set” and firm up as they cool. Allowing them to cool slightly (even just 5-10 minutes on a wire rack) helps the crumb finish forming, preventing them from crumbling apart when you pick them up and ensuring a better overall texture and eating experience.
🌡️ Storage and Freezing Instructions
Proper storage ensures your delicious raspberry lemon scones remain fresh and enjoyable for as long as possible. Here’s how to keep them at their best:
Short-Term Storage: Once completely cooled, store your baked scones in an airtight container. They will remain wonderfully fresh in the refrigerator for up to 3 days. To enjoy them warm and recapture some of their initial tenderness, simply reheat them briefly in a toaster oven or microwave before serving.
Long-Term Freezing: For extended enjoyment, these scones freeze beautifully! Once fully cooled, transfer them to a freezer-safe, sealed container or a heavy-duty freezer bag. They can be frozen for up to 3 months without significant loss of quality. When you’re ready to enjoy them, thaw them at room temperature or warm them directly from frozen in a low oven (around 300°F/150°C) until heated through and crisp on the outside.
Freezing Fresh Raspberries for Future Baking
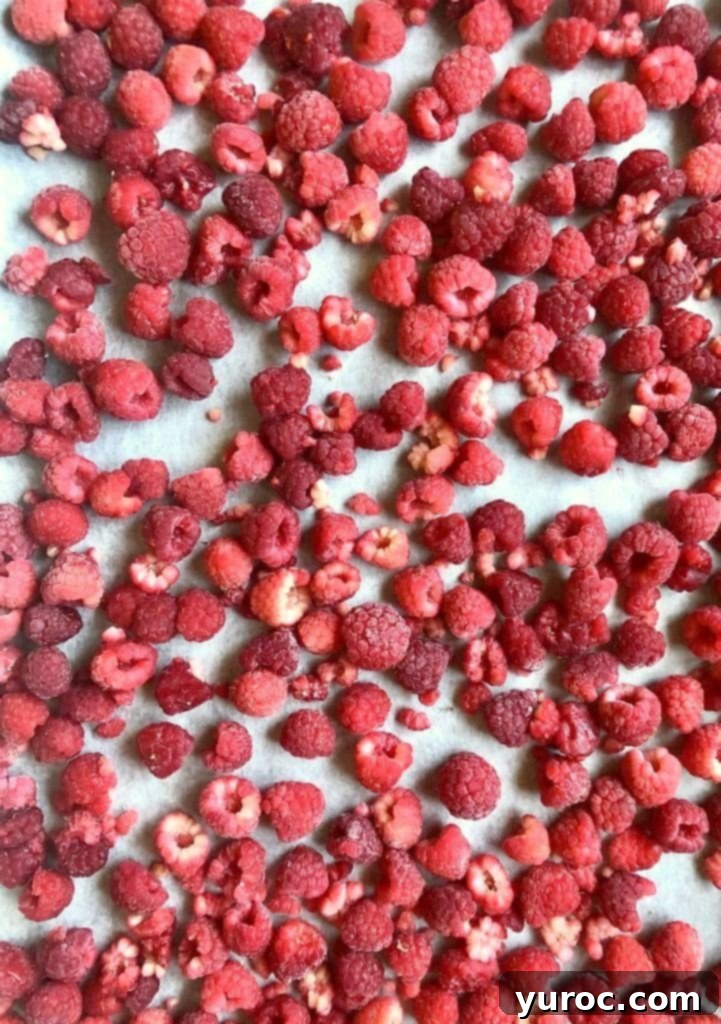
Fresh raspberries are delicate and can spoil quickly. To preserve their vibrant flavor and make them ideal for baking, freezing them properly is key. This method ensures they hold their shape and don’t turn mushy when added to recipes.
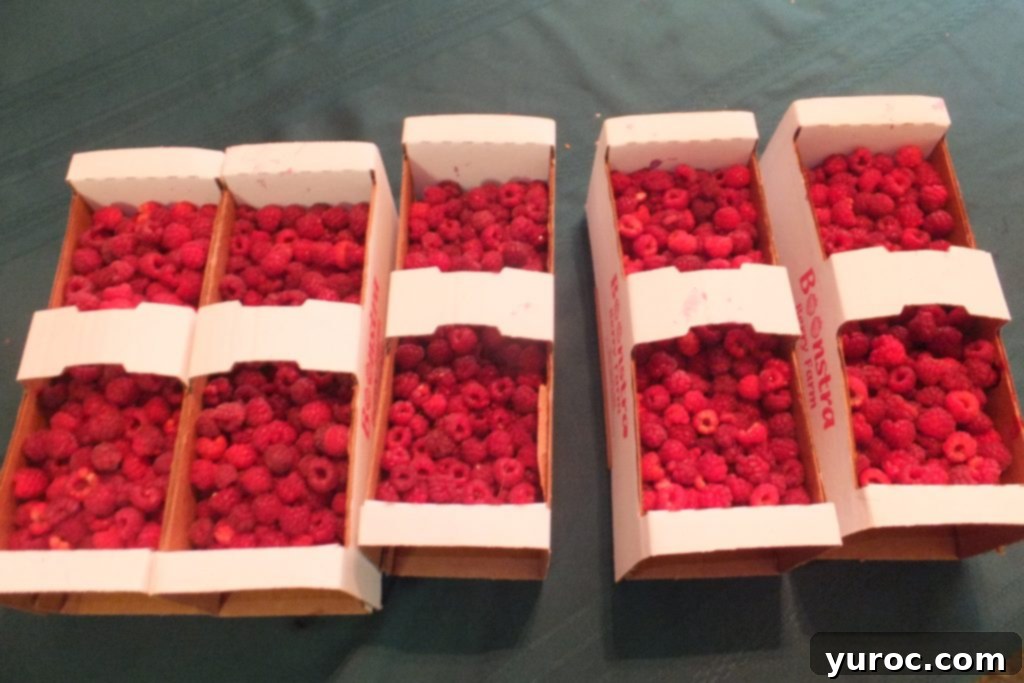
To freeze fresh raspberries: Begin by gently rinsing your raspberries and patting them completely dry with a paper towel. Moisture is the enemy of freezing, as it can lead to ice crystals and freezer burn. Next, line a baking sheet with parchment paper. Arrange the dried berries in a single layer on the parchment-lined sheet, making sure they don’t touch each other. This prevents them from clumping together into one large block. Freeze them until they are completely solid, which usually takes about 2-4 hours. Once frozen solid, transfer the berries to a freezer-safe bag or an airtight container. This method allows you to easily grab just the amount you need for recipes without having to thaw the entire batch. You can use these frozen raspberries directly in recipes (like this scone recipe!) or even enjoy them as a refreshing, naturally sweet snack straight from the freezer. They taste like nature’s candy!
👪 Serving Size and Adjustments
This delightful recipe for homemade lemon raspberry scones yields a generous batch of 12 beautifully shaped scones, making it perfect for sharing with family and friends or enjoying over several days. If you’re hosting a larger gathering or simply want to bake more or fewer scones, adjusting the recipe is incredibly simple.
Many recipe cards, like the one below, offer a convenient feature: you can easily half, double, or even triple the recipe by clicking on the serving number and selecting your desired quantity. The ingredient amounts will then automatically adjust to match your chosen serving size, ensuring accuracy and saving you from tedious calculations. This flexibility allows you to perfectly tailor the recipe to any occasion, from an intimate breakfast to a grand brunch spread.
❔ Frequently Asked Questions About Scones
Absolutely! These scones are fantastic for make-ahead convenience. You can prepare the dough, shape the scones, and then freeze them unbaked. Store them in an airtight container or freezer bag for up to 3 months. When you’re ready to bake, simply place them directly from the freezer onto a prepared baking sheet and bake as directed, adding just 2-3 extra minutes to the baking time. This is perfect for fresh, warm scones any morning!
While fresh raspberries can be used, they are much more delicate and tend to break down easily, releasing more juice into the dough during mixing and shaping. This can make the dough messier and potentially affect its texture. To minimize this, if you opt for fresh raspberries, a great tip is to freeze them briefly (for about 20-30 minutes) before adding them to the dough. This helps them hold their shape better.
The key to tender, flaky scones is to avoid overmixing and over-kneading the dough. Work the dough as little as possible – just enough to bring the ingredients together and form a cohesive mass. Overworking develops the gluten, which leads to a tough and chewy texture. Use a light touch!
Chilling the dough, especially freezing it briefly, serves a few crucial purposes. Firstly, it firms up the butter pieces within the dough. As these cold butter pieces melt in the hot oven, they create steam, which is essential for developing those light, airy, and flaky layers. Secondly, chilling helps the scones hold their shape better during baking, preventing them from spreading too much and ensuring a beautiful rise.
This raspberry lemon scone recipe is truly the perfect choice for any breakfast or brunch potluck! I’ve personally made them for numerous Mother’s Day celebrations, and they are always a resounding success, bringing smiles and deliciousness to the table.
More Delightful Raspberry Recipes
If you’ve fallen in love with the vibrant flavor of raspberries in these scones, you’re in for a treat! Raspberries are incredibly versatile and shine in a wide array of desserts and sweet treats. Explore these other fantastic raspberry recipes to satisfy your cravings:
- Dulce De Leche Chocolate Raspberry Icebox Cake
- Raspberry Tiramisu Tarts
- Raspberry Frozen Yogurt Bark
- Raspberry Cream French Toast Sandwich
Did your family ❤️ this recipe? Did you know that commenting and ⭐ rating recipes is one of the best ways to support your favorite recipe creators? If you LOVED this recipe, please take a moment to comment and rate it in the recipe card below, or share your delicious photos on social media using the hashtag #foodmeanderings or by tagging @foodmeanderings! Your feedback helps us reach more home bakers!


📋 Raspberry Lemon Scones Recipe
Equipment
-
large mixing bowl
-
baking sheet
-
Rolling Pin
-
grater
-
cooling rack
Ingredients
- 2 cups all-purpose flour , plus more as needed
- ¼ cup white granulated sugar
- 2 ½ teaspoon baking powder
- 1 teaspoon grated lemon zest (from 1 medium lemon)
- ½ tsp aniseed
- ½ teaspoon fennel seed
- ½ teaspoon salt
- ½ cup unsalted butter
- ¾ cup heavy cream/whipping cream
- 1 ½ cup frozen raspberries kept in the freezer until ready to use
Topping
- 1 tablespoon white granulated sugar
- 1 tablespoon heavy cream/whipping cream
Garnish
- ¼ cup powdered sugar/icing sugar
Instructions
-
Preheat your oven to 400°F (204°C) and ensure an oven rack is placed in the middle. Line a baking sheet with parchment paper, then lightly flour a large plate and set both aside for later use.
-
In a large mixing bowl, combine the dry ingredients: 2 cups all-purpose flour, ¼ cup white granulated sugar, 2 ½ teaspoons baking powder, 1 teaspoon grated lemon zest, ½ teaspoon aniseed, ½ teaspoon fennel seed, and ½ teaspoon salt. Whisk everything together thoroughly to break up any lumps and ensure even distribution.2 cups all-purpose flour, ¼ cup white granulated sugar, 2 ½ teaspoon baking powder, 1 teaspoon grated lemon zest, ½ teaspoon aniseed, ½ teaspoon fennel seed, ½ teaspoon salt
-
Using a pastry blender, two knives, or a cheese grater, cut or grate ½ cup of very cold unsalted butter into the flour mixture until only small, pea-sized pieces remain. This step is essential for flaky scones.½ cup unsalted butter
-
Pour in ¾ cup of heavy cream (whipping cream). Using your index finger, gently mix until the cream is just incorporated and a rough, slightly sticky mound of dough forms. It’s okay if not all the flour is fully incorporated at this stage; avoid overmixing.¾ cup heavy cream/whipping cream
-
Turn the dough and any loose flour out onto a lightly floured work surface (like a large cutting board). Gently knead until most of the flour is incorporated and the dough just holds together. Be careful not to overwork it, as this can make the scones tough. Lightly flour your rolling pin and the work surface. Using your hands, roughly form the dough into a rectangle, keeping the long edge facing you.
-
Roll the dough into an 8-by-10-inch rectangle, again keeping the long edge toward you. If the dough cracks slightly, gently push it back together.
-
Remove 1 ½ cups of frozen raspberries from the freezer. Evenly arrange them in a single layer over the lower two-thirds of the dough rectangle, gently pressing them into the dough. It’s perfectly fine if some berries break slightly.1 ½ cup frozen raspberries
-
Starting with the top, berry-less third, fold the dough lengthwise down to cover the middle third.
-
Then, fold the entire dough again, lengthwise, into thirds, pressing gently on the layers as you roll to ensure they adhere.
-
Carefully fold the dough right over until the seam is on the bottom. Use a spatula or pastry scraper if the dough sticks to the work surface.
-
Using a very sharp knife or a pizza cutter, slice the dough crosswise into 4-6 equal pieces. Remember to press straight down, avoiding any sawing motion, to preserve flakiness. Cut each piece diagonally to form 2 triangles. Transfer the formed scones to the lightly floured plate and place them in the freezer for 5 minutes. (This recipe yields 12 scones).
-
Remove the scones from the freezer and transfer them to the prepared baking sheet, ensuring they are spaced 2 inches apart. Brush a thin layer of the remaining 1 tablespoon whipping cream over the tops of the scones and then sprinkle generously with the remaining 1 tablespoon white granulated sugar.1 tablespoon heavy cream/whipping cream, 1 tablespoon white granulated sugar
-
Bake for approximately 20 minutes, or until the scones are golden brown on both the top and bottom. Allow them to cool for 5 minutes on the baking sheet before transferring them to a wire rack to cool completely.
Garnish:
-
Just before serving, dust the cooled scones with ¼ cup powdered sugar (icing sugar) for a final touch of sweetness and elegance. Enjoy your homemade, flaky Raspberry Lemon Scones!¼ cup powdered sugar/icing sugar
Notes
-
- Don’t skip the chilling step: Freezing the scones for 5 minutes before baking is critical. This solidifies the butter, which then melts slowly in the oven, creating steam that leads to a higher rise and an incredibly flaky, tender texture. It also helps the scones maintain their shape and prevents excessive spreading.
- Use a sharp knife or bench scraper to cut: For perfectly layered and flaky scones, always use a very sharp knife or a bench scraper. Press straight down firmly without a sawing motion. A dull blade can compress the dough, sealing the edges and hindering the formation of those beautiful, distinct layers.
- Avoid overworking the dough: Handle the dough as little as possible. The more you mix or knead, the more gluten develops, which will result in tough, dense, and chewy scones instead of light and tender ones. Stop as soon as the dough just comes together.
- Grate frozen butter directly into the flour: This technique ensures the butter is evenly distributed in tiny, cold pieces. These small butter pieces create pockets of steam during baking, which are essential for achieving an extra flaky texture. It also helps keep the butter from melting and prevents overmixing.
- Use heavy cream with high fat content (33-36%): The high fat content of heavy cream is crucial for the tender, rich, and melt-in-your-mouth crumb of these scones. Do not substitute with milk or light cream, as they lack the necessary fat to achieve the best texture and flavor.
- Dust raspberries lightly with flour before adding: To prevent the raspberries from releasing too much juice into the dough during assembly and baking, and to keep the individual layers distinct, toss them lightly with a small amount of flour before incorporating them.
- Rotate your pan halfway through baking: Ovens often have inconsistent heating. Rotating your baking sheet 180 degrees halfway through the baking time ensures even browning and a uniform texture for all your scones.
- Let them cool slightly before eating: The tantalizing aroma of warm scones is hard to resist, but allowing them to cool for at least 5-10 minutes on a wire rack is beneficial. Scones continue to set and firm up as they cool, which helps the crumb finish forming and prevents them from crumbling when handled.
