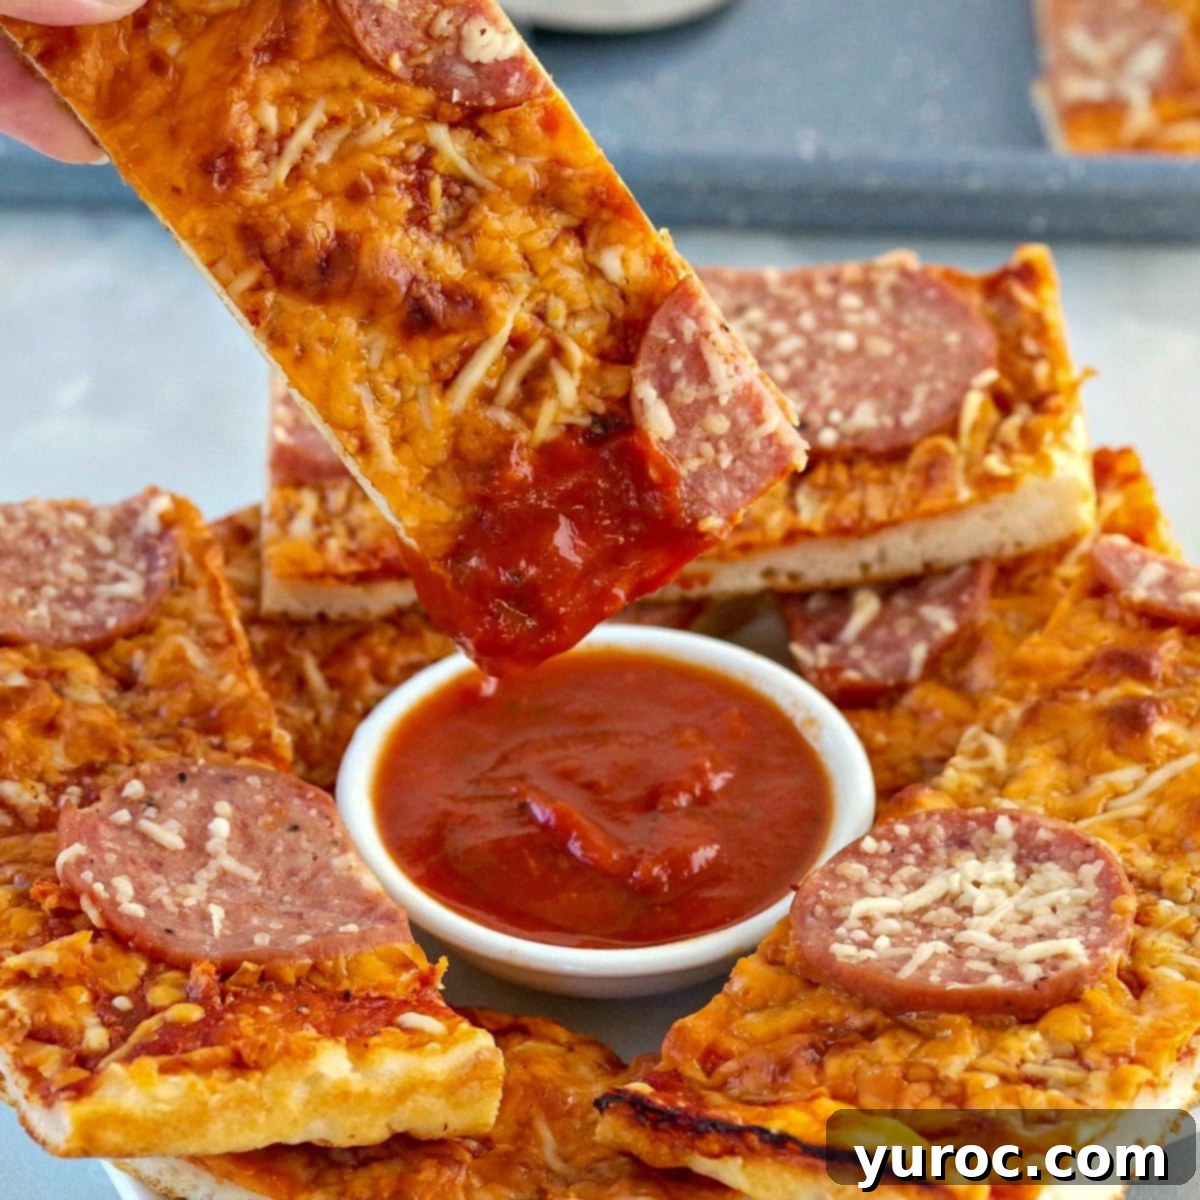
Healthy Pizza Dippers: Quick & Easy Recipe for School Lunches and Family Snacks
Back to school season often brings the daily challenge of packing nutritious and appealing lunches, especially when you have teenagers. While my kids are older and often handle their own lunch preparations, the “pizza problem” persists. If my son had his way, he’d be eating pizza every single day! As parents, it’s our responsibility to guide them toward healthier choices without making mealtime a battle. That’s why, when I first heard about the concept of Pizza Dippers, I was instantly inspired to create my own version – one that was both wholesome and satisfying for even the pickiest eaters.
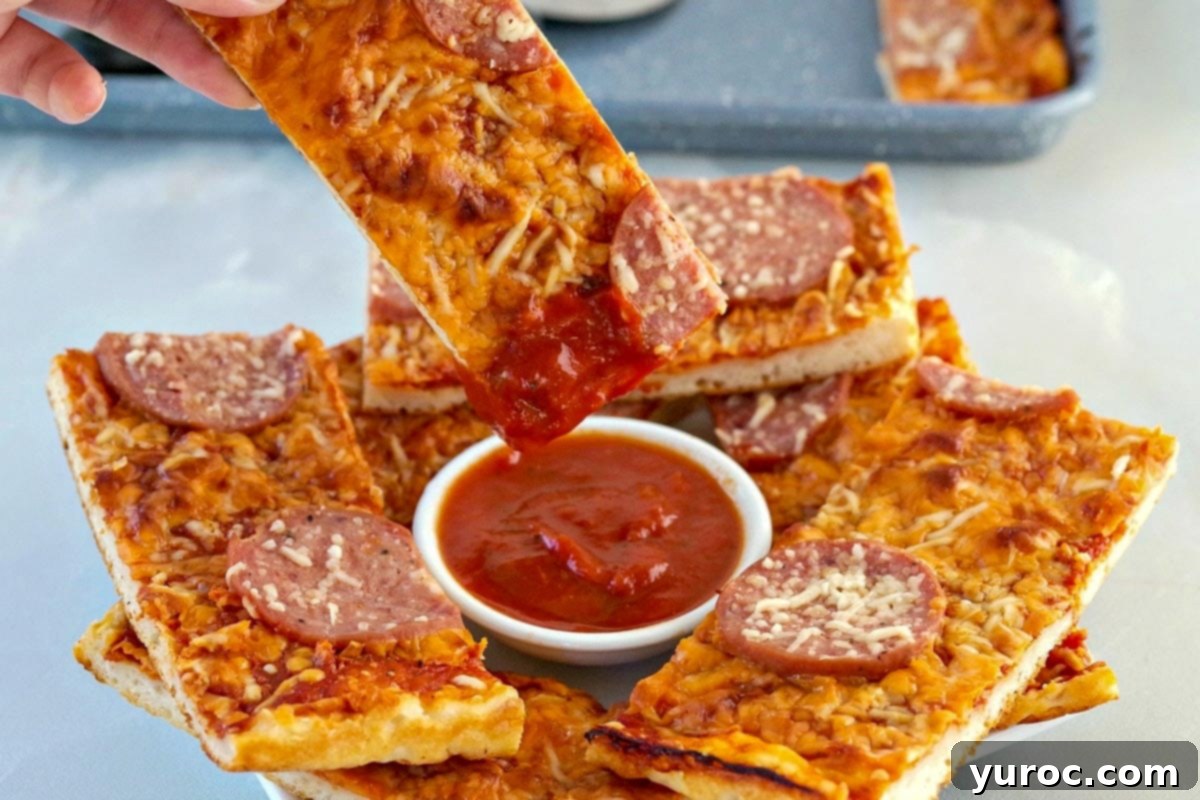
These Healthy Pizza Dippers offer a brilliant solution: they are significantly healthier and incredibly simple to prepare. The secret lies in our versatile 2-ingredient dough, made from just self-rising flour and non-fat Greek yogurt. (Don’t worry, if you don’t have self-rising flour, I’ll share a top tip on how to make your own!) We then layer it with wholesome pizza sauce, lean protein like turkey pepperoni or low-fat ham, and light cheddar cheese. This recipe transforms a classic favorite into a guilt-free delight that teenagers absolutely adore, making them a dream come true for school lunchboxes. Beyond their appeal as a daily lunch, these dippers are also fantastic for casual gatherings like game day parties or cozy movie nights at home. Plus, they are Weight Watchers friendly, coming in at a mere 3 WW points per serving.
Few things bring a smile to a teenager’s face quite like pizza. As parents, finding that sweet spot between indulging their cravings and ensuring they consume a balanced diet can be tricky. These healthy pizza dippers expertly bridge that gap, offering a delicious pizza-inspired treat that’s packed with goodness.
If you’re constantly seeking more innovative, healthy, and ready-to-eat lunch ideas that will satisfy even the most discerning teens, be sure to explore our collection of Healthy School Lunch Ideas for Teens (Ready to Eat). You’ll find plenty of inspiration to keep lunchboxes exciting!
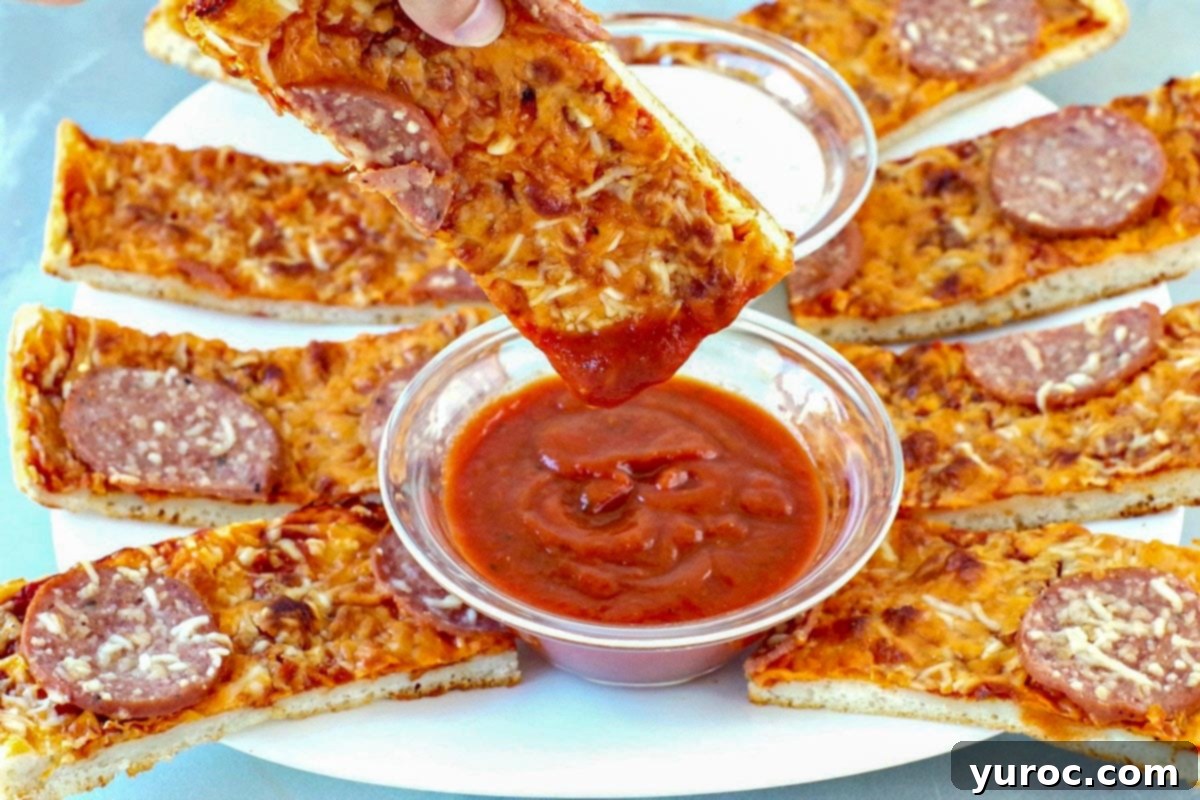
🍕 Ingredient Notes for Healthy Pizza Dippers
Crafting genuinely healthy pizza recipes can often feel like searching for a needle in a haystack. Many store-bought or fast-food options are loaded with unhealthy fats and excessive calories. However, if you’re aiming for a delicious and health-conscious recipe perfect for school lunches, quick snacks, or even game day feasts, these Healthy Pizza Dippers are an absolute must-try. Their wholesome profile makes them suitable for everyone, not just those following specific diets. In our household, my children have always eaten the same meals as my husband and I. There are no “separate meals” to cater to different preferences; rather, we focus on basic, healthy eating habits that benefit the entire family. This approach, in fact, mirrors my own upbringing – I often didn’t realize many of my mother’s delicious creations were subtly Weight Watchers friendly!
As parents, we strive to equip our children with the best foundations for success, and that inherently includes fostering healthy eating habits from a young age. My kids, for instance, are big fans of my Weight Watchers Pizza, which uses the exact same incredible 2-ingredient dough featured in this dippers recipe. It’s a testament to how simple, healthy ingredients can create genuinely appealing meals.
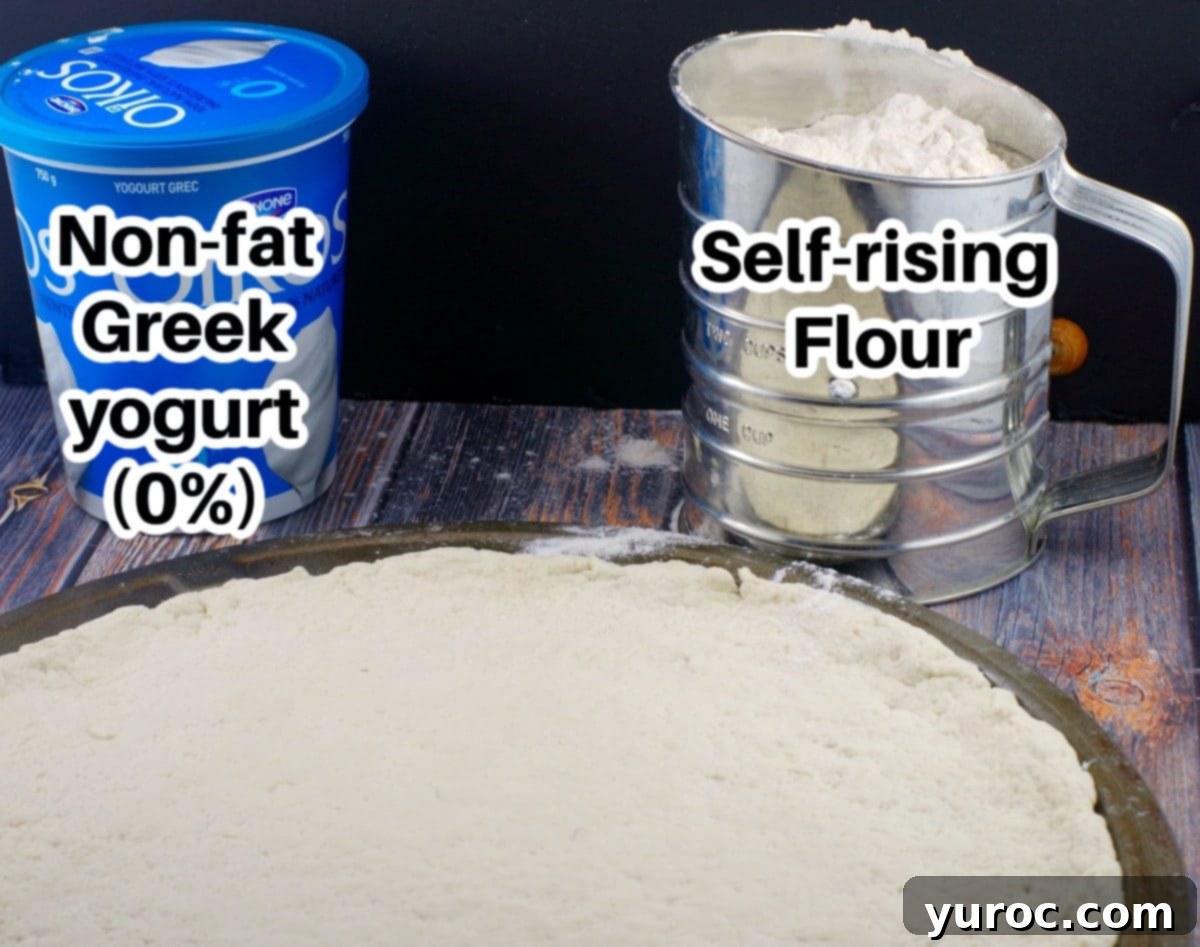
Let’s take a closer look at the key components:
- 2-Ingredient Dough: This revolutionary dough is the foundation of our healthy pizza dippers. It’s made simply with self-rising flour and non-fat Greek yogurt. The yogurt provides protein and moisture, creating a tender and flavorful dough without the need for yeast or extensive kneading. It’s truly a game-changer for quick, healthy baking.
- Pizza Sauce: Choose a high-quality pizza sauce that’s low in added sugars and sodium. I personally prefer Primo, but feel free to use your favorite brand. You can also make your own simple marinara sauce with canned crushed tomatoes, garlic, and Italian herbs for ultimate control over ingredients.
- Turkey Pepperoni or Lean Meat: To keep these dippers lighter, opt for turkey pepperoni. While it can sometimes be a bit harder to find, many major supermarkets or supercenters (like Walmart) carry brands such as Butterball. If you struggle to find sliced turkey pepperoni, turkey pepperoni sticks are an excellent alternative – just slice them thinly. Other fantastic lean protein options include low-fat ham, thinly sliced chicken breast, or even crumbled lean turkey sausage.
- Light Cheddar Cheese: Using light cheddar cheese helps reduce the fat content without sacrificing that essential cheesy flavor and melt. You can also substitute with light mozzarella cheese or a blend of low-fat Italian cheeses for a different taste profile.
A full list of ingredients and quantities can be found in the recipe card below.
📖 Delicious Variations & Serving Suggestions
One of the best aspects of this simple pizza dipper recipe is its incredible versatility. You can easily customize it with a wide array of different toppings and dipping sauces to suit any palate or occasion. Get creative and make these dippers uniquely yours!
Dip into Flavor: Endless Dipping Possibilities
- Classic Pizza Sauce: Naturally, classic pizza sauce is always a winner for dipping. Warm it slightly for an even more comforting experience.
- Ranch Dressing: A creamy ranch dip provides a cool, tangy contrast to the savory pizza flavors.
- Alfredo Sauce: For a richer, more indulgent dip, a light Alfredo sauce can elevate your dippers into a gourmet snack.
- Marinara Sauce: Similar to pizza sauce, a robust marinara offers a fresh, tomato-rich option.
- Chipotle Dip: If you enjoy a smoky kick, a chipotle-based dip adds a wonderful depth of flavor.
- Buffalo Wing Sauce: For those who love a bit of heat, buffalo wing sauce is a zesty and spicy choice.
- Garlic Mayo Dipping Sauce: A homemade garlic mayo offers a rich, aromatic twist.
- Spicy Chipotle Mayo Dip: Combine the creaminess of mayo with the smoky heat of chipotle for an irresistible dip.
- Tangy Buffalo Ranch: Mix ranch dressing with a touch of buffalo sauce for a dip that’s both tangy and spicy – a crowd-pleaser for sure!
Top Them Your Way: Customizable Toppings
- Different Pepperoni: While turkey pepperoni keeps it lean, you can certainly use regular pepperoni for a more traditional flavor if desired.
- Other Meats: Experiment with lean turkey sausage (cooked and crumbled), finely diced low-fat ham, or even pre-cooked lean chicken.
- Veggies Galore: Add finely diced bell peppers (red, green, or yellow), sautéed mushrooms, thinly sliced onions, or black olives. Adding vegetables is a great way to boost nutrients and fiber.
- Alternative Cheeses: Instead of or in addition to cheddar, consider light feta cheese for a salty tang, or low-fat provolone or mozzarella for a classic pizza stretch.
- Herbs & Seasonings: Sprinkle a pinch of Italian seasoning, dried oregano, or red pepper flakes over your dippers before baking for an extra layer of flavor.
Top Tip: Make Your Own Self-Rising Flour
Did you know that self-rising flour is simply all-purpose flour with baking powder and salt already mixed in? This little trick can be a lifesaver when you’re mid-recipe and realize you’re out of the specialized flour, or if you prefer to control the exact amount of leavening in your baking.
To easily make your own self-rising flour at home:
PER CUP: Combine 1 cup of all-purpose flour with 1 ½ teaspoons of baking powder and ½ teaspoon of salt. For this Healthy Pizza Dippers recipe, which requires 1.5 cups of self-rising flour, you would multiply these measurements by 1.5 to get the correct amounts.
This simple substitution ensures your 2-ingredient dough will rise beautifully, resulting in light and airy pizza dippers every time.
🔢 Weight Watchers Friendly
For those tracking their intake, these delicious pepperoni pizza dippers are an excellent choice. They are Weight Watchers friendly, clocking in at just 3 WW points per serving. This makes them a fantastic option for a satisfying meal or snack that won’t derail your healthy eating goals. It’s proof that healthy food can be incredibly flavorful and convenient for everyone in the family.
🔪 How to Make Healthy Pizza Dippers: A Step-by-Step Guide
Creating these delightful pizza dippers is straightforward and requires minimal fuss. Follow these simple steps for perfect results every time.
Preparation:
- Preheat Oven: Begin by preheating your oven to 400°F (204°C).
- Prepare Baking Sheet: Lightly spray a 9×13-inch baking sheet with non-stick spray, or for easier cleanup, line it with parchment paper. This prevents the dough from sticking and ensures a golden-brown bottom.
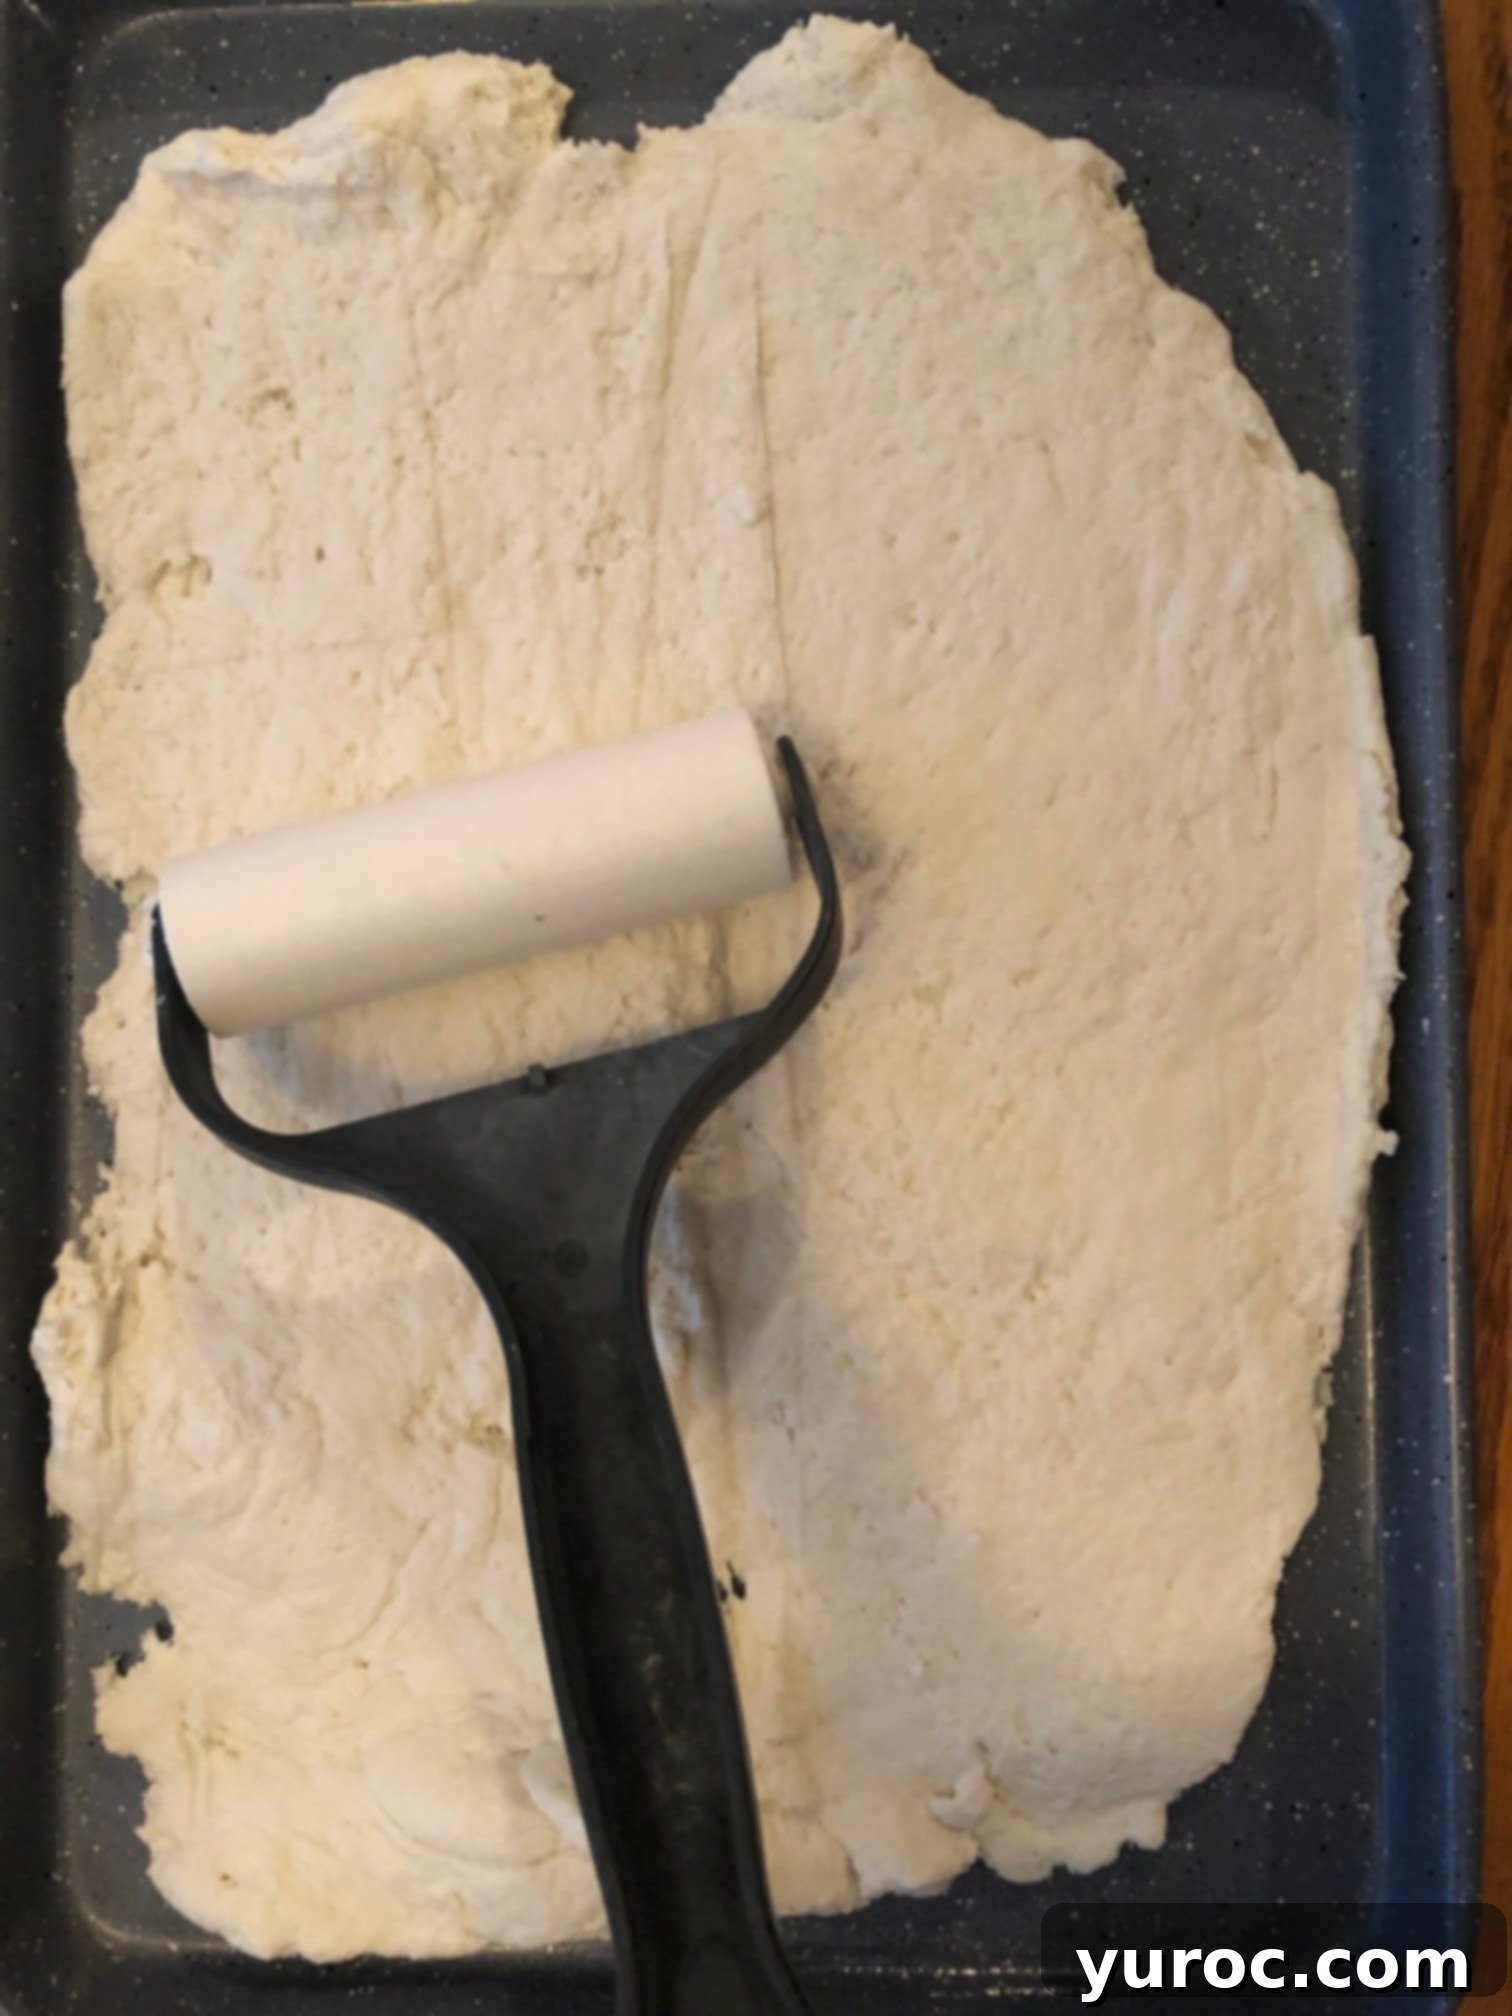
- Step 1: Prepare the 2-Ingredient Pizza Dough. In a medium bowl, combine the self-rising flour and non-fat Greek yogurt. Stir them together with a spoon or your hands until a thick, shaggy dough forms.
- Knead the Dough: Turn the dough out onto a lightly floured surface (using a small amount of extra self-rising flour). Knead it gently for about 5-7 minutes until it comes together to form a smooth, cohesive dough ball. If the dough feels too sticky, add a very small amount of flour at a time until it’s workable but not dry. If it’s too dry, add a tiny bit more yogurt.
- Roll the Dough: Place the dough ball onto your prepared baking sheet. Using a rolling pin or even just your hands, gradually spread the dough evenly across the pan, pushing it out to the edges to form a large rectangle. Ensure the thickness is as uniform as possible for even baking – avoid making a thick crust around the edges as we’re aiming for dippers, not traditional pizza slices.
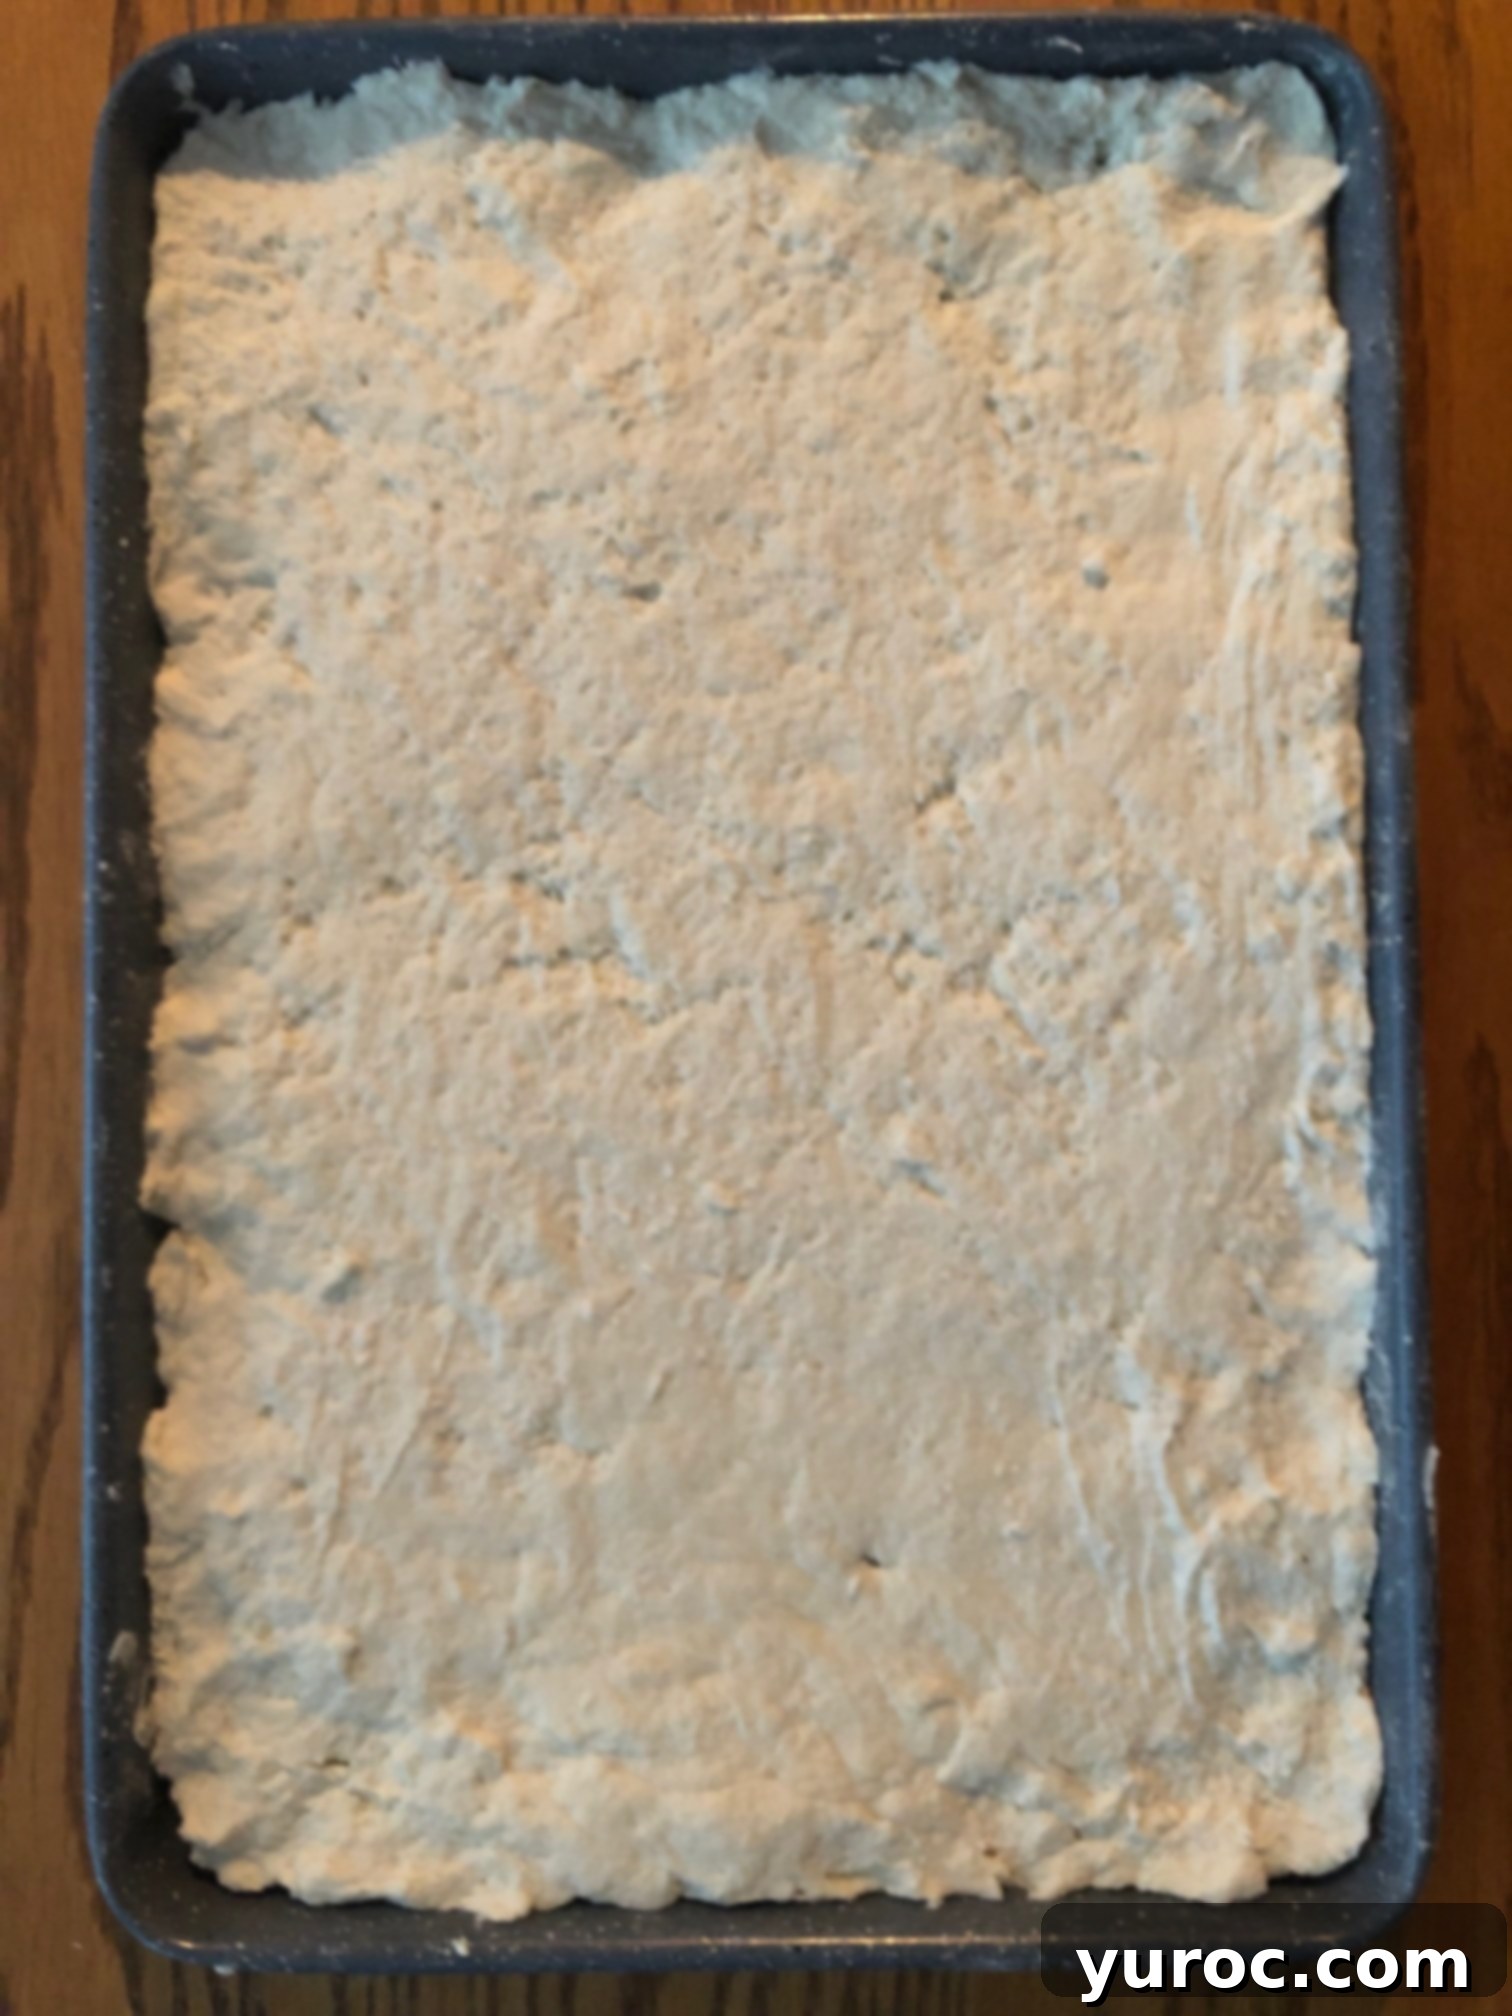
- Step 2: Spread Dough Evenly. Make sure your pizza dough is spread out level and extends to the very edges of the cookie sheet. This creates a uniform base for your dippers and ensures consistent crispiness. Remember, for dippers, we skip the raised crust.
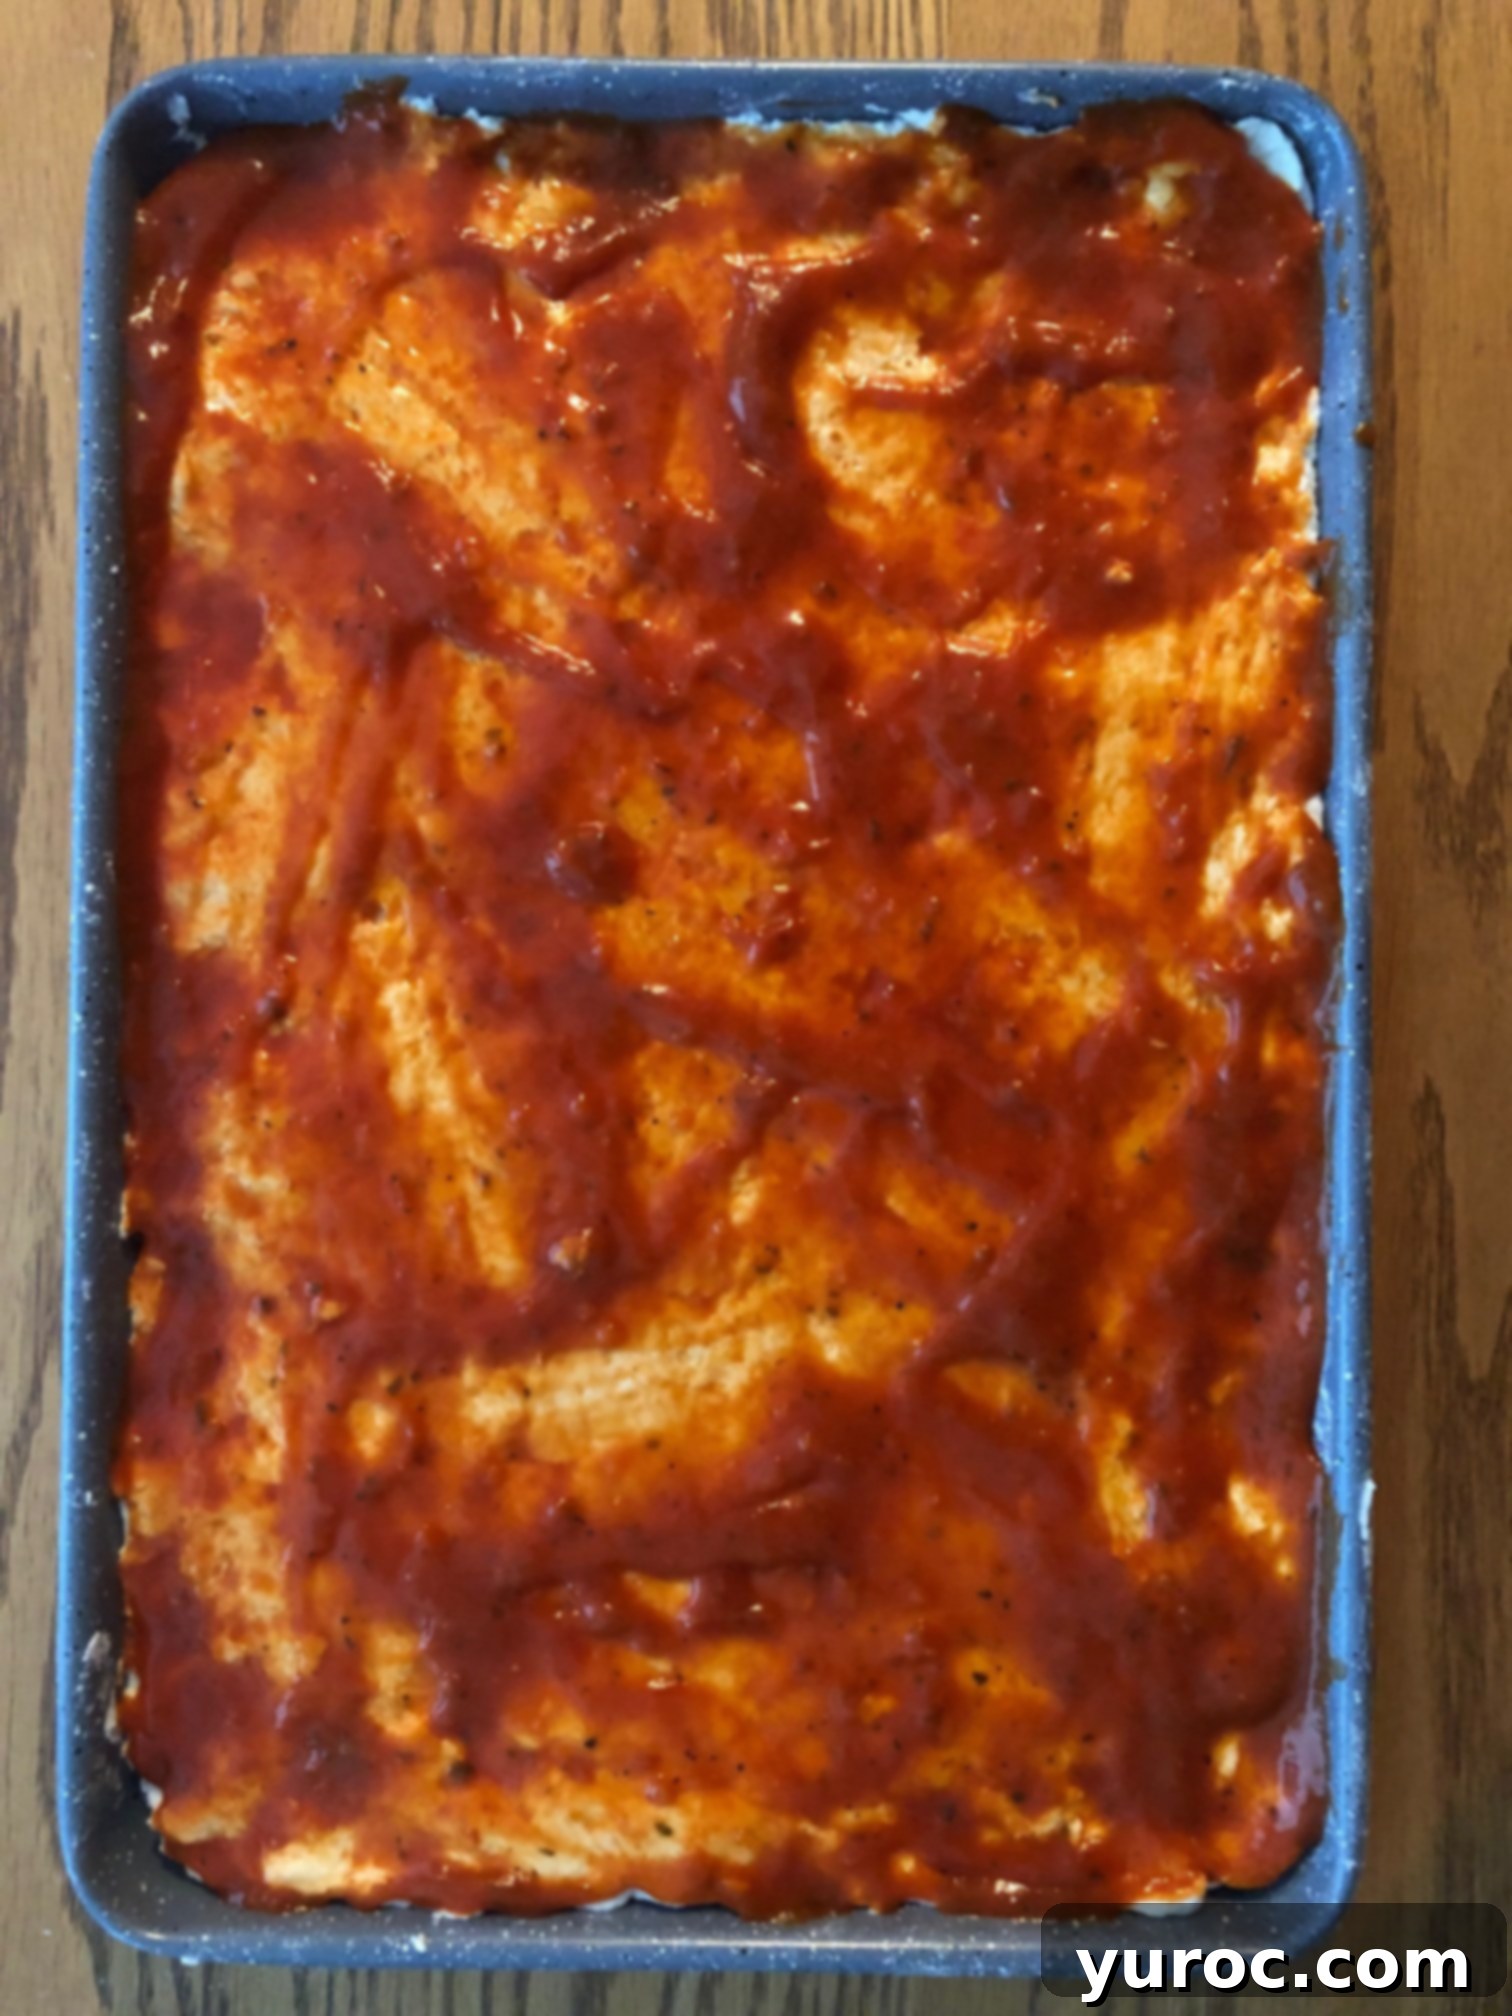
- Step 3: Apply Pizza Sauce. Generously and evenly spread your favorite pizza sauce over the entire surface of the dough, leaving a small border if you prefer. This ensures every dipper has a burst of classic pizza flavor.
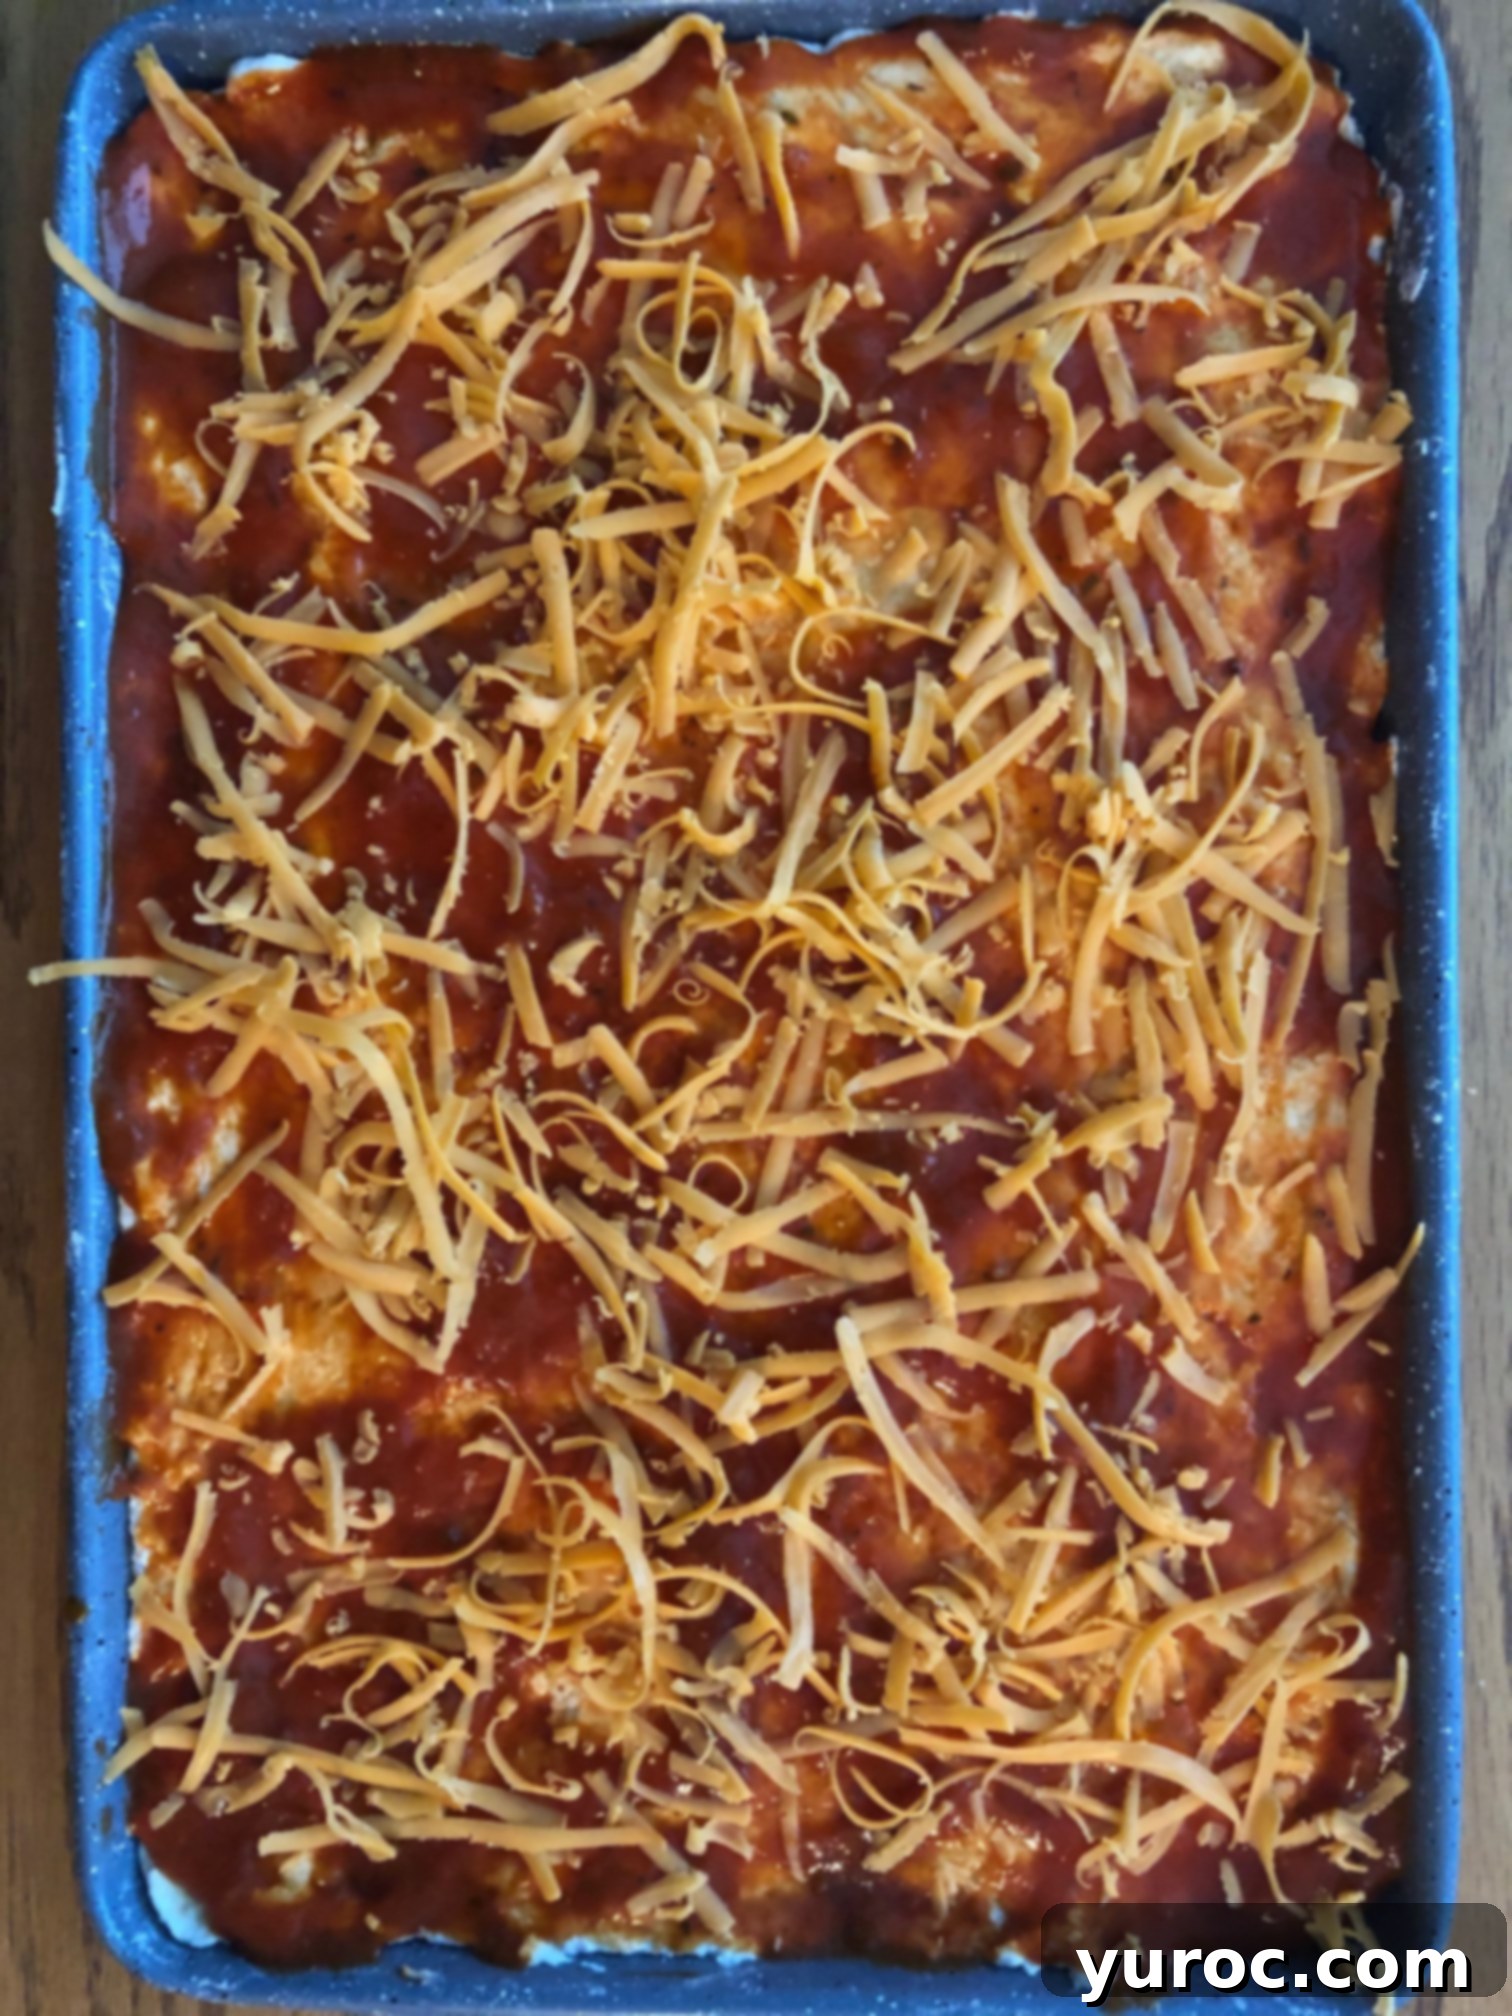
- Step 4: Add Cheddar Cheese. Sprinkle the shredded low-fat cheddar cheese evenly over the pizza sauce. This will create that classic cheesy pull when baked.
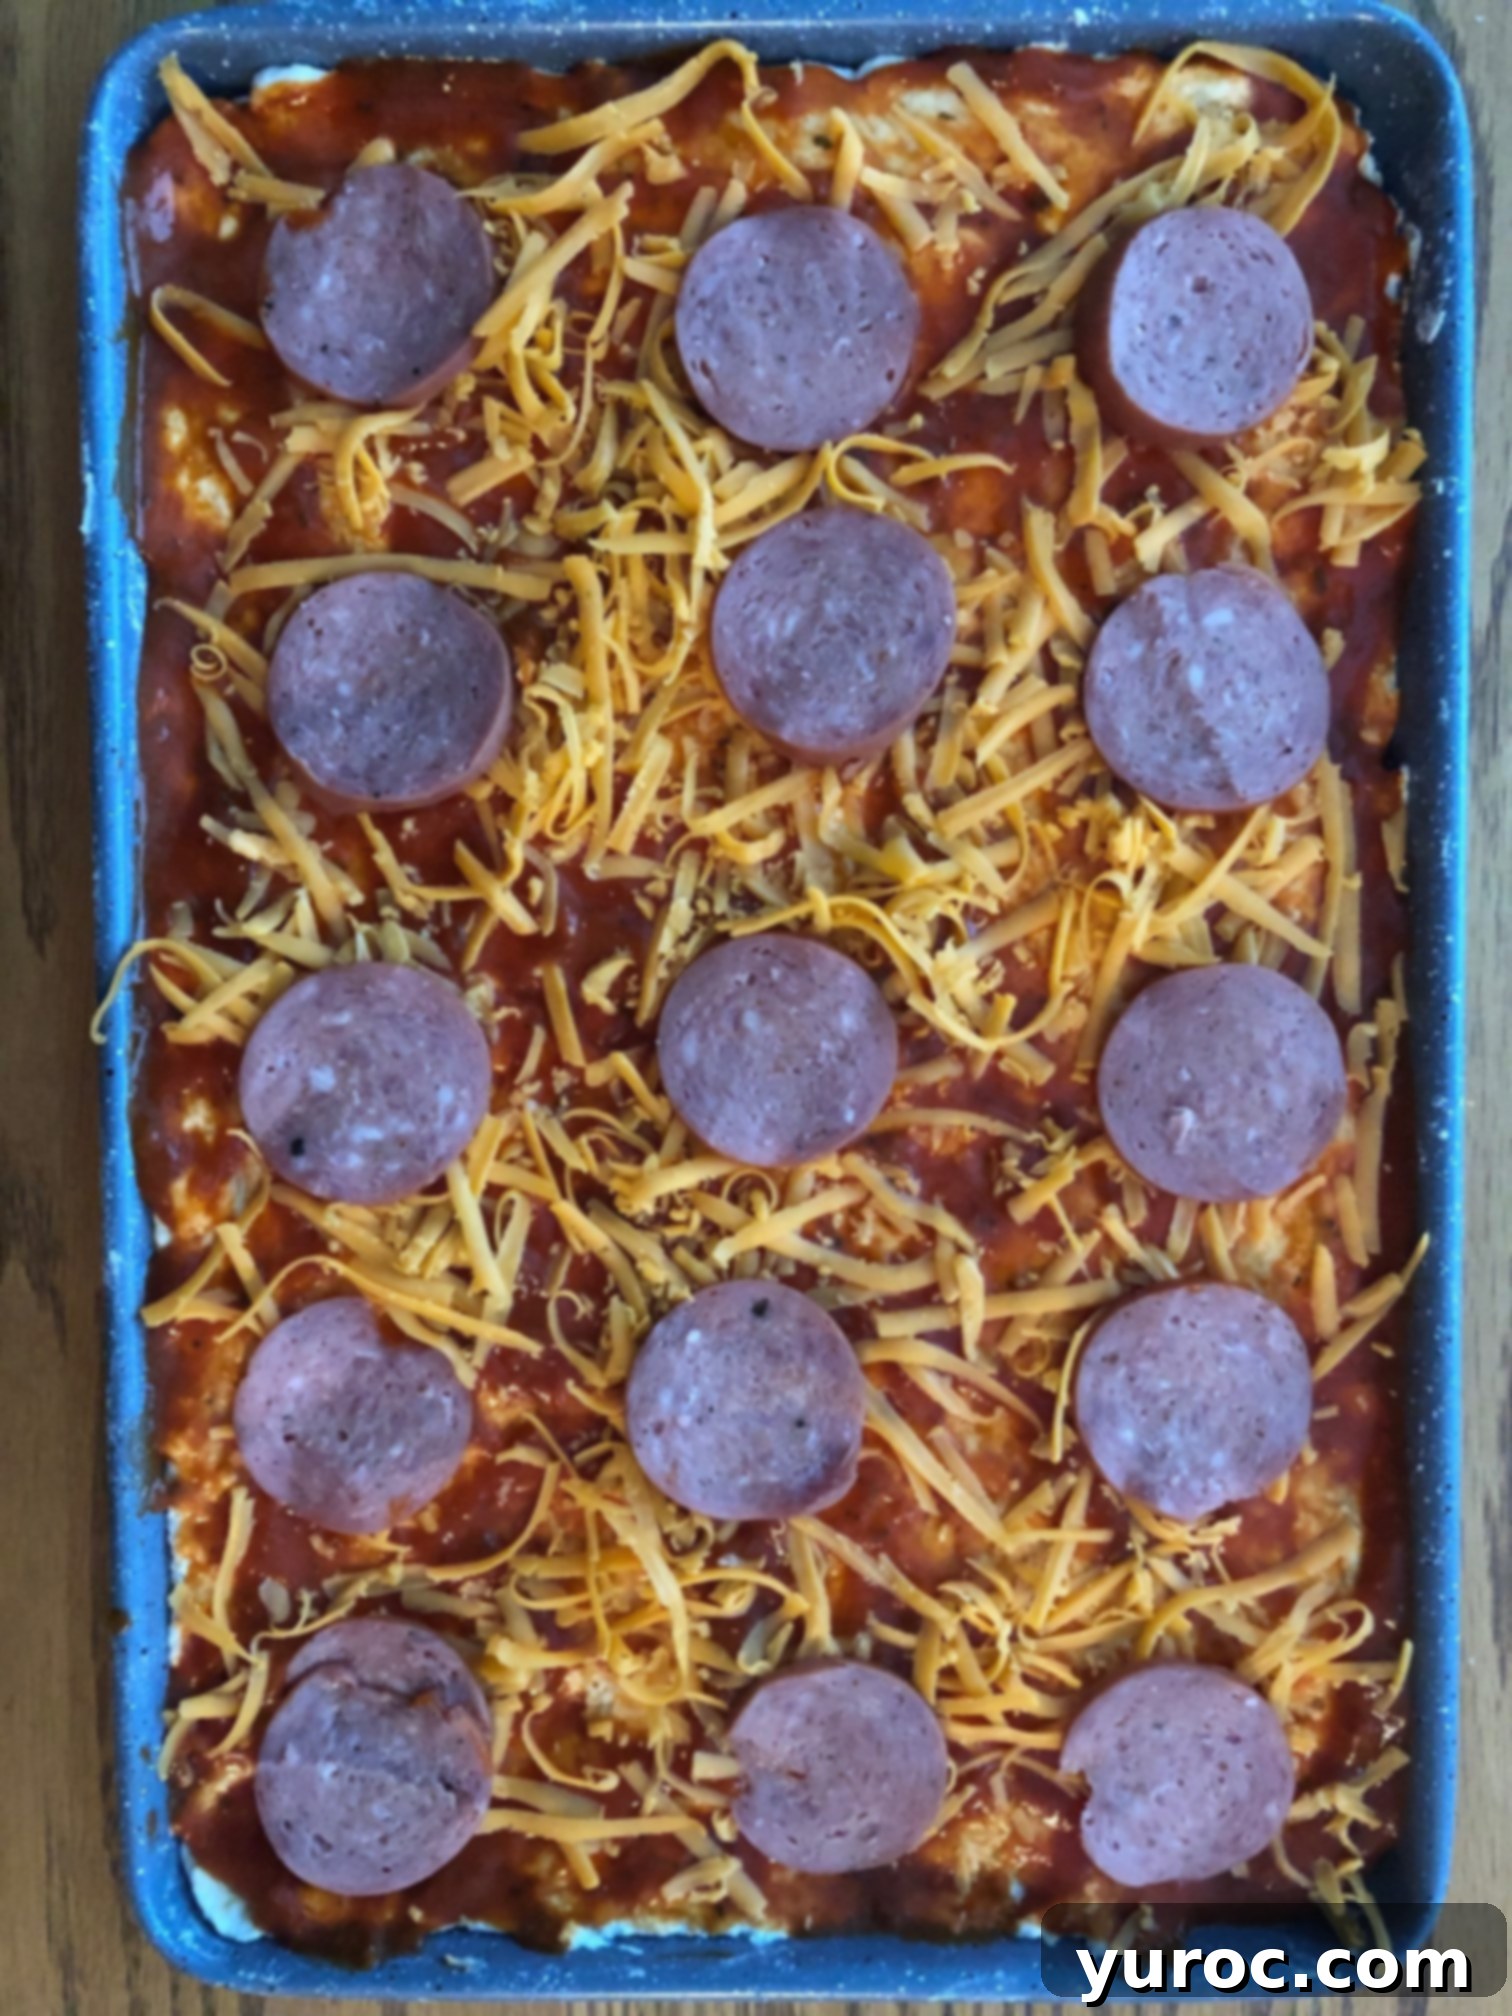
- Step 5: Distribute Pepperoni (or other meat). Neatly arrange the slices of turkey pepperoni (or your chosen low-fat meat) evenly across the cheese layer. Ensure good coverage so every dipper gets a taste of savory protein.
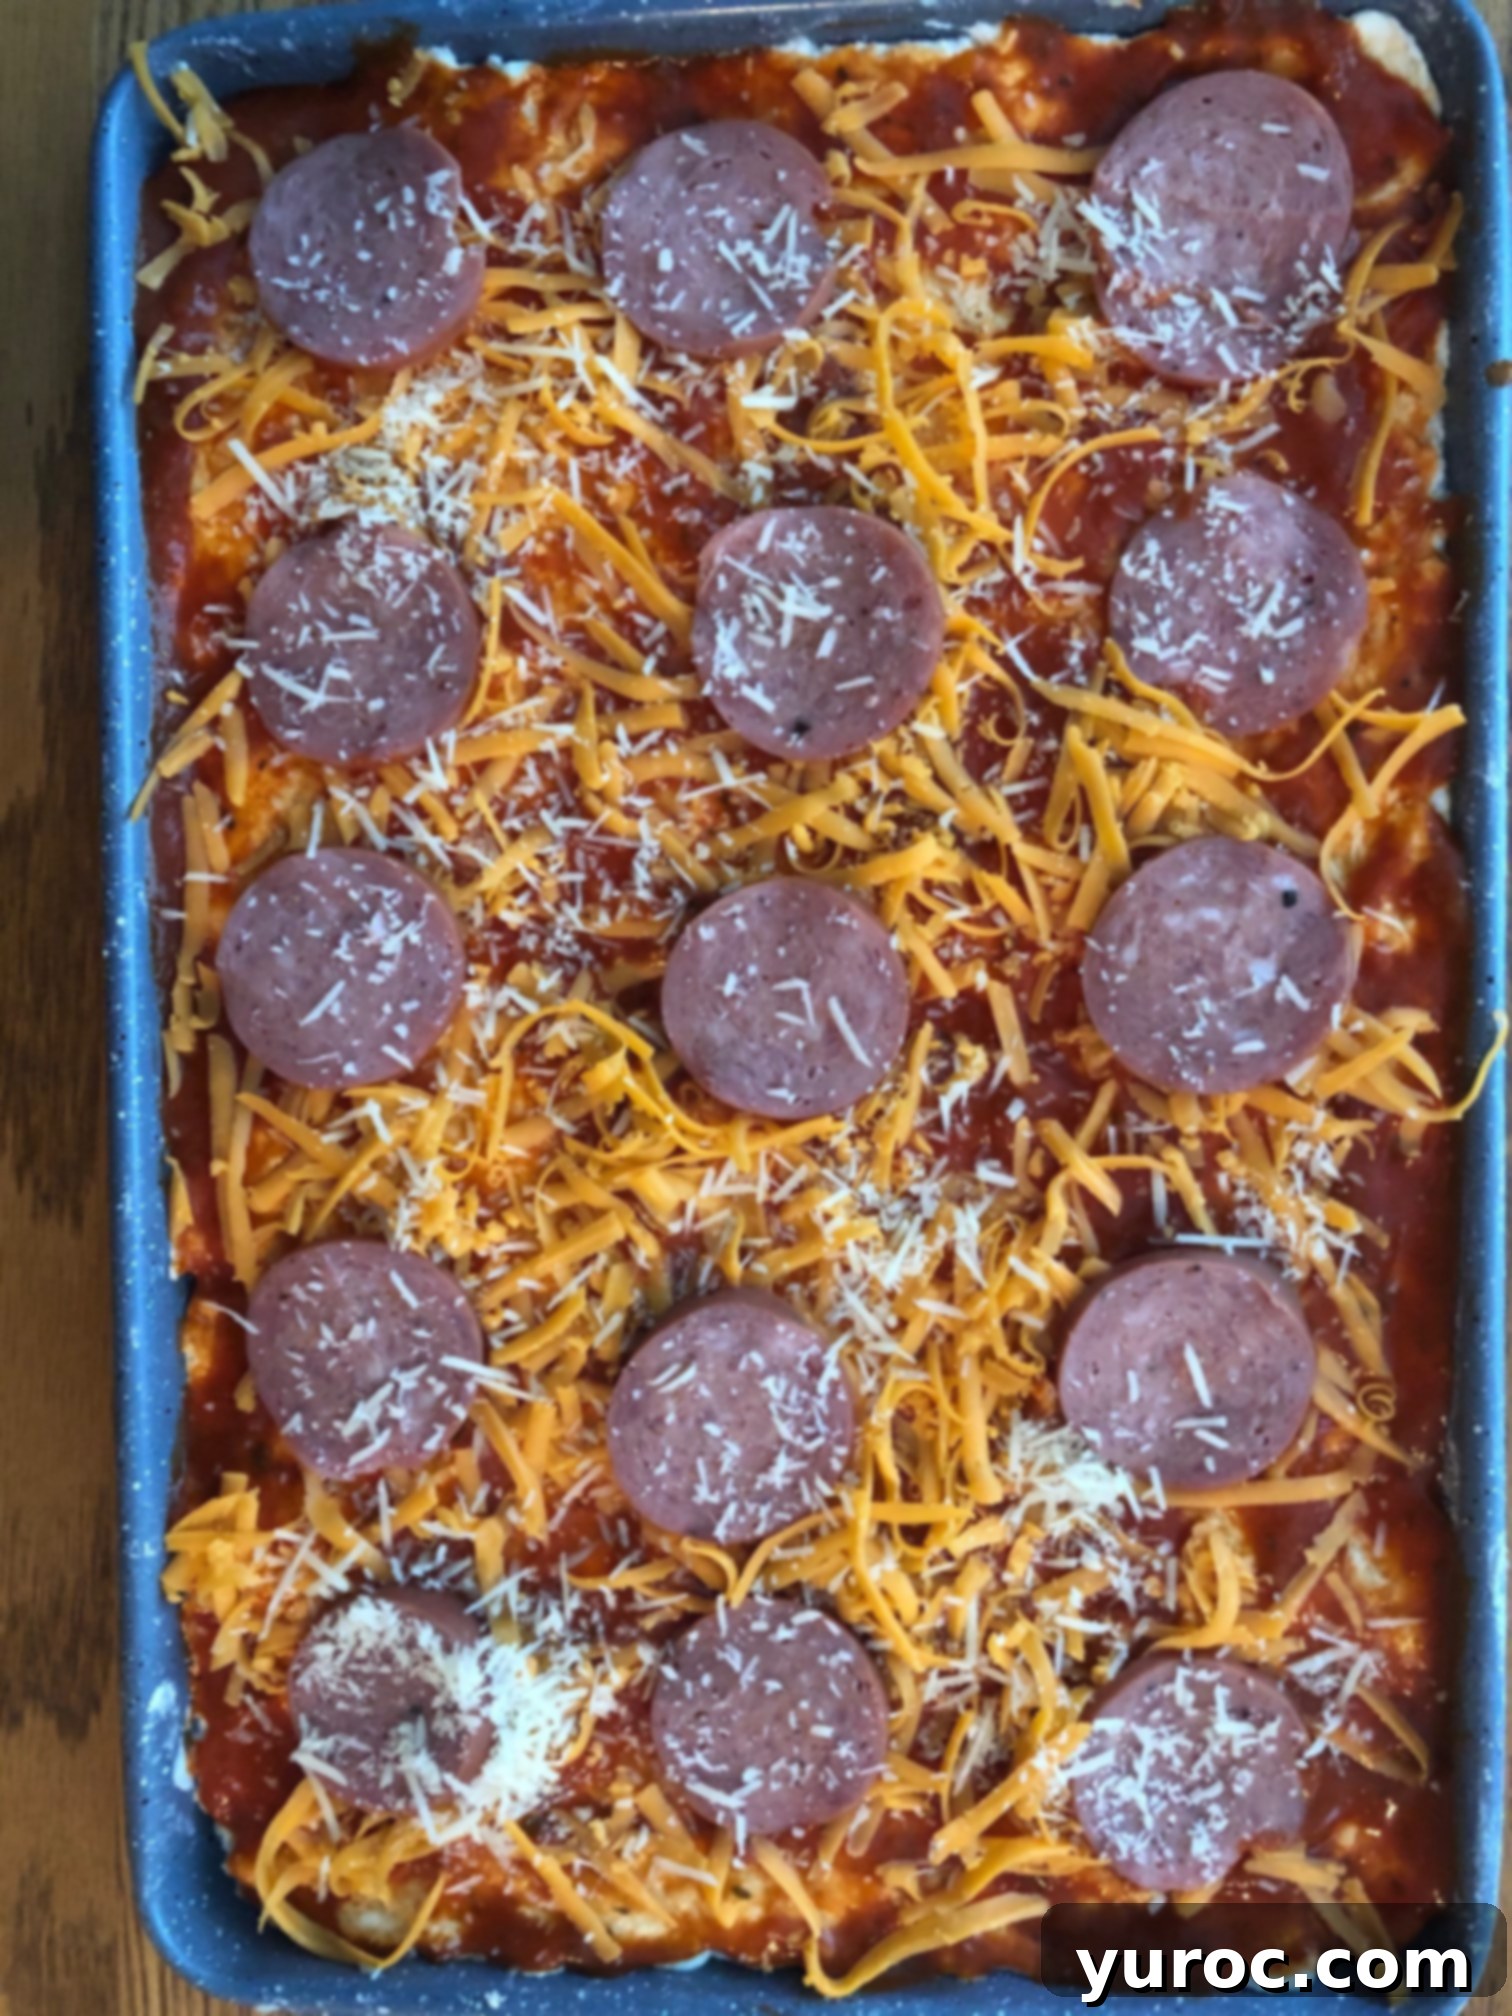
- Step 6: Finish with Parmesan. Lightly sprinkle the Parmesan cheese over the entire surface. This adds an extra layer of salty, umami flavor.
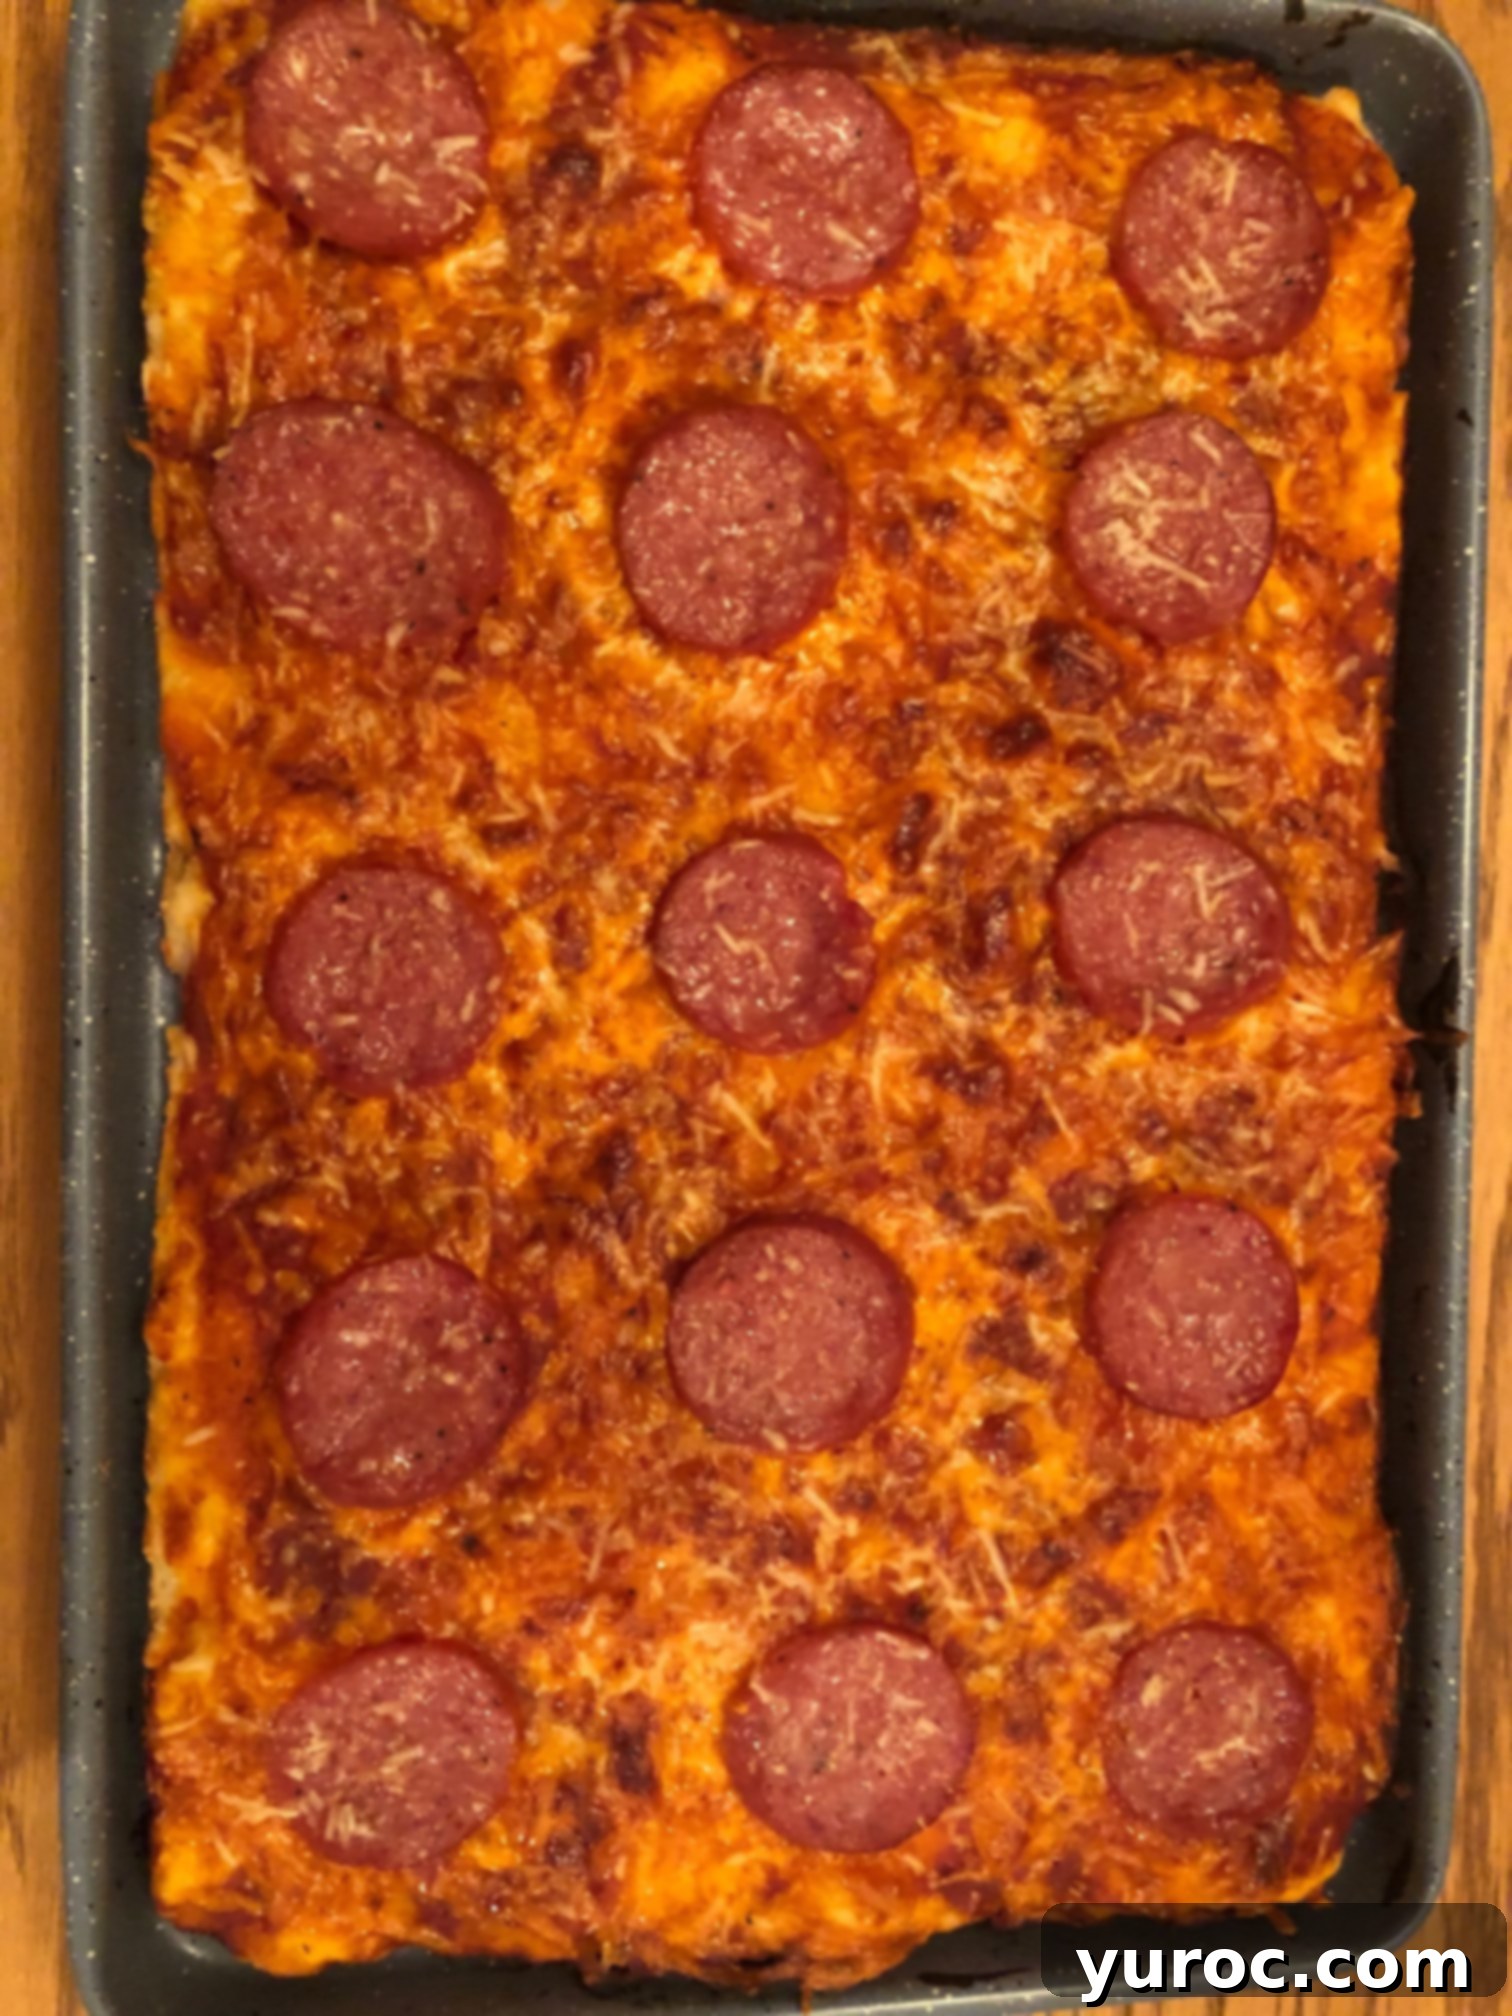
- Step 7: Bake and Slice. Bake in the preheated oven for approximately 25 minutes, or until the crust is golden brown and the cheese is bubbly and melted.
- Cooling: Once baked, remove the pizza from the oven and let it cool on the baking sheet for 5-10 minutes. This crucial cooling period allows the cheese and toppings to set, making for cleaner slices and preventing accidental burns.
- Cutting: Using a sharp pizza cutter, first slice the entire pizza into 7 long, equal pieces widthwise. Then, cut each of these long pieces in half lengthwise. This method will yield 14 perfectly sized dippers, ideal for grabbing and dipping.
- Serve and Dip! Arrange your warm (or cold!) pizza dippers with your favorite dipping sauces. Whether it’s classic pizza sauce, creamy ranch, spicy buffalo, or any other option from our variations list, get ready to enjoy!
🍕 Expert Recipe Tips for Perfect Pizza Dippers
Achieving flawless Healthy Pizza Dippers is easy with a few insider tips:
- Perfecting the 2-Ingredient Dough: The consistency of your dough is key. If the dough feels overly sticky after mixing and initial kneading, gradually add a little more self-rising flour, one tablespoon at a time, until it becomes pliable and easy to handle without excessive stickiness. Conversely, if your dough seems too dry and crumbly, incorporate a small amount (about a tablespoon) of non-fat Greek yogurt until it comes together into a smooth ball. Humidity can affect flour absorption, so adjust as needed.
- Rolling the Dough Evenly: Always use a lightly floured surface or parchment paper underneath your dough to prevent it from sticking to the counter or rolling pin. While a rolling pin provides the most uniform result, your hands can also be effectively used to press and spread the dough. The goal is an even thickness across the entire baking sheet. A consistent thickness ensures that the dippers bake uniformly, preventing some parts from being undercooked while others are overly crisp.
- The Importance of Cooling Before Cutting: It’s tempting to cut into a hot pizza right out of the oven, but for dippers, patience pays off. Allowing the baked pizza to cool for 5-10 minutes before slicing helps the melted cheese and toppings set properly. This prevents the toppings from sliding off and makes for much cleaner, more appealing slices. Use a sharp pizza cutter or a large, sharp knife for the best results.
- Don’t Overload Toppings: While it’s fun to customize, resist the urge to pile on too many toppings. Too many ingredients can make the dough soggy, prevent even cooking, and make the dippers difficult to handle. A thin, even layer works best.
These Pizza Dippers are truly the perfect healthy school lunch because they embody the essence of a “ready-to-eat” meal. We all know that pizza is just as delicious cold as it is hot, making it an ideal candidate for lunchboxes where microwave access might be limited or nonexistent. In today’s dynamic school environments, many institutions now explicitly request that students bring ready-to-eat lunches, eliminating the need for shared microwaves and reducing wait times. These dippers fit that requirement perfectly, ensuring your child has a satisfying and wholesome meal ready to enjoy.
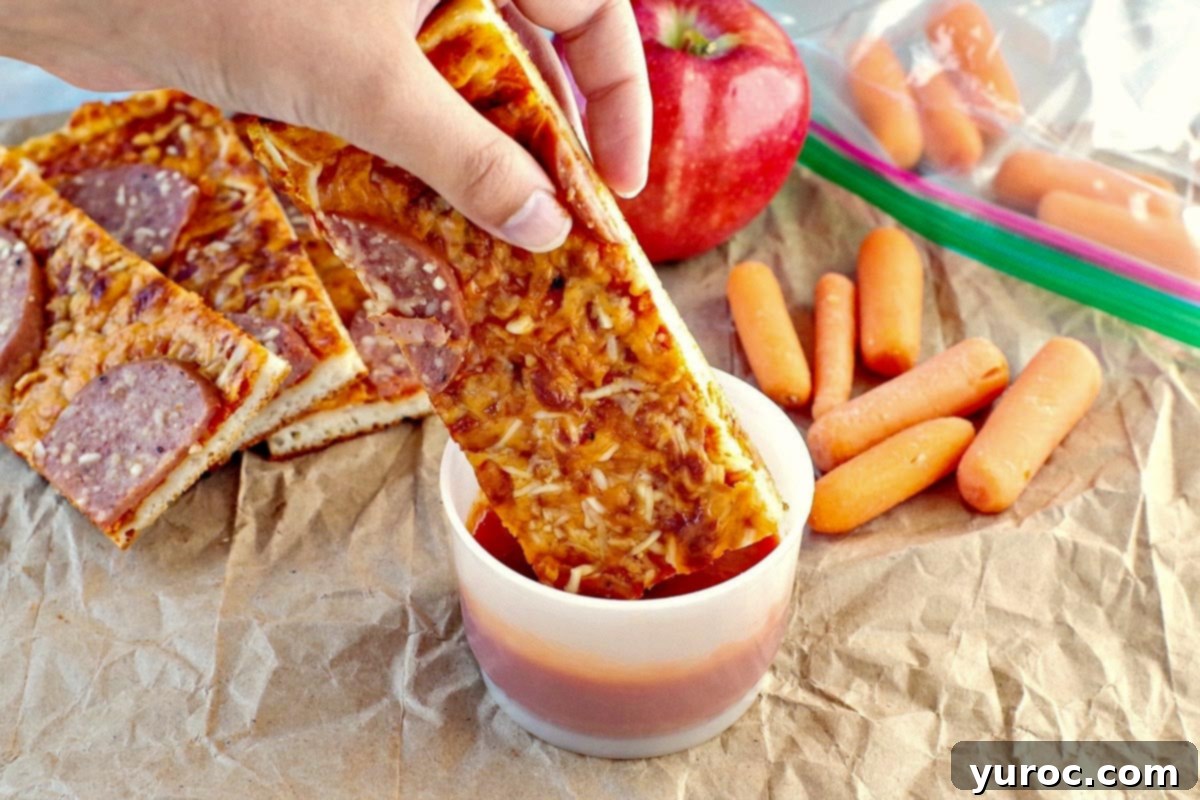
🥗 What to Serve with Healthy Pizza Dippers
Creating a balanced and appealing lunchbox involves more than just the main dish. Here are some fantastic ideas to pair with your Healthy Pizza Dippers for a complete meal that kids and adults alike will love:
- Fresh Vegetables: Complement the savory dippers with crisp, hydrating veggies. Think crunchy carrot sticks, refreshing cucumber slices, colorful bell pepper strips, cherry tomatoes, or sugar snap peas. These add essential vitamins, minerals, and fiber.
- Fresh Fruit: A serving of fruit adds natural sweetness and a healthy energy boost. Grapes, apple slices (tossed with a little lemon juice to prevent browning), orange segments, or berries are all excellent choices.
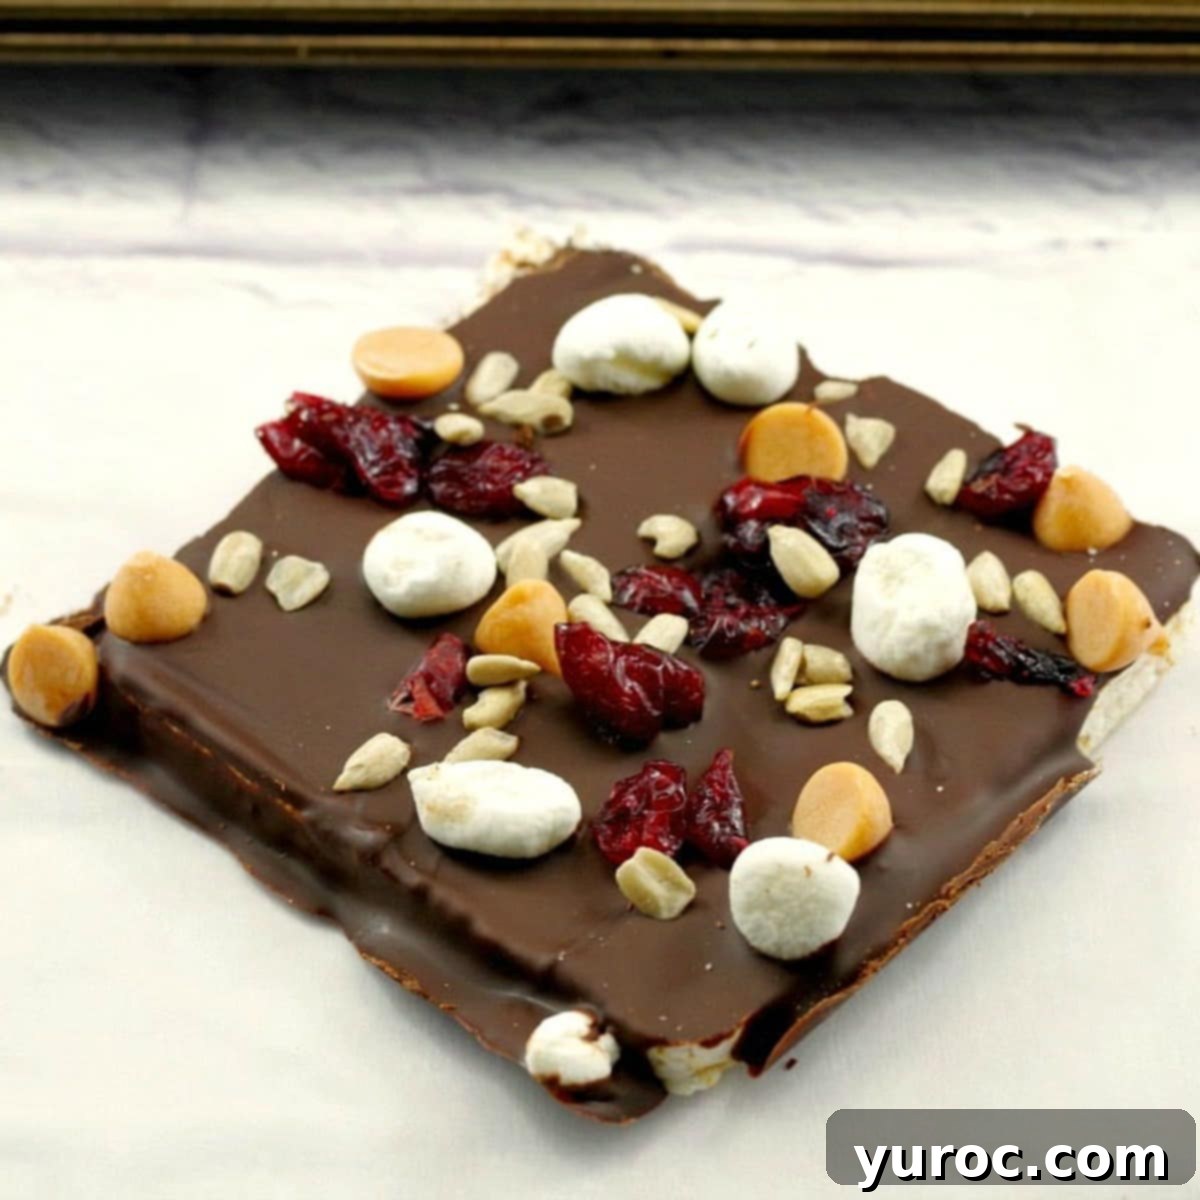
- Healthy Desserts: If you’re including a treat, make it a wholesome one! Our Healthy Spinach Brownies are surprisingly delicious and nutrient-packed. The Healthy Blueberry Cornbread offers a comforting sweetness, or try these highly popular No Bake Healthy Chocolate Rocky Road Bars (pictured below), which were such a hit even my daughter’s friends were begging for the recipe!
- Yogurt or Cheese Sticks: For an extra boost of protein and calcium, include a small container of plain Greek yogurt or a low-fat cheese stick.
- A Healthy Drink: Pair with water, milk, or a small portion of 100% fruit juice.
I’ve discovered that as children grow into teenagers, packing their lunches doesn’t necessarily get easier; in some ways, it becomes even more challenging due to evolving preferences and busier schedules. You still need to meticulously plan meals, purchase the right ingredients, and ensure your fridge is stocked with quick, healthy options they can grab. In fact, many teens become pickier about what they’ll eat, making the “lunch dilemma” a persistent issue. This is precisely where these easy and delicious Pizza Dippers shine. They offer a universally loved flavor in a convenient format that appeals to teenagers.
Beyond school lunches, these versatile dippers are also fantastic as an after-school snack to curb hunger until dinner, or as a crowd-pleasing appetizer for game day gatherings. Their simple preparation makes them a go-to for any occasion where you need a tasty and satisfying bite.
🌡️ Storing Your Healthy Pizza Dippers
One of the many benefits of these Healthy Pizza Dippers is their excellent make-ahead and storage capabilities, which are crucial for busy families. They are designed to be a grab-and-go, ready-to-eat meal, whether you prefer them warm or cold.
- Make Ahead: You can prepare a large batch of these dippers on the weekend and portion them out for lunches throughout the week.
- Refrigeration: Store leftover pizza dippers in an airtight container in the refrigerator for up to 3-4 days.
- Freezing: For longer storage, allow the baked dippers to cool completely. Arrange them in a single layer on a baking sheet and freeze until solid. Once frozen, transfer them to a freezer-safe bag or container. They can be stored in the freezer for up to 2-3 months.
- Reheating: To reheat, simply place frozen dippers on a baking sheet and bake at 350°F (175°C) for about 10-15 minutes, or until heated through and crisp. You can also warm them gently in a microwave for a quicker option, though they may not be as crispy.
- Enjoy Cold: The beauty of these dippers is that they taste fantastic even when eaten cold, making them perfect for lunchboxes where reheating isn’t an option.
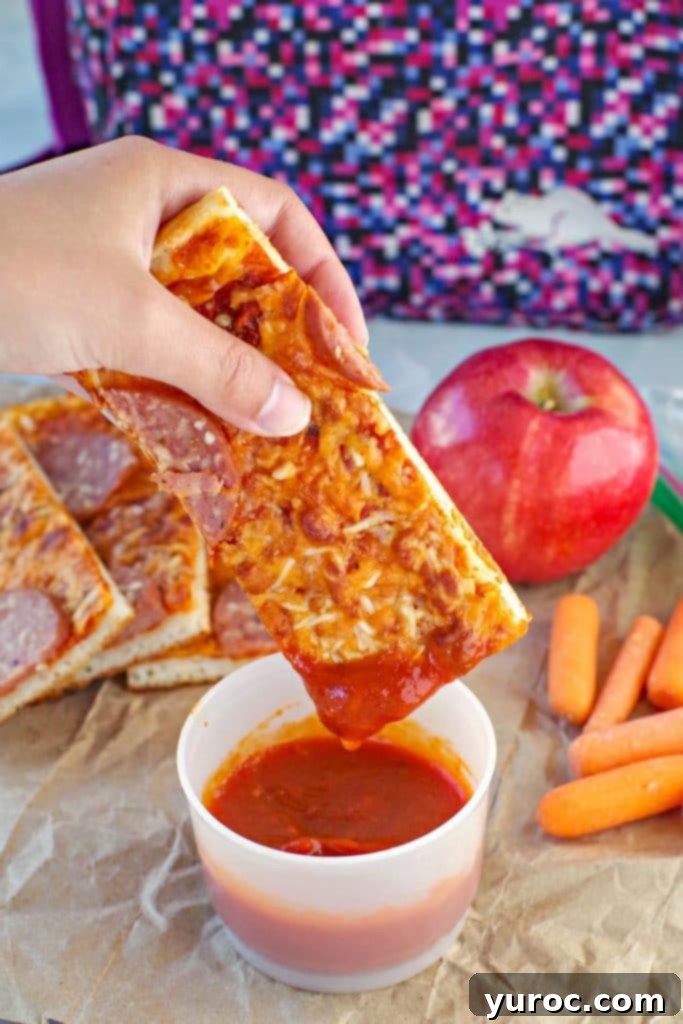
The standout feature of these Healthy Pizza Dippers for school lunches is their grab-and-go convenience and the fact that they are equally delicious served cold. This makes them an ideal solution for parents who need to prepare meals in advance. Furthermore, involving older children and teenagers in the cooking process is a fantastic way to teach them valuable life skills. With our simple, step-by-step instructions, even older teenagers can confidently make these dippers themselves, fostering independence and a love for healthy cooking. So, whether you’re searching for practical packed lunch ideas for elementary school kids or looking to empower your high schoolers with easy, healthy meal prep, give these Healthy Pizza Dippers a try!
❔ Frequently Asked Questions About Pizza Dippers
Absolutely! One of the best features of these pizza dippers is their versatility. They are perfectly delicious as a cold lunch option, making them an excellent choice for school lunches, picnics, or any on-the-go meal where reheating facilities aren’t available.
You can get very creative with customizing your pizza dippers! Beyond pepperoni, great options include crumbled lean turkey sausage, thinly sliced strips of bell peppers, finely diced green peppers, a sprinkle of light feta cheese for a tangy twist, or any of your family’s favorite pizza toppings. Just ensure toppings are cut small and not too watery.
The dipping possibilities are nearly endless! Aside from the classic pizza sauce, popular choices include creamy ranch dressing, rich marinara sauce, decadent Alfredo sauce, zesty buffalo sauce for a kick, smoky chipotle sauce, or even a simple light garlic dip. You can also get creative and mix your own, like a buffalo-ranch blend.
Yes, you certainly can use regular Greek yogurt in place of non-fat Greek yogurt. The 2-ingredient dough will still work beautifully. However, keep in mind that opting for regular Greek yogurt will slightly increase the overall calorie and fat content of your pizza dippers, so factor that into your dietary considerations if applicable.
This recipe yields 14 dippers, and the nutrition information is calculated based on approximately one dipper per serving. For a larger lunch or snack, you may choose to have more, adjusting your intake accordingly.
🥪🎒 More “Ready to Eat” School Lunch Ideas!
Looking for more inspiration to fill those lunchboxes with delicious, easy, and ready-to-eat meals? Check out these other fantastic recipes:
- Pizza Cupcakes Recipe
- Healthy Chicken Taco Salad (in a jar)
- Turkey Bacon Ranch Wrap Recipe
- Healthy Pita Pizza
Did your family ❤️ this recipe? Did you know that commenting and ⭐ rating recipes is one of the best ways to support your favorite recipe creators? If you LOVED this recipe, please comment and rate it in the recipe card or share photos on social media using the hashtag #foodmeanderings or tagging @foodmeanderings!

📋 Healthy Pizza Dippers Recipe
These Healthy Pizza Dippers are quick and easy to make with a simple 2-ingredient dough (Greek yogurt and self-rising flour). They are incredibly versatile: prepare them ahead of time, freeze them, heat them up, or enjoy them cold, making them the ultimate ready-to-eat lunchbox meal. They’re also perfect served with various dips as an after-school snack or a fun game day treat. For parents, a bonus is that they are Weight Watchers friendly!
Rating: 5 from 5 votes
Print Recipe |
Pin Recipe
Course: Lunch, Snack
Cuisine: American, Canadian
Special Diet: Weight Watchers
Servings: 14 pieces
Calories: 103 kcal
Author: Terri Gilson
Prep Time: 10 minutes
Cook Time: 25 minutes
Total Time: 35 minutes
Equipment
- baking sheet
- pastry/pizza rolling pin
Ingredients
Dough
- 1.5 cups self-rising flour *see NOTES for substitution
- 1.5 cups non-fat plain Greek yogurt (0%) * you can substitute regular Greek yogurt
Toppings
- ¾ cup – of your fave pizza sauce
- 1 cup shredded low-fat cheddar * or substitute light mozzarella cheese
- ½ cup turkey pepperoni or low-fat meat *15 thin sliced pieces
- 3 Tbsp light or non-fat Parmesan cheese
Instructions
- Preheat oven to 400°F (204°C). Spray 9×13 baking sheet with non-stick spray or line with parchment paper.
- Dough: Stir together 1.5 cups non-fat plain Greek yogurt (0%) and 1.5 cups self-rising flour until a thick dough forms. Turn out dough onto a lightly floured surface and knead until it forms a dough ball. Add a little more flour if it’s too sticky.
- Begin rolling dough, gradually spreading it evenly across the pan using a rolling pin and/or your hands.
- Spread pizza dough out level to the edges on the cookie sheet. Do not make crust at the edges.
- Toppings: Spread pizza sauce evenly.
- Then add cheddar cheese.
- Add meat, distributing evenly.
- Then add Parmesan cheese.
- Bake for 25 minutes.
- Remove from oven and cool for 5-10 minutes.
- Slice into 7 long pieces widthwise.
- Then cut each piece in half, lengthwise. You will have 14 pieces.
- And dip! * You can use pizza sauce, Alfredo sauce, marinara sauce, buffalo sauce, ranch or any sauce you wish.
Notes
Self-rising flour is all-purpose flour with baking powder and salt added.
To make your own:
PER CUP (remember: this recipe needs 1.5 cups so multiply ingredients by 1.5):
Combine 1 cup of all-purpose flour with 1 ½ teaspoons of baking powder and ½ teaspoon of salt.
Recipe Tips:
- Perfecting the Dough. If your 2-ingredient dough is too sticky, add more flour a little at a time until it becomes workable. Conversely, if it’s too dry, mix in a small amount of Greek yogurt until it comes together.
- Rolling the Dough. Use a lightly floured surface to prevent sticking. A rolling pin works well, but your hands can also help shape the dough evenly. Aim for a uniform thickness to ensure even cooking.
- Cutting the Dippers. Allow the baked pizza to cool for 5-10 minutes before slicing. This helps the toppings stay intact and prevents burns. Use a sharp pizza cutter or knife for clean, even slices.
Storing:
These Healthy Pizza Dippers can be made ahead, frozen, heated, or eaten cold, making them the perfect lunch box meal because they are ready to eat.
Nutrition
Serving: 1 slice | Calories: 103kcal (5%) | Carbohydrates: 12g (4%) | Protein: 9g (18%) | Fat: 2g (3%) | Saturated Fat: 1g (6%) | Cholesterol: 13mg (4%) | Sodium: 295mg (13%) | Potassium: 137mg (4%) | Fiber: 1g (4%) | Sugar: 1g (1%) | Vitamin A: 78IU (2%) | Vitamin C: 1mg (1%) | Calcium: 72mg (7%) | Iron: 1mg (6%)
Did you make this recipe? Please leave a star rating and review below!
Rate this Recipe
