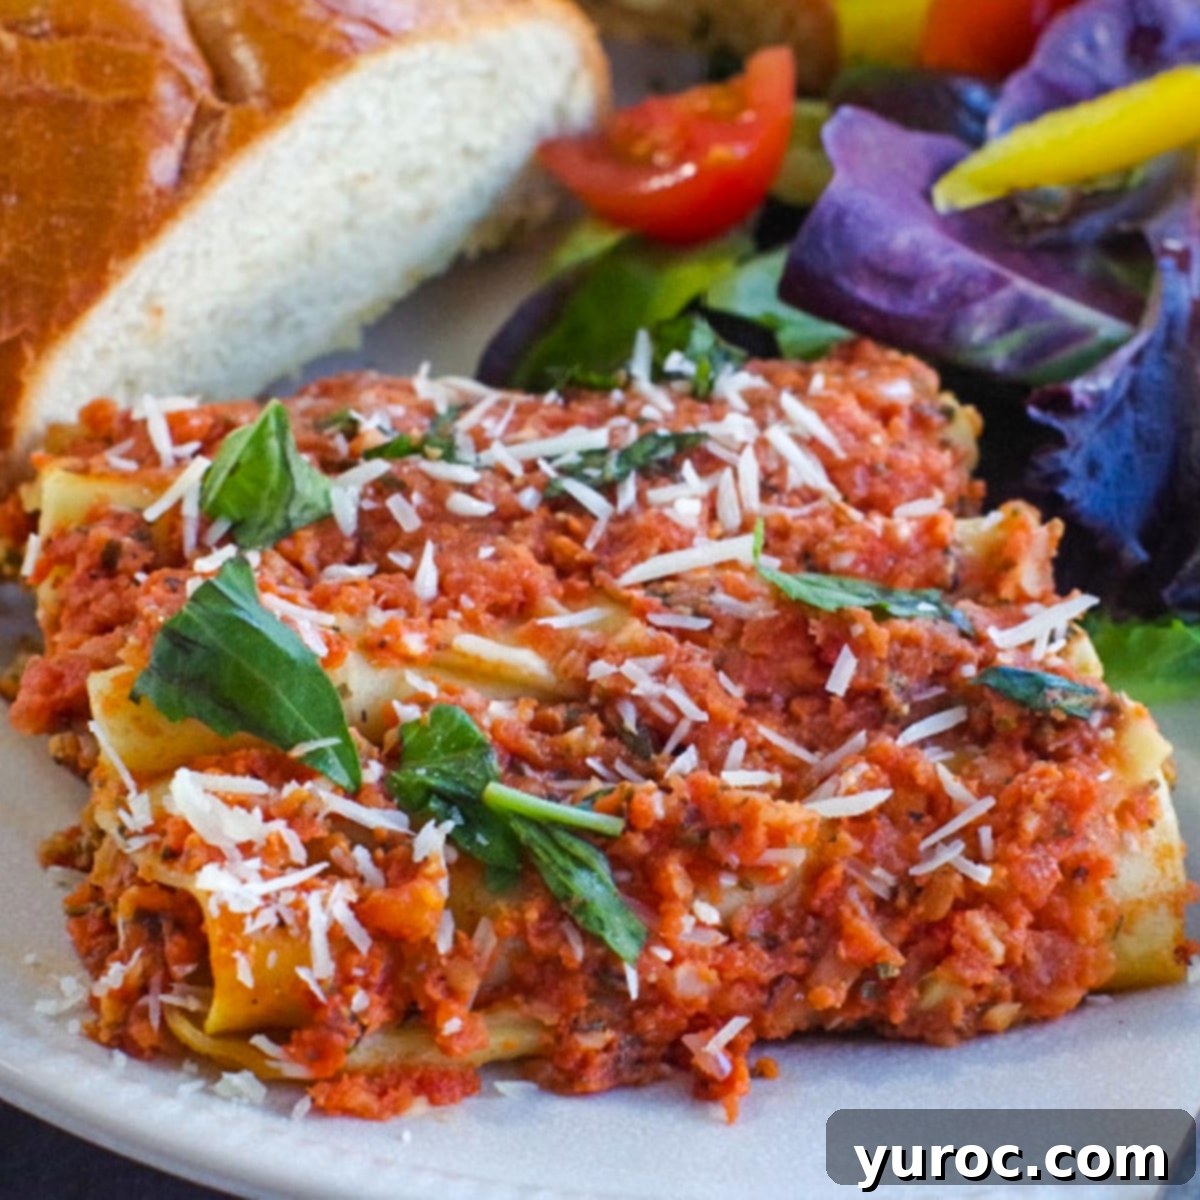
Ultimate Baked Beef Cannelloni Recipe: A Rich, Ricotta-Free Italian Masterpiece
Have you ever experienced a culinary mishap that, against all odds, resulted in something truly extraordinary? That moment when a “mistake” transforms into a dish so incredibly delicious, you’re left desperately trying to recreate it, despite having no idea what you did differently? That’s exactly how this particular Baked Beef Cannelloni Recipe came into being for me. For years, I pursued that elusive, accidental perfection, attempting to replicate the very “wrong” steps I took that first magical time. I’m thrilled to finally share that I’ve cracked the code, and now, this treasured, ricotta-free beef cannelloni recipe is yours to enjoy!
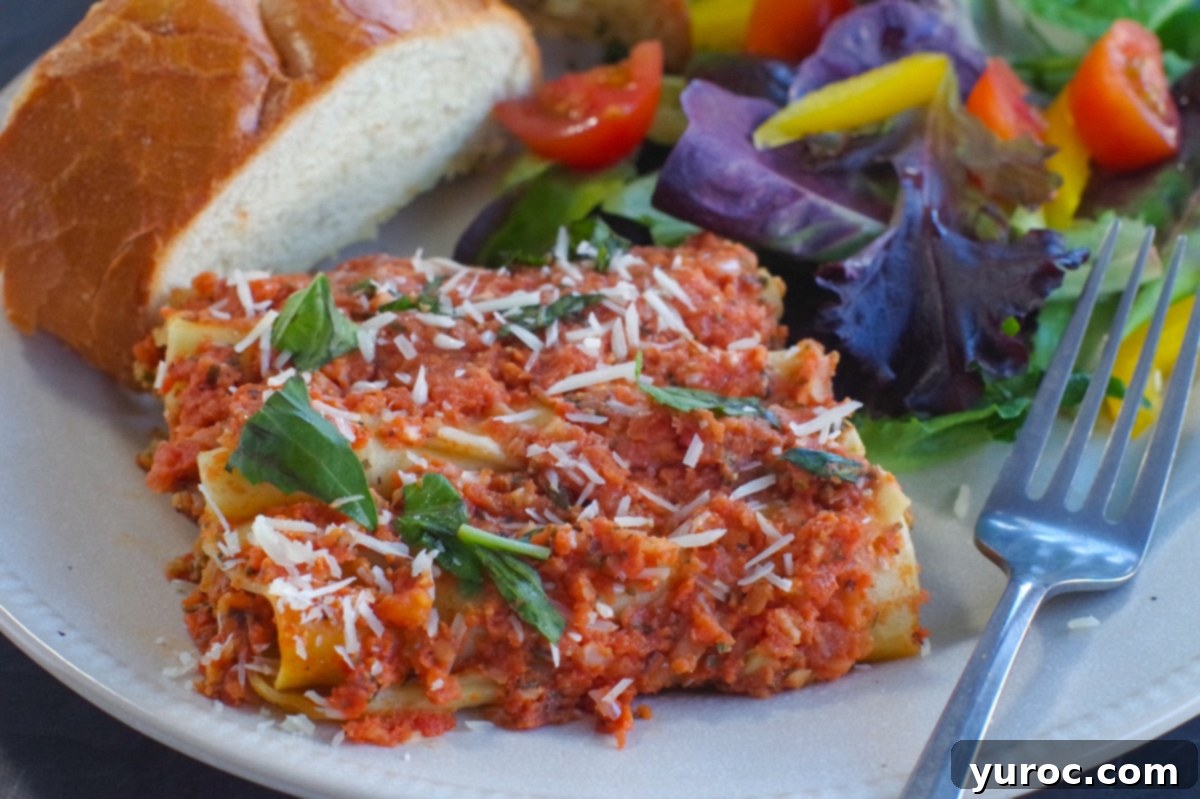
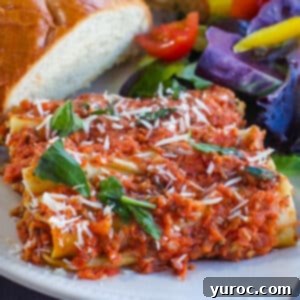
This Italian comfort food classic, Baked Beef Cannelloni, is renowned for its hearty and satisfying nature. While it’s particularly popular as a warming meal during the colder winter months, its rich flavors and comforting essence make it a fantastic choice any time of year. Whether you’re planning a special occasion dinner, a traditional Sunday feast, or simply a comforting weeknight meal the whole family will adore, this homemade cannelloni recipe delivers. It pairs exquisitely with a side of crusty garlic bread, perfect for soaking up every last drop of the delectable creamy tomato sauce.
Life can be incredibly busy, and finding time to prepare elaborate meals, especially when entertaining, isn’t always feasible. Like many of you, I cherish making extra-special meals for birthdays, anniversaries, Valentine’s Day, or when hosting friends and family. However, the pressure of cooking right before guests arrive can diminish the joy of the occasion. This is precisely why I rely on an arsenal of reliable make-ahead and reheat recipes. After years of testing and perfecting, this Baked Beef Cannelloni has proudly earned its place among my elite collection of stress-free, company-worthy dishes. It took about eight years to get it just right, but every moment was worth it!
🥘 The Unique, Ricotta-Free Cannelloni Filling
What sets this baked cannelloni recipe apart is its truly unique and flavorful filling. Unlike many traditional cannelloni recipes that rely on ricotta cheese, béchamel sauce, alfredo sauce, or other white sauces for richness, this recipe takes a different approach. My special filling offers a distinct taste and texture that stands out beautifully, ensuring your cannelloni experience is truly memorable.
Instead of ricotta, this recipe features a vibrant, pureed mixture of lean ground beef, finely chopped onions, carrots, fresh spinach, and aromatic fresh basil. The secret to its incredible depth and luxurious texture lies in the strategic addition of whipping cream, a touch of dry white wine, and grated Parmesan cheese. These ingredients work in harmony to infuse both the filling and the sauce with an unparalleled richness that you won’t find in typical cannelloni recipes, making you forget all about ricotta.
I’ve found that when ricotta is used in cannelloni, the result often tastes and feels very similar to traditional lasagna. While I absolutely adore lasagna (and you’ll definitely want to try my easy homemade version, pictured below!), I believe cannelloni deserves its own distinctive character. This recipe achieves just that, offering a complex, savory, and incredibly satisfying profile that is uniquely its own. It’s a testament to how creative ingredient choices can elevate a classic dish to new heights, delivering a homemade cannelloni that’s both comforting and gourmet.
🍲 The Magic of Oven-Ready Pasta
One of the key elements that makes this beef cannelloni recipe so much easier and more enjoyable to prepare is the use of oven-ready pasta. I vividly recall the first time I made this dish – the “happy accident” version. I knew I had deviated from the original recipe, particularly by adding whipping cream to the sauce when it wasn’t intended. Beyond that, the final presentation looked nothing like the picture I was aiming for. Unfortunately, I didn’t jot down any notes, and a couple of years passed before I attempted it again, making it difficult to pinpoint my exact steps. However, one thing remained clear: the taste was absolutely phenomenal!
So, I embarked on a mission, experimenting with various permutations and combinations until I recaptured that exquisite flavor profile from all those years ago. Throughout this journey, one consistent factor that greatly simplified the process was the use of oven-ready cannelloni pasta. These special pasta tubes eliminate the need for pre-boiling, saving significant time and effort in the kitchen. They absorb moisture from the sauce during baking, cooking perfectly al dente right in the casserole dish. This convenience is a game-changer, transforming what can sometimes be a labor-intensive dish into a surprisingly accessible one, even for busy home cooks.
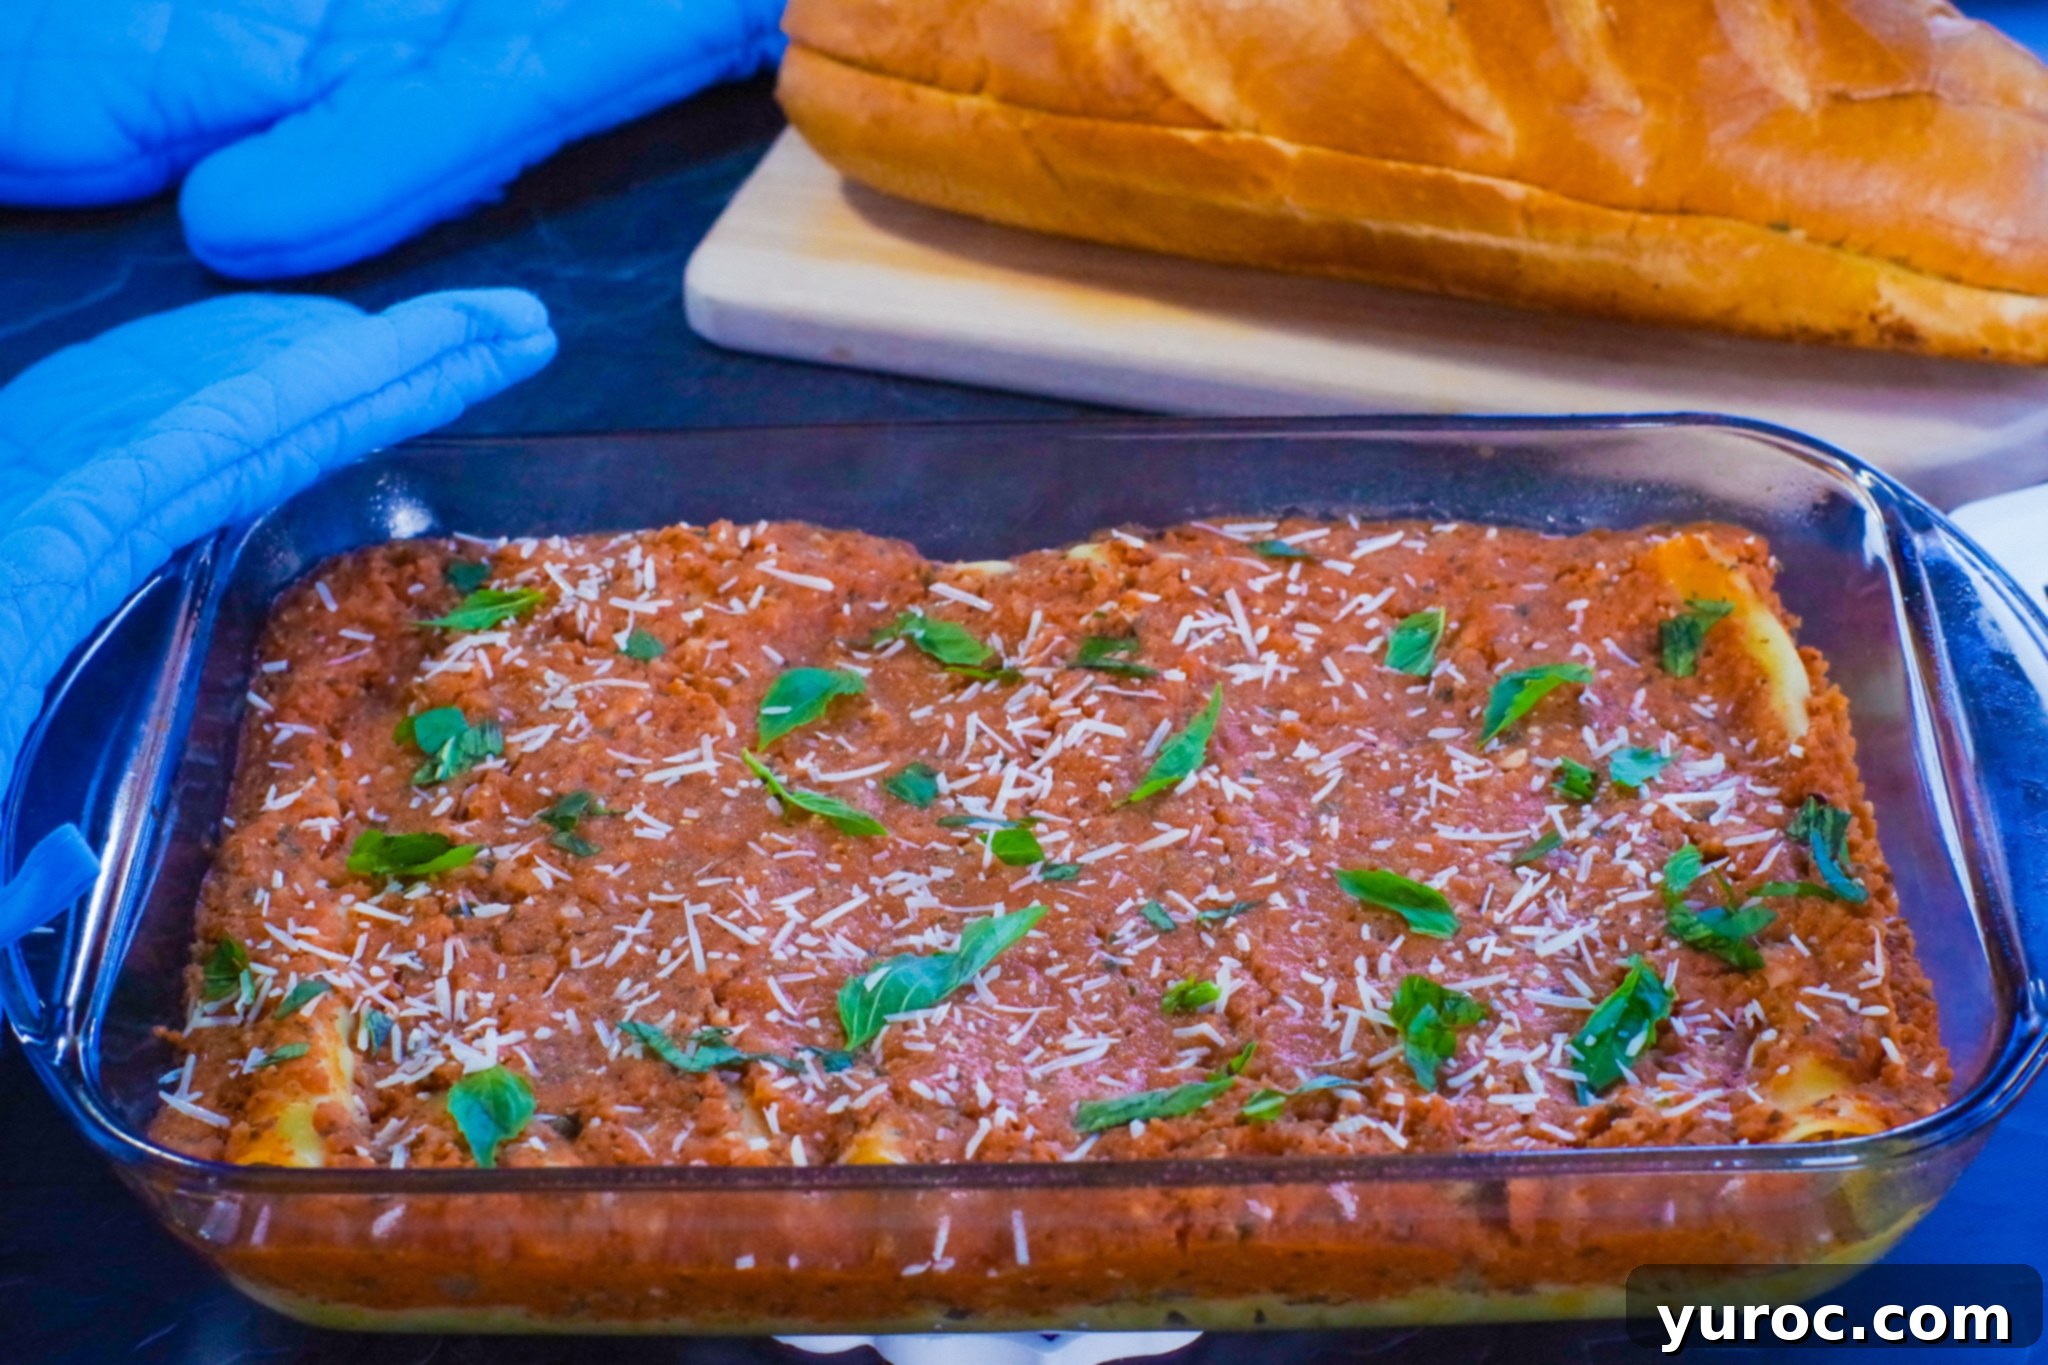
🔪🎥 Step-by-Step Instructions: Crafting Your Homemade Beef Cannelloni
How to Effortlessly Stuff Cannelloni Tubes
If you’re someone who finds joy in the art of stuffing, then preparing stuffed cannelloni will be a delightful experience for you! Even if intricate stuffing isn’t your usual preference, don’t worry—this task is surprisingly straightforward. In fact, it’s often easier than stuffing many other types of pasta, pierogies, or dumplings, thanks to the convenient tube shape of cannelloni. The ultimate trick for stuffing cannelloni efficiently and neatly is to pipe the filling directly into the tubes using a pastry bag, but here’s the key: do it WITHOUT a tip!
If you don’t own a pastry bag, a simple ziplock freezer bag will work just as well. Just snip off one corner to create an opening, and you’re ready to go. This method ensures a clean and even distribution of the rich beef and vegetable filling into each cannelloni tube, preventing mess and making the process quick. I can guarantee that the small effort involved in using this piping technique is absolutely worth it for the beautiful and consistently filled cannelloni you’ll achieve. The result is a beautifully presented dish where every bite is packed with flavor. For a visual guide, be sure to check the video tutorial linked in the recipe card!
*For complete, detailed step-by-step instructions, please refer to the recipe card below.
💭 Expert Cooking Tips for Perfect Baked Cannelloni
- Avoid Pre-Stuffing: It’s crucial NOT to stuff the cannelloni tubes too far in advance of baking. The dry pasta tubes will begin to absorb moisture from the filling and soften, which can lead to them cracking or becoming mushy during baking. For the best texture, stuff the cannelloni just before assembling the dish to go into the oven.
- Make-Ahead Strategy: If you plan to prepare this dish in advance, the most effective method is to cook the entire dish completely. Once baked, let it cool, then cover it tightly and refrigerate or freeze. This allows the flavors to meld beautifully and ensures the pasta cooks perfectly without issues.
- Partial Prep in Advance: Should you only need to do some prep work ahead of time, focus on making the beef and vegetable filling and the creamy tomato sauce separately. Store them in airtight containers in the refrigerator. This allows you to combine and bake the dish quickly when you’re ready to serve.
- Last-Minute Assembly: Assemble the dish, including stuffing the cannelloni tubes, just prior to baking and serving. Using the piping bag method described, stuffing the pasta takes approximately only 10 minutes, making this a surprisingly quick final step!
🍽 Essential Equipment for Homemade Cannelloni
To prepare this delicious baked beef cannelloni, you’ll need a few key pieces of kitchen equipment. A large baking dish (a standard 9×13 inch casserole dish works perfectly) is essential for assembling and baking the cannelloni to golden perfection. For easy and mess-free stuffing, a 12-inch piping bag (or a large ziplock bag) is highly recommended. You’ll also need a food processor to achieve the perfectly pureed filling and smooth, creamy sauce. Finally, a large skillet will be necessary for browning the beef and sautéing the vegetables for the filling. (Affiliate links are provided for your convenience.)
👪 Serving Size and Adjustments
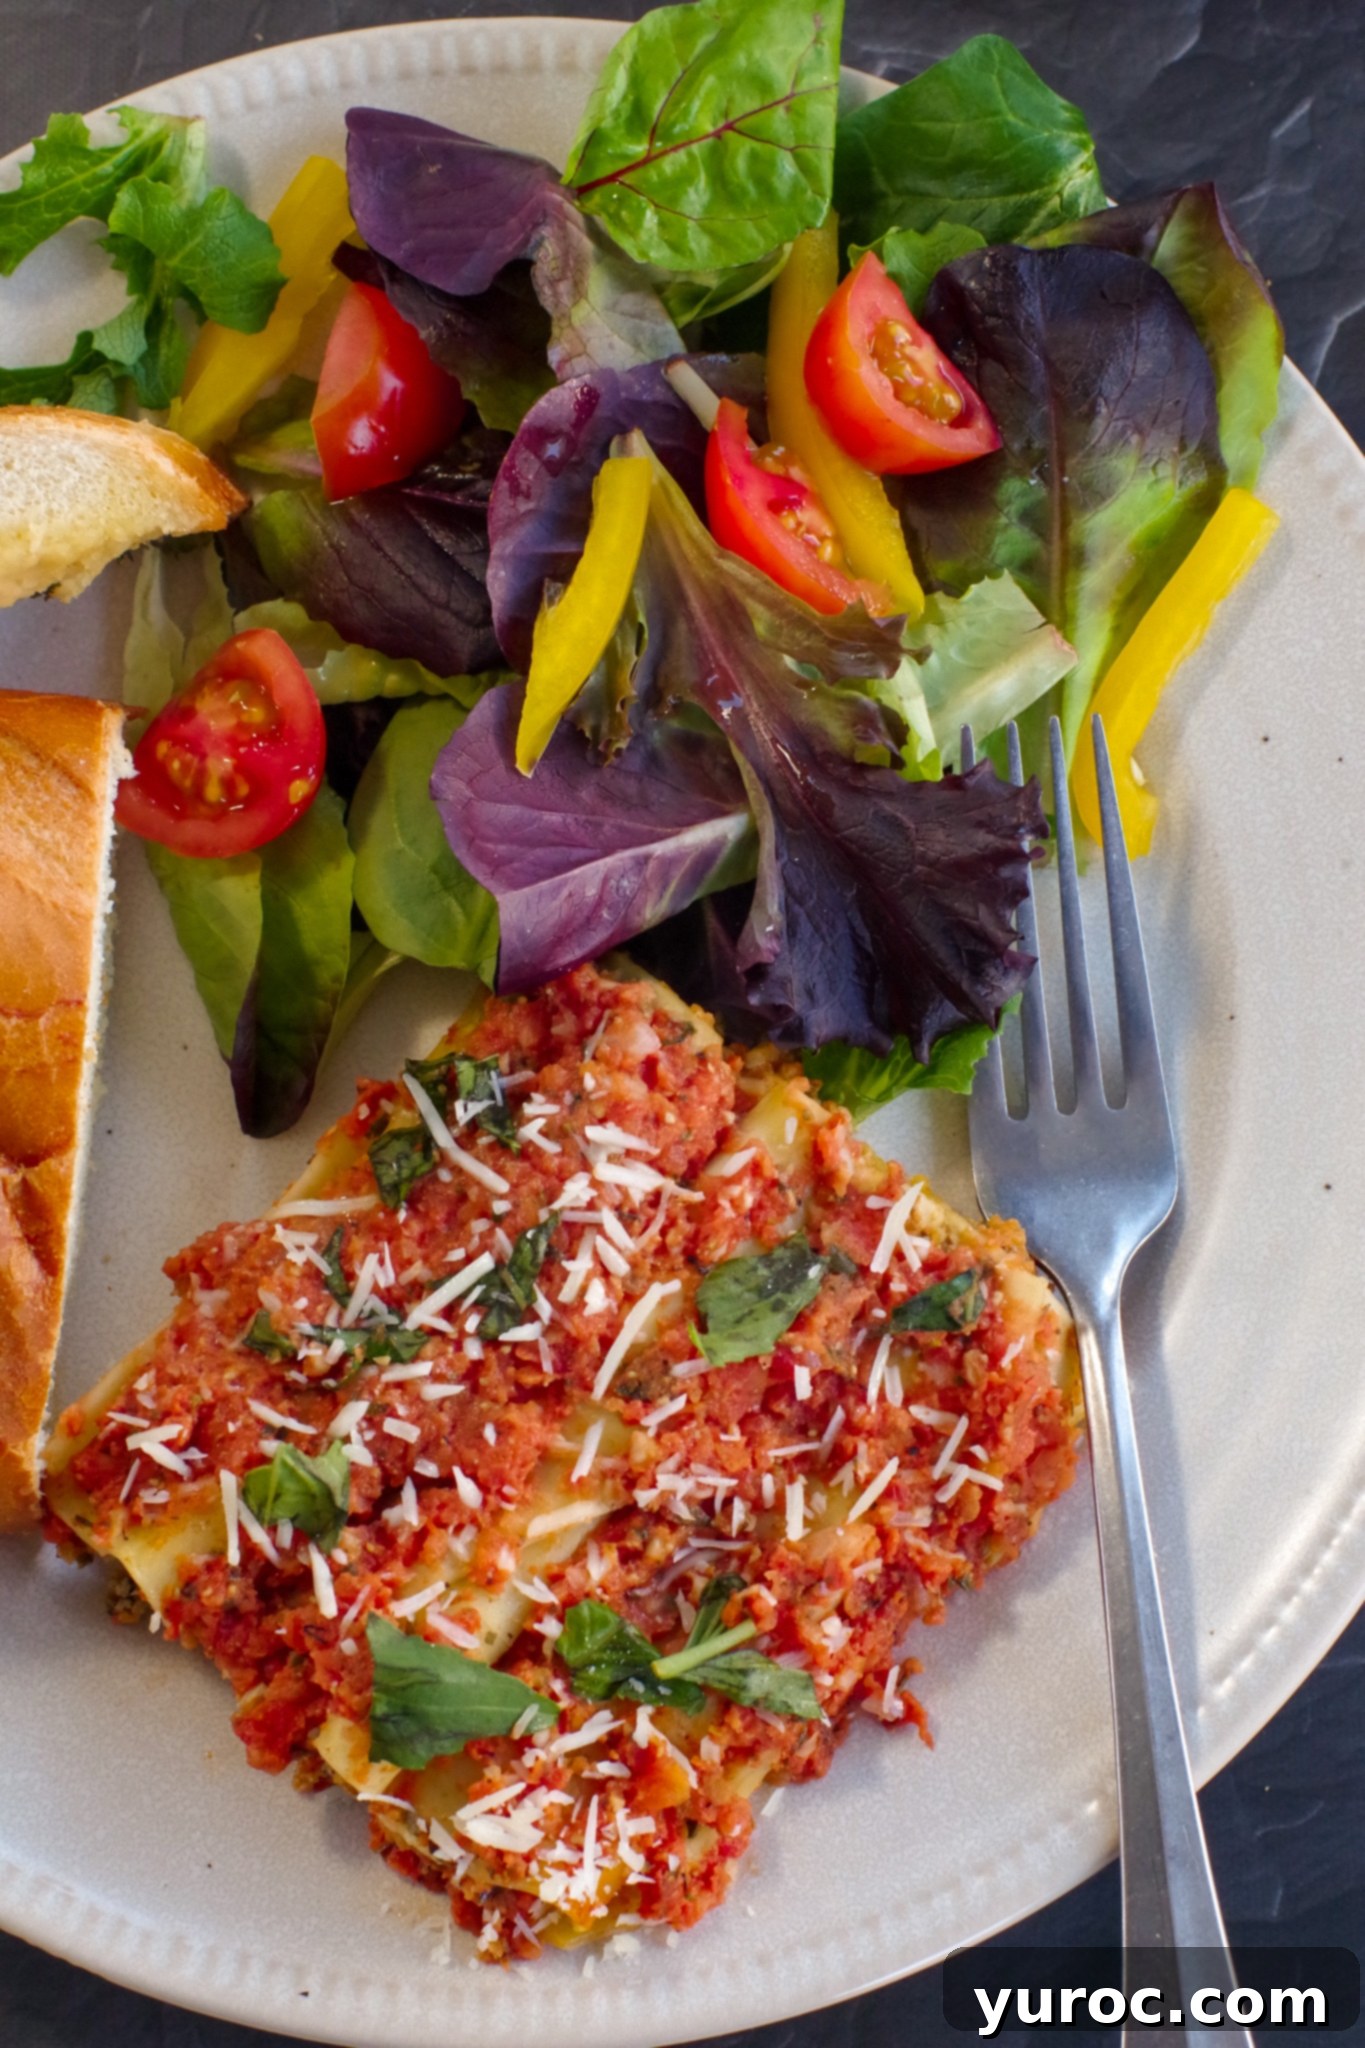
This savory baked beef cannelloni recipe is designed to yield 12 generous servings, making it ideal for family gatherings, dinner parties, or for enjoying throughout the week. Should you need to adjust the quantities, perhaps for a smaller meal or a larger crowd, you can easily do so. Simply click on the blue serving number within the recipe card and select your desired number of servings. The ingredient quantities will automatically scale up or down, ensuring perfect proportions every time. Just remember, if you’re doubling or tripling the recipe, you’ll need additional baking dishes to accommodate the increased volume.
🥗 Perfect Side Dishes for Your Baked Beef Cannelloni
A hearty and rich pasta dish like this Baked Beef Cannelloni pairs wonderfully with fresh, vibrant side dishes that complement its robust flavors. I love to serve this recipe alongside a crisp salad or some flavorful bread to complete the meal. Here are some of my favorite recommendations:
- Kale Salad with Cranberries and Feta
- Italian Bread Machine Breadsticks
- Mandarin Orange Salad Recipe
- Strawberry Spinach Pecan Salad
🌡️ Storage and Reheating Tips
One of the many advantages of this baked cannelloni recipe is how well it stores, making it an excellent option for meal prep or enjoying leftovers. To store any leftover beef cannelloni, allow it to cool completely before transferring it to an airtight container. It will keep wonderfully in the refrigerator for up to 4 days. If you only plan to enjoy it the next day, simply covering the baking dish tightly with plastic wrap will suffice. For longer storage, this dish freezes beautifully. Place cooled cannelloni in an airtight, freezer-safe container or tightly wrap individual portions in foil and then place in a freezer bag. It can be frozen for up to 3 months. To reheat from frozen, bake covered at 350°F (175°C) until heated through, typically about 45-60 minutes, or microwave individual portions. Reheating from the fridge takes less time.
🍰 Dessert Ideas to Serve with Cannelloni
After indulging in a rich and satisfying meal like beef cannelloni, a delightful dessert is the perfect way to conclude your culinary experience. Depending on the occasion, you might choose something decadent or a lighter, refreshing option. My Chocolate Italian Sponge Cake (pictured below) is always a crowd-pleaser, offering a light yet rich finish. For something truly special, consider my Red Wine Strawberry Chocolate Fudge Cake, a sophisticated treat. Or, if you prefer a no-bake option that’s still incredibly elegant, my No Bake Black Forest Tiramisu is an excellent choice. Whatever sweet ending you choose, this Baked Beef Cannelloni is guaranteed to be loved!
⭐ Share Your Experience!
Did you try this homemade Baked Beef Cannelloni recipe? I’d love to hear your thoughts! Please take a moment to RATE THE RECIPE below and leave a review. Your feedback helps other home cooks discover and enjoy this delicious, ricotta-free Italian comfort food.

📋 Baked Beef Cannelloni Recipe
Equipment
- food processor
- large skillet
- piping bag
- 9X13 baking dish
Ingredients
- 2 -200g -boxes of oven ready cannelloni pasta (dry pasta) * I use Catelli Express- it’s important to use oven ready
Filling
- 2 tablespoon olive oil
- 1 lb extra lean ground beef 2 cups
- 4whole carrots, grated (2 cups grated)
- 2 stalk chopped celery chopped
- 1 medium onion chopped
- 3 cups fresh spinach washed and chopped
- ½ cup dry white wine
- ¾ cup heavy whipping cream
- 5 roma tomatoes chopped
- ½ cup grated Parmesan cheese
- 2 teaspoon Italian seasoning
- 2 tablespoon chopped fresh basil
- 2 cloves garlic
Creamy Tomato Sauce
- 2 -28 oz – cans diced tomatoes
- 6 cloves garlic
- 1 medium onion chopped
- 8 leaves fresh basil
- ½ cup whipping cream
- ½ teaspoon salt
- 2 teaspoon Italian seasoning
- ¼ cup dry white wine
- ¼ cup grated Parmesan cheese
Instructions
- Preheat oven to 350 degrees F (175°C). Prepare two 9 X 13 inch baking dishes (or lasagna dishes) by lightly coating them with non-stick cooking spray. This will prevent the cannelloni from sticking and ensure easy serving.
Filling Preparation:
- In a large frying pan or skillet, heat olive oil over medium-high heat. Add the chopped onions, celery, and grated carrots. Sauté these vegetables until they are tender and slightly softened, typically about 5-7 minutes.
- Stir in the fresh spinach and continue to cook for an additional 3 minutes, or until the spinach has fully wilted and reduced significantly in volume.
- The vegetable mixture should now be softened and fragrant, looking like a vibrant blend of cooked greens and root vegetables.
- In a separate frying pan, cook the extra lean ground beef over medium heat, breaking it up with a spoon, until it is thoroughly browned and no pink remains. Drain any excess grease. Then, combine the cooked ground beef with the sautéed vegetable mixture in a large bowl.
- Transfer the combined vegetable and beef mixture to a food processor. Process until the mixture is finely chopped and well-blended, but still retains some texture. Add the heavy whipping cream, dry white wine, chopped Roma tomatoes, grated Parmesan cheese, Italian seasoning, and fresh basil to the food processor. Pulse a few times, just until all ingredients are combined. To avoid overcrowding, I usually process this in ½ batches.
- The filling may not look exceptionally appealing at this stage, but its texture should be right: fine enough to pass through a pastry bag, yet not overly pureed or runny. It needs a slight chunkiness for a satisfying mouthfeel.
- Now it’s time to stuff the cannelloni shells. Spoon the filling into a pastry bag (without a tip) or a ziplock bag with a corner snipped off. Hold each cannelloni tube upright, with the bottom flush against a small plate for stability. Pipe the filling into the tubes until they are full, but not to the point of overflowing. This method ensures neat, even stuffing. See the VIDEO 🎥 for a helpful demonstration.
- Gently arrange the stuffed cannelloni pasta tubes in a single layer in your prepared 9×13 inch baking dish. Ensure they fit snugly but are not overly crowded.
Creamy Tomato Sauce Preparation:
- In the food processor (you can rinse it or use a second one if available), combine the diced canned tomatoes with their liquids, garlic cloves, chopped onion, fresh basil leaves, Parmesan cheese, dry white wine, and whipping cream. Process until the sauce is smooth and creamy. Again, I typically blend this in 2 batches to ensure a consistent texture.
- Evenly pour the creamy tomato sauce mixture over the stuffed, uncooked oven-ready cannelloni tubes in the baking dish. Ensure all the pasta is well-covered by the sauce, which is crucial for the oven-ready pasta to cook properly.
- Cover the baking pan tightly with aluminum foil, sealing the edges completely. This creates a steamy environment that allows the pasta to cook perfectly. Bake for 50 minutes in the preheated oven. Once baked, carefully remove the foil and serve warm.
Garnish (Optional):
- For an extra touch of flavor and presentation, garnish the baked cannelloni with additional grated Parmesan cheese and/or fresh basil leaves, if desired.
Video
Notes
- Do NOT stuff the cannelloni ahead of time (the tubes will soften, then crack*I’ve tried this).
- If you are going to do this as a make-ahead dish, then cook the entire dish in advance.
- If you do need to make some of the dish in advance, I would recommend just making the filling and sauce and refrigerating them separately.
- You can put the dish together (and stuff the cannelloni tubes) just prior to baking and serving. *Stuffing the pasta with my method only takes about 10 minutes!
Nutrition
🥘 More Delicious Pasta Recipes to Explore!
If you’ve enjoyed this Baked Beef Cannelloni, you’ll love exploring other comforting and flavorful pasta dishes. Here are a few more recipes from my collection that are sure to become family favorites:
- Light Creamy Chicken Fettuccine
- Secret Ingredient Spaghetti Sauce
- Healthy Lemon Chicken Pasta
- Healthy Leftover Ham Pasta with Peas
