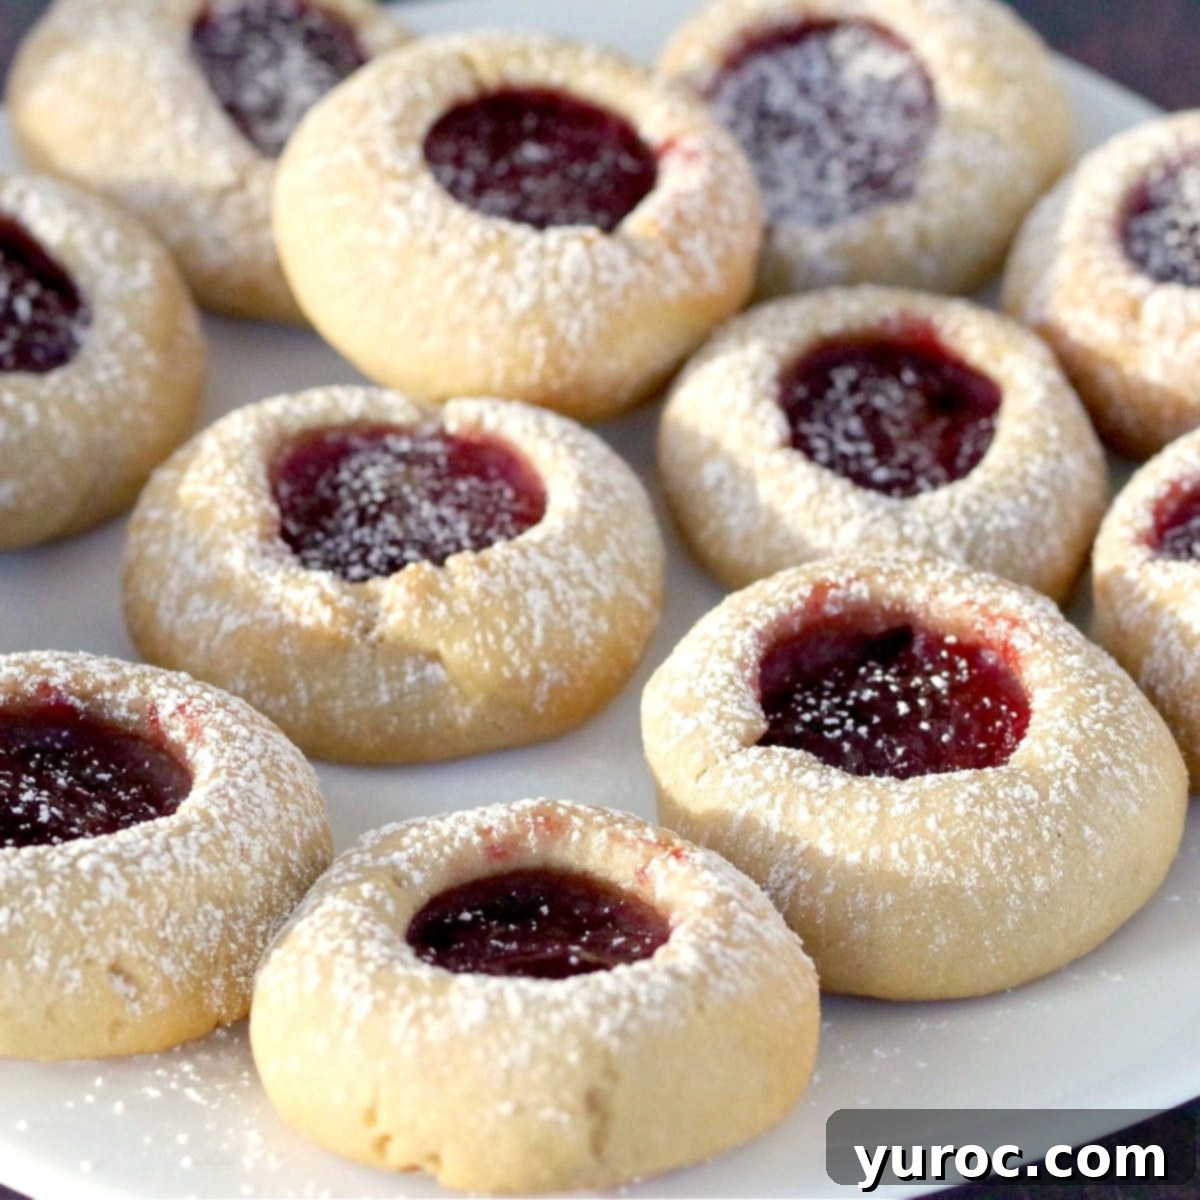
Classic Raspberry Jam Thumbprint Cookies: A Beloved Childhood Treat
If there’s one cookie that instantly transports me back to the cherished memories of my childhood, it’s these delightful Raspberry Jam Cookies. Without a doubt, they are my absolute favorite. While my Mom wasn’t much of a baker herself, my Grandma and every single auntie for miles around always had a batch of these exquisite thumbprint cookies ready for family gatherings. I recently rediscovered this treasured recipe nestled within a family cookbook, meticulously compiled by my Mom’s side of the family over three decades ago.
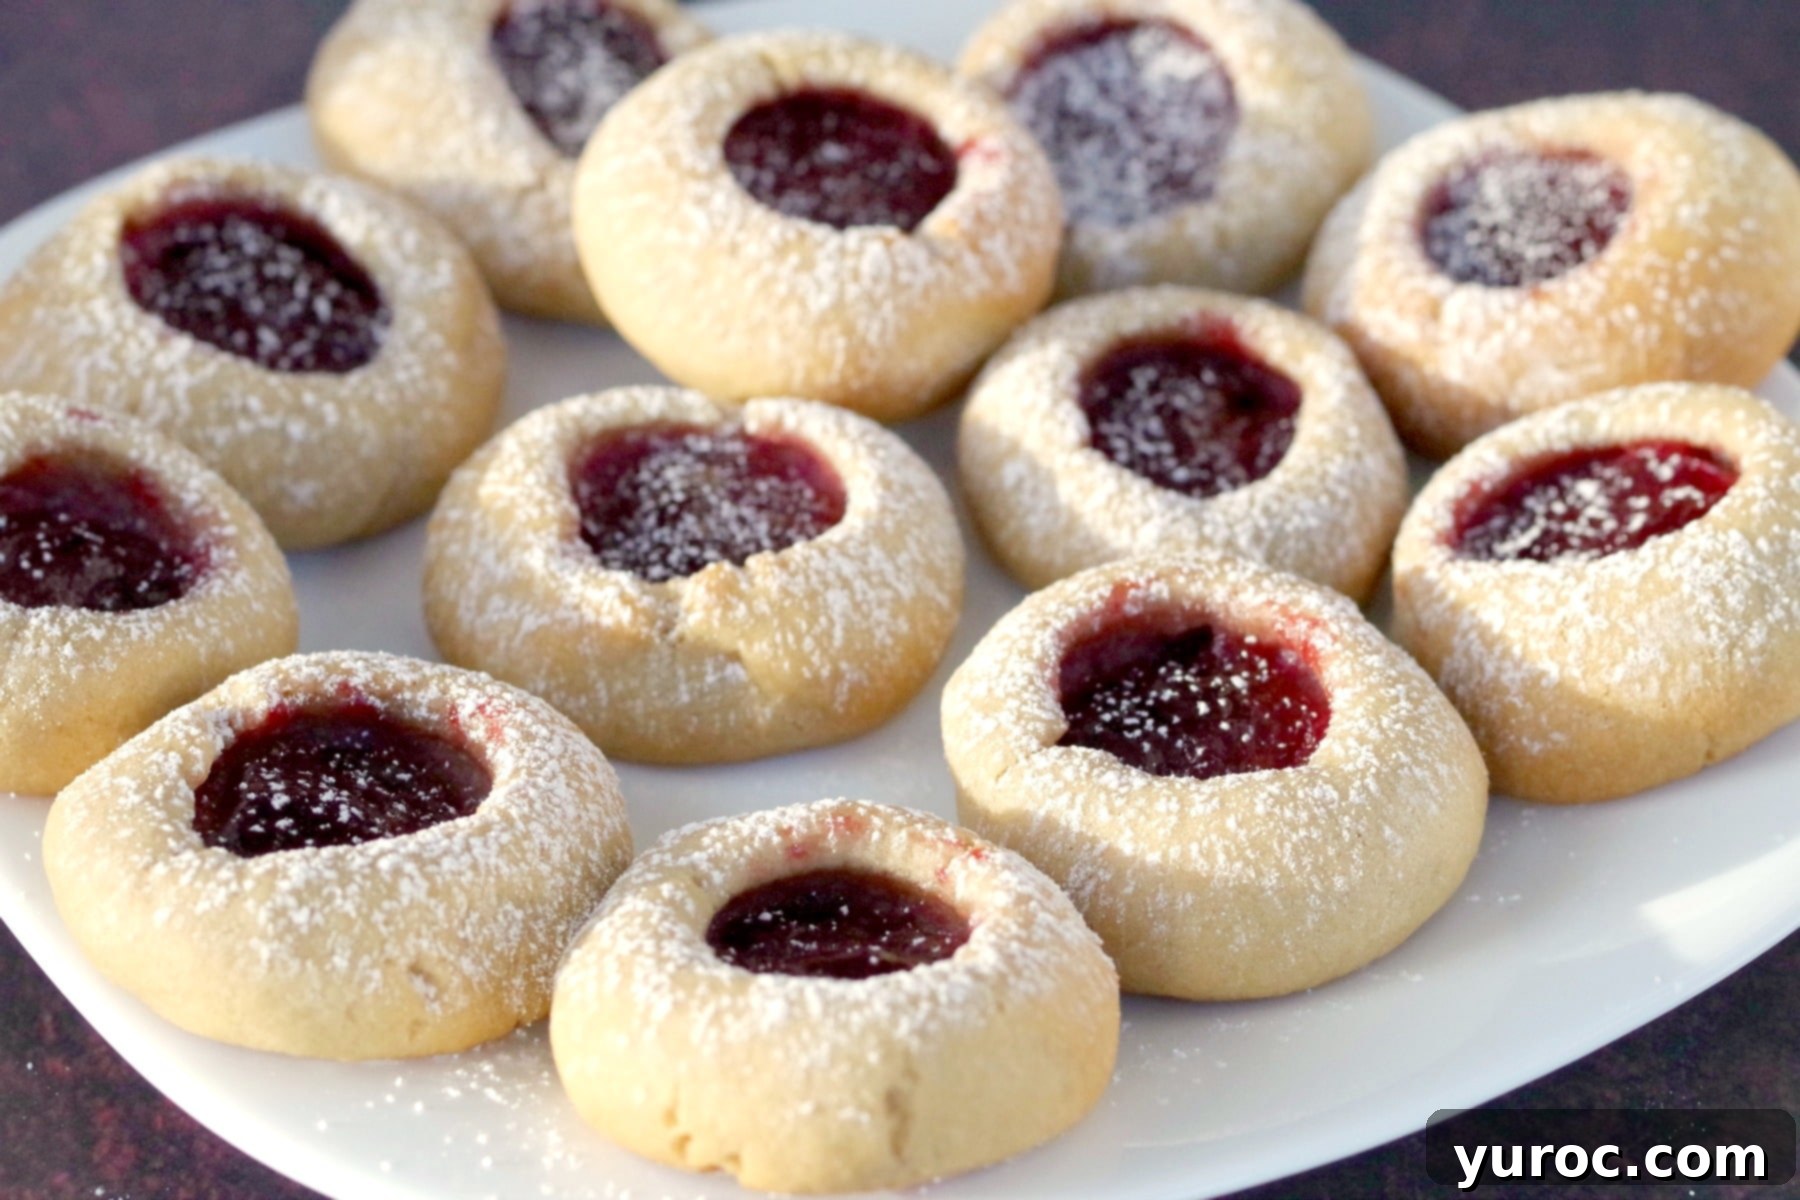
This particular recipe belongs to my Great Aunt Myrlene, and just one bite of these tender jam cookies instantly whisked me back to my younger days. They are a staple during the Christmas season, adding a festive touch to any holiday platter, but truly, they are wonderful to enjoy any time of year. Imagine them alongside other festive favorites like these Almond Snowball Cookies, rich Terry’s Chocolate Orange Cookies, classic Butter Tarts, bright Lime Christmas Squares, or a decadent Sugar Cookie Fudge! These simple yet elegant cookies are a testament to homemade goodness and generations of family baking traditions.
As I mentioned, my Mom didn’t often bake a wide variety of cookies, so when she did, it was always a truly special occasion. Her Peanut Butter Cookies are a taste I vividly remember and still crave to this day. Fortunately, my Grandma and all the wonderful aunties on my mother’s side of the family were prolific bakers, gracing our family events with an abundance of diverse and delicious cookies. Over the years, I’ve had the pleasure of tasting countless variations of jam-filled cookies at numerous family gatherings, but without exaggeration, this specific version holds the title for THE BEST I have ever tasted! It’s truly a standout recipe that deserves a place in your baking repertoire.
🥘 Ingredient Notes & Why They Matter
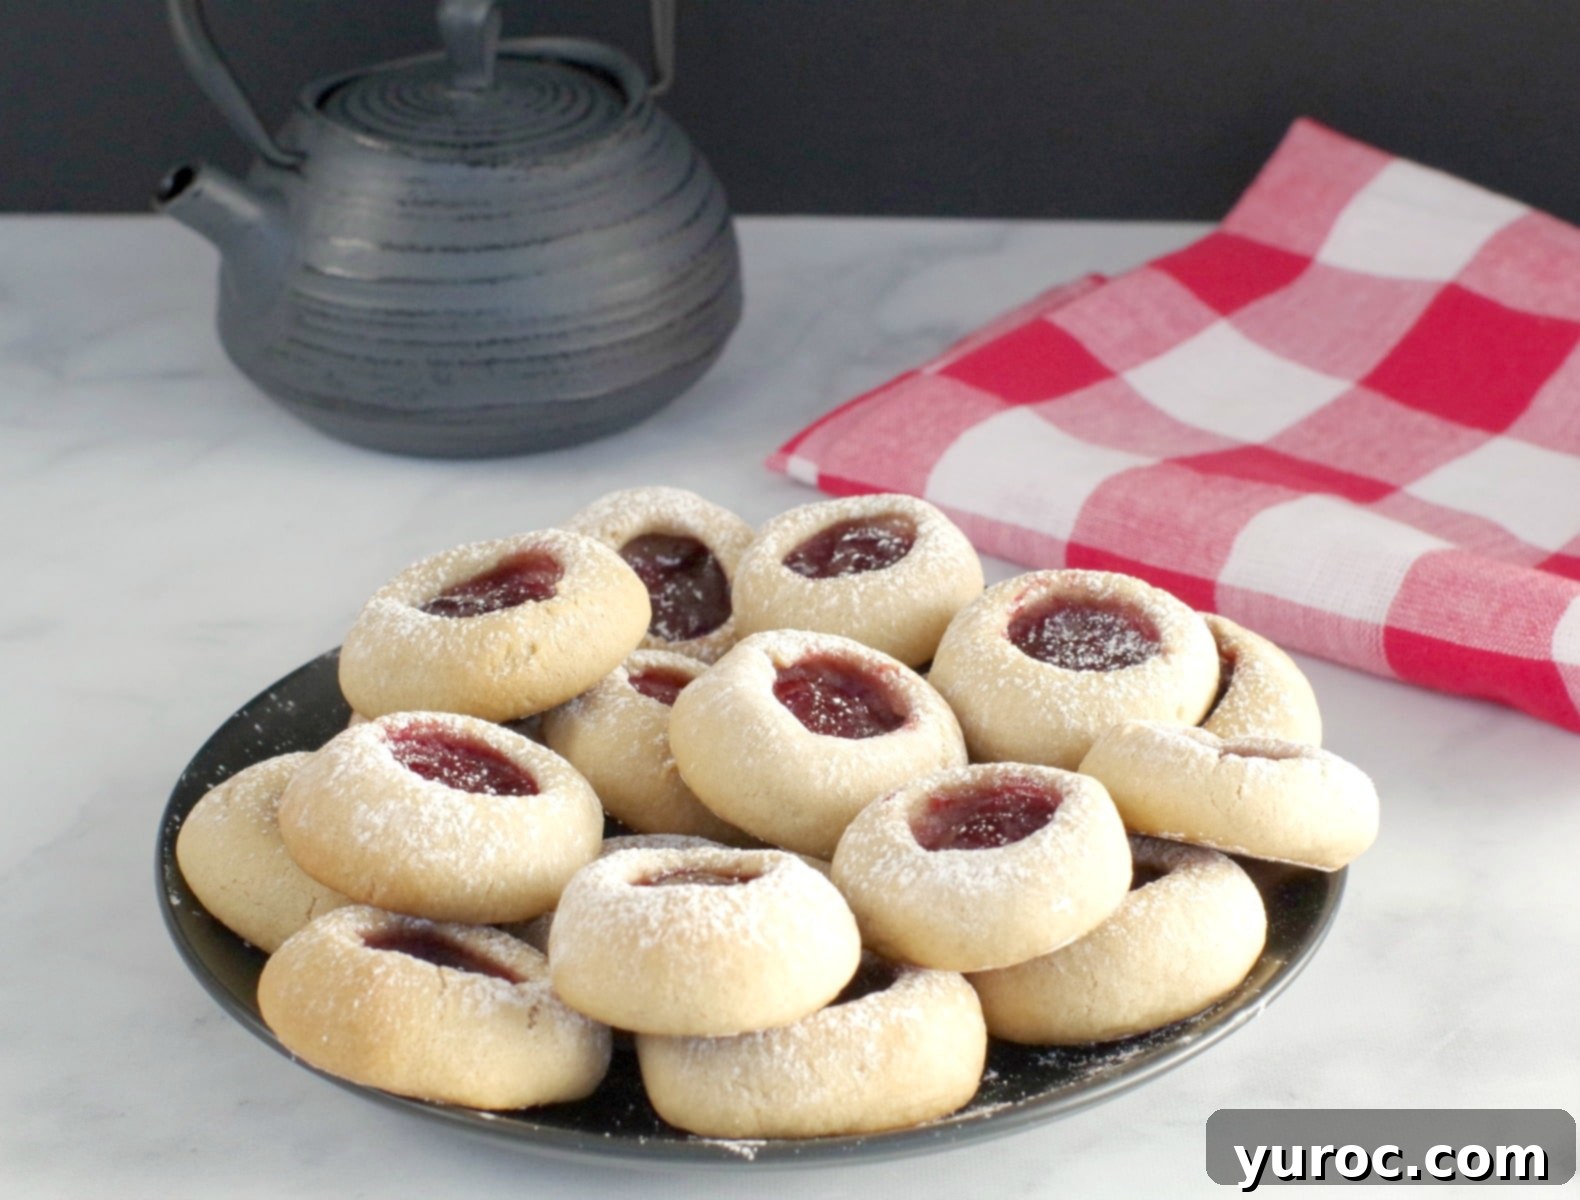
I can confidently declare these to be the most delicious raspberry jam cookies I’ve ever had, primarily because it’s the only recipe I’ve encountered that uses rich brown sugar instead of typical white granulated sugar. And let me tell you, that seemingly small change makes an enormous difference! The brown sugar imparts an incredible depth of flavor and a wonderfully soft, slightly chewy texture to the cookie base, setting it apart from any other jam cookie out there.
For this exceptional recipe, you’ll need a few key ingredients:
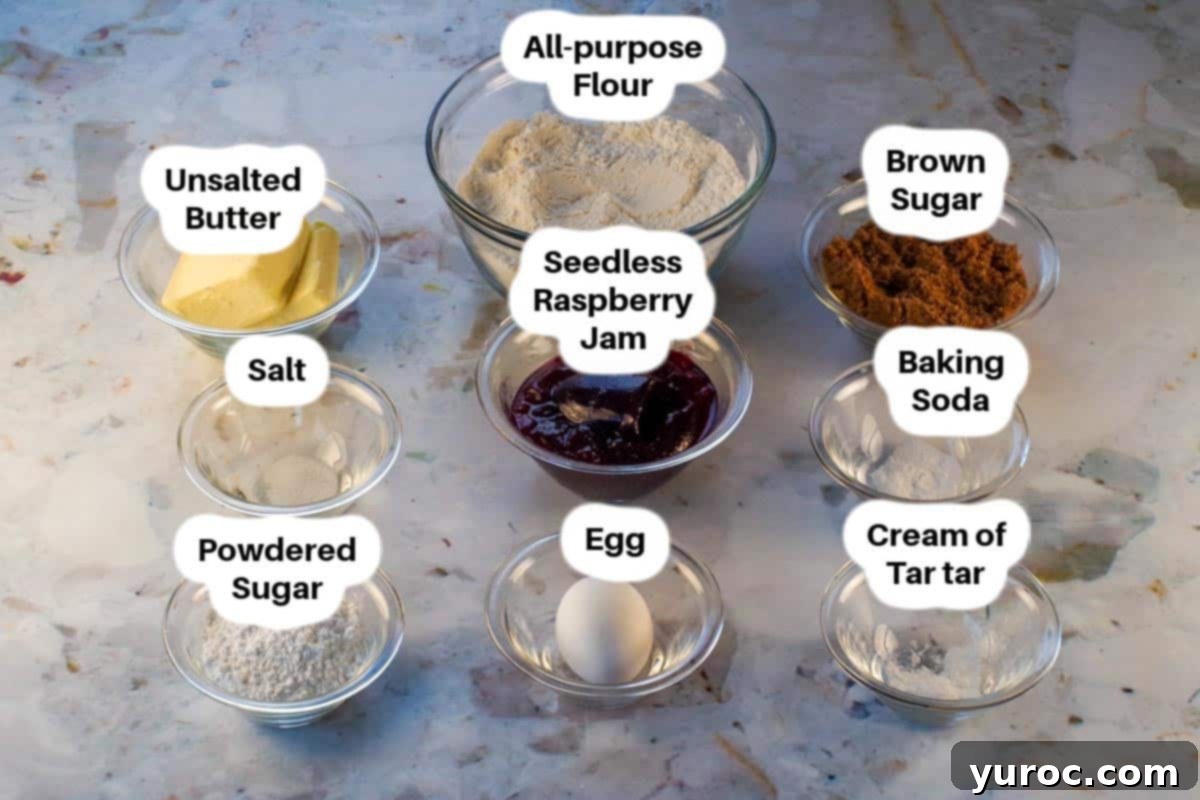
- Brown Sugar. This is the secret star ingredient! Using light brown sugar versus dark brown sugar will significantly impact the final color of your cookies. Opt for light brown sugar if you desire a lighter-colored cookie, similar to the main photos. For a deeper, more caramel-hued cookie (as seen in some of the process photos), dark brown sugar is your choice. Regardless of your preference, both yield an absolutely amazing flavor and texture. Brown sugar adds moisture and molasses notes that granulated sugar simply cannot replicate, resulting in a richer, chewier cookie.
- Unsalted Butter. I always recommend using unsalted butter when baking. This allows you complete control over the salt content in your recipe, ensuring your cookies are perfectly balanced in flavor. Make sure your butter is at room temperature for optimal creaming with the sugar.
- Seedless Raspberry Jam. For the ultimate smooth and enjoyable cookie-eating experience, seedless raspberry jam is highly recommended. It eliminates any textural interruption from seeds, letting the vibrant, tart raspberry flavor shine through. However, don’t limit yourself! You could also experiment with other delightful berry jams, such as a rich Saskatoon berry jam for a unique local twist, or even a classic strawberry jam. A sprinkle of powdered sugar after baking adds a beautiful aesthetic touch, but it’s entirely optional and doesn’t affect the incredible taste.
- All-Purpose Flour. The foundation of our cookie, all-purpose flour provides the necessary structure.
- Cream of Tartar & Baking Soda. These leavening agents work together to give the cookies their perfect rise and a tender crumb. Cream of tartar also contributes to the signature chewiness.
- Salt. A pinch of salt is essential to balance the sweetness and enhance all the other flavors in the cookie.
- Egg. Acts as a binder, adding moisture and richness to the dough.
📖 Variations & Substitutions to Customize Your Cookies
While this classic raspberry jam cookie recipe is perfect as written, there are many ways to customize it to suit your taste or pantry availability. These raspberry thumbprint cookies are incredibly versatile and not only make a great holiday cookie but are fantastic anytime a craving for something sweet and fruity strikes!
- Jam Selection: Don’t feel restricted to just raspberry! You can easily use strawberry, apricot, blueberry, or any of your favorite fruit jams or jellies. Whether it’s store-bought or homemade, the choice is yours. However, I personally gravitate towards raspberry jam for its slightly tart profile, which provides a wonderful contrast to the sweet, buttery cookie base. For a truly decadent treat, you could even try a lemon curd or a chocolate spread for a different flavor experience.
- Cream of Tartar Alternatives: This traditional jam cookie recipe prominently features cream of tartar. If you find yourself without it, don’t despair! While I highly recommend sticking to the recipe for the authentic taste and texture if you can procure it, there are some simple substitutions for Cream of Tartar you can use in a pinch. Often, a combination of baking soda and an acidic ingredient like lemon juice or vinegar can mimic its effects in leavening.
- Unsalted vs. Salted Butter: If unsalted butter isn’t available, you can certainly use salted butter. Just be sure to omit the ¼ teaspoon of added salt from the recipe to avoid making your cookies too salty.
- Flavor Extracts: A dash of pure vanilla extract (about ½ teaspoon) can enhance the overall flavor profile. For a unique twist, consider almond extract, which pairs beautifully with berry jams.
- Rolling in Nuts: For an added layer of texture and flavor, try rolling the cookie dough balls in finely chopped nuts (like pecans or walnuts) before making the indentations and filling with jam. This creates a delightful nutty crunch.
- Citrus Zest: Incorporate a teaspoon of lemon or orange zest into the dough for a bright, aromatic lift that complements the fruit jam.
🔪 How to Make Perfect Raspberry Jam Cookies
Making these classic jam cookies is a straightforward and rewarding process. Follow these detailed steps to achieve perfectly tender and flavorful treats.
PREP: Begin by preheating your oven to 425 degrees F (218 degrees C). It’s crucial to note here: Do NOT spray your baking sheet or line it with parchment paper for these cookies. The direct contact with the metal helps create the desired lightly browned bottom and prevents spreading.
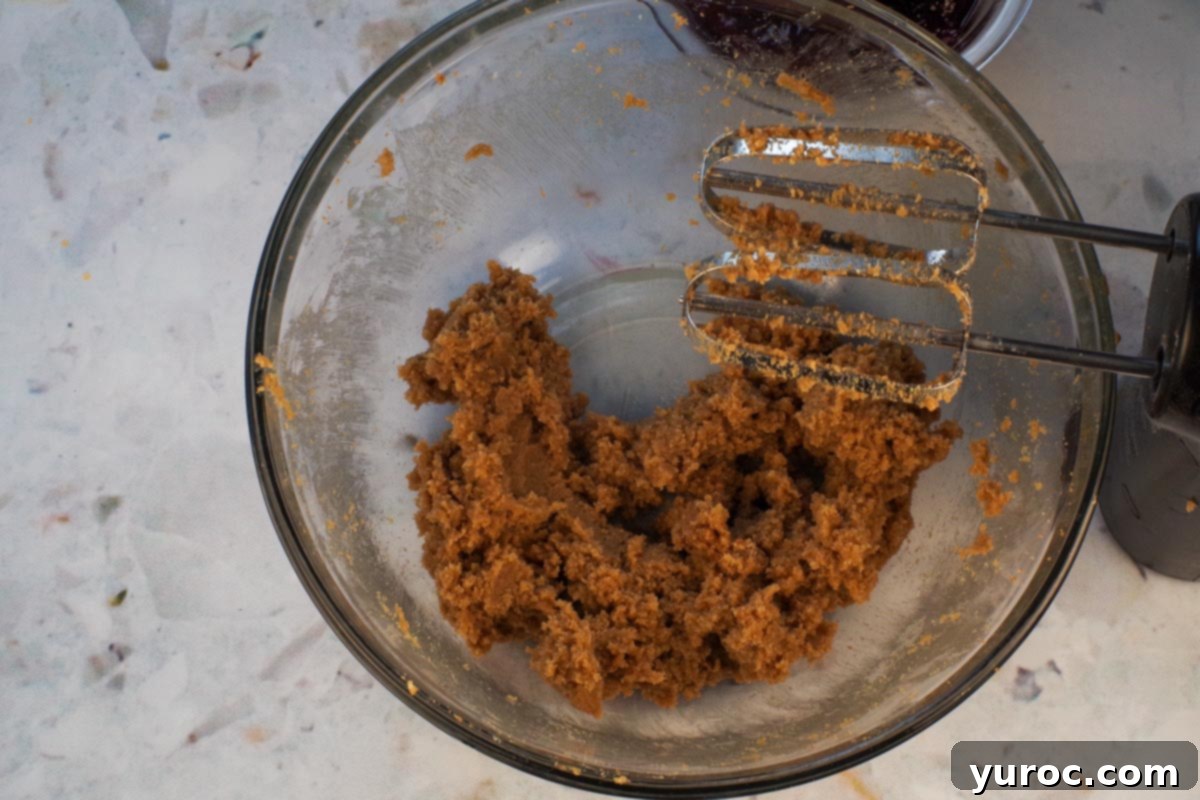
- Step 1: Cream Butter and Sugar. In a large mixing bowl, use an electric hand mixer to cream together the room-temperature butter and brown sugar on medium speed. Continue mixing until the mixture is light, fluffy, and smooth. This step is vital for incorporating air, which contributes to the cookie’s tender texture. *NOTE: I used dark brown sugar in this particular batch of process photos, which gives a darker dough, while the main photos feature cookies made with light brown sugar. Both work beautifully!
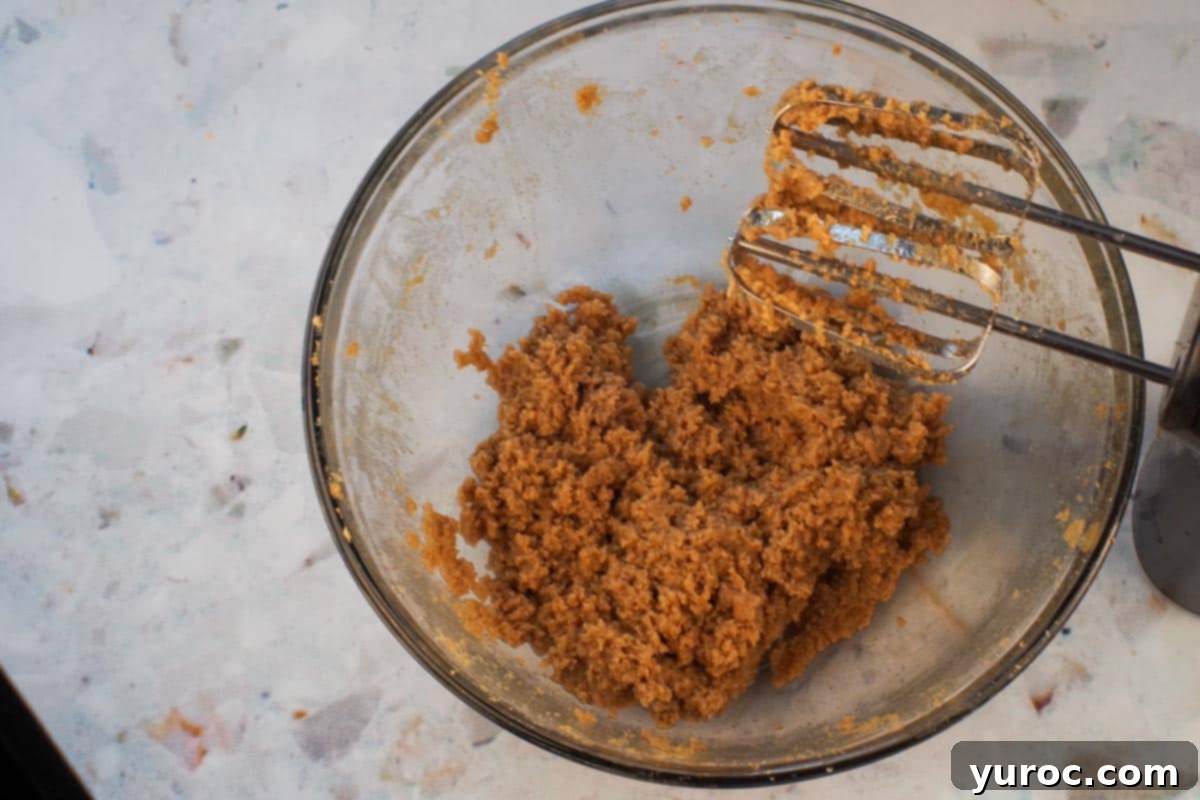
- Step 2: Incorporate the Egg. Add the egg to the creamed butter and sugar mixture. Beat with the electric mixer until it is fully blended and thoroughly incorporated, scraping down the sides of the bowl as needed to ensure everything is well combined.
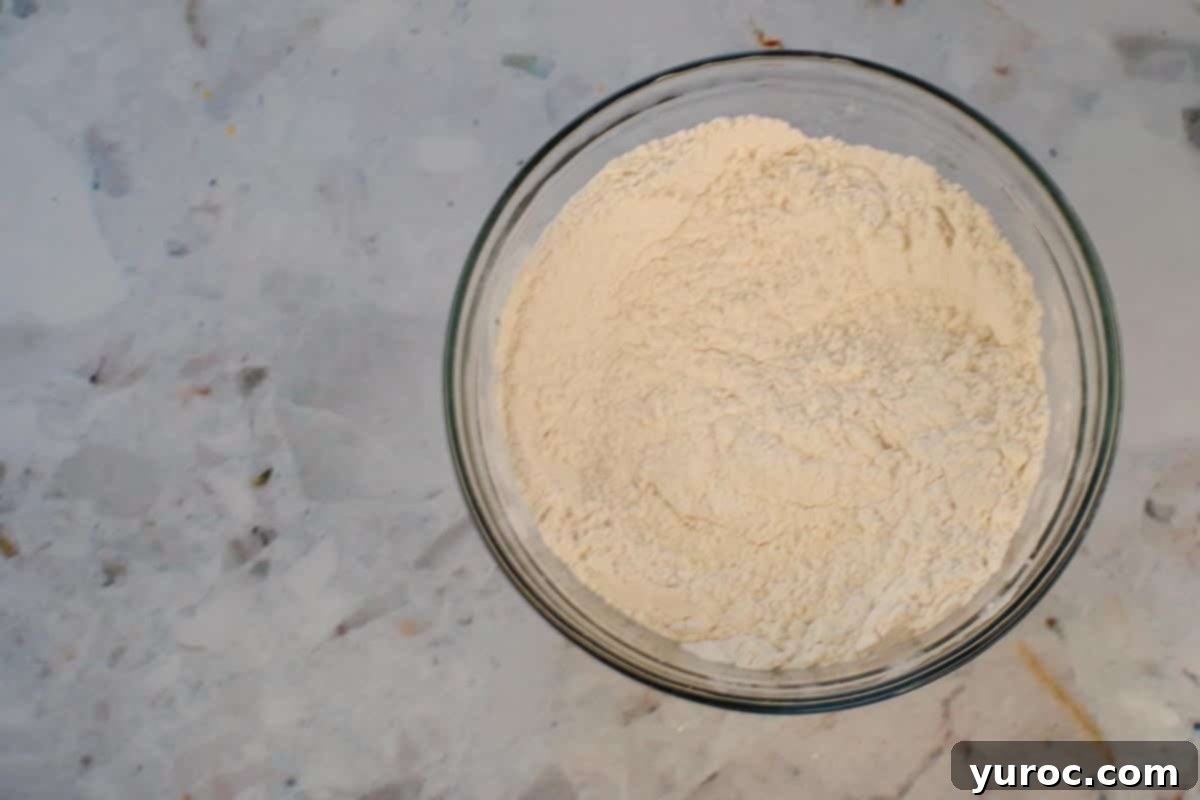
- Step 3: Combine Dry Ingredients. In a separate medium bowl, sift together your dry ingredients: flour, salt, cream of tartar, and baking soda. Sifting helps to prevent lumps and ensures that the leavening agents are evenly distributed throughout the dough, leading to a consistent cookie texture.
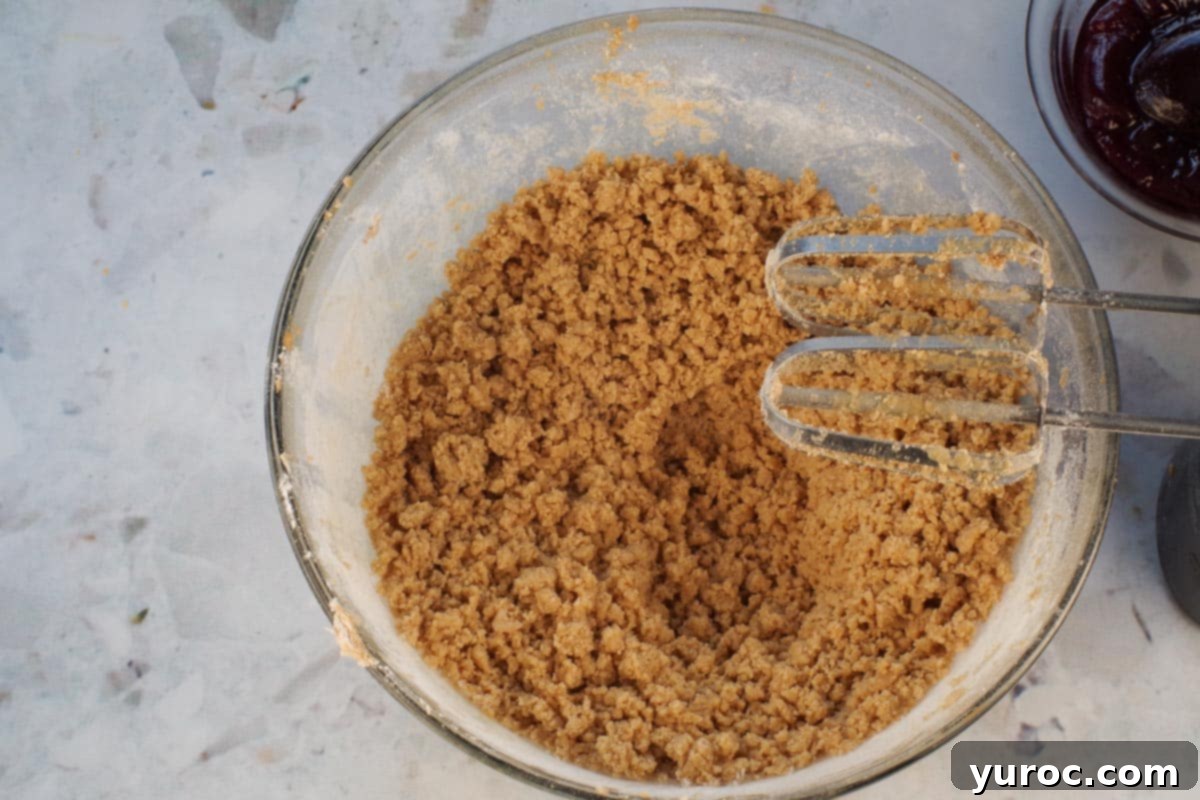
- Step 4: Gradually Add Dry to Wet. Slowly add the sifted flour mixture to the creamed butter and sugar mixture. Mix on low speed with your electric mixer just until the ingredients are mostly combined and no dry streaks of flour remain. Avoid overmixing, as this can develop the gluten too much, resulting in tougher cookies.
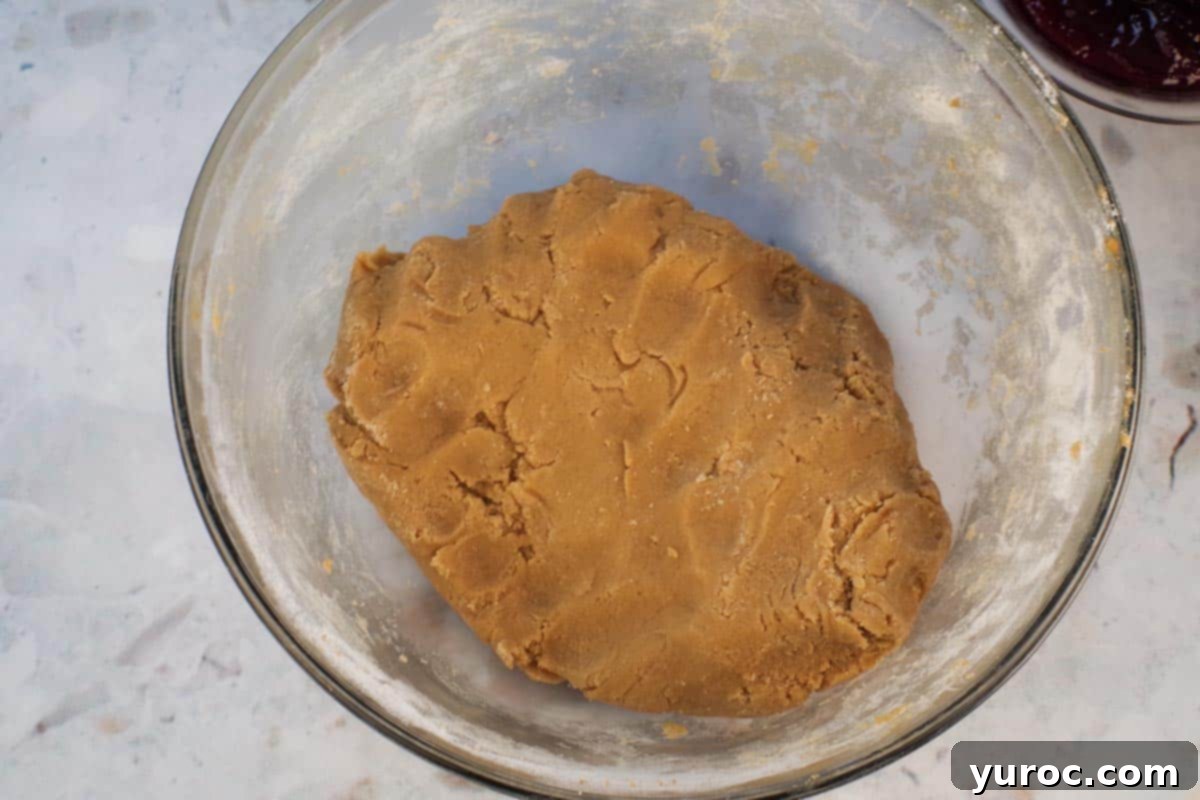
- Step 5: Form the Dough & Rest. At this point, you’ll need to get your hands into the dough to bring it together completely and make it stick. It will be slightly crumbly but should hold its shape when pressed. *Then, I highly recommend allowing the dough to rest for at least 15 minutes at room temperature before rolling into balls. This resting period is crucial as it helps to prevent cracking during shaping and baking, and allows the flour to fully hydrate, resulting in a more tender cookie.
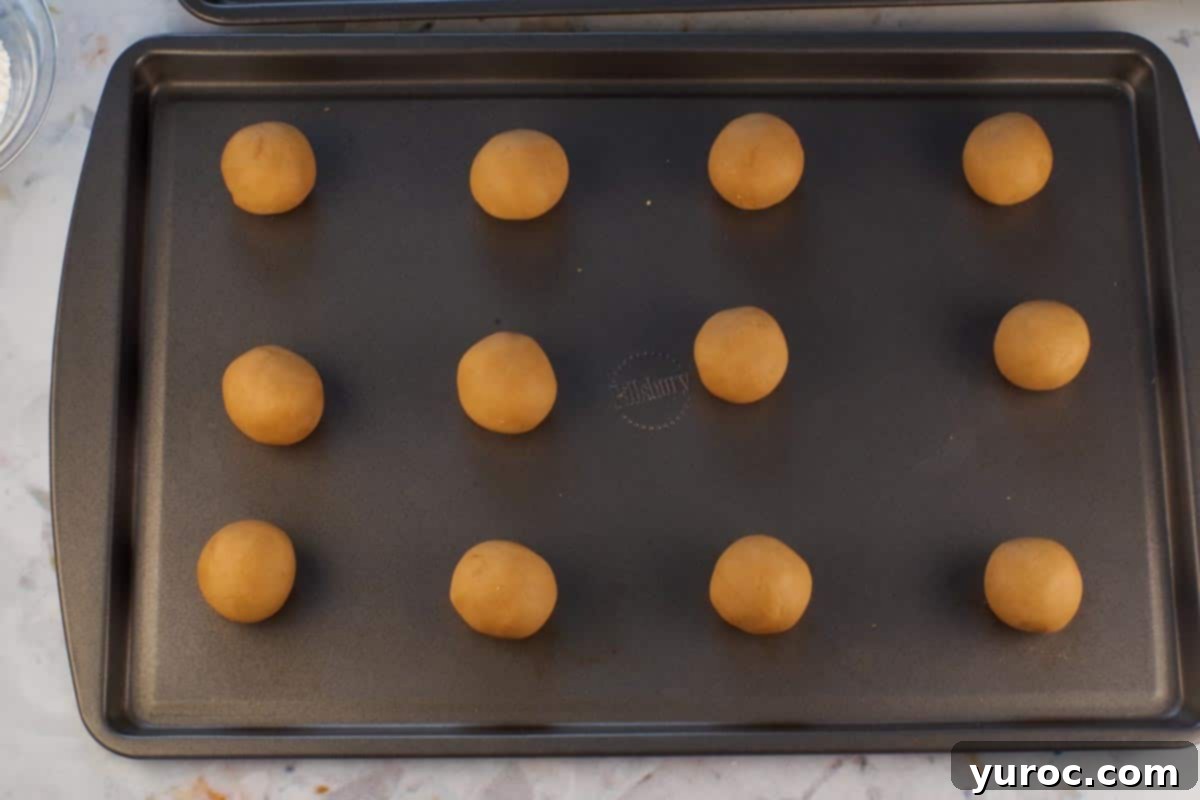
- Step 6: Shape the Cookies. Roll the dough into uniform 1-inch balls. Place these dough balls at least 1-2 inches apart on your ungreased cookie sheet. Ensure they have enough space to spread slightly without touching.
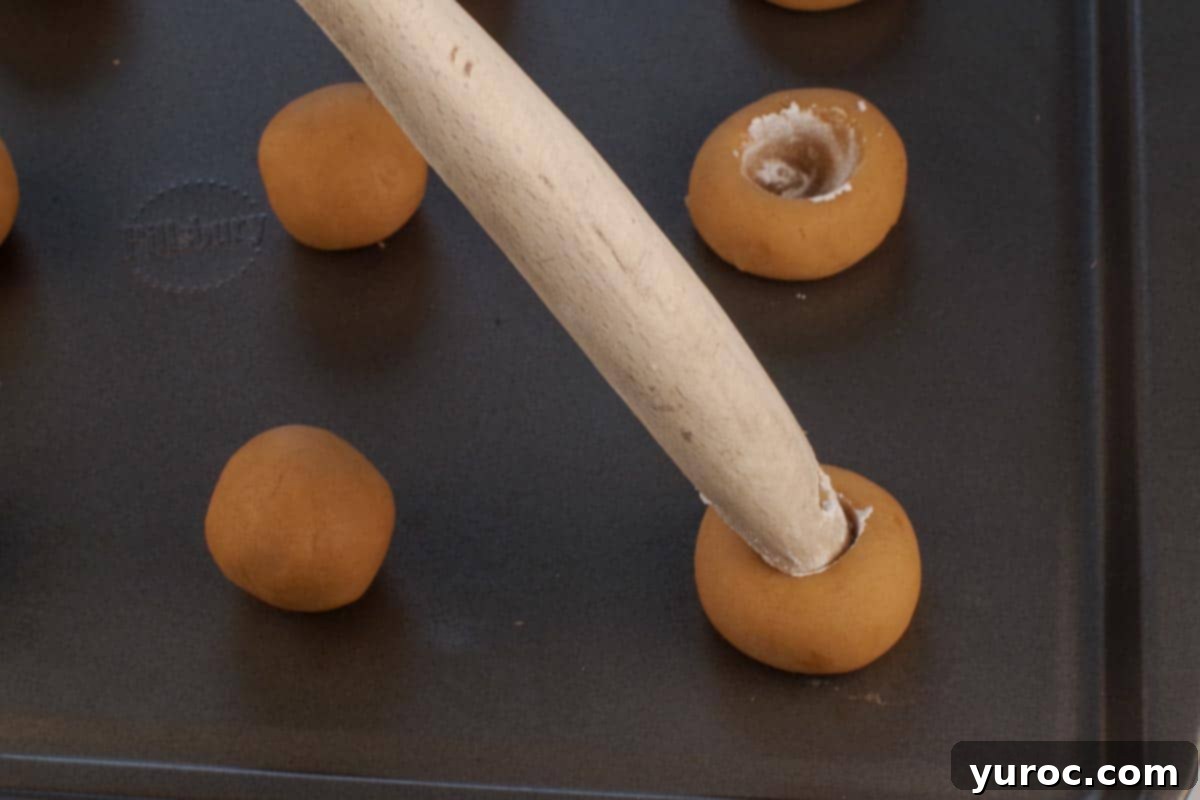
- Step 7: Create Indentations. Dip the rounded end of a wooden spoon into powdered sugar (this prevents sticking). Gently press an indent into the center of each cookie dough ball with the sugared spoon end. *Be careful not to push too far down, as this can make the bottom of the cookie too thin and prone to breaking or burning. For consistency, rotate the spoon slightly to widen the indent if needed. You could also use the back of a melon baller, a small measuring spoon, or even your thumb, keeping in mind the spoon method offers the most uniform results.
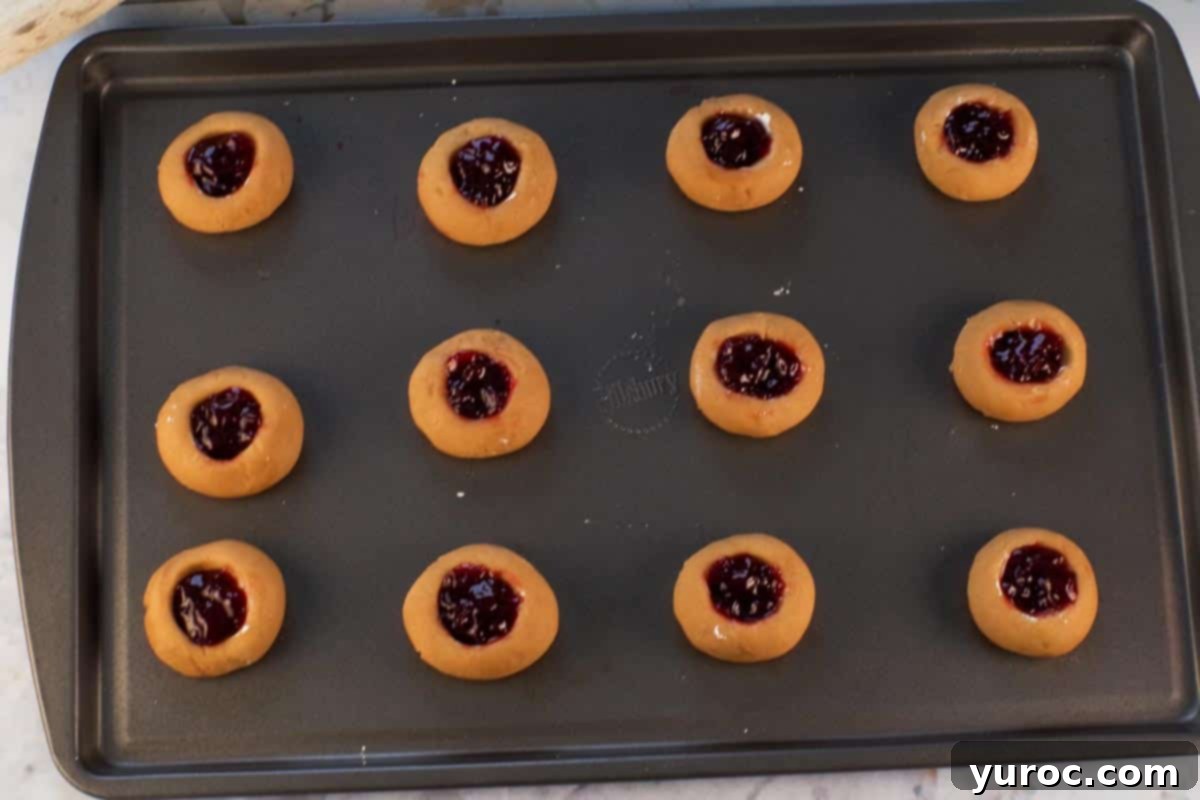
- Step 8: Fill with Jam. Carefully spoon your chosen jam filling into the center of each cookie indent. Fill them generously to the top, but be mindful not to overfill, as the jam can bubble over during baking.
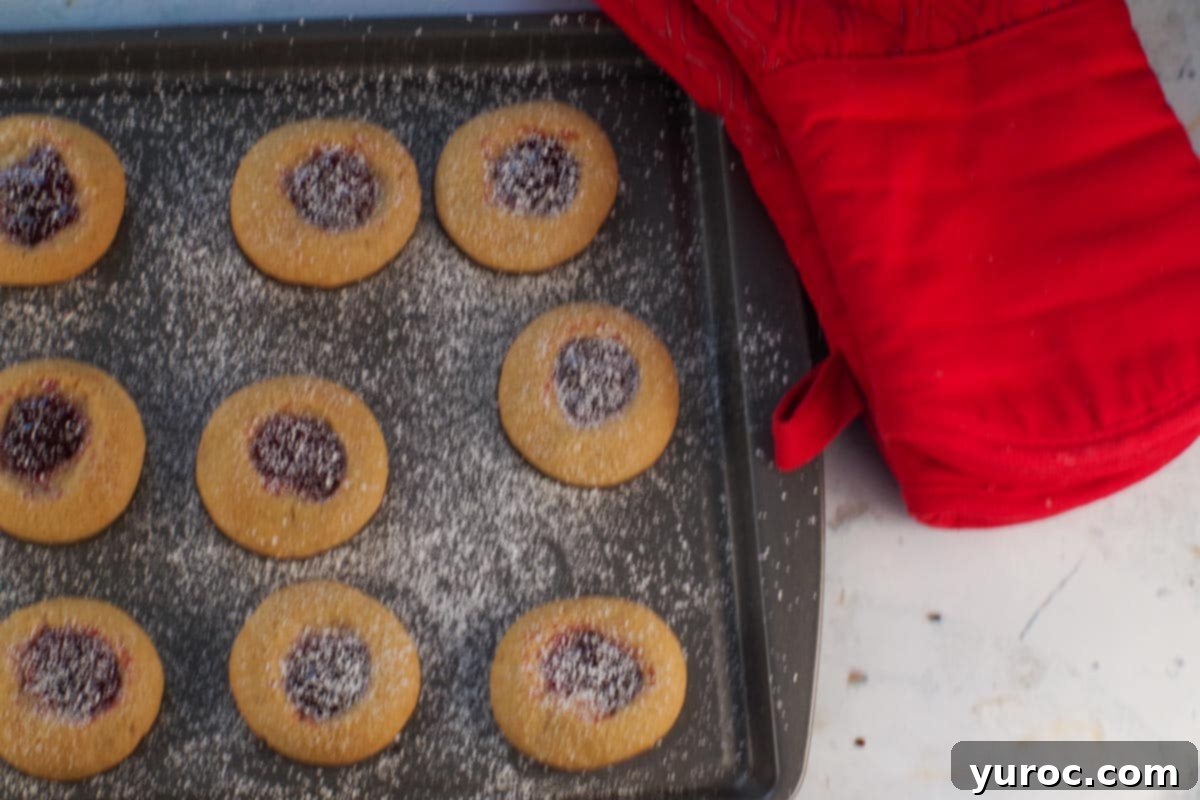
- Step 9: Bake and Cool. Bake the cookies for 7-9 minutes, or until the bottoms are lightly browned and the edges are just set. The jam will appear bubbly and glossy. Avoid overbaking to keep the cookies tender. Once baked, let them cool on the baking sheet for about 5 minutes. This allows them to firm up before you transfer them to a wire rack to cool completely. Sprinkle with powdered sugar, if desired, for a beautiful finish.
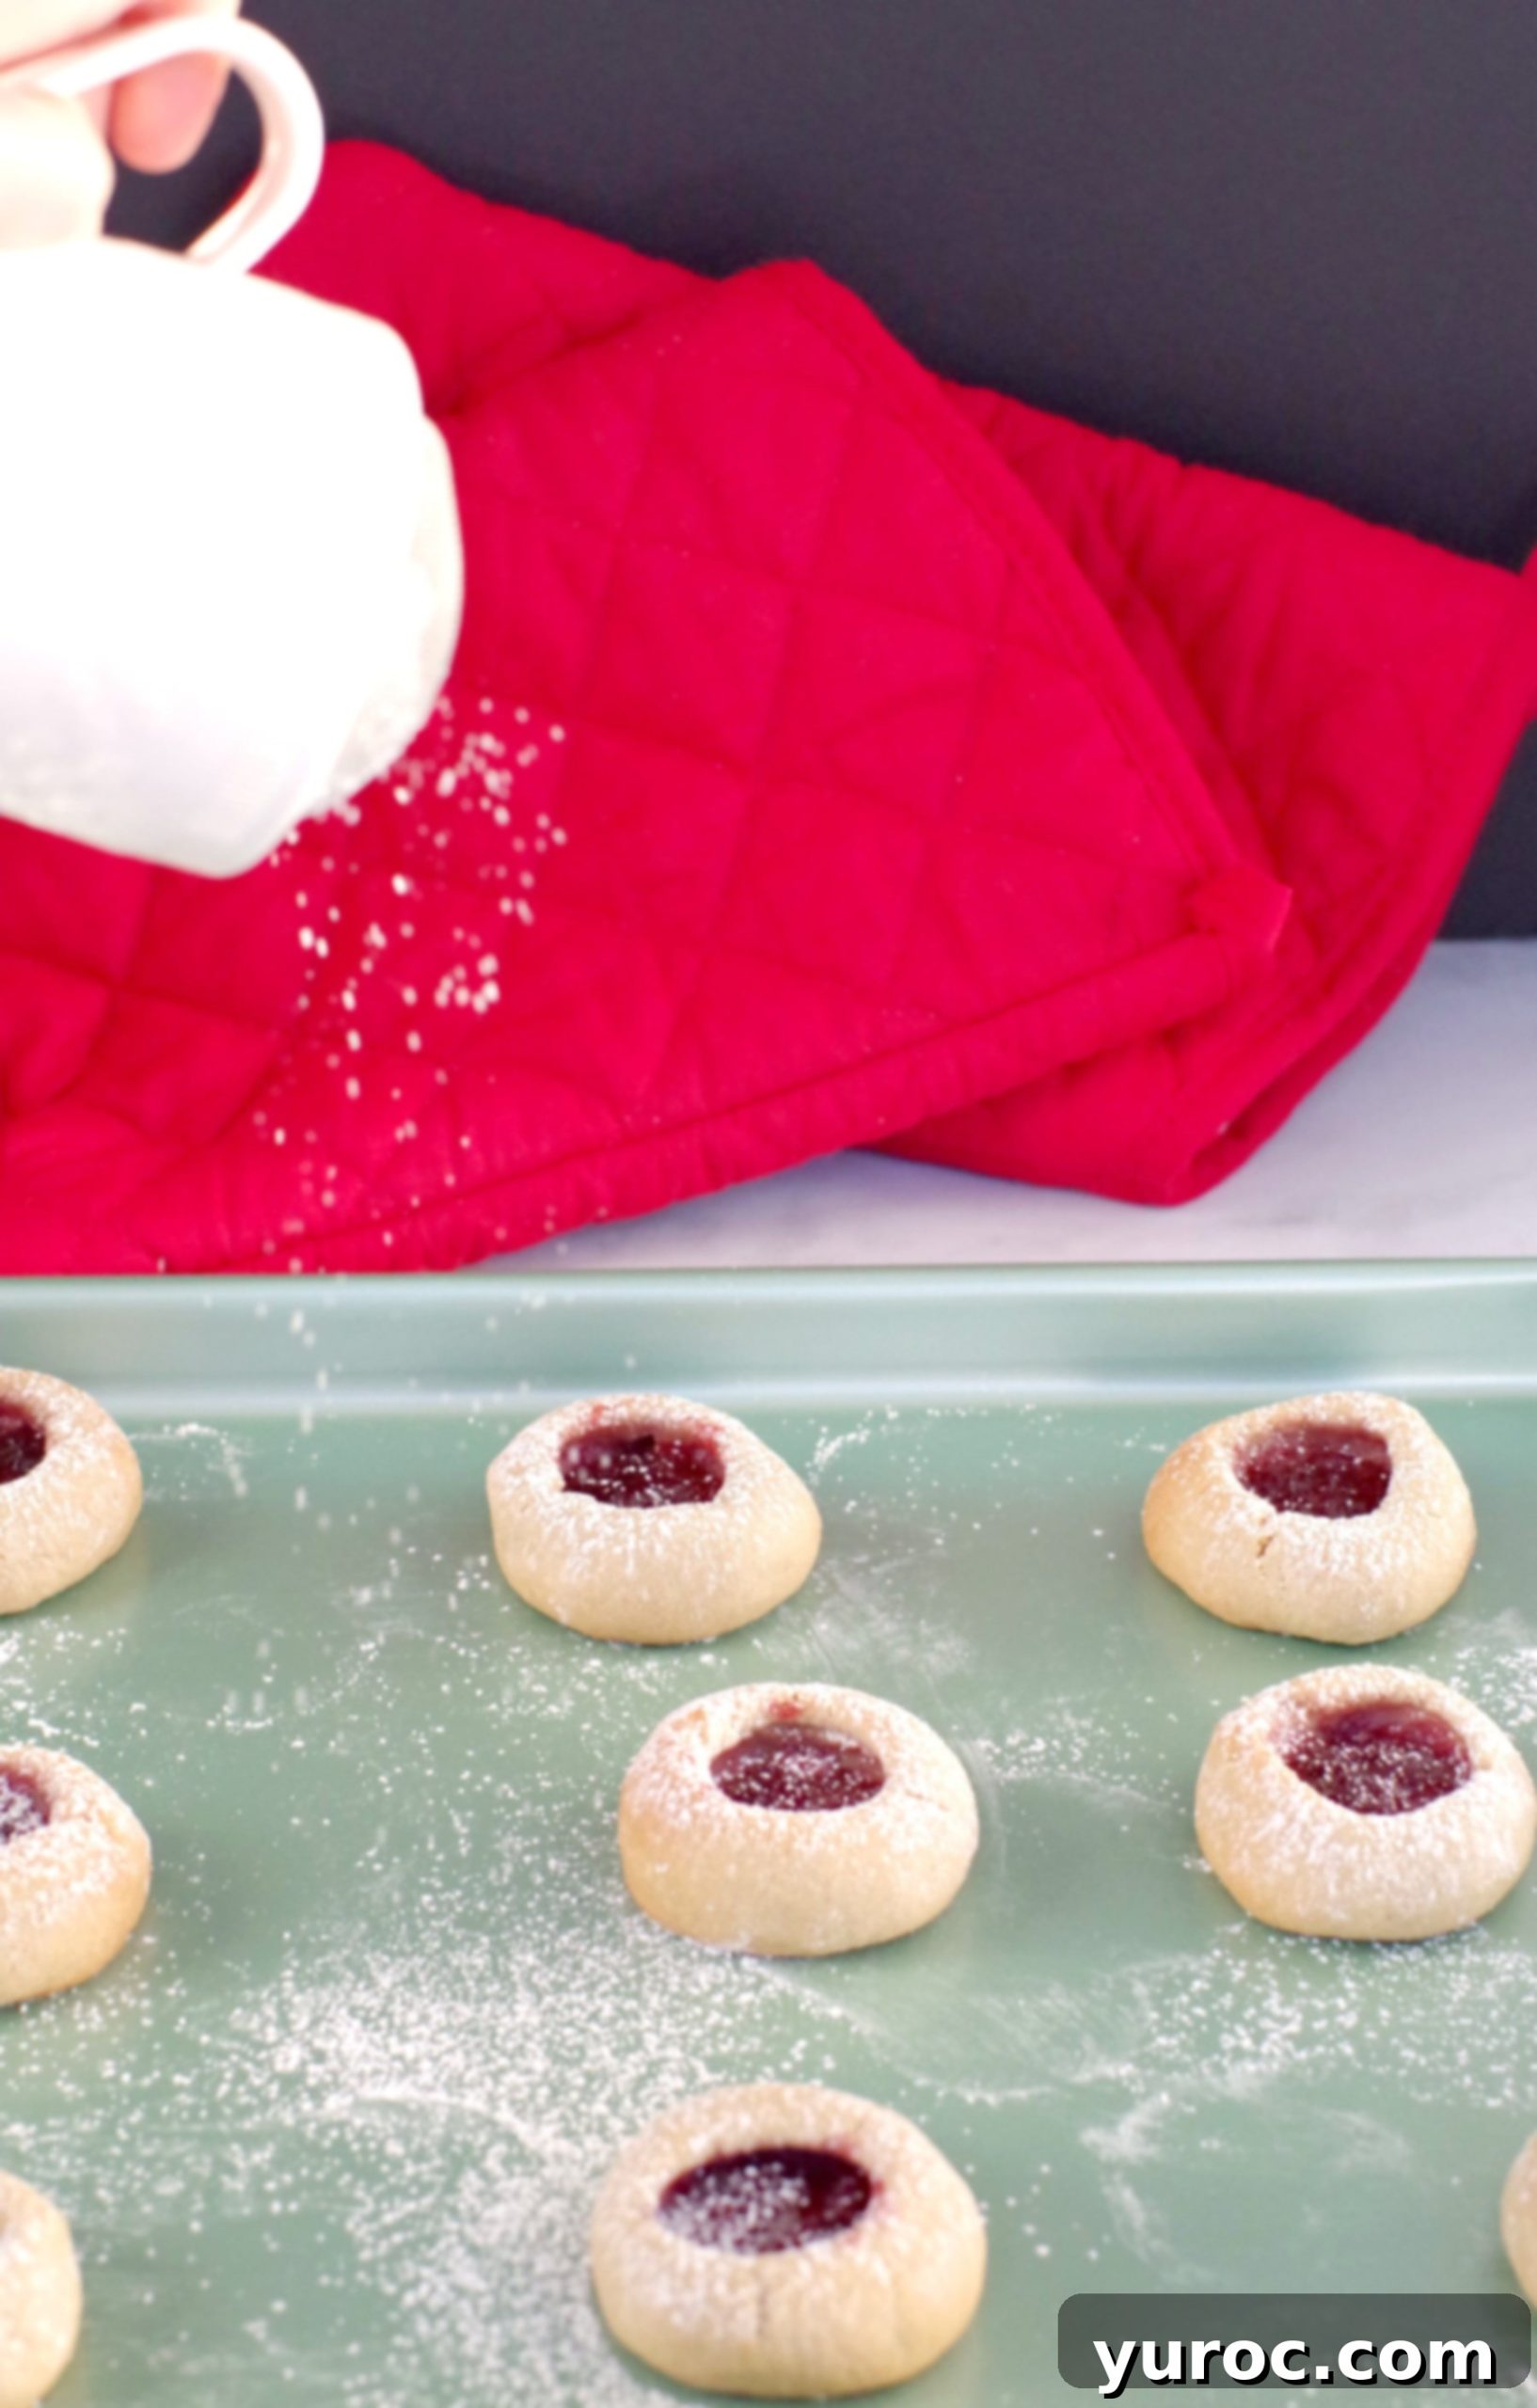
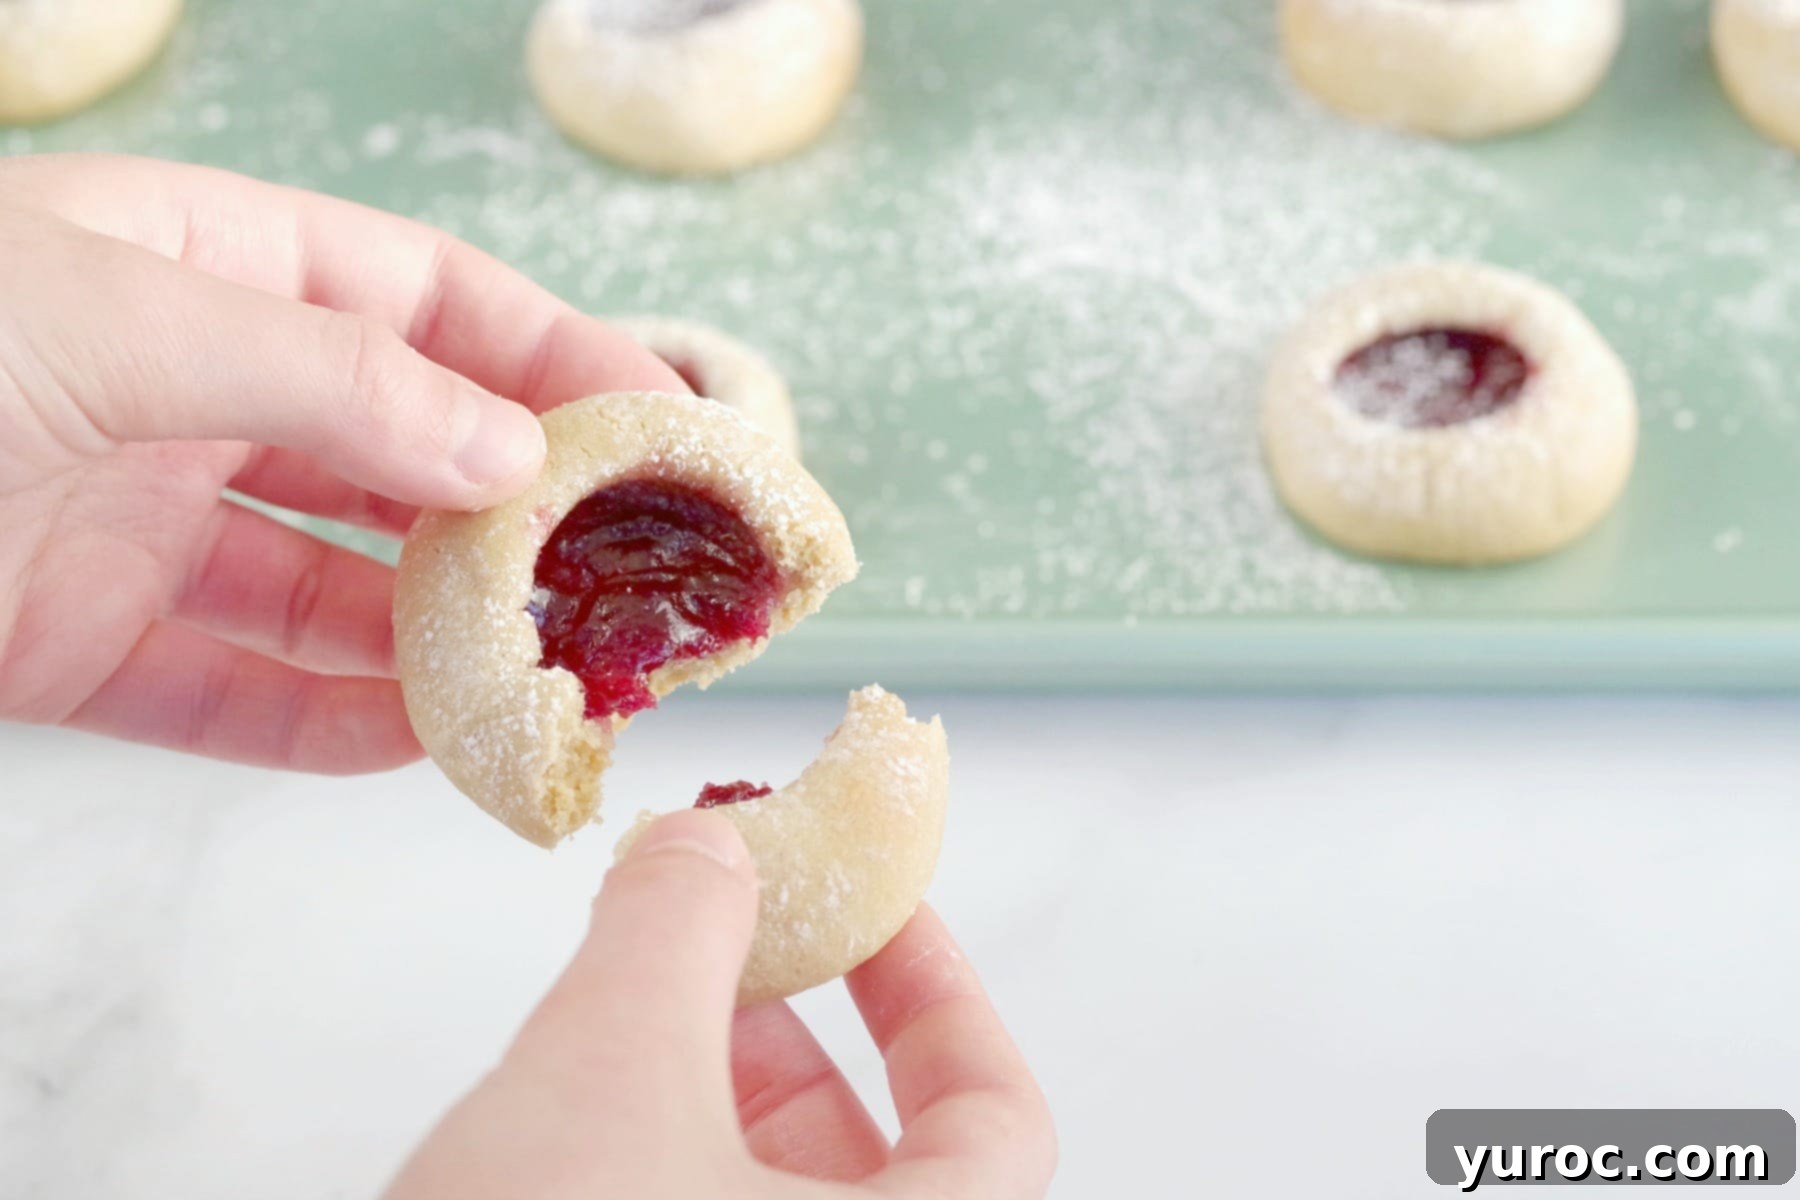
These classic thumbprint cookies are not only a joy to eat but also incredibly fun to make, especially with children. Their simple nature makes them ideal for teaching budding young bakers the basics of cookie making. My daughter and I have shared many happy moments making these together, turning a simple recipe into a cherished memory. If you’re looking for another straightforward cookie recipe that’s fantastic for baking with kids, try my 4-Ingredient Whipped Shortbread.
Essential Tips for Perfectly Tender Jam Cookies
While these cookies are relatively simple, a few expert tips can ensure your Raspberry Jam Cookies turn out perfectly every time, with minimal cracking and maximum flavor.
How to Minimize Thumbprint Cookie Cracking:
Thumbprint cookies, by their very nature, can be prone to cracking around the edges as they bake. After extensive baking and testing, I’ve gathered a few reliable techniques to help you achieve beautifully smooth cookies:
- Keep the Dough Soft and Rested. Once you’ve prepared the cookie dough, cover it tightly with plastic wrap and let it rest at room temperature for at least 15 minutes. This crucial resting period allows the flour to fully hydrate and the gluten to relax, making the dough much easier to handle, less sticky, and significantly reducing the chances of cracks forming during shaping and baking.
- Use the Right Tool for the Indent. While “thumbprint” cookies suggest using your thumb, for consistent and crack-free results, I highly recommend using the rounded end of a wooden spoon. Dip the spoon end into powdered sugar (or icing sugar, as we often call it in Canada) before pressing into each dough ball. This prevents the dough from sticking to the spoon and creates a smoother, more uniform indentation.
- Widen the Indent Gently. After pressing, give the spoon a slight spin or gently press outwards from the center to widen the indentation a little. This ensures ample space for your delicious jam filling.
- Mind the Depth. Be very careful not to press too deeply into the cookie dough. If the bottom of the cookie becomes too thin, it will be more prone to breaking, burning, or allowing the jam to leak during baking. Aim for a depth that creates a nice well without compromising the cookie’s structural integrity.
- Do NOT Heat Your Jam. It might seem like a good idea to warm up the jam to make it easier to spoon, but resist the temptation! Heating the jam makes it too thin, which increases the likelihood of it leaking out of the cookies or spreading excessively during baking. Use room-temperature jam for best results.
- Chill Before Baking (Optional but Recommended). If your kitchen is warm or if you notice the dough becoming too soft, consider chilling the shaped, unfilled cookie balls on the baking sheet for 10-15 minutes before adding the jam and baking. This can help prevent further spreading and maintain their shape.
👪 Serving Size & Adjustments
This delightful raspberry jam cookie recipe yields approximately 36 cookies, making it perfect for sharing with family and friends, or for a festive cookie exchange. If you need to adjust the quantity, you can easily half, double, or even triple the recipe. Simply click on the serving number in the recipe card below and select your desired number of servings. The ingredient quantities will automatically adjust, saving you the hassle of manual calculations!
🌡️ Storing Your Jam Cookies for Freshness
Proper storage is key to keeping your Raspberry Jam Cookies tasting fresh and delicious long after they’ve cooled.
Refrigeration: These raspberry thumbprint cookies can be stored in an airtight container at room temperature for up to 3-4 days. For extended freshness, especially in warmer climates or if you’ve used a jam without many preservatives, you can store them in the fridge for up to a week.
Freezing: These cookies with jam freeze exceptionally well, making them perfect for meal prepping or preparing ahead for the holidays. For best results, freeze them in a single layer on a baking sheet until solid. Once frozen, transfer them to an airtight freezer-safe container. If you need to stack them, be sure to place a piece of parchment paper between the layers to prevent them from sticking together. Thaw them at room temperature before serving. They maintain their quality in the freezer for up to 2-3 months.
❔ Recipe FAQs: Your Questions Answered
For these specific cookies, you should fill them before baking. This allows the jam to set slightly and meld with the cookie as it bakes. The key is not to overfill the cookie indent and, crucially, do not heat up the jam beforehand. If the jam is too thin or hot, it will likely leak, spread excessively, or sink into the cookie dough during baking.
While the name suggests using your thumb, for a more uniform and hygienic indentation, I recommend using the rounded end of a wooden spoon. Dip the spoon end in powdered sugar first to prevent sticking. You could also use the back of a small measuring spoon, a melon baller, or any small, rounded utensil.
Several factors can cause cookies to spread. Ensure your butter is at the correct room temperature (not too soft or melted). Also, make sure your oven temperature is accurate – if it’s too low, the butter melts before the cookie sets. Finally, resting the dough for 15 minutes as suggested, and even chilling the shaped cookie balls for 10-15 minutes before baking, can significantly reduce spreading.
Absolutely! The cookie dough can be made ahead of time and stored in the refrigerator for up to 2-3 days. Wrap it tightly in plastic wrap to prevent it from drying out. When you’re ready to bake, let the dough sit at room temperature for about 30 minutes to soften slightly before rolling and shaping. You can also freeze the dough for up to a month; just thaw it in the fridge overnight before using.
These beautiful cookies with a sweet jam center are an absolutely excellent choice for a cookie exchange event, guaranteed to be a hit. They also make the perfect addition to any festive holiday cookie tray, bringing a touch of homemade charm and nostalgic flavor. And if you, like me, are a huge fan of thumbprint cookies, then you simply must give my Butter Tart Thumbprint Cookies a try. I dedicated years to perfecting that recipe because my love for butter tarts runs that deep!
ENJOY~
🍪 More Delicious Cookie Recipes to Explore
- Chunky Peanut Butter Cookies recipe (with Cookie Butter)
- Easy Oatmeal Raisin Cookies
- Toffee Apple Pie Cookies (award-winning)
- Whipped Shortbread Cookies (with cornstarch)
Did your family ❤️ this recipe? Did you know that commenting and ⭐ rating recipes is one of the best ways to support your favorite recipe creators? If you LOVED this recipe, please take a moment to comment and rate it in the recipe card below or share photos of your beautiful creations on social media using the hashtag #foodmeanderings or by tagging @foodmeanderings! Your feedback is invaluable and helps others discover these wonderful recipes.


📋 Raspberry Jam Cookie Recipe
Ingredients
- ¾ cup unsalted butter
- 1 cup brown sugar
- 1 whole egg
- ¼ teaspoon salt
- ½ teaspoon cream of tartar
- 2 cups flour
- ½ teaspoon baking soda
- 1 cup seedless raspberry jam * can substitute strawberry jam
Garnish (optional)
- powdered sugar for sprinkling
Instructions
- Preheat oven to 425 degrees F/218 degrees C . *Do NOT spray baking sheet
- In a large bowl, with an electric hand mixer, cream butter and sugar on medium speed until smooth.
- Add egg and beat until blended.
- Sift dry ingredients together, then add flour mixture to creamed butter mixture.
- * I recommend you let the dough sit for 15 minutes before rolling into balls (it helps to prevent cracking)
- Form into 1-inch balls. Space balls of dough at least 1-2 inches apart on ungreased cookie sheet.
- Press indent into ball with the end of a wooden spoon (dipped in powdered sugar.) Be sure not to push too far down or the bottoms of the cookie will be too thin. You could also use the back of melon baller, spoon or your finger or thumb.
- Add jam filling to centre of cookies to the top, but don’t overfill.
- Bake cookies for 7-9 minutes or until lightly browned on the bottom.
- Cool for 5 minutes, then move to a wire rack to continue cooling. Enjoy!
Garnish
- Sprinkle with powdered sugar, if desired.
- Freezing: These freeze well. If you stack them, be sure to add parchment paper between the layers to avoid sticking.
Notes
-
- Keep the dough soft. Once the cookie dough is made, cover and let it rest for at least 15 minutes at room temperature, so that the dough will be easier to handle and less sticky.
-
- Use the back of wooden spoon dipped in powdered sugar (or icing sugar, as we like to call it in Canada) to make an imprint. You can use your thumb but I found this much more effective for getting a uniform print.
-
- Then spin it around a little to make it wider (pressing outwards from the center).
-
- And be sure you don’t press down to the very bottom of the cookie or it will be too thin .
