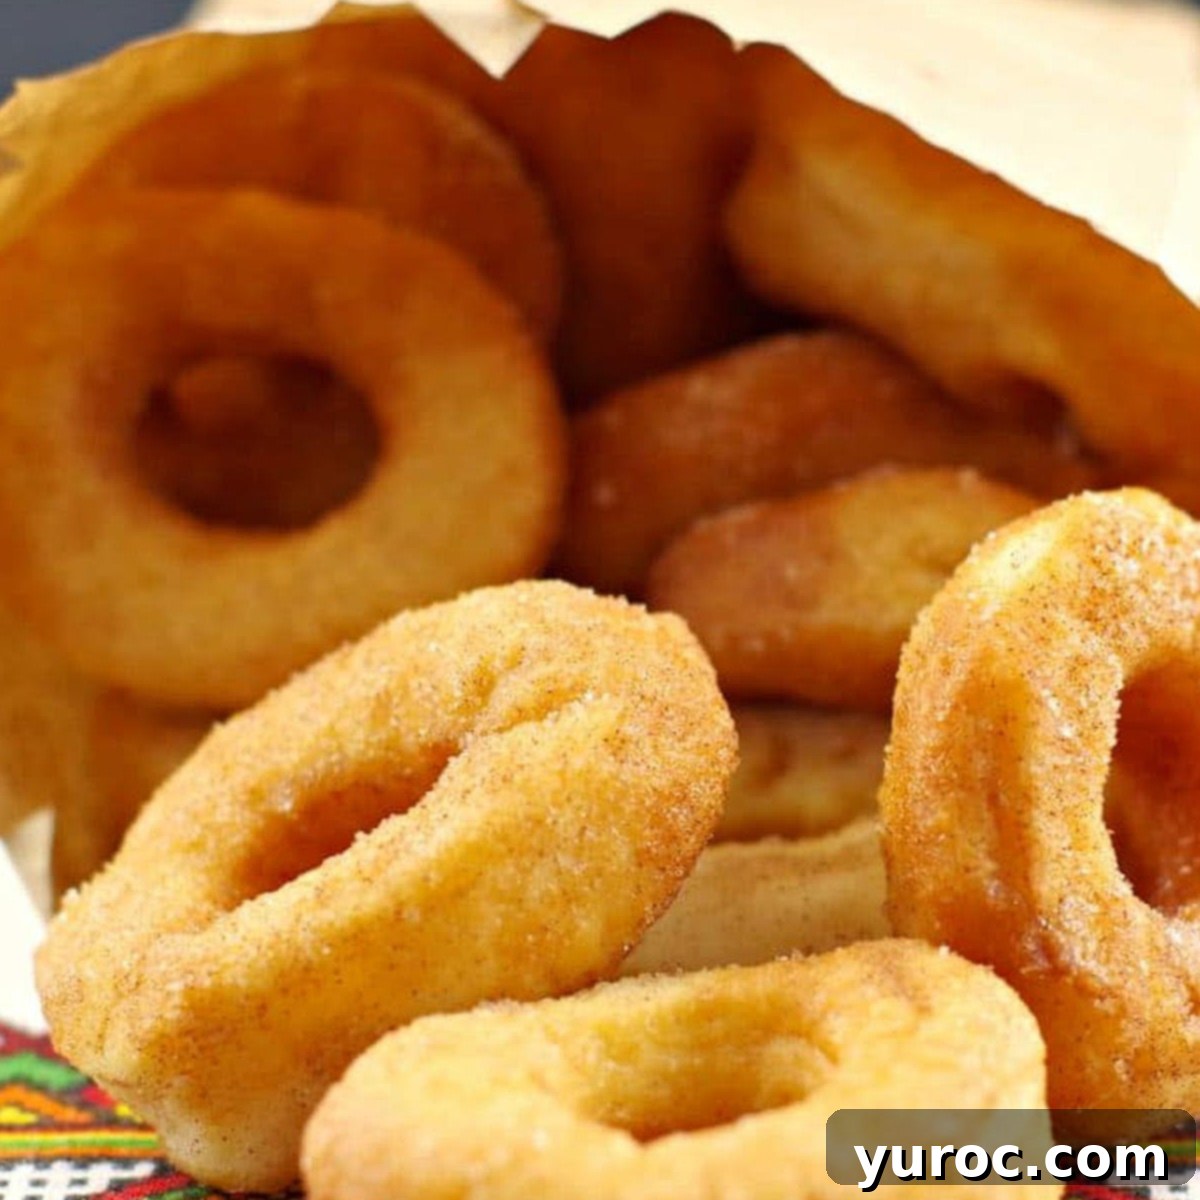
Authentic Pampushky Recipe: Fluffy Ukrainian Doughnuts with Cinnamon Sugar
It’s barely 4:45 AM, and the shrill cry of the alarm cuts through the peaceful quiet. Normally, I’m an early riser, but this particular morning feels different. It’s my cherished day off, and more importantly, it marks the first Friday of summer vacation for the kids. This was supposed to be my golden opportunity to sleep in, to savor those precious extra hours of rest. Yet, here I am, instead of being nestled under cozy blankets, preparing for a frantic dash to Confederation Park to catch a city bus bound for downtown. The destination? The annual Stampede Parade.
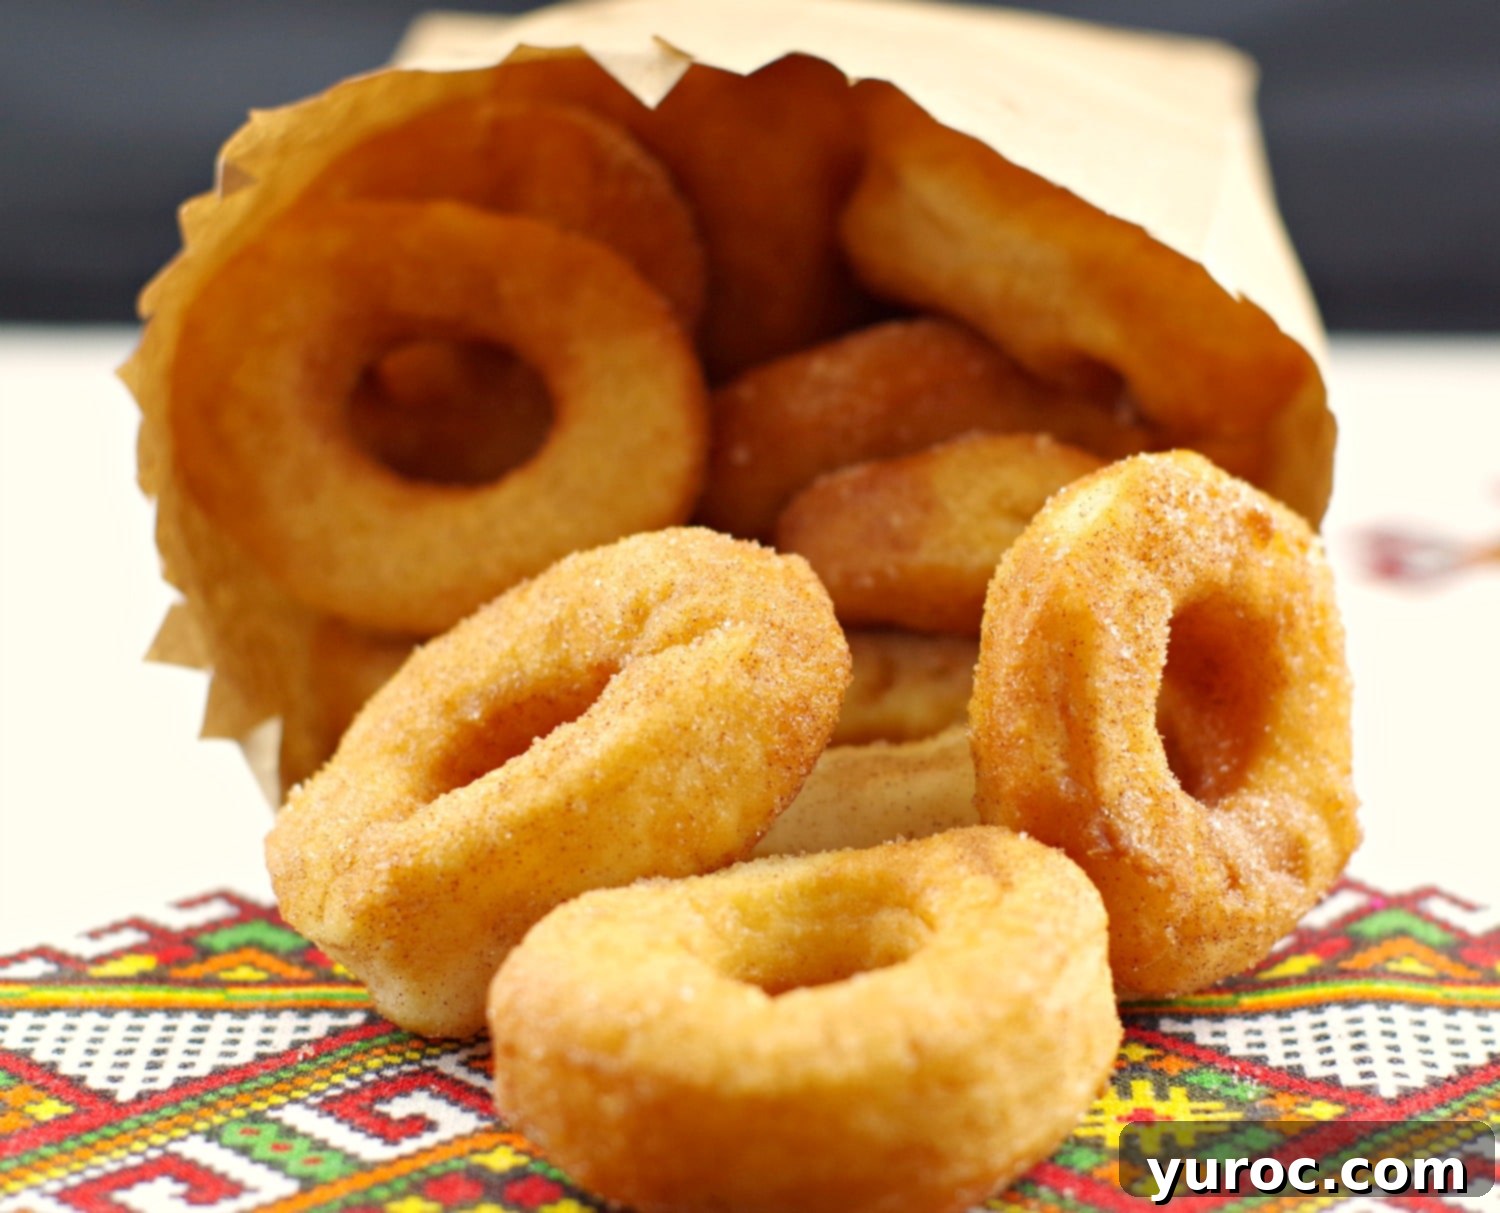
Thankfully, the essential gear—blankets, sunscreen, raincoats, and an assortment of snacks—are already packed and waiting by the door. Among these provisions are little bags filled with those irresistible mini doughnuts, Ukrainian style: Pampushky. These aren’t just any doughnuts; they are a taste of home, a tangible link to cherished memories, and a necessary fuel for the long morning ahead. Indeed, the things we do for love, especially for the joy of our children, often involve early starts and a generous helping of homemade goodness.
The Scent of Tradition: Baba’s Kitchen & Ukrainian Doughnuts
The moment the distinctive aroma of fresh yeast begins to fill my kitchen, I am instantly transported back in time. It’s a powerful sensory journey that takes me straight to Baba’s small, bustling kitchen. I can almost see her, hunched over the worn counter, her hands deftly kneading the soft yeast dough, the pot gently boiling on the stove. These days, that nostalgic scent is enough to bring a tear to my eye. It evokes a profound sense of connection to my heritage and to the incredible woman who taught me the magic of baking.
Back then, that same aroma was a promise of something truly special and utterly delicious. Whether it was these very Pampushky, or traditional Ukrainian Easter breads like Babka or Paska, Baba’s hands always crafted culinary masterpieces. Among all the delightful Ukrainian desserts, Pampushky have always held a special place in my heart, right alongside my beloved Lemon Poppy Seed Torte. These light, airy doughnuts aren’t just food; they are a legacy, a culinary hug from generations past.
The Calgary Stampede Parade: A Family Rite of Passage
By 6:30 AM, we’ve arrived downtown, ready to stake our claim on a prime viewing spot for the Stampede Parade. My friends, seasoned veterans of this annual tradition, have a meticulously perfected system. I, a comparative novice to this specific ritual, simply follow their lead, carrying our supplies. We patiently wait on a street corner near 9th Avenue and 11th Street SW, surrounded by all our gear, for what feels like an eternity. Finally, a city worker signals the closure of the intersection, and the “pounce” begins. We strategically secure our “hot and stinky chunk of prime parade real estate,” a coveted spot that guarantees an excellent view. Then, the next phase of waiting commences – approximately two hours until the parade officially starts – spent fervently defending our hard-won territory against any potential “invaders” who might attempt to encroach.

Truth be told, I’ve never been a huge enthusiast of the Stampede Parade myself. However, my kids absolutely adore it. And in Calgary, attending the Stampede Parade is practically a mandatory rite of passage for every child. Since I didn’t grow up in this city, the parade doesn’t carry the same deep-seated memories or significance for me as it does for them. But there were a few years when they were very young that I couldn’t take time off work and missed the opportunity to bring them. So now, I embrace it fully, making up for those lost moments and ensuring they experience this unique Calgary tradition. And what better way to enhance the experience than with a special treat like homemade Pampushky?
Why These Mini Ukrainian Doughnuts Are a Tradition
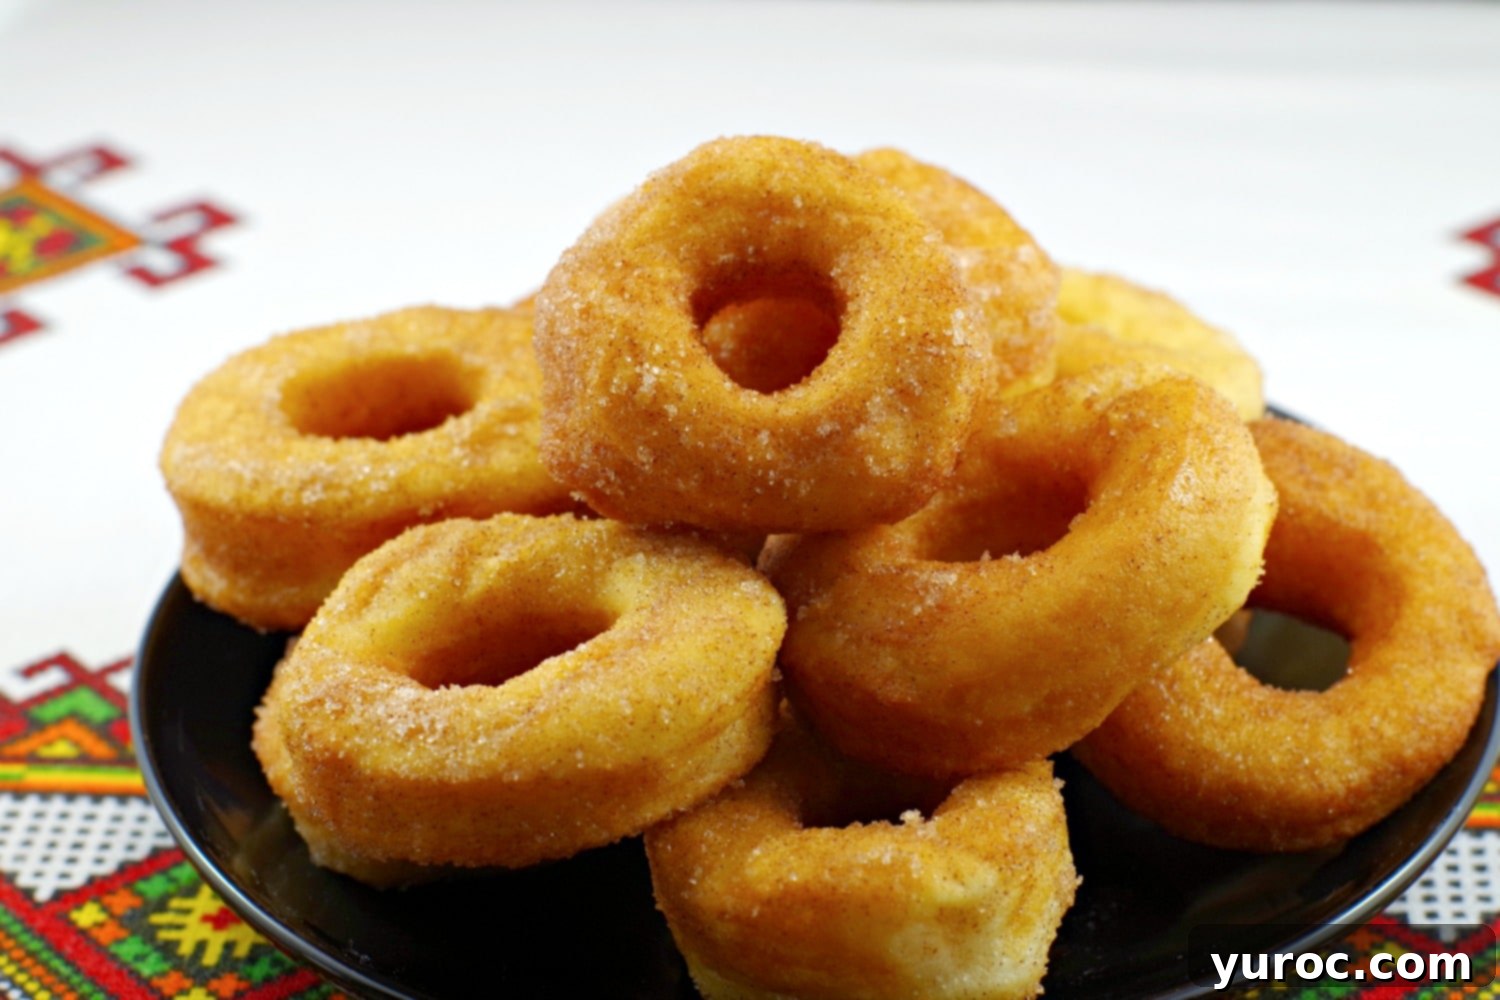
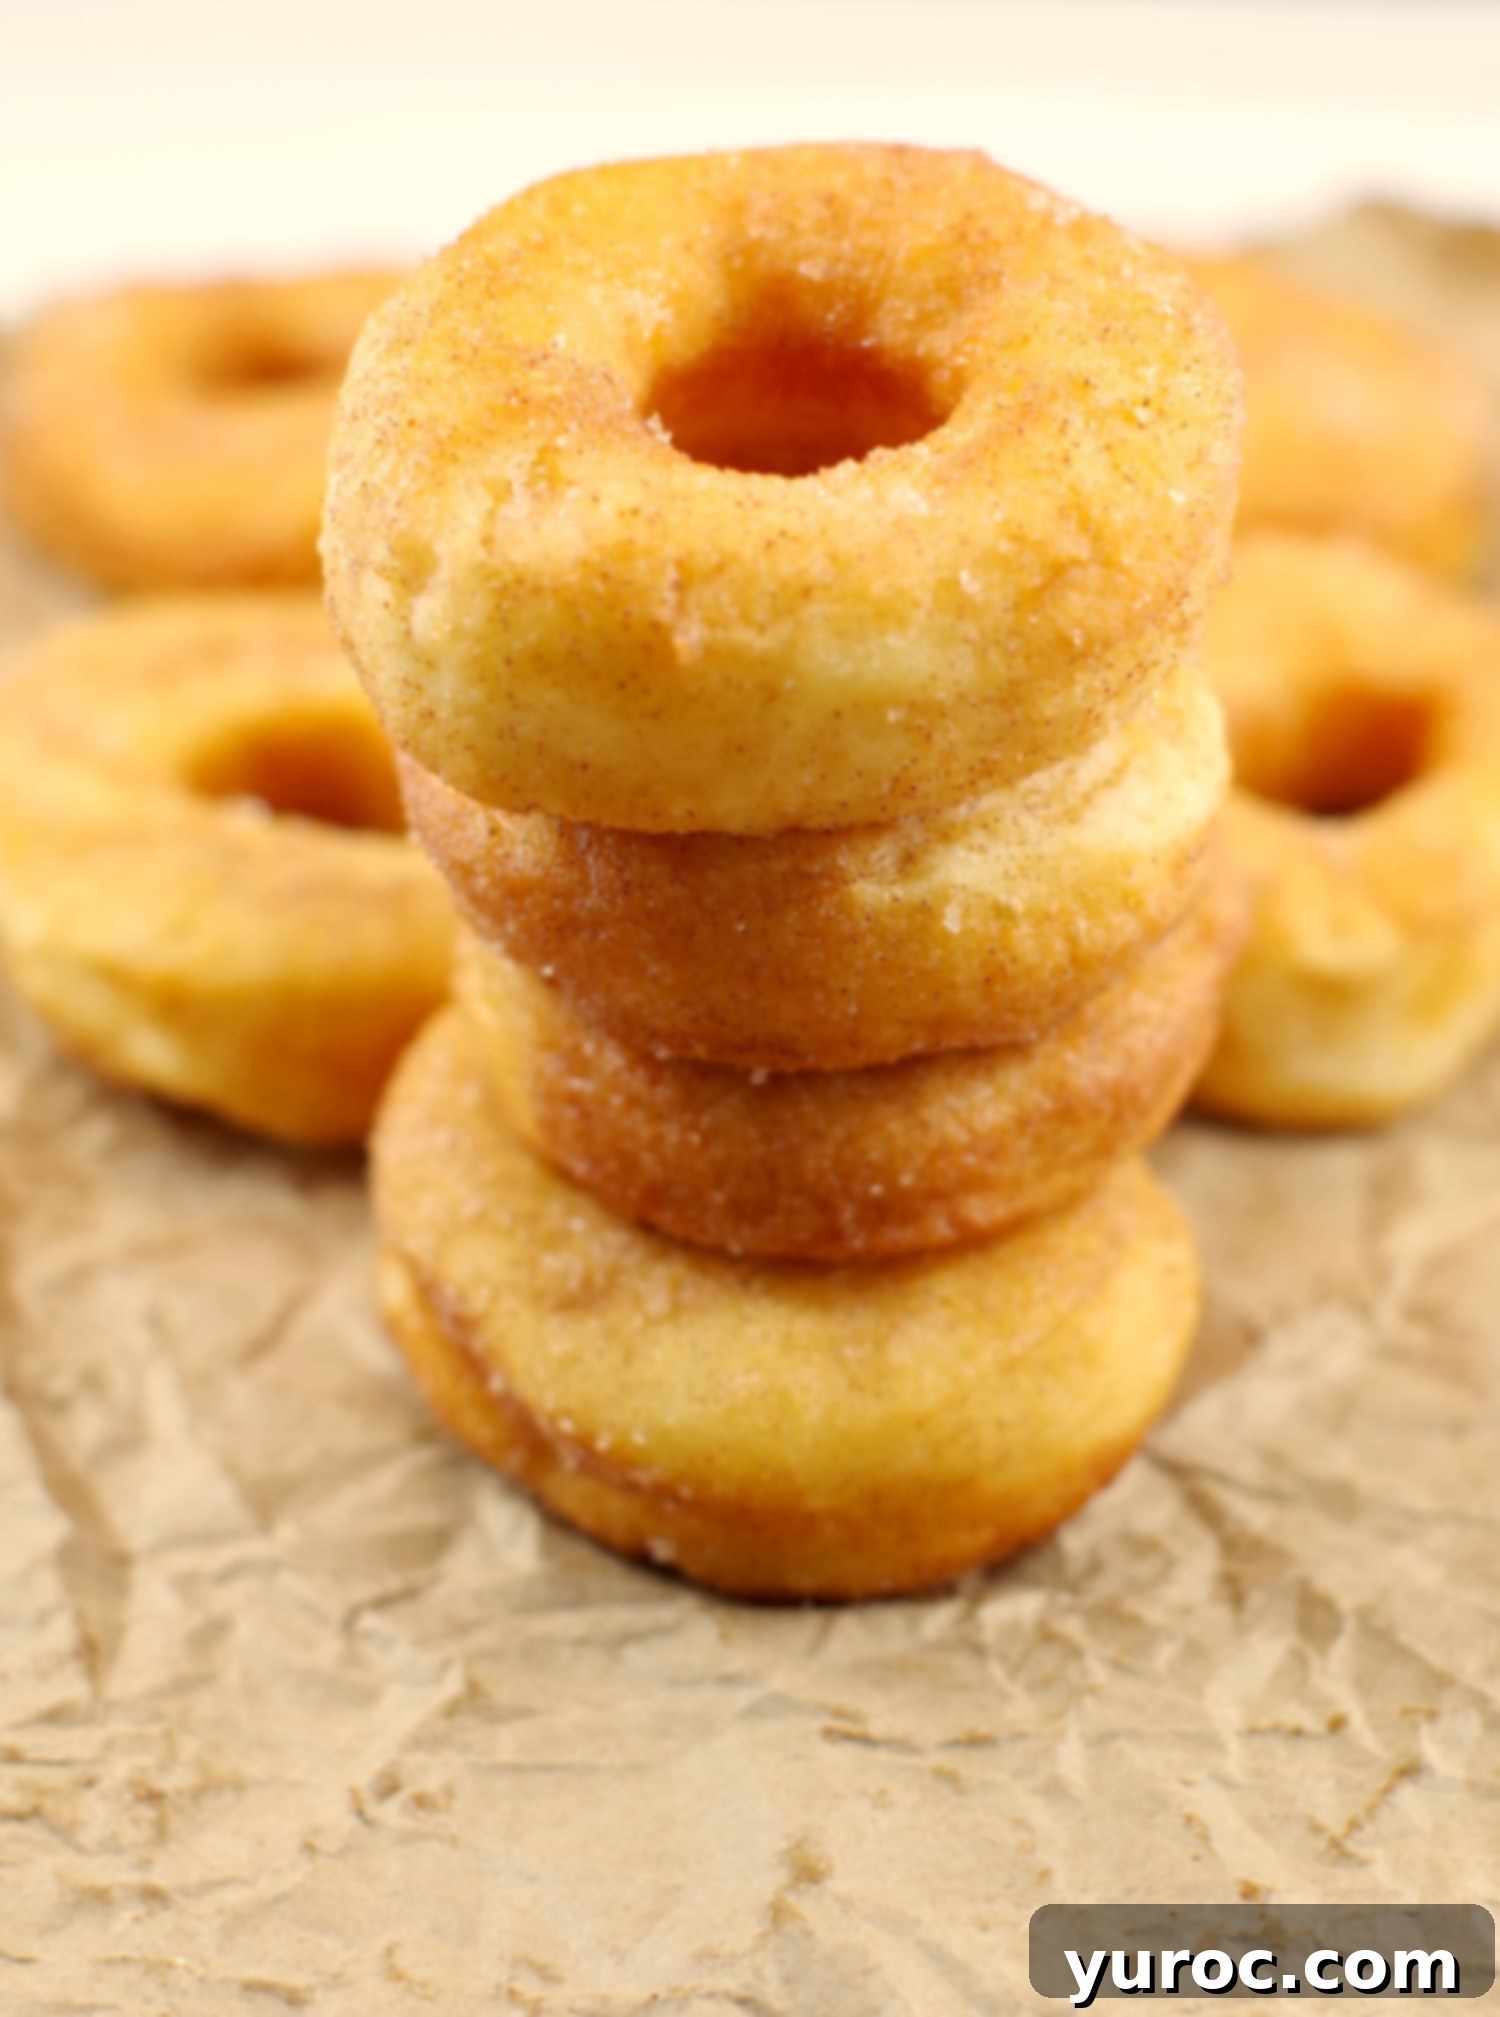
These delightful mini Ukrainian Doughnuts, or Pampushky, naturally became a cherished tradition for us when we started our annual trips to the Stampede Parade. My Baba, in her wisdom, never filled her Pampushky with poppy seeds, and I continue that tradition. To me, adding a filling would simply be sacrilege to her authentic method. Instead, she would generously sprinkle them with sugar, a practice I lovingly uphold, with one minor addition: a hint of cinnamon. This subtle spice elevates the classic flavor to something truly divine. These doughnuts are incredibly light and fluffy, so much so that once you try them, you’ll find it impossible to go back to any other homemade doughnut recipe you might have used before. They’ve also been a massive hit at bake sales, proving their universal appeal and deliciousness.
🥘 Ingredients for Fluffy Pampushky
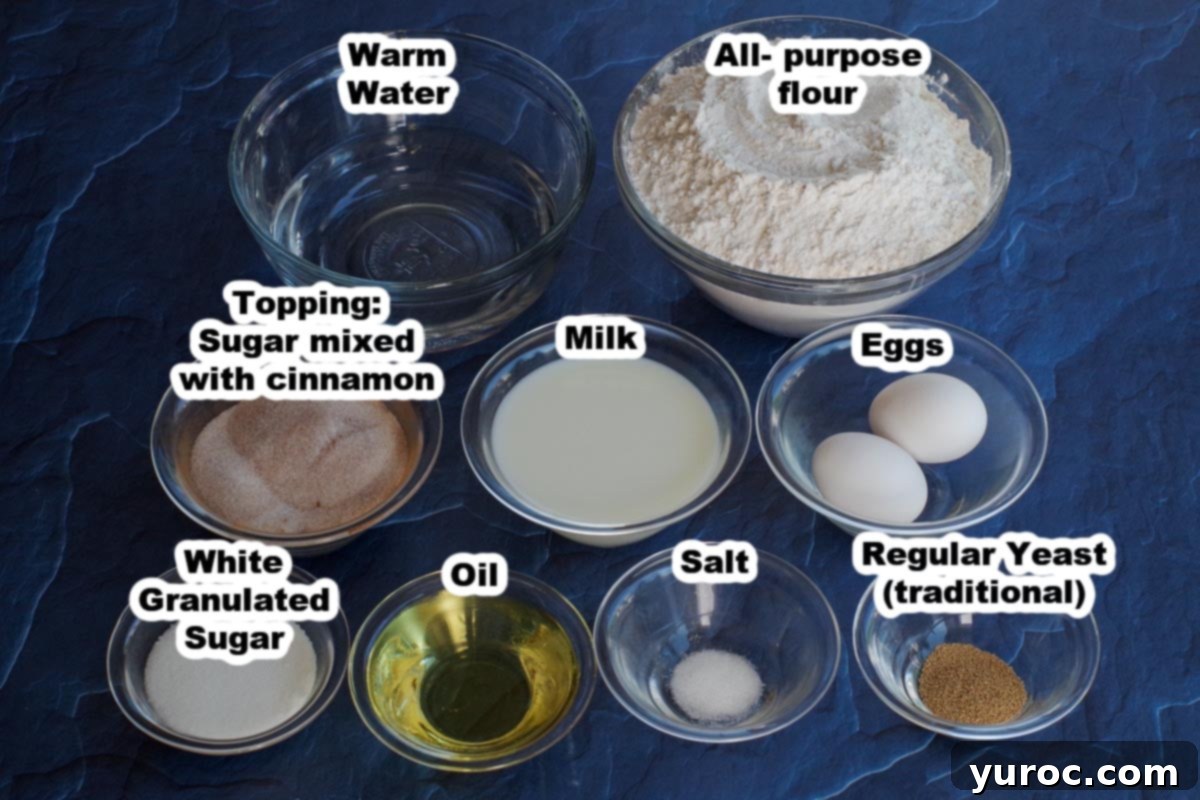
Crafting these delectable Pampushky requires a few simple, wholesome ingredients, most of which you likely already have in your pantry. The quality of your ingredients can make a difference in the final texture and flavor, so opt for fresh where possible. For this traditional and easy recipe, you’ll need:
- White granulated sugar
- Lukewarm water (essential for activating the yeast)
- Traditional active dry yeast (not instant yeast, as the process is slightly different)
- Large eggs
- Vegetable oil (or a mild-flavored oil)
- Fine sea salt
- Milk (any fat percentage will work, or a dairy-free alternative)
- All-purpose flour
- Vegetable shortening (only if you choose the deep-frying method)
- Ground cinnamon (for the irresistible topping)
*Refer to the full recipe card below for precise quantities and additional notes.
🔪 Instructions: Step-by-Step Ukrainian Doughnuts
While Pampushky can traditionally be made in a deep fryer, I highly recommend using an air fryer for a less greasy and equally delicious result. The instructions below focus on the air fryer method, with deep-frying alternatives provided.
1. Grease a large mixing bowl thoroughly and set it aside. This will prevent the dough from sticking during the rising process.
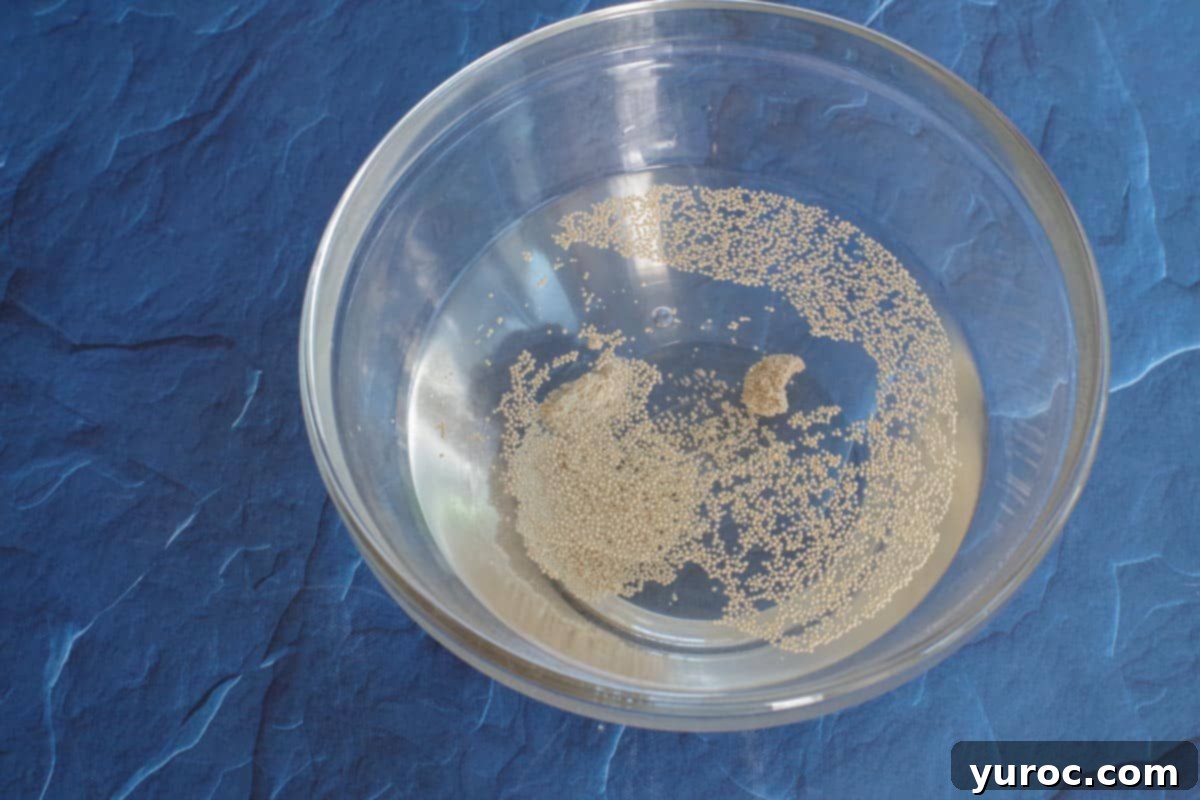
2. In a separate bowl, dissolve the granulated sugar in the warm water. Then, carefully sprinkle the traditional yeast over the surface. **Do NOT stir it yet.** This allows the yeast to “bloom.”
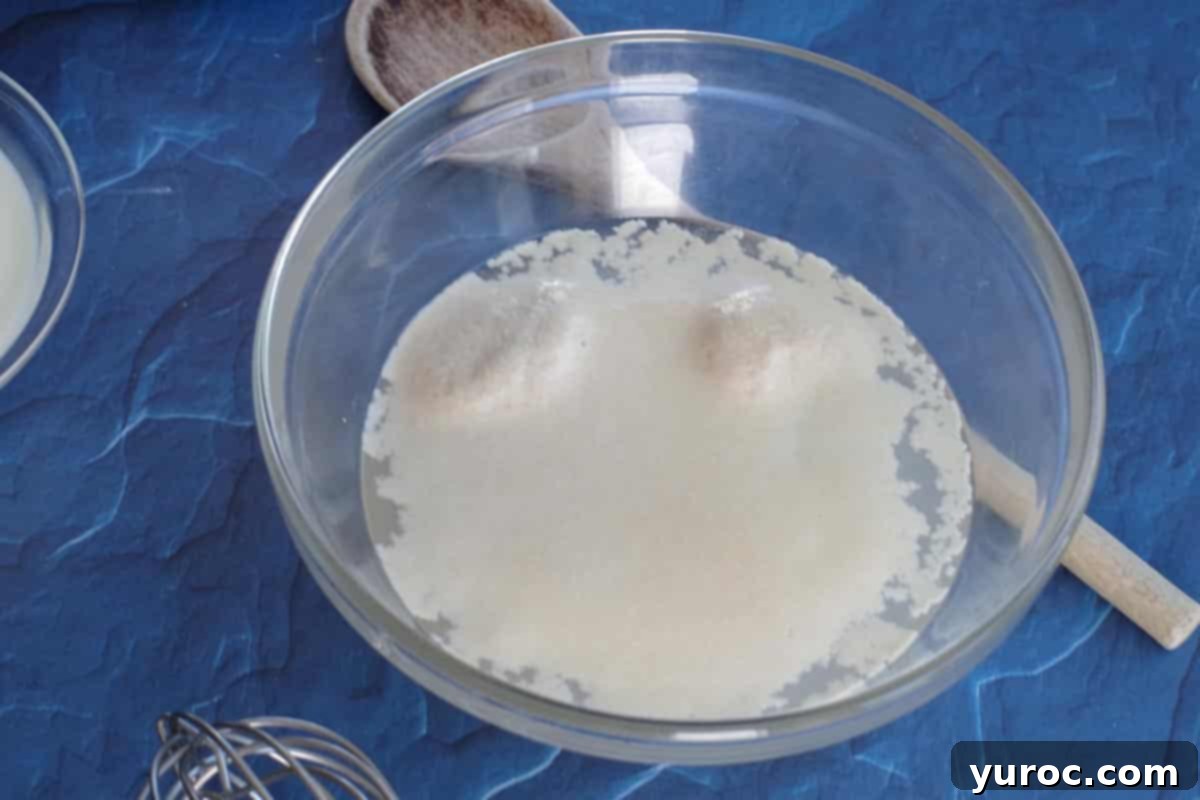
3. Let the yeast mixture stand undisturbed for about 10 minutes, or until a foamy layer of bubbles forms on the surface. This indicates the yeast is active and alive. Once activated, gently stir the mixture.
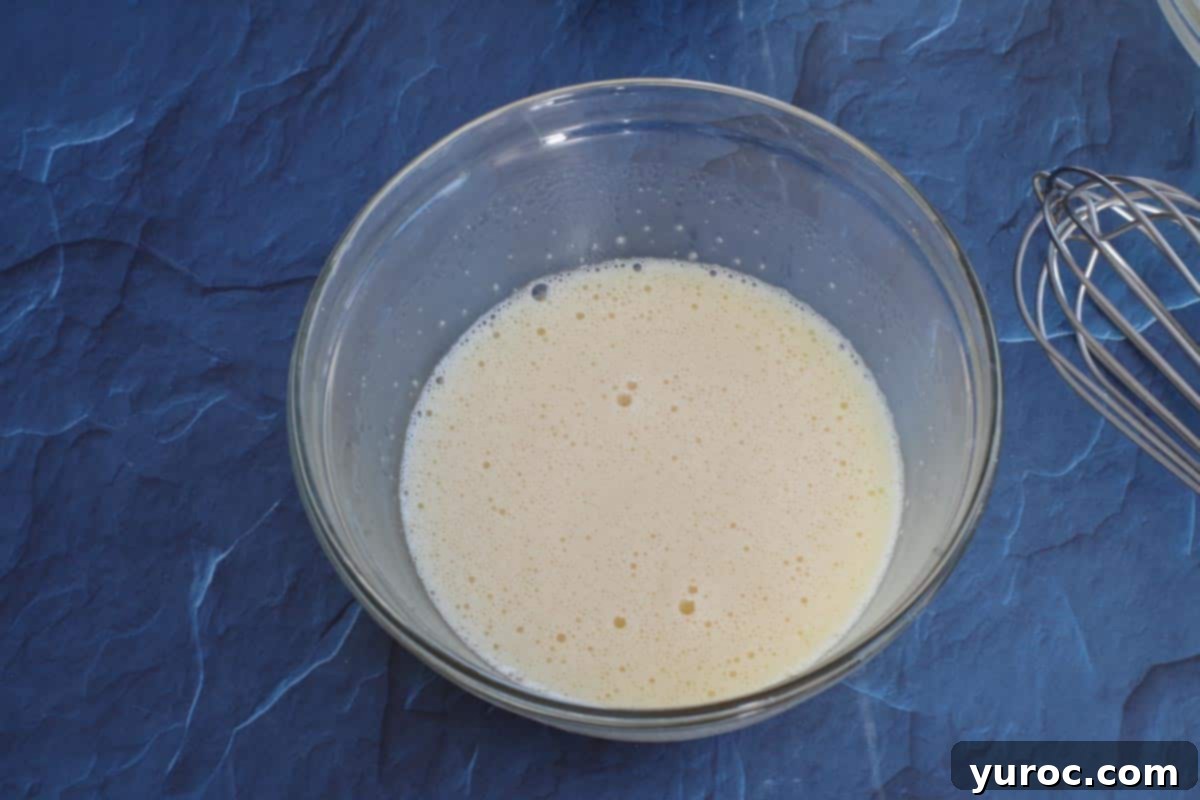
4. In another clean bowl, beat the eggs vigorously with a whisk. While continuing to beat, gradually drizzle in the salt and ¾ cup of vegetable oil. Continue mixing until the egg mixture becomes lighter in color and slightly thickened, which usually takes about 2 minutes.
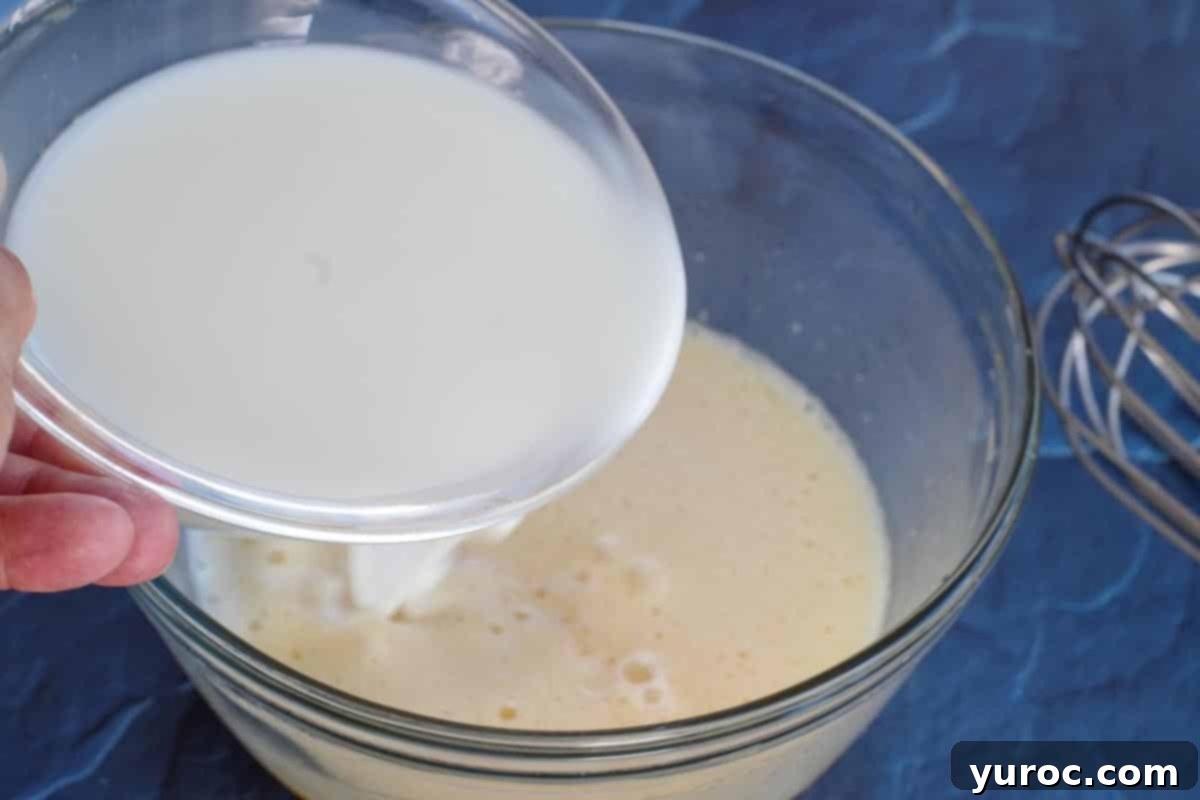
5. Pour in the milk and mix until well combined.
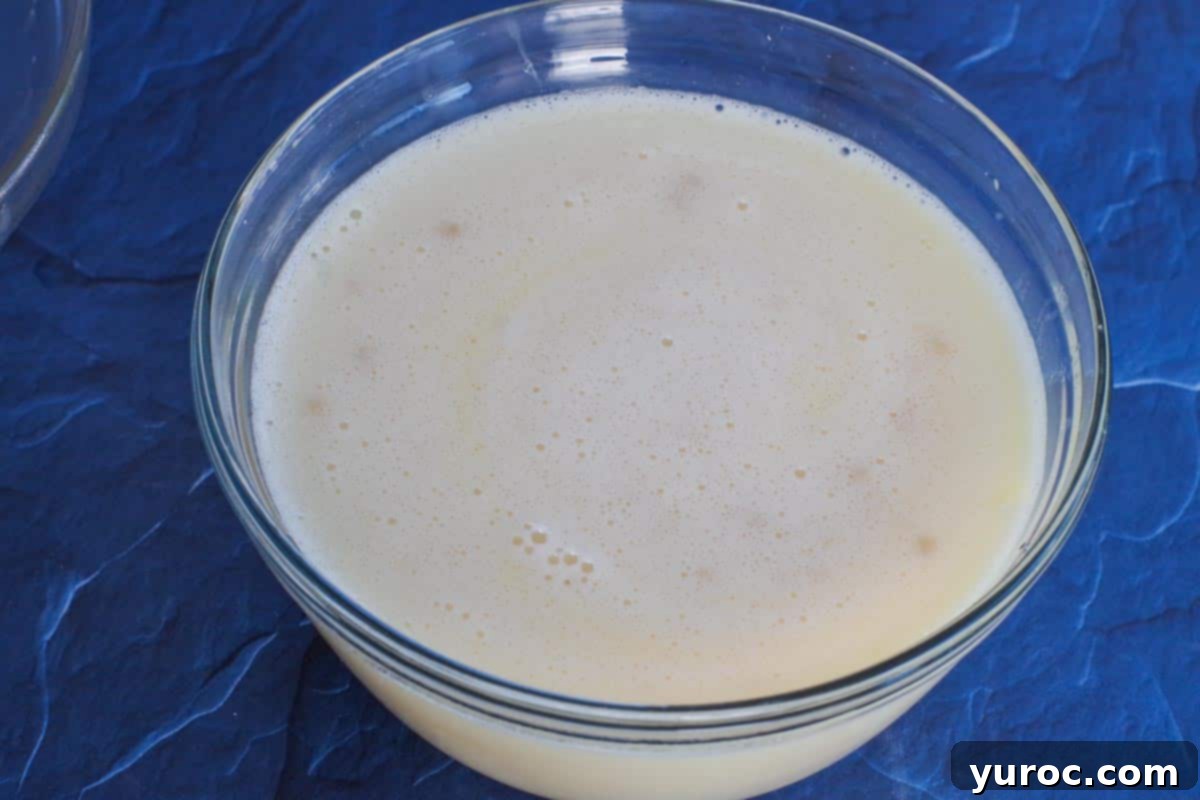
6. Add the activated yeast mixture to the wet ingredients and stir gently to combine.
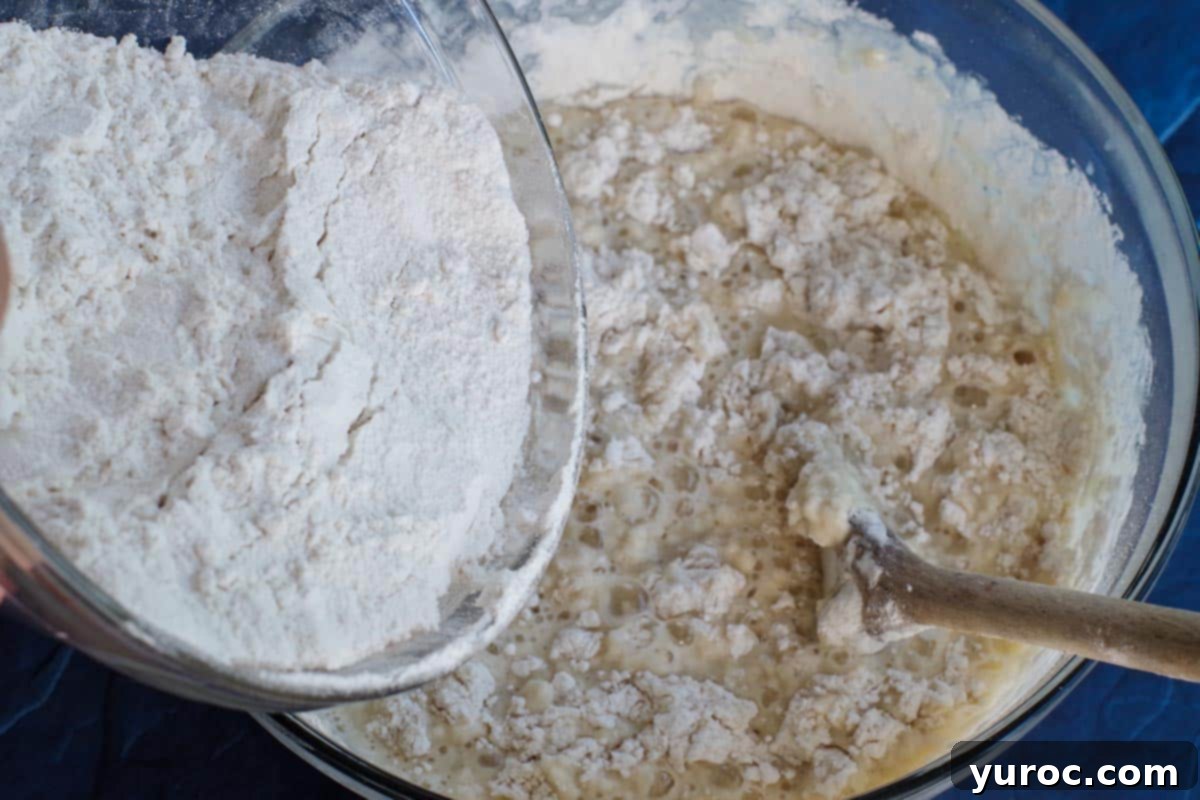
7. Gradually add the all-purpose flour to the wet mixture, starting with a wooden spoon and then switching to your hands as the dough comes together. Mix until a smooth and soft dough forms. It’s crucial not to overmix, as this can make the dough tough. The goal is a supple, not dense, texture.
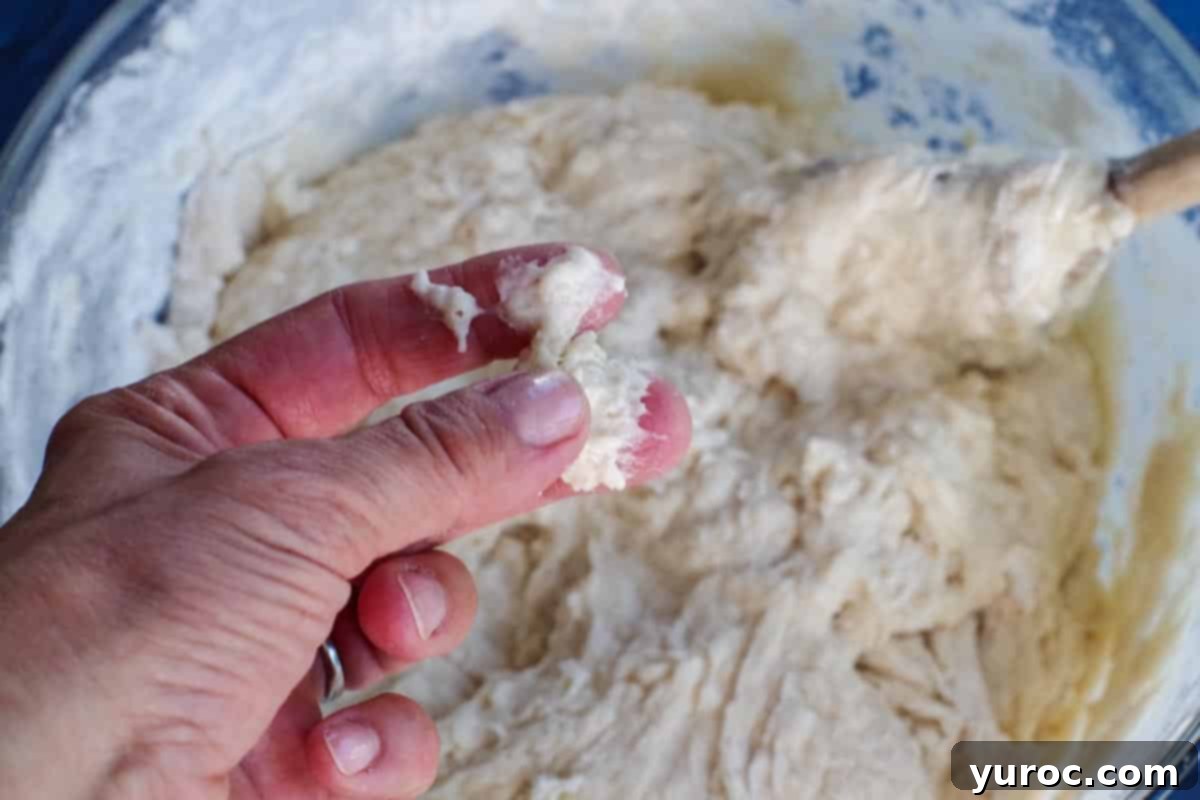
8. Continue adding flour, one tablespoon at a time, until the dough no longer sticks to your hands. The image shows dough that is *too sticky* and needs more flour.
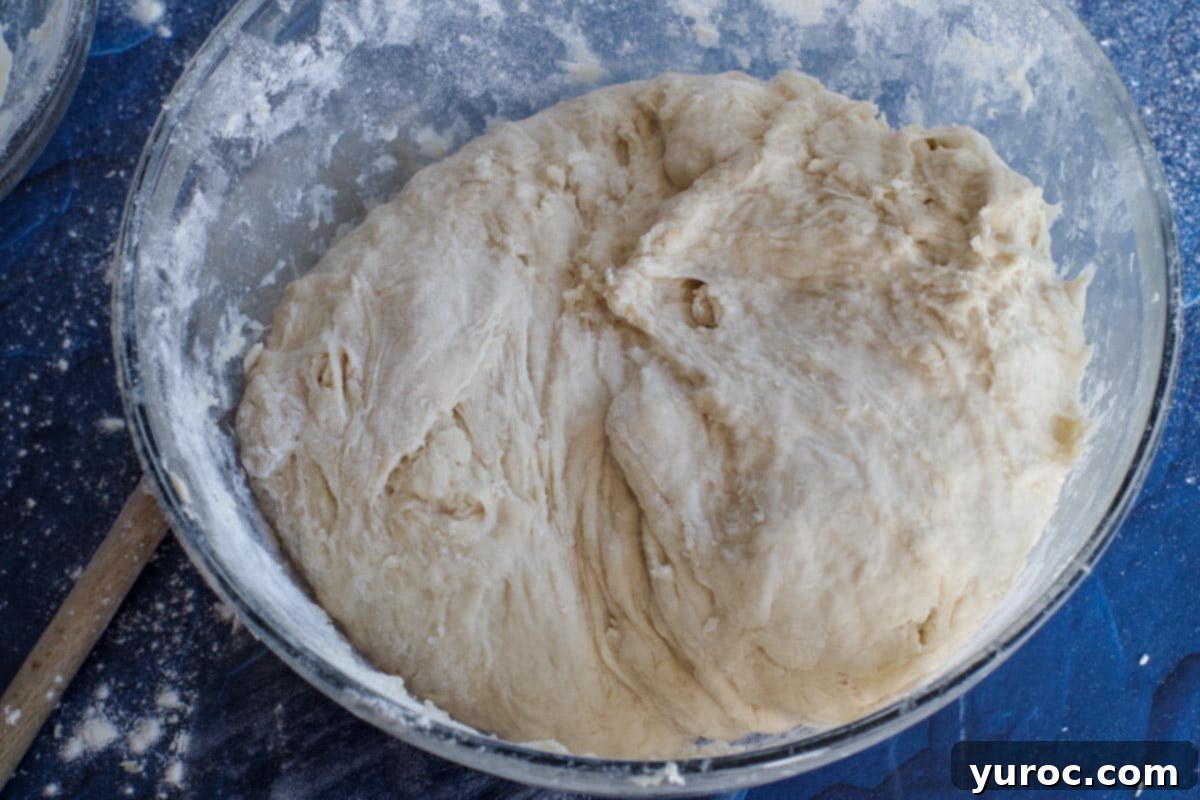
9. Keep adding small amounts of flour until the dough is smooth, pliable, and pulls away cleanly from your hands and the sides of the bowl.
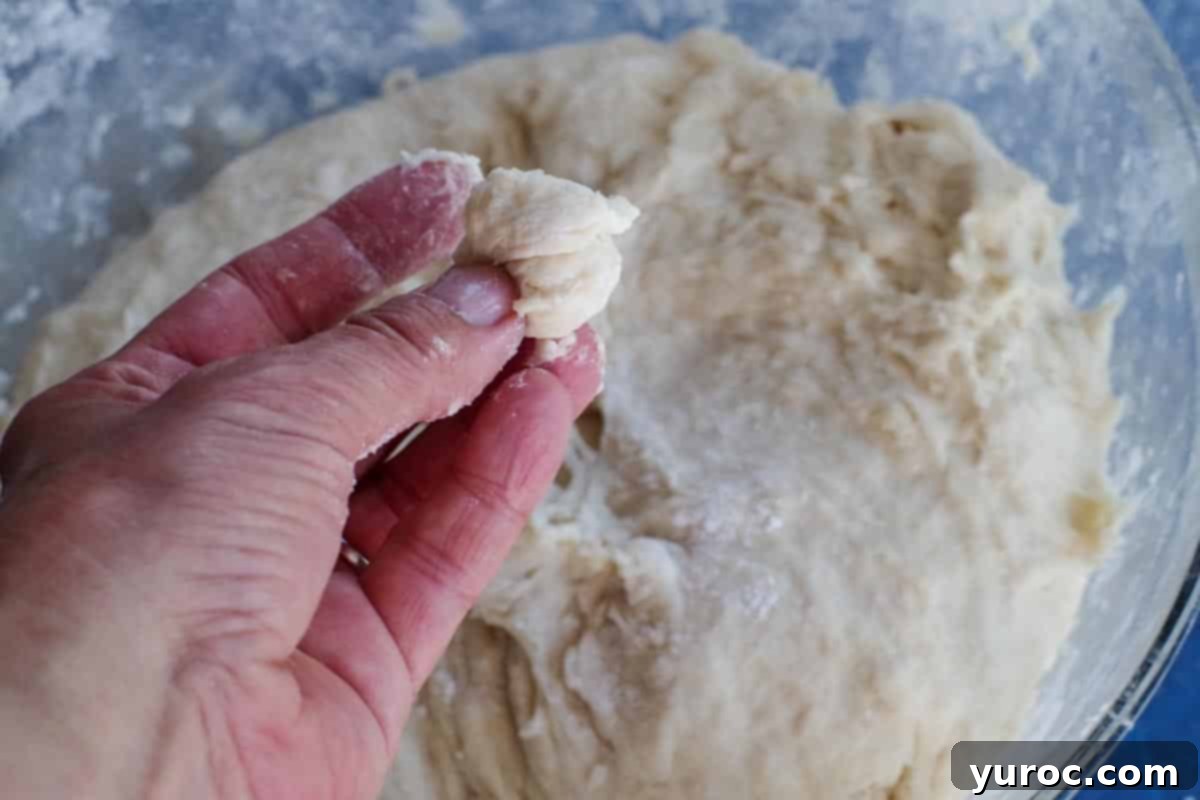
10. This is the ideal consistency for your Pampushky dough!
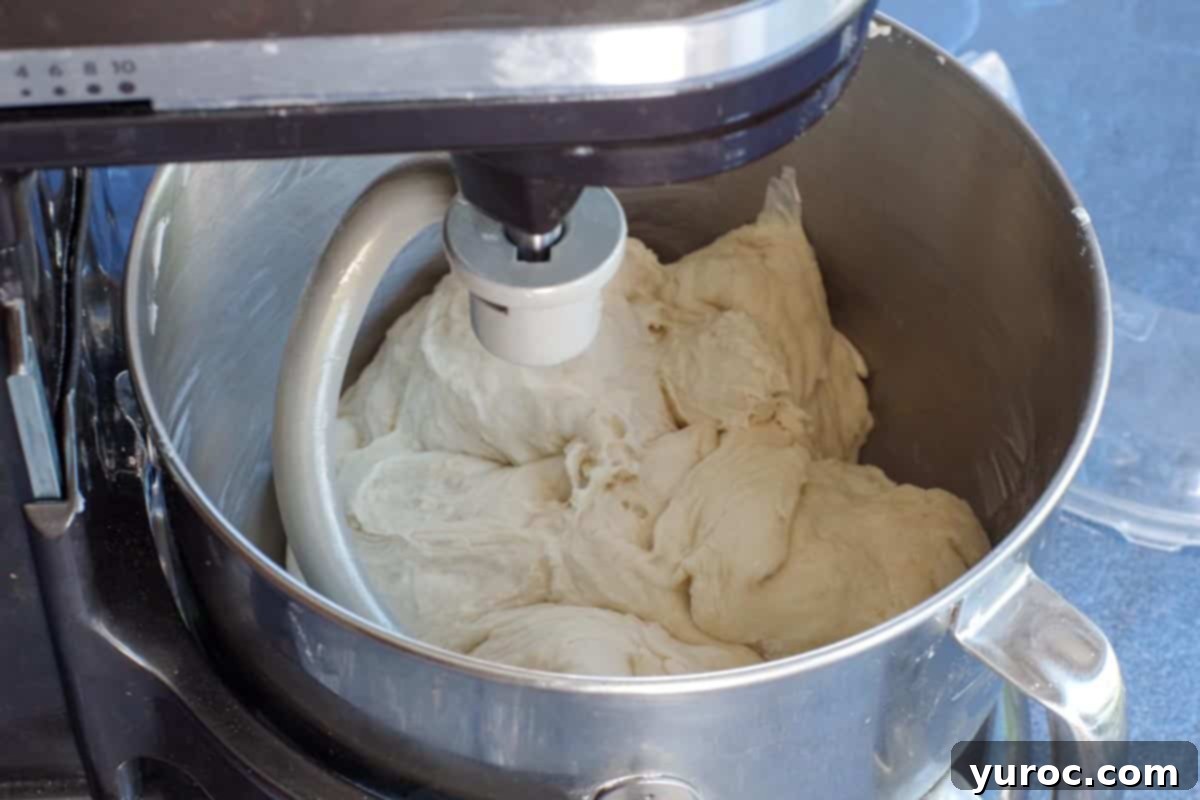
11. Transfer the dough to a lightly floured surface and knead by hand for about 15 minutes. *Alternatively, and highly recommended for saving effort, move the dough to the bowl of a stand mixer fitted with a dough hook attachment. Make sure to grease both the bowl and the hook with vegetable shortening before you begin kneading. Let the mixer do the hard work for you until the dough is smooth and elastic.
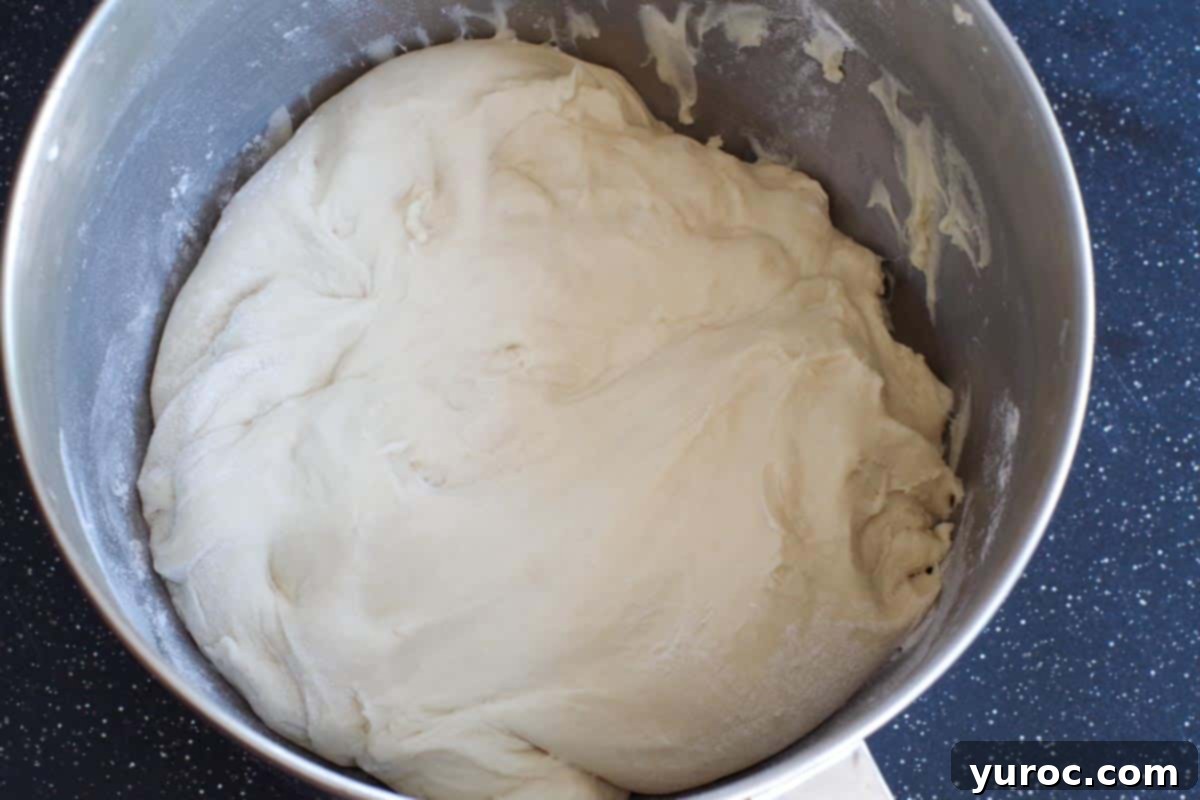
12. Place the kneaded dough into a greased bowl, cover it with a clean kitchen towel or plastic wrap, and allow it to rise in a warm, draft-free place.
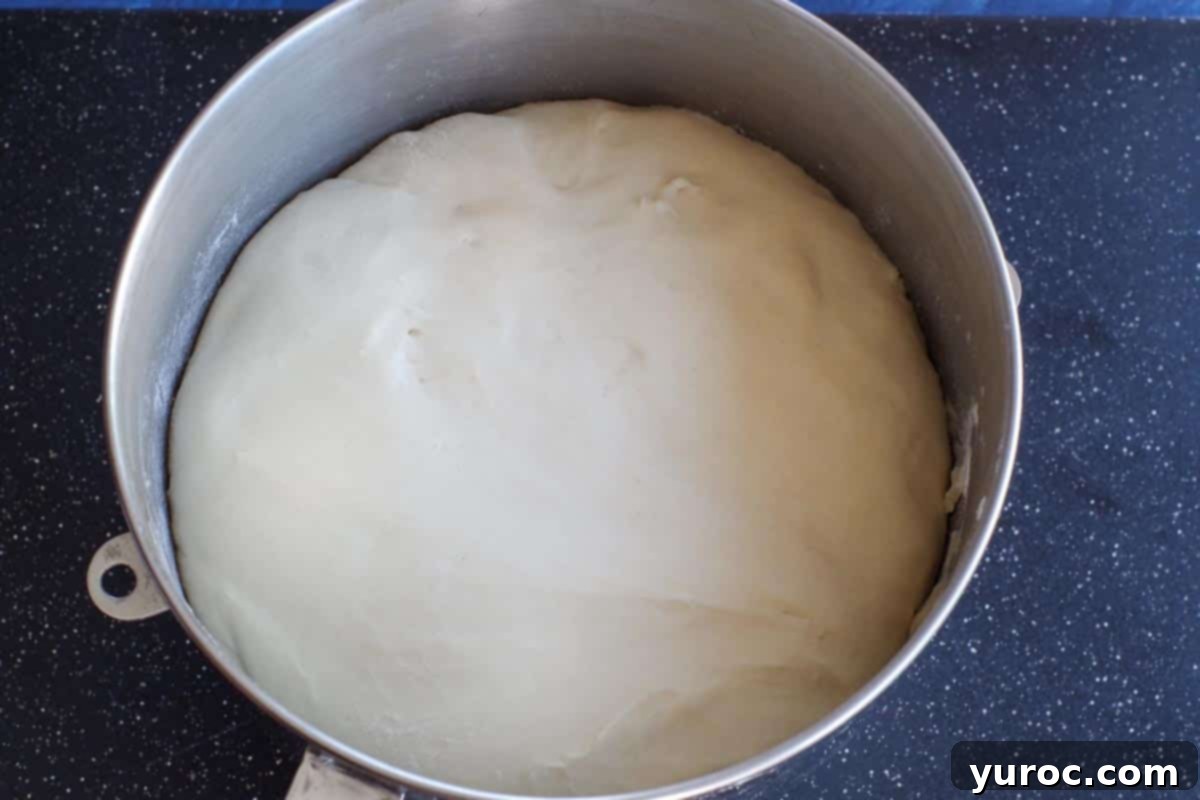
13. Let the dough rise until it has almost doubled in size. This typically takes about 45 minutes, but it can vary depending on the warmth of your environment.
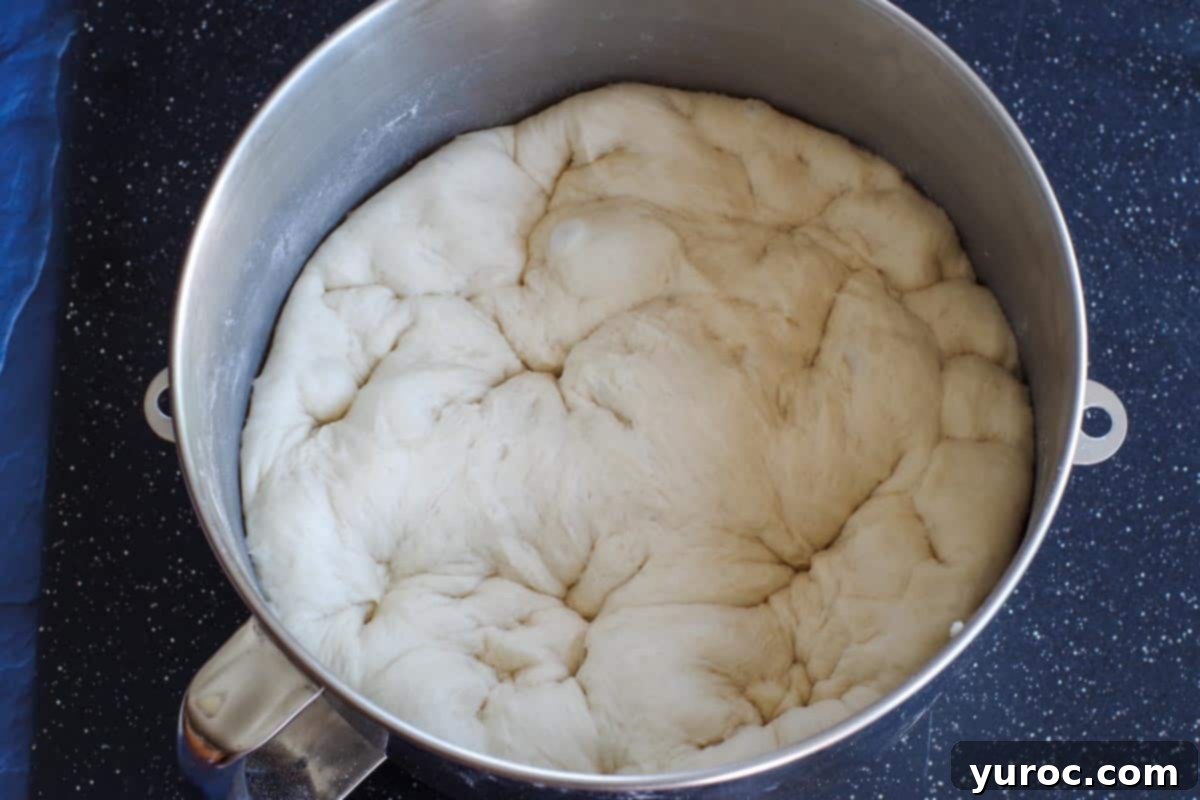
14. Gently punch down the risen dough to release the air and return it to its original size.
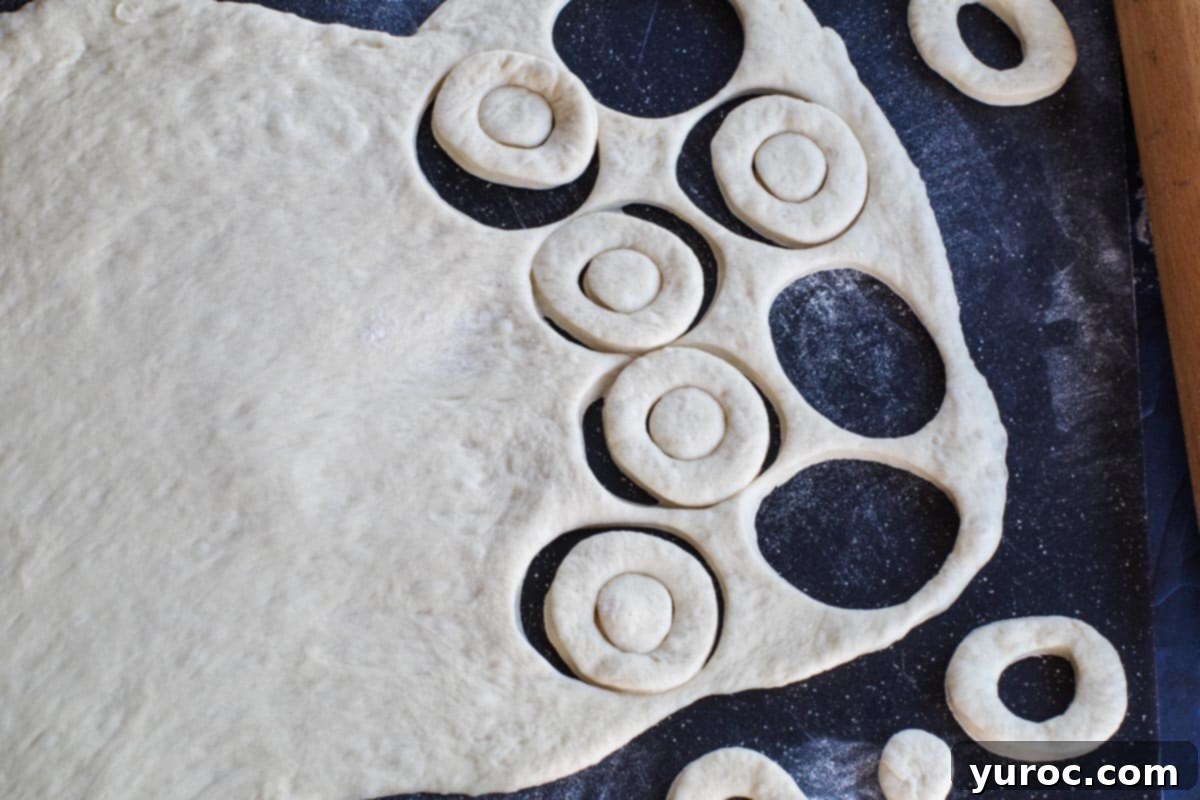
15. On a lightly floured surface, roll out the dough to an even thickness of approximately ½ an inch. Use a mini doughnut cutter to cut out the individual doughnuts and their holes.
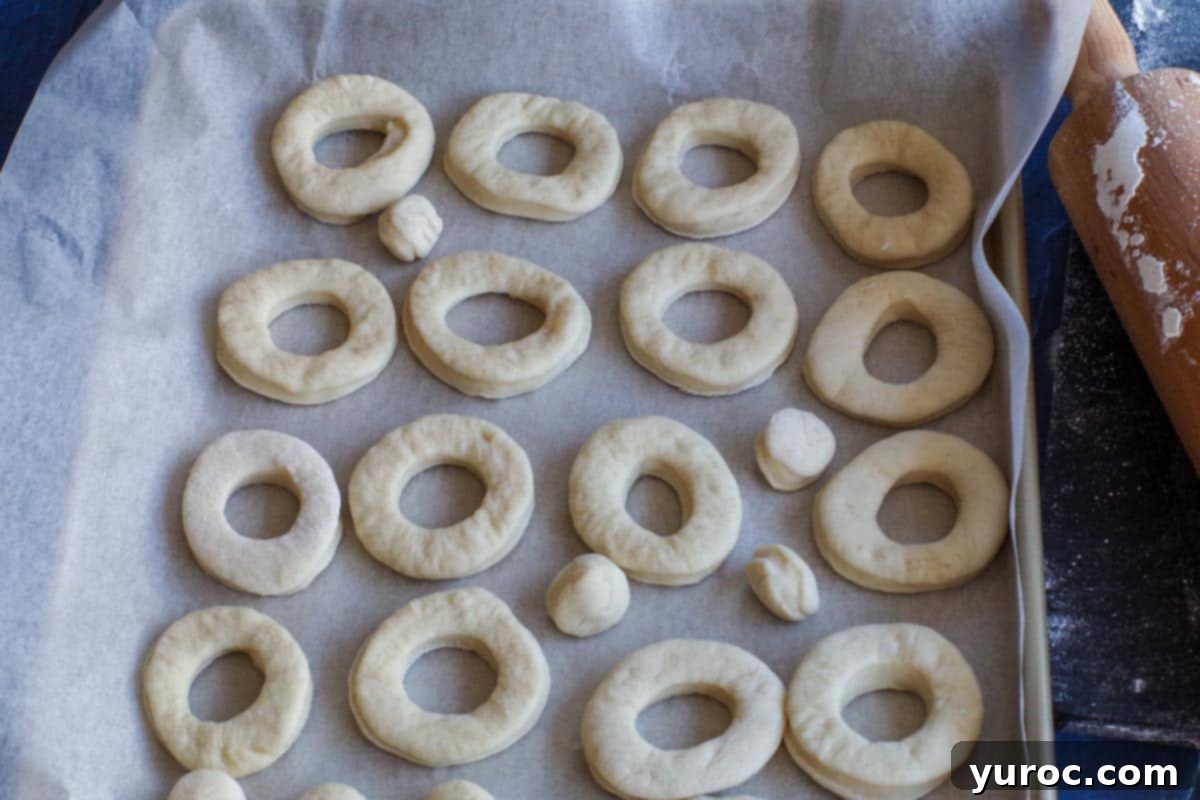
16. Carefully place the cut doughnuts and doughnut holes onto a baking sheet lined with parchment paper, ensuring enough space between them for a second rise.
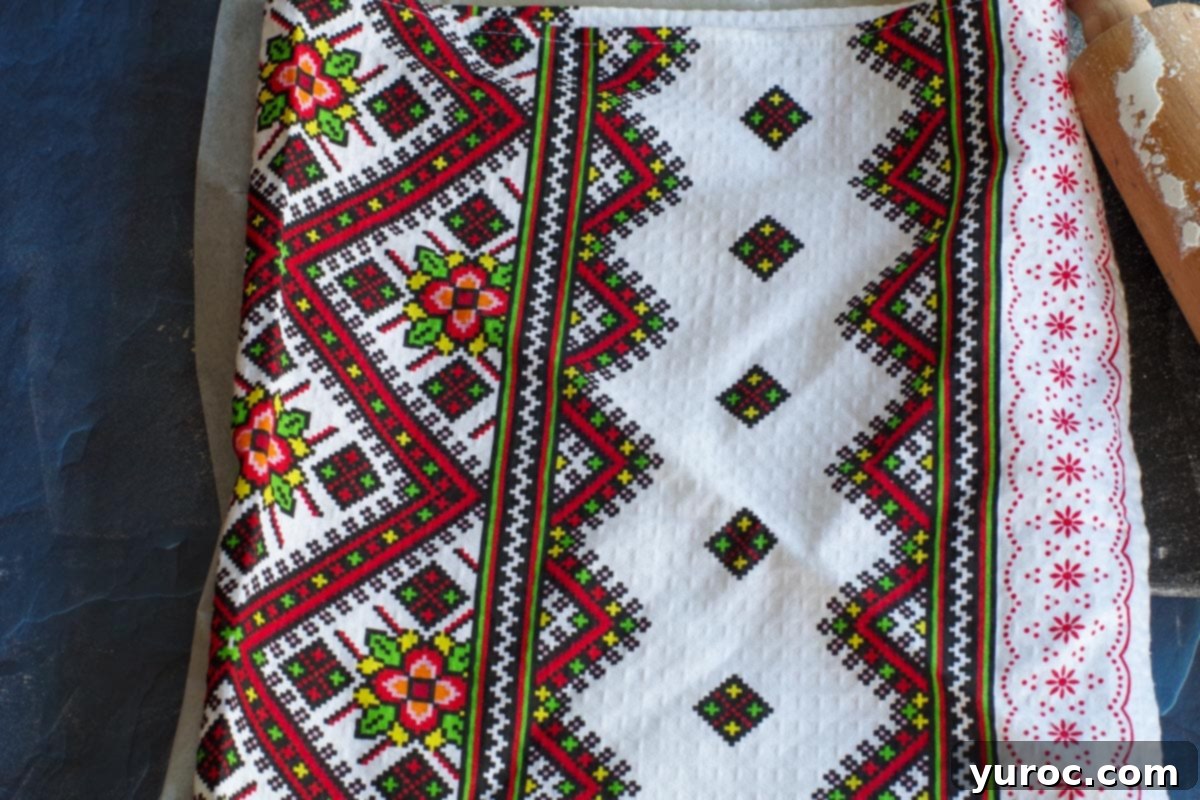
17. Cover the baking sheet with a clean tea towel and let the doughnuts rise again for another 40-45 minutes. They should appear visibly puffy.
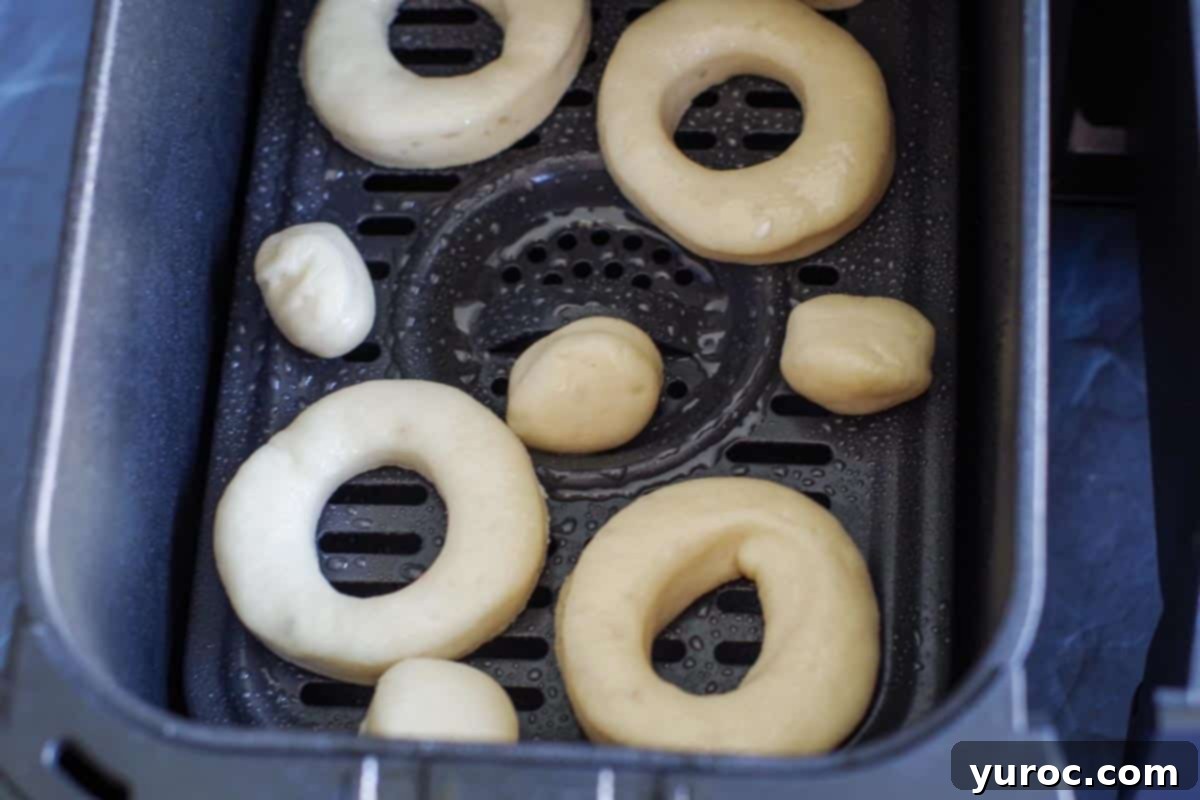
18. **Air Fryer Method (highly recommended and shown):** Lightly spray both the air fryer basket and the risen doughnuts (and holes) with a little cooking oil. Cook at 350°F (174°C) for approximately 3 minutes, or until golden brown and cooked through. Depending on your air fryer, you may need to flip them halfway through.
19. **Deep Fryer Method:** Melt the vegetable shortening in your deep fryer to the appropriate fill level. Heat the deep fryer to 375°F (190°C). When the oil is ready, carefully add 3-5 doughnuts and a few doughnut holes to the basket. Lower the basket into the hot oil, place the lid on, and cook for about 1 minute. Lift the basket, carefully turn the doughnuts over with tongs, and repeat the cooking process until they are evenly golden brown. (****For stovetop frying without a deep fryer, please refer to the “Notes” section in the full recipe below, though I strongly advise against this method for safety reasons.)
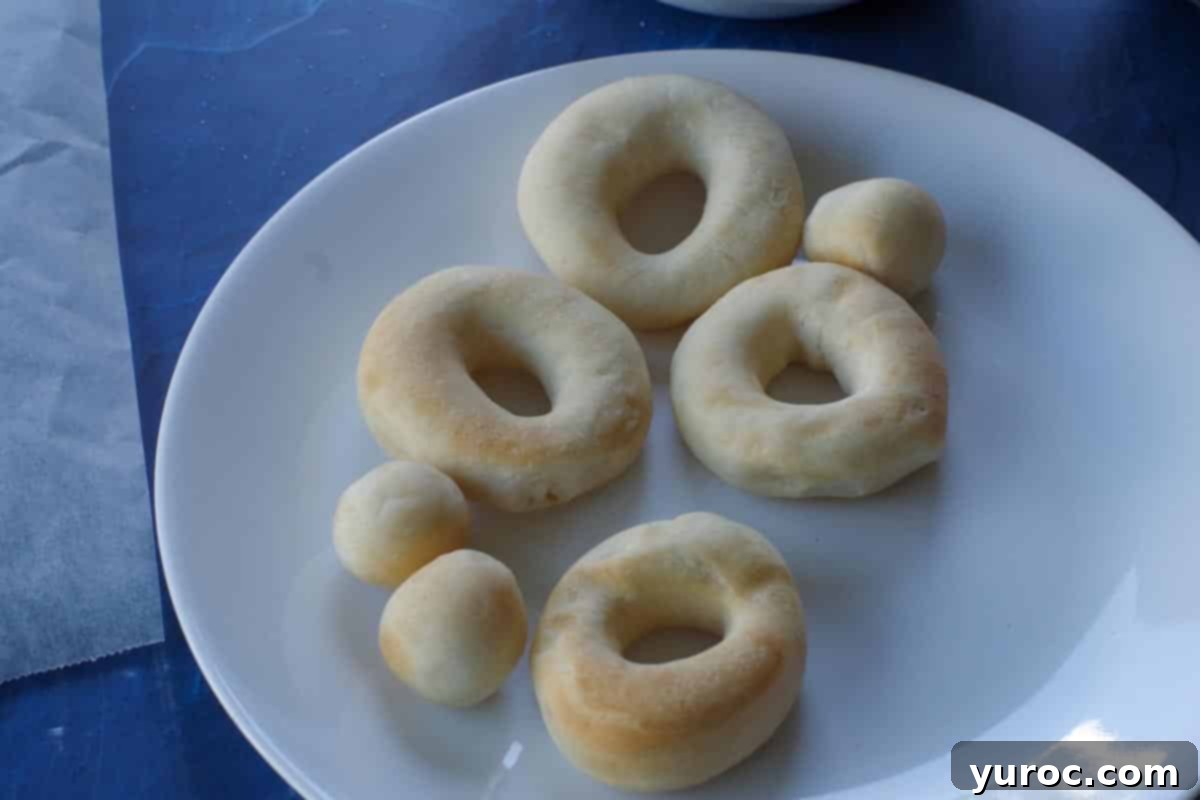
20. Once the doughnuts are a beautiful golden brown and cooked through, remove them from the air fryer or deep fryer. Place them on a plate lined with paper towels (if deep-fried) or a parchment-lined cookie sheet (if air-fried) to cool slightly.
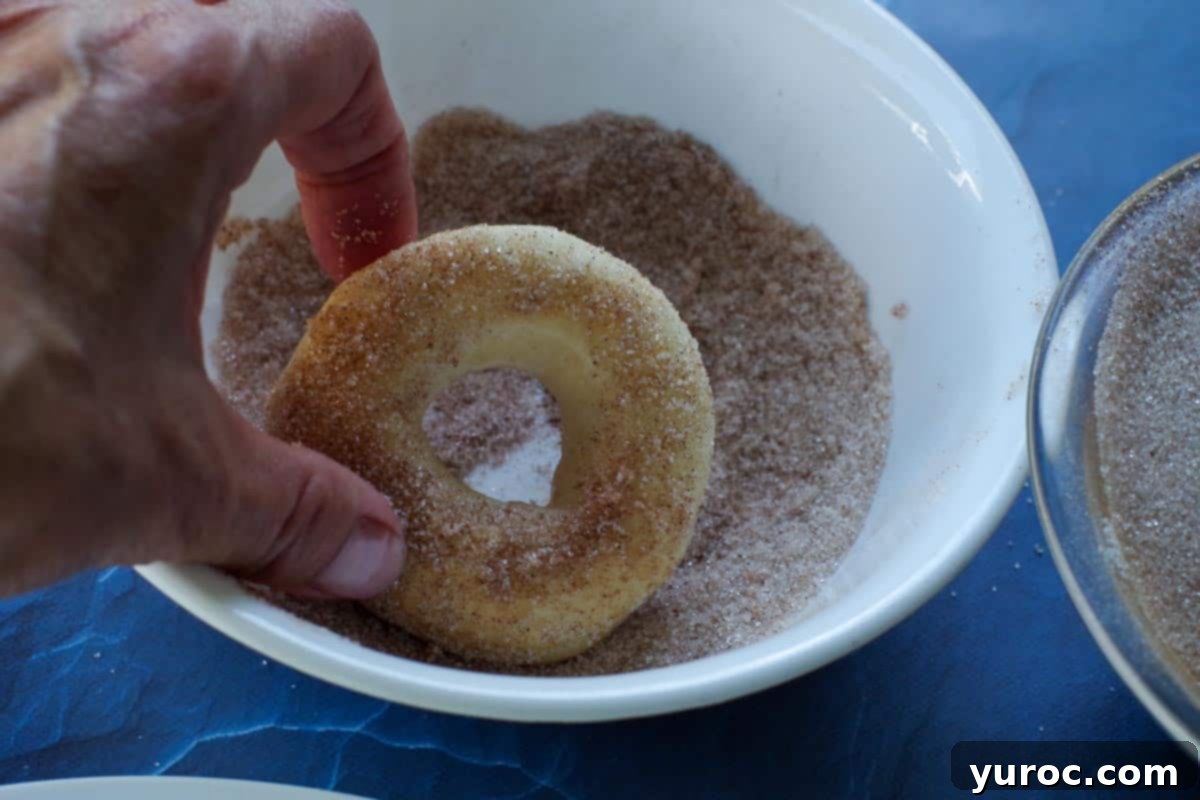
21. **Topping:** In a shallow bowl, mix 1 cup of white granulated sugar with 4 teaspoons of ground cinnamon. While the doughnuts are still warm, gently roll them in this delightful cinnamon sugar mixture until they are thoroughly coated. *See the “Hint” below for a tip on ensuring the topping sticks well.
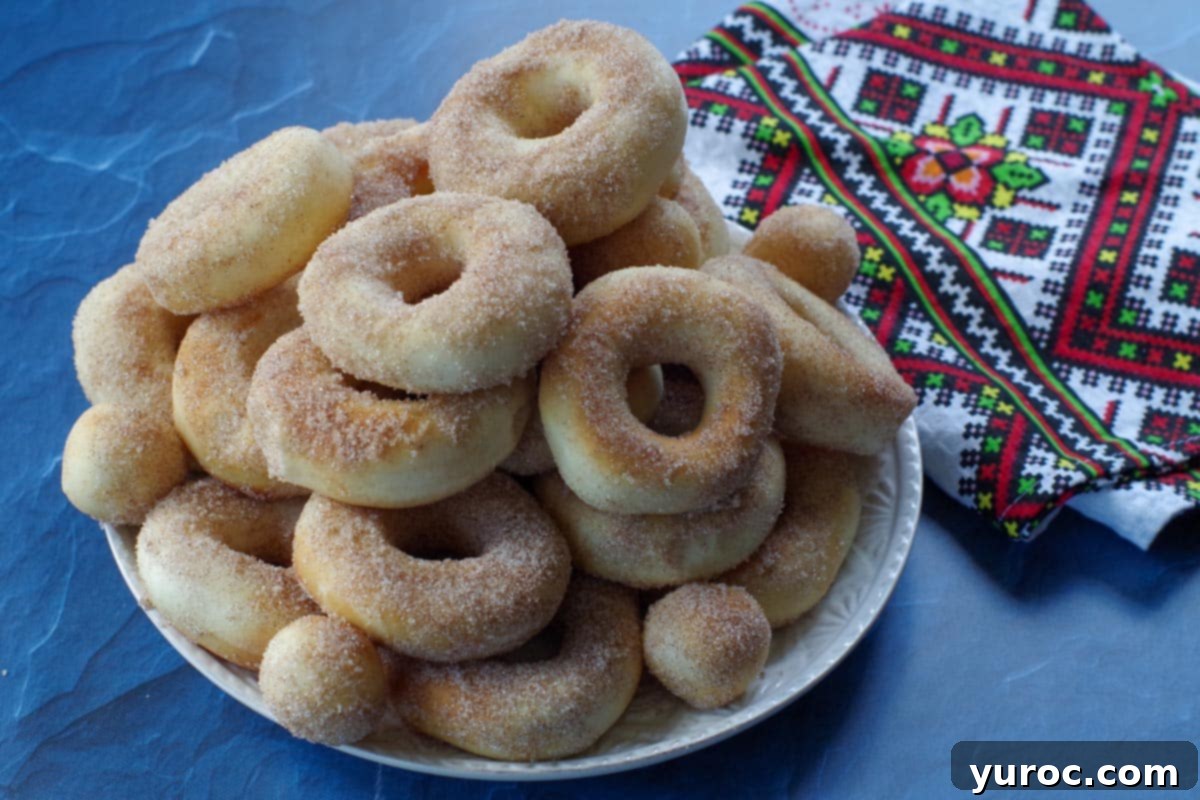
22. Serve your Pampushky warm for the best experience, though they are also delicious cold. *Cooked doughnuts can be frozen for up to 4 months in an airtight freezer bag for later enjoyment.
Hint: If you find the cinnamon sugar mixture isn’t adhering well to the doughnuts, give them another light spray of cooking oil before rolling. This will help the sugar crystals stick.
📖 Variations & Substitutions for Pampushky
While this recipe preserves the traditional spirit of my Baba’s Pampushky, there are a few practical variations and substitutions you can consider:
- Oil: I recommend using a mild-flavored oil such as vegetable or canola oil for this recipe. While olive oil could technically be substituted, ensure it’s a light variety to avoid overpowering the delicate flavor of the doughnuts.
- Milk: I typically use 1% milk, but 2% or whole milk will also work beautifully, potentially adding a touch more richness to the dough.
- Lactose-Free or Dairy-Free: For those with dietary restrictions, feel free to use a lactose-free or any plant-based dairy-free milk alternative (like almond milk or soy milk) in equal measure. The yeast dough should still rise effectively.
- Toppings: While my Baba’s tradition and my preference is cinnamon sugar, some modern variations of Pampushky might feature other toppings like a light dusting of powdered sugar, a drizzle of honey, or even a simple lemon glaze. However, for an authentic taste of this recipe, stick to the cinnamon sugar!
🍽 Equipment for Making Ukrainian Doughnuts
Having the right tools can make your Pampushky-making experience much smoother and more enjoyable. My recent acquisition of an air fryer has been a game-changer, and I wholeheartedly recommend it for this recipe and many others.
The model I chose, after approximately nine months of thorough research (yes, I could have had a baby in that time, haha!), was a Ninja Foodi Dual Zone 2 Basket 8 qt. air fryer (affiliate link). Space is at a premium in my kitchen, and I needed an economical option that suited my family’s needs. I couldn’t be happier with this purchase; it’s honestly the best small appliance investment I’ve ever made! I use it for countless dishes, from tuna burgers and falafels to salmon, chicken, and various potato dishes. It has even allowed me to retire my deep fryer, as I no longer need it. In addition to an air fryer, you will also need a mini doughnut cutter (affiliate link) to create those perfect bite-sized treats.
If you don’t own an air fryer and don’t plan on purchasing one, I would strongly recommend using a dedicated deep fryer (affiliate link) for this recipe. Cooking in a pot of oil on the stovetop is significantly less safe due to potential temperature fluctuations and splash risks. While my Baba used to fry her Pampushky that way (safe deep fryers weren’t available then!), I do NOT recommend it. However, if you choose to proceed with stovetop frying, detailed instructions are provided in the “Notes” section of the recipe below for utmost caution.
👪 Serving Size & Preparation Tips
This Pampushky recipe yields a generous amount of doughnuts – my count typically comes in at around 88 mini doughnuts! This means you’ll have plenty to share, or even to enjoy over an extended period. You have a couple of options for managing this large batch:
- You can choose to prepare the entire recipe and cook all the doughnuts. Any extra cooked doughnuts can then be easily frozen for future enjoyment.
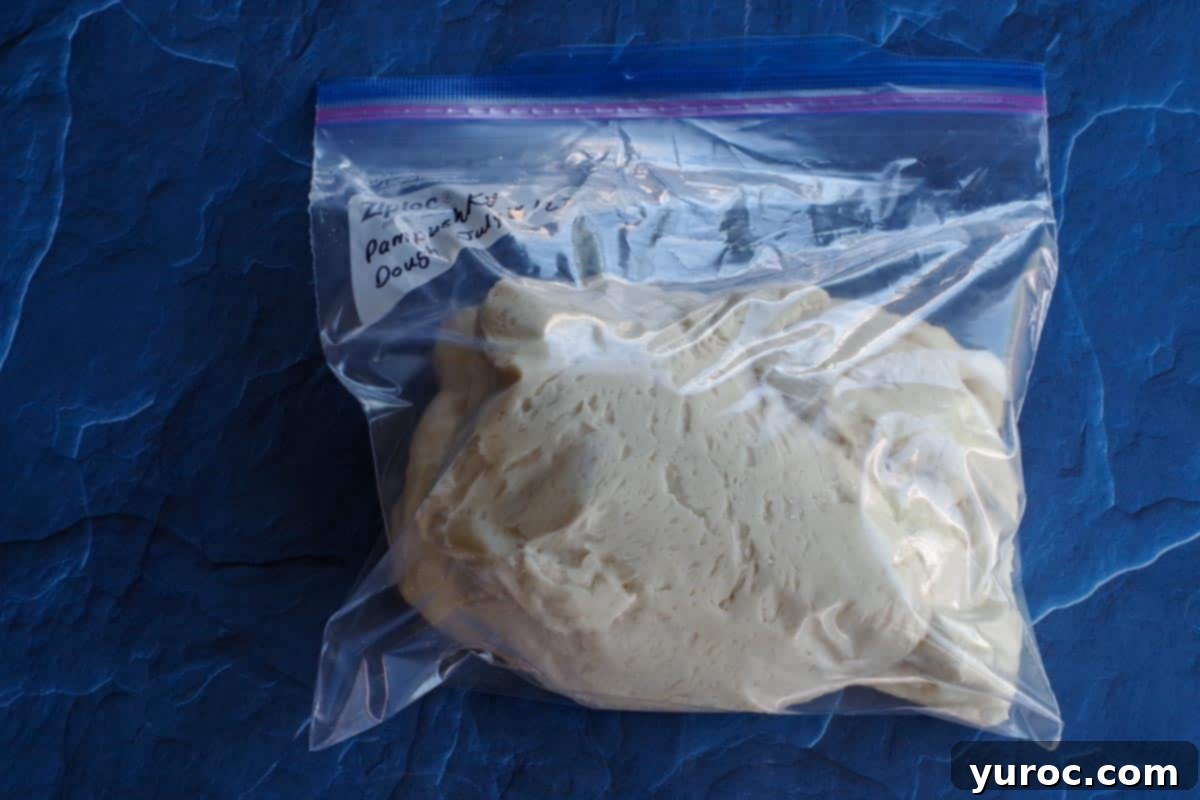
- Alternatively, you can opt to freeze half of the prepared dough before the second rise. This is a method I frequently employ, as it allows me to have fresh Pampushky on hand whenever the craving strikes without the full preparation time each time.
🌡️ Storing and Freezing Ukrainian Doughnuts
One of the great advantages of this Pampushky recipe is how well both the cooked doughnuts and the raw dough can be stored, ensuring you can enjoy these Ukrainian treats long after you’ve made them.
Freezing Cooked Doughnuts: Once your Pampushky are cooked and cooled, they freeze exceptionally well. Simply place them in airtight Ziplock freezer bags or sealed containers. They will maintain their delicious quality for up to 4 months. To reheat, you can gently warm them in an oven or air fryer until soft and fragrant, or simply thaw and enjoy at room temperature. A quick spray with oil and a minute or two in the air fryer can bring back some of that freshly fried crispness.
Freezing Raw Dough: The prepared dough is also suitable for freezing, which is a fantastic time-saver. You can freeze the dough for up to 6 months. I typically store it in a Ziplock freezer bag. When you’re ready to use it, ensure the dough is completely defrosted and brought back to room temperature before you begin working with it. This slow thawing process (ideally overnight in the refrigerator, then an hour or two on the counter) is crucial for the yeast to reactivate properly and for the dough to achieve its desired light and fluffy texture.
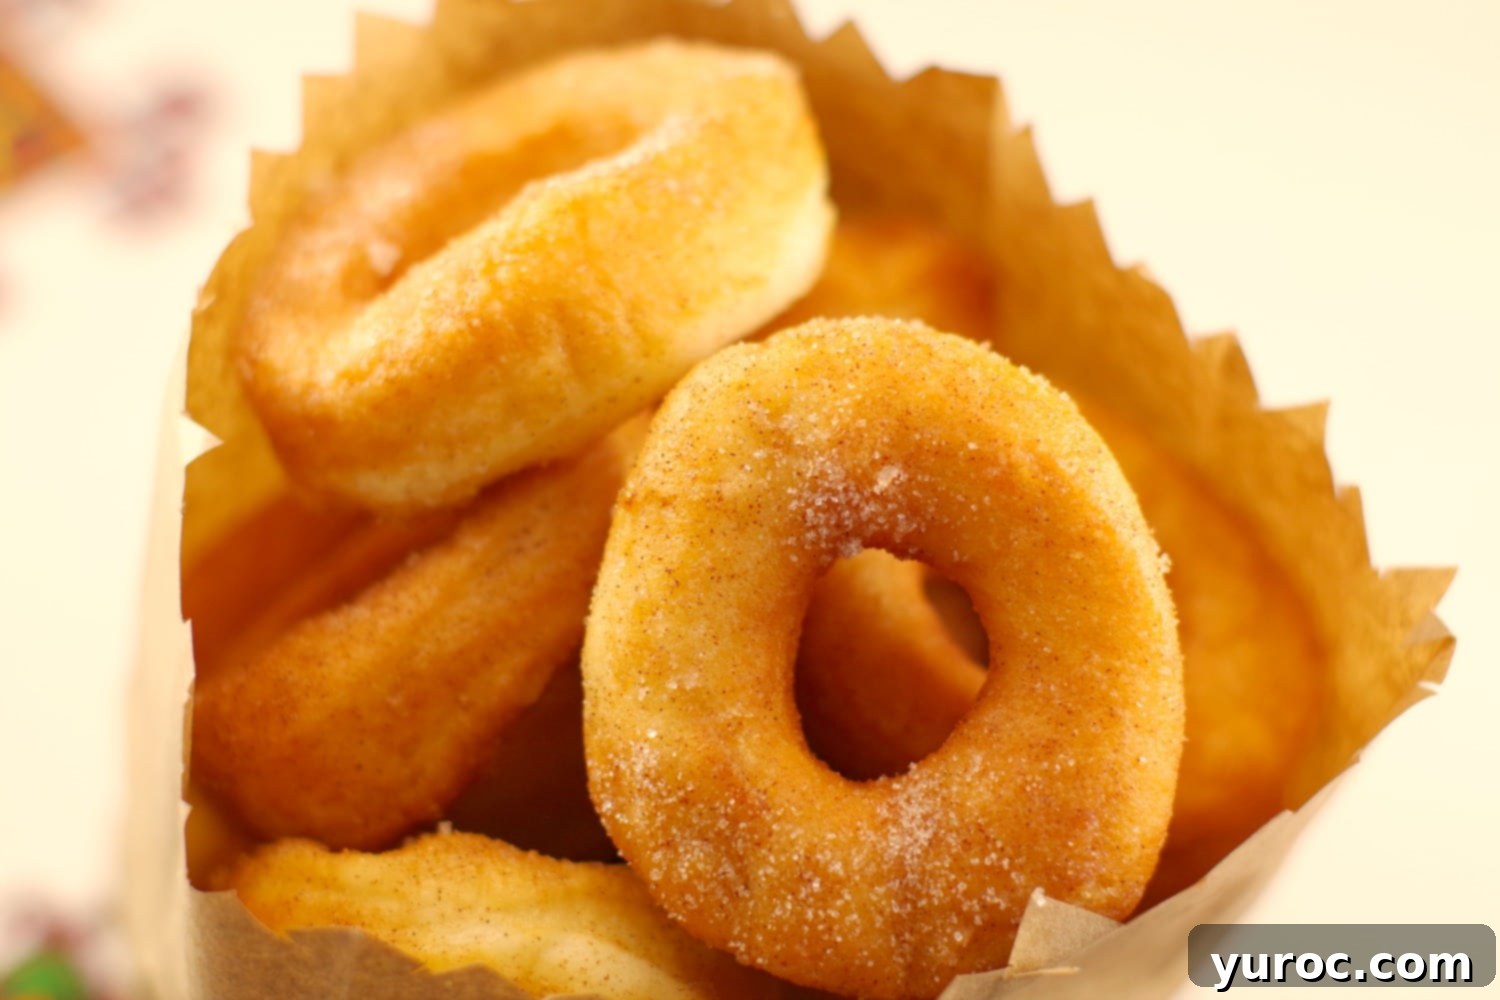
My kids have reached an age where they no longer clamor to go to the Stampede Parade, and while there’s a touch of sadness in seeing them grow up, I admit I’m also relieved to no longer have to brave those early mornings. Yet, Stampede week in Calgary still means one unwavering thing in my household: homemade mini doughnuts! The tradition of making Pampushky has endured, demonstrating the powerful and persistent nature of food traditions within a family. They seem to survive and thrive, no matter how much time passes.
Although these traditional Ukrainian doughnuts do require a significant time commitment to prepare, my love for them is so profound that making them every year feels less like a sacrifice and more like a cherished ritual. I’ve experimented with other homemade doughnut recipes – quicker ones, or “healthier” baked versions – but none quite capture the authentic taste and delightful texture of these Pampushky. This recipe, while taking a good couple of hours from start to finish, is surprisingly easy to follow and, trust me, it is immensely rewarding. The light, airy consistency and the sweet cinnamon sugar coating are absolutely worth every minute of your time and effort!
Indeed, these are the things we lovingly create, often with a little extra effort, for the simple joy they bring. So, if you’re searching for an authentic, incredibly delicious Ukrainian dessert that carries a rich history and a comforting taste of home, you will absolutely adore this Pampushky recipe!
⭐ Reviews & Social Media
Did you make this recipe? We’d love to hear from you! Please RATE THE RECIPE below and share your experience!
Don’t forget to SUBSCRIBE to get my FREE E-cookbook and be sure to FOLLOW ME on FACEBOOK, TWITTER, INSTAGRAM, and PINTEREST!
🍩 Pampushky – Ukrainian Doughnuts
This Pampushky (Ukrainian Doughnut) recipe creates light and airy raised doughnuts, traditionally made without filling. These authentic Ukrainian donuts are presented here as modern mini (Stampede-style) doughnuts, generously sprinkled with cinnamon and sugar, just the way my Baba used to prepare them during my childhood.
Overall Rating: 5 from 1 vote
Print Recipe | Pin Recipe | Save Recipe | Rate This Recipe
Course: Dessert, Snack | Cuisine: Ukrainian | Special Diet: Vegetarian
Servings: 88 doughnuts | Calories: 164kcal | Author: Terri Gilson
Prep Time: 1 hour 30 minutes | Cook Time: 30 minutes | Total Time: 2 hours
Ingredients
Dough:
- 2 cups warm water
- ½ cup white granulated sugar
- 2 ¼ teaspoon traditional active dry yeast
- 2 whole large eggs
- ¾ cup vegetable oil
- ½ teaspoon salt
- 1 cup milk (1% or 2% recommended)
- 6 cups all-purpose flour
- 5 cups vegetable shortening for deep frying (approximately 2 ½ boxes, *only if deep frying)
Topping:
- 1 cup white granulated sugar
- 4 teaspoon cinnamon
(Unit system: US Customary – Metric)
Instructions
- Grease a large mixing bowl thoroughly and set it aside.
- In a separate bowl, dissolve the granulated sugar in warm water. Then, sprinkle the traditional yeast over the surface. Do NOT stir it yet.
- Allow the mixture to stand for 10 minutes, or until it begins to bubble and foam. Once active, stir the yeast mixture gently.
- In another bowl, beat the eggs with a whisk. Gradually add the salt and ¾ cup vegetable oil, continuing to beat until the mixture becomes lighter in color (about 2 minutes).
- Stir in the milk until combined.
- Add the activated yeast mixture to the wet ingredients.
- Gradually incorporate the all-purpose flour into the mixture. Mix into a smooth and soft dough, taking care not to overmix, which can lead to a tough texture. Start with a wooden spoon, then switch to using your hands for the remaining flour.
- Continue adding flour, a tablespoon at a time, until the dough is no longer sticky and pulls away cleanly from your hands. (Refer to images in the main content for correct consistency).
- Transfer the dough to a lightly floured surface and knead by hand for 15 minutes. Alternatively, use a stand mixer with a dough hook attachment; ensure the bowl and hook are greased first to prevent sticking.
- Place the kneaded dough in the greased bowl, cover, and let it rise in a warm, draft-free place.
- Allow the dough to rise until it has almost doubled in size, which typically takes about 45 minutes.
- Gently punch down the dough to its original size.
- On a lightly floured surface, roll out the dough to about ½ an inch thickness and cut into mini doughnuts using a doughnut cutter.
- Place the cut doughnuts and doughnut holes onto a parchment-covered baking sheet.
- Cover the baking sheet with a clean tea towel and let the doughnuts rise again for 40-45 minutes until visibly puffy.
- Air fryer method (recommended): Lightly spray the air fryer basket and doughnuts with cooking oil. Cook at 350°F (175°C) for 3 minutes, flipping halfway if necessary, until golden brown.
- Deep fryer method: Melt vegetable shortening in your deep fryer to the correct level. Heat the deep fryer to 375°F (190°C). When ready, add 3-5 doughnuts and a few doughnut holes to the basket, lower into the oil, and cook for approximately 1 minute. Lift the basket, turn the doughnuts with tongs, and repeat until golden brown.
- Once cooked and golden brown, remove the doughnuts and place them on a plate lined with paper towels (if deep-fried) or a parchment-lined cookie sheet (if air-fried) to cool slightly.
- Topping: In a shallow bowl, mix 1 cup of white granulated sugar and 4 teaspoons of cinnamon. While the doughnuts are still warm, roll them in the cinnamon sugar mixture until well coated.
- Serve warm or cold. Cooked doughnuts can be frozen in an airtight freezer bag for up to 6 months.
Notes
*See post content for important recipe tips and information!
💭NO deep fryer method (Use with extreme caution)
You can use a deep pot to fry the doughnuts in, but I do NOT recommend this due to safety concerns. Hot oil can be dangerous, with a higher risk of splashes and inconsistent temperatures. However, if you choose to use this method, follow these steps:
- Ensure the fat is deep enough to allow the doughnuts to float freely without touching the bottom.
- Heat the fat in a deep pan with a flat bottom to 375°F (190°C). Test the temperature by frying a doughnut hole for about a minute.
- Gently immerse the doughnuts into the hot fat one at a time, using long-handled tongs or a slotted spoon that has been greased by dipping it into the hot fat.
- Deep fry until they turn a golden brown, approximately 3 minutes. The doughnuts will rise to the top; turn them to brown the underside evenly.
- Remove with a slotted spoon and drain thoroughly on paper towels.
Nutrition
Calories: 164kcal (8%) | Carbohydrates: 10g (3%) | Protein: 1g (2%) | Fat: 13g (20%) | Saturated Fat: 4g (25%) | Sodium: 15mg (1%) | Potassium: 14mg | Sugar: 3g (3%) | Vitamin A: 5IU | Calcium: 5mg (1%) | Iron: 0.4mg (2%)
Did you make this recipe? Please leave a star rating and review below!
Rate this Recipe
📋 MORE UKRAINIAN RECIPES!
- Bread Maker Babka
- Ukrainian Breakfast Hash
- Ukrainian Shortcut Borscht Soup with Beef
- Perogy Zucchini Boats
- Scottish Style Ukrainian Cabbage Rolls (Meat and Rice Cabbage Rolls)
- Easy Pierogi Stuffed Mushrooms
- Pierogi Breakfast Casserole
- Loaded Pierogi Soup
- Ukrainian Style Eggs – Egg Dinner Recipe
- Ukrainian Daughter’s Crock Pot Casserole: An Easy Ukrainian Feast in One Pot
- Lazy Slow Cooker Cabbage Rolls
- Ukrainian Bento Box
