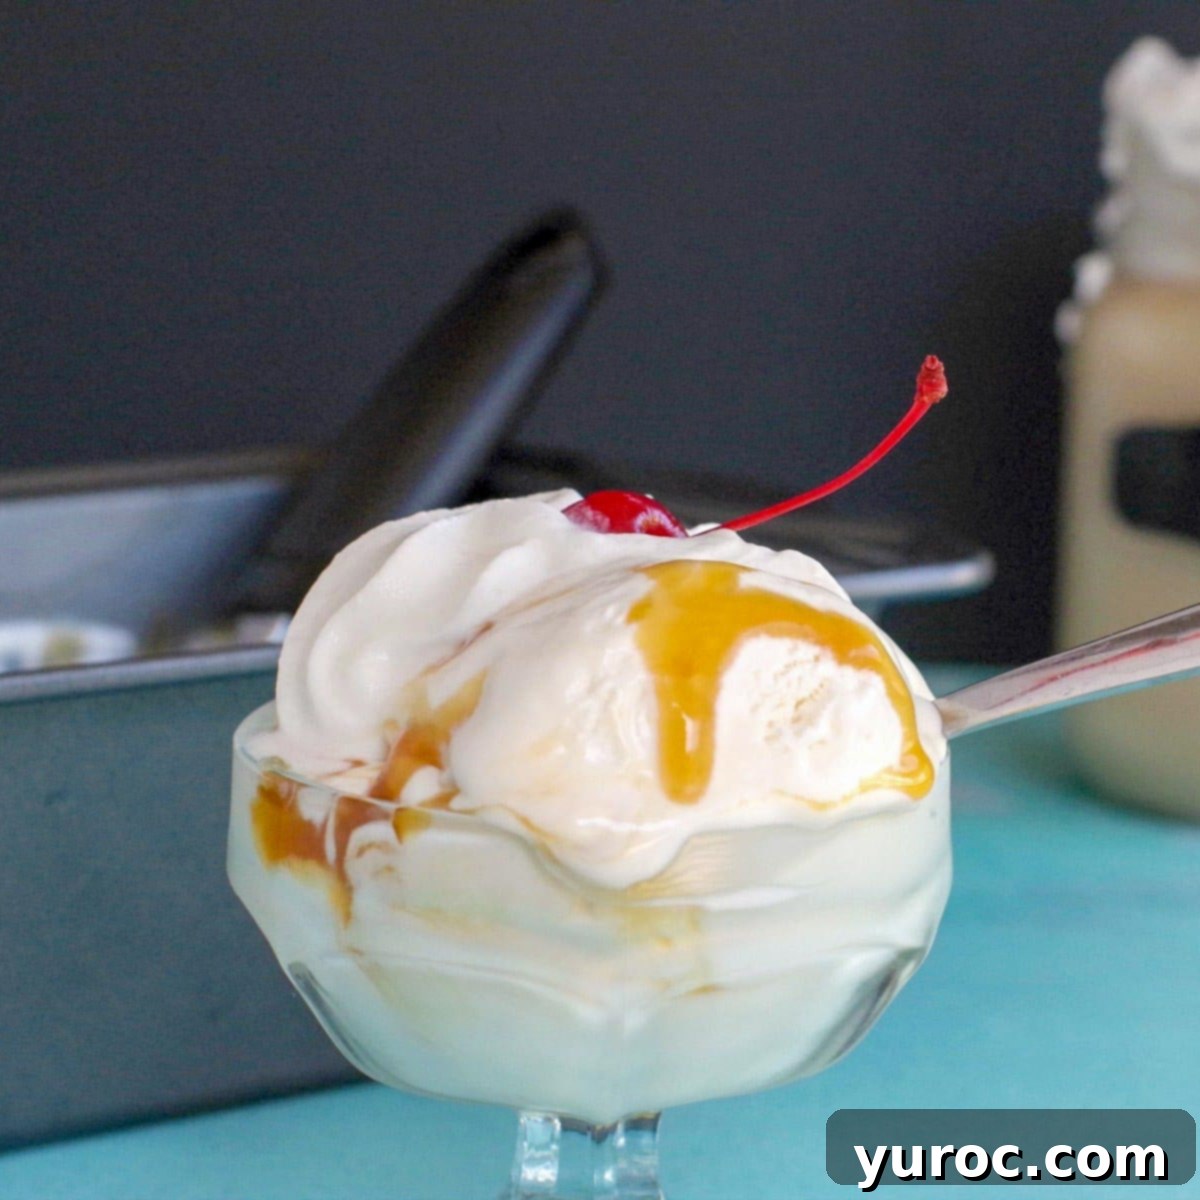
No-Churn Butterbeer Ice Cream: A Magical Harry Potter Treat (Calgary Stampede Inspired Recipe)
Welcome, fellow food adventurers and Harry Potter enthusiasts! I have a couple of confessions to make right from the start. First, despite being a fan of the magical world, I’ve never actually delved into a Harry Potter book. My journey through Hogwarts and beyond has been purely cinematic, experienced alongside my kids. And my second confession? Until recently, I had never tasted authentic Butterbeer. However, my life took a delicious turn last year at the Calgary Stampede when I tried their incredible Butterbeer Ice Cream. It was love at first scoop, and from that moment, recreating that enchanting flavor became my culinary quest.
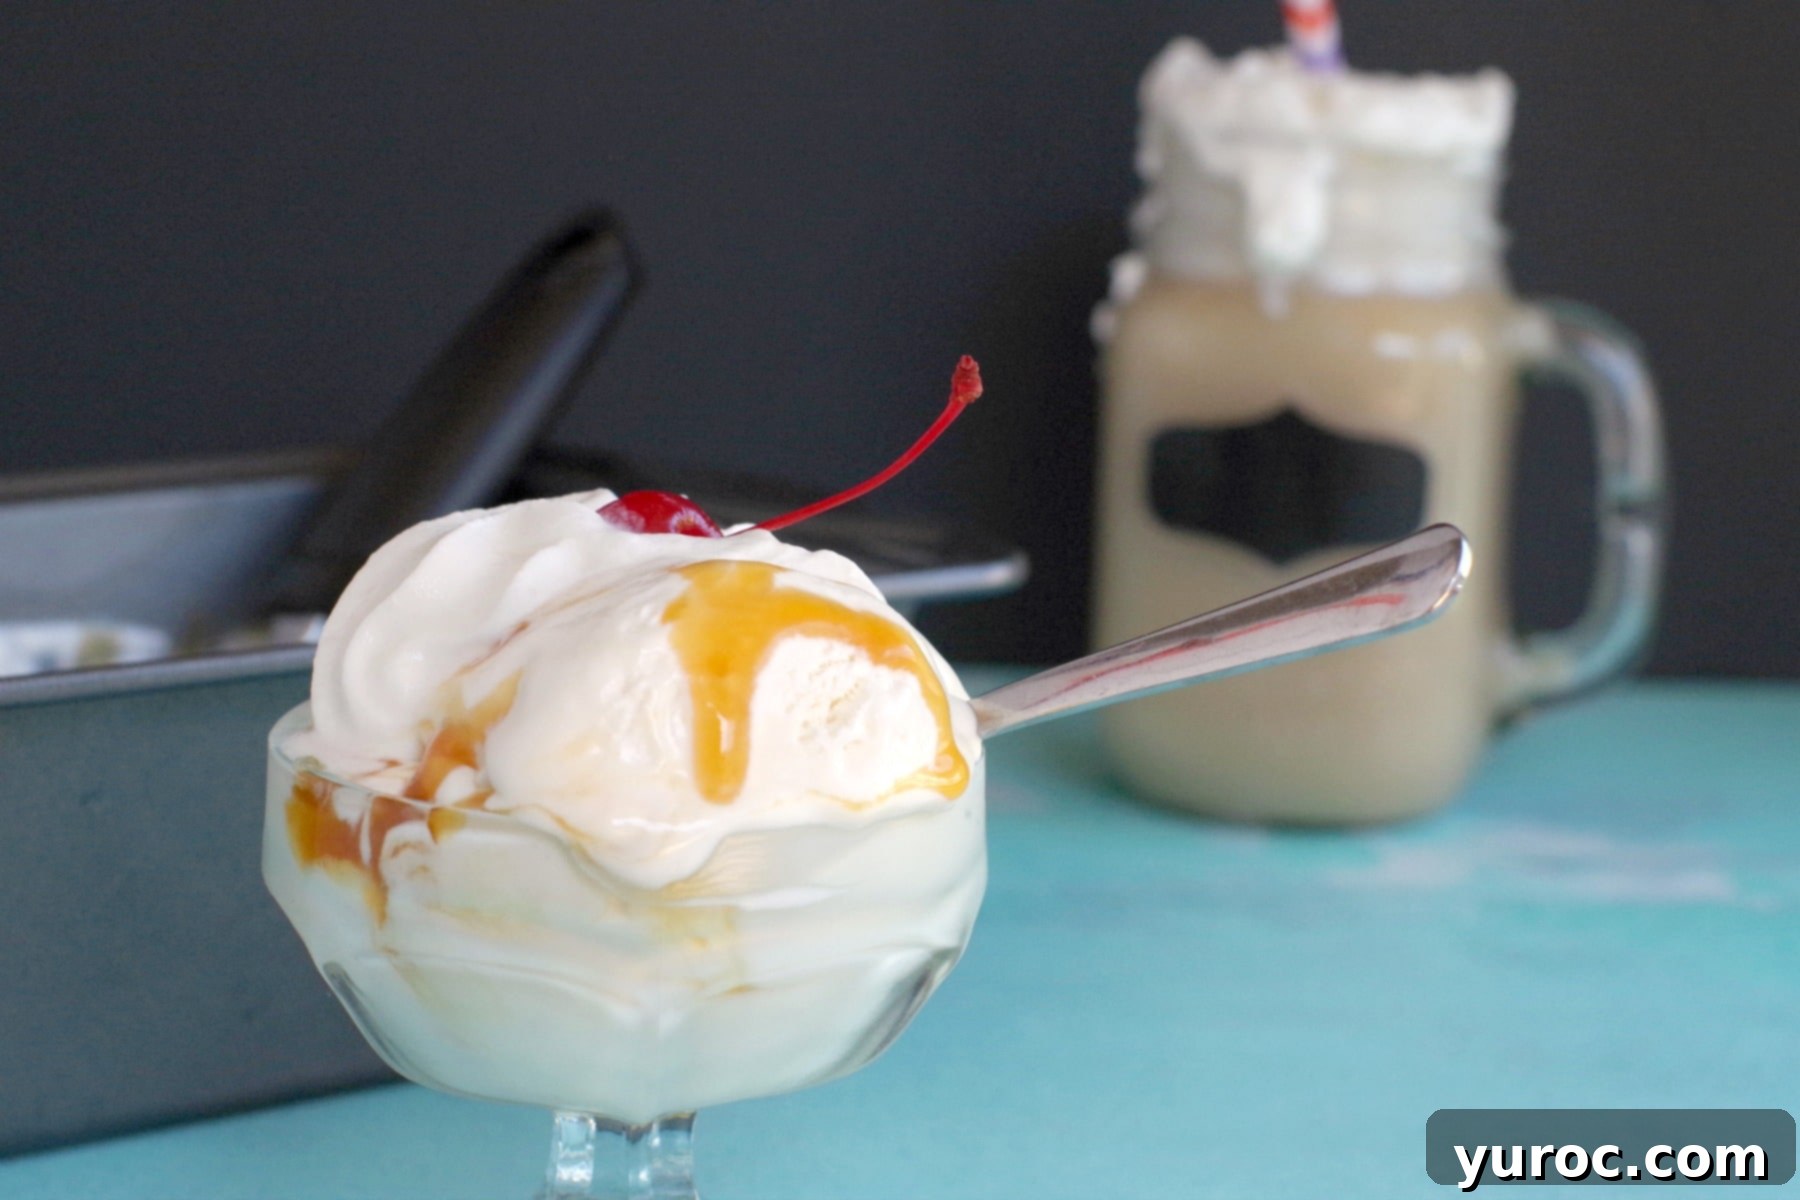
My mission led me to develop my own Butterbeer recipe, based on extensive research and my imagination of what this iconic wizarding beverage should taste like. While I may not be a certified “Butterbeer Sommelier,” I believe I’ve come pretty close to capturing its magic, and my discerning taste-testers heartily agreed! Now, I invite you to embark on this delightful journey yourself. This easy no-churn Butterbeer Ice Cream recipe is the perfect remedy for a carnival food craving – especially with events like the Stampede being on hold – or for adding an extra touch of enchantment to your next Harry Potter movie night. It’s a treat that will surely delight any Potterhead, young or old!
[feast_advanced_jump_to]
July typically means two wonderful things: indulging in refreshing ice cream and celebrating the spirit of the Calgary Stampede! Since this year’s Stampede has been a little different, I’m thrilled to share some of my favorite Stampede-inspired recipes you can whip up at home, including this heavenly Butterbeer Ice Cream. Keep an eye out for even more carnival food delights at the bottom of the recipe card!

The Quest for the Perfect Butterbeer Ice Cream
Crafting this frozen Butterbeer recipe wasn’t without its trials and tribulations. My first attempt involved a reduced cream soda, which, unfortunately, resulted in a less-than-ideal texture. While the flavor was there, the consistency just didn’t live up to the creamy dream I had envisioned. For my second and successful attempt, I streamlined the process, focusing on capturing the authentic Butterbeer taste using a combination of extracts. This method not only made the recipe incredibly easy and quick to prepare but also allowed for a precise balance of the rich, sweet, and slightly spiced notes that define Butterbeer.
If you’re wondering where to find these specific extract flavors, most well-stocked grocery stores carry them, but they are also readily available for order online, particularly from platforms like Amazon. Using these extracts is the secret to achieving that signature Butterbeer flavor profile with minimal effort, transforming a simple no-churn base into a truly magical dessert.
Essential Ingredients for Butterbeer Ice Cream
One of the beauties of this no-churn Butterbeer Ice Cream recipe is its simplicity, requiring just a few key ingredients to create a truly rich and flavorful treat. Each component plays a vital role in building that signature Butterbeer taste we all crave:
- **Sweetened Condensed Milk:** This forms the sweet, creamy base of our no-churn ice cream, providing both sweetness and a smooth texture without the need for an ice cream machine.
- **Heavy Whipping Cream (33-35%):** Also known as heavy cream, this is whipped to perfection, incorporating air and creating the light, fluffy body of the ice cream.
- **Butter Extract (affiliate link):** The star of the show, this extract delivers the distinctive buttery flavor that is quintessential to Butterbeer.
- **Vanilla Extract:** A classic complement, vanilla extract enhances the overall sweetness and adds a warm, aromatic depth.
- **Rum Extract:** While Butterbeer is non-alcoholic, a hint of rum extract provides a subtle complexity and richness, mimicking a traditional buttered rum flavor profile.
- **Caramel Extract:** This adds another layer of sweet, deep flavor, contributing to the butterscotch-like notes found in Butterbeer.
- **Salt:** A small pinch of salt balances the sweetness and brings out the full spectrum of flavors, preventing the ice cream from being overly cloying.
- **Butterscotch Sauce (Sundae Topping):** Essential for drizzling, this topping provides that familiar butterscotch swirl and additional sweetness.
- **Maraschino Cherries (Optional):** For a pop of color and a touch of classic ice cream parlor flair, though purely optional.
*Refer to the recipe card below for exact quantities and measurements.
Equipment for Your Potion
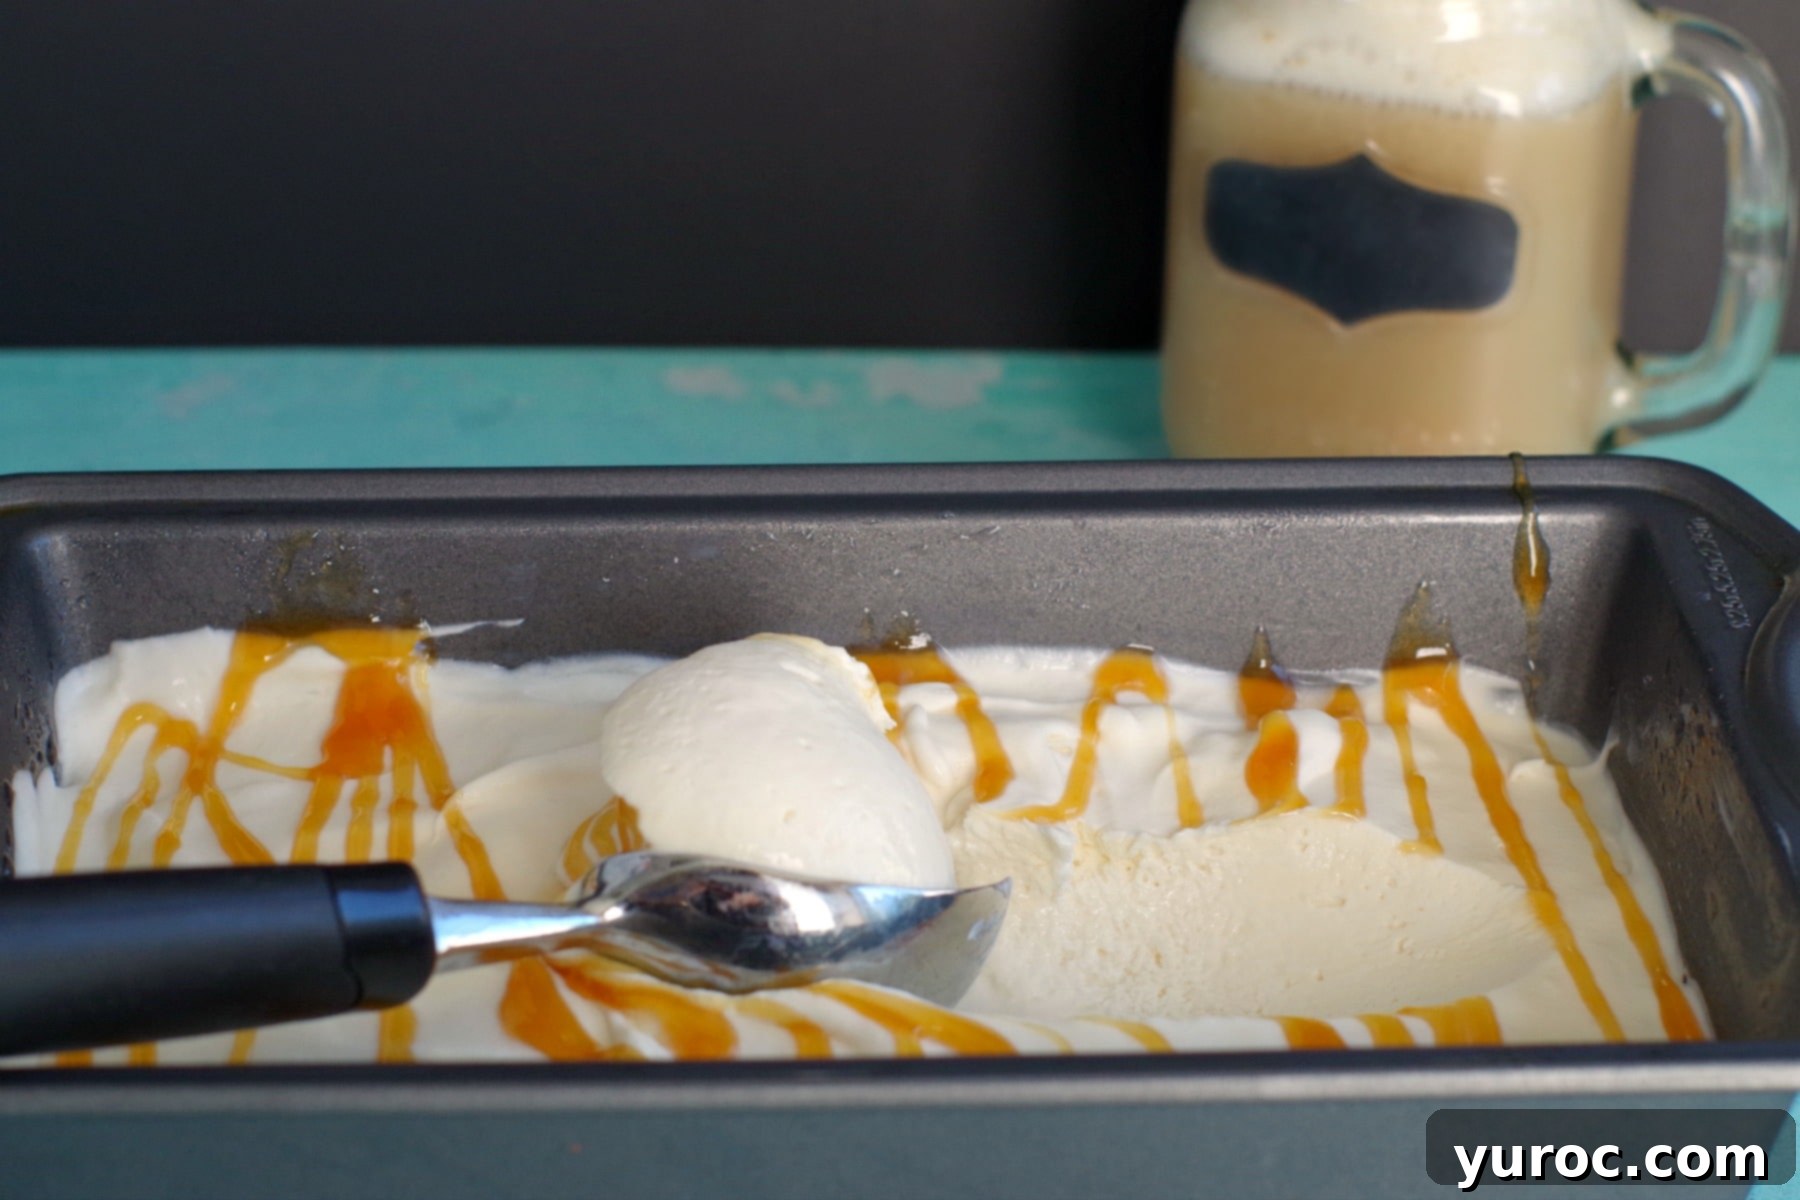
This “no-churn” recipe means you won’t need any specialized ice cream maker, making it accessible for everyone. I personally love making this recipe in a 9×5 loaf pan (affiliate link). It’s a kitchen staple that I always have on hand, fits perfectly in most freezers, and makes scooping incredibly easy. However, any large freezer-safe container with a lid will work just fine. An ice cream scoop (affiliate link) is certainly helpful for elegant servings, but don’t fret if you don’t own one; a regular spoon will do the trick just as well.
Crafting Your Concoction: Step-by-Step Instructions
How to Make Frozen Butterbeer
The true charm of no-churn ice cream lies in its simplicity and accessibility. You don’t need a fancy ice cream maker to create a rich, creamy, and wonderfully smooth frozen dessert right in your own kitchen! The magic happens through a straightforward combination of sweetened condensed milk and perfectly whipped heavy cream. This ingenious method results in an ice cream that boasts a velvety texture, remarkably similar to soft-serve, and a taste that is pure indulgence.
The process is incredibly easy: simply combine your whipped cream with the sweetened condensed milk and your chosen flavor extracts, then freeze the mixture overnight. That’s it! In just a few easy steps, you’ll have a delightful homemade treat ready to enjoy.
One important characteristic of homemade no-churn ice cream, however, is that it tends to melt a bit faster than its store-bought counterparts. This means it’s best enjoyed shortly after it’s removed from the freezer to savor its creamy perfection before it starts to soften too much.
Why Homemade Ice Cream Melts Faster
You might be wondering, “Why does homemade ice cream melt faster?” It’s a common observation, and there’s a good reason for it! Commercial ice creams typically contain a much higher proportion of air and fat, along with various stabilizers. Air acts as an insulator, helping to slow down the melting process, while fat contributes to the stability of the cream structure. Stabilizers and a higher percentage of solid ingredients also thicken the mixture, making it more resistant to melting once frozen. Most homemade ice cream recipes, especially no-churn versions, often contain less air, fat, and few, if any, commercial stabilizers or added solids. This natural composition is what gives homemade ice cream its wonderfully fresh and pure taste, but it also explains why it softens more quickly when brought out of the freezer. For a deeper dive into the science behind this, you can read more about why homemade ice cream recipes melt faster HERE.

A Taste of the Wizarding World: The Ultimate Butterbeer Experience
While I’m incredibly proud of my homemade Butterbeer Ice Cream, the adventurer in me still dreams of sampling other Butterbeer delights. I’d particularly love to try the famous Universal Studios Hollywood Butterbeer one day – just to compare and contrast the magical flavors! We certainly have plans to visit Universal Studios eventually, but like many travel plans and large-scale events such as the Calgary Stampede, our wizarding adventure is on hold until further notice due to the current global situation. Until then, my homemade version provides a perfect, comforting taste of that magical world, right here at home.
Serving Size and Customization
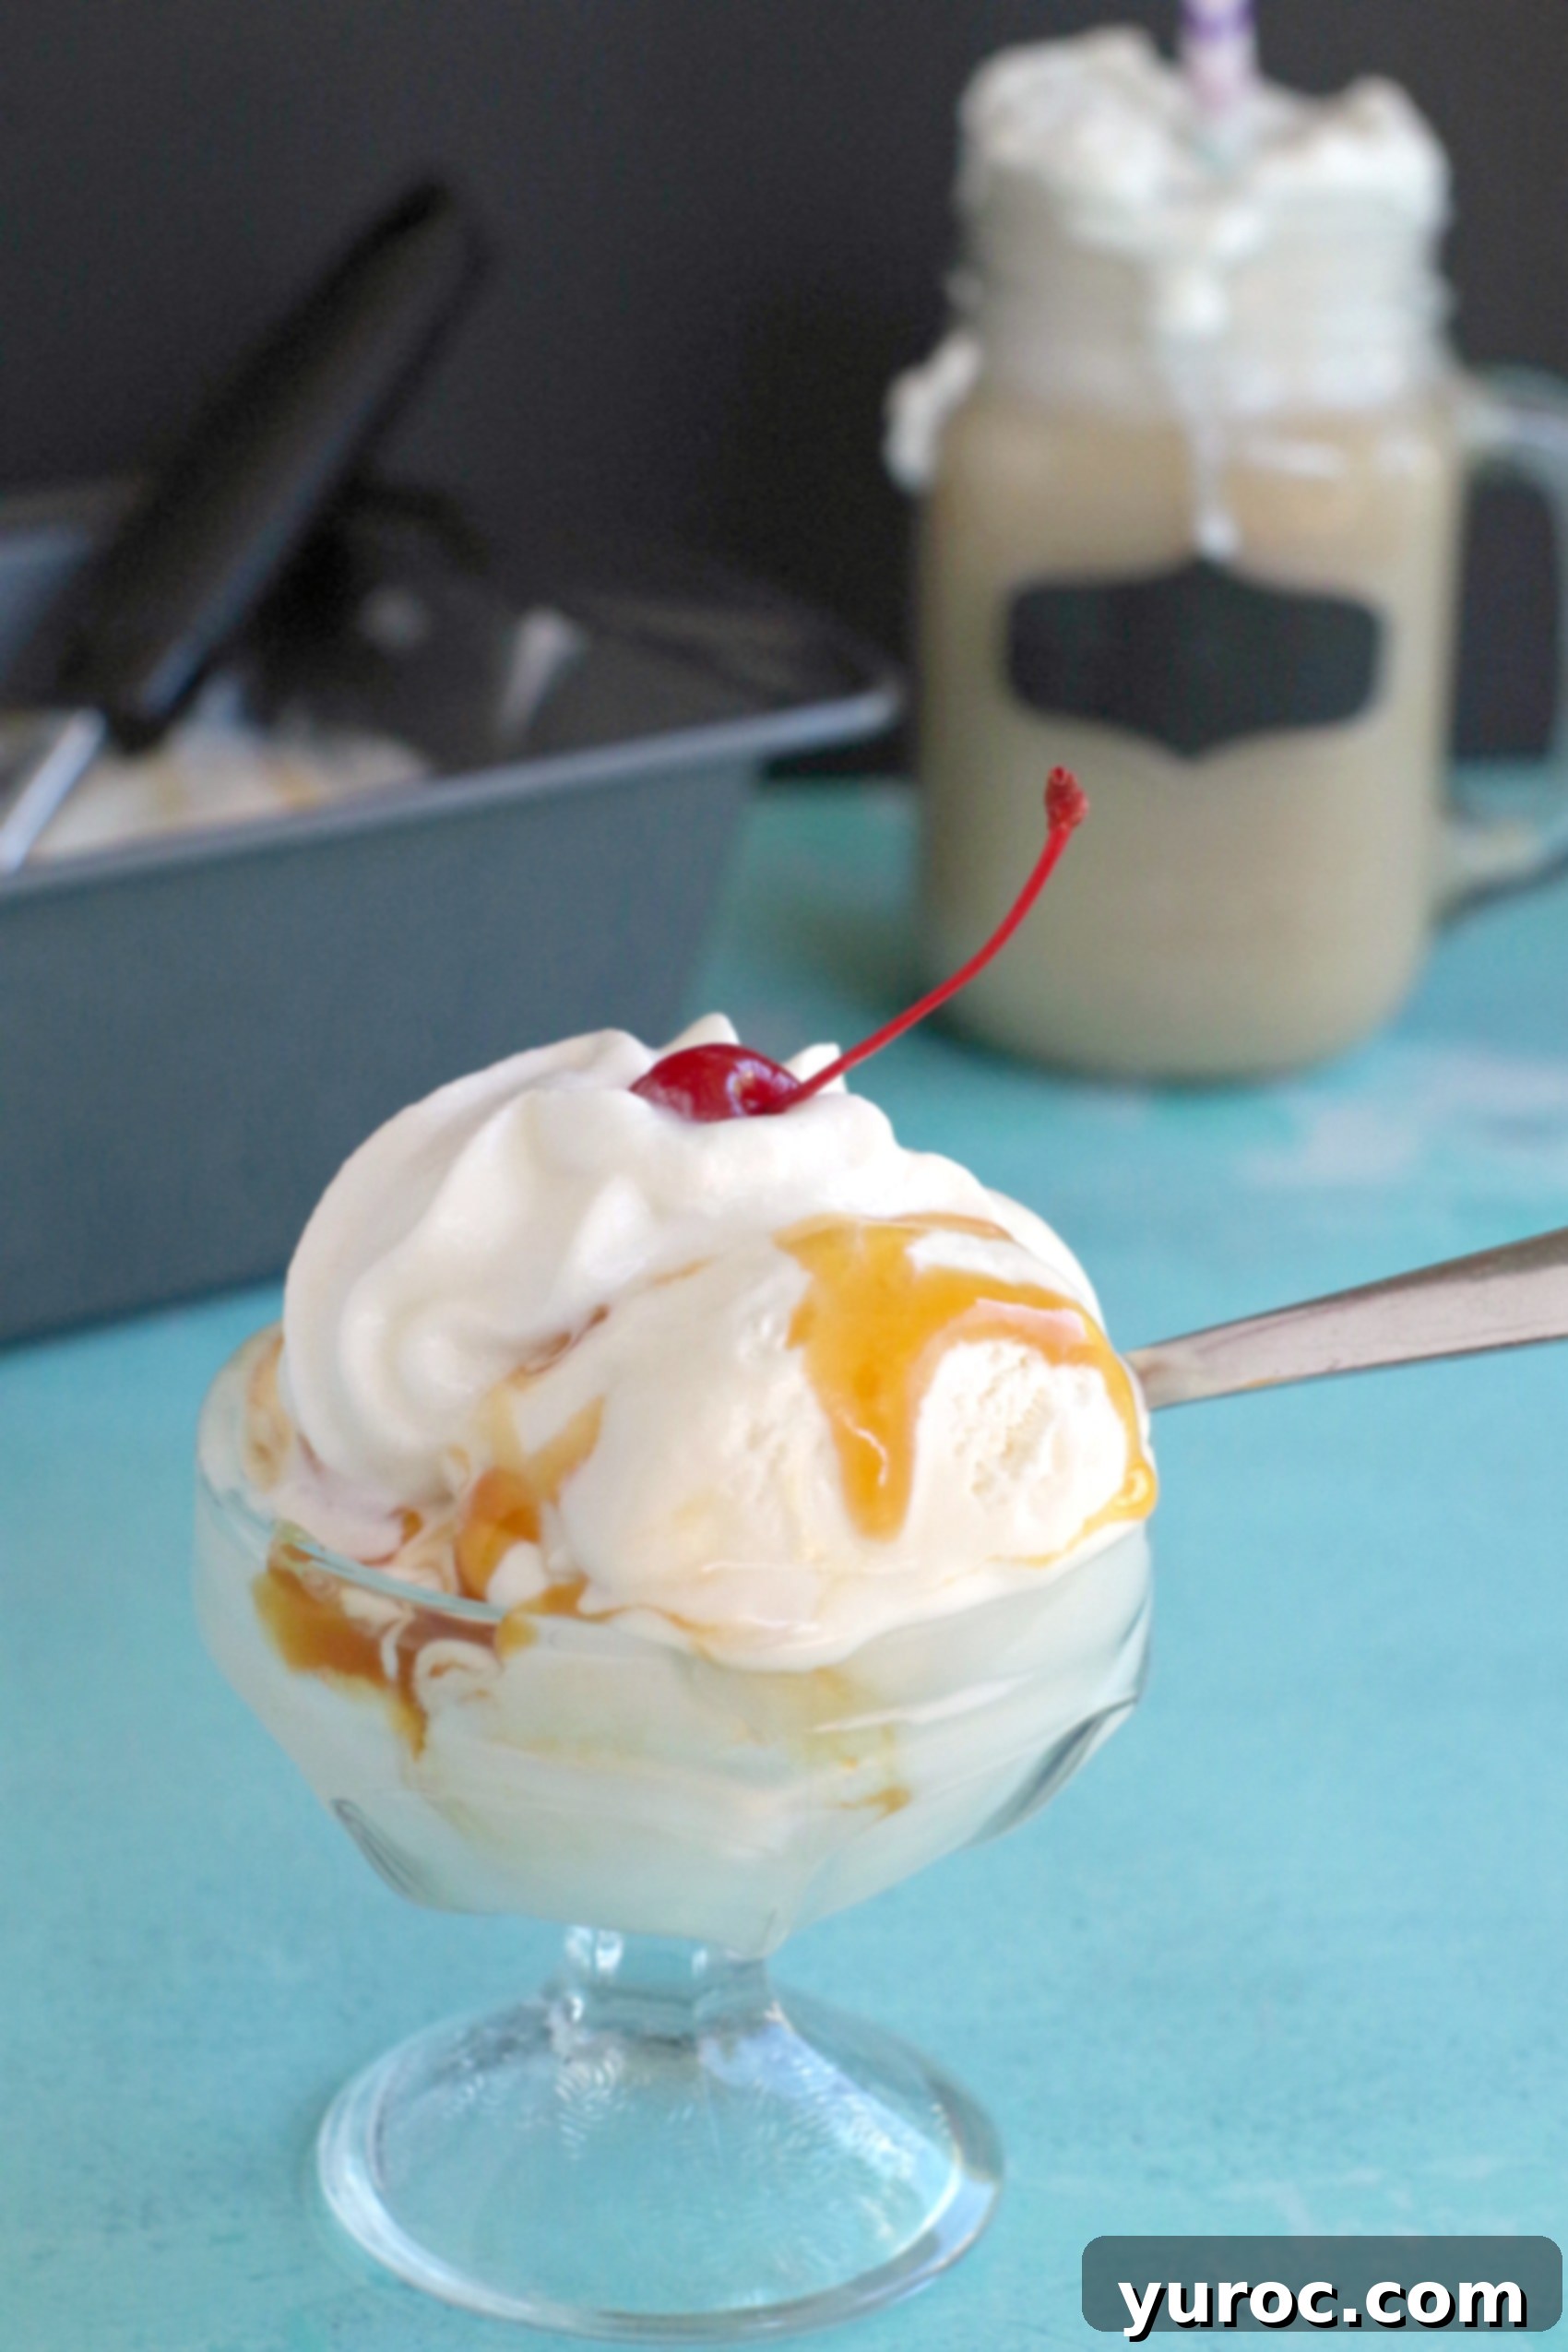
This delightful Butterbeer Ice Cream recipe yields approximately 8 generous servings, making it perfect for a family dessert or a gathering of friends. Should you need to adjust the recipe to serve more or fewer people, simply click on the blue serving number in the recipe card and select your desired quantity. The ingredient amounts will automatically update to reflect your selection. Keep in mind that if you scale the recipe up, you’ll need additional freezer-safe containers, and for smaller batches, a more compact container would be ideal.
Storing Your Magical Creation
To keep your Butterbeer Ice Cream fresh and delicious, store it in the freezer. It’s crucial to cover the surface directly with a layer of plastic wrap to prevent ice crystals from forming and to maintain its creamy texture. I highly recommend using Glad Press N’ Seal (affiliate link), as its heavier gauge and superior sealing capabilities outperform regular plastic wrap, creating a truly leak-proof and airtight barrier that locks in freshness. Remember, homemade ice cream melts quickly, so serve it immediately after removing it from the freezer!
For longer storage, beyond a few days, transfer your ice cream into an airtight container. Properly stored, it will maintain its quality for up to 3 months, allowing you to enjoy this enchanting treat whenever the craving strikes.
So, if you’re searching for a truly delightful treat to cool you down and transport your taste buds to a world of magic, this Butterbeer-flavored ice cream is an absolute must-try! While my knowledge of the intricate wizarding world of Harry Potter might be limited to the big screen, I can confidently say that this Butterbeer Ice Cream is nothing short of amazing. Give it a try and discover the magic for yourself.
Reviews and Engagement
Did you bring this easy recipe to life in your kitchen? We’d love to hear from you! Please RATE THE RECIPE below and share your experience!
Don’t miss out on more delicious recipes and culinary adventures. Please SUBSCRIBE (and grab my FREE E-cookbook!) and be sure to FOLLOW ME on FACEBOOK, TWITTER, INSTAGRAM, and PINTEREST!
~Happy (virtual) Stampede Week!~

No-Churn Butterbeer Ice Cream Recipe
Print Recipe
Pin
Save RecipeSave Recipe
Rate
Add to Shopping ListGo to Shopping List
Ingredients
No-Churn Ice Cream
- 300 ml -can of sweetened condensed milk *about 10 oz
- 2 ½ cups whipping cream * I use heavy whipping cream- 36%
- ¼ teaspoon butter extract
- 1 teaspoon vanilla extract
- ¼ teaspoon rum extract
- 1 teaspoon caramel extract
- ⅛ teaspoon salt
Topping
- 1 tablespoon butterscotch sundae topping/butterscotch syrup
- maraschino cherry (optional)
- more whipping cream (optional)
Instructions
No-Churn Ice Cream
-
In a separate, medium-sized bowl, gently whisk together the sweetened condensed milk, vanilla, butter, caramel, and rum extracts, along with the salt. Ensure all ingredients are well combined.
-
In the bowl of a stand mixer (or using a hand-held mixer), whip 2 ½ cups of heavy whipping cream until stiff peaks form. Be careful not to over-whip.
-
Gently fold the condensed milk mixture into the whipped cream until it is just completely incorporated. The key is to mix thoroughly but gently, retaining as much air in the whipped cream as possible.
-
Pour the mixture into a 9″x5″ loaf pan (or any suitable large container with a lid). Smooth the top with a spatula and cover tightly with plastic wrap (*I prefer using Glad Press n’ Seal for an airtight seal).
-
Place the ice cream in the freezer and freeze until completely solid, which usually takes about 8-12 hours. For best results, I recommend freezing it overnight.
Topping
-
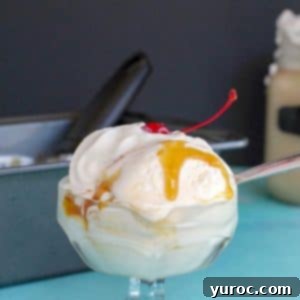
Once frozen, drizzle butterscotch sundae sauce or butterscotch syrup generously over the top of the ice cream. Serve immediately, optionally garnished with additional whipped cream, a decorative butterscotch swirl, and a maraschino cherry.
Notes
Nutrition
More Stampede & Carnival Food Inspired Recipes
If you loved this taste of the carnival, here are more festive recipes to bring the joy of the Calgary Stampede and other fun fairs right into your home:
- Dill Pickle Pizza
- Stampede Beef on a Bun
- Cowboy Caviar Dip
- Mini Ukrainian Doughnuts (Pampushky) – Stampede Style
- Easy Pork & Beef Stovetop Chili
- Churros with Dulce de Leche Dip
- Slow Cooker Whiskey Beef Stew
- Slow Cooker Beef on a Bun
- Slow Cooker New England Baked Beans
