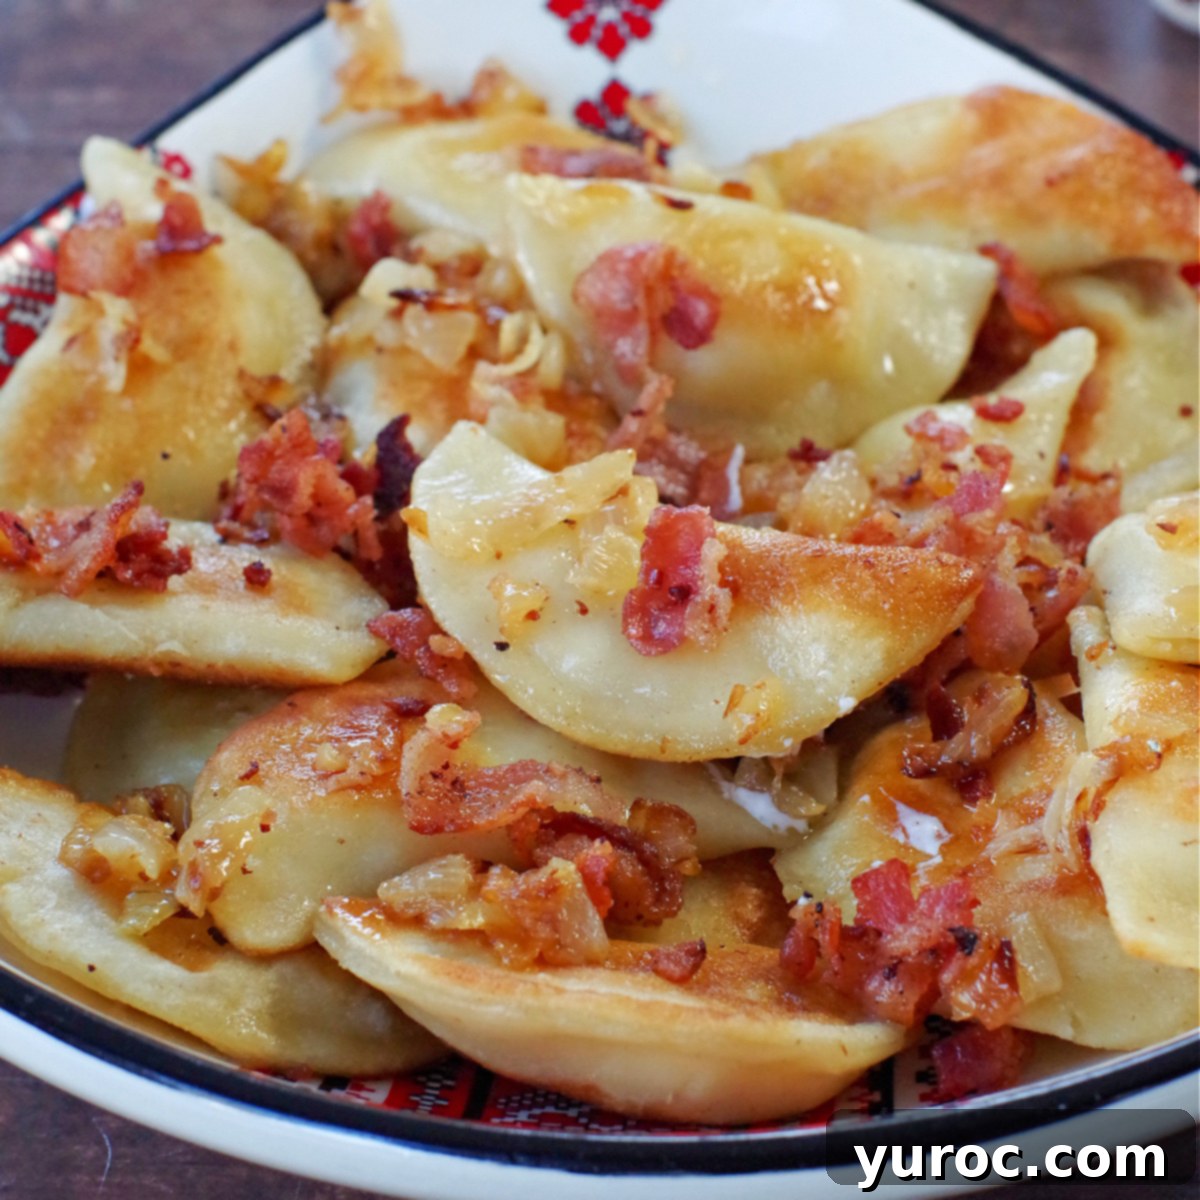
Authentic Homemade Potato and Cottage Cheese Perogies: A Traditional Ukrainian Recipe
Grandma Mary was renowned for crafting the most exquisite Potato and Cottage Cheese Perogies. Her reputation extended far beyond Winnipeg, where she would generously send us home with dozens of these delectable dumplings every Christmas. When she visited Calgary, our anticipation for her perogies was palpable, as she would arrive with aluminum pie plates stacked high, each layer separated by wax paper and carefully wrapped in newspaper. She firmly believed this method preserved their freshness and unparalleled taste. To us, these were, without a doubt, the finest authentic perogies we had ever tasted.
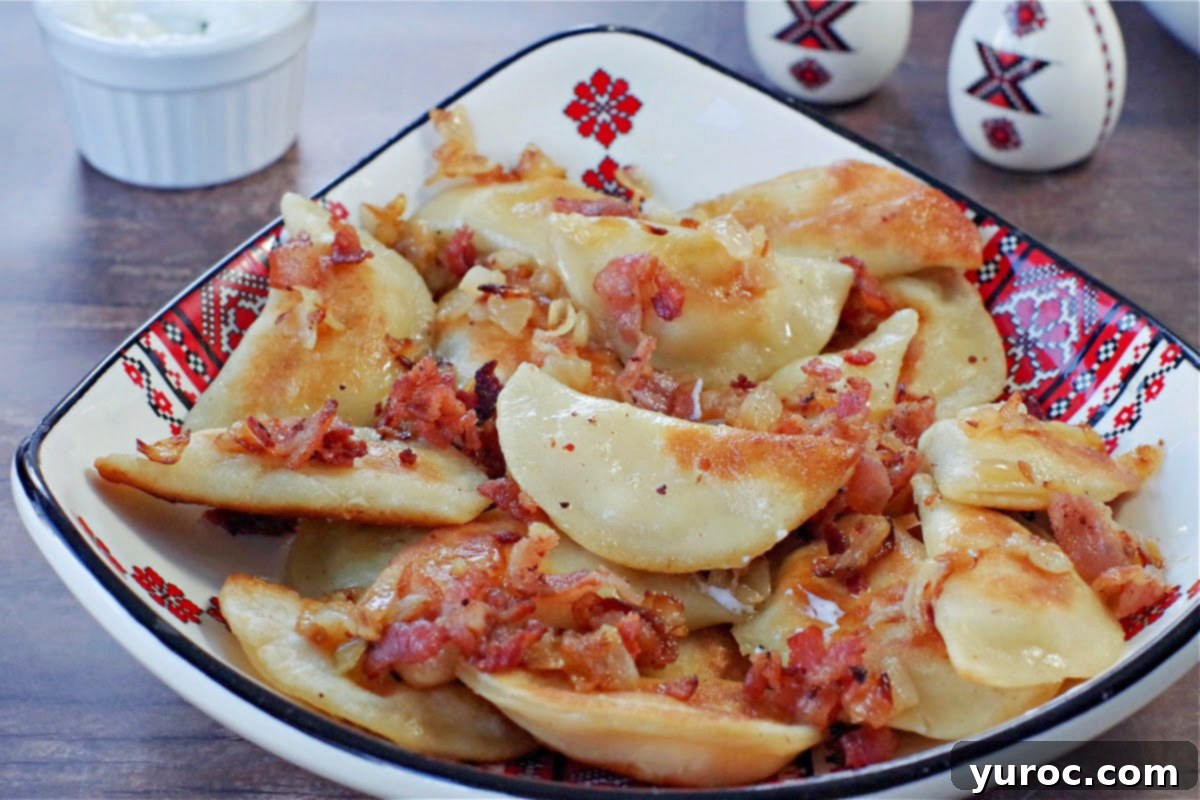
It has been nearly 15 years since Grandma Mary’s passing, and her absence is deeply felt. However, her culinary spirit and cherished memory endure through her remarkable perogy recipe. We consider ourselves incredibly fortunate not only to have inherited this treasured recipe but also to have had the invaluable opportunity to observe the master perogy maker at work. We meticulously documented her precise techniques, ensuring that this wonderful tradition could be preserved and shared for generations to come. This recipe isn’t just about food; it’s a legacy of love, family, and tradition that continues to bring joy to our table.
What Readers Love: Rave Reviews for Our Perogies
“Thank you for an amazing recipe!!! My boyfriend has talked repeatedly about his grandmother’s potato and Cottage cheese pierogies and laments frequently on how he can’t find anyone that makes that combination. I have made different variations of potato and cheddar or bacon and onion before but never cottage cheese and potato together, so I went looking for a recipe and came upon yours. I made it exactly as written, except I added a tiny bit of garlic and onion powder. He said, not only are they absolutely fantastic, they are better than any store-bought or restaurant pierogies he’s had, and right up there with his Grams!! I gave him six dozen, and he was supposed to give some of those to his mom, but his mom did not get any, lol!! Thank you so much again!!!!” ⭐⭐⭐⭐⭐
The Heart of Ukrainian Comfort Food: A Personal Journey with Perogies
Growing up, perogies were a staple, an undeniable cornerstone of my childhood and a dish I continue to adore as the ultimate comfort food. Every Sunday, our visits to Baba’s house were marked by a spread that always included her delicious perogies, accompanied by hearty Borscht, savory Cabbage Rolls served with kubassa, and a delightful poppy seed dessert, much like my popular Lemon Poppy Seed Torte. Regrettably, I was only 12 when I lost my Baba, and with her, the opportunity to learn her specific perogy recipe was gone forever. It’s a culinary gap that I’ve always wished I could fill.
However, I am profoundly grateful to possess Grandma Mary’s perogy recipe, and it is an honor to share it with you all. Mary was my husband’s grandmother, and knowing her was a true pleasure. We shared many wonderful years, and her character left an indelible mark: she was a woman of immense strength, profound wisdom, unwavering kindness, boundless generosity, and a truly beautiful soul. Her presence illuminated every family gathering, and her cooking, especially her perogies, became a symbol of her love.
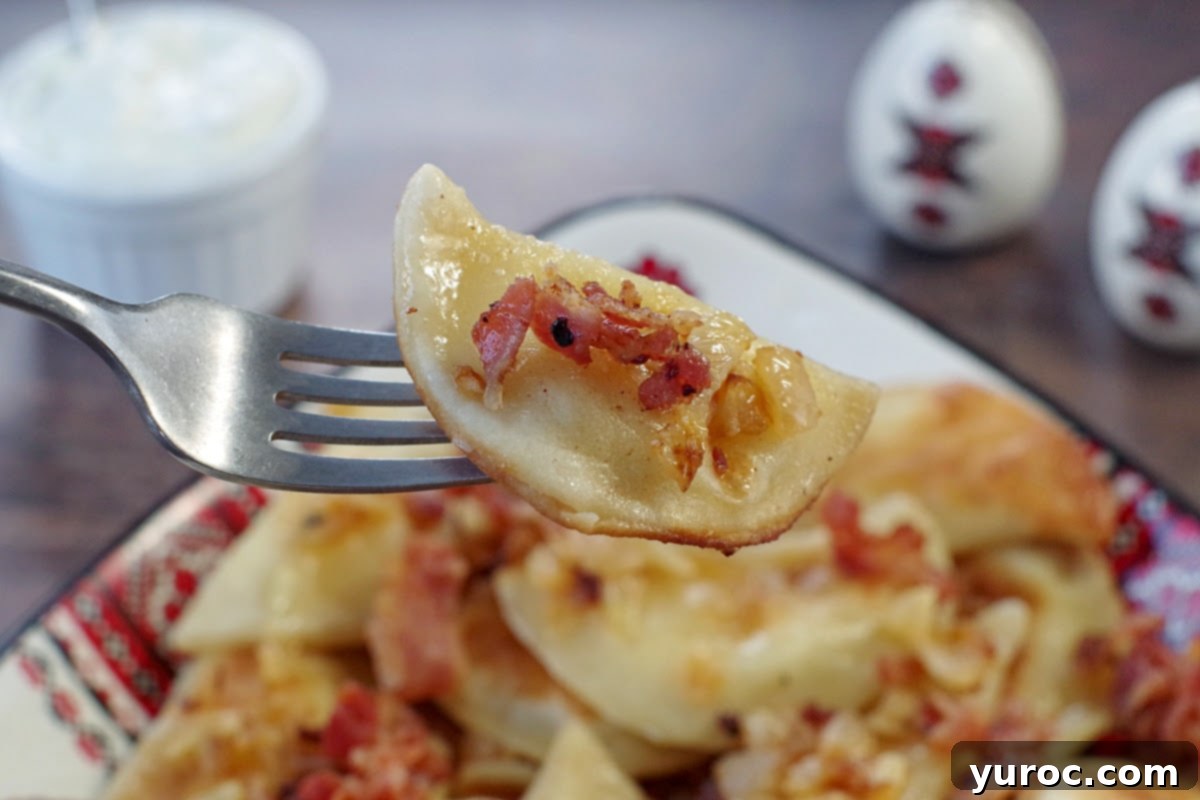
For countless years, nearly every Saturday, Grandma Mary would dedicate herself to making hundreds of perogies. This wasn’t just a task; it was a labor of love, and she graciously shared the fruits of her labor with her family, friends, and neighbors. Anyone fortunate enough to receive a generous pie plate, brimming with her homemade perogies and carefully wrapped in newspaper, felt not only a deep sense of gratitude but also an insatiable desire for more. Her perogies were more than just food; they were a gesture of care, a connection to her heritage, and a source of immense community joy.
Even into her 90s, when mobility became a challenge, she would perch steadfastly on a stool in her kitchen, meticulously crafting dozens upon dozens of perogies. It was evident that this tradition was profoundly important to her, just as it was to all of us who cherished her and her culinary masterpieces. Her dedication served as an inspiration, reminding us of the enduring power of food to bring people together and preserve cultural heritage.
Essential Ingredients for Authentic Potato and Cottage Cheese Perogies
These perogies are a true testament to authentic and traditional Ukrainian cooking. Ukrainian cuisine, at its heart, is known for being plain, simple, and economical, utilizing readily available ingredients to create deeply satisfying meals. These particular pierogies exemplify that philosophy, crafted from humble components like potatoes and dry cottage cheese, enveloped in a simple, tender dough. Once shaped, they are first boiled to achieve a soft, delicate texture, then pan-fried in rich, real butter, and finally, often smothered with crispy fried bacon and caramelized onions for an explosion of flavor.
My own upbringing primarily featured potato and cheddar pierogies, and my Baba’s recipes typically revolved around cheddar cheese and potato, or occasionally sauerkraut. It wasn’t until I met my husband and tasted his Grandma Mary’s perogies that I encountered the dry cottage cheese variety. It was an instant culinary revelation, and I quickly fell in love with their distinctive taste and texture! The dry curd cottage cheese imparts a subtle tang and a unique, crumbly consistency that sets these perogies apart from the more common potato and cheddar versions, offering a delightful twist on a beloved classic.
To embark on your own perogy-making journey with this time-honored recipe, you’ll need these basic yet essential ingredients:
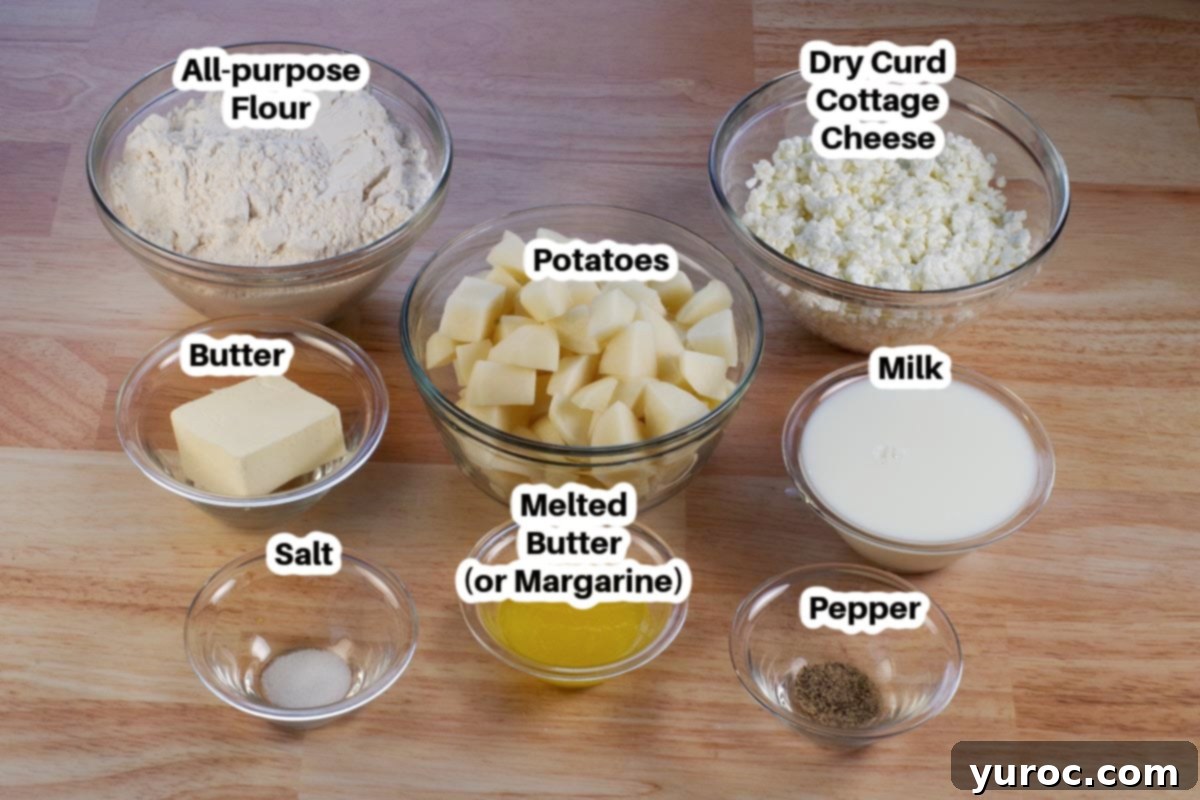
For the Perogy Dough:
- All-Purpose Flour: This forms the foundation of our pliable and strong dough. In North America, all-purpose flour typically has a moderate to high protein content, which is ideal for creating a dough that can be rolled thin without easily tearing or ripping during the assembly process.
- Salt: A crucial seasoning, salt isn’t just for the filling; it enhances the overall flavor profile of the dough itself, ensuring every bite is perfectly seasoned.
- Butter: Incorporating butter into the dough contributes to a richer flavor and helps keep the dough wonderfully soft and tender. I prefer using unsalted butter to maintain precise control over the overall salt content of the recipe.
- Milk: As the primary liquid in this recipe, milk is scalded before use, a traditional technique that not only adds a deeper, more nuanced flavor to the dough but also contributes to its tender texture. I typically use 1% milk, as it’s what I usually have on hand.
For the Delicious Filling:
- Potatoes: Any variety of potatoes you have on hand will work well. Their creamy texture once mashed provides the perfect base for our filling.
- Dry Cottage Cheese: This is the star ingredient that truly defines these perogies. Dry curd cottage cheese lends a delightful “zing” and a distinct, interesting texture that differs significantly from softer, creamier cheeses. It’s essential for achieving that authentic taste.
- Pepper: Freshly ground black pepper adds a warm, aromatic spice that complements the richness of the potato and the tang of the cottage cheese.
- Salt: Just like in the dough, salt is vital here to season the filling appropriately, balancing the flavors and bringing out the best in the potatoes and cheese.
Optional Toppings to Elevate Your Perogies:
- Onions: Caramelized onions, fried until golden brown and sweet, are a classic and highly recommended topping.
- Bacon: Crispy fried bacon bits add a savory, salty crunch that pairs beautifully with the soft perogies.
- Sour Cream: A dollop of cool, tangy sour cream is the perfect counterpoint to the rich perogies and savory toppings.
*Refer to the comprehensive recipe card below for exact quantities.
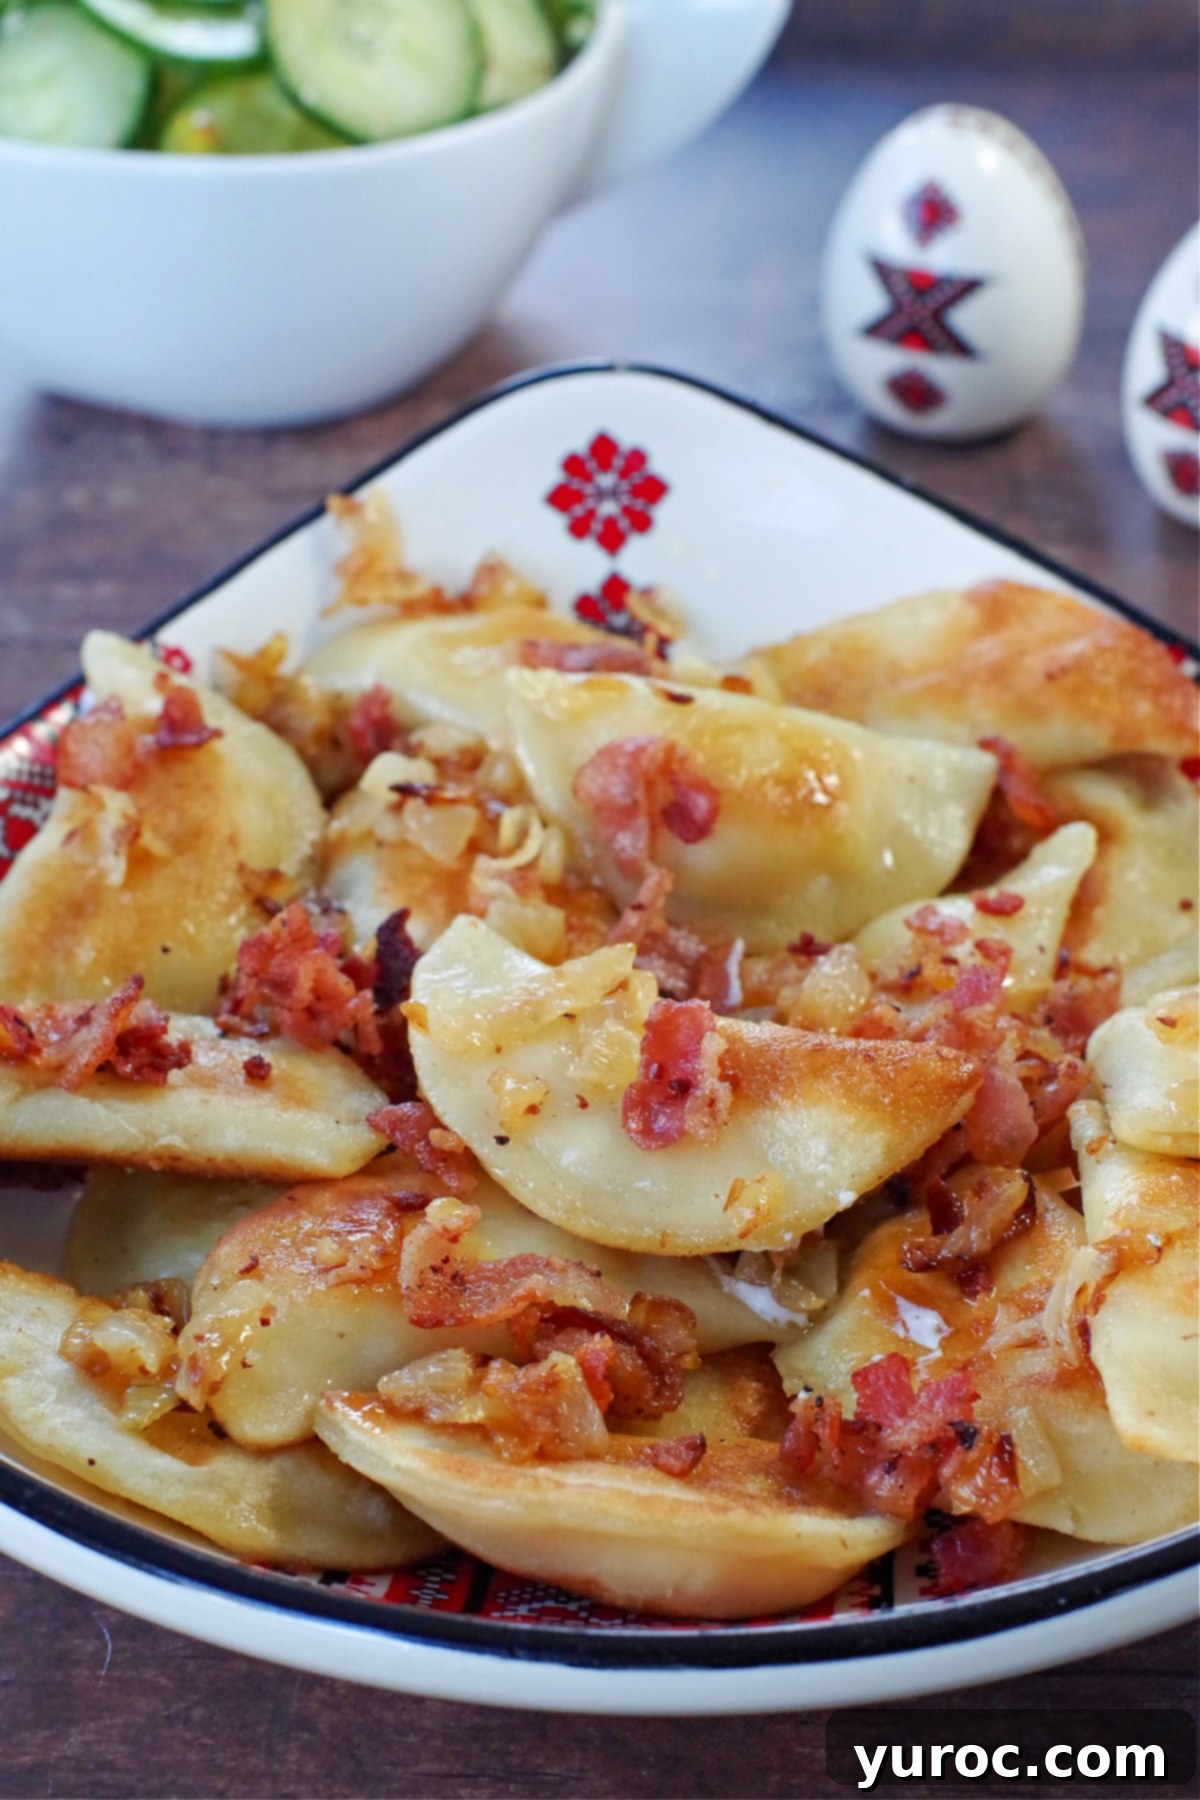
Step-by-Step Guide: Mastering Homemade Potato and Cottage Cheese Perogies
While making perogies from scratch might seem daunting, it’s a deeply rewarding culinary endeavor. They aren’t inherently difficult, but they do require a good amount of time and effort, making them a true labor of love. This is precisely why truly homemade perogies often command a higher price when purchased. To ensure your perogies turn out perfectly (and stay intact during cooking!), I’ve provided detailed step-by-step photos and a helpful video guide to walk you through each stage of the process.
Preparation Before You Begin:
SCALD MILK: Begin by scalding your milk, a technique that enhances both flavor and texture. Heat the milk gently until small bubbles form around the edges but do not allow it to boil vigorously. Once scalded, let it cool down to approximately 110 degrees F (43 degrees C). This specific temperature is crucial for the dough’s consistency and ensures the butter melts properly without cooking the other ingredients prematurely.
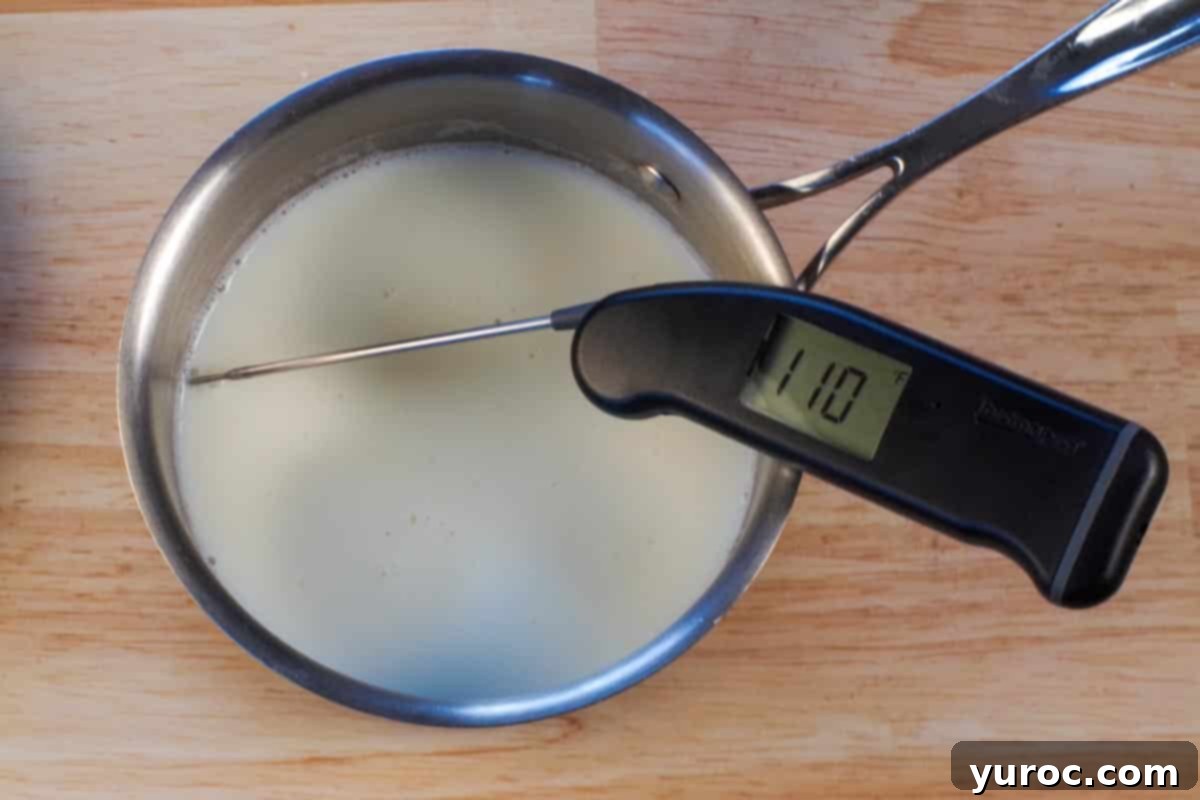
Video Guide: How to Scald Milk
For those unfamiliar with the process, I highly recommend watching this short tutorial on How to Scald Milk. Trust me, dedicating a few extra minutes to this step is well worth the effort for the superior dough it produces!
Creating the Perogy Dough and Filling:
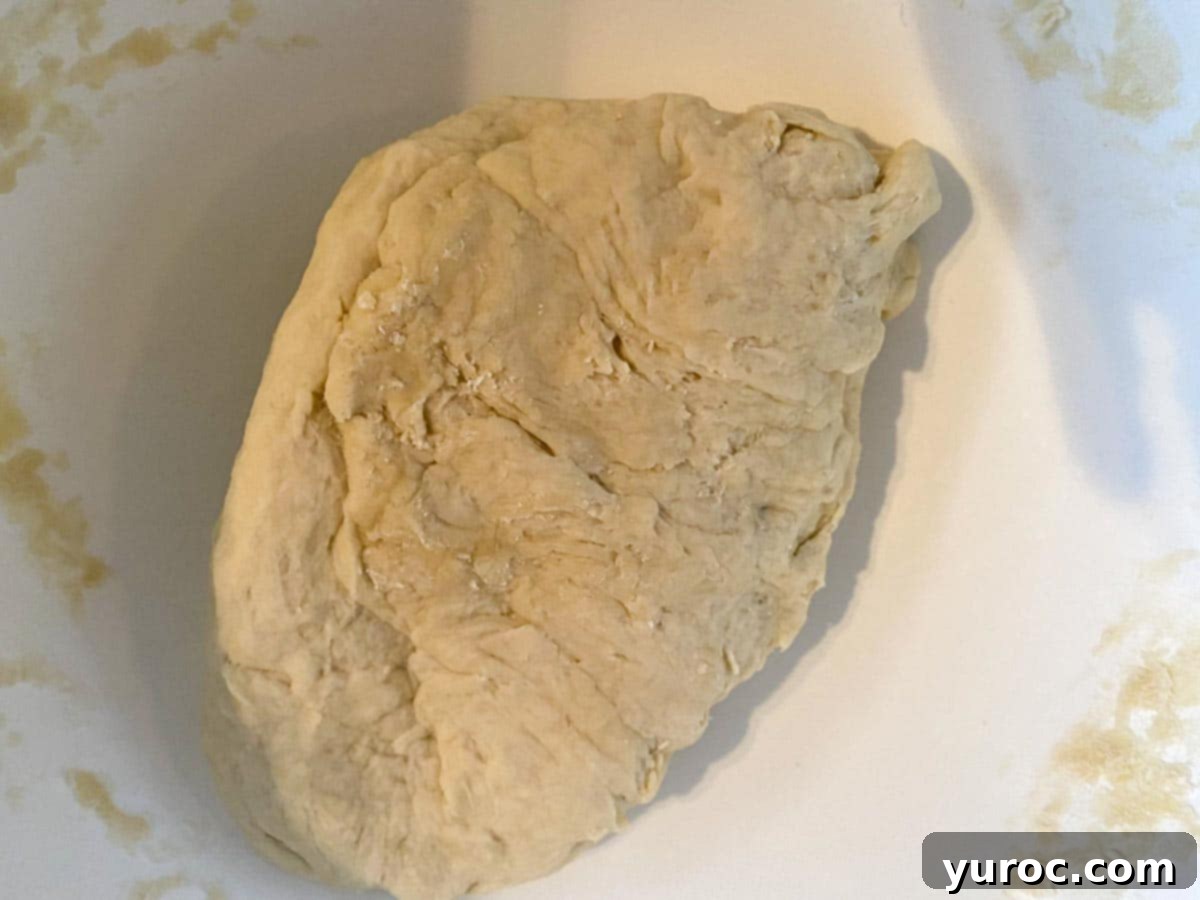
- Prepare the Dough: In a large mixing bowl, combine all the perogy dough ingredients. Start by mixing with a sturdy wooden spoon, then switch to your hands. Continue kneading the dough until it forms a cohesive ball that pulls away cleanly from the sides of the bowl and from your hands. During this process, gradually sprinkle in an additional ½ cup of flour, mixing it in thoroughly. Once the dough is smooth and elastic, cover the bowl with an airtight lid or plastic wrap and allow it to rest for approximately one hour. This resting period is crucial for the gluten to relax, making the dough much easier to roll out later.
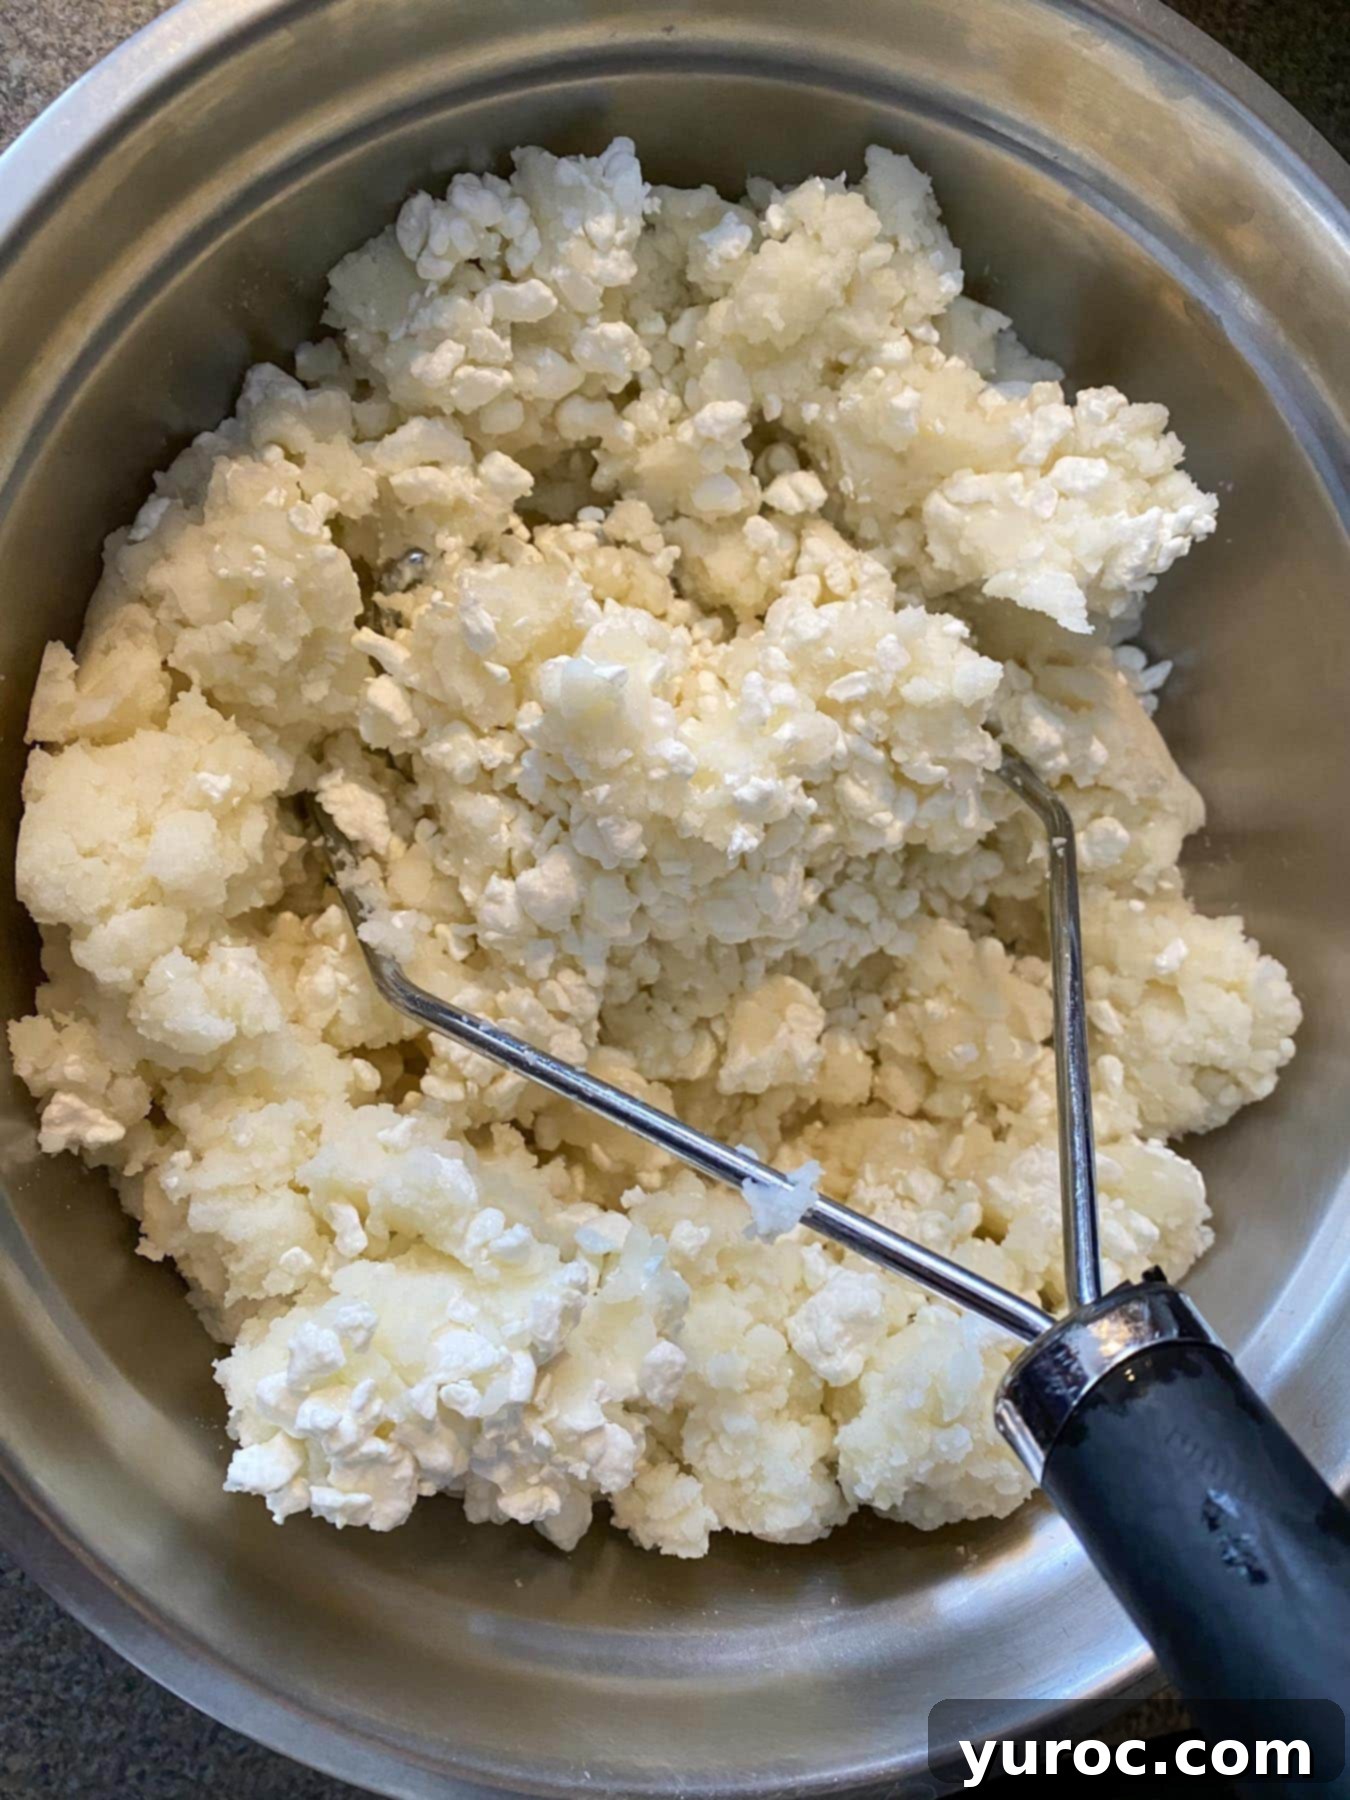
- Make the Cottage Cheese & Potato Filling: Peel and chop your potatoes into even-sized pieces to ensure they cook uniformly. Place the chopped potatoes in a pot of hot water and boil them until they are fork-tender – meaning a fork easily slides through them with little resistance. Drain the cooked potatoes completely. In the same pot or a large bowl, mash the hot potatoes thoroughly. Then, combine the mashed potatoes with the dry cottage cheese, salt, and pepper. Mix until well incorporated and the filling is smooth yet slightly textured from the cottage cheese. Set this flavorful filling aside to cool slightly while you prepare the dough.
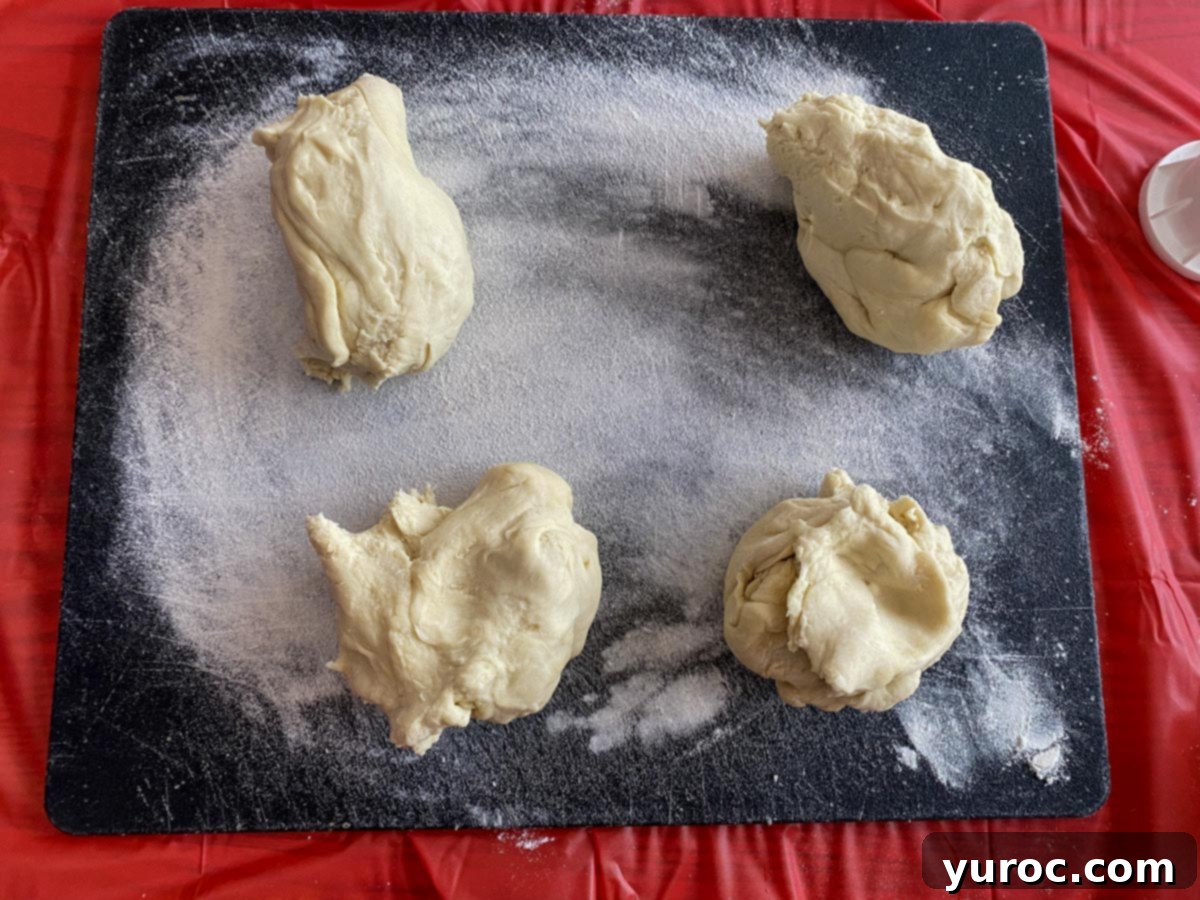
- Initial Dough Assembly: Once the dough has rested, transfer it to a lightly floured surface. Gently knead it a few times to ensure it’s smooth, then divide the dough into four equal wedges. Working with smaller portions makes the rolling process much more manageable.
Assembling Your Perogies: The Art of Pinching
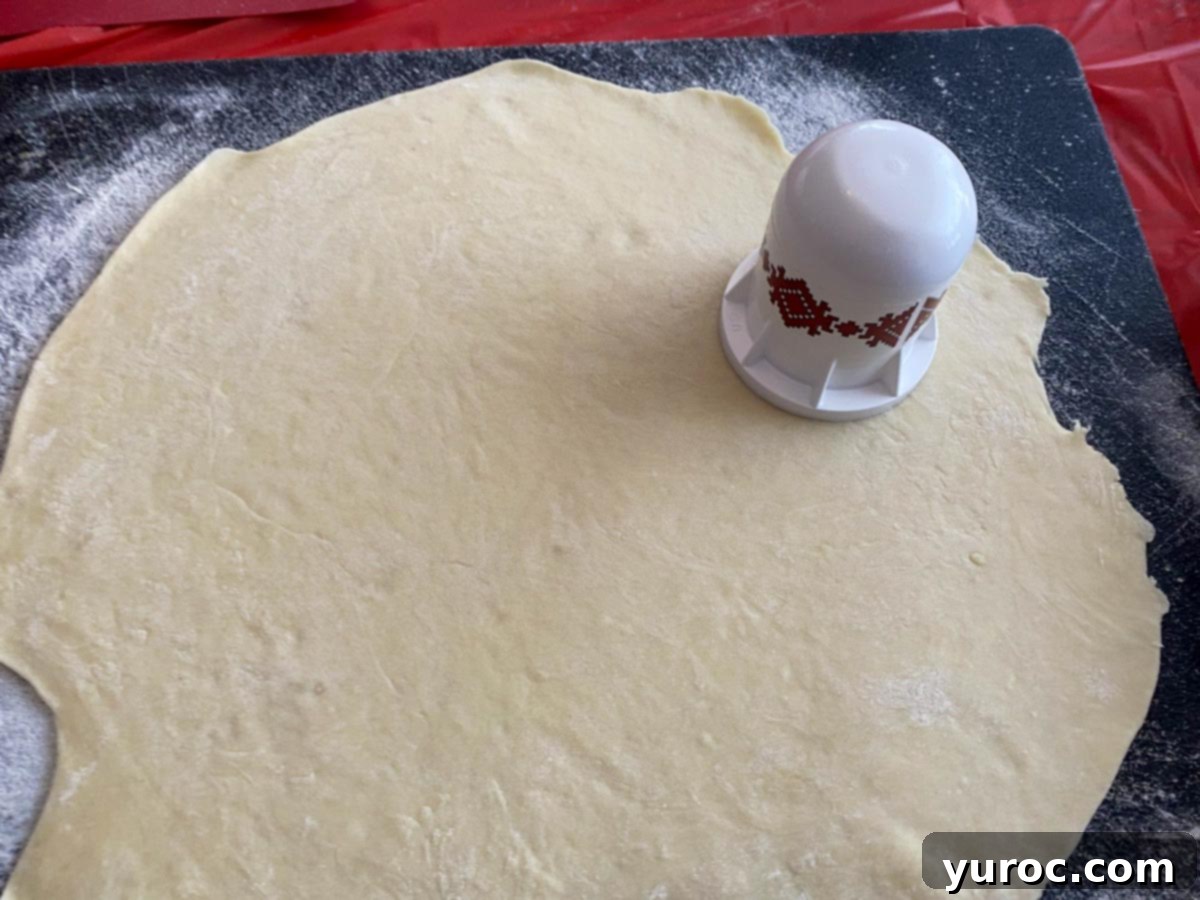
- Roll Out the Dough: Take one of the four dough wedges and, on a well-floured surface, roll it out evenly to an approximate thickness of ⅛ inch. This step requires a fair amount of physical effort and muscle! The thinner the dough, the more delicate and authentic your perogies will be. Repeat this process for the remaining dough wedges, ensuring each piece is rolled out uniformly.
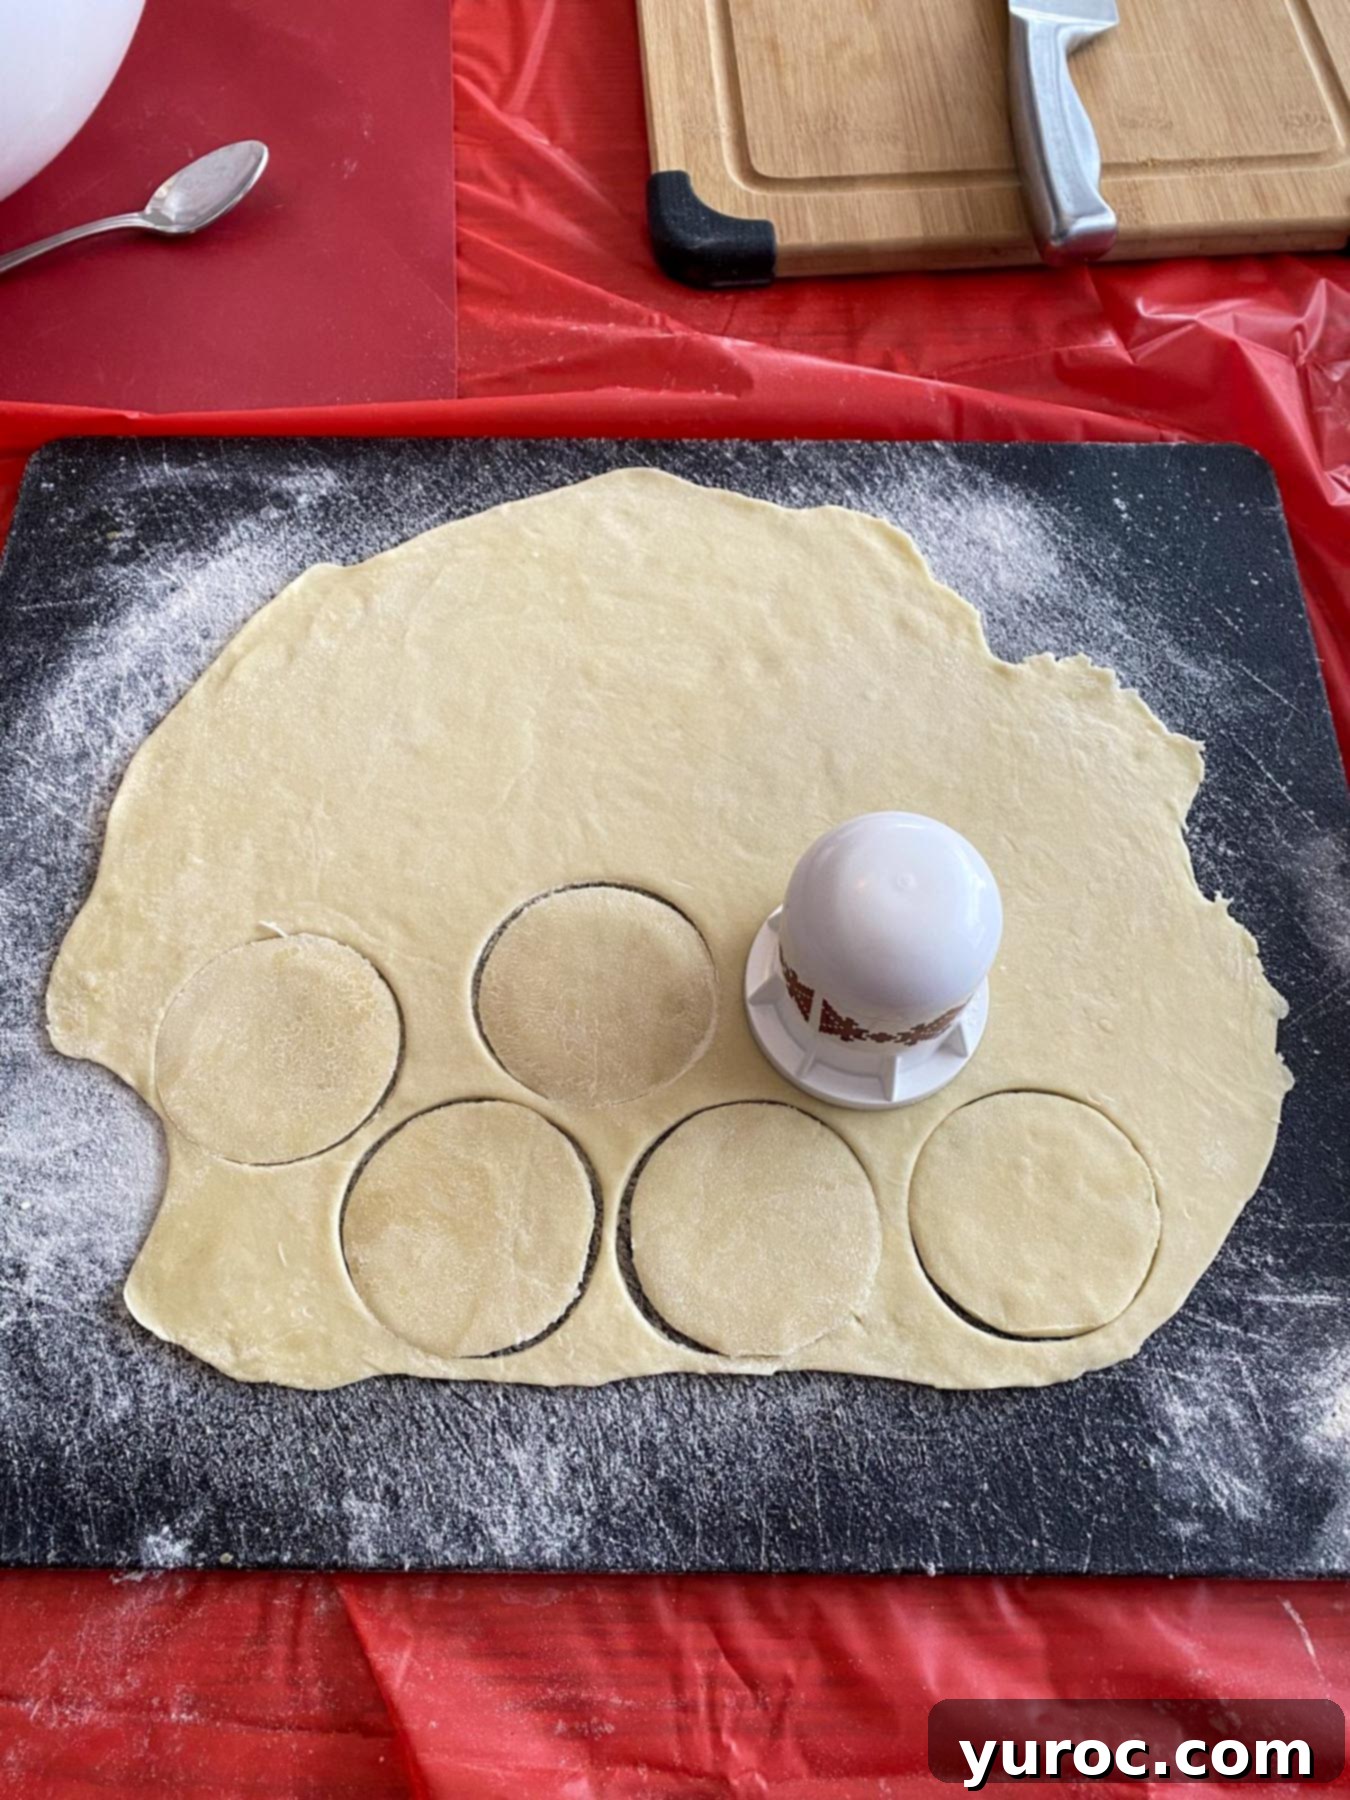
- Cut Dough Circles: Using a perogy cutter, or any round object with a diameter of about 2-3 inches (2.5 inches is an ideal size that I frequently use), cut out individual circles from the rolled-out dough. Gather any dough scraps, gently re-knead them, and roll them out again to cut more circles until all dough is used.
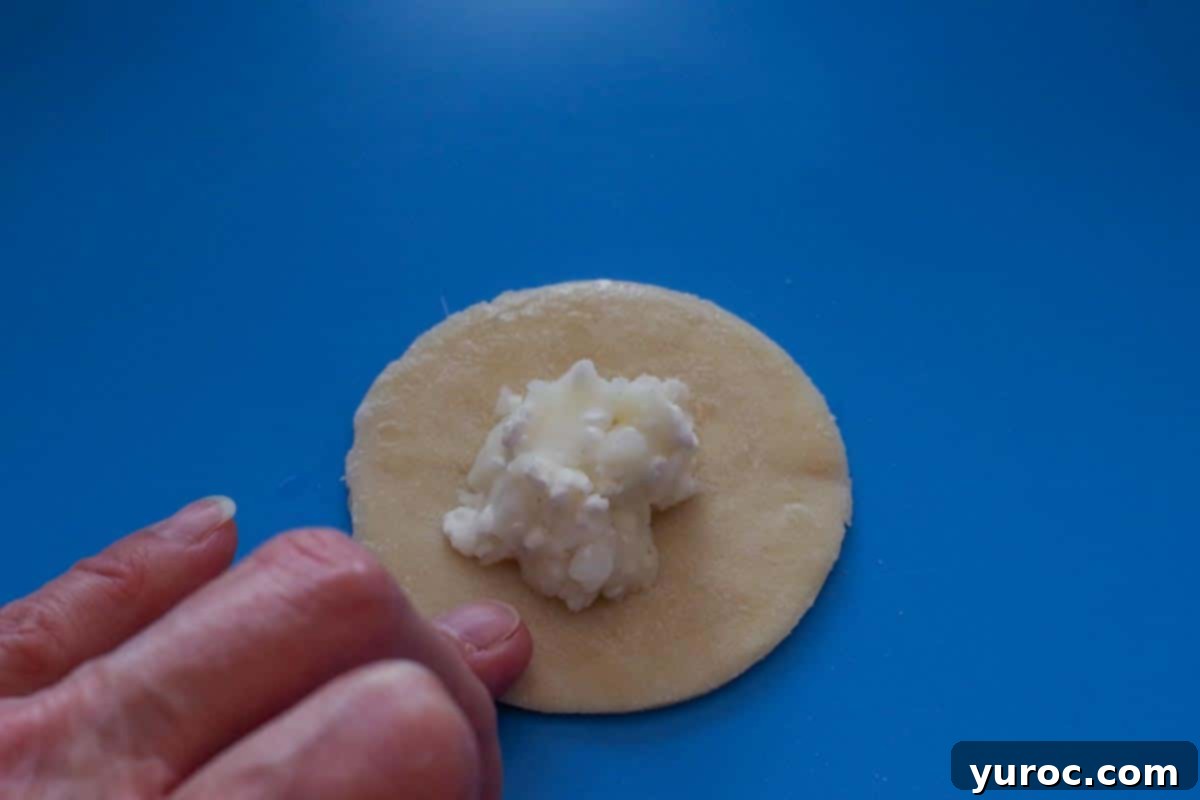
- Add the Filling & Prepare for Sealing: Place a small amount of filling, roughly 1-2 teaspoons, directly in the center of each dough circle. Be careful not to overfill, as this will make sealing difficult and can cause the perogies to burst during boiling. Next, dip your finger in hot water and lightly moisten the outer edge of each dough circle. This creates a sticky surface that helps the dough adhere securely when pinched, forming a tight seal.
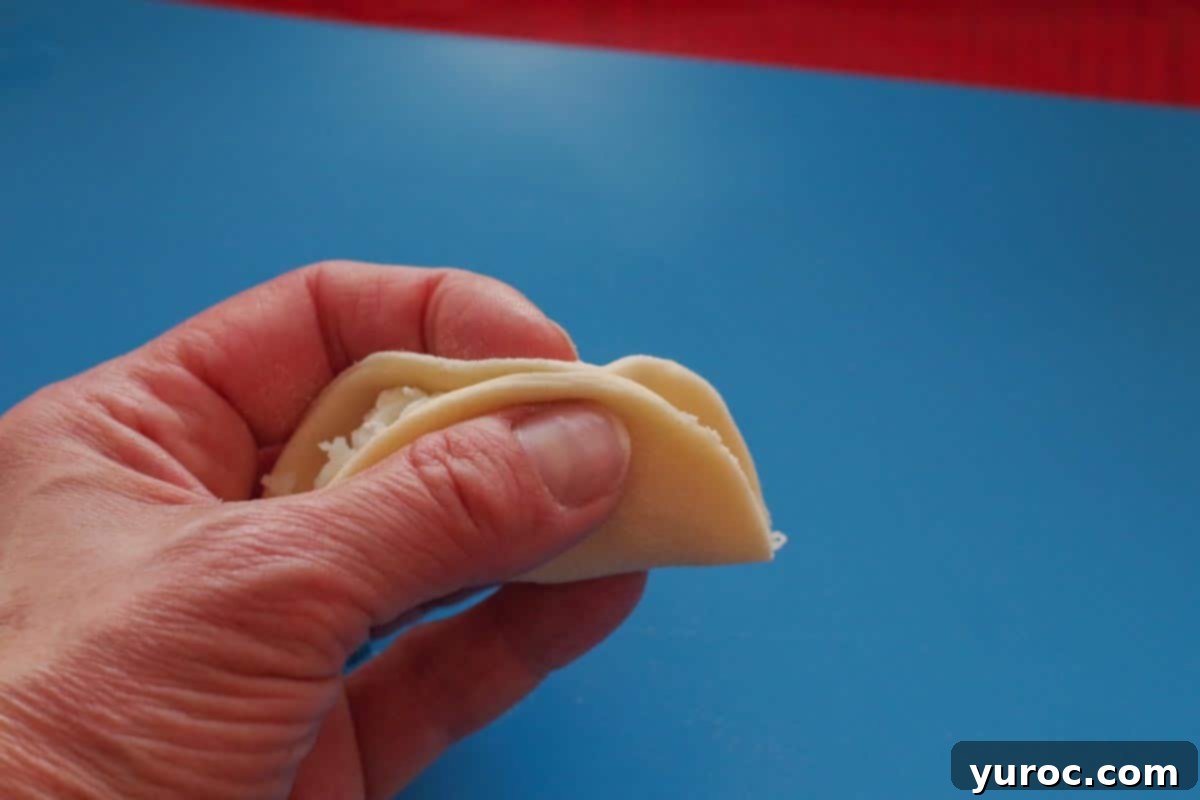
- Begin Pinching to Seal: Fold one side of the dough circle over the filling to meet the other side. Start by firmly pinching the edges together in the middle. This initial pinch creates the foundation of your seal.
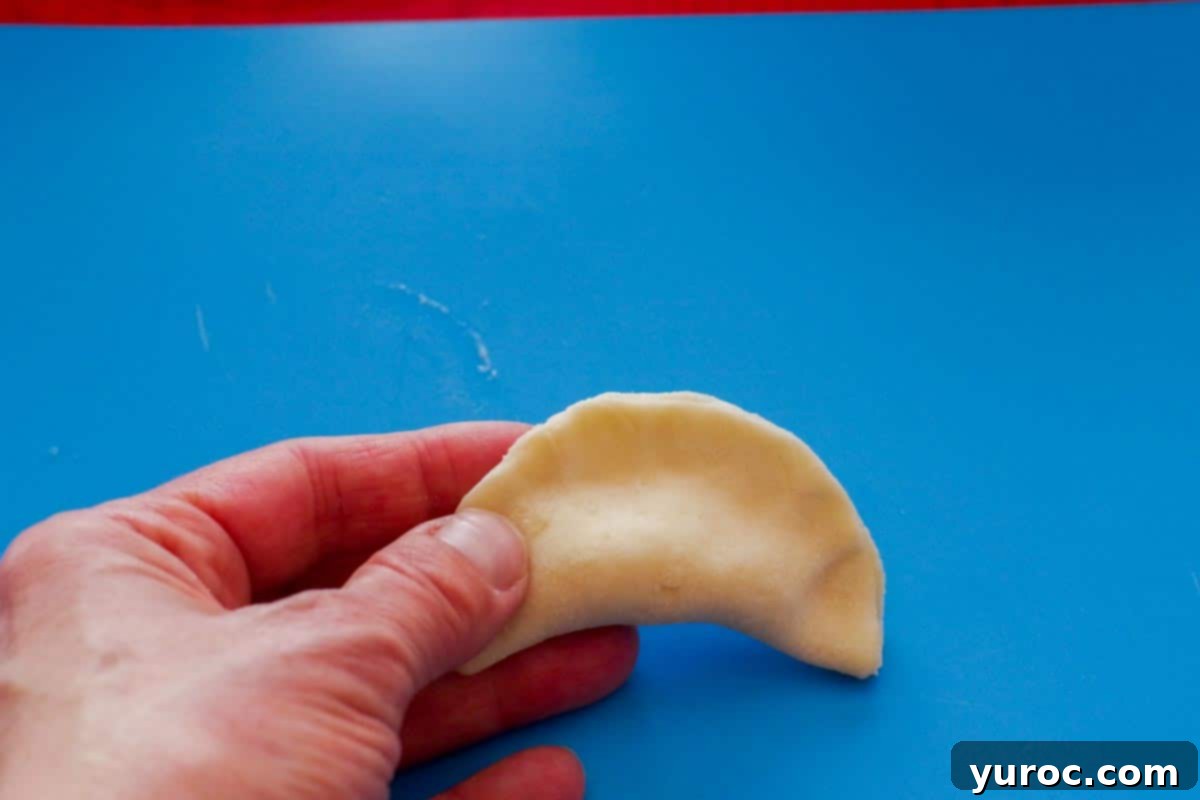
- Work Around the Edge: Once the center is secured, systematically work your way around the entire edge of the perogy, pinching the dough tightly. As you pinch, gently push the filling inward to ensure it remains securely enclosed within the dough. It is absolutely crucial that the perogy is completely sealed. Any gaps or weak spots can cause the filling to leak out during the boiling process, resulting in a less-than-perfect perogy. Take your time and ensure a thorough seal!
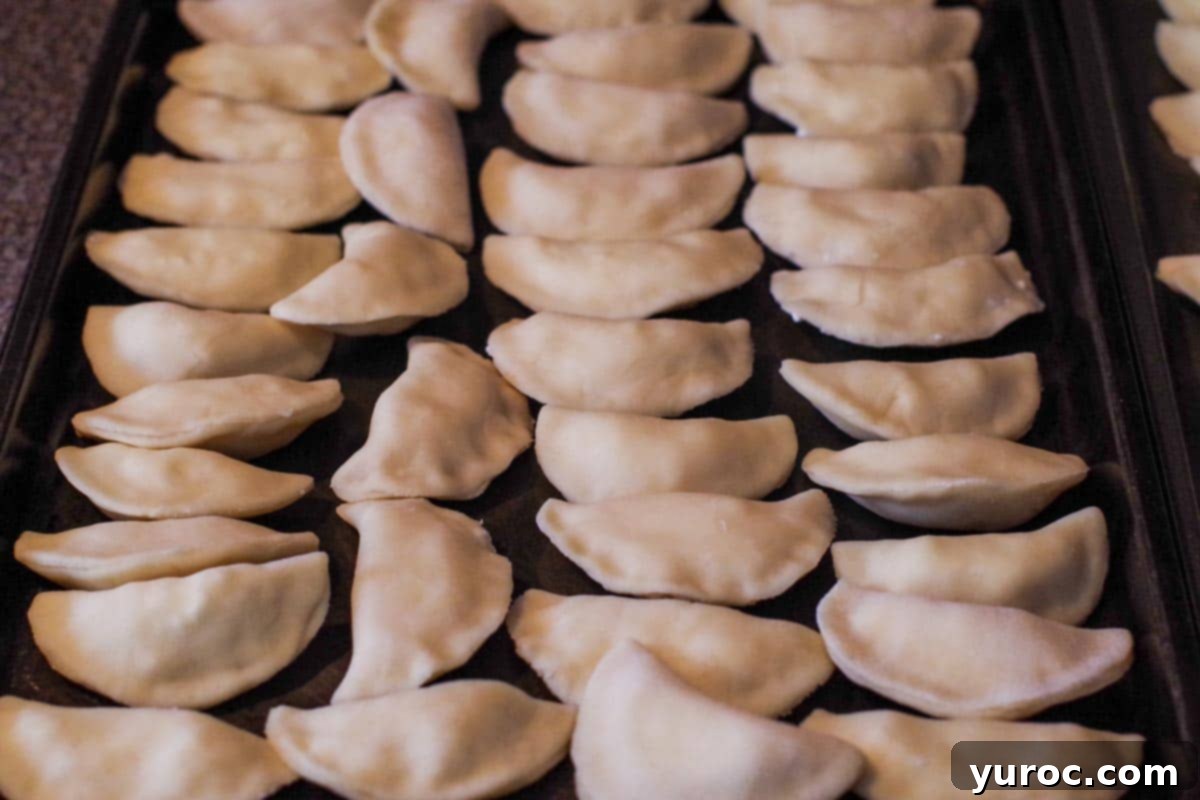
- Arrange for Cooking or Freezing: As you complete each perogy, place it in a single layer on a baking sheet lined with parchment paper. I find this method most effective as it allows you to fit many perogies without them sticking together. Depending on the batch size, you may need more than one baking sheet. This initial arrangement prevents them from clumping before boiling or freezing.
Cooking and Frying Your Delicious Perogies:
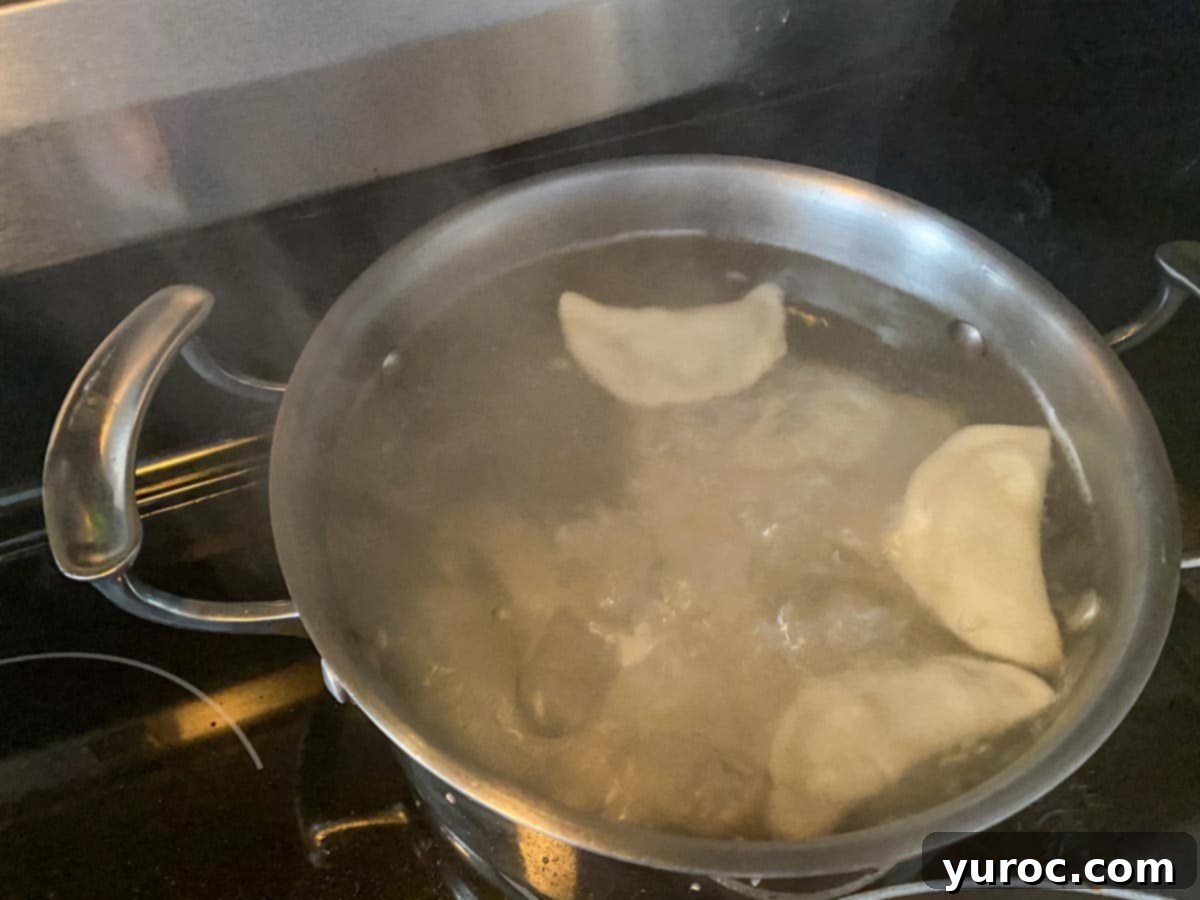
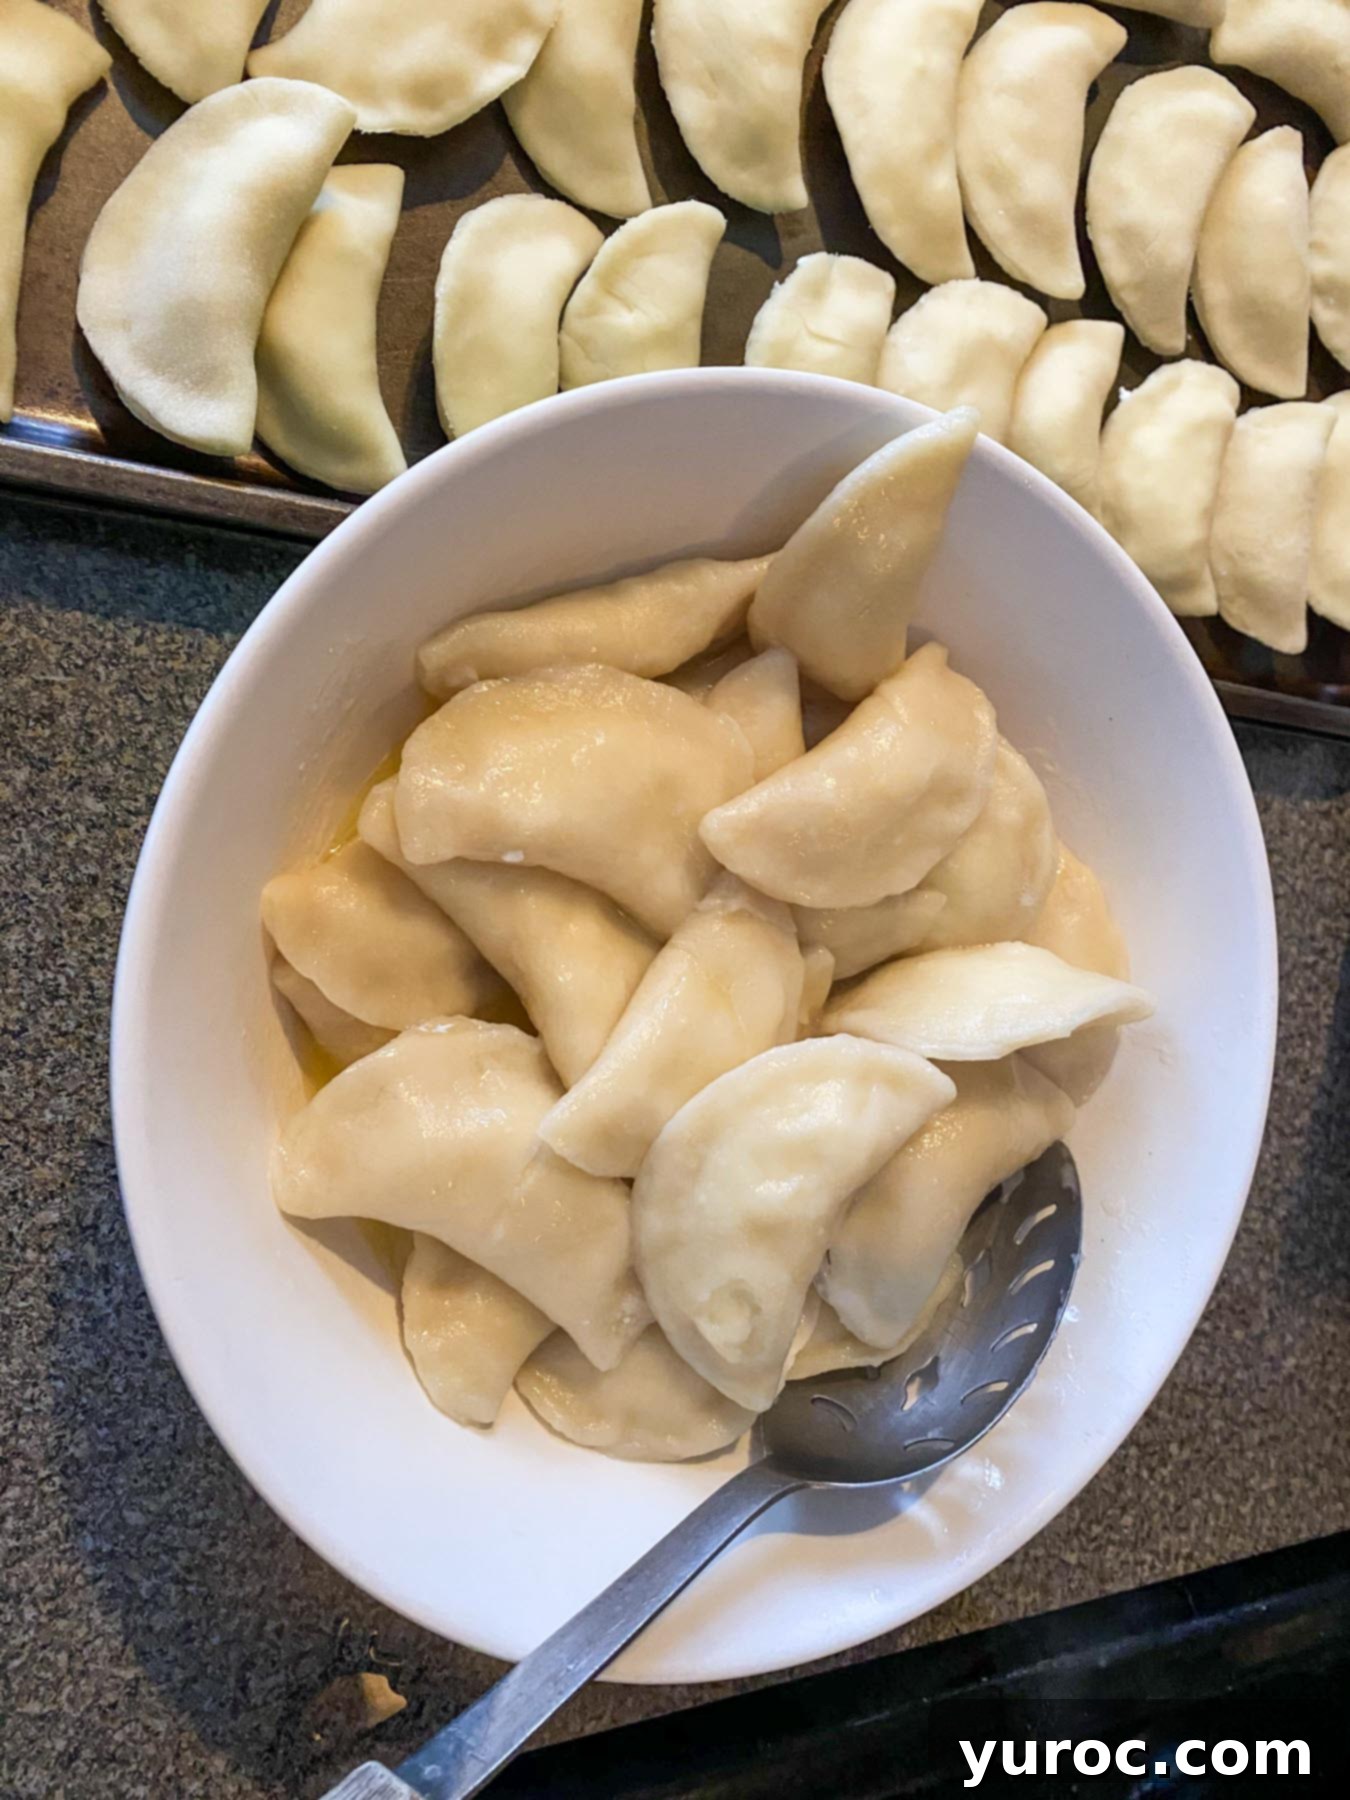
- Boil the Perogies in Batches: Bring a large pot of salted water to a rolling boil. Carefully add the perogies, but only about a dozen at a time. It’s crucial not to overcrowd the pot, as this can lower the water temperature and cause the perogies to stick or cook unevenly. Cook the perogies in the vigorously boiling water. You’ll know they are ready when they float gracefully to the surface – a tell-tale sign of their delicate texture and readiness.
- Butter Coating & Freezing Option: Once the perogies float to the top, remove them promptly from the boiling water using a slotted spoon. Transfer them immediately to a bowl containing about ⅓ cup of melted butter. Gently toss the perogies to ensure each one is coated, preventing them from sticking together. Add more melted butter as needed, depending on the quantity of perogies you’re cooking. This butter coating method was Grandma Mary’s secret for keeping her perogies perfect. Repeat this process for each batch.
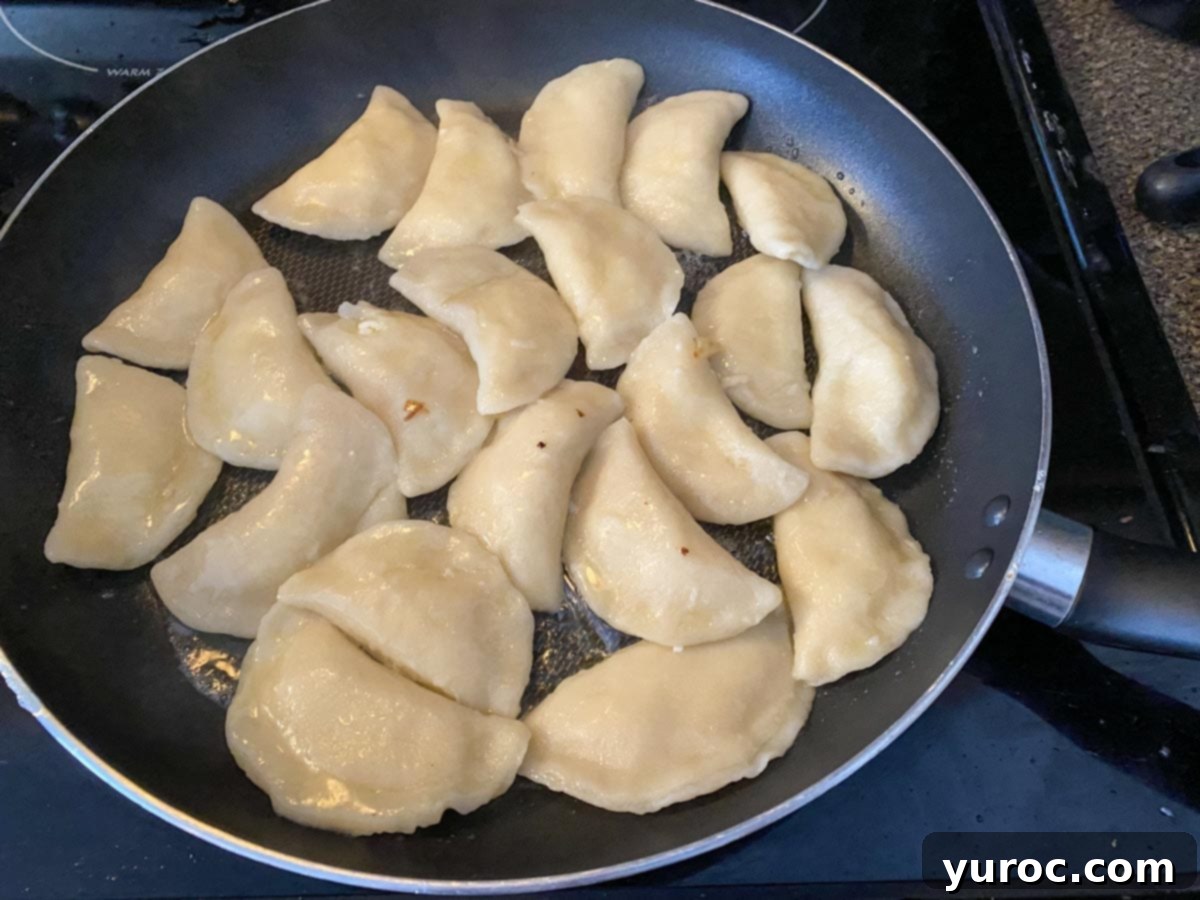
*NOTE for Freezing: If you plan to freeze your perogies for future enjoyment, after boiling and coating them in butter, arrange them back onto parchment paper-lined cookie sheets, ensuring they are not touching. Freeze them solid on the cookie sheets for 4-6 hours. Once thoroughly frozen, you can transfer them to large freezer bags for long-term storage. (We didn’t freeze any this time, so no photo is available for this step). - Pan-Frying for Golden Perfection: In a large skillet, melt an additional 2-3 tablespoons of butter (or more, as desired) over medium-high heat. Add a single layer of butter-coated perogies to the hot skillet, being careful not to overcrowd. Fry them until they achieve a beautiful golden-brown crispness on one side, then flip them gently and fry until the other side is equally golden and delicious. Remove from heat and serve immediately, or keep warm while you fry the remaining batches.
Video Guide: How to Assemble Cottage Cheese and Potato Perogies
For a visual demonstration of the critical pinching and sealing steps, please watch this detailed video: See VIDEO – how to make a cottage cheese and potato perogies. This will help ensure your perogies are perfectly sealed and don’t fall apart.
Expert Tips for Perfect Potato and Cottage Cheese Perogies
Achieving truly exceptional homemade perogies involves a few key techniques and considerations. Follow these expert tips from years of experience to ensure your potato and cottage cheese perogies are the absolute best they can be:
- Don’t Overcook Potatoes: The ideal potato filling starts with perfectly cooked potatoes. Boil them just until a fork easily glides through. Overcooking will make them watery and mushy, leading to a runny filling that can compromise the perogy’s structure.
- Avoid Over-Kneading Dough: While kneading is necessary to develop gluten and create an elastic dough, excessive kneading can lead to a tough, chewy texture that’s difficult to roll out. Mix until just combined and smooth, then let it rest.
- Keep the Dough Covered: Dough dries out quickly when exposed to air. Always keep any portion of the dough you’re not actively working with covered tightly with plastic wrap or an airtight lid. This maintains its moisture and pliability, making it easier to roll and shape.
- Roll Dough Out Thin: Aim for a thickness of approximately ⅛ inch. This requires dedication and a bit of muscle, but it’s crucial for that delicate, tender perogy texture. If the dough is too thick, the perogies will be dense and chewy, diminishing the overall experience.
- Don’t Add Too Much Filling: Less is often more when it comes to perogy filling. A small amount, about 1-2 teaspoons, in the center of each dough circle is sufficient. Overfilling makes sealing incredibly challenging and significantly increases the risk of the perogies bursting open during the boiling process. Keep the filling away from the edges to ensure a strong seal.
- Tightly Seal Every Perogy: This cannot be stressed enough – a tight seal is absolutely critical! If the perogies aren’t perfectly sealed, the delicious filling will seep out into the boiling water. Use enough hot water to moisten the dough edges and pinch the perogy closed thoroughly, often requiring a second pass to ensure complete closure.
- Cook Perogies in Batches: Never overcrowd your pot when boiling perogies. Give them ample room to move and float freely. Overcrowding drops the water temperature too quickly and can cause them to stick together or cook unevenly. Cook about a dozen at a time, removing them as they float to the top.
- Don’t Overcook During Boiling: Once perogies float to the surface, they are ready. Prolonged boiling can make the dough too soft and fragile, increasing the chances of the filling escaping. Remove them promptly.
- Get Them Into Butter Right Away: As soon as the perogies are removed from the boiling water, transfer them directly into a bowl of melted butter. Tossing them gently in butter prevents them from sticking to each other, a common issue that can ruin a batch of freshly made perogies.
Host a Perogy Party: Making Perogies with Friends and Family
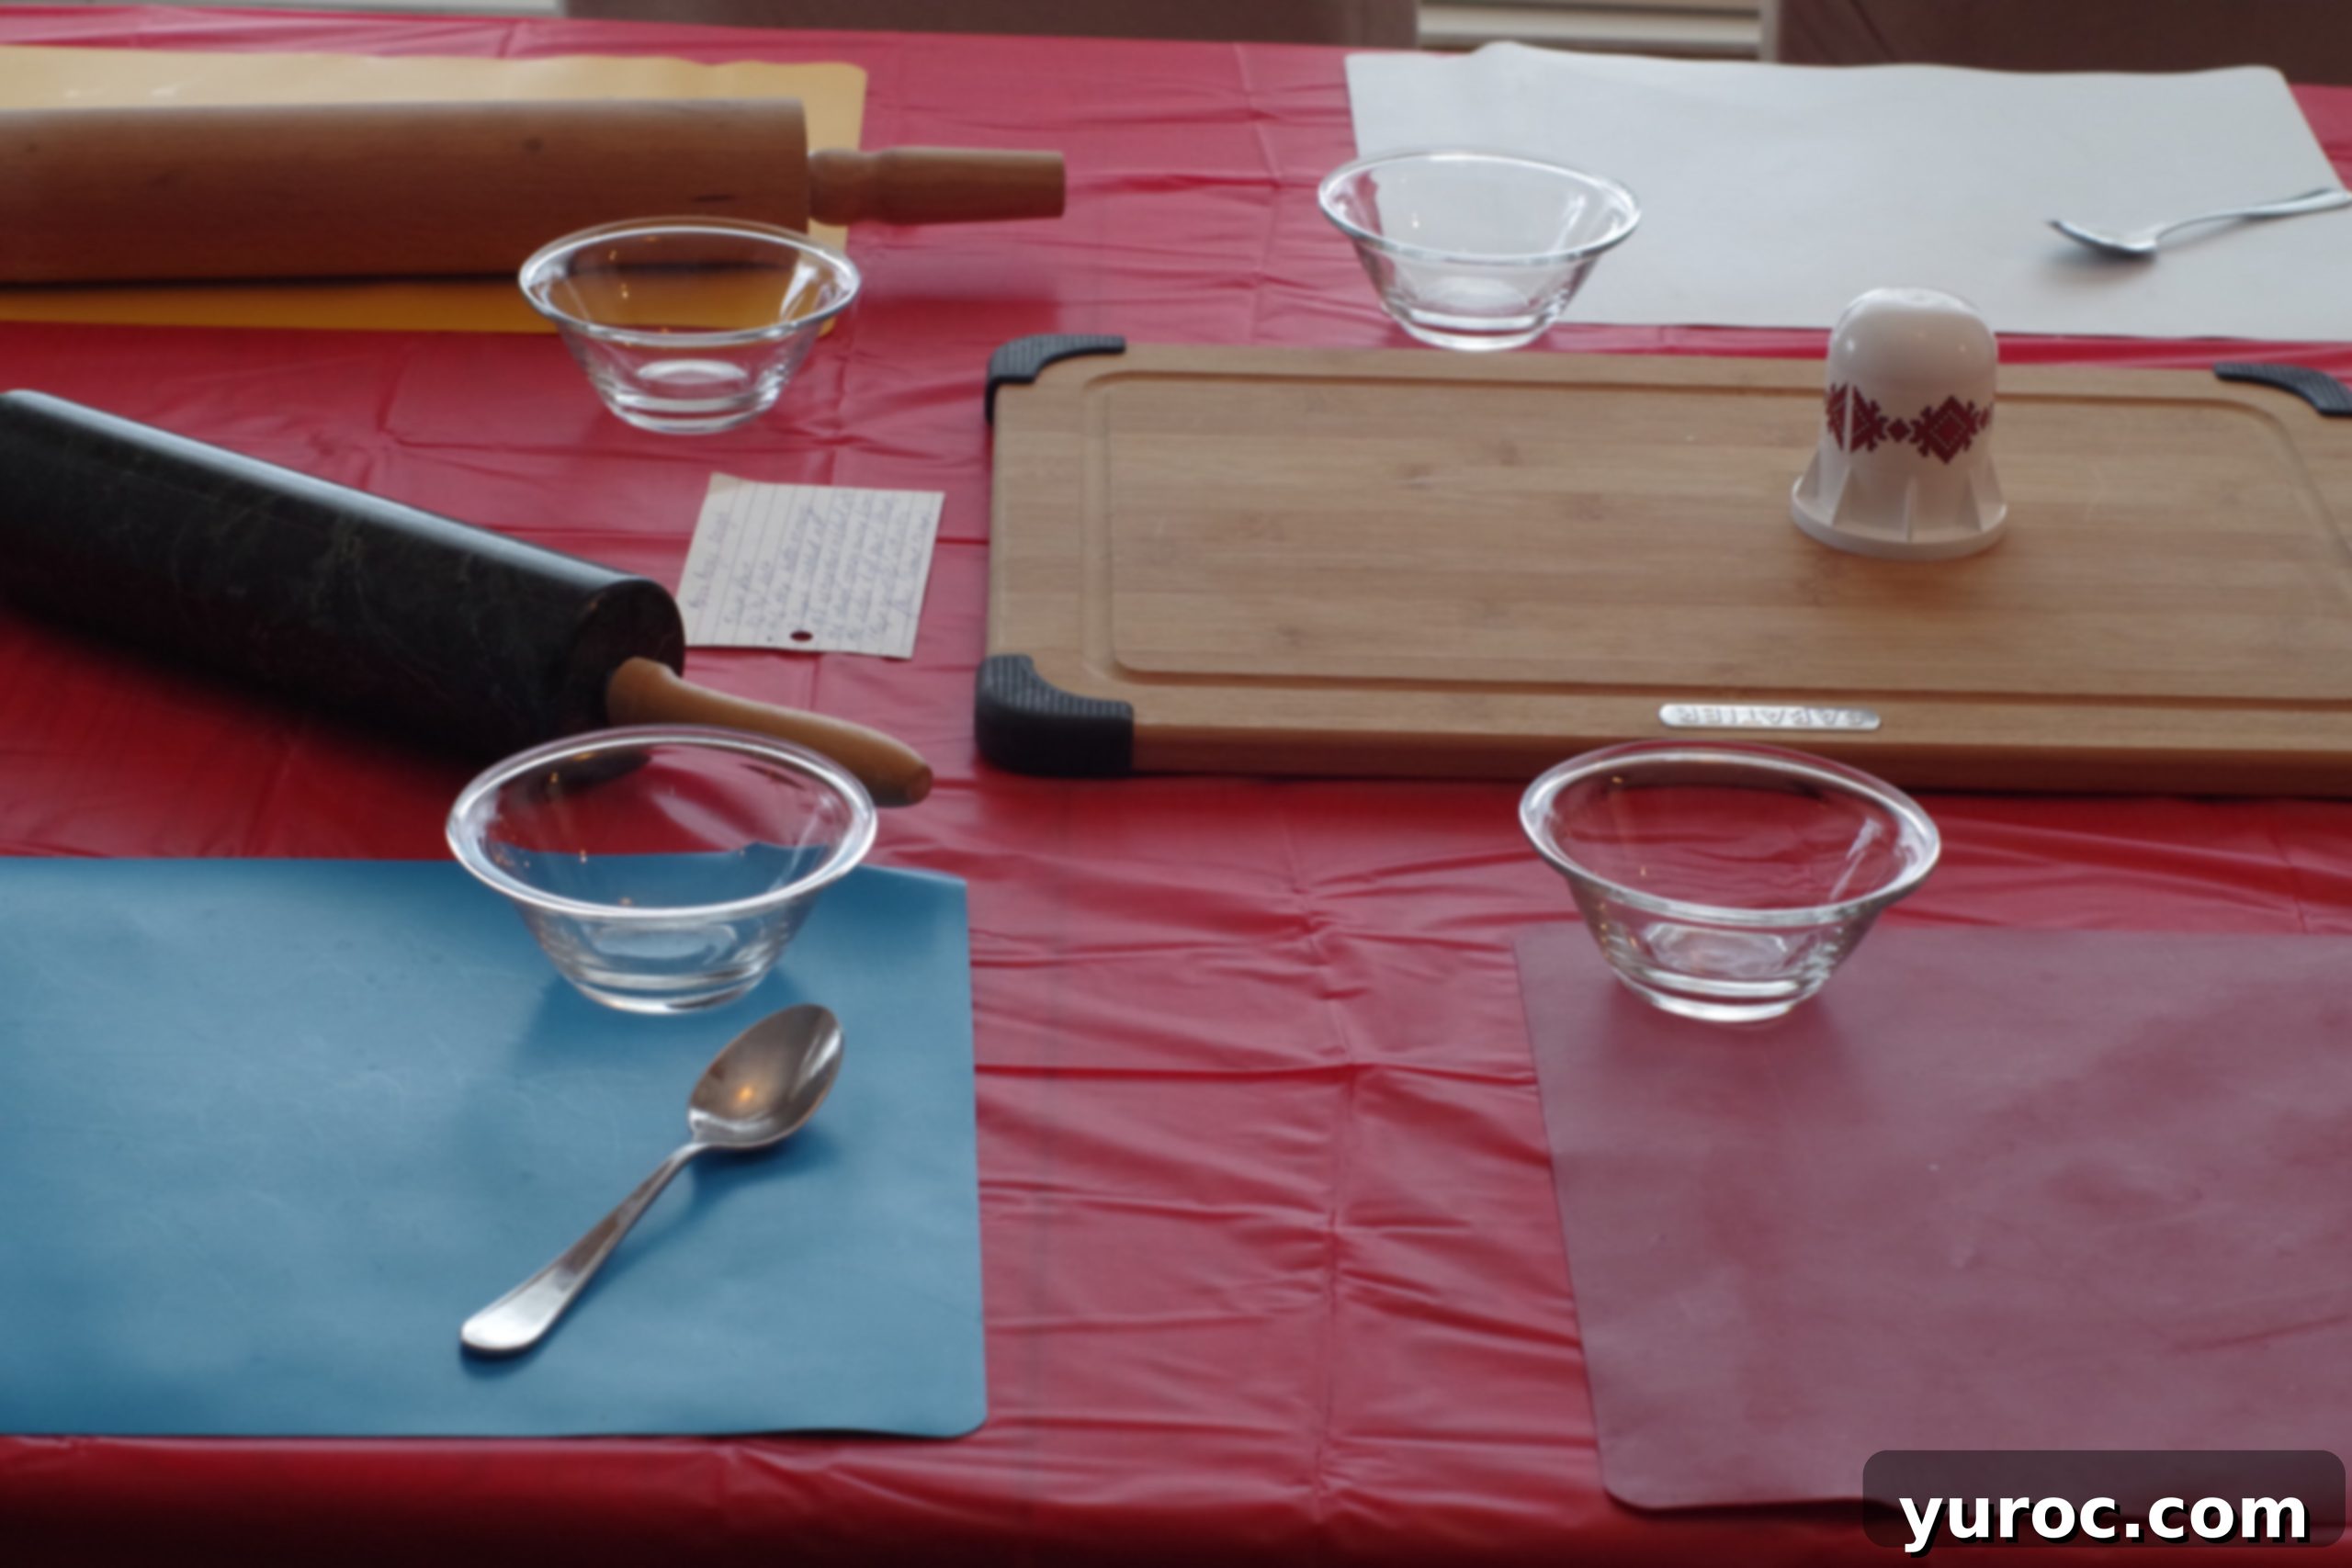
Given the labor-intensive nature of making 90 perogies from scratch, I wholeheartedly recommend turning it into a “Perogy Party”! Gather your relatives, closest friends, or even enthusiastic neighbors, and transform the task into a delightful communal activity. As the old adage goes, many hands make light work, and this holds especially true for perogy making. It’s not only a lot more fun when you share the effort, but everyone gets to leave with a generous bounty of homemade perogies to enjoy later!
You can easily set up an efficient assembly line to make the process run even smoother. Designate stations for rolling dough, adding filling, and pinching the perogies closed. And, of course, drinking wine while making perogies is not only perfectly acceptable but highly encouraged—it’s a party, after all! I’ve had many memorable perogy parties over the years. This past year, amidst the pandemic, it was the smallest gathering I’ve hosted, with just my immediate family of four. Yet, even with fewer hands, we still had a fantastic time, creating delicious food and lasting memories.
Serving Size and Yield for Your Homemade Perogies
This traditional perogy recipe yields a generous batch of approximately 90 perogies. While this might sound like a substantial quantity, it’s quite reasonable, especially if you have others assisting you and plan to divide them amongst contributors or freeze some for later. Should you wish to adjust the recipe, you can easily halve, double, or even triple the ingredients by simply clicking on the serving number in the recipe card and selecting your desired yield. The ingredient quantities will automatically adjust to your needs.
Delicious Pairings: What to Serve with Your Perogies
Perogies are incredibly versatile and can be enjoyed as either a hearty side dish or a satisfying main course. To round out your Ukrainian-inspired meal, I highly recommend serving them alongside these complementary recipes:
- Lazy Slow Cooker Cabbage Rolls
- Beef Borscht (with canned beets)
- Air Fryer Kielbasa (Kovbasa)
- Ukrainian Walnut Torte
Storage and Reheating Tips for Homemade Perogies
Proper storage is key to enjoying your homemade perogies long after they’re made. Here’s how to keep them fresh and delicious:
- To Refrigerate: Store cooked perogies in an airtight container in the refrigerator for 3-5 days. Ensure they are completely cooled before storing to prevent condensation.
- To Freeze: For longer storage, after you have boiled and tossed the perogies in melted butter (as described in step 11), arrange them in a single layer on parchment paper-lined cookie sheets. Make sure the perogies are not touching each other. Freeze them on the cookie sheets for 4-6 hours, or until completely solid. Once frozen, transfer them to heavy-duty freezer bags or airtight containers for long-term freezing, where they can last for several months.
- To Reheat: Reheat frozen or refrigerated perogies until warmed through. A quick and easy method is to use an air fryer: cook at 400 degrees F (204 degrees C) for about 5 minutes, or until hot and slightly crispy. Alternatively, you can pan-fry them in a little butter over medium heat until they are warmed and golden brown.
Top Tip: Creative Uses for Leftover Dry Cottage Cheese and Perogy Filling
Don’t Let Anything Go to Waste!
Dry cottage cheese, also known as dry curd cottage cheese or farmer’s cheese, offers a distinct flavor and texture compared to typical creamy cheeses. If you find yourself with leftover dry cottage cheese or a bit of the potato and cottage cheese mixture after making perogies, don’t let it go to waste! It’s a versatile ingredient that can be incorporated into many other delicious dishes. Here are some fantastic recipes to help you use it up:
- Perogy Zucchini Boats: A healthy and creative way to enjoy perogy flavors.
- Easy Pierogi Stuffed Mushrooms: A savory appetizer perfect for any gathering.
- Or explore my extensive collection of 15 Farmers Cheese Recipes for even more inspiration!

So, if you’re eager to try a truly simple, incredibly delicious, and wonderfully unique homemade pierogi recipe that carries a rich family history, then give Grandma Mary’s traditional Potato and Cottage Cheese Perogies a try! You won’t be disappointed by this authentic taste of Ukrainian comfort food. This recipe is a celebration of heritage, flavor, and the joy of sharing homemade goodness.
Frequently Asked Questions (FAQs) About Making Potato & Cottage Cheese Perogies
Technically, no, scalding milk is not an absolute necessity for modern recipes in terms of food safety, thanks to pasteurization. Historically, it was done to kill bacteria. However, when a recipe, especially a traditional one like this, calls for scalded milk, it’s typically because the process enhances the milk’s flavor-carrying properties. Scalding brings a deeper, richer taste into the final dish and, for this perogy dough, it also contributes significantly to a more tender and flavorful cooked dough. I always scald the milk for these perogies because it genuinely makes a noticeable difference in both taste and texture, elevating the overall quality of the homemade perogies.
Yes, it is highly recommended to boil pierogies before frying them. The initial boiling process gives the perogies a wonderfully soft and delicate interior texture, making them tender and pleasant to eat. If you were to fry raw pierogies directly, they would likely be tough, chewy, and the dough might not cook through properly. Boiling ensures they are cooked evenly from the inside out. While boiling is a must, frying them afterwards is optional; you can certainly enjoy them straight from the boiling pot if you prefer a softer texture, often simply tossed in butter and served with sour cream.
Dry cottage cheese, often called farmer’s cheese or dry curd cottage cheese, is distinctly different from the creamier, more common wet cottage cheese. The main difference lies in the whey content. Dry cottage cheese has had almost all of its liquid whey pressed out, resulting in a firmer, drier texture and a more concentrated, tangy flavor. It crumbles easily and doesn’t have the soupy consistency of regular cottage cheese. This dry texture is crucial for perogy filling, as it prevents the filling from becoming too watery and keeps the perogies from bursting during cooking.
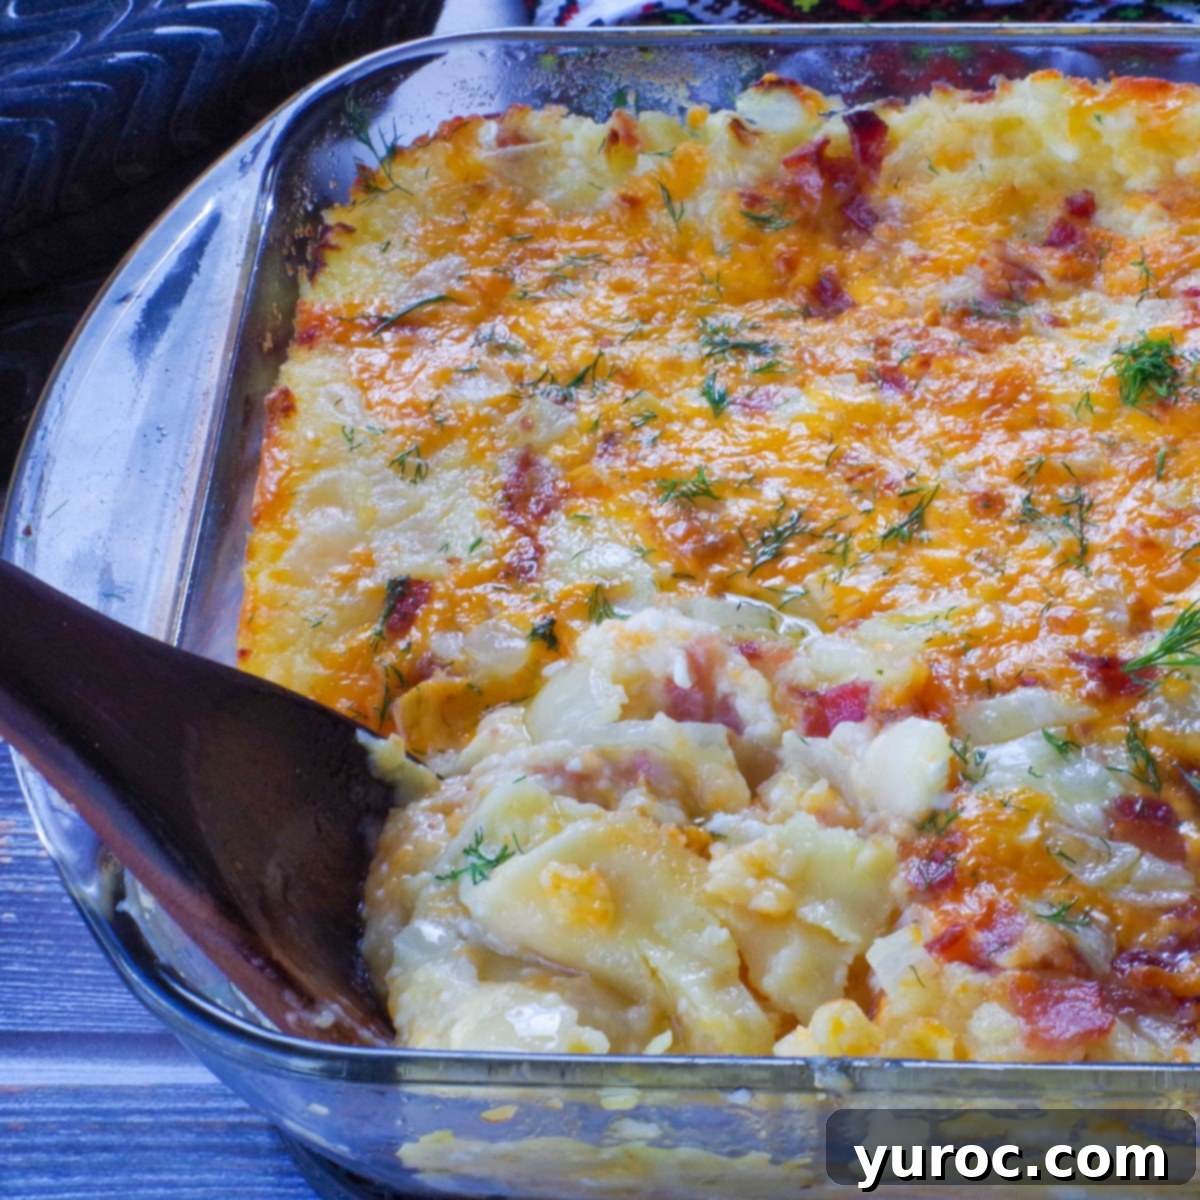
However, if you’re feeling a bit lazy and prefer to skip the labor-intensive process of making perogies from scratch, my Lazy Perogy Casserole offers all the delicious flavors of these traditional perogies without all the intricate work!
And for those with a sweet tooth, why not try my delightful Saskatoon Berry Dessert Perogies? This recipe uses the very same versatile dough from Grandma Mary’s perogies, so if you’ve made a large batch of dough, you’ll have plenty to create these sweet treats too! Happy perogy making and even happier eating!
More Ukrainian-Inspired Recipes!
- Loaded Pierogi Soup
- Pierogi Breakfast Casserole (with frozen pierogies)
- Pierogi Potato Salad (Award-winning)
- Perogy Pizza
Did your family love this recipe? Did you know that commenting and rating recipes is one of the best ways to support your favorite recipe creators? If you LOVED this recipe, please comment and rate it in the recipe card below, or share photos on social media using the hashtag #foodmeanderings or tagging @foodmeanderings! Your feedback means the world to us!
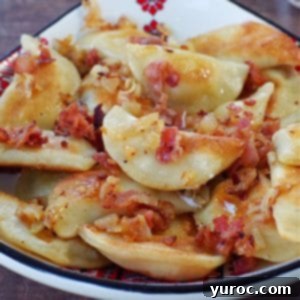

Grandma Mary’s Authentic Potato and Cottage Cheese Perogies Recipe
This Potato and Cottage Cheese Perogies recipe comes directly from the master perogy maker herself, Grandma Mary! Made with traditional dry cottage cheese, creamy potatoes, and a simple, tender perogy dough, these homemade Ukrainian dumplings are first boiled to perfection, then pan-fried in rich butter, and finally, generously smothered with crispy bacon, sweet caramelized onions, and a dollop of sour cream. They are a truly delicious and authentic taste of Ukrainian heritage.
Pin
Rate
Course: Breakfast, Dinner, Lunch
Cuisine: Ukrainian
Servings: 90 perogies
Calories: 49 kcal
Author: Terri Gilson
Prep Time: 1 hour
Cook Time: 20 minutes
Rolling, Filling and Pinching: 45 minutes
Total Time: 2 hours 6 minutes
Ingredients
For Mary’s Perogy Dough
- 5 cups all-purpose flour
- ½ teaspoon salt
- ¼ cup unsalted butter or margarine, melted
- 2 cups scalded milk, cooled to 110°F (43°C)
For the Cottage Cheese & Potato Filling
- 4 large potatoes, peeled and chopped
- 600 g (approximately 21 oz) dry cottage cheese (dry curd/farmer’s cheese)
- 1 teaspoon salt
- ½ teaspoon black pepper
For Cooking
- ⅓ cup butter, melted (for coating boiled perogies)
- 3 tablespoons (or more) butter (for frying)
For Garnish (Optional)
- Fried onions
- Crispy fried bacon
- Sour cream
Unit System: US Customary – Metric
Instructions
Perogy Dough Preparation
- Mix all perogy dough ingredients together in a large bowl. Start with a wooden spoon, then switch to your hands. Continue mixing and kneading by hand until the dough becomes smooth and pulls away cleanly from the sides of the bowl and your hands.
- During kneading, gradually sprinkle in an additional ½ cup of all-purpose flour, working it into the dough until fully incorporated.
- Once the dough is smooth and elastic, cover the bowl with an airtight lid or plastic wrap and let the dough rest at room temperature for approximately one hour. This rest allows the gluten to relax, making the dough easier to roll.
Cottage Cheese & Potato Filling Preparation
- Peel and chop the potatoes into uniform pieces. Place them in a pot with hot water and boil until they are completely fork-tender (a fork should easily pass through them). Drain the cooked potatoes thoroughly.
- In a large bowl, mash the drained potatoes until smooth. Add the dry cottage cheese, 1 teaspoon of salt, and ½ teaspoon of black pepper to the mashed potatoes. Mix everything together until well combined and the filling has a consistent texture. Set the filling aside to cool slightly.
Assembly of Perogies
- Lightly flour a clean work surface. Transfer the rested dough to the floured surface and divide it into 4 equal wedges.
- Take one dough wedge and roll it out evenly to an approximate thickness of ⅛ inch. This step requires firm pressure and consistent rolling to achieve the desired thinness.
- Using a perogy cutter or a 2.5-inch round cookie cutter, cut out circles from the rolled dough. Collect any dough scraps, gently re-knead them, and roll them out again to cut additional circles. Repeat this process with the remaining dough wedges.
- Place a small amount (about 1-2 teaspoons) of the potato and cottage cheese filling into the center of each dough circle. Be careful not to overfill, leaving a clear margin around the edges.
- Dip your finger in hot water and lightly moisten the outer edge of each dough circle. This step helps create a strong seal.
- Fold one half of the dough circle over the filling to meet the other half, forming a semi-circle. Firmly pinch the edges together in the middle to start sealing.
- Work your way around the entire edge of the perogy, pinching the dough tightly and consistently, ensuring the filling remains completely enclosed.
- Continue pinching until each perogy is completely sealed. This step is crucial to prevent the perogies from opening and the filling from leaking out during boiling.
- Place the assembled perogies in a single layer on a baking sheet lined with parchment or wax paper. Ensure they are not touching to prevent sticking. You may need multiple baking sheets.
Cooking and Frying
- Bring a large pot of salted water to a rolling boil. Carefully add about a dozen perogies at a time to the boiling water, ensuring not to overcrowd the pot.
- Cook the perogies in the vigorously boiling water until they float to the top. This typically takes 2-4 minutes depending on size and thickness. Once they float, they are ready.
- Remove the cooked perogies from the boiling water using a slotted spoon, allowing excess water to drain.
- Transfer the hot perogies immediately to a bowl containing ⅓ cup of melted butter. Gently toss them to coat each perogy thoroughly. This prevents them from sticking together. Add more melted butter as needed for subsequent batches. (This was Grandma Mary’s method.)
- Repeat steps 10-14 for each batch of perogies.
*NOTE for Freezing: If you intend to freeze perogies, after boiling and coating them in butter, place them back on parchment-lined cookie sheets, ensuring they are not touching. Freeze for 4-6 hours until solid. Then transfer them to large freezer bags for long-term storage. - In a large skillet, melt an additional 2-3 tablespoons of butter (or more, to taste) over medium-high heat. Add a single layer of boiled perogies to the hot skillet.
- Fry the perogies until they are golden brown and slightly crispy on one side, then flip them over and fry until the other side is equally golden. Remove from heat. (For toppings: fry bacon in a separate pan until crisp, and sauté sliced onions in additional butter until caramelized for best results.)
- To serve, arrange the fried perogies on a platter. Garnish generously with crispy fried bacon, sweet caramelized onions, and a dollop of cool sour cream if desired. Serve immediately and enjoy!
Video
For a complete visual guide on how to prepare these delicious cottage cheese and potato perogies, including detailed demonstrations of dough handling and sealing, please watch our step-by-step video tutorial:
How to Make Cottage Cheese and Potato Perogies Video
Notes
*IMPORTANT: For additional valuable tips, detailed information on ingredients, and troubleshooting advice to ensure your perogies are perfect, please refer to the main article content above the recipe card!
Nutrition
Serving: 1 perogy | Calories: 49kcal (2%) | Carbohydrates: 9g (3%) | Protein: 2g (4%) | Fat: 1g (2%) | Saturated Fat: 1g (6%) | Cholesterol: 1mg | Sodium: 75mg (3%) | Potassium: 90mg (3%) | Fiber: 1g (4%) | Sugar: 1g (1%) | Vitamin A: 36IU (1%) | Vitamin C: 3mg (4%) | Calcium: 14mg (1%) | Iron: 1mg (6%)
Did you make this recipe? Please leave a star rating and review below!
Rate this Recipe
