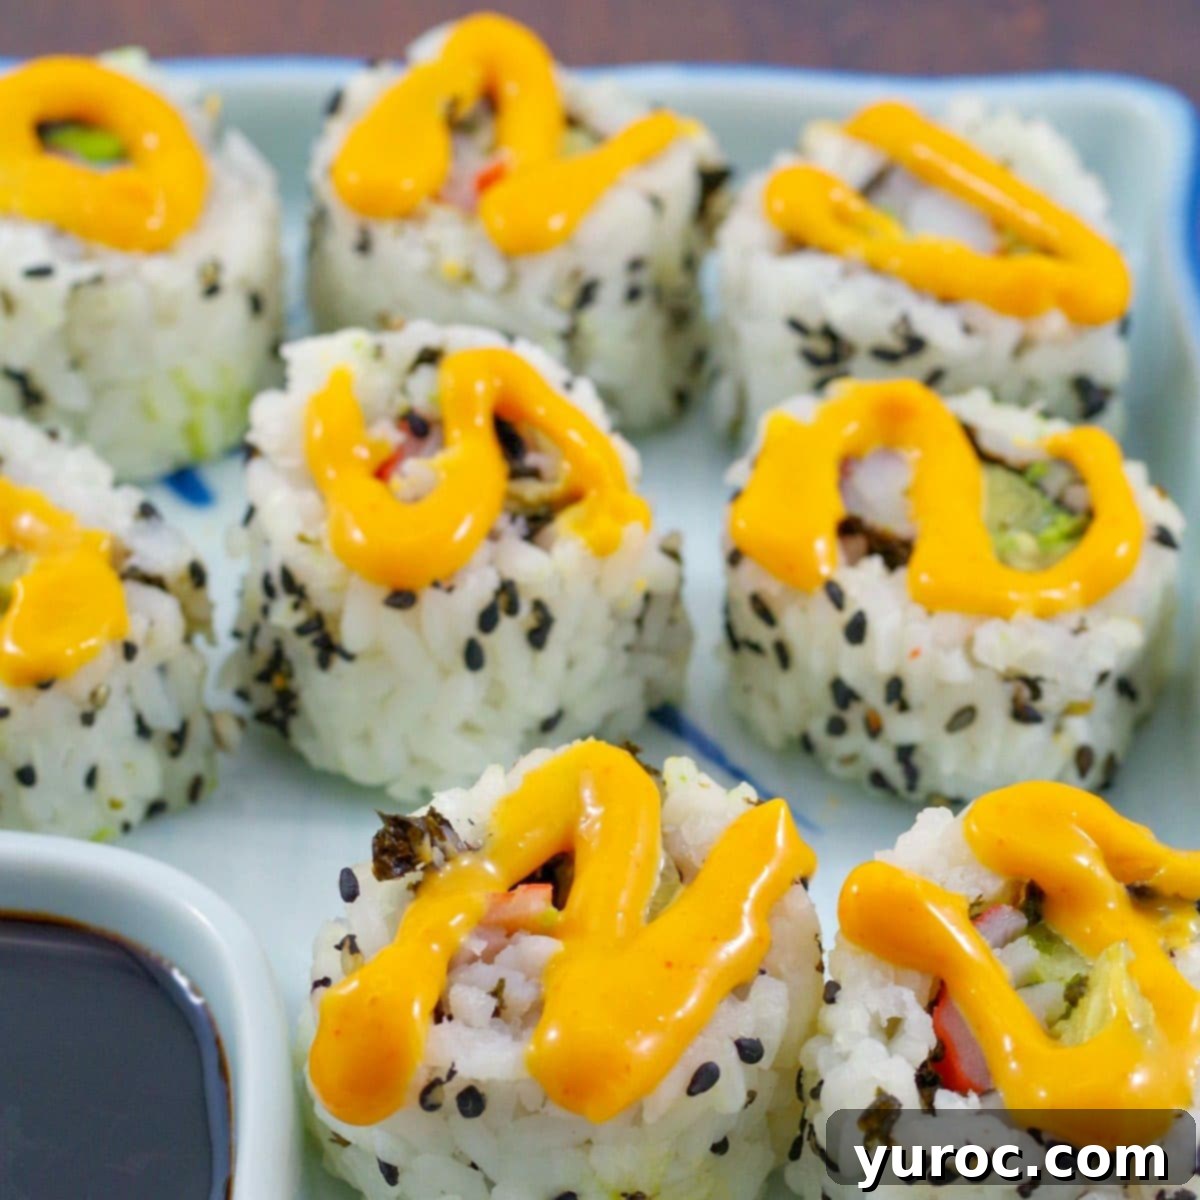
Easy & Healthy Homemade California Rolls (Sushi) Recipe: A Weight Watchers Friendly Delight
Embark on a culinary adventure right in your kitchen with this incredibly easy and delicious recipe for Homemade California Rolls (sushi). While there are countless sushi recipes available, this particular method stands out for its simplicity, vibrant flavors, and health-conscious approach. Not only is it a blast to prepare, but it’s also incredibly satisfying to eat, offering a fresh taste that often surpasses store-bought versions. Plus, it’s Weight Watchers friendly, making it a perfect guilt-free appetizer or meal (just 2 points per roll on my personal plan — check your plan here!).
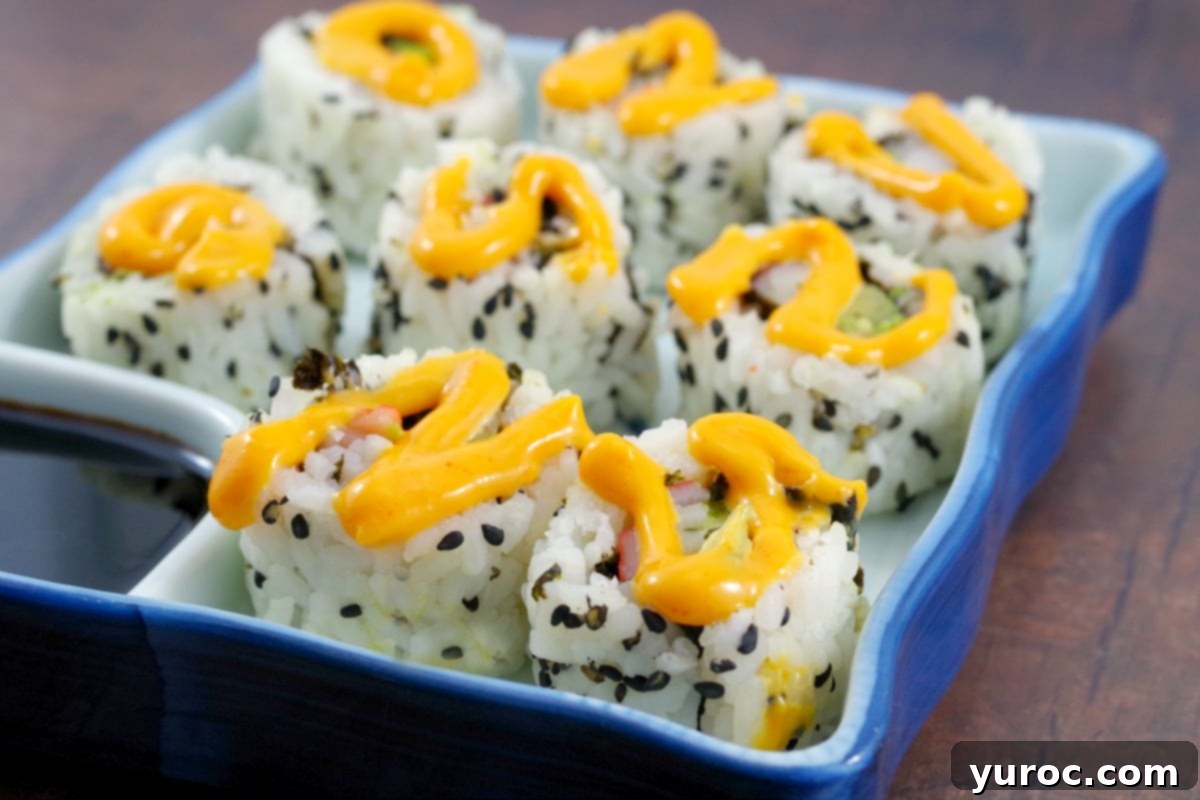
Many people find the idea of making sushi at home intimidating, but I promise you, it’s much easier than you think. It’s a fantastic hands-on activity, especially when shared with loved ones. If you’ve ever wondered, “Are California rolls truly considered sushi?” or simply want to master the art of rolling your own, you’re in the right place!
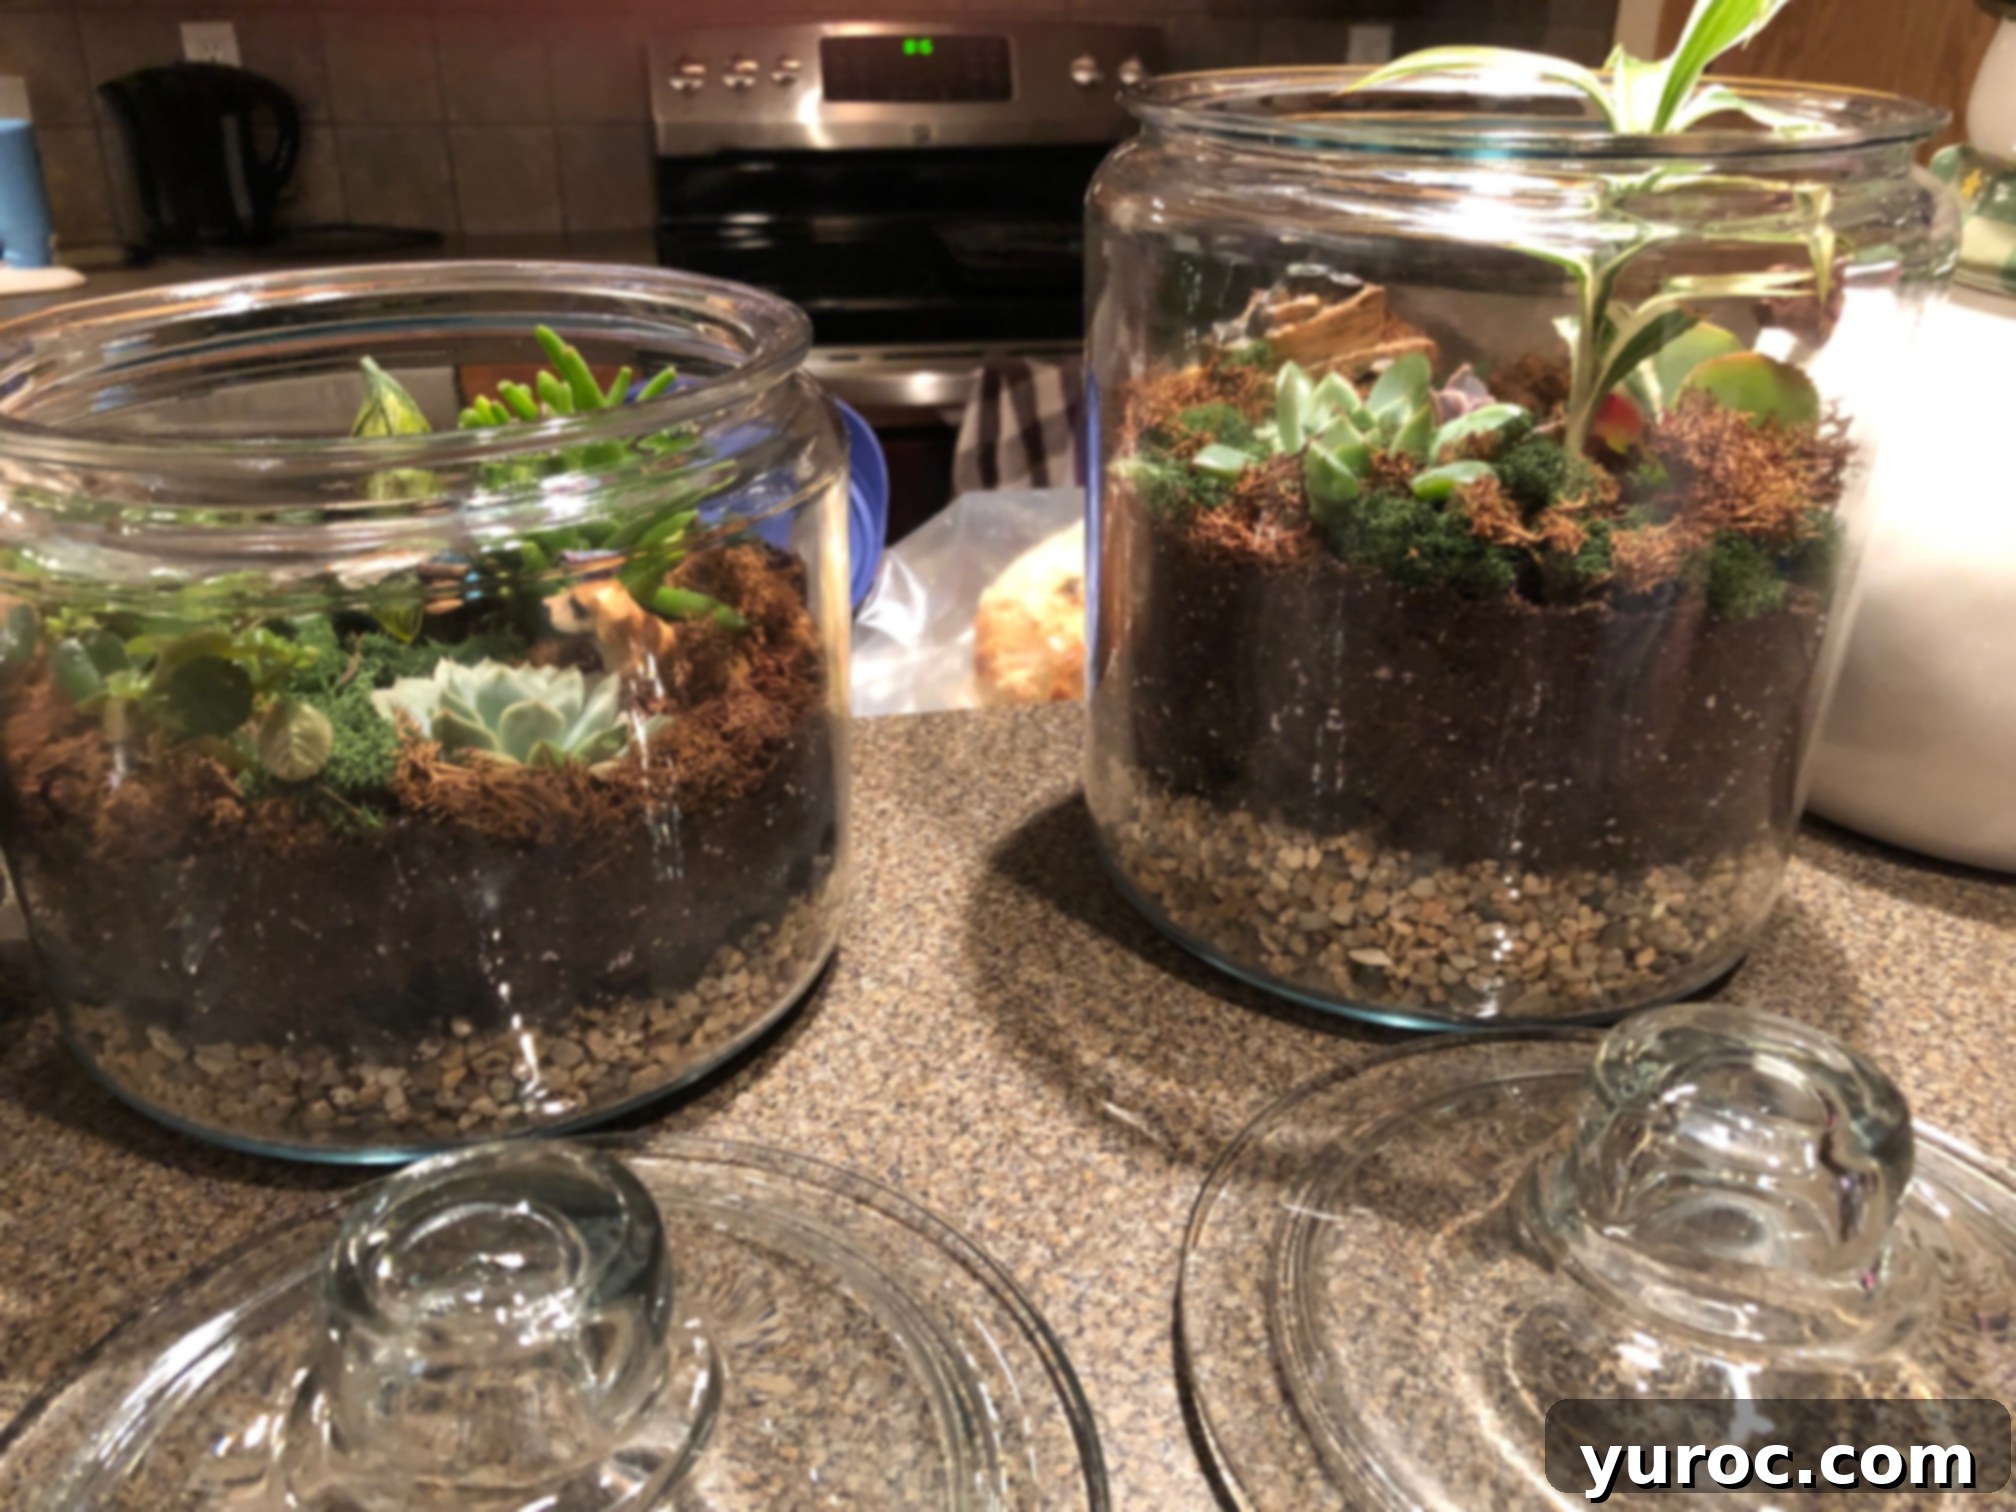
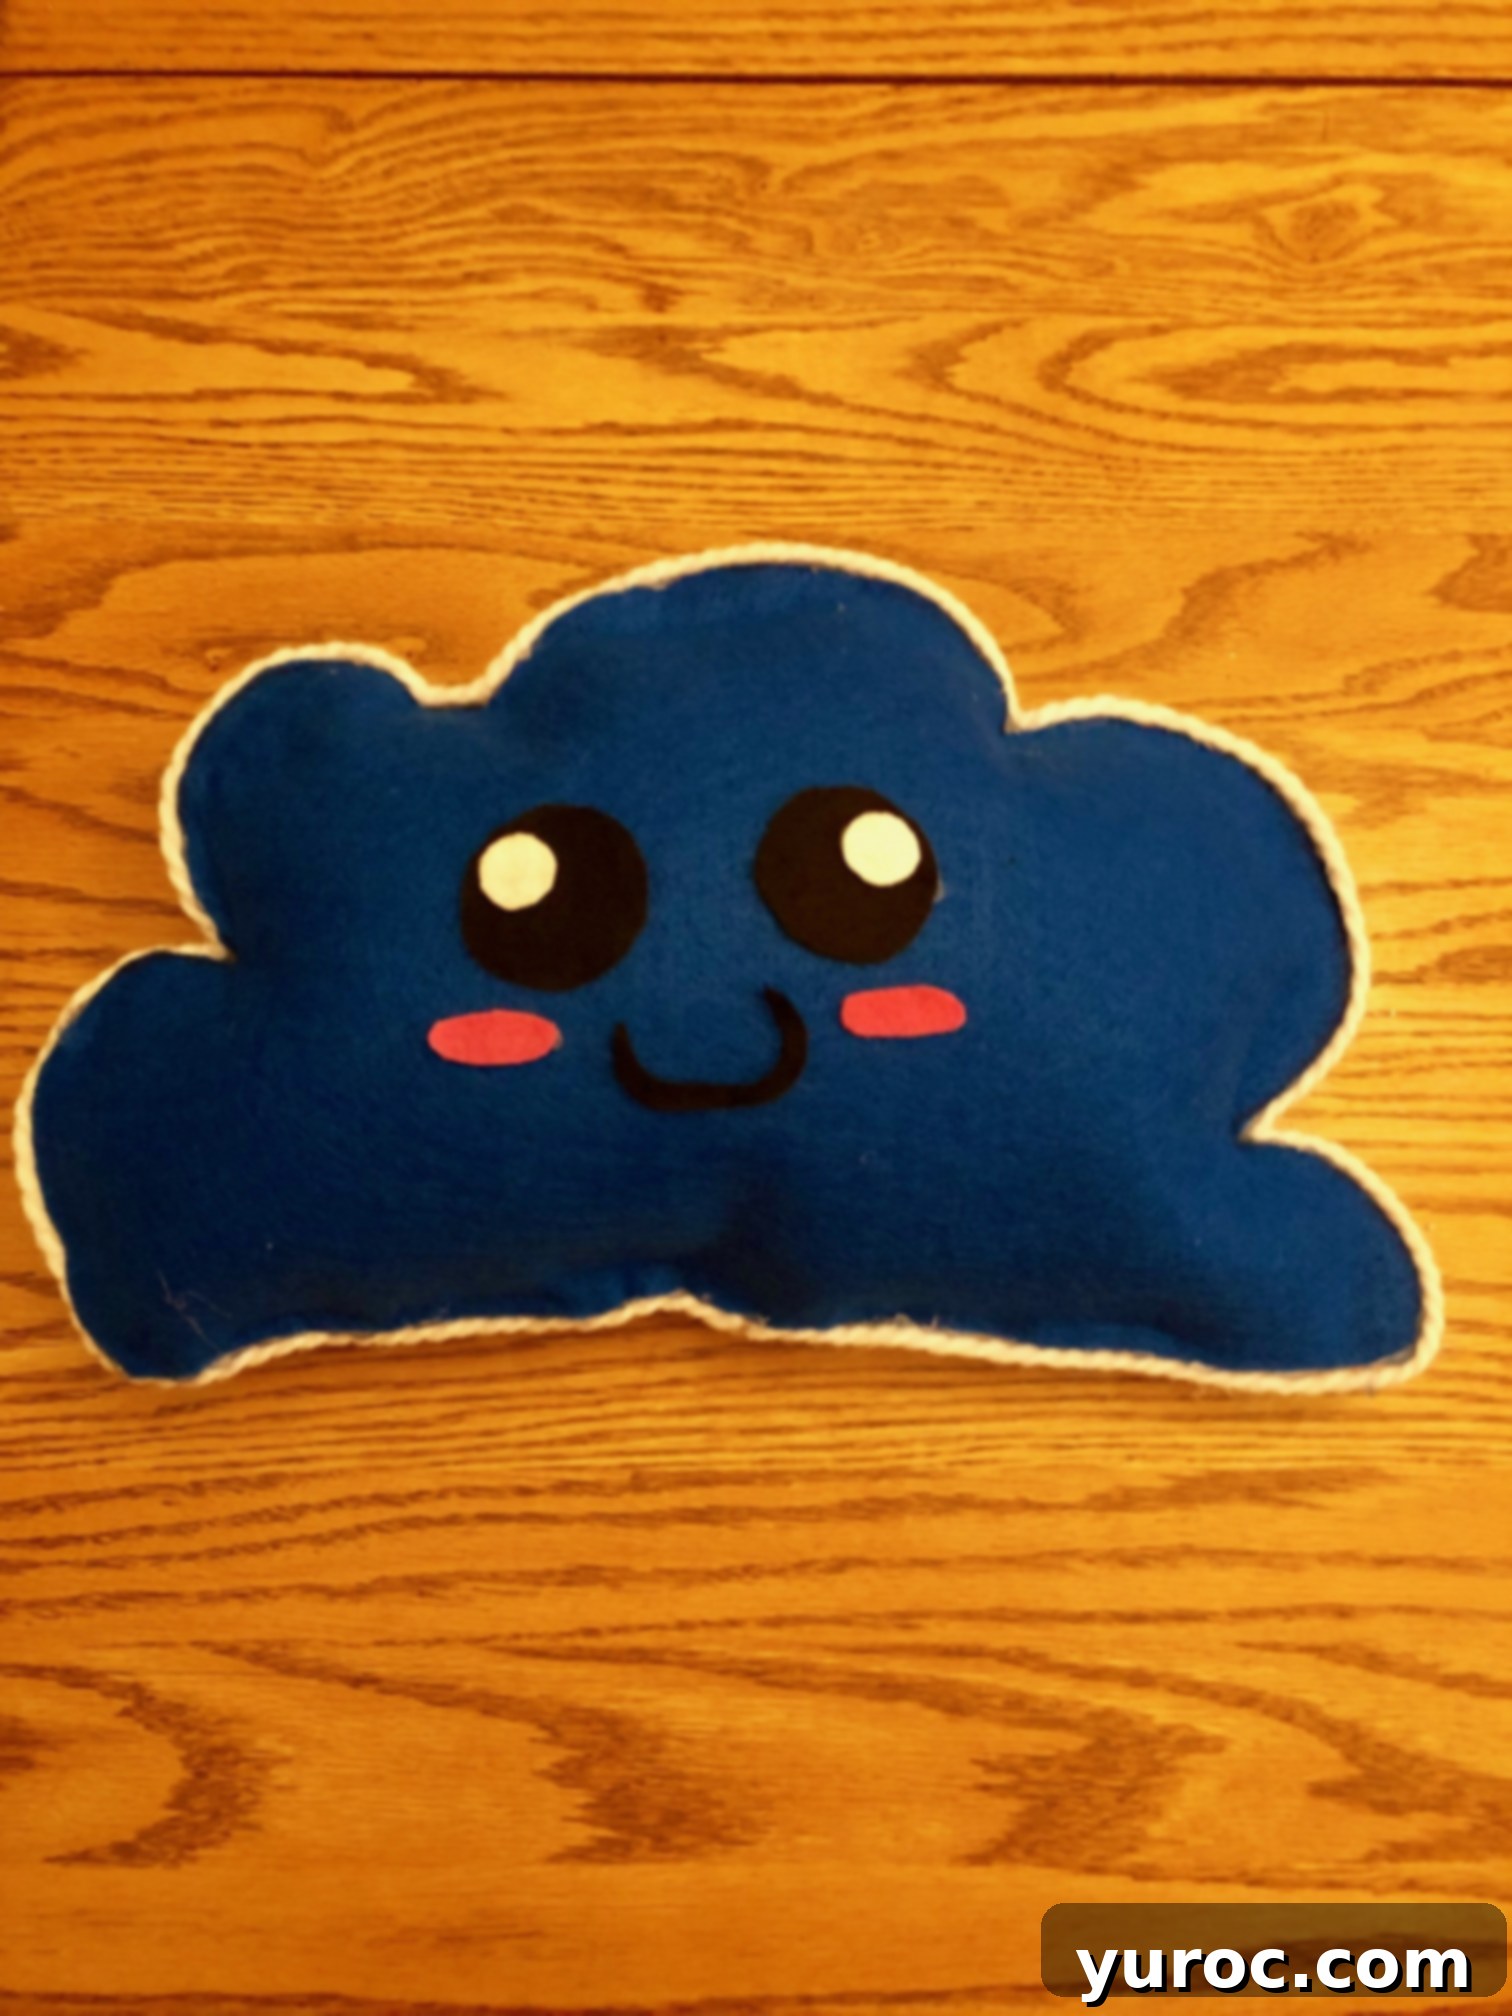
My daughter and I share a passion for “Do It Yourself” (DIY) projects. For those unfamiliar, DIY simply means creating things yourself, and it’s an incredibly rewarding experience! Our projects range from intricate crafts to delicious food creations. We’ve enjoyed countless hours together making decorated cookies, elaborate cakes, charming stuffed animals, cozy pillows, miniature terrariums, and even a custom carpet for her school locker.
Recently, she suggested we try our hand at making California Rolls, and it took absolutely no convincing on my part. The thought of fresh, homemade sushi was too enticing to resist!
Are California Rolls Truly Sushi? Unpacking the Debate
The question of whether California Rolls qualify as “sushi” is a fun and frequently debated topic among food enthusiasts. Traditionally, the dictionary defines sushi as “cold rice dressed with vinegar, formed into any of various shapes and garnished with bits of raw seafood or vegetables.” By this broad definition, California rolls certainly fit the bill, as they prominently feature vinegared rice and fresh ingredients. However, the perception often depends on how strictly one adheres to traditional Japanese culinary norms.
California rolls are widely considered an American invention, originating in the 1960s in Los Angeles. They were created to appeal to Western palates, often hesitant about consuming raw fish, by featuring cooked or imitation crab meat and placing the nori seaweed on the inside (uramaki style). This innovation helped popularize sushi across North America and beyond. So, while they might not be traditional Edo-style nigiri or maki, they are undeniably a significant and beloved part of the global “sushi family.” You can delve deeper into the fascinating history and cultural impact of California rolls HERE. As a proud Canadian, part of the North American culinary landscape, I wholeheartedly embrace them as a delicious form of sushi.
Essential Ingredients for Your Homemade California Rolls
Crafting these delectable California rolls requires a selection of fresh, high-quality ingredients. Here’s what you’ll need for this recipe:
- Cucumber: Opt for a firm, fresh cucumber, sliced into thin, even sticks for the perfect crunch.
- Avocado: Choose ripe but firm avocados, thinly sliced. They add a creamy texture and rich flavor.
- Crab Meat: You can use either fresh cooked crab meat or, for a more traditional California roll experience, imitation crab (also known as surimi). Imitation crab is a popular choice for its convenience and mild flavor. Slice it lengthwise.
- Nori Seaweed Sheets: These edible dried seaweed sheets are essential for holding your rolls together. Look for high-quality, crisp sheets.
- Short Grain Rice: This is crucial for sushi. Short-grain rice has the perfect stickiness and texture once cooked and seasoned. Regular long-grain rice won’t work.
- Rice Vinegar: Used to season the sushi rice, giving it its characteristic tangy and slightly sweet flavor.
- Sugar: Balances the tartness of the rice vinegar.
- Sea Salt: Enhances the overall flavor of the sushi rice.
- Sriracha Mayonnaise (Optional): For a delightful spicy kick! You can buy pre-made sriracha mayo or easily mix your own with regular mayonnaise and sriracha hot sauce.
- Black Sesame Seeds: Adds a subtle nutty flavor and a beautiful visual contrast.
*Please refer to the recipe card below for exact quantities.
We absolutely adore sushi and California rolls, and while we often buy them from the grocery store, nothing compares to the freshness and incredible taste of making them ourselves. Beyond the superior flavor, making your own sushi is significantly more cost-effective than purchasing it regularly. These DIY Spicy California Rolls, in particular, were an absolute triumph! Adding sriracha mayonnaise transforms them into a spicy treat – simply combine mayonnaise and sriracha sauce to your preferred spice level. This whole process turned into a really fun and memorable mother-daughter date night!
Step-by-Step Guide: How to Make Homemade California Rolls (Sushi)
Making California rolls isn’t inherently difficult, but it does involve specific techniques that, with a little practice, will yield perfectly rolled sushi every time. To help you master the process, I’ve broken it down into clear, step-by-step instructions. A sushi mat is an essential tool for rolling them properly, providing the necessary leverage and tightness. Don’t worry if your first few aren’t perfect – it just takes a bit of practice, but the delicious result is undoubtedly worth the effort!
Instructions
Preparing the Sushi Rice: The Foundation of Great Rolls
- Cook the Rice: Begin by placing 2 cups of short-grain rice and 2 cups of water into a medium saucepan. Bring the water to a boil over high heat, uncovered. Once boiling vigorously, reduce the heat to its lowest setting, cover the saucepan tightly, and let it cook for precisely 15 minutes. After 15 minutes, remove the saucepan from the heat, but keep it covered for an additional 10 minutes. This steaming process is vital for achieving the perfect sticky texture.
- Season the Rice: While the rice is resting, prepare your seasoning mixture. In a small microwave-safe bowl, combine the rice vinegar, sugar, and sea salt. Heat this mixture in the microwave on high for 30 to 45 seconds, or until the sugar and salt have fully dissolved. Transfer the cooked rice into a large wooden or glass mixing bowl. Gradually pour the warm vinegar mixture over the rice. Using a cutting motion with a rice paddle or wooden spoon, gently fold the mixture into the rice, ensuring every grain is evenly coated without mashing it. This folding technique is crucial for maintaining the rice’s integrity and achieving its characteristic shiny appearance. Allow the seasoned sushi rice to cool completely to room temperature before you start rolling. This prevents the nori from becoming soggy and makes handling the rice easier.
Assembling and Rolling Your California Rolls:
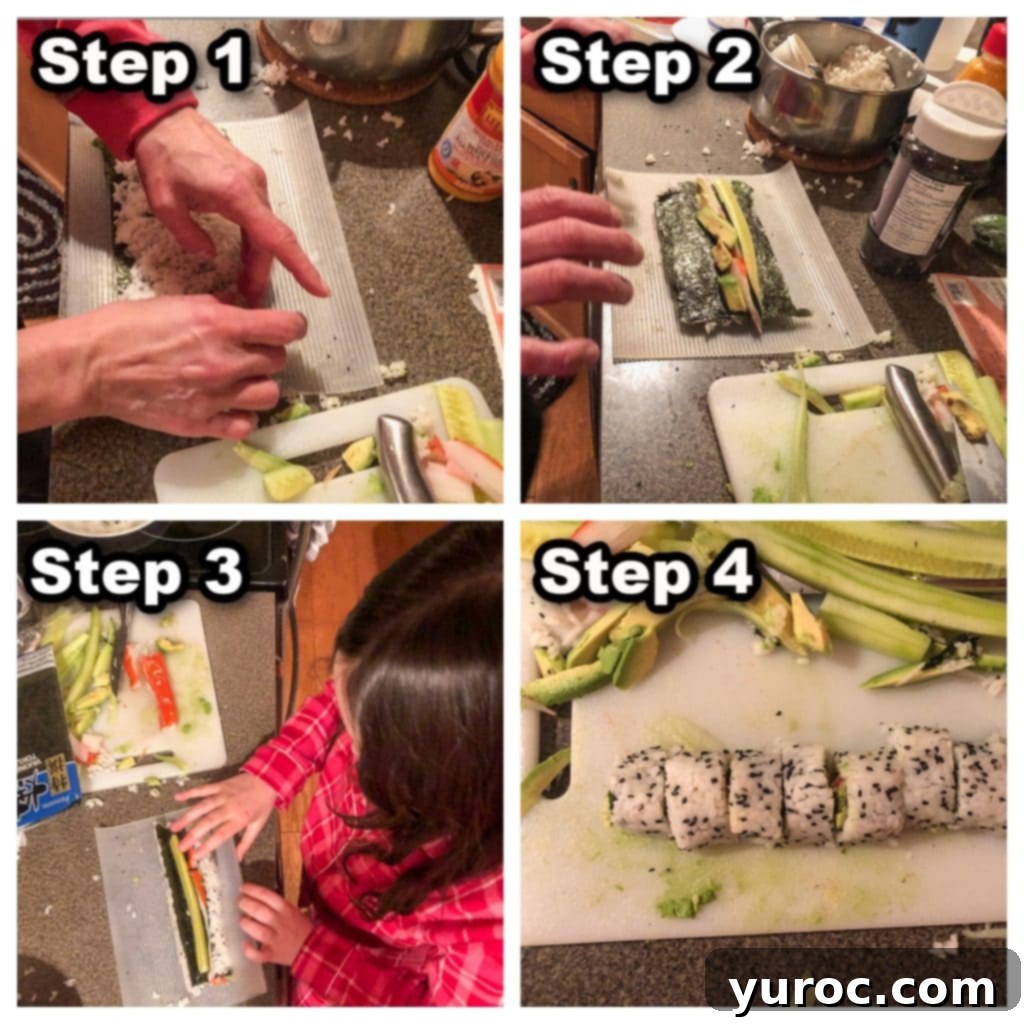
- Prepare Your Rolling Station: Cut your Nori seaweed sheets in half lengthwise. Lay one half-sheet of nori on your sushi rolling mat (if using a bamboo mat, cover it with plastic wrap for easy cleanup). Take about ⅔ cup of the cooled sushi rice and spread it evenly over the nori, pressing down gently so it adheres. Ensure the rice layer is thin and extends to the edges.
- Flip and Fill: Sprinkle a generous teaspoon of black sesame seeds over the rice. Now, carefully flip the entire nori sheet over so the rice side is facing down on the mat and the nori is facing up. Don’t worry, the rice will stick to the nori and it will flip over very easily!
- Add the Fillings: On the nori side (which is now facing up), arrange your fillings: a strip of crab meat, a line of cucumber sticks, and several thin slices of avocado. Place them slightly below the center of the nori sheet.
- Roll with Precision: Grasp the edge of the sushi mat closest to you, bringing it up and over the fillings. Begin to roll, using gentle but firm pressure to keep the roll tight and uniform. As you roll, lift the edge of the mat and continue to roll forward, applying even pressure to shape the roll into a perfect cylinder. Refer to the video provided in the NOTES section for a visual demonstration of this technique.
- Slice and Serve: Once your roll is tightly formed, gently unroll the mat. For clean cuts, moisten a sharp knife with water between each slice. Cut the long roll into 6-8 even pieces. Arrange them beautifully on a platter and serve immediately!
🎥 Watch the Video Tutorial
For a visual step-by-step guide on how to roll your California sushi like a pro, check out this helpful video:
https://foodmeanderings.com/wp-content/uploads/2019/03/Making-California-rolls.mov
Family-Friendly Serving Size and Recipe Adjustments
This generous recipe yields approximately 36 delicious California rolls, making it ideal for entertaining or meal prepping for the week. If you need to adjust the quantity – whether you want to half, double, or even triple the recipe – simply click on the blue servings number located in the recipe card below. Select your desired number of servings, and the ingredient amounts will automatically adjust to your needs.
Essential Equipment for Perfect Rolls
The single most important piece of equipment you’ll need for this recipe is a sushi rolling mat. This specialized mat is designed to help you create tight, uniformly shaped sushi rolls. While traditional bamboo sushi mats (which you’d typically cover with food-safe plastic wrap for hygiene and easy cleaning) work perfectly well, I personally prefer the convenience of modern, dishwasher-safe silicone rolling mats.
These silicone mats are not only incredibly easy to clean but also provide excellent grip, making the rolling process smoother. In my experience, anything that simplifies cleanup is a huge win! I highly recommend the Lekue Makisu Silicone Sushi Mat, clear (affiliate link), which I found to be an excellent tool for achieving consistently great results.
California Rolls: Calories, Health, and Weight Watchers Friendly
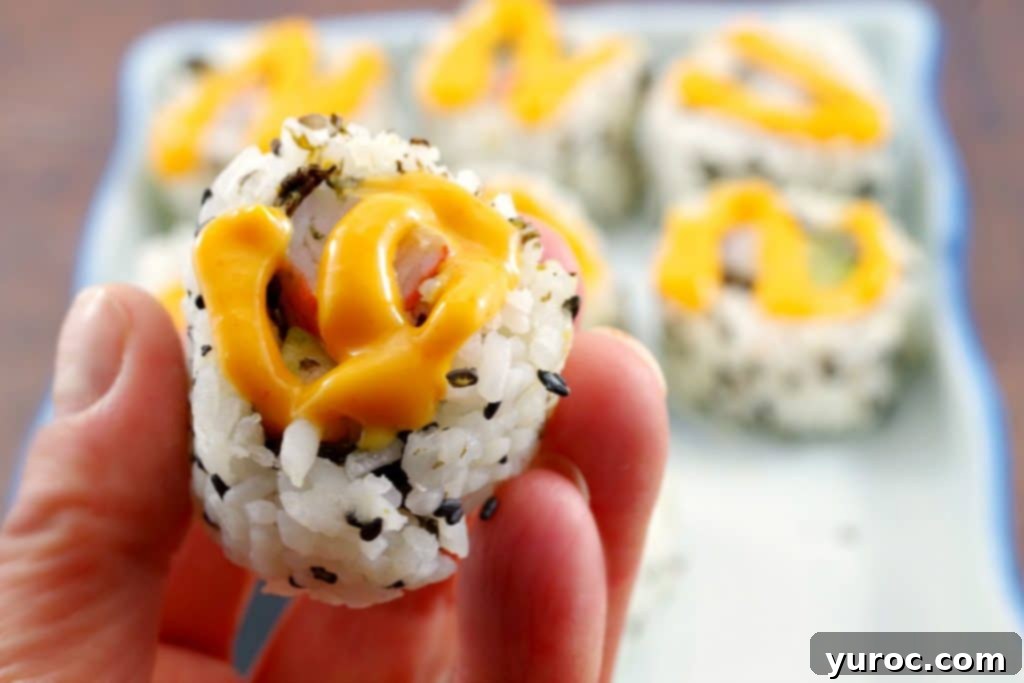
One of the many appealing aspects of California rolls is their relatively low calorie count. Each roll contains approximately 61 calories, making them a smart choice for a healthy snack or appetizer. For those following Weight Watchers, these rolls are particularly beneficial, tallying only 2 WW points on my personal plan (with mayo included). To find out the exact points value on your specific WW plan, please refer to the link provided in the NOTES section of the recipe card.
Beyond being low in calories, California rolls are also quite healthy, especially when compared to many other appetizer options. They are primarily composed of fresh vegetables (cucumber, avocado), nutrient-rich rice, beneficial seaweed (nori), and seafood (whether it’s real or imitation crab). These ingredients contribute to a balanced and satisfying bite, offering fiber, vitamins, and lean protein. For a detailed breakdown, you can check the full nutritional analysis located below the recipe card.
Making California rolls is more than just cooking; it’s an enjoyable “experience” in itself. People often pay good money to attend sushi-making classes, so why not try it for free in the comfort of your own home? It’s a fun activity that can be shared with family and friends, fostering creativity and a love for healthy cooking. No matter how you look at it, the end result is consistently delicious and rewarding!
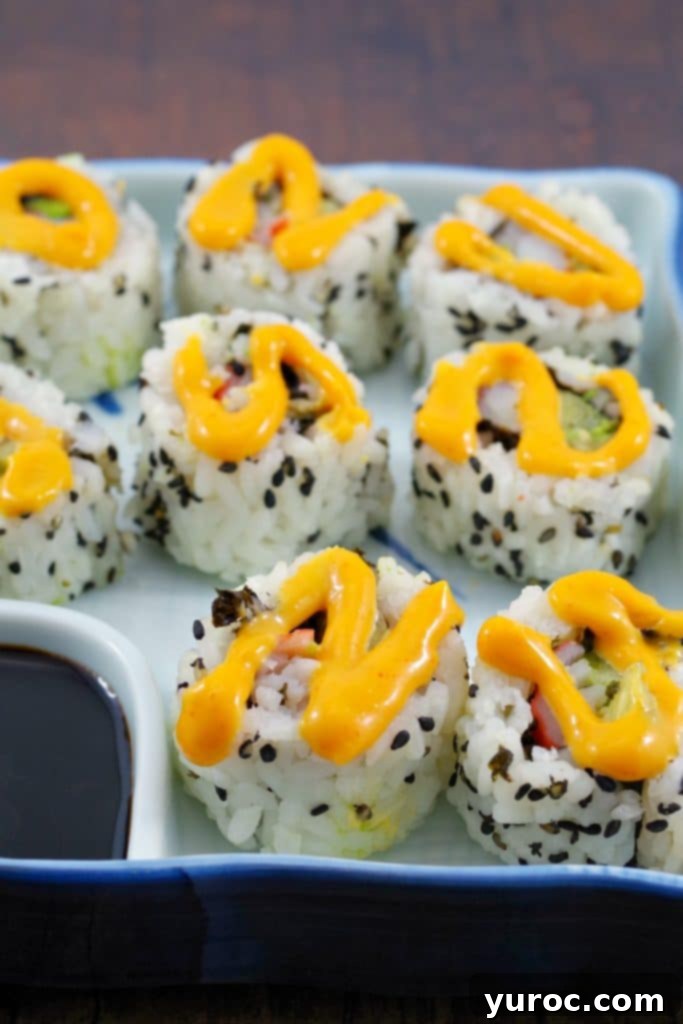
So, if you’re searching for homemade sushi recipes that are not only delicious but also align with a healthy lifestyle and are Weight Watchers friendly, this recipe is an absolute must-try!
Expert Tips for Perfect Homemade Sushi Rolls
Achieving perfectly rolled sushi is easier with a few insider tricks:
- Keep Your Hands Wet: Sushi rice is incredibly sticky. Keep a small bowl of water near your rolling station and moisten your hands before handling the rice. This prevents it from sticking to your fingers and makes spreading it evenly a breeze.
- Don’t Overfill: While it’s tempting to load up your rolls with lots of delicious fillings, overfilling is the quickest way to a messy, hard-to-roll sushi. Stick to a moderate amount of each ingredient to ensure a tight, manageable roll.
- Use a Sharp, Wet Knife: For clean, professional-looking cuts, always use a very sharp knife. Dip your knife in water and wipe it clean between each cut. This prevents the rice and fillings from sticking and tearing the roll.
- Practice Makes Perfect: Don’t be discouraged if your first few rolls aren’t perfectly round or evenly cut. Sushi rolling is an art that improves with practice. Focus on keeping the pressure even and consistent as you roll.
- Quality Ingredients Matter: Fresh, ripe ingredients make a significant difference in taste. Choose firm cucumbers, creamy avocados, and good quality nori sheets for the best flavor and texture.
Creative Variations and Serving Suggestions
Once you’ve mastered the classic California Roll, the possibilities for customization are endless!
- Spicy Tuna Roll: For a kick, mix canned tuna with sriracha mayonnaise and a touch of soy sauce, then use it as a filling.
- Tempura Shrimp Roll: Add crispy fried shrimp (store-bought or homemade tempura) along with avocado and cucumber for a delightful crunch.
- Vegetarian Delight: Omit the crab and add extra veggies like thinly sliced bell peppers, carrots, sprouts, or cream cheese for a satisfying vegetarian option.
- Mango Tango Roll: For a sweet and savory twist, add thin slices of fresh mango to your California rolls.
Serve your homemade California rolls with traditional accompaniments such as soy sauce, pickled ginger, and wasabi. The sriracha mayonnaise is a fantastic addition, but you can also experiment with other dipping sauces like sweet chili sauce or a ponzu dipping sauce for extra flavor dimensions.
Storing Your Homemade Sushi
While sushi is always best enjoyed fresh, you can store leftover California rolls for a short period. Tightly wrap the individual rolls or the entire log in plastic wrap to prevent the rice from drying out. Store them in an airtight container in the refrigerator for up to 1-2 days. Keep in mind that the avocado may brown slightly and the rice can harden, but they will still be safe and enjoyable to eat.
⭐ Reviews
Did you make this recipe? Please RATE THE RECIPE below! Your feedback is invaluable and helps others discover this delicious dish.
Please SUBSCRIBE (and get my FREE E-cookbook!) and be sure to FOLLOW ME on FACEBOOK, TWITTER, INSTAGRAM and PINTEREST!

Homemade California Rolls (Sushi) Recipe
Print Recipe
Pin
Save RecipeSave Recipe
Rate
Add to Shopping ListGo to Shopping List
Equipment
-
sushi mat
Ingredients
- 1 cucumber, sliced into thin sticks
- 2 avocados, thinly sliced
- ½ -16 oz pkg crab meat (leg style) sliced in half, lengthwise
- 4 sheets Nori seaweed sheets, cut in half, lengthwise about ½ of a 21 g bag
- 4 teaspoon black sesame seeds *approximately
Sushi rice
- 2 cups short grain rice
- 2 cups water
- 2 tablespoons rice vinegar
- 2 tablespoons sugar
- ½ teaspoon sea salt
Garnish:
- Sriracha Mayonnaise * I buy this but you can make it
Instructions
Sushi Rice:
-
Place the rice and 2 cups of water into a medium saucepan and place over high heat. Bring to a boil, uncovered. Once it begins to boil, reduce the heat to the lowest setting and cover. Cook for 15 minutes. Remove from the heat and let stand, covered, for 10 minutes.
-
Combine the rice vinegar, sugar and salt in a small bowl and heat in the microwave on high for 30 to 45 seconds. Transfer the rice into a large wooden or glass mixing bowl and add the vinegar mixture. Fold thoroughly to combine and coat each grain of rice with the mixture. Allow to cool to room temperature before using.
California Rolls:
-
Cut Nori seaweed sheets in half, and place on a sushi rolling mat. Add ⅔ cups rice spreading evenly, pressing down onto seaweed so that it sticks.
-
Sprinkle on some black sesame seeds (about a tsp), then flip it over. * Don’t worry it will flip over very easily and the rice will stick!
-
Add the crab leg, cucumber and avocado.
-
Start to roll with the end closest to you, as shown in VIDEO ( in NOTES)
-
Once tightly rolled, cut evenly into pieces and serve!
Garnish:
-
Add Sriracha mayo as desired.
Video
Notes
This sushi is 2 WW points on my plan but you can find how how many WW points it is on your personal plan HERE!
👪 SERVING SIZE
This recipe makes 36 rolls. If you want to cut the recipe in half, double or triple it, simply click on the blue servings in the recipe card, select the number of servings you’d like and the ingredient amounts will adjust accordingly.
🍽EQUIPMENT
You’ll need a sushi rolling mat (affiliate link) to make this recipe. You can use a traditional sushi rolling mat (covered with food-safe plastic wrap/saran wrap) for this recipe, but I prefer the modern dishwasher-safe rolling mats that are now available. They are easier to clean, and in my world, that means everything! I used the Lekue Makisu Silicone Sushi Mat, clear (affiliate link), and thought it was great!
Nutrition
Explore More Delicious Appetizers & Finger Foods!
If you loved making these California Rolls, you’ll surely enjoy these other fantastic appetizer and finger food recipes:
- Banh Mi Devilled Eggs
- Buffalo Chicken Stuffed Mini Peppers
- Boursin Stuffed Pickles
- Buffalo Chicken Zucchini Pizza Bites
- Tortilla Pinwheels (Weight Watchers Friendly)
- Easy Pierogi Stuffed Mushrooms
- Homemade Chinese Potstickers (Dumplings)
- Award-Winning Roasted Turkey & Black Currant Brie Bites
