Fluffy Old Fashioned Pancakes: The Ultimate Guide to Perfect Homemade Breakfast
There’s nothing quite like a stack of warm, fluffy pancakes to kickstart your day or elevate a leisurely weekend brunch. This incredible Old Fashioned Pancake recipe has been a family favorite for generations, a tried-and-true classic that consistently delivers light, airy, and utterly delicious pancakes. It’s my absolute go-to when I crave that comforting, authentic homemade taste – quick to prepare and a joy to devour!
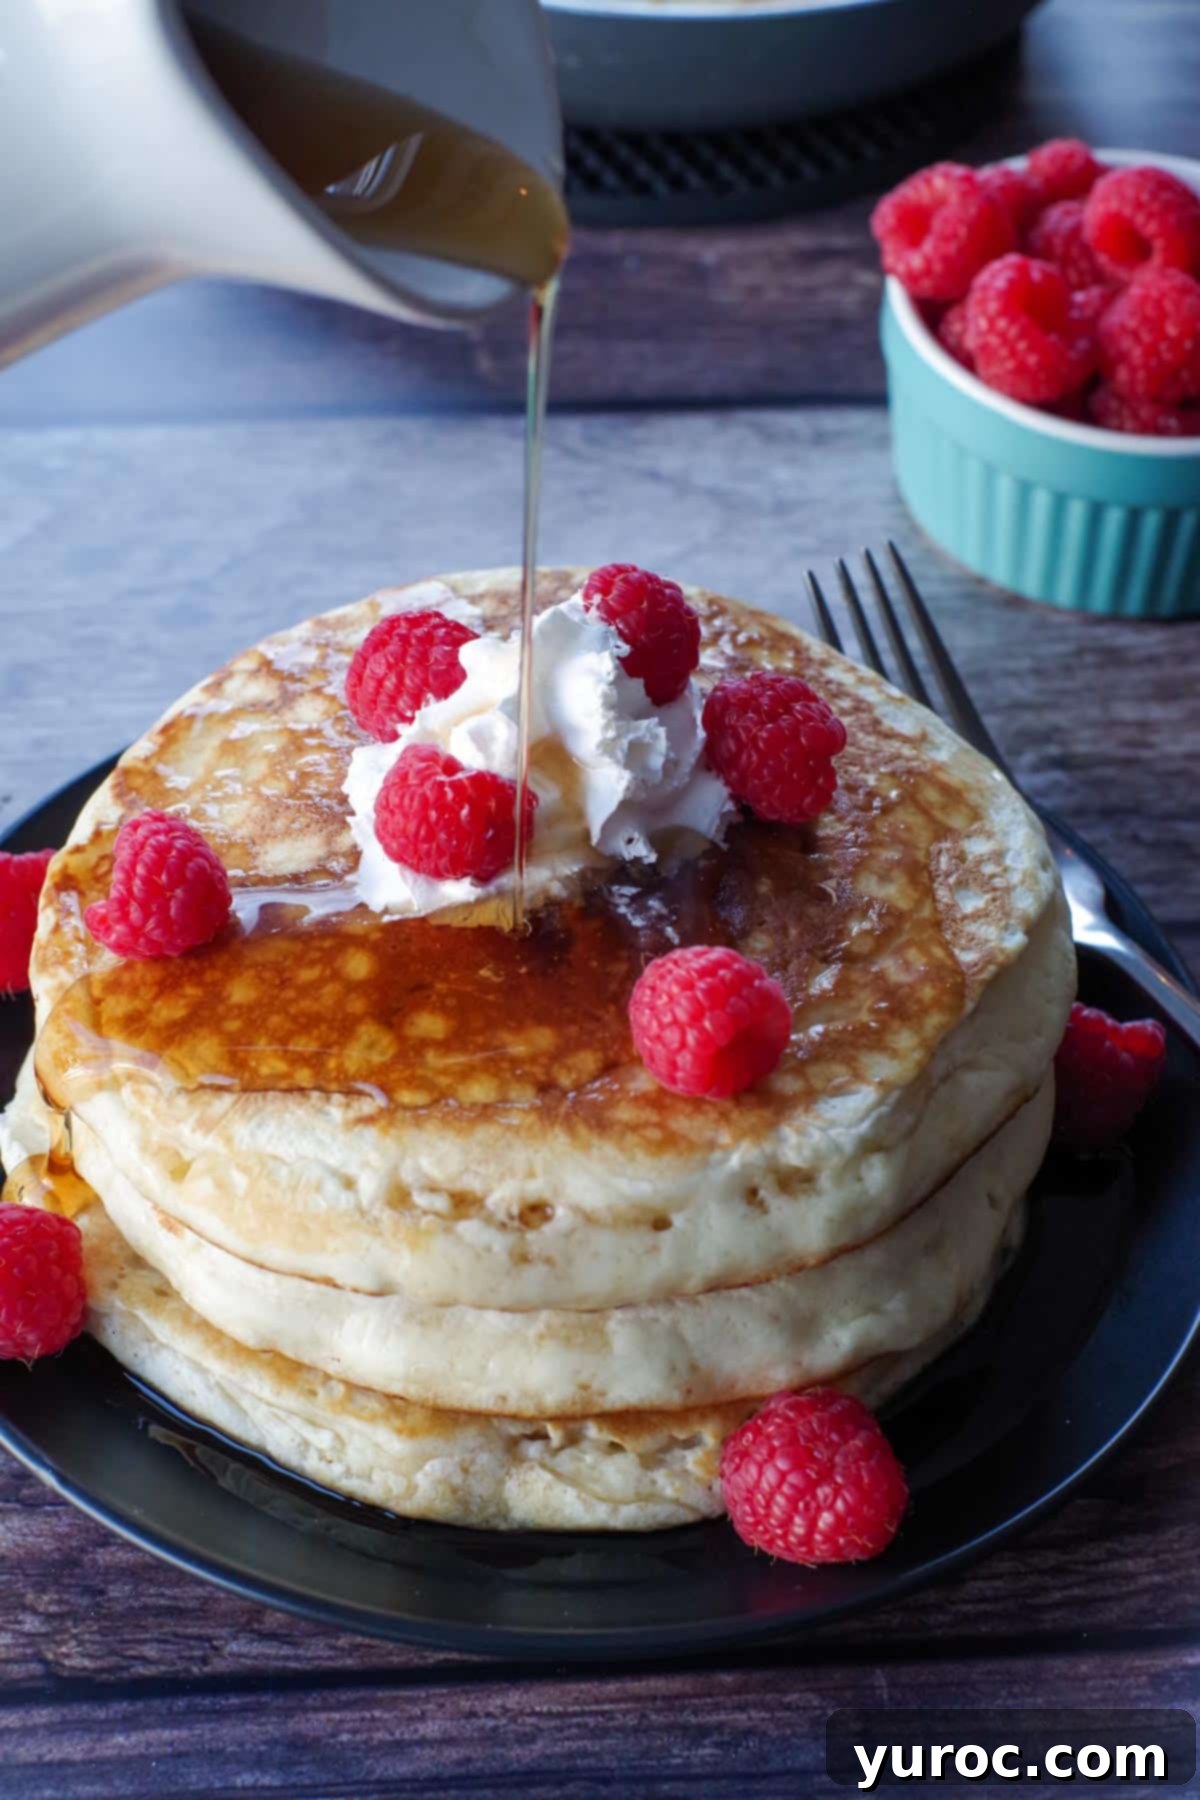
These classic pancakes are a crowd-pleaser any time of year, making them a fantastic choice for any breakfast or brunch spread. Their timeless appeal even inspired my popular Harvest Grain and Nut Pancakes (IHOP Copycat), and they pair beautifully with a sweet and tangy Apple Cinnamon Topping. Forget the store-bought mixes; once you experience the ease and superior taste of homemade, you’ll never go back!
Why Choose Homemade Pancakes?
Many people reach for a boxed pancake mix out of convenience, but making pancakes from scratch is surprisingly easy and incredibly rewarding. With just a few basic pantry staples, you can create pancakes that are fresher, more flavorful, and customizable to your preference. Homemade batter offers better control over ingredients, ensuring no artificial flavors or preservatives. Plus, the simple act of whisking together ingredients and watching them transform into golden, fluffy discs adds a special charm to your morning routine. It’s a small effort that yields significant taste dividends!
Once you master this essential recipe, you might even be inspired to try other delightful variations, like my easy Sheet Pan Pumpkin Pie Pancakes or the unique Rhubarb Pancakes!
🌟 Expert Tips for Perfect Pancakes Every Time
Achieving that coveted light and fluffy texture isn’t hard, but it does require a few key techniques. Follow these simple tips to ensure your old-fashioned pancakes are nothing short of perfection:
- Always Use Fresh Ingredients: This is paramount, especially for leavening agents. Ensure your baking powder is not expired. Old baking powder will result in flat, dense pancakes. A quick test: if it bubbles vigorously when mixed with hot water, it’s good to go!
- Do Not Overmix the Batter: This is perhaps the most crucial rule for fluffy pancakes. Stir your ingredients together just until they are combined. The batter should look lumpy, not perfectly smooth. Overmixing develops the gluten in the flour, leading to tough, rubbery pancakes instead of tender ones. Embrace the lumps!
- Preheat Your Cooking Surface Thoroughly: Whether you’re using a skillet or an electric griddle, allow ample time for it to heat up to a consistent medium-high temperature. A properly heated surface ensures even cooking and that beautiful golden-brown crust. You can test the temperature by flicking a few drops of water onto the surface; they should sizzle and evaporate immediately.
- Resist the Urge to Flip Too Early: Patience is key! Don’t flip the pancakes until you see plenty of bubbles forming on the surface and the edges appear set. This usually takes about 3-4 minutes on the first side. Lifting an edge gently to check for a golden-brown underside will also confirm they’re ready for their flip.
- Serve Warm for Best Enjoyment: Pancakes are best served hot off the griddle. If you’re cooking multiple batches, you can keep finished pancakes warm by placing them in a single layer on a baking sheet in an oven preheated to 200°F (93°C). This prevents them from drying out while keeping them perfectly toasty.
🥞 Ingredient Notes for Your Fluffy Pancakes
These incredibly fluffy old-fashioned pancakes rely on a handful of everyday ingredients. Here’s a closer look at what you’ll need and why each component is important:
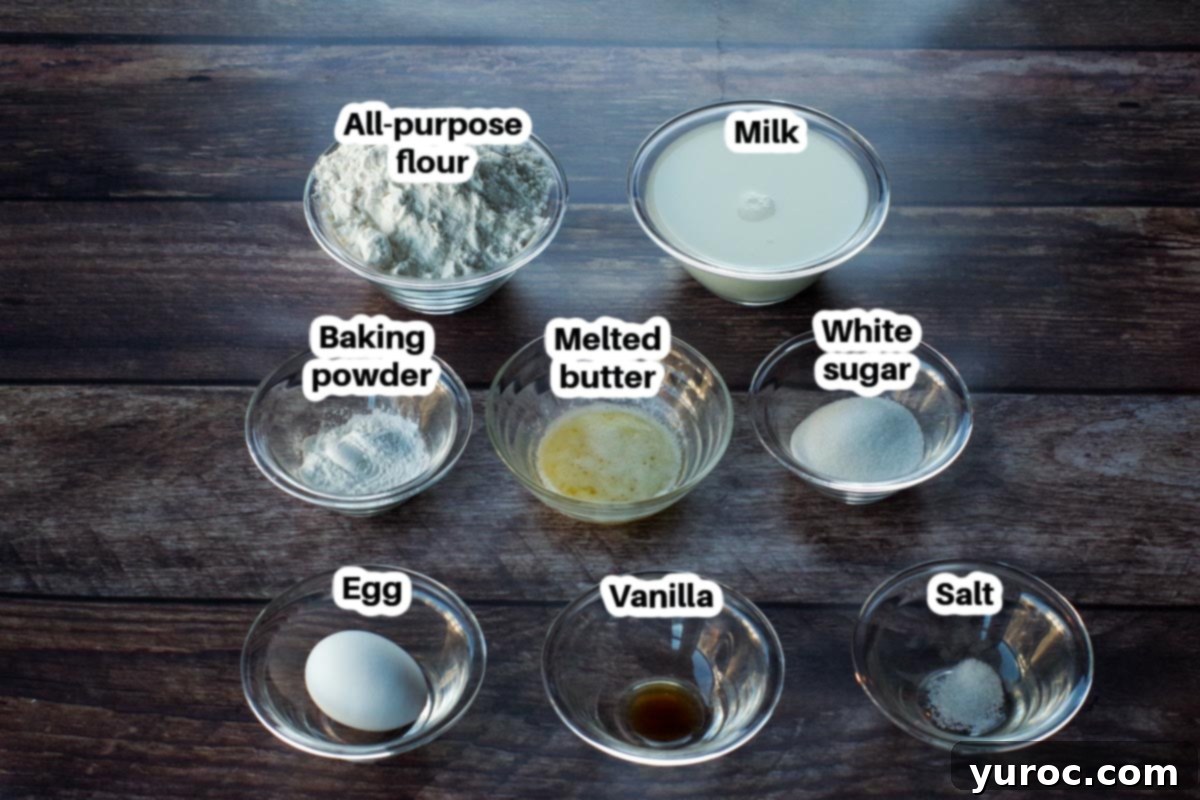
- All-Purpose Flour: The foundation of our pancakes, providing structure. Ensure it’s fresh for the best results.
- Baking Powder: This is the primary leavening agent, responsible for those wonderful, airy pockets and a significant lift. Check its freshness!
- Salt: A pinch of salt enhances all the other flavors, balancing the sweetness and adding depth.
- White Granulated Sugar: You don’t need a lot, as most people enjoy their pancakes with syrup or other sweet toppings. However, a little sugar contributes to browning and a delicate sweetness. Feel free to add a bit more if you prefer a sweeter pancake on its own.
- Egg: Eggs serve multiple purposes here. They bind the ingredients together, providing structure, and contribute significantly to the fluffiness of the pancakes. For even fluffier pancakes, don’t hesitate to add an extra egg to the batter!
- Milk: Milk is essential for thinning out the batter to the perfect consistency, ensuring moist and tender pancakes. I typically use 1% milk, but any fat percentage will work.
- Melted Butter: Melted butter adds richness and flavor, contributing to a tender crumb and helping the pancakes achieve that lovely golden-brown exterior. I prefer unsalted butter to control the overall saltiness of the recipe.
- Vanilla Extract: A touch of vanilla adds a warm, inviting aroma and a subtle depth of flavor that complements the other ingredients beautifully.
📖 Delicious Variations & Easy Substitutions
One of the joys of making homemade pancakes is how easily you can customize them! Here are some ideas to adapt this classic recipe to your taste or dietary needs:
- Dairy-Free Option: Simply swap regular milk for your favorite dairy-free alternative like almond milk, soy milk, or oat milk. For the butter, use a high-quality vegan margarine or coconut oil. This modification works wonderfully, as my daughter enjoys them this way!
- Milk Choices: The beauty of this recipe is its flexibility. You can use skim milk, 1% milk, 2% milk, or whole milk interchangeably without significant changes to the outcome. Each will yield a slightly different richness.
- Butter Alternatives: If you’re using salted butter, remember to omit the ¼ teaspoon of salt from the recipe to avoid overly salty pancakes. Vegetable oil or melted coconut oil can also be used as substitutes for melted butter, though they will impart a slightly different flavor profile.
- Sweetness Level: If you enjoy sweeter pancakes, increase the granulated sugar by 1-2 tablespoons. Conversely, if you’re watching sugar intake, you can reduce it or use a sugar substitute designed for baking.
- Flavor Boosters: Add a pinch of cinnamon, nutmeg, or even a touch of pumpkin pie spice for a seasonal twist. A teaspoon of lemon or orange zest can also brighten the flavor.
- Mix-Ins: Elevate your pancakes with delicious additions! Stir in fresh fruits like blueberries or sliced bananas, chocolate chips (dark, milk, or white), chopped nuts, or even a spoonful of shredded coconut. Add these gently to the batter just before pouring onto the griddle.
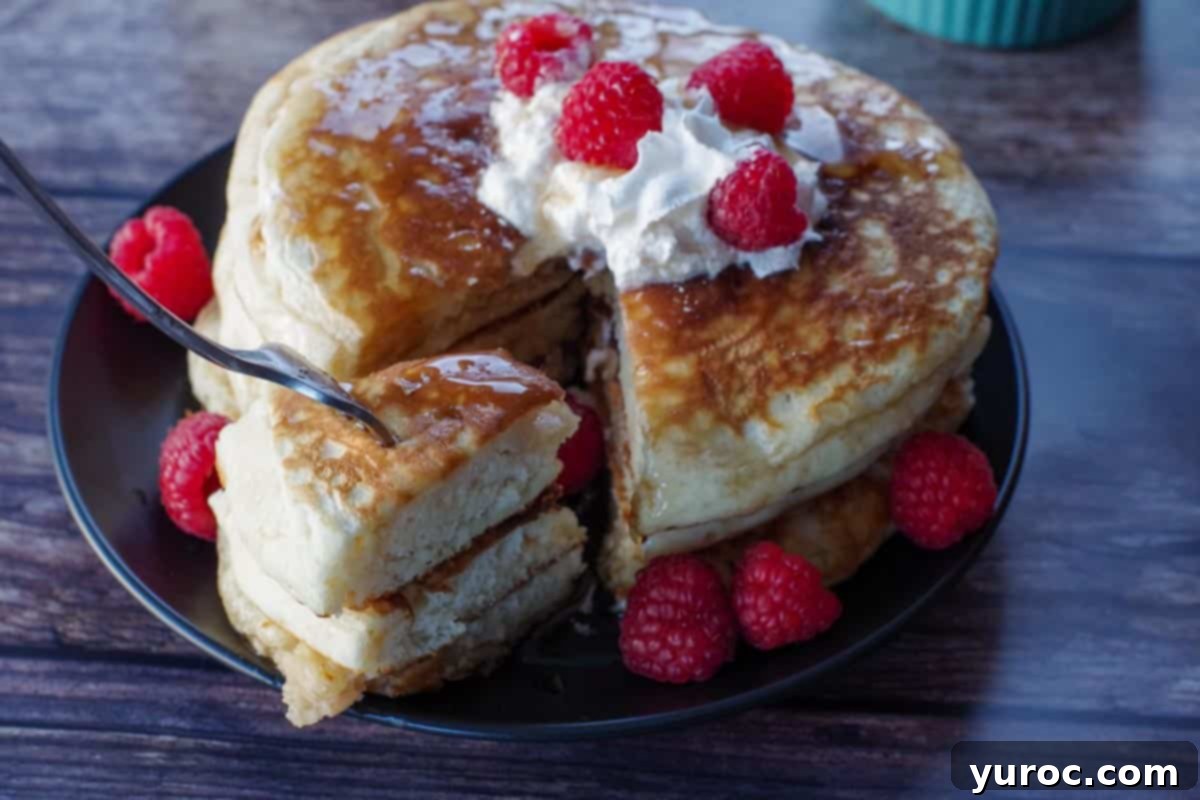
- Creative Toppings: The possibilities are endless! Beyond classic maple syrup, consider fresh berries, sliced fruit, a dollop of whipped cream, fruit compotes (like my Gingerbread Pudding Pancakes with Cranberry Compote idea), a drizzle of honey, or a generous serving of my homemade Apple Cinnamon Topping.
- Whole Wheat or Gluten-Free Flour: For a heartier texture, substitute up to half of the all-purpose flour with whole wheat flour. For gluten-free pancakes, use a 1:1 gluten-free flour blend designed for baking, which typically already includes xanthan gum for structure.
🔪 How to Make the BEST Fluffy Old Fashioned Pancakes
Making these perfect pancakes is a straightforward process. Just follow these easy steps for a delicious breakfast:
Prep: Before you begin mixing, ensure your skillet or griddle is heating up to medium-high heat. Lightly spray it with non-stick cooking spray or brush with a little butter. This crucial step prevents sticking and ensures beautiful golden pancakes.
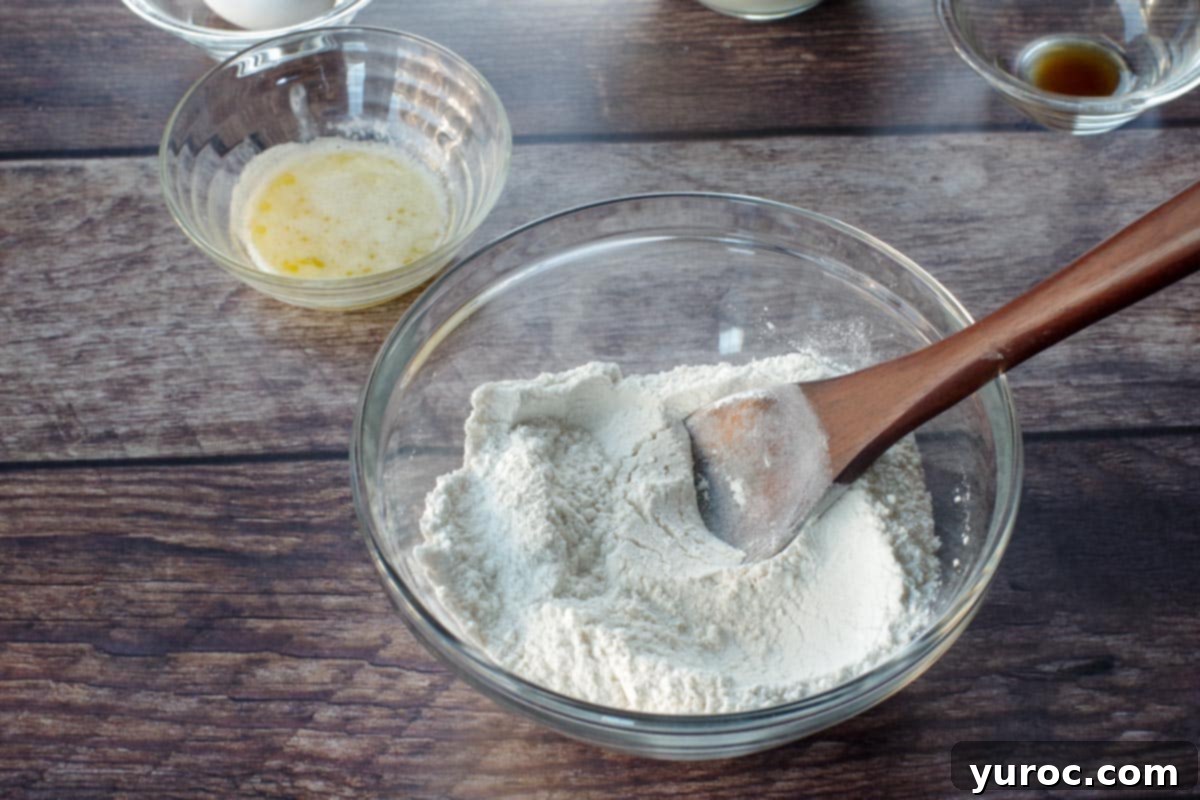
In a large mixing bowl, thoroughly whisk together the all-purpose flour, baking powder, salt, and granulated sugar. Ensure there are no lumps in the dry mixture for even distribution.
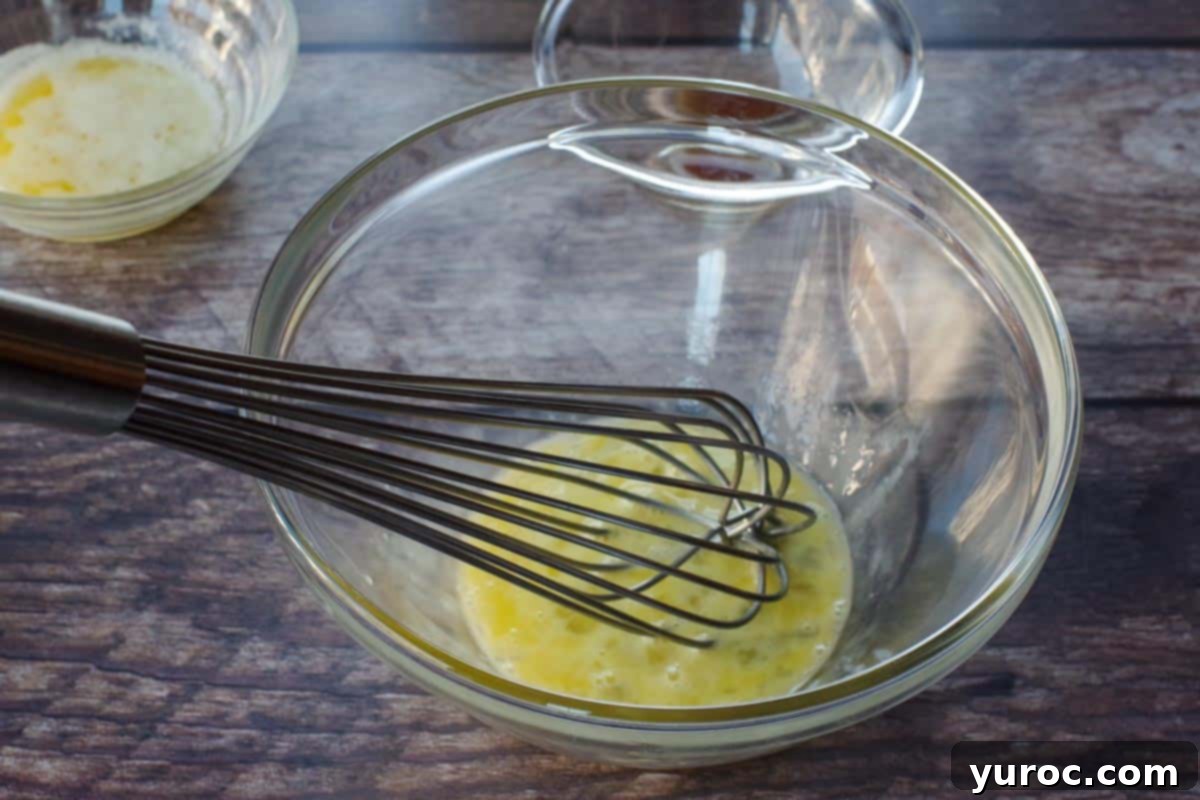
In a separate medium-sized bowl, lightly beat the egg with a whisk or fork until it’s uniform in color. This ensures the egg disperses evenly in the batter. *Remember: for extra fluffy pancakes, consider adding an additional egg here!
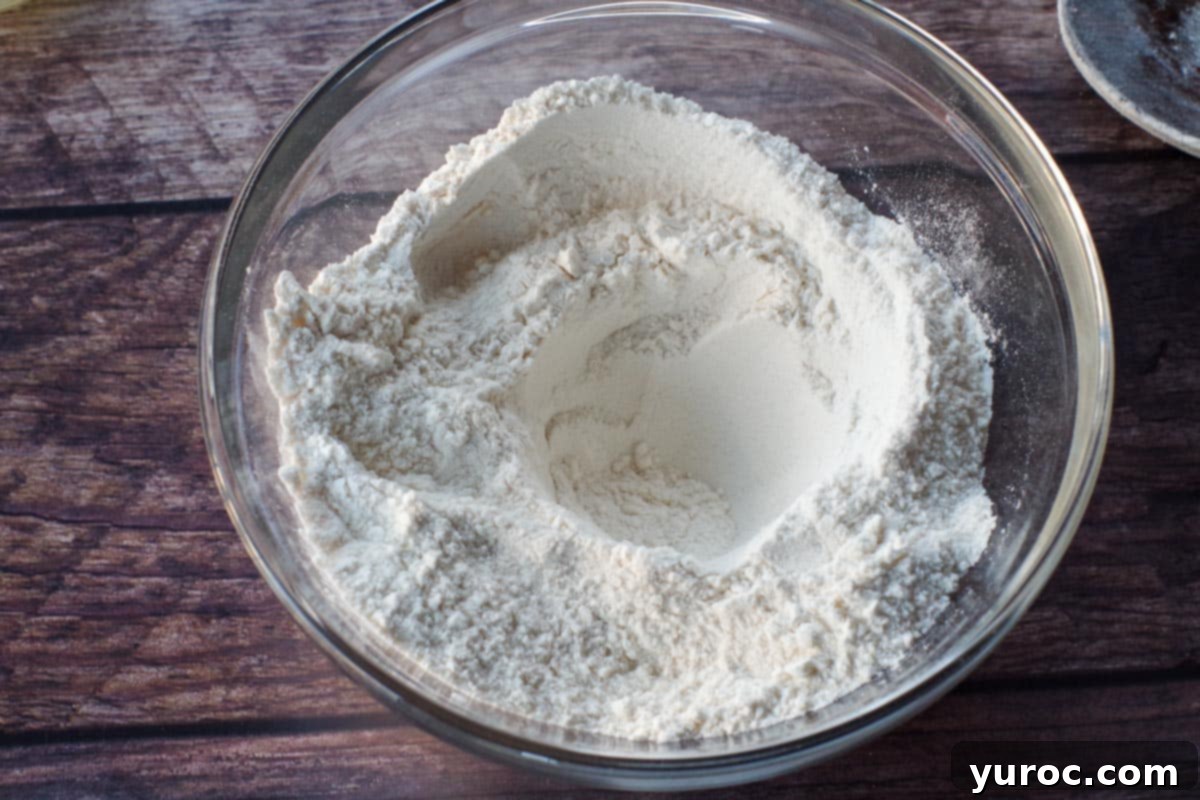
Using the back of your spoon or whisk, create a small ‘well’ (a hole) in the center of your dry ingredients. This helps in slowly incorporating the wet mixture.
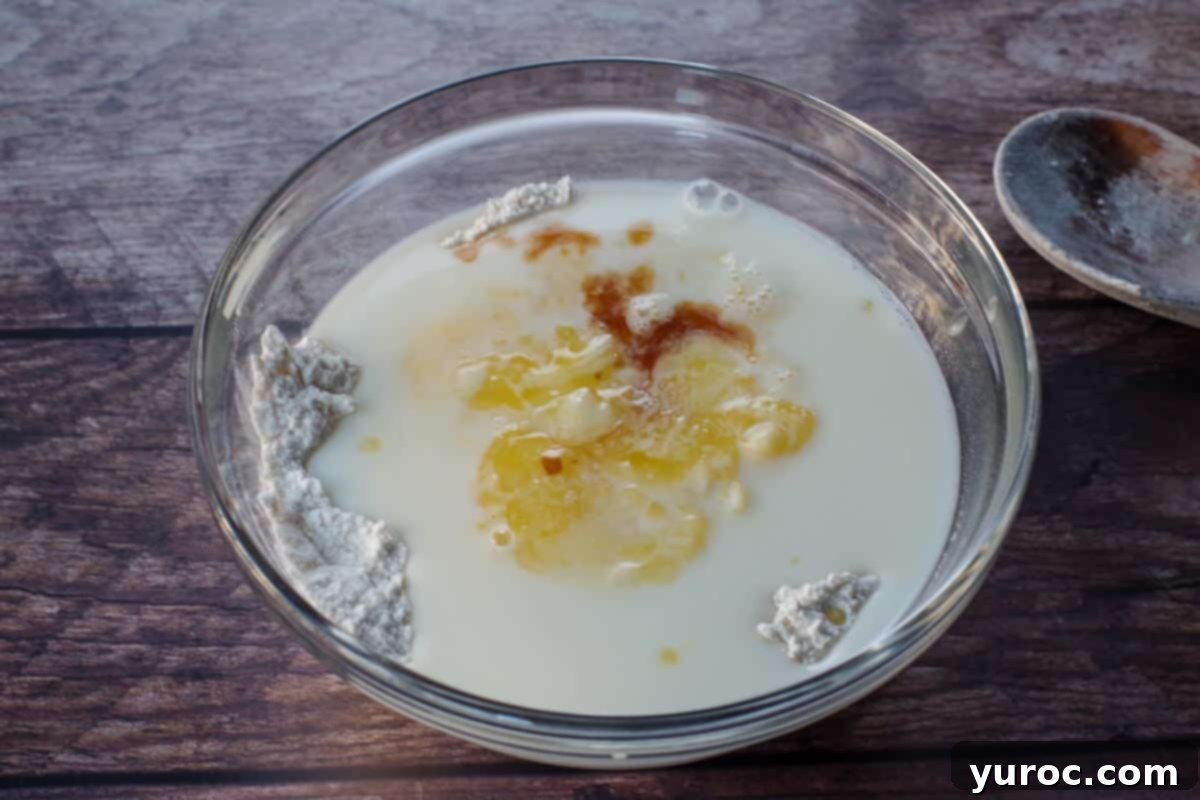
Slowly pour the wet ingredients (the beaten egg, milk, melted butter, and vanilla extract) into the well you created in the dry mixture.
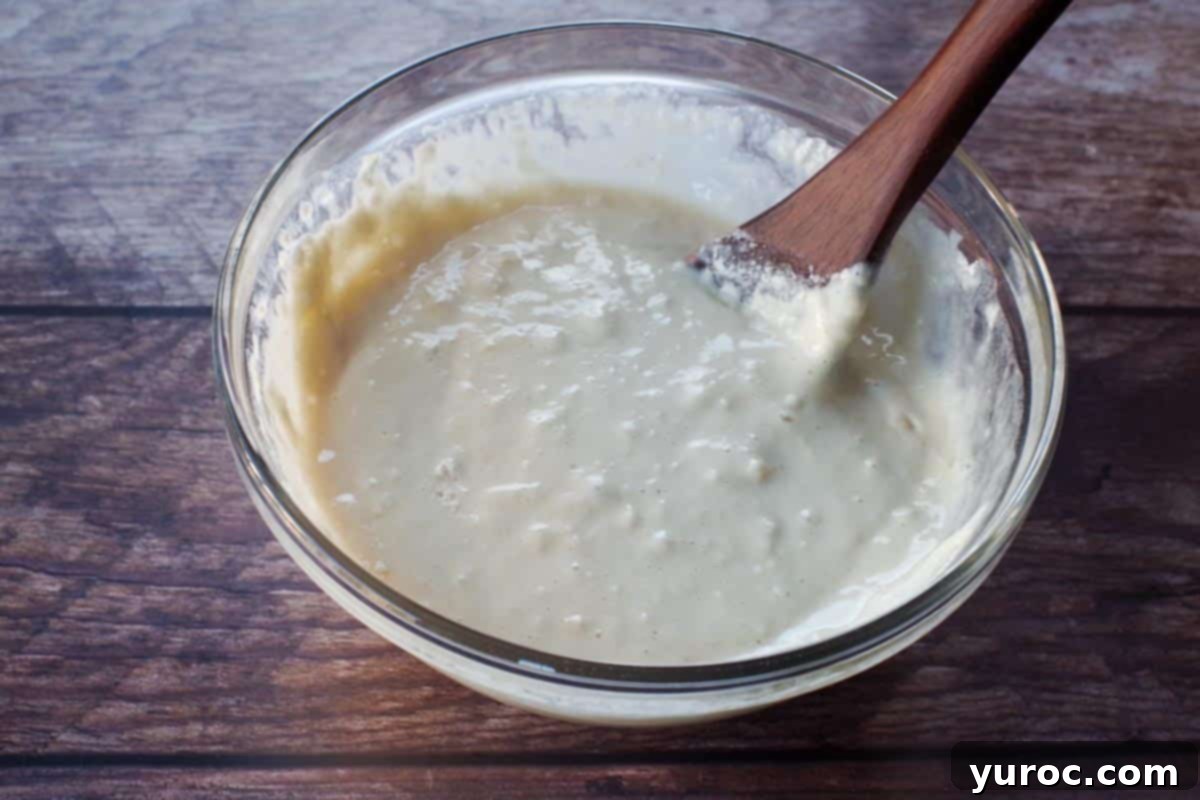
Stir the ingredients quickly and gently, just until they are combined. It’s crucial that the batter remains a bit lumpy – resist the urge to whisk until smooth! Overmixing will lead to tough pancakes.
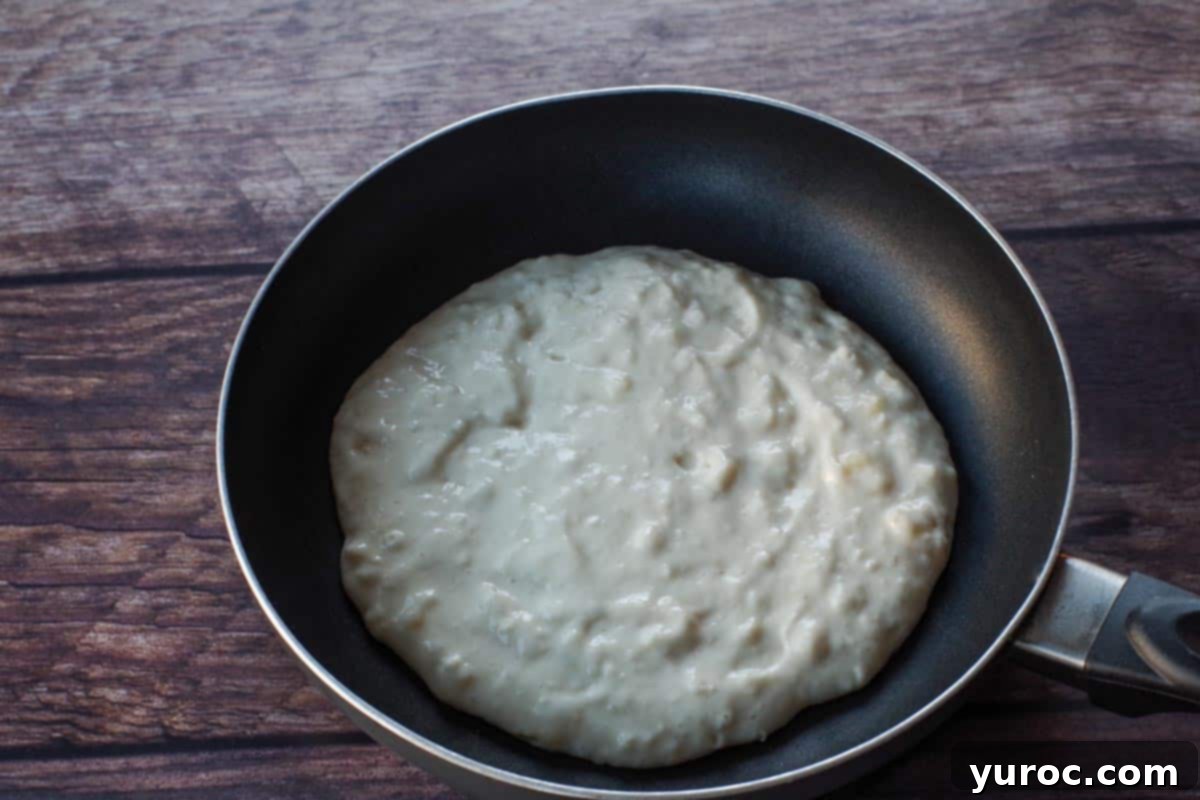
Pour the pancake batter onto your preheated skillet or griddle. For standard 8-inch pancakes, use about ½ cup of batter per pancake. For smaller pancakes, ¼ cup is ideal. There’s no need to let the batter rest; cook immediately.
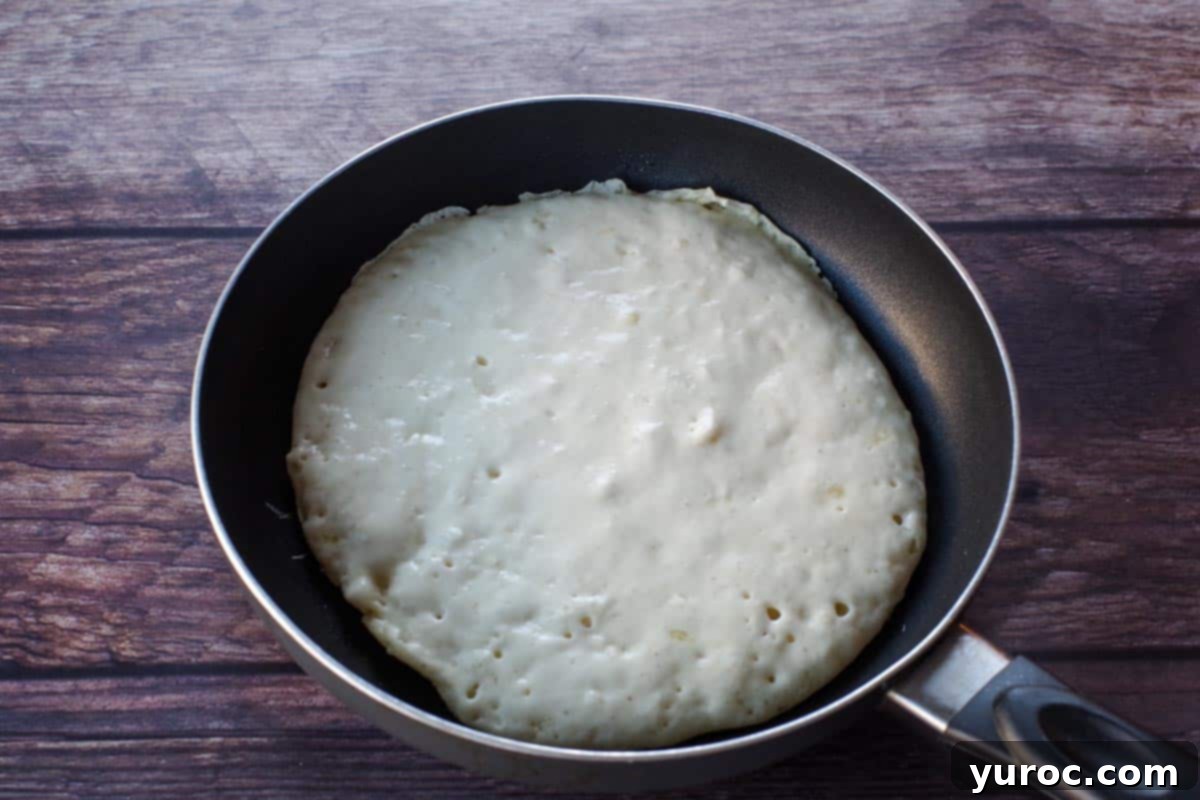
Cook the pancakes over medium-high heat until you see abundant bubbles breaking on the surface (this typically takes about 3-4 minutes). The edges should also look set, and the underside should be golden brown. Once ready, use a spatula to carefully flip them.
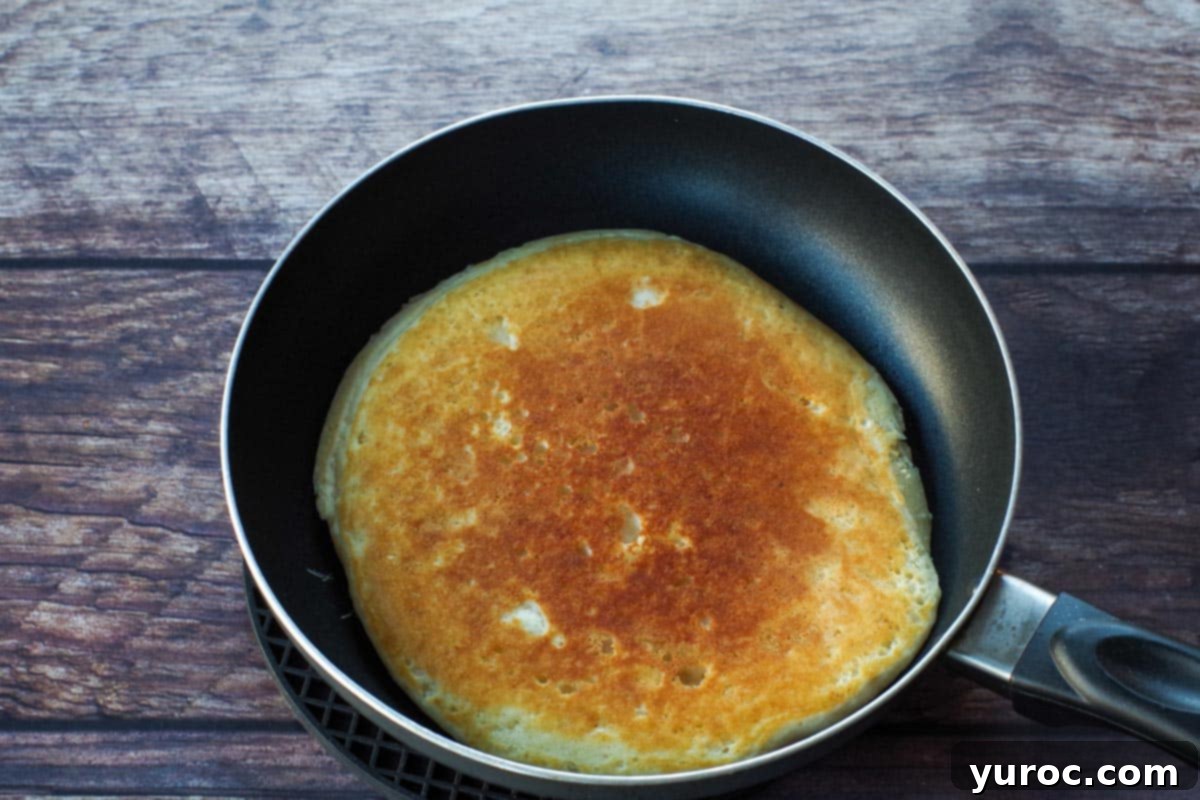
Cook on the second side for another 1-2 minutes, or until that side is also golden brown and the pancake is cooked through. Serve these delightful pancakes immediately with your favorite toppings.
Pro Tip: Invest in a very wide and flat pancake spatula or flipper. It makes getting under the pancake and flipping it much easier, preventing them from tearing or falling apart.
💡 Top Tip for Uniform Pancakes
For perfectly uniform, circular pancakes that are all the same size and cook evenly, consider using an 8-inch non-stick frying pan. This allows you to cook one pancake at a time, ensuring each one receives consistent heat and perfect shaping.
🥗 What to Serve with Old Fashioned Pancakes
These versatile pancakes are wonderful on their own, but they also make an excellent centerpiece for a larger breakfast or brunch spread. Here are some fantastic pairings:
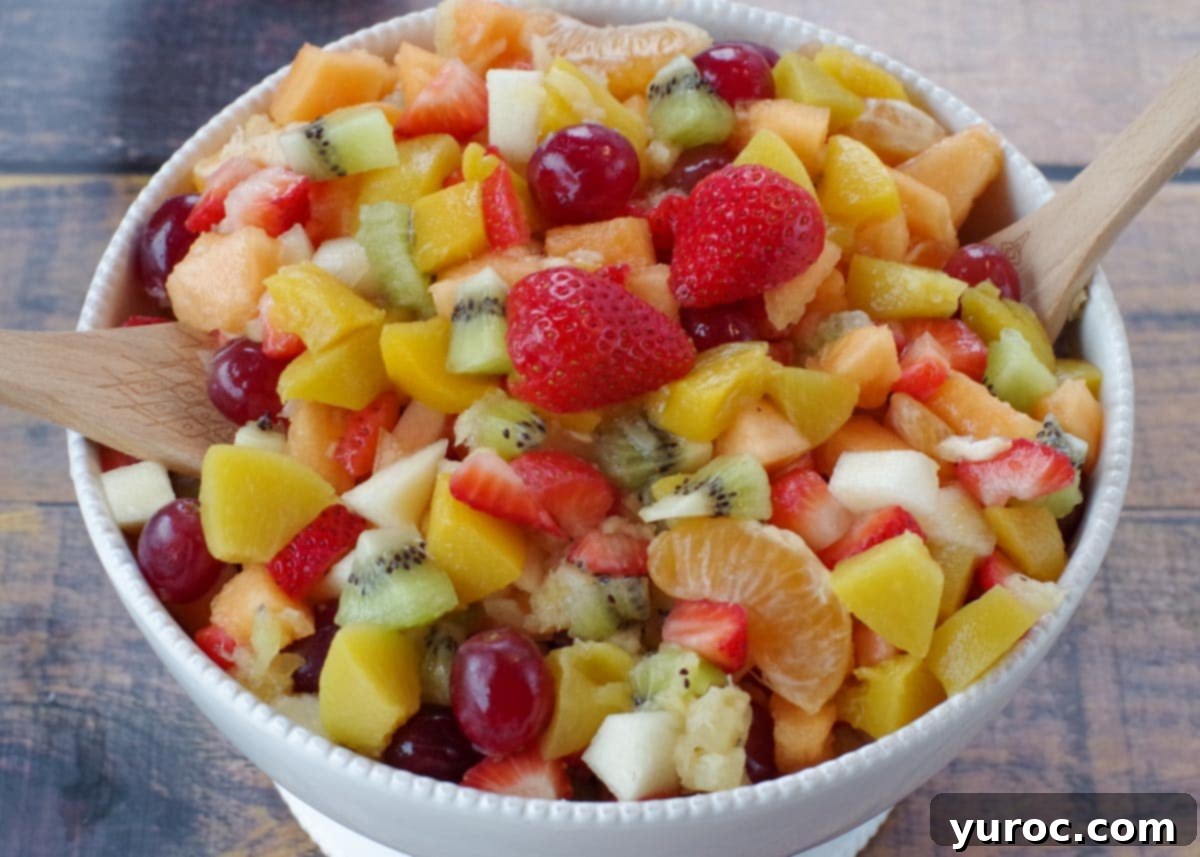
- Fresh Fruit: A vibrant Old Fashioned Fruit Salad with Honey Lime Dressing (as shown below) adds freshness and a burst of color. Sliced bananas, berries, or even grilled peaches are also excellent.
- Protein Power: Balance the sweetness with savory elements like crispy bacon, juicy breakfast sausage (try my Air Fryer Turkey Sausage for a healthier option), or even scrambled eggs.
- Yogurt & Granola: A side of creamy Greek yogurt with granola offers a lovely textural contrast and an extra protein boost.
- Nut Butters: For a quick and nutritious addition, spread a tablespoon of peanut butter, almond butter, or cashew butter over your pancakes.
- Warm Drinks: Don’t forget a steaming cup of coffee, tea, or a refreshing glass of orange juice to complete the meal.
🌡️ Storage & Reheating Instructions
These fluffy pancakes are so delicious, you might not have any leftovers! But if you do, here’s how to store and reheat them to enjoy later:
- Refrigerator: Store any leftover pancakes in an airtight container in the fridge for up to 5 days.
- Freezer: Pancakes freeze beautifully! Allow them to cool completely. Then, place them in a single layer on a baking sheet and freeze until firm (this prevents them from sticking together). Once frozen, transfer them to a sealed container or a Ziploc freezer bag. They will keep well for up to 3 months.
- Reheating:
- Microwave: For a quick reheat, place 1-2 pancakes on a microwave-safe plate and heat for 20-40 seconds, or until warm.
- Toaster/Toaster Oven: For a slightly crispy exterior, toast frozen pancakes directly in a toaster or toaster oven until heated through and lightly golden.
- Oven: Preheat your oven to 350°F (175°C). Place pancakes in a single layer on a baking sheet, cover loosely with foil, and heat for 5-10 minutes, or until warmed through.
👪 Adjusting Serving Size
This recipe is designed to make approximately 4 generous 8-inch pancakes, serving about four people. However, you can easily adjust the recipe to suit your needs!
- Halving the Recipe: If you’re cooking for one or two, simply halve all the ingredient quantities.
- Doubling or Tripling: For a larger crowd, you can double or even triple the recipe. When you increase the serving number in the recipe card below, the ingredient quantities will automatically adjust for your convenience.
- Smaller Pancakes: If you prefer smaller pancakes, use about ¼ cup of batter per pancake instead of ½ cup. This will yield more individual pancakes from the same amount of batter.
🔢 Making it Weight Watchers (WW) Friendly
For those following Weight Watchers, you can easily adapt this homemade pancake recipe to be more points-friendly. Consider these simple modifications:
- Butter: Use light butter or a butter substitute.
- Milk: Opt for skim or non-fat milk.
- Sugar: Reduce the amount of granulated sugar or substitute it with a zero-calorie sugar alternative suitable for baking.
- Portion Control: Making smaller pancakes (using ¼ cup of batter) will naturally result in fewer WW points per serving.
- Toppings: Be mindful of your toppings! Fresh fruit is an excellent zero-point option, while sugar-free syrups or a light dusting of powdered sugar can keep points low.
❓ Recipe FAQs
Yes, absolutely! For a heartier flavor and added fiber, you can substitute up to half of the all-purpose flour with whole wheat flour. If using whole wheat, sometimes adding an extra egg can help maintain fluffiness. For gluten-free pancakes, opt for a 1:1 gluten-free flour blend specifically designed for baking. These blends typically contain starches and gums (like xanthan gum) that help replicate the structure gluten provides, ensuring your pancakes are still light and delicious.
The trick to serving all your pancakes warm is to use your oven. As you cook each batch, place the finished pancakes in a single layer on a baking sheet. Transfer the baking sheet to a warm oven, preheated to about 200°F (93°C). This gentle heat will keep them perfectly warm without overcooking or drying them out, ensuring everyone gets a hot, fresh stack.
Yes, it’s not only normal but desirable for pancake batter to have some lumps! The biggest mistake people make when mixing pancake batter is overmixing. Overmixing develops the gluten in the flour, which leads to dense, chewy, and rubbery pancakes. You should stir the wet and dry ingredients together just until they are combined – a few lumps are a sign you’ve done it correctly, promising a light and fluffy result!
While fresh batter yields the fluffiest results, you can prepare the dry ingredients ahead of time and store them in an airtight container. When ready to cook, simply add the wet ingredients. If you wish to mix the entire batter in advance, store it in an airtight container in the refrigerator for up to 24 hours. The baking powder may lose some of its leavening power over time, so you might notice slightly less fluffy pancakes, but they will still be delicious.
Beyond using a consistent amount of batter per pancake, using a ladle or measuring cup with a spout helps to pour neatly. You can also use metal cookie cutters or pancake molds placed on the griddle (lightly greased inside) before pouring in the batter. Just be sure to remove them carefully once the edges are set!
If you’re seeking the most delicious, perfectly fluffy, and incredibly simple pancakes around, you’ve found your ultimate recipe. These Good Old-fashioned pancakes are guaranteed to become a cherished favorite in your home!
🥞 Explore More Delicious Pancake Recipes
Once you’ve mastered these classic pancakes, why not venture into other exciting variations? Here are a few more pancake recipes to inspire your next breakfast or brunch:
- Sheet Pan Chocolate Chip Pancakes
- Easy Rhubarb Pancakes
- Pumpkin Pie Sheet Pan Pancakes
- Gingerbread Christmas Pancakes (with Cranberry Compote)
Did your family ❤️ this recipe? Sharing your experience by commenting and ⭐ rating recipes is one of the best ways to support your favorite recipe creators! If you LOVED this recipe, please take a moment to comment and rate it in the recipe card below, or share your photos on social media using the hashtag #foodmeanderings or tagging @foodmeanderings! We’d love to see your creations!

📋 Fluffy Old Fashioned Pancake Recipe
This delicious and Fluffy Old Fashioned Pancake Recipe is quick and easy to make with pantry ingredients. Perfect for a weekend brunch or make ahead and freeze for a simple weekday breakfast!
📌Pin
❤️Save Recipe
⭐Rate
Equipment
- 8 inch skillet or griddle
- Pancake spatula
- Large mixing bowl
- Whisk or fork
Ingredients
- 1 ⅓ cups all-purpose flour
- 3 tsp baking powder
- ¼ tsp salt
- 3 tbsp white granulated sugar
- 1 egg (add an extra for even fluffier pancakes!)
- 1 ¼ cups milk
- 3 tbsp melted butter (unsalted preferred)
- ¼ tsp vanilla extract
Instructions
- Heat your skillet or griddle to medium-high heat and lightly spray with non-stick cooking spray.
- In a large mixing bowl, whisk together the flour, baking powder, salt, and sugar.
- In a separate medium bowl, beat the egg thoroughly with a whisk or fork.
- Make a well (a hole) in the center of the dry ingredients.
- Slowly pour the wet mixture (beaten egg, milk, melted butter, and vanilla extract) into the well.
- Stir quickly until the ingredients are just combined. The batter should still be somewhat lumpy; avoid overmixing.
- Pour the batter onto the hot skillet or griddle in ½ cupfuls for large pancakes (or ¼ cup for smaller ones). There’s no need to let the batter rest.
- Cook the pancakes over medium-high heat until bubbles start to form on the surface (about 3-4 minutes) and the underside is golden brown. Then, carefully flip them.
- Cook on the other side until golden brown and cooked through (about 1-2 minutes).
- Serve hot with your choice of delicious toppings.
Notes
Tips for Perfect Pancakes:
- Use Fresh Ingredients: Always check that your baking powder is not expired for maximum fluffiness.
- Don’t Overmix the Batter: Stir just until combined; a slightly lumpy batter yields tender pancakes.
- Cook on a Hot Surface: Ensure your griddle or skillet is heated to medium-high for even cooking and a golden crust.
- Don’t Flip Too Early: Wait for bubbles to appear on the surface and the edges to set (3-4 minutes) before flipping.
- Serve Warm: Keep cooked pancakes warm in a 200°F (93°C) oven while you finish the batch.
Storage:
Store leftover fluffy pancakes in an airtight container in the fridge for up to 5 days. For longer storage, freeze them in a sealed container or Ziploc freezer bag for up to 3 months. Reheat in the microwave, toaster, or oven.
Nutrition
Calories: 313kcal (16%) | Carbohydrates: 46g (15%) | Protein: 8g (16%) | Fat: 11g (17%) | Saturated Fat: 6g (38%) | Polyunsaturated Fat: 1g | Monounsaturated Fat: 3g | Trans Fat: 0.3g | Cholesterol: 67mg (22%) | Sodium: 261mg (11%) | Potassium: 483mg (14%) | Fiber: 1g (4%) | Sugar: 13g (14%) | Vitamin A: 466IU (9%) | Calcium: 238mg (24%) | Iron: 2mg (11%)
Did you make this recipe?
Please leave a star rating and review below!
Rate this Recipe