Grandma’s Best Ever Traditional Date Nut Loaf: A Six-Generation Family Recipe
Prepare to rediscover a cherished classic with this incredible **Traditional Date Nut Loaf recipe**, lovingly passed down through my family for six generations. Yes, you read that right – this isn’t just my Grandma’s recipe; it originated with her Great-Grandma, making it a true culinary heirloom that has stood the test of time! I understand what you might be thinking: “Date Nut Loaf doesn’t sound particularly exciting or modern.” And honestly, I used to share that skepticism. For many, this humble loaf carries associations of solemn gatherings, perhaps a quiet offering at a wake, or even the “lesser” sibling of a more popular Carrot Bread. It was the bread you’d grudgingly bake out of necessity when carrots were nowhere in sight, and only dates were available.
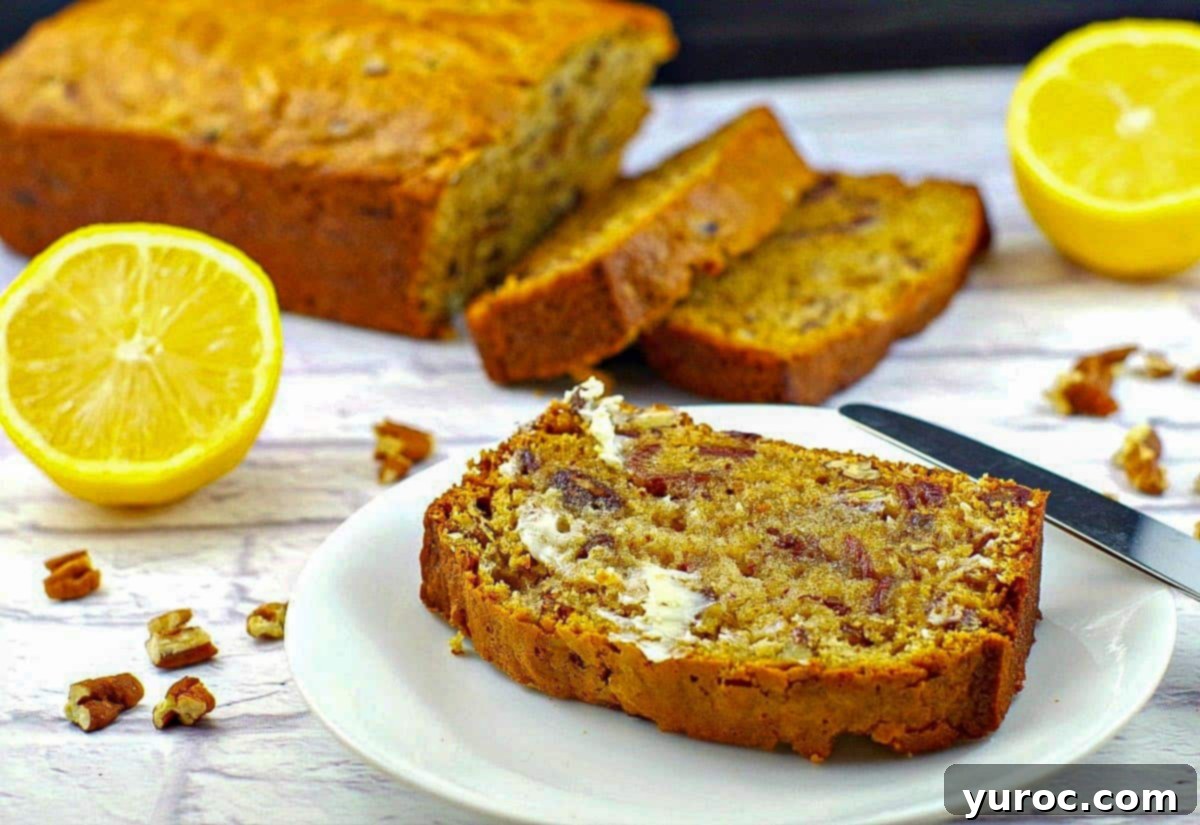
But let me assure you, this perception couldn’t be further from the truth. This traditional date loaf has suffered from an undeservedly bad reputation that I am determined to change! It’s not just “good for a date loaf”; it’s simply *phenomenal*. I finally decided to try making this recipe after years of my grandma praising its merits, always wondering, “How could *date loaf* be *that* good?” However, having tasted her unbelievably delicious date slice, I took the plunge. And I was absolutely **BLOWN AWAY** by the rich flavor, moist texture, and comforting aroma of this date loaf! It completely redefined my expectations and proved that some old-fashioned recipes are truly culinary gold. This isn’t just a snack; it’s a testament to timeless taste and family heritage, perfect for any occasion that calls for a comforting, homemade treat.
This date bread transcends its simple origins, offering a deeply satisfying and subtly sweet experience that has delighted palates across six generations. From the very first bite, it completely transformed every preconceived notion I ever held about date bread. In fact, I confidently declare it the best I have ever tasted! While I’ve embraced its traditional roots, I must confess to making a few minor, almost imperceptible tweaks to the original recipe over the years – a baker’s prerogative, perhaps, to enhance its already perfect qualities ever so slightly. These small adjustments ensure that while the loaf retains its authentic, generations-old charm, it also meets modern expectations for texture and flavor, making it even more irresistible today.
🥘 Essential Ingredients for Your Date Nut Loaf
A Legacy of Flavor, Six Generations Strong… The beauty of this recipe lies in its simplicity and reliance on wholesome, real ingredients that have been staples for centuries. This isn’t about fancy, obscure items; it’s about quality basics combining to create something extraordinary. Each ingredient plays a crucial role in developing the loaf’s signature taste and texture, harkening back to a time when food was made with care and readily available produce.
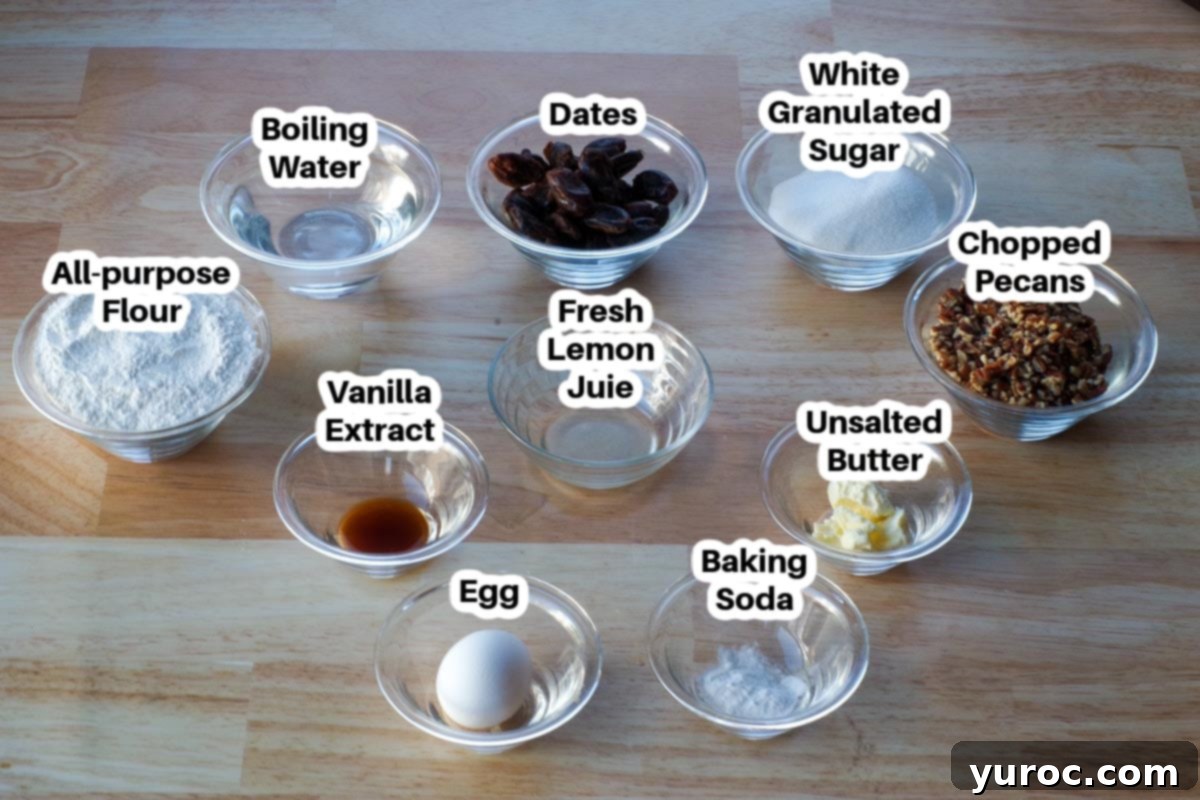
- Dates: The natural star of the show! For the best flavor and texture, choose plump, soft dates. They contribute a wonderful natural sweetness and a unique caramel-like depth that makes this loaf so distinct.
- Pecans: I personally find that **pecans** impart a wonderfully buttery and slightly earthy flavor that complements the dates beautifully, elevating this date and nut loaf to new heights. The subtle crunch adds a fantastic textural contrast. However, traditionalists or those who prefer a different flavor profile can easily substitute **walnuts** for an equally delicious result, offering a slightly more robust, earthy note.
- Fresh Lemon Juice: This might surprise some, but it’s the **fresh lemon juice** that truly makes this loaf “sing!” A touch of acidity brightens all the flavors, cutting through the sweetness of the dates and adding an unexpected zest that makes each bite memorable and prevents the loaf from tasting one-dimensional.
- Butter: Of course, **butter** always makes everything better! It contributes significantly to the loaf’s rich, comforting flavor and its incredibly moist, tender crumb, ensuring it’s never dry or crumbly. For best results, use unsalted butter.
- All-Purpose Flour: This forms the structural foundation of our delicious quick bread.
- Baking Soda: Our essential leavening agent, working with the acidic lemon juice to create a light and airy texture.
- Sugar: While dates provide sweetness, a bit of added sugar enhances the overall flavor profile and helps with browning.
- Egg: Acts as a crucial binder, holding all the ingredients together and adding richness to the batter.
- Vanilla Extract: A classic flavor enhancer that deepens the sweet and comforting notes of the loaf.
Knowing that these very same, genuine ingredients were being used by my great-great-grandmother over a century ago creates a truly special connection to the past. It’s a comforting thought, reflecting the enduring nature of good food and shared family traditions. This recipe isn’t just about baking; it’s about preserving a delicious piece of history, creating new memories while honoring old ones.
For this cherished recipe, you’ll need the following:
📖 Creative Variations & Simple Substitutions
While this Date Nut Loaf recipe is a masterpiece in its original form, it’s also incredibly forgiving and adaptable. Don’t hesitate to experiment with these simple variations and substitutions to suit your taste, dietary needs, or simply what you have on hand in your pantry:
- Nuts: As previously highlighted, **walnuts** are an excellent and classic alternative to pecans, offering a slightly more robust, earthy flavor profile. You could also try a blend of both for a nuanced taste, or even introduce finely chopped almonds for a different texture and subtle nutty sweetness. For those with nut allergies, sunflower seeds or pumpkin seeds can be used, though this will significantly alter the flavor and texture of the final loaf.
- Sugar: For a deeper, more caramel-like sweetness and a slightly richer, darker color, **brown sugar** can be substituted for the white granulated sugar. If you prefer a less sweet loaf, you can reduce the sugar by ¼ cup without significantly impacting the loaf’s structure or moisture.
- Lemon Juice: Freshly squeezed lemon juice is highly recommended for its vibrant and essential brightening qualities. However, if fresh lemons aren’t readily available, you can use **lemon juice from concentrate**, but only use 1 teaspoon to avoid an overpowering acidic taste, as concentrates are typically much stronger. For a subtle twist, a touch of orange zest or a splash of orange juice could also be explored.
- Spices: To add an extra layer of warmth and complexity, consider incorporating a pinch (¼ to ½ teaspoon) of ground cinnamon, nutmeg, allspice, or even a mix of pumpkin pie spice into the dry ingredients. These spices pair beautifully with dates and nuts.
- Dried Fruit Additions: While dates are the star, a small amount (¼ to ½ cup) of other chopped dried fruits like dried apricots, figs, or even golden raisins could be folded into the batter with the dates for added texture and flavor complexity. Ensure they are also plumped in hot water if dry.
🔪 How to Bake Your Perfect Date and Nut Loaf
Baking this generational classic is a straightforward process, even for novice bakers. Follow these simple, detailed steps to create a moist, flavorful loaf that will impress everyone with its comforting charm:
PREP: Begin by preheating your oven to 350 degrees F (176 degrees C). This ensures the oven is at the correct temperature for immediate baking. Next, prepare a standard loaf pan (approximately 9×5 inches). Lightly spray it with a non-stick cooking spray, or for extra assurance against sticking, grease it thoroughly with butter or shortening and then dust lightly with flour, tapping out any excess. Proper pan preparation is absolutely essential for easy removal of your beautifully baked loaf.
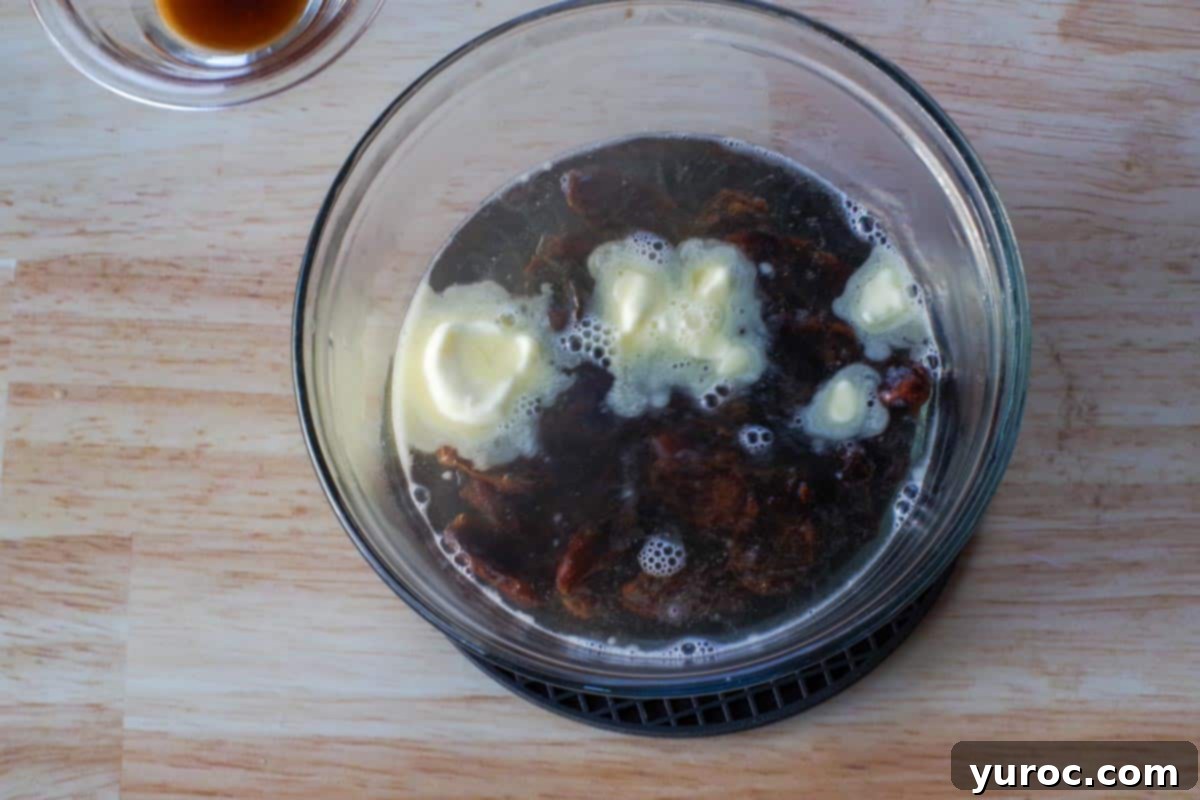
- Step 1: Infuse the Dates. In a medium-sized heatproof bowl, combine your pitted and chopped dates, softened butter, and freshly boiling water. Stir gently with a spoon until the butter has completely melted and the dates begin to soften and plump up. This infusion process moistens the dates and distributes the buttery flavor. Set this mixture aside and allow it to cool completely to room temperature. It’s crucial that it cools before adding the egg in a later step to prevent the egg from scrambling. TIP: If your dates are a little dried out, you can rehydrate them more effectively. Place them whole into the boiling water first, let them sit for 5-10 minutes, then take them out, chop them, and combine with the melted butter after the mixture cools. This ensures maximum moisture and tenderness in your loaf.
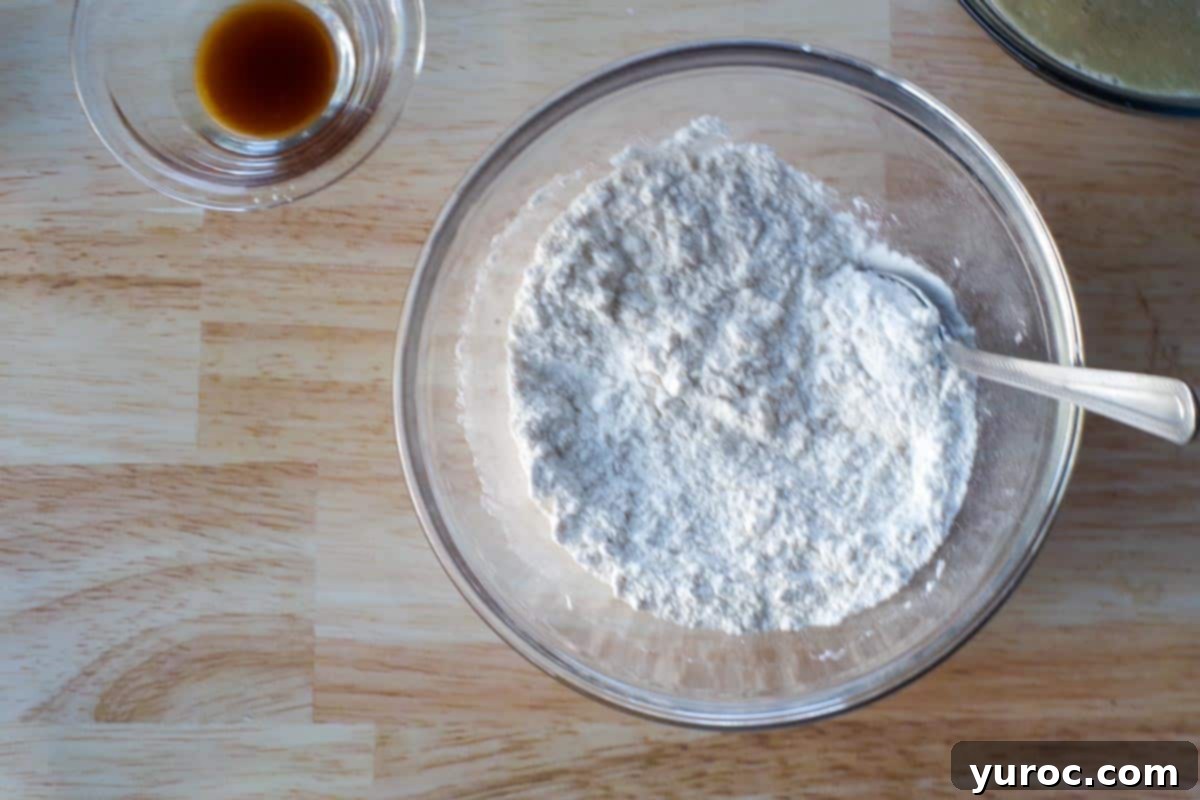
- Step 2: Combine Dry Ingredients. While the date mixture is cooling, turn your attention to the dry components. In a separate, larger mixing bowl, sift together your all-purpose flour and baking soda. Sifting is an important step as it helps to aerate the flour, removing any lumps, and ensures an even distribution of the leavening agent throughout the mixture, which contributes to a lighter, more uniform loaf texture.
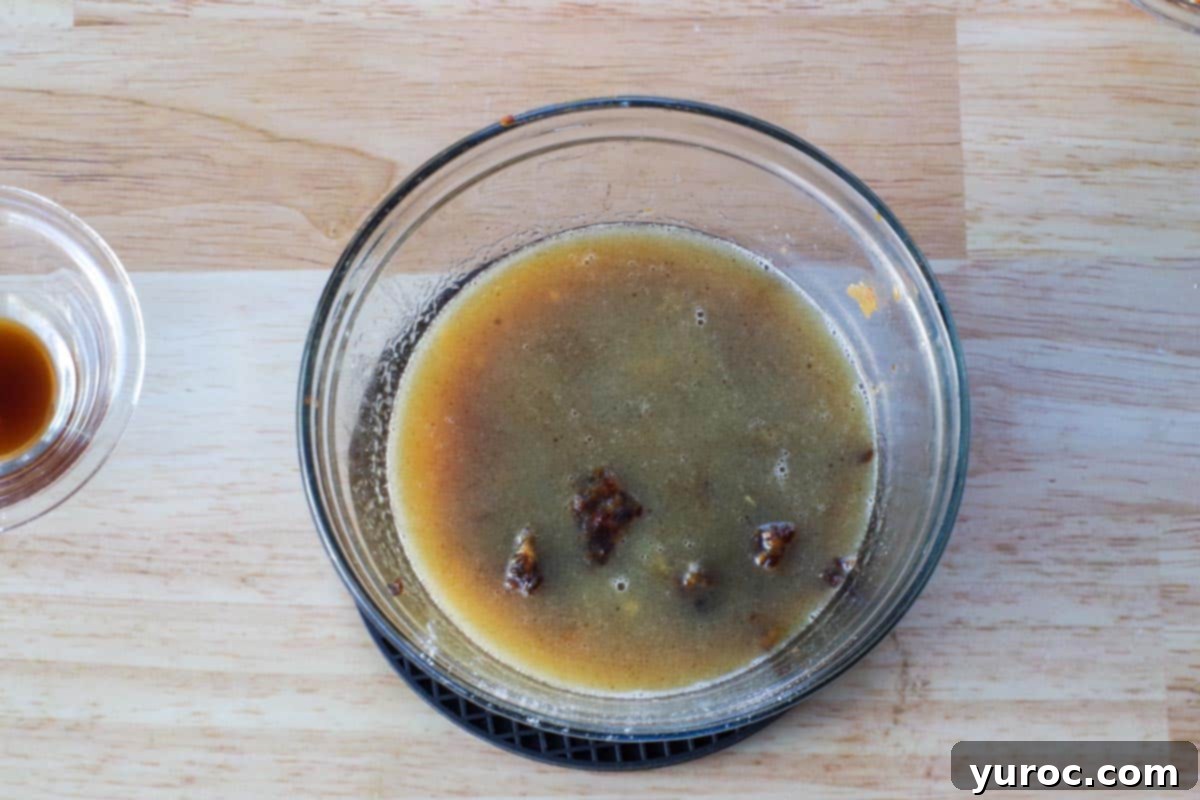
- Step 3: Introduce Wet Ingredients. Once the date mixture has completely cooled (feel it with your finger to be sure – it should be lukewarm or room temperature), add the granulated sugar and the large egg. Stir vigorously with a wooden spoon or spatula until all components are thoroughly combined and the mixture appears uniform and slightly creamy.
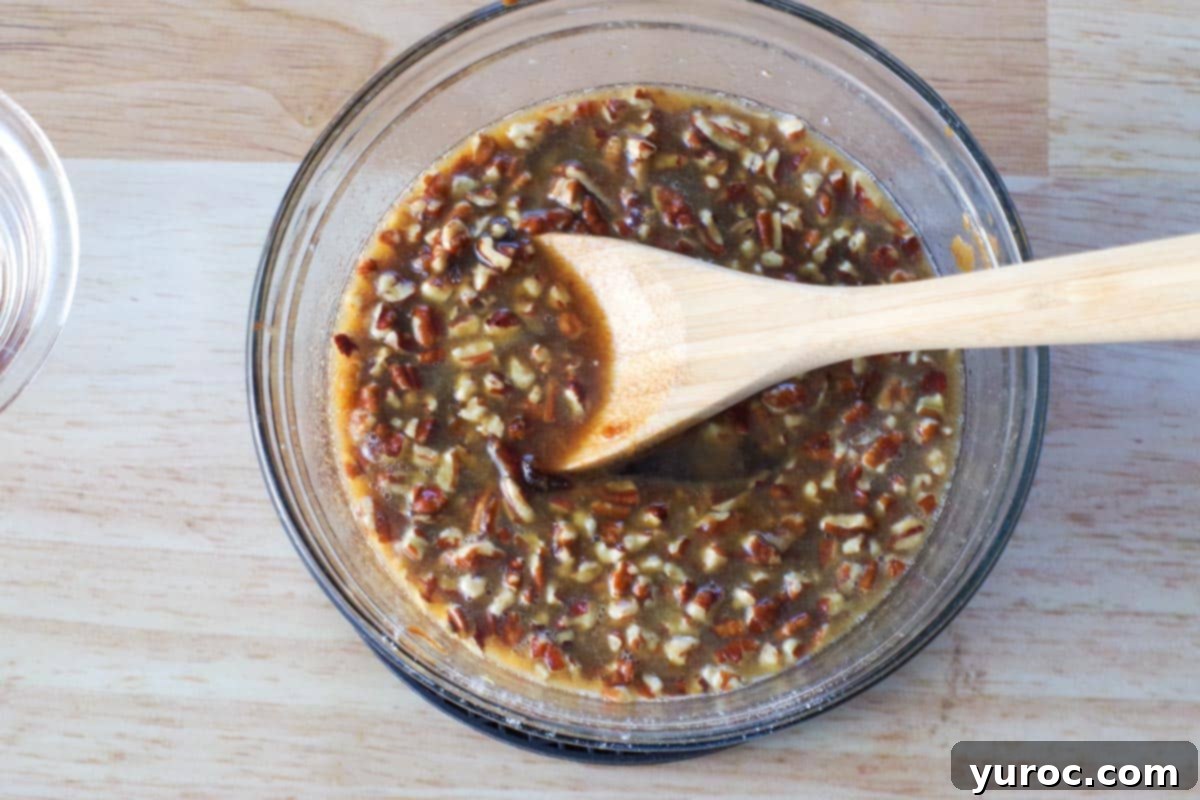
- Step 4: Flavor Enhancers. Next, gently fold in the vanilla extract, which adds a comforting aroma and flavor, and your chosen chopped nuts (pecans or walnuts). Mix just enough to distribute them evenly throughout the date mixture. You want every slice to have a good balance of dates and nuts.
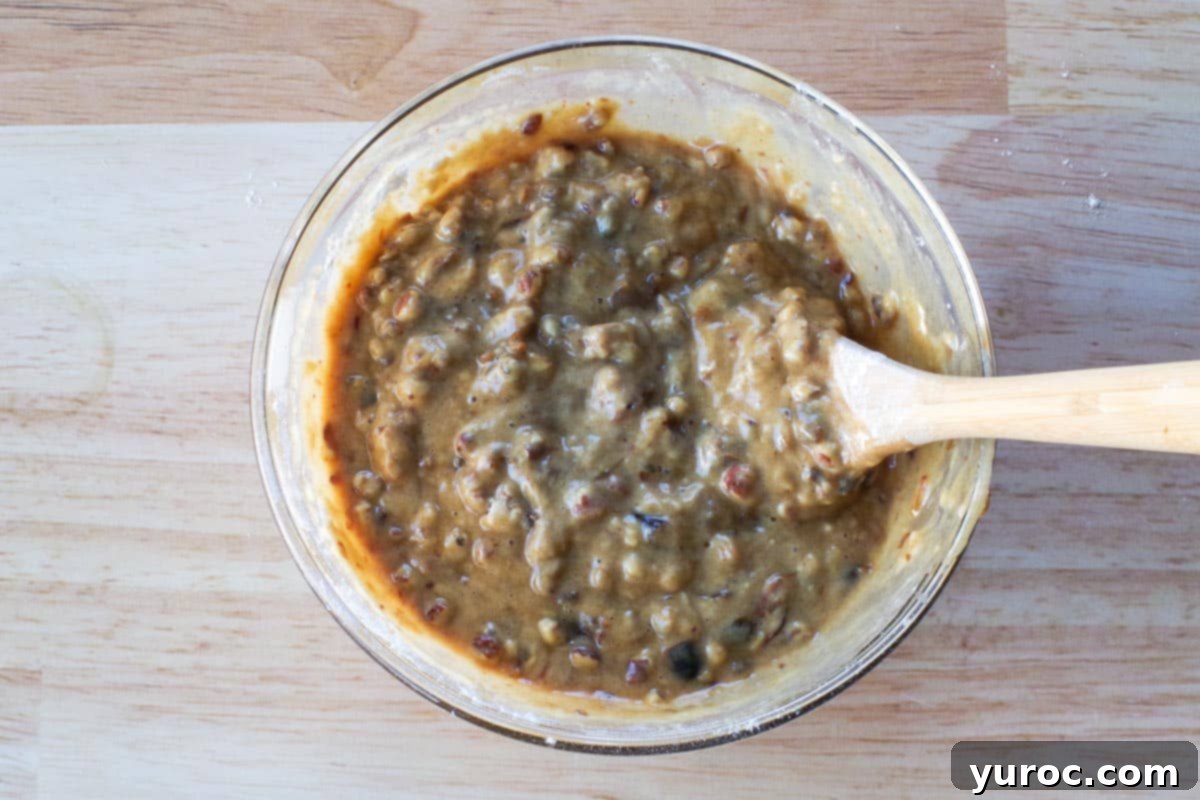
- Step 5: Combine Wet and Dry. Now it’s time to bring everything together. Gradually add the sifted dry ingredients into the date mixture. Using your wooden spoon or spatula, stir gently until *just* combined. Be careful not to overmix, as this can develop the gluten in the flour and lead to a tough, dense loaf. A few small lumps in the batter are perfectly fine and often indicate you haven’t overmixed.
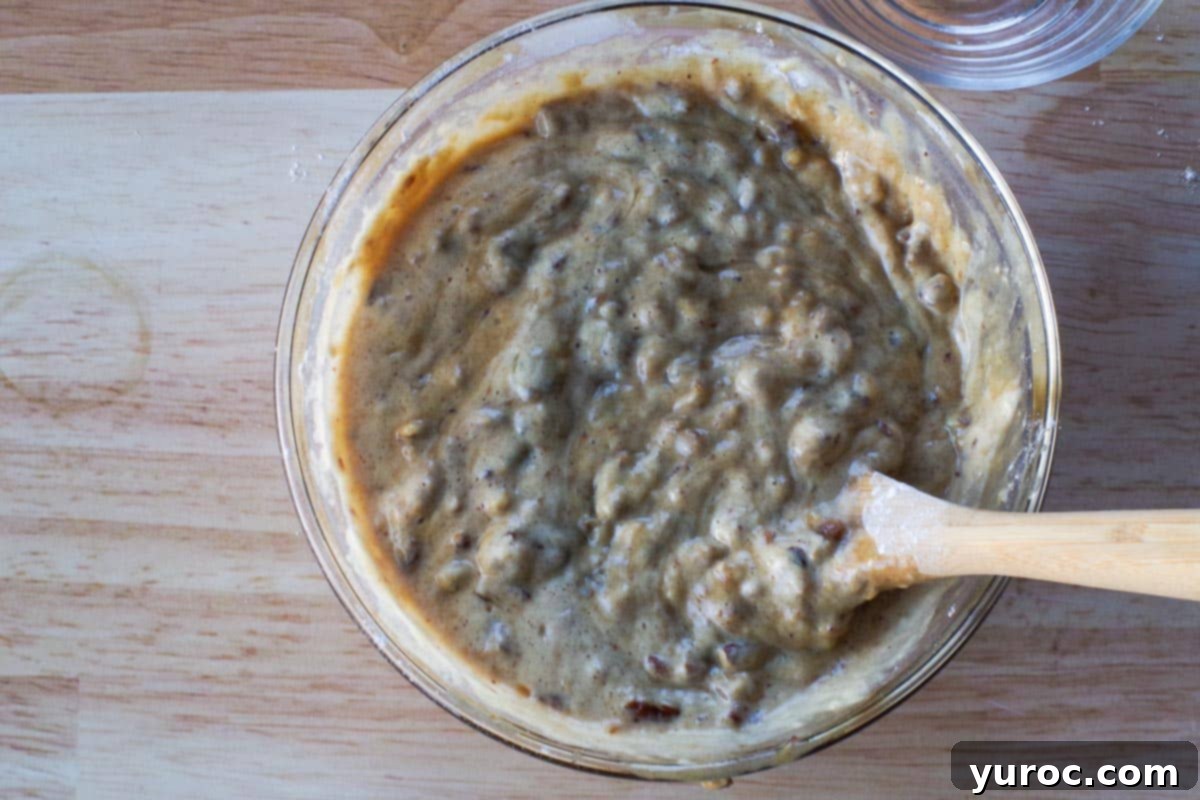
- Step 6: The Final Touch. Add the fresh lemon juice last. This final addition interacts with the baking soda, creating an extra burst of leavening power. Give the batter one last brief stir, just until the lemon juice is incorporated. The batter will be thick and rich.
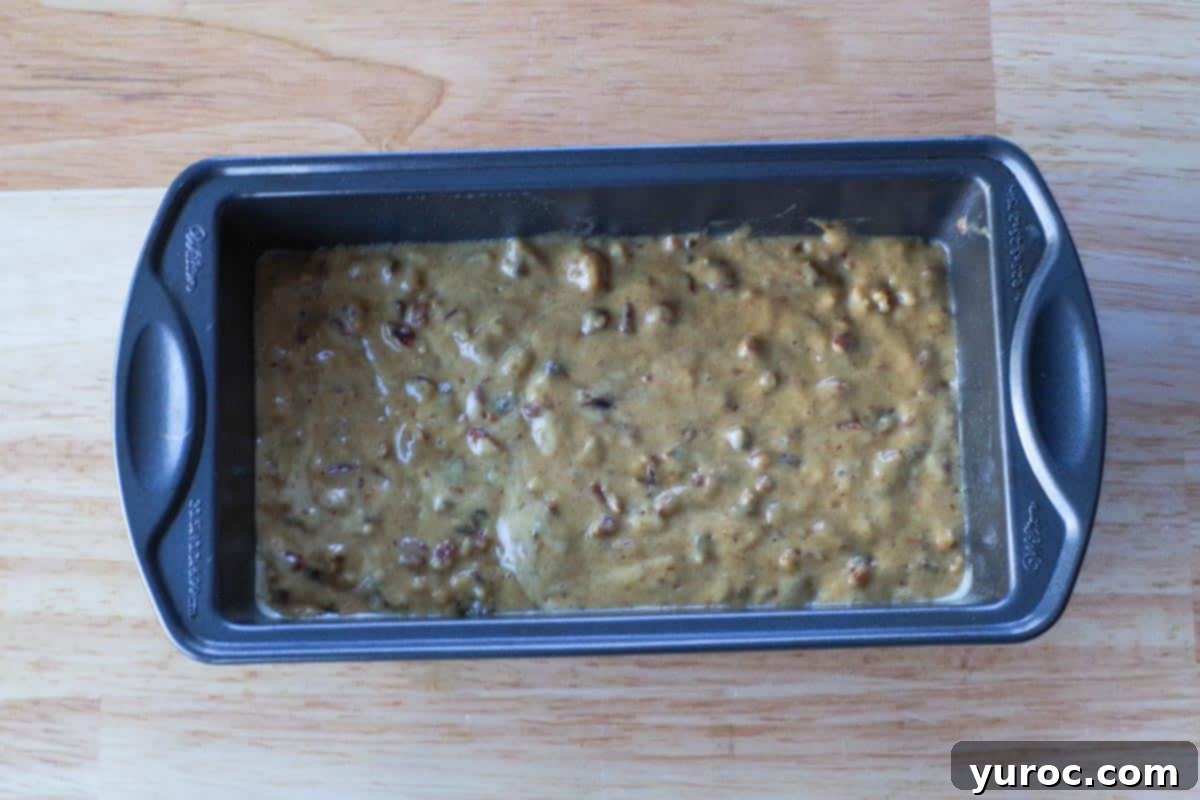
- Step 7: Into the Pan & Oven. Pour the prepared batter into your greased and floured loaf pan. Use your spatula to spread it evenly into the corners. *Immediately place the pan into the preheated oven. This crucial step ensures that the leavening agents start working efficiently, giving your loaf the best possible rise and light texture.
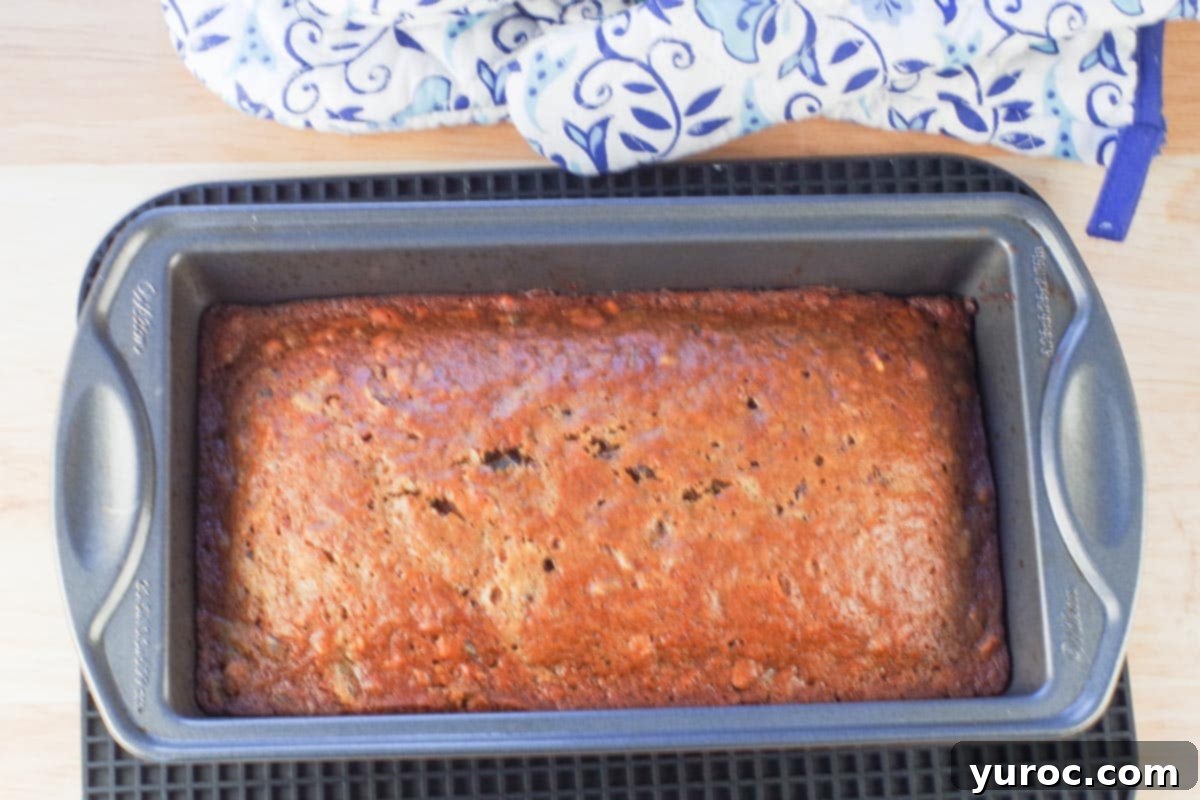
- Step 8: Bake to Perfection. Bake for approximately 50-60 minutes. Baking times can vary depending on your oven, so start checking for doneness around the 50-minute mark. The loaf is ready when a wooden cake tester or toothpick inserted into the center comes out clean, and the top is beautifully golden brown and firm to the touch. Once baked, remove the loaf from the oven and allow it to cool in the pan for about 10-15 minutes. This allows it to firm up before transferring it to a wire rack to cool completely. Cooling on a rack prevents the bottom from becoming soggy.
Top Tips for a Flawless Date Nut Loaf
Achieving the perfect moist and fluffy texture for your Date Nut Loaf is easy with these expert tips, ensuring every bake is a success:
- Act Swiftly After Mixing: It is imperative to place your loaf batter into the oven immediately after all ingredients have been combined, especially after adding the lemon juice. Quick breads rely on chemical leavening agents (like baking soda), which begin to react as soon as they come into contact with wet, acidic ingredients. Delaying baking can cause the leavening power to diminish, resulting in a denser, flatter loaf with less rise.
- Patience for Slicing: For clean, even slices and to preserve the loaf’s moist interior, always wait until the date nut bread cools completely before attempting to cut it. A fully cooled loaf is easier to slice cleanly without crumbling. A **serrated knife** (like a bread knife) works best for gliding through the soft crumb without squishing it, ensuring perfect presentation.
- Slice As Needed: To prevent your delicious date and nut loaf from drying out prematurely, avoid slicing the entire loaf at once. Instead, cut individual pieces only as you are ready to serve and enjoy them. The exposed surfaces of sliced bread tend to lose moisture much faster, so keeping it whole helps retain its freshness longer.
- Proper Storage for Sliced Loaf: If you do find yourself with pre-sliced portions (perhaps for meal prep or a party), ensure they are adequately protected. Cover any exposed slices tightly with plastic wrap or aluminum foil immediately. Storing them in an airtight container will further help maintain their freshness and prevent them from becoming stale or dry.
- Don’t Overmix: When combining wet and dry ingredients, mix just until the flour streaks disappear. Overmixing develops the gluten in the flour, which can lead to a tough, chewy loaf instead of a tender, crumbly one. Mix only until barely combined.
- Room Temperature Ingredients: Ensure your egg and butter are at room temperature. Room temperature ingredients incorporate more easily and evenly into the batter, leading to a smoother mixture and better overall texture in the final loaf.
🥗 Delightful Serving Suggestions for Your Date Nut Bread
This versatile Date Nut Loaf is wonderfully satisfying on its own, but its comforting flavors make it an excellent companion to a variety of beverages and dishes, suitable for any time of day. Its classic appeal makes it a go-to for breakfast, brunch, snacks, or even a light dessert. Here are some ideas to enhance your enjoyment:
- Morning or Afternoon Indulgence: There’s nothing quite like a slice of this rich, moist date loaf paired with a steaming **cup of coffee**, a comforting **cup of tea**, or a refreshing glass of **cold milk**. It’s the perfect pick-me-up for a quiet morning, a relaxing afternoon snack, or a delightful treat during your work break. The warmth of the beverage perfectly complements the loaf’s sweet and nutty notes.
- Breakfast or Brunch Staple: Serve it as a delightful and easy breakfast alongside fresh fruit or as part of a larger brunch spread. Its communal nature makes it an ideal candidate for a breakfast potluck, where it’s sure to be a beloved crowd-pleaser and conversation starter.
- Lunchbox Treat: Pack a slice in a lunch bag for a wholesome and satisfying mid-day treat that’s far more exciting and flavorful than a plain sandwich. It holds up well and provides a lovely energy boost.
- Dessert Companion: While absolutely delicious on its own, consider elevating it to a more decadent dessert. Serve a warm slice with a dollop of freshly whipped cream, a scoop of creamy vanilla ice cream, or a generous drizzle of homemade caramel or butterscotch sauce. A sprinkle of sea salt can even enhance the caramel notes.
- Pairing with Savory: For a balanced spread, the sweetness of date bread provides a lovely contrast to savory dishes. I also love serving it with fresh, vibrant dishes like this Classic Fruit Salad with Honey Lime Dressing for a refreshing counterpoint. For a heartier breakfast or brunch, it complements savory items such as Roasted Red Pepper Egg White Bites, Air Fryer Turkey Sausages, and this flavorful Mediterranean Weight Watchers Crustless Quiche. The unique combination of sweet and savory is truly delightful.
👪 Customizing Your Serving Size
This recipe is designed to yield approximately **10 generous servings** of delicious Date Nut Loaf, making it perfect for family meals or small gatherings. However, if you’re baking for a larger crowd, planning for a party, or simply want to have extra on hand (which I highly recommend, as it freezes beautifully!), you can easily adjust the recipe quantities. Most interactive recipe cards allow you to simply click on the serving number and select your desired quantity. The ingredient amounts will automatically scale up or down to match your needs, saving you the hassle of manual calculations. Just remember that if you double or triple the recipe, you’ll need additional 9×5-inch loaf pans to accommodate the increased batter properly and ensure even baking.
🌡️ Storing Your Homemade Date Nut Loaf for Freshness
One of the many great qualities of this old-fashioned date nut bread is how incredibly well it stores, allowing you to enjoy its delightful flavors for days or even months! Proper storage is key to ensuring that every slice remains as moist, tender, and flavorful as the day it was baked.
- Countertop Storage: For immediate enjoyment within a day or two, simply store the unsliced loaf wrapped tightly in several layers of plastic wrap or aluminum foil. Then, place it in an airtight container at room temperature. This double-layer protection helps to prevent it from drying out and maintains its soft texture.
- Refrigeration: This loaf will keep beautifully in the fridge for up to **4 days** when stored in an airtight container. Refrigeration is particularly useful in warmer climates, if your kitchen is warm, or if you simply prefer a chilled slice. Just be aware that refrigeration can sometimes slightly alter the texture, making it a bit firmer.
- Freezing for Long-Term Enjoyment: I often find myself doubling this recipe to bake two loaves, freezing one for later enjoyment – it’s a fantastic way to have a homemade treat ready at a moment’s notice! To freeze, ensure the loaf is completely cooled to prevent condensation and ice crystals. Wrap it tightly in several layers of plastic wrap, then an additional layer of heavy-duty aluminum foil, or place it in a large, freezer-safe Ziplock bag, pressing out as much air as possible. Label clearly with the date. It will maintain its quality and delicious flavor in the freezer for up to **3 months**. When ready to enjoy, simply thaw it at room temperature for a few hours or in the refrigerator overnight. You can even warm individual slices slightly in the microwave or toaster oven for that comforting, freshly baked taste.
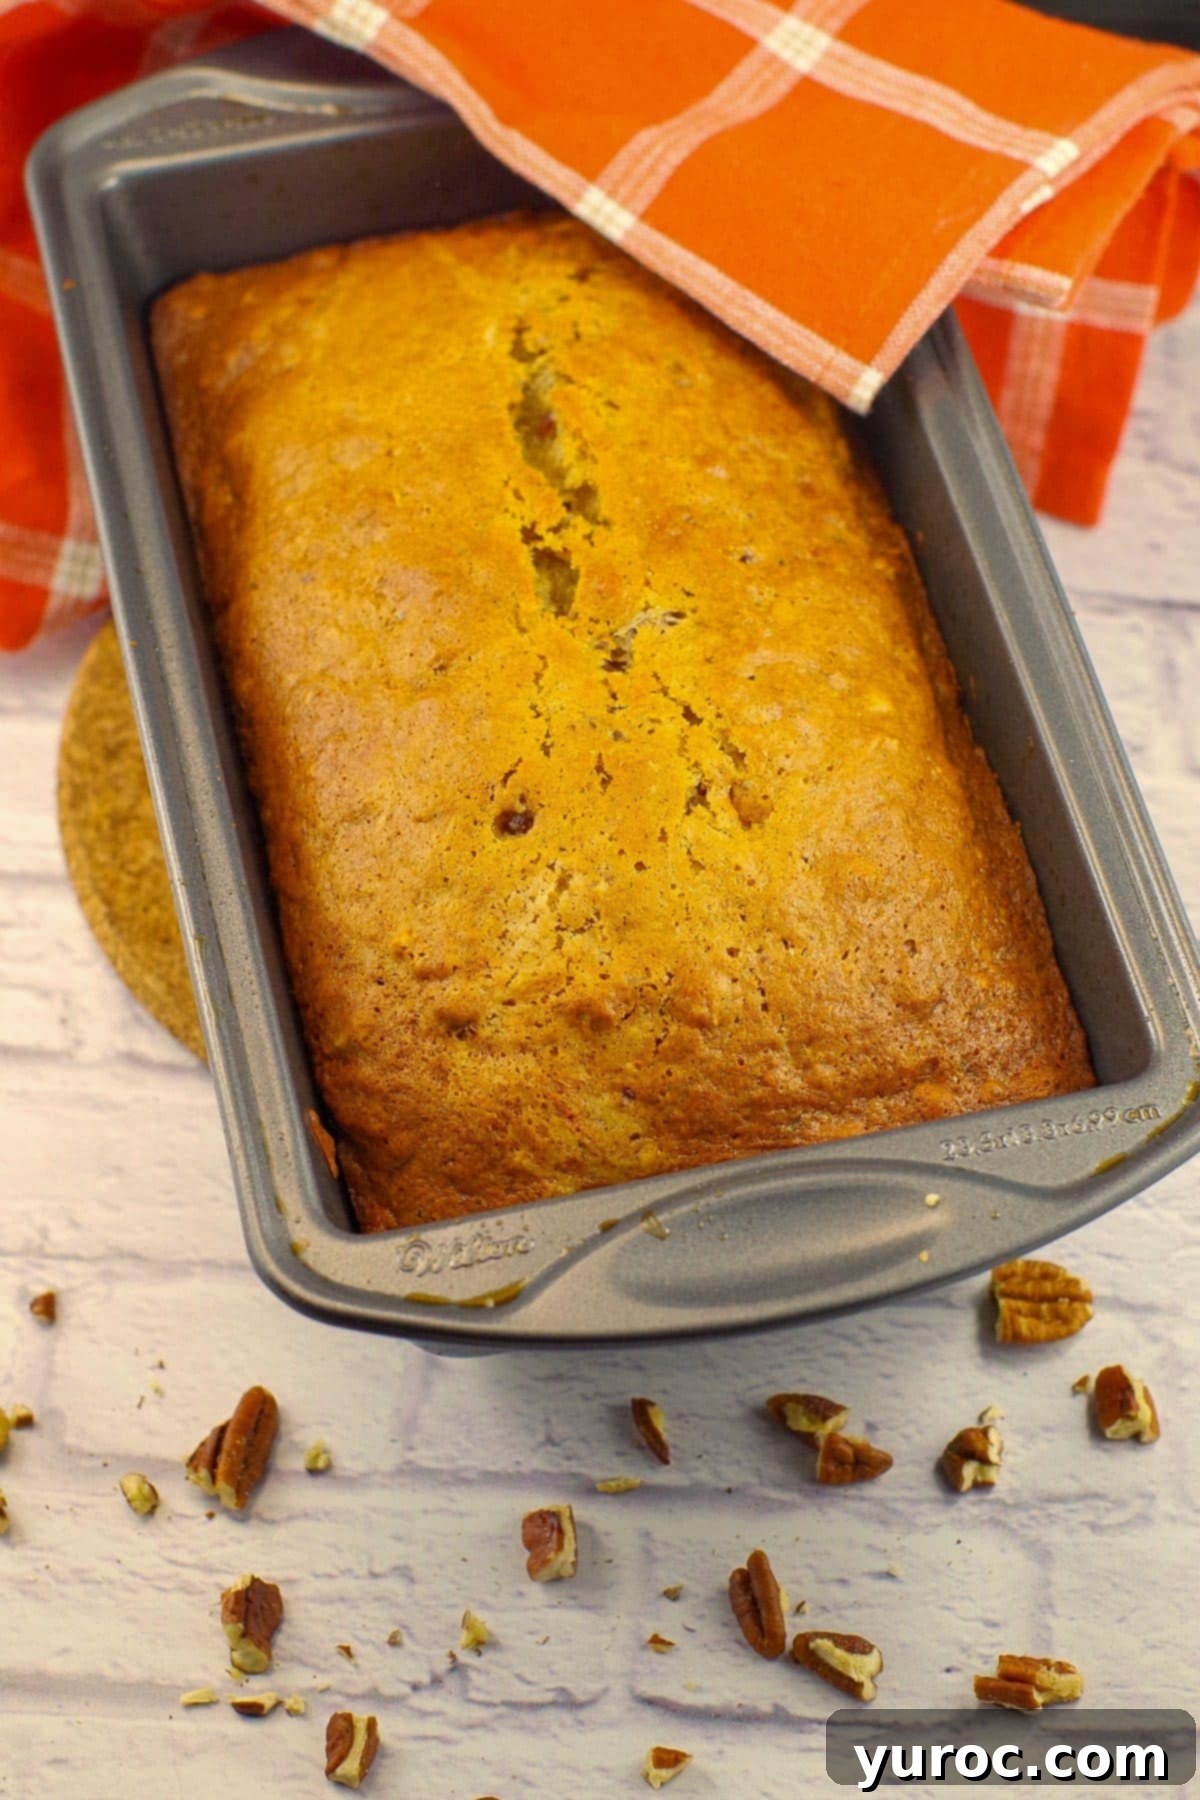
So wonderfully simple, yet beyond delicious – this heirloom recipe is living testimony to the fact that genuinely good food endures. This easy date nut bread has gracefully lived on for six generations, enchanting taste buds with its light, fluffy, and perfectly balanced flavors. You truly don’t even have to be a devoted fan of dates to fall head over heels for this old-fashioned date nut bread. Its subtle sweetness, combined with the rich notes of nuts and a hint of lemon, creates an irresistible harmony that appeals to almost everyone. It’s truly ideal for savoring during your morning coffee break, offering a moment of quiet indulgence, or for sharing with loved ones over a warm cup of hot tea. Each bite is a comforting hug, a slice of history, and a promise of simple culinary joy that you’ll want to recreate again and again.
❔ Common Questions About Date Nut Bread (FAQs)
Quick breads, unlike yeast breads, rely entirely on chemical leavening agents such as baking soda (and sometimes baking powder) for their rise. These agents begin to react instantly upon contact with liquid ingredients, especially if those liquids are acidic (like the lemon juice in this recipe). This reaction produces gas bubbles that are responsible for creating the light and airy texture we love in quick breads. If the batter sits for too long before baking, these precious gas bubbles will escape, and the leavening power will be significantly reduced, resulting in a denser, heavier, and less appealing loaf. Therefore, speed from mixing to oven is key to capturing that perfect, fluffy rise!
For this particular recipe, you don’t necessarily need to seek out a specific premium date variety. Honestly, I’ve used generic store-brand pitted dates (they often don’t even specify the type on the bag!) and my date loaf has always turned out wonderfully amazing! However, if you’re looking for an optimal choice for baking, **Deglet Noor Dates** are often recommended. They are known for their firm texture, slightly nutty flavor profile, and a sweetness that isn’t overly dominant, which helps the other flavors in the loaf shine through. Medjool dates are also an option if you prefer a softer, sweeter, and more caramel-like date, but be aware they are very moist and might make the loaf a bit stickier. Any soft, pitted date will generally work well.
While this recipe traditionally uses all-purpose flour, many bakers have successfully adapted quick bread recipes to be gluten-free. You can certainly try substituting a 1:1 gluten-free all-purpose flour blend (one that preferably contains xanthan gum) for the regular flour. Keep in mind that gluten-free flours often absorb liquids differently, so you might need slight adjustments to the liquid content, and the final texture might be slightly denser or have a different crumb than the original. Always follow the specific recommendations on your chosen gluten-free flour blend package for the best possible results.
So you can rest assured that when you bake and serve this easy date quick bread, it’s destined to be a beloved hit with your family and friends! Its timeless appeal and delicious flavor make it a guaranteed winner for any occasion. And if you still have a soft spot for carrot loaf and wish to bring one to the party as well, here’s a fantastic Healthy Carrot Loaf Recipe to add to your repertoire, ensuring all your quick bread cravings are satisfied!
🍞 Discover More Delicious Quick Breads
If you’ve fallen in love with the ease, comfort, and incredible flavor of this Traditional Date Nut Loaf, you’ll be thrilled to explore other quick bread recipes that offer similar simplicity and homemade goodness. Quick breads are a fantastic solution for busy schedules, delivering delicious baked treats without the fuss and waiting time associated with yeast. Expand your baking horizons with these delightful options from our collection:
- Old Fashioned Lemon Bread
- Brown Sugar Cinnamon Swirl Bread (with Lemon Glaze)
- Blueberry Gingerbread Loaf
- Healthy Tropical Banana Bread (with Lime Glaze)
Did your family ❤️ this recipe? Did you know that commenting and ⭐ rating recipes is one of the best ways to support your favorite recipe creators? If you LOVED this recipe, please take a moment to comment and rate it in the recipe card below, or share your delicious creations on social media using the hashtag #foodmeanderings and tagging @foodmeanderings! Your feedback means the world and helps others discover these wonderful recipes!

📋 Grandma’s Six-Generation Traditional Date Nut Loaf Recipe
Ingredients
- 1 cup pitted and chopped dates
- 1 cup boiling water
- 2 tablespoons unsalted butter
- 1 ½ cups all-purpose flour
- 1 teaspoon baking soda
- ¾ cup granulated sugar
- 1 large egg
- 1 teaspoon vanilla extract
- 1 cup chopped pecans (or walnuts for substitution)
- 3 teaspoons freshly squeezed lemon juice
Instructions
- Preheat your oven to 350 degrees F (176 degrees C) and generously spray your loaf pan with non-stick cooking spray, or grease and flour it for easier release.
- In a medium heatproof bowl, combine the chopped dates, butter, and boiling water. Stir until the butter is completely melted and the dates are softened. Let this mixture cool completely before proceeding to the next steps.
- In a separate, larger bowl, sift together the all-purpose flour and baking soda. This ensures a light texture and even distribution of leavening.
- Once the date mixture has cooled to room temperature, add the granulated sugar and the large egg. Mix thoroughly until well combined.
- Stir in the vanilla extract and your chopped pecans (or walnuts), ensuring they are evenly distributed throughout the wet mixture.
- Gently add the sifted flour mixture to the wet date mixture. Stir just until the dry ingredients are moistened and no flour streaks remain. Be careful not to overmix.
- Add the freshly squeezed lemon juice as the final ingredient and give the batter one last quick stir to combine everything.
- Pour the batter into the prepared loaf pan and immediately place it into the preheated oven. Bake for approximately 50-60 minutes, or until a cake tester or toothpick inserted into the center comes out clean. The loaf should be lightly browned on top. Allow to cool in the pan for 10-15 minutes before transferring to a wire rack to cool completely.
Notes
-
- Immediate Baking for Optimal Rise: Ensure your bread goes into the oven immediately after mixing the wet and dry ingredients. Quick breads rely on chemical reactions for leavening, which start as soon as liquids meet baking soda. Delaying baking can cause these air bubbles to dissipate, resulting in a denser loaf.
-
- Cool Completely Before Slicing: When cutting this delectable date nut bread, always wait until it cools completely. A fully cooled loaf is easier to slice cleanly without crumbling, and it allows the internal moisture to set, resulting in a perfectly tender crumb. Use a serrated knife (bread knife) for the best results.
-
- Slice Only What You Need: To maintain maximum freshness and moisture, avoid slicing the entire date & nut loaf at once. Only cut each piece as you intend to eat it. Slicing exposes more surface area to air, causing the loaf to dry out more quickly.
-
- Protect Sliced Portions: If you do happen to slice the loaf before storing, make sure to tightly cover any exposed pieces with plastic wrap. This barrier helps to seal in moisture and keeps the loaf fresh for longer.