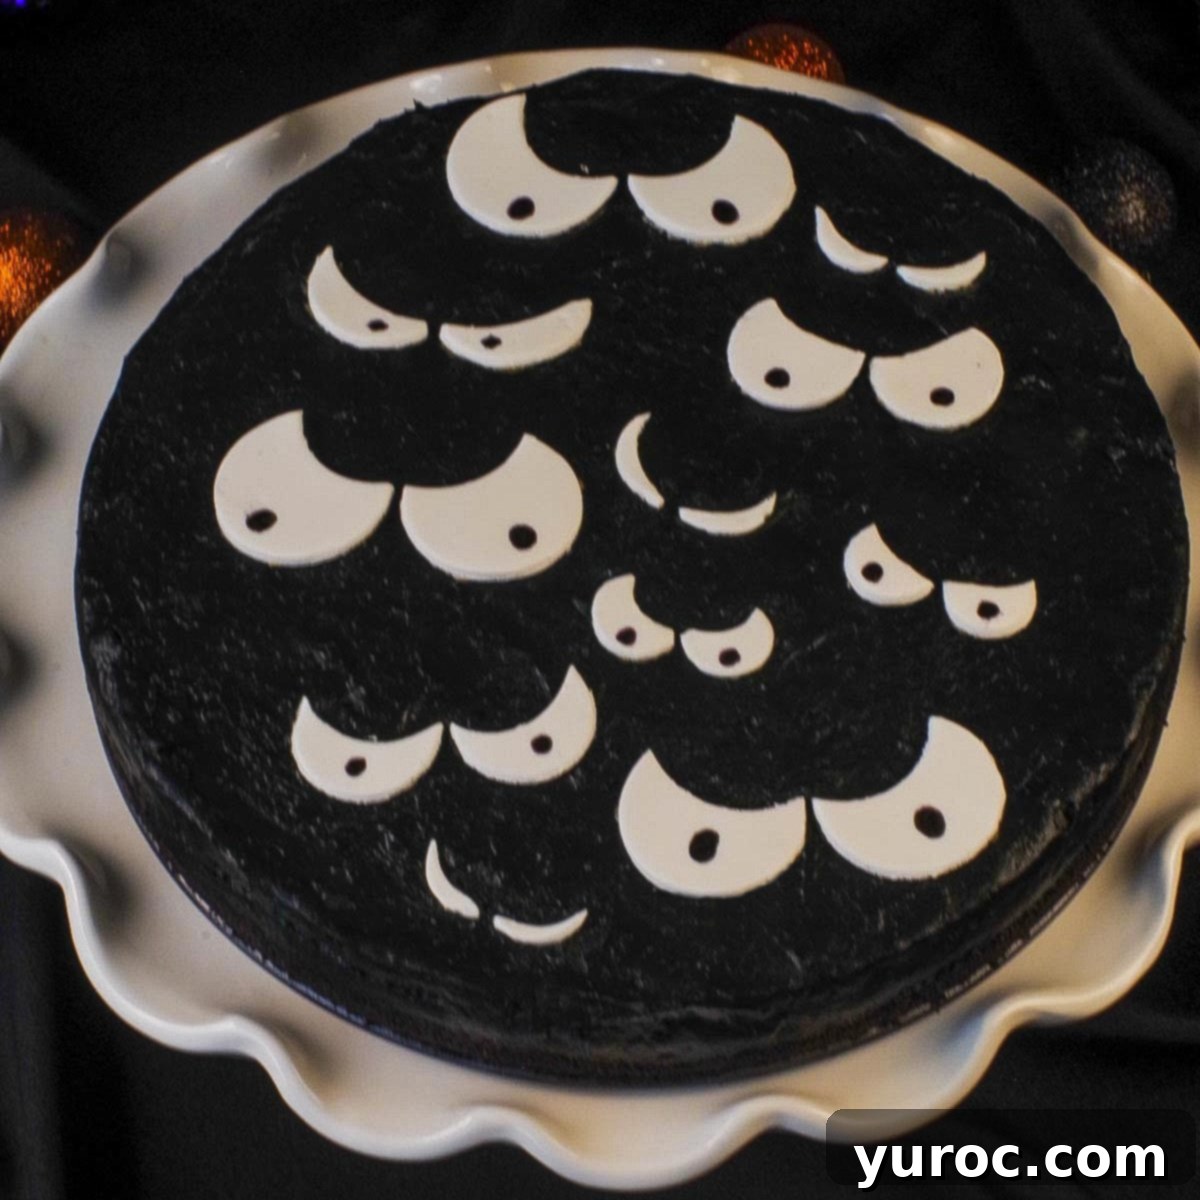
Spooky Black Magic: The Ultimate No-Bake Scary Eyes Halloween Cheesecake Recipe
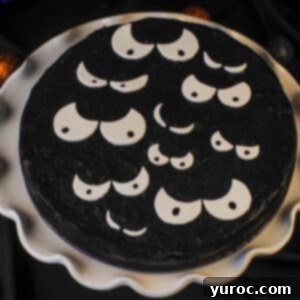
Prepare for a truly enchanting Halloween treat with this Scary Eyes in the Dark No-Bake Halloween Cheesecake! This dessert is not only visually striking with its deep black hue and piercing white eyes, but it’s also incredibly simple to make, requiring no oven at all. Imagine a rich, chocolate-flavored cheesecake, nestled on a classic Oreo cookie crust, creating the ultimate centerpiece for your Halloween celebrations. It’s truly the perfect Party Halloween Cheesecake that will impress guests of all ages.
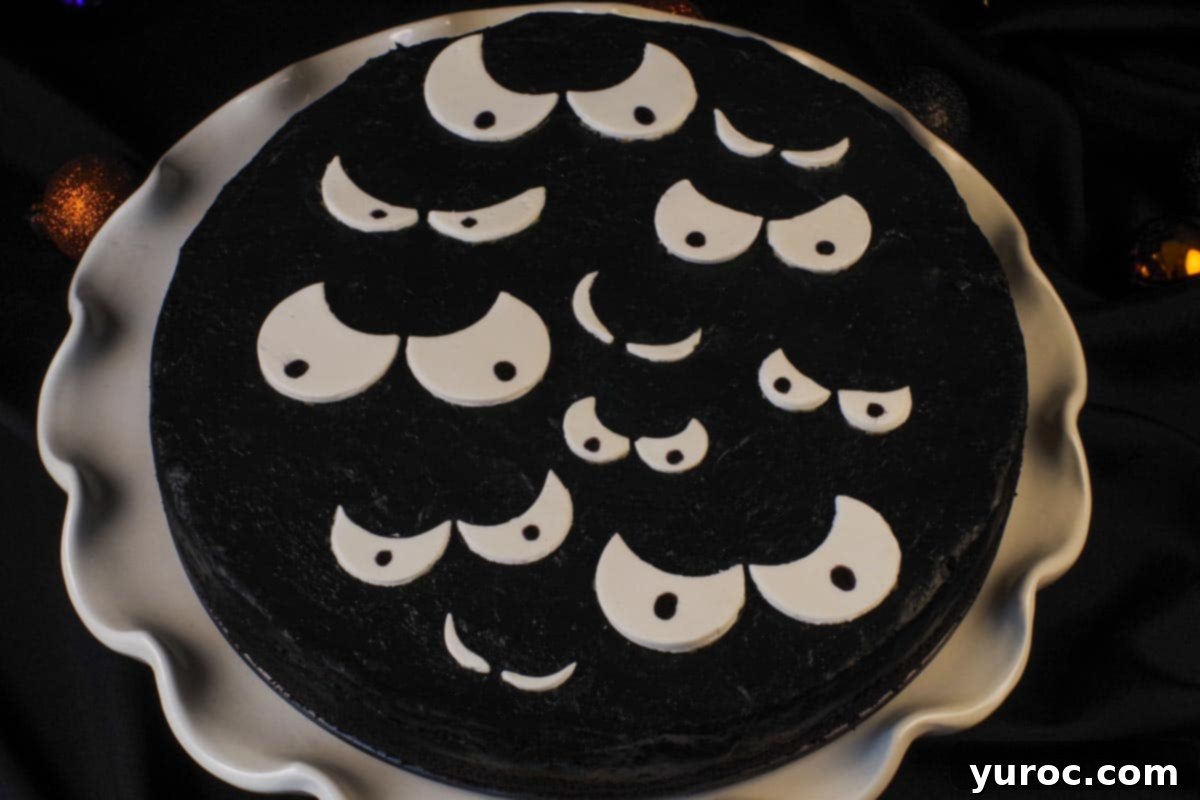
While this dark and mysterious black cheesecake is a huge hit during Halloween, its captivating appearance and delicious chocolate flavor make it suitable for any time of year. Think horror movie marathons, gothic-themed parties, or any event where you want to add a touch of dramatic flair. This recipe was inspired by other eerie delights like my Halloween Pie, the delightfully spooky Boo Batter Ice Cream, and the decadent No Bake Black Forest Cheesecake, blending familiar flavors with a spooky twist.
The inspiration for these unsettling “scary eyes in the dark” traces back to my childhood, recalling those classic cartoon scenes where disembodied eyes would peer out from shadowy corners, sending delightful shivers down my spine. That nostalgic, eerie imagery is what brought this unique cheesecake design to life, promising to be a conversation starter at any gathering.
🌟 Why You’ll Love This No-Bake Halloween Cheesecake
This recipe isn’t just a dessert; it’s a spectacle! Here are a few reasons why this Scary Eyes Halloween Cheesecake will become your go-to spooky season treat:
- Effortlessly Easy: No baking required means less stress and more time to enjoy your Halloween festivities. Perfect for beginner bakers or those short on time.
- Deliciously Chocolatey: Despite its black appearance, the cheesecake boasts a rich, semi-sweet chocolate flavor that everyone will adore.
- Iconic Oreo Crust: The crushed Oreo cookie base adds a fantastic crunch and complements the creamy filling perfectly.
- Visually Stunning: The striking black cheesecake adorned with glowing white eyes creates an unforgettable, spooky aesthetic that screams Halloween.
- Party Perfect: It’s designed to feed a crowd and holds up well for serving, making it ideal for Halloween parties or potlucks.
- Minimal Cleanup: Without the need for an oven, cleanup is significantly simpler, letting you get back to the fun faster.
🥘 Essential Ingredients for Your Spooky Cheesecake
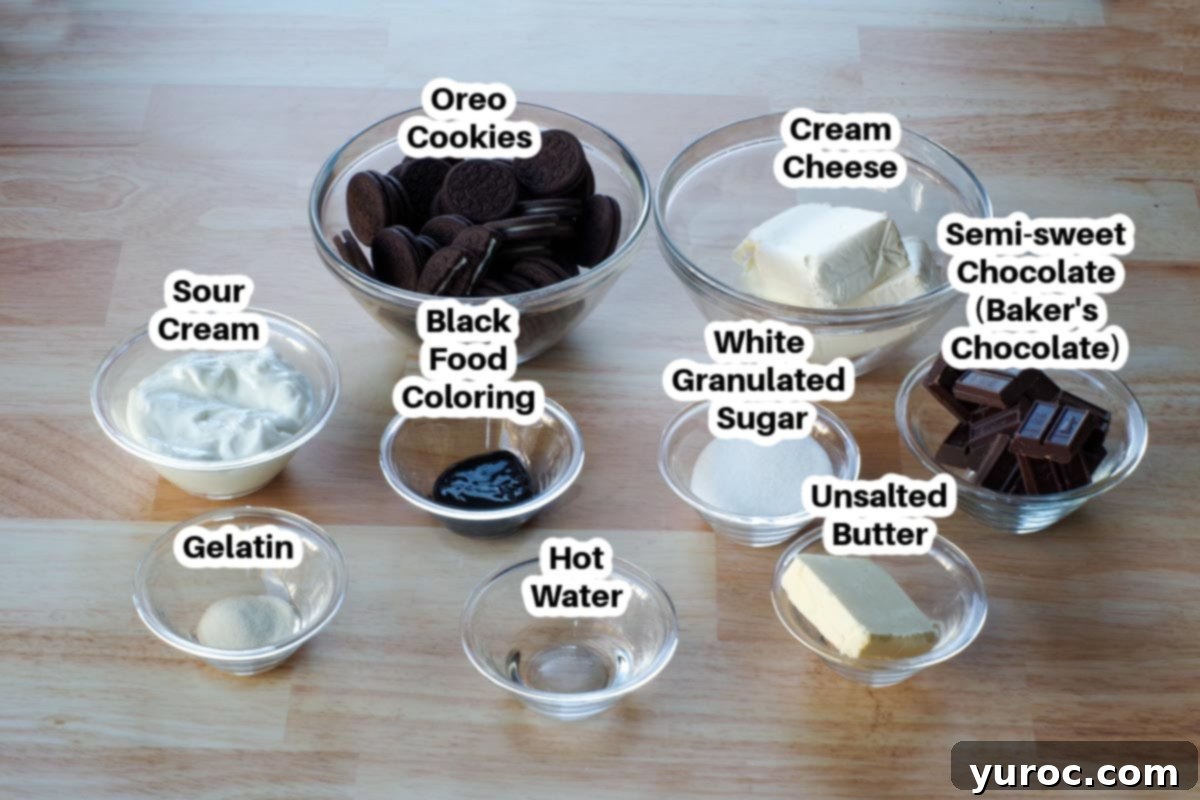
Crafting this dramatic black cheesecake requires a few key ingredients. Here’s a detailed look at what you’ll need and why each component is important:
- Unsalted Butter & Oreo Cookies: These two form the foundational, crunchy crust. Unsalted butter allows you to control the overall saltiness of the dessert. For the best crust texture and flavor, stick to classic plain Oreo cookies. Avoid varieties like double-stuffed or flavored Oreos, as they can alter the consistency and sweetness of the crust.
- Cream Cheese: The heart of any cheesecake! Full-fat cream cheese is recommended here for its rich, creamy texture and tangy flavor, which balances the sweetness beautifully. It is absolutely crucial that your cream cheese is at **room temperature**. This ensures it blends smoothly with other ingredients, preventing lumps and resulting in a silky-smooth cheesecake filling.
- White Granulated Sugar: This provides the necessary sweetness to the cheesecake filling, enhancing the chocolate flavor without overpowering it.
- Semi-Sweet Chocolate Squares (Baker’s Chocolate): Melted baker’s chocolate is essential for giving this black cheesecake its delightful chocolate flavor. Using semi-sweet ensures a balanced sweetness, allowing the rich cocoa notes to shine through. Avoid chocolate chips, as they contain stabilizers that prevent them from melting as smoothly as baker’s chocolate.
- Sour Cream: A secret weapon for extra creaminess and a subtle tang! Sour cream adds moisture and a velvety texture to the cheesecake, making it even more indulgent. Like cream cheese, ensure it’s at room temperature for optimal blending.
- Gelatin Powder and Water: Since this is a no-bake cheesecake, gelatin is your best friend! When dissolved in hot water, it acts as the setting agent, firming up the cheesecake mixture without the need for an oven. This is what gives the cheesecake its stable, sliceable structure.
- Super Black Food Coloring: To achieve that striking, deep black hue, a high-quality “super black” food coloring is indispensable. Brands like Americolor are highly recommended because they deliver intense color with less product, preventing any potential alteration of the cheesecake’s flavor or texture. Using too much of a lesser quality black food coloring can indeed give your cheesecake an off-taste.
- White Fondant: This is used to create the ghostly white eyes that stand out against the black cheesecake. You can purchase pre-made white fondant (Wilton is a popular choice) or challenge yourself by making it from scratch. It’s pliable and easy to cut into shapes.
- Black Edible Marker: A fine-tipped black edible marker is perfect for drawing the pupils onto the fondant eyes, bringing them to life with a spooky gaze. Americolor also offers excellent edible markers for precision.
Refer to the recipe card below for precise quantities.
💡 Top Tip: Alternatives to Black Food Coloring for Your Black Cheesecake
A word of caution regarding super black food coloring: it’s incredibly potent and can temporarily stain lips, tongues, and teeth. If you’re serving this dessert to children, be prepared for potentially messy hands and accidental stains on furniture or clothing. For these reasons, some people prefer to minimize or avoid using synthetic black food coloring altogether.
If you’re seeking alternatives to achieve a deep, dark color without relying heavily on artificial dyes, here are some excellent options:
Option 1: Black Cocoa Powder (Dutch Processed Cocoa)
A fantastic natural alternative for achieving a rich, dark black color is Dutch-processed black cocoa powder. This type of cocoa is treated to reduce its acidity, resulting in a darker color and a milder, less bitter chocolate flavor compared to natural cocoa. While it won’t produce the exact same glossy black as food coloring, it offers a beautifully deep, matte finish.
Here’s a simple recipe for a naturally black-colored icing using Dutch cocoa powder, perfect for topping your cheesecake:
Black Icing (with Dutch Cocoa Powder)
- 1 cup powdered sugar
- 1 ½ tablespoon black cocoa powder (Dutch processed)
- 1 ½ tablespoon milk (dairy or non-dairy)
Whisk these ingredients together until smooth. For a thicker consistency, add slightly less milk; for a thinner glaze, add a few more drops. You will need to at least double this recipe to cover the top of a 9-inch cheesecake, and likely triple it if you wish to glaze the sides as well. This method ensures a delicious, naturally chocolatey topping.
Option 2: Dark Chocolate Glaze with Minimal Food Coloring
Another excellent alternative is to use a rich chocolate glaze. This naturally darkens the surface of the cheesecake, and you can add a tiny amount of black food coloring to intensify the hue without needing as much as you would for the entire cheesecake filling. This method provides a glossy, elegant finish.
*Important Note: If you choose to add black food coloring to the glaze, it must be thoroughly mixed with the corn syrup *before* combining it with the melted butter and chocolate. This helps disperse the color evenly and prevents streaking.
Rich Chocolate Glaze:
- 3 oz. semi-sweet baker’s chocolate, chopped (NOT chocolate chips)
- 5 tablespoons unsalted butter
- 1 tablespoon light corn syrup
In a small, microwave-safe bowl (or over a double boiler), melt the chopped semi-sweet chocolate and unsalted butter together until smooth. Remove from heat and stir in the corn syrup. If using, mix a few drops of black food coloring into the corn syrup before adding it to the chocolate mixture. Whisk until the glaze is completely smooth and uniform.
Once your cheesecake is fully chilled, carefully unclasp and remove the side of the springform pan. Run a long, thin metal spatula under the bottom crust of the cheesecake to gently loosen it. Carefully slide the cheesecake onto a flat serving plate. Pour the warm chocolate glaze over the cheesecake and spread it evenly across the top, allowing it to drip attractively down the sides if desired. Place the cheesecake back into the fridge for a few minutes to allow the glaze to set firm. To serve, use a thin knife dipped in hot water and wiped dry before each slice for clean cuts.
📖 Creative Variations & Easy Substitutions
This recipe is quite forgiving and allows for several modifications to suit your dietary needs or preferences:
- Cream Cheese: While full-fat cream cheese offers the richest texture, you can absolutely use regular, low-fat, or even non-fat cream cheese. Just be aware that the texture might be slightly less rich or firm with lower-fat options.
- Sour Cream: Similar to cream cheese, regular, low-fat, or non-fat sour cream can be used. Each will still contribute to the cheesecake’s creamy consistency and a hint of tang.
- Crust Alternatives: If you can’t find whole Oreo cookies or prefer a different base, you can use pre-made chocolate baking crumbs or other cookie crumbs. Graham cracker crumbs with a little cocoa powder also work well for a slightly different flavor profile.
- Gluten-Free: To make this Halloween party cheesecake gluten-free, simply use gluten-free Oreo cookies for the crust.
🔪 How to Make This Spooky No-Bake Halloween Cheesecake
Creating this eye-catching dessert is surprisingly straightforward. Follow these steps for a perfectly spooky treat!
Prep Ahead: Lightly spray a 9-inch springform pan with a non-stick cooking spray. This will help ensure easy removal of your finished cheesecake.
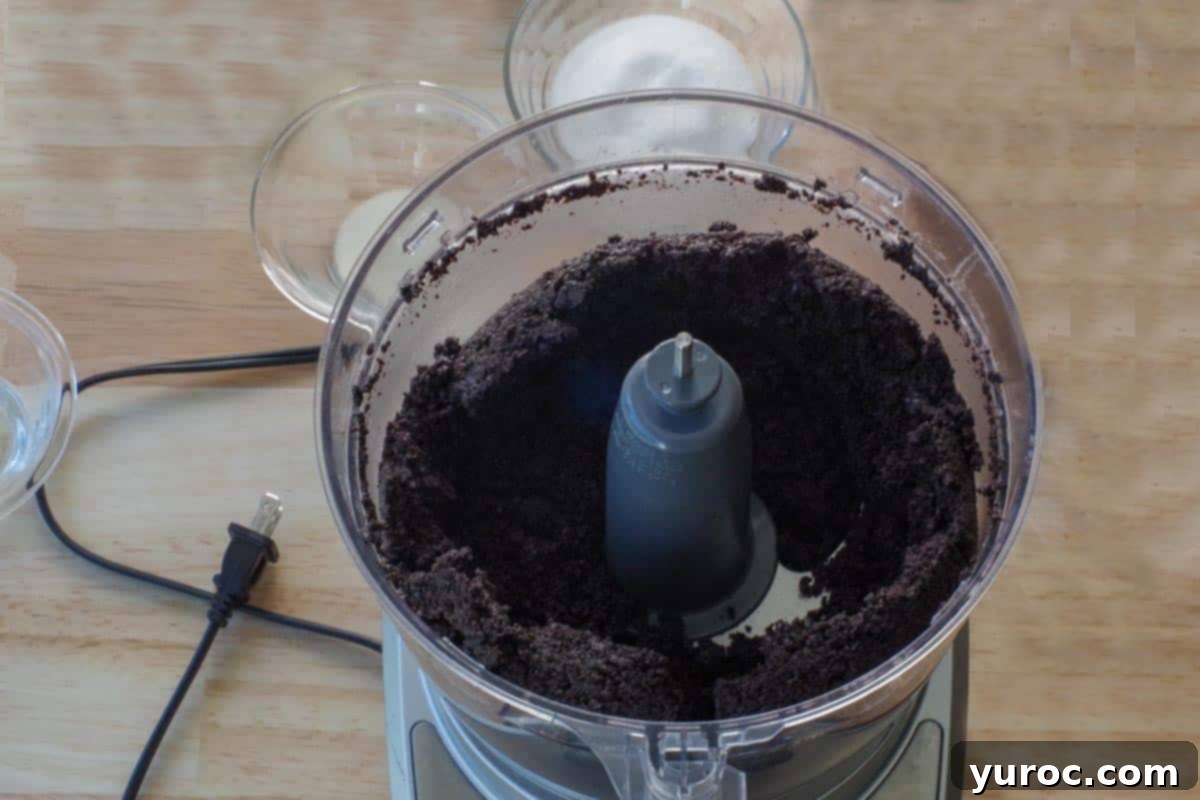
- Step 1 (Oreo Crust): In a food processor, combine the melted butter and whole Oreo cookies. Process on high speed until the cookies are finely crushed and thoroughly combined with the butter, forming a moist, crumbly mixture.
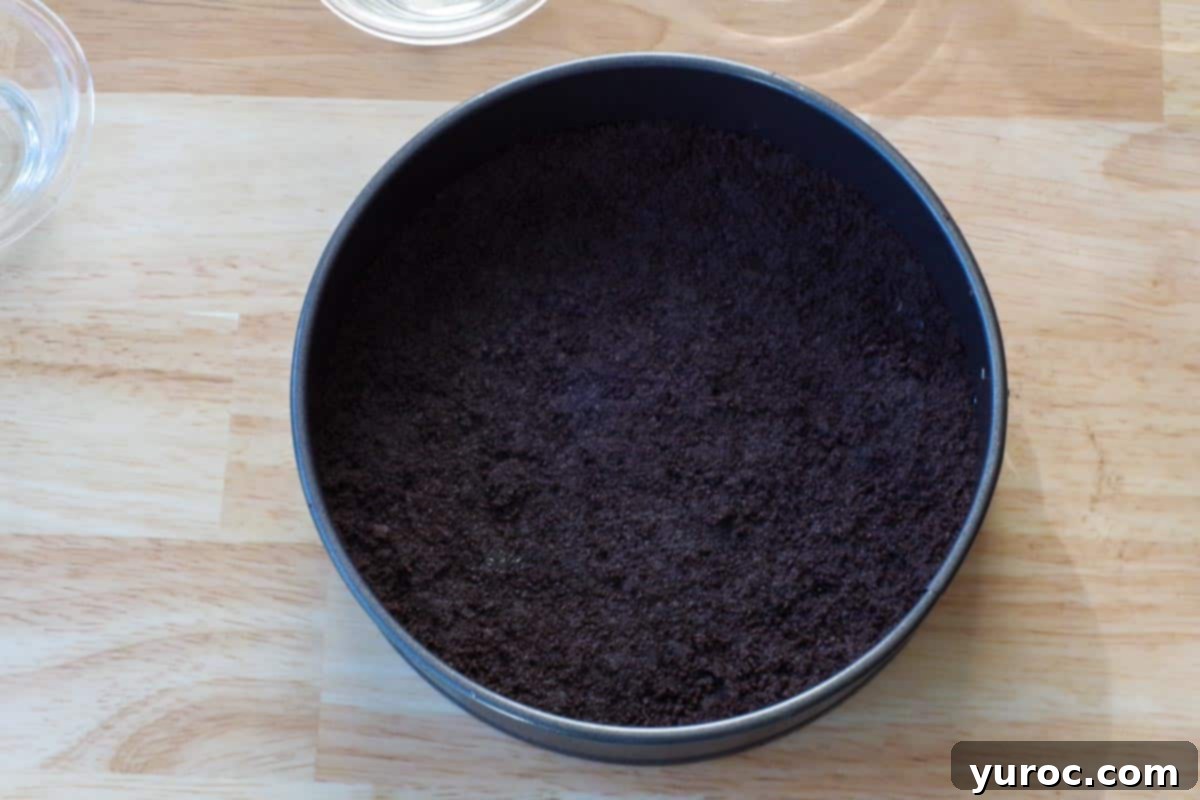
- Step 2: Transfer the Oreo crumb mixture into your prepared 9-inch springform pan. Use the back of a spoon or the bottom of a glass to firmly and evenly press the crumbs into the bottom of the pan. This creates a solid base that won’t crumble when sliced.
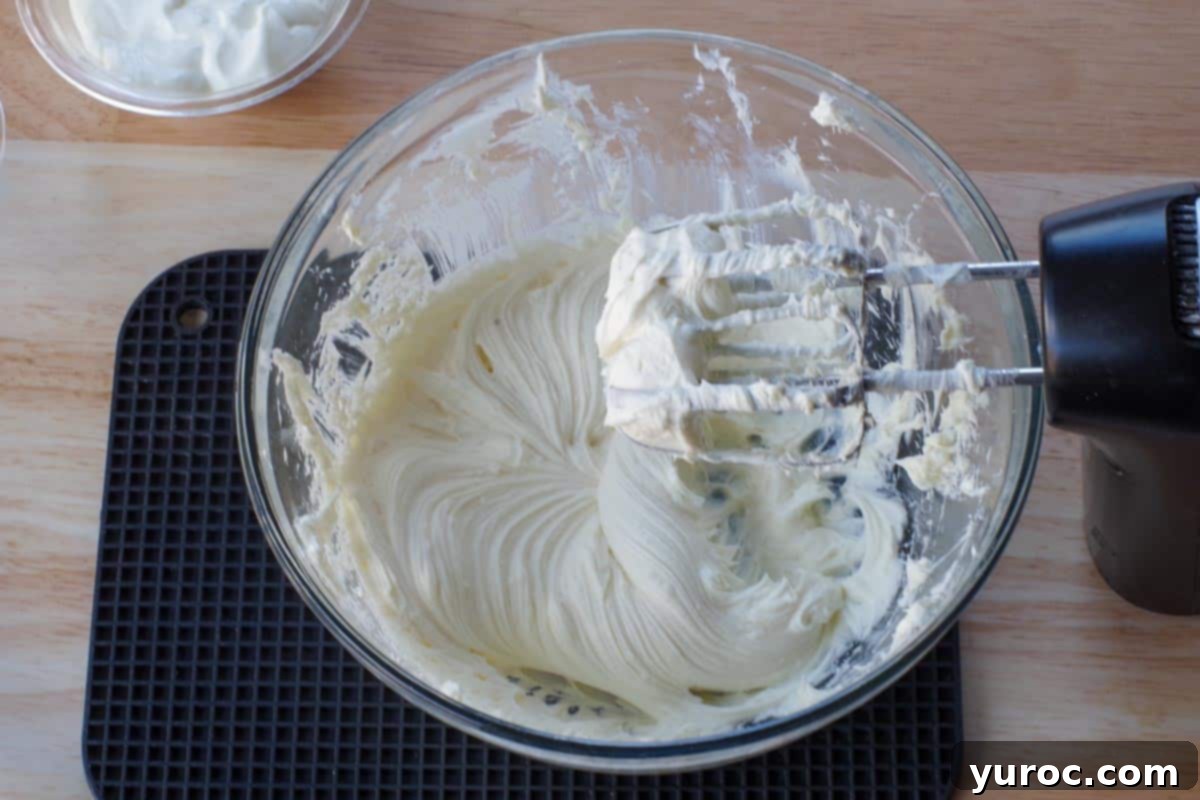
- Step 3 (Cheesecake Filling): In a large mixing bowl, combine the room-temperature cream cheese and white granulated sugar. Using an electric hand mixer (or a stand mixer with the paddle attachment), beat these ingredients together on medium speed until the mixture is light, fluffy, and completely smooth, with no sugar granules visible. This incorporates air, resulting in a lighter texture.
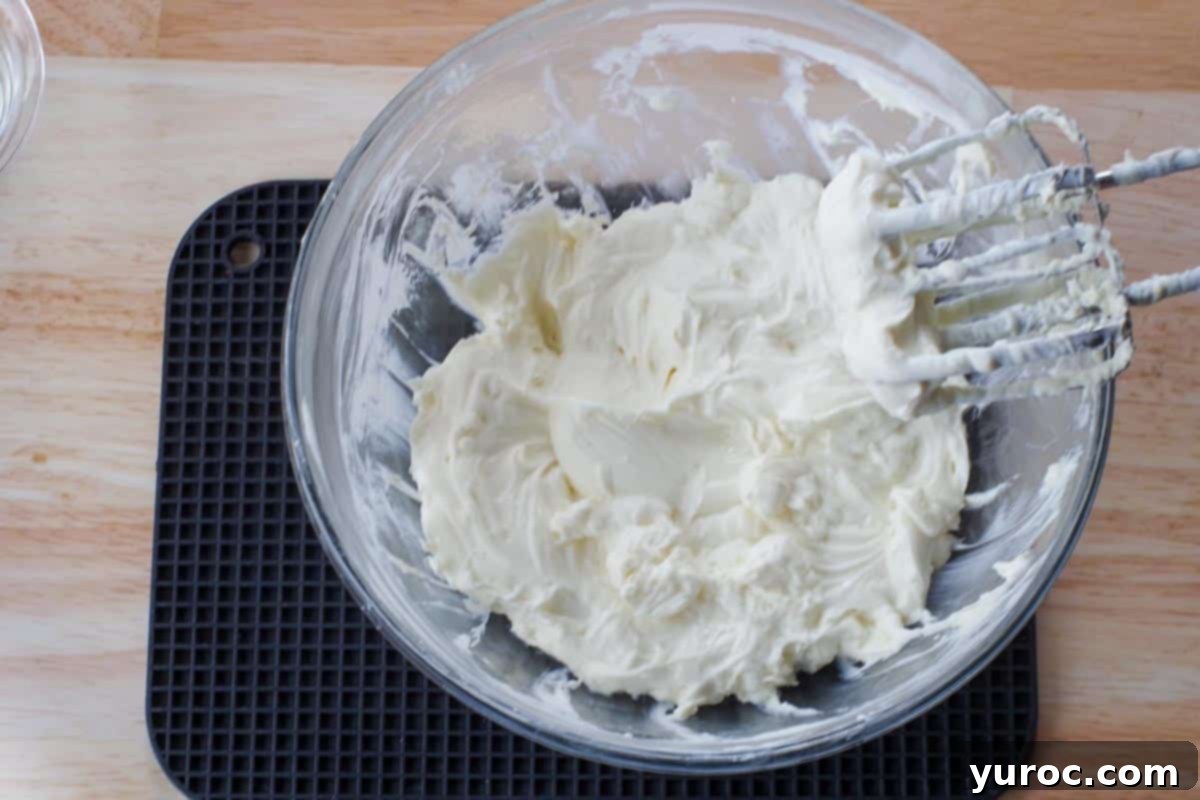
- Step 4: Add the room-temperature sour cream to the cream cheese mixture. Beat again until just combined and smooth. Be careful not to overmix at this stage.
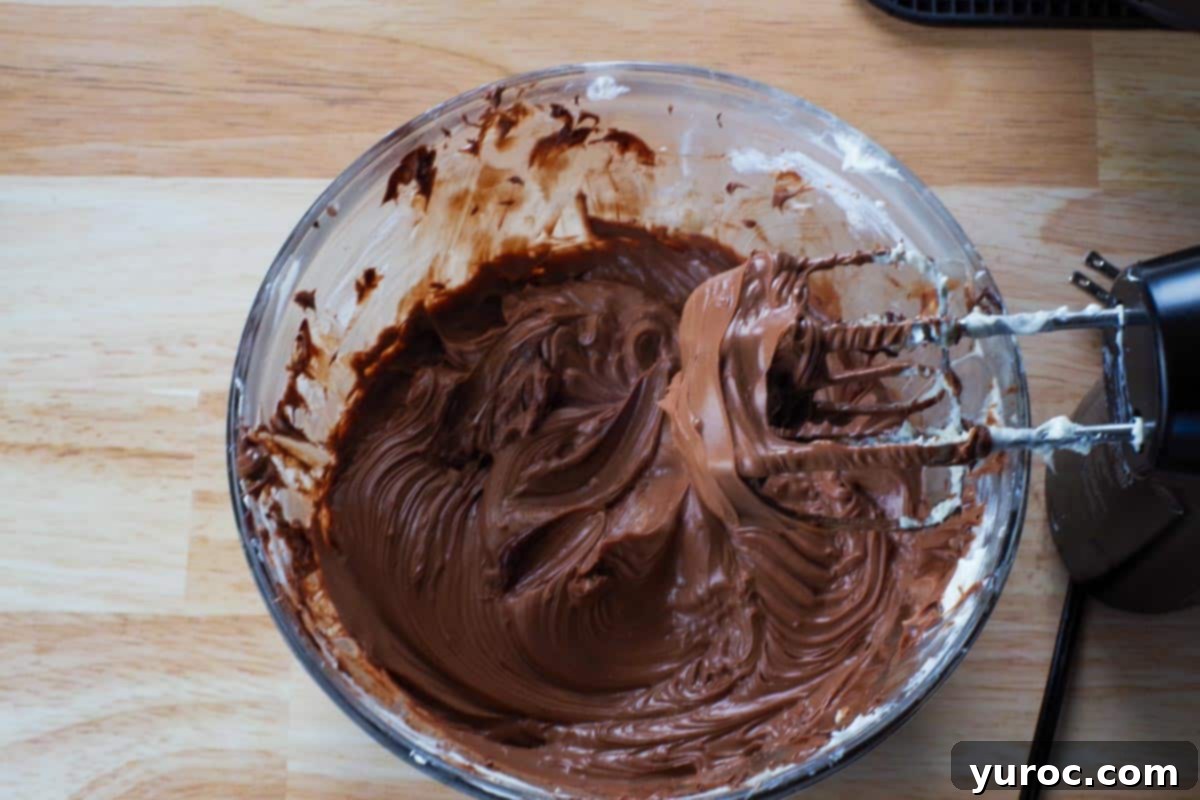
- Step 5: Melt the semi-sweet baker’s chocolate. You can do this in a microwave-safe bowl at 50% power, stirring every 30 seconds for 2-3 minutes, until just melted and smooth. Alternatively, use a double boiler for a gentler melt. Once melted, add the chocolate to the cream cheese and sugar mixture. Beat until fully incorporated. *Important: Ensure no water or moisture comes into contact with the melting chocolate or your bowls and utensils, as this can cause the chocolate to seize and become grainy.
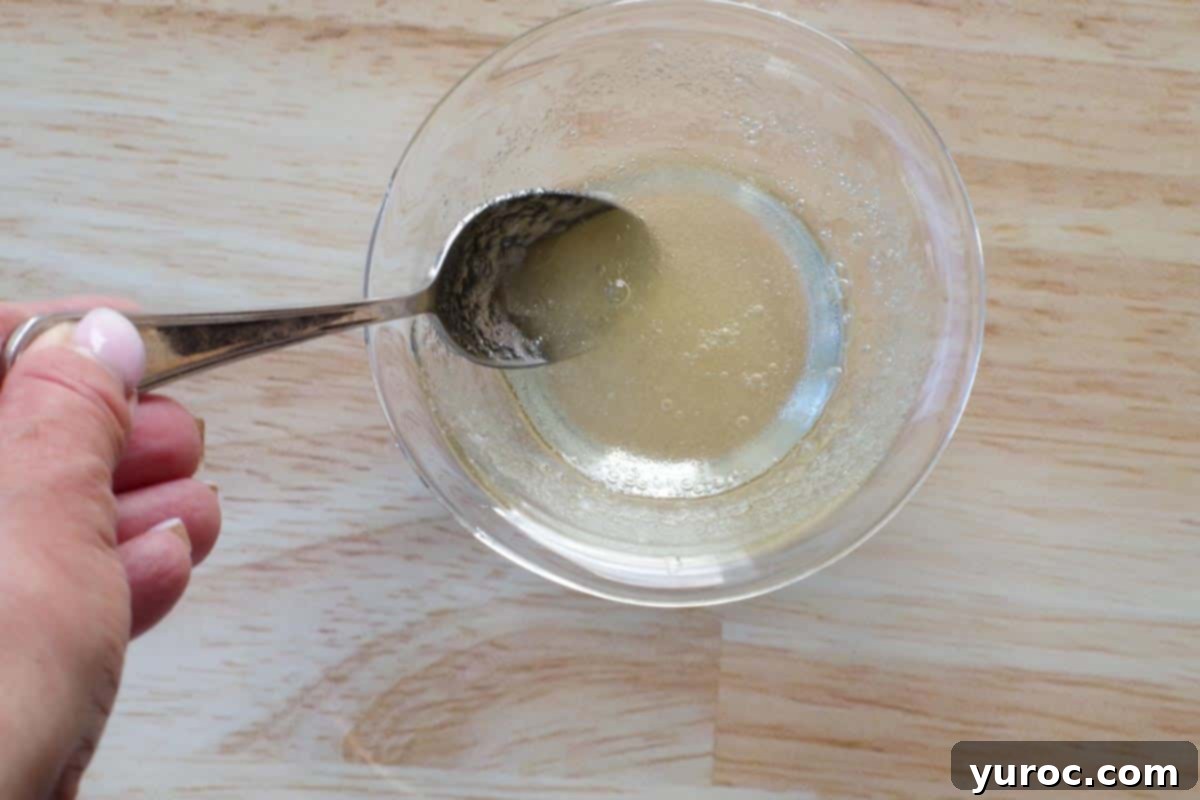
- Step 6: In a small, heatproof bowl, sprinkle the 7g package of gelatin powder over 2 tablespoons of hot (but not boiling) water. Stir continuously until the gelatin is completely dissolved and the mixture is clear. Set aside for a moment to cool slightly.
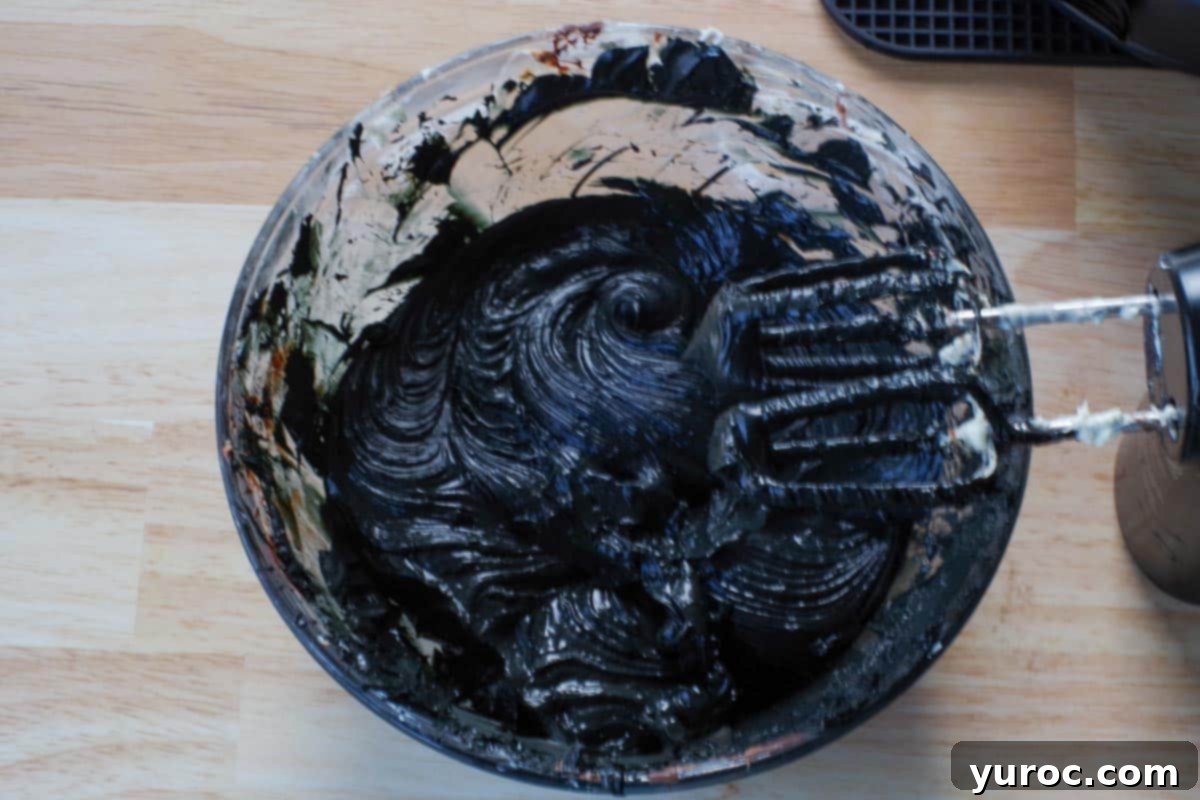
- Step 7: Pour the dissolved gelatin mixture into the chocolate cream cheese filling. Begin beating on low speed. Gradually add the super black food coloring, a teaspoon at a time, until you achieve a rich, uniform black color. Continue beating until all ingredients are well combined and the mixture is smooth and dark. *If you prefer not to use as much black food coloring, refer to the “Top Tip” section above for alternative methods like black cocoa powder or a dark chocolate glaze.
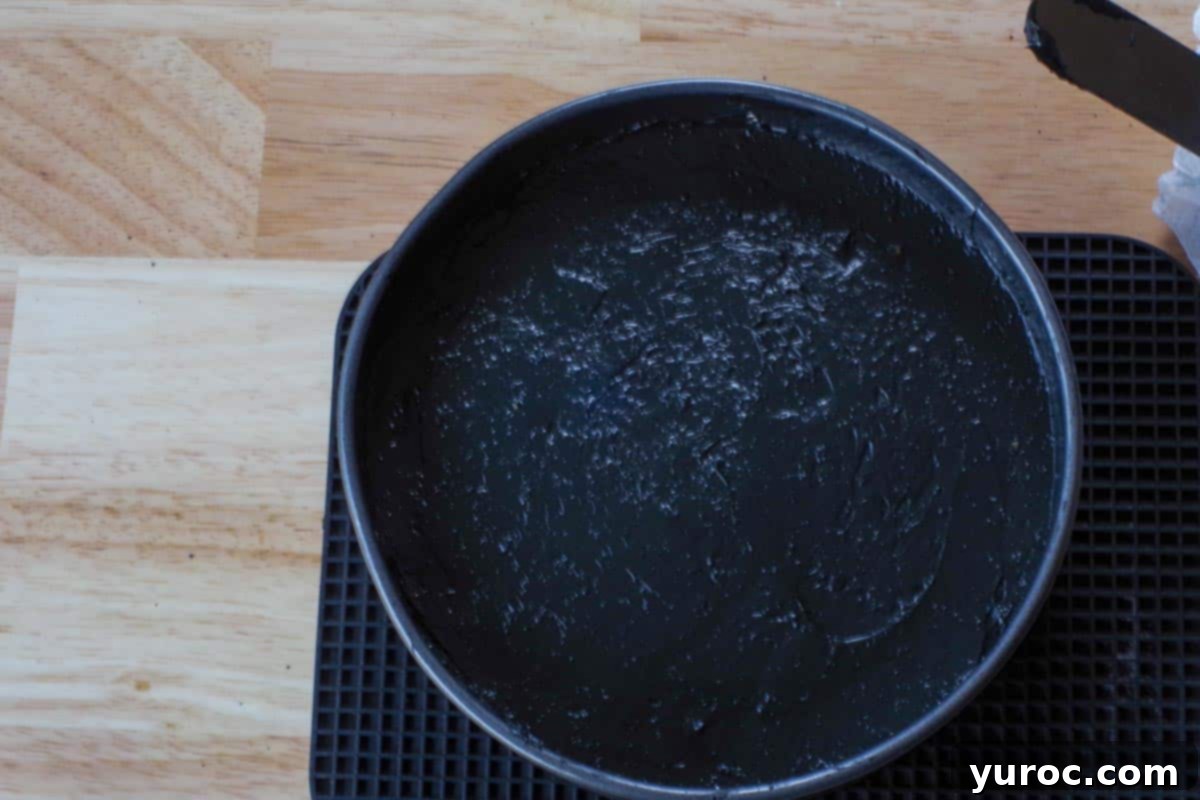
- Step 8 (Chill Time): Spoon the black chocolate cheesecake filling evenly over the pressed Oreo crust in the springform pan. Gently tap the pan on the counter a few times to release any air bubbles and ensure a smooth top. Cover the pan tightly with plastic wrap and chill in the refrigerator for at least 3-4 hours, or ideally, overnight. This crucial chilling time allows the gelatin to fully set, giving the cheesecake its firm, sliceable texture.
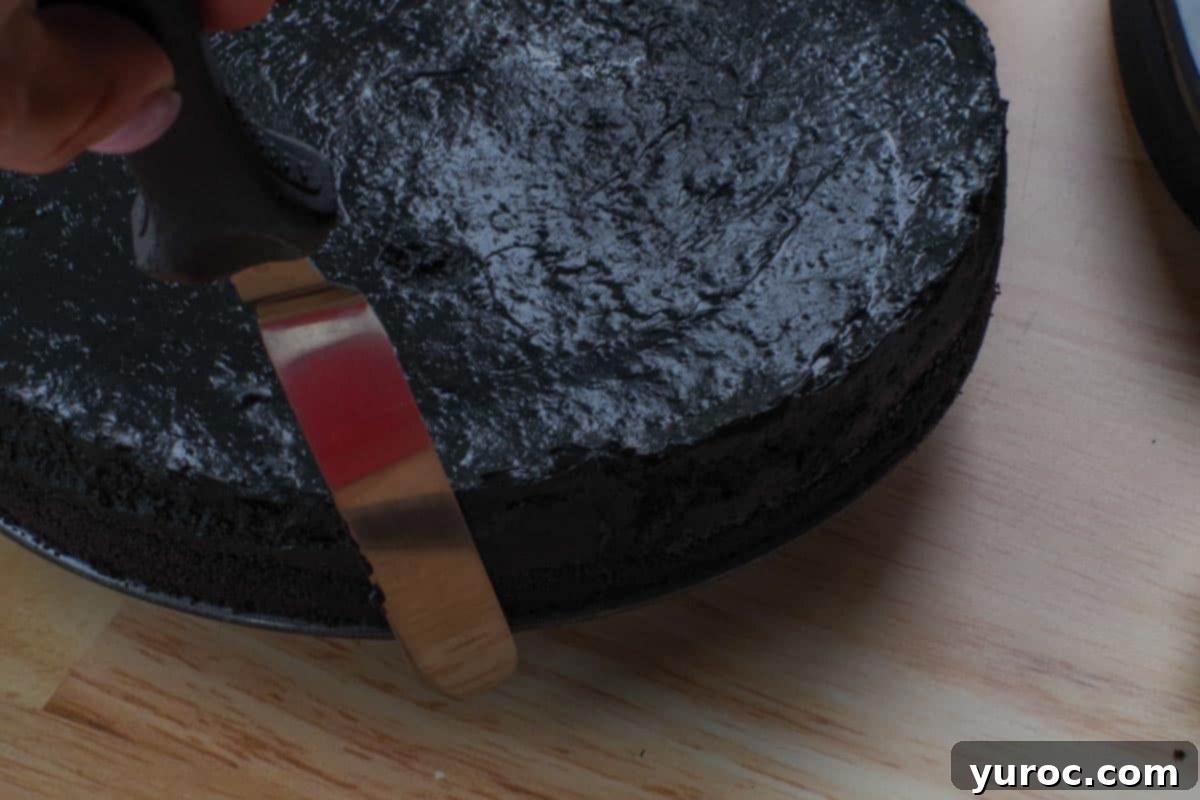
- Step 9 (Unmold & Smooth): Once thoroughly chilled, gently release the springform pan collar. For cleaner edges, you can run a thin, hot (run under warm water and wipe dry) cake offset spatula or a butter knife around the sides of the cheesecake before removing the collar. Smooth any imperfections on the sides and top with the hot spatula for a polished look.
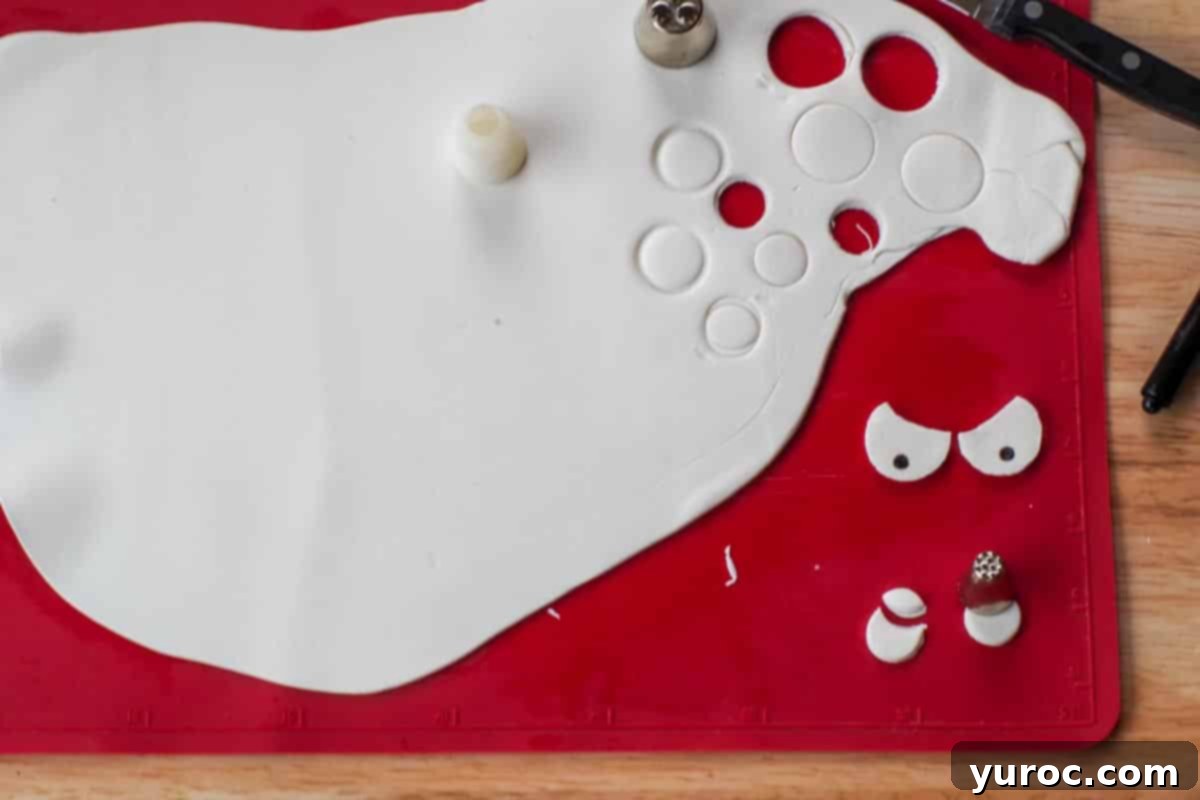
- Step 10 (Fondant Eyes): On a lightly greased surface (see hint below), roll out the white fondant to your desired thickness. Using various round objects like the bottom of frosting tips, small cookie cutters, or even a thimble, cut out circles of different sizes to create a variety of “eyeballs.” Make a small, subtle cut at the top of some of the circles for added creepiness. Then, using a fine-tipped black edible marker, draw a smaller circle in the center of each fondant eye to create the pupil, giving them a haunting gaze.
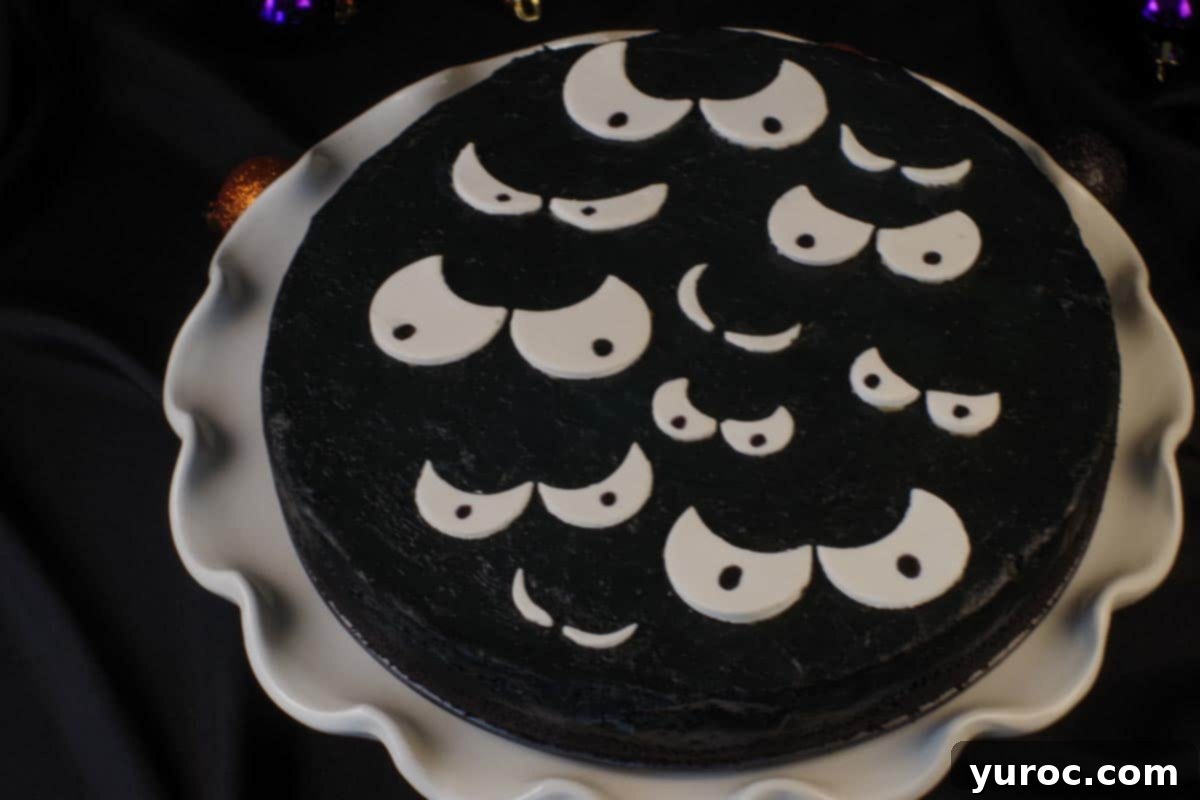
Final Touch: Arrange the fondant eyes on the black cheesecake just before you plan to serve it. If the eyes are placed too early and the cheesecake is returned to the fridge, condensation can cause the fondant to “weep” or bleed, spoiling the crisp look of the eyes.
Hint for Fondant: When working with fondant, it’s helpful to lightly grease your working surface (like a silicone mat or countertop) with a thin layer of shortening, or dust it very lightly with cornstarch, to prevent sticking. Using a silicone or marble rolling pin will also aid in smooth rolling.
👩🍳 Expert Tips for No-Bake Cheesecake Success
- Room Temperature Ingredients are Key: This cannot be stressed enough for no-bake cheesecakes! Cold cream cheese and sour cream will result in a lumpy filling. Take them out of the fridge at least 30-60 minutes before you start.
- Don’t Overmix: While you want a smooth batter, overmixing cheesecake can incorporate too much air, leading to a less dense texture. Beat until just combined and fluffy.
- Quality Food Coloring: Invest in a good quality “super black” gel food coloring. It provides a more intense color with less product, reducing the chance of flavor alteration.
- Proper Chilling is Crucial: The cheesecake needs ample time in the refrigerator to set properly. Rushing this step will result in a soft, unset cheesecake. Overnight chilling is always best.
- Clean Slices: For perfectly clean slices, dip your knife in hot water and wipe it dry between each cut. This prevents sticking and leaves a beautiful finish.
🥗 What to Serve with Your Spooky Halloween Cheesecake
This Scary Eyes Halloween Cheesecake makes a fantastic standalone dessert, but it can also be part of a larger Halloween feast. Here are some pairing suggestions:
For a Full Halloween Party Spread:
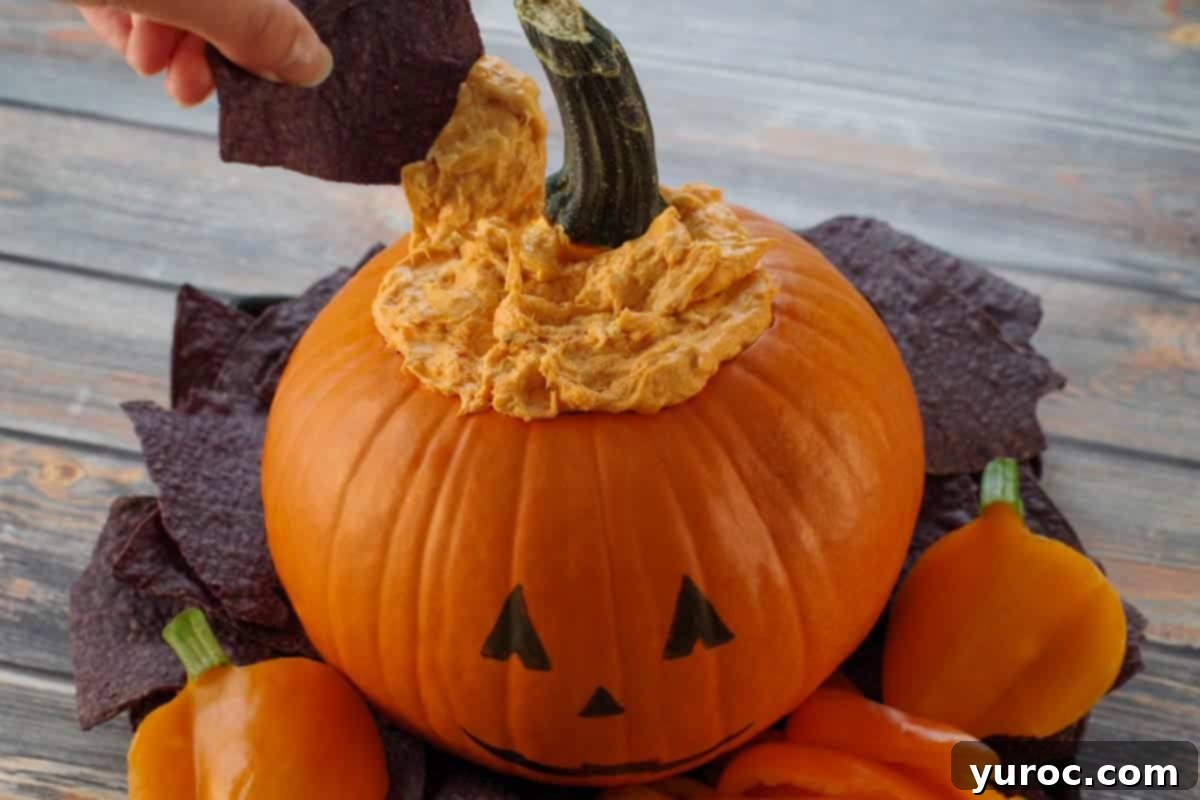
If you’re hosting a full-blown Halloween bash, consider serving this cheesecake alongside other themed treats and savory bites. It pairs wonderfully with creepy concoctions like Halloween Blood Bag Drinks (non-alcoholic, of course!) or a hearty Slow Cooker Halloween Buffalo Chicken Dip (as shown below), served with black tortilla chips or orange bell pepper slices for a festive contrast. A platter of ghostly veggie trays or spiderweb seven-layer dip would also be excellent complements.
For a Spooky Themed Dinner:
For a sit-down Halloween dinner, follow up a fun main course like Frankenstein Fettuccine with this eerie cheesecake for dessert. The contrast between a savory, playful meal and this rich, dark treat creates a memorable dining experience.
🌡️ Storage Instructions for Your No-Bake Cheesecake
To keep your spooky creation fresh and delicious, proper storage is essential:
- Refrigeration: Store any leftover cheesecake in an airtight container in the refrigerator for up to 3 days. Remember, the fondant eyes should only be placed on the cake just before serving. If you store the cake with the eyes on, condensation in the fridge can cause the fondant to become sticky or “weep,” potentially running and marring the appearance of the cheesecake.
- Freezing: This no-bake cheesecake can be frozen! To freeze, ensure the cheesecake is completely set and remove it from the springform pan. Wrap it tightly first in plastic wrap, then in aluminum foil, or place it in a freezer-safe airtight container. It can be stored for up to 1-2 months. While freezing helps preserve the flavors, it’s important to note that the texture might change slightly once thawed compared to a freshly made cheesecake. The creaminess may be a bit softer. Thaw overnight in the refrigerator before serving. Again, add the fondant eyes only after thawing and just before serving.
👪 Serving Size & Adjustments
This recipe is designed to yield 12 generous servings, making it perfect for a Halloween party. However, you have the flexibility to adjust the recipe to suit your needs. You can easily half, double, or even triple the recipe by clicking on the serving number in the recipe card below and selecting your desired quantity. The ingredient amounts will automatically adjust, saving you the hassle of manual calculations.
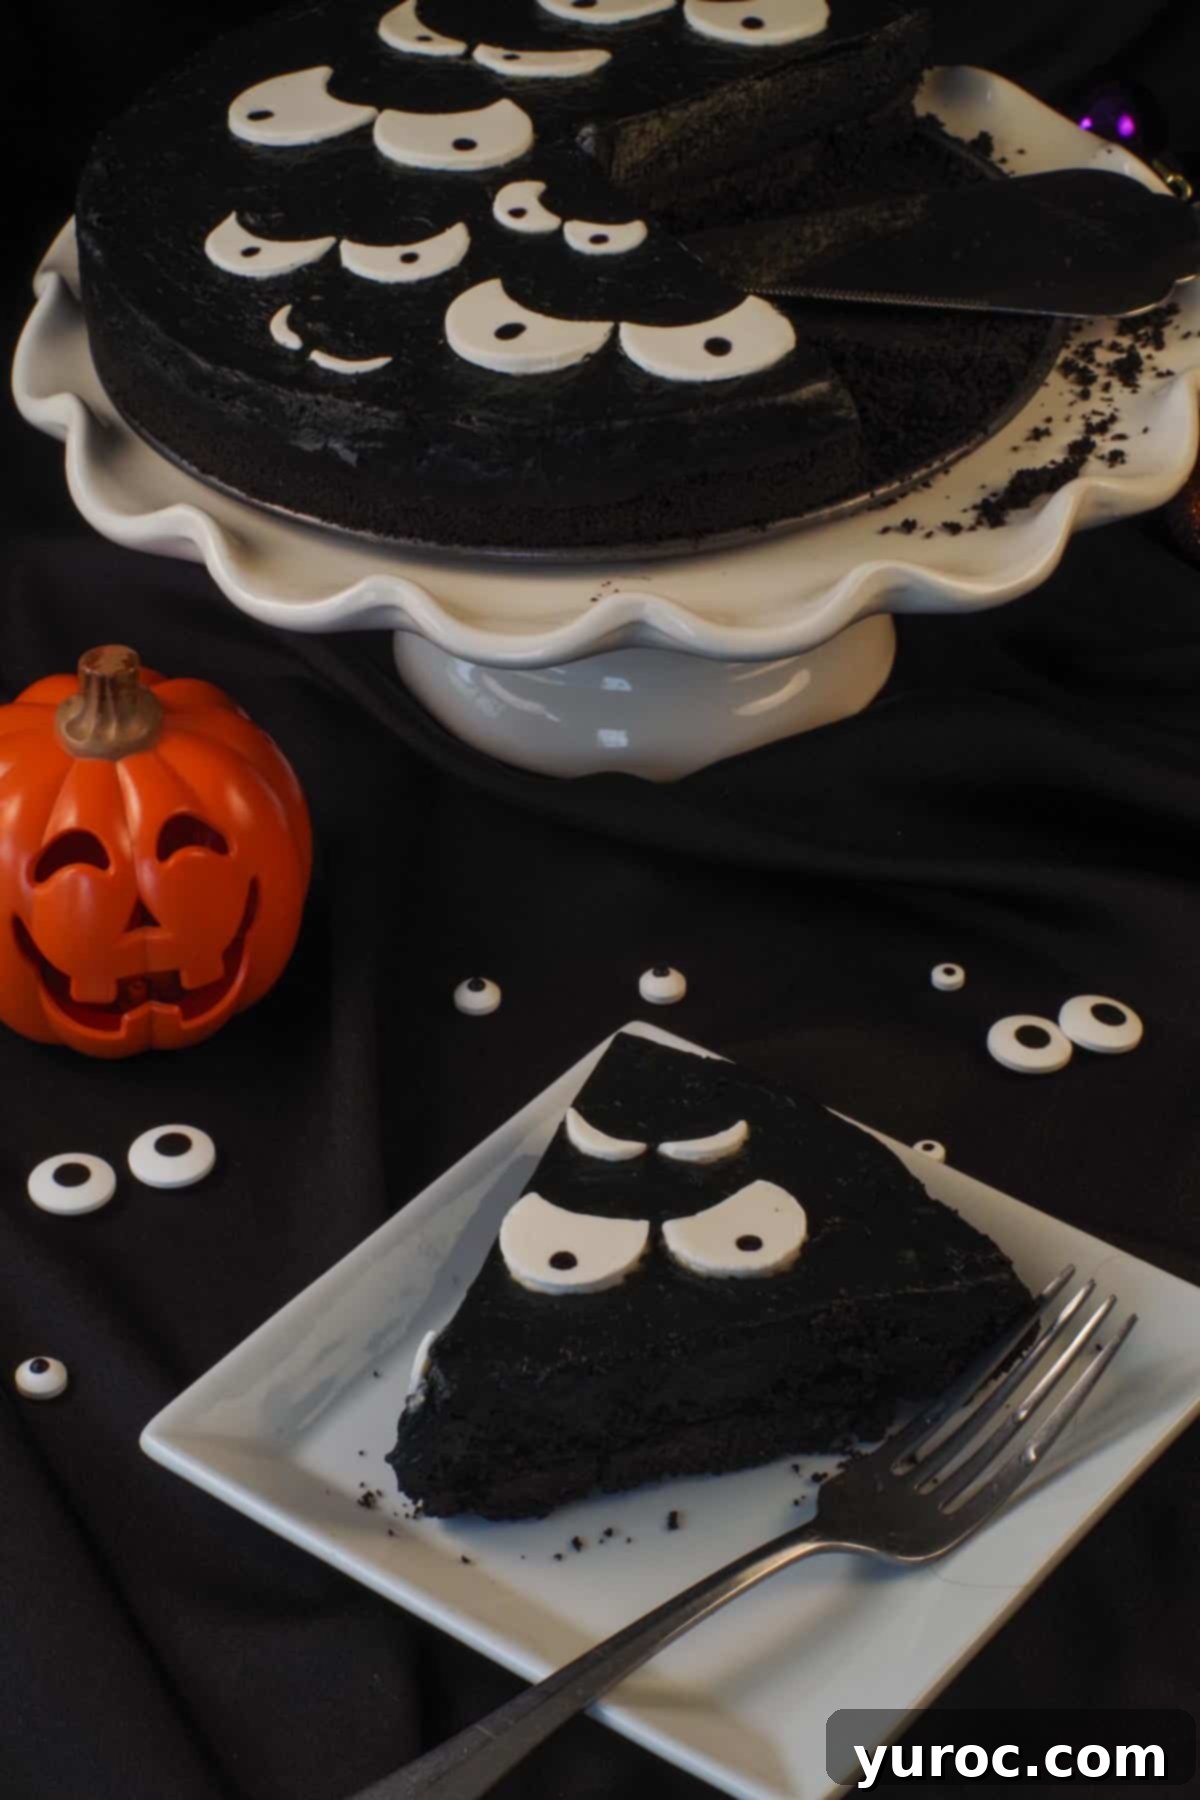
If you’re on the hunt for a truly unique, fun, and delicious Halloween dessert, look no further! This no-bake black cheesecake is a showstopper that will delight your guests with its spooky charm and irresistible chocolate flavor.
🎃 More Easy Halloween Desserts to Conjure Up
Craving more spooky sweets? Explore these other fantastic Halloween-themed dessert recipes:
- Boo Halloween Dessert Cups
- Halloween Jack o’lantern Cupcakes
- Melted Witch Halloween Bark Recipe
- Salted Toffee Halloween Caramel Apples
Did your family ❤️ this recipe? Did you know that commenting and ⭐rating recipes is one of the best ways to support your favorite recipe creators? If you LOVED this recipe, please comment and rate it in the recipe card below, or share photos on social media using the hashtag #foodmeanderings or tagging @foodmeanderings!

🎃 Halloween Cheesecake Recipe
Print Recipe
Pin
Save Recipe
Save Recipe
Rate
Dessert, Snack
American, Canadian, North American
Vegetarian
12
servings
325
kcal
Terri Gilson
30
minutes
4
hours
4
hours
30
minutes
Prevent your screen from going dark
Add to Shopping List
Go to Shopping List
Equipment
-
springform pan -
white fondant
* I use Wilton -
black edible marker
*I use Americolor -
electric hand mixer
( or stand mixer)
Ingredients
-
¼
cup
unsalted butter -
35
whole
Oreo cookies
439 gram package -
16
oz
cream cheese
softened at room temperature 2-8 oz packages -
⅓
cup
white granulated sugar -
8
oz
semi-sweet chocolate squares
baker’s chocolate -
1
cup
sour cream -
7
g
-package of gelatin powder -
2
tablespoon
hot water -
2-4
tablespoon
super black food coloring
* I use Americolor
Metric
Instructions
Crust:
-
Place melted butter and Oreo cookies in food processor. Mix on high until combined into fine crumbs.
-
Press the Oreo crumb mixture firmly into an even layer in a prepared 9-inch springform pan, ensuring a compact base.
Cheesecake Filling:
-
In a large mixing bowl, beat room-temperature cream cheese and sugar together until light, fluffy, and smooth.
-
Beat in the room-temperature sour cream until just combined, ensuring a creamy texture.
-
Melt the semi-sweet chocolate in a microwave-safe bowl at 50% power for 2-3 minutes, stirring frequently until just melted (or use a double boiler). Add the melted chocolate to the cream cheese mixture and beat until fully incorporated and smooth.
*Be extremely careful that your chocolate, bowls, or utensils do not come into contact with water/moisture, or your chocolate will seize and become unusable.
Alternatively, you can melt the chocolate using a double boiler for more control.
-
Dissolve the 7g package of gelatin powder in 2 tablespoons of hot (not boiling) water, stirring until clear and fully dissolved.
-
Add the dissolved gelatin mixture to the chocolate cream cheese mixture. Gradually beat in the super black food coloring, a little at a time (by the teaspoon), until you achieve a deep, uniform black color for the cheesecake filling.
*If you wish to use less artificial food coloring or prefer an alternative, please refer to the “Top Tip” section above regarding black cocoa powder or a dark chocolate glaze.
-
Carefully spoon the black chocolate cheesecake batter onto the prepared Oreo crust in the springform pan, spreading it evenly.
-
Cover the springform pan tightly with plastic wrap and chill the cheesecake in the refrigerator for at least 3-4 hours, or preferably overnight, to allow it to set completely.
-
Once set, gently unmold the cheesecake by releasing the springform pan collar. For neat edges, smooth the sides and top with a hot cake decorating offset spatula (refer to equipment in recipe card) or a butter knife, dipped in hot water and wiped dry.
-
On a lightly greased surface, roll out the white fondant. Cut out various sized circles using piping tips, small cookie cutters, or desired round objects. Make a small cut in the top of some circles for a more eerie effect. Then, use a fine-tipped black edible marker to draw a small circle in the center of each fondant eye for the pupil.
-
Place the prepared fondant eyes on top of the black cheesecake just before you are ready to serve to prevent any bleeding or moisture issues.
Nutrition
Serving:
1
slice
|
Calories:
325
kcal
(16%)
|
Carbohydrates:
23
g
(8%)
|
Protein:
4
g
(8%)
|
Fat:
25
g
(38%)
|
Saturated Fat:
14
g
(88%)
|
Polyunsaturated Fat:
1
g
|
Monounsaturated Fat:
7
g
|
Trans Fat:
0.2
g
|
Cholesterol:
51
mg
(17%)
|
Sodium:
160
mg
(7%)
|
Potassium:
190
mg
(5%)
|
Fiber:
2
g
(8%)
|
Sugar:
15
g
(17%)
|
Vitamin A:
684
IU
(14%)
|
Calcium:
74
mg
(7%)
|
Iron:
2
mg
(11%)
Did you make this recipe?
Please leave a star rating and review below!
