Magical Edible Snow Globes: Easy Christmas Rice Krispie Treats Recipe
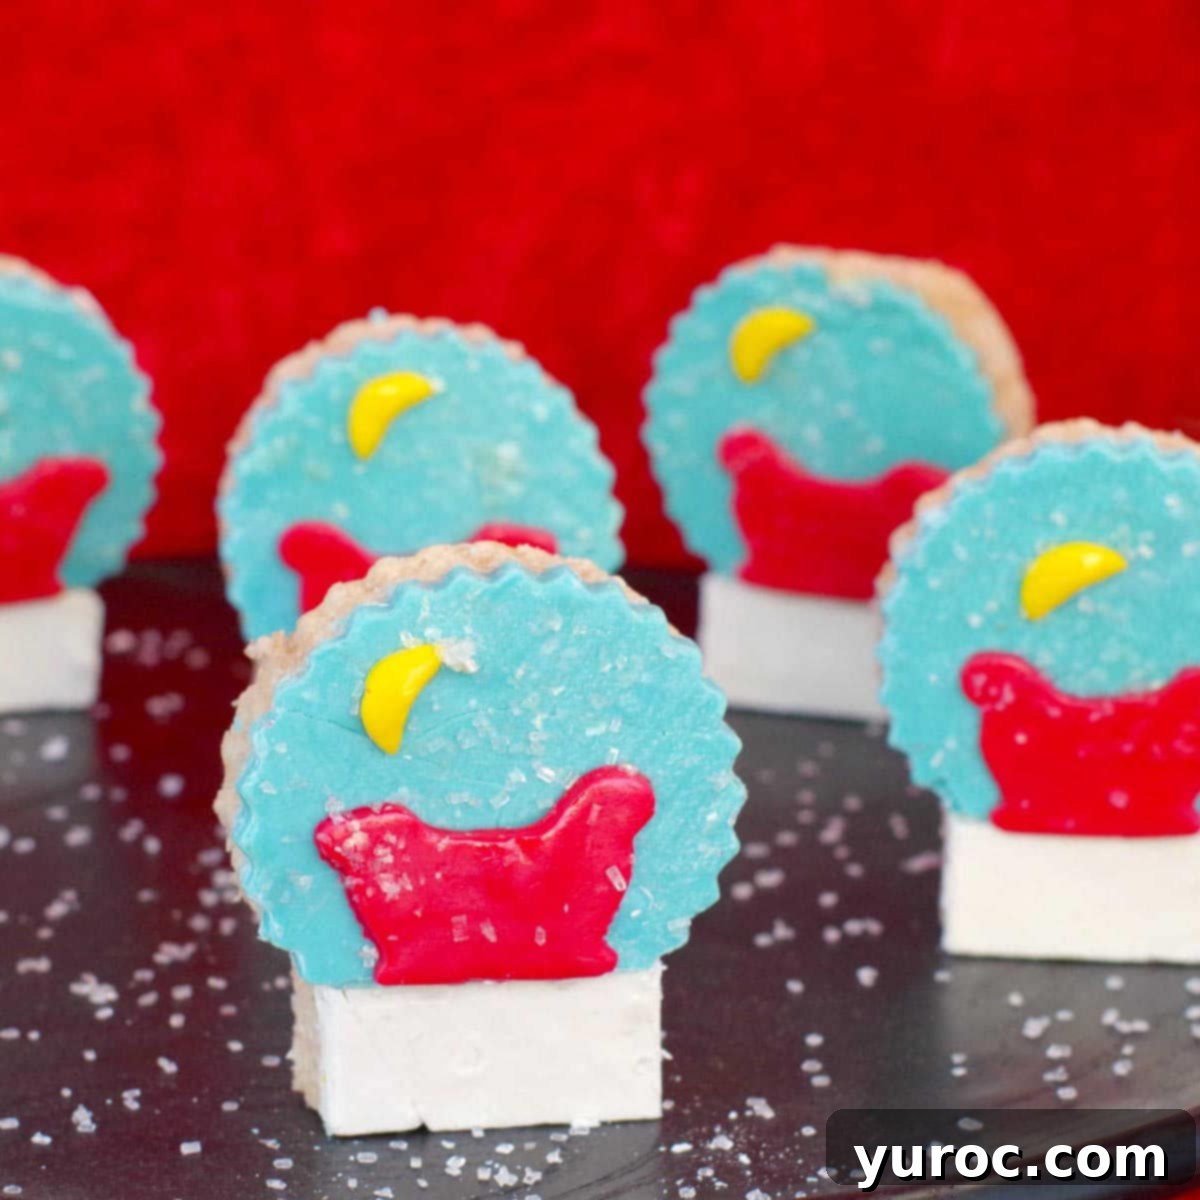
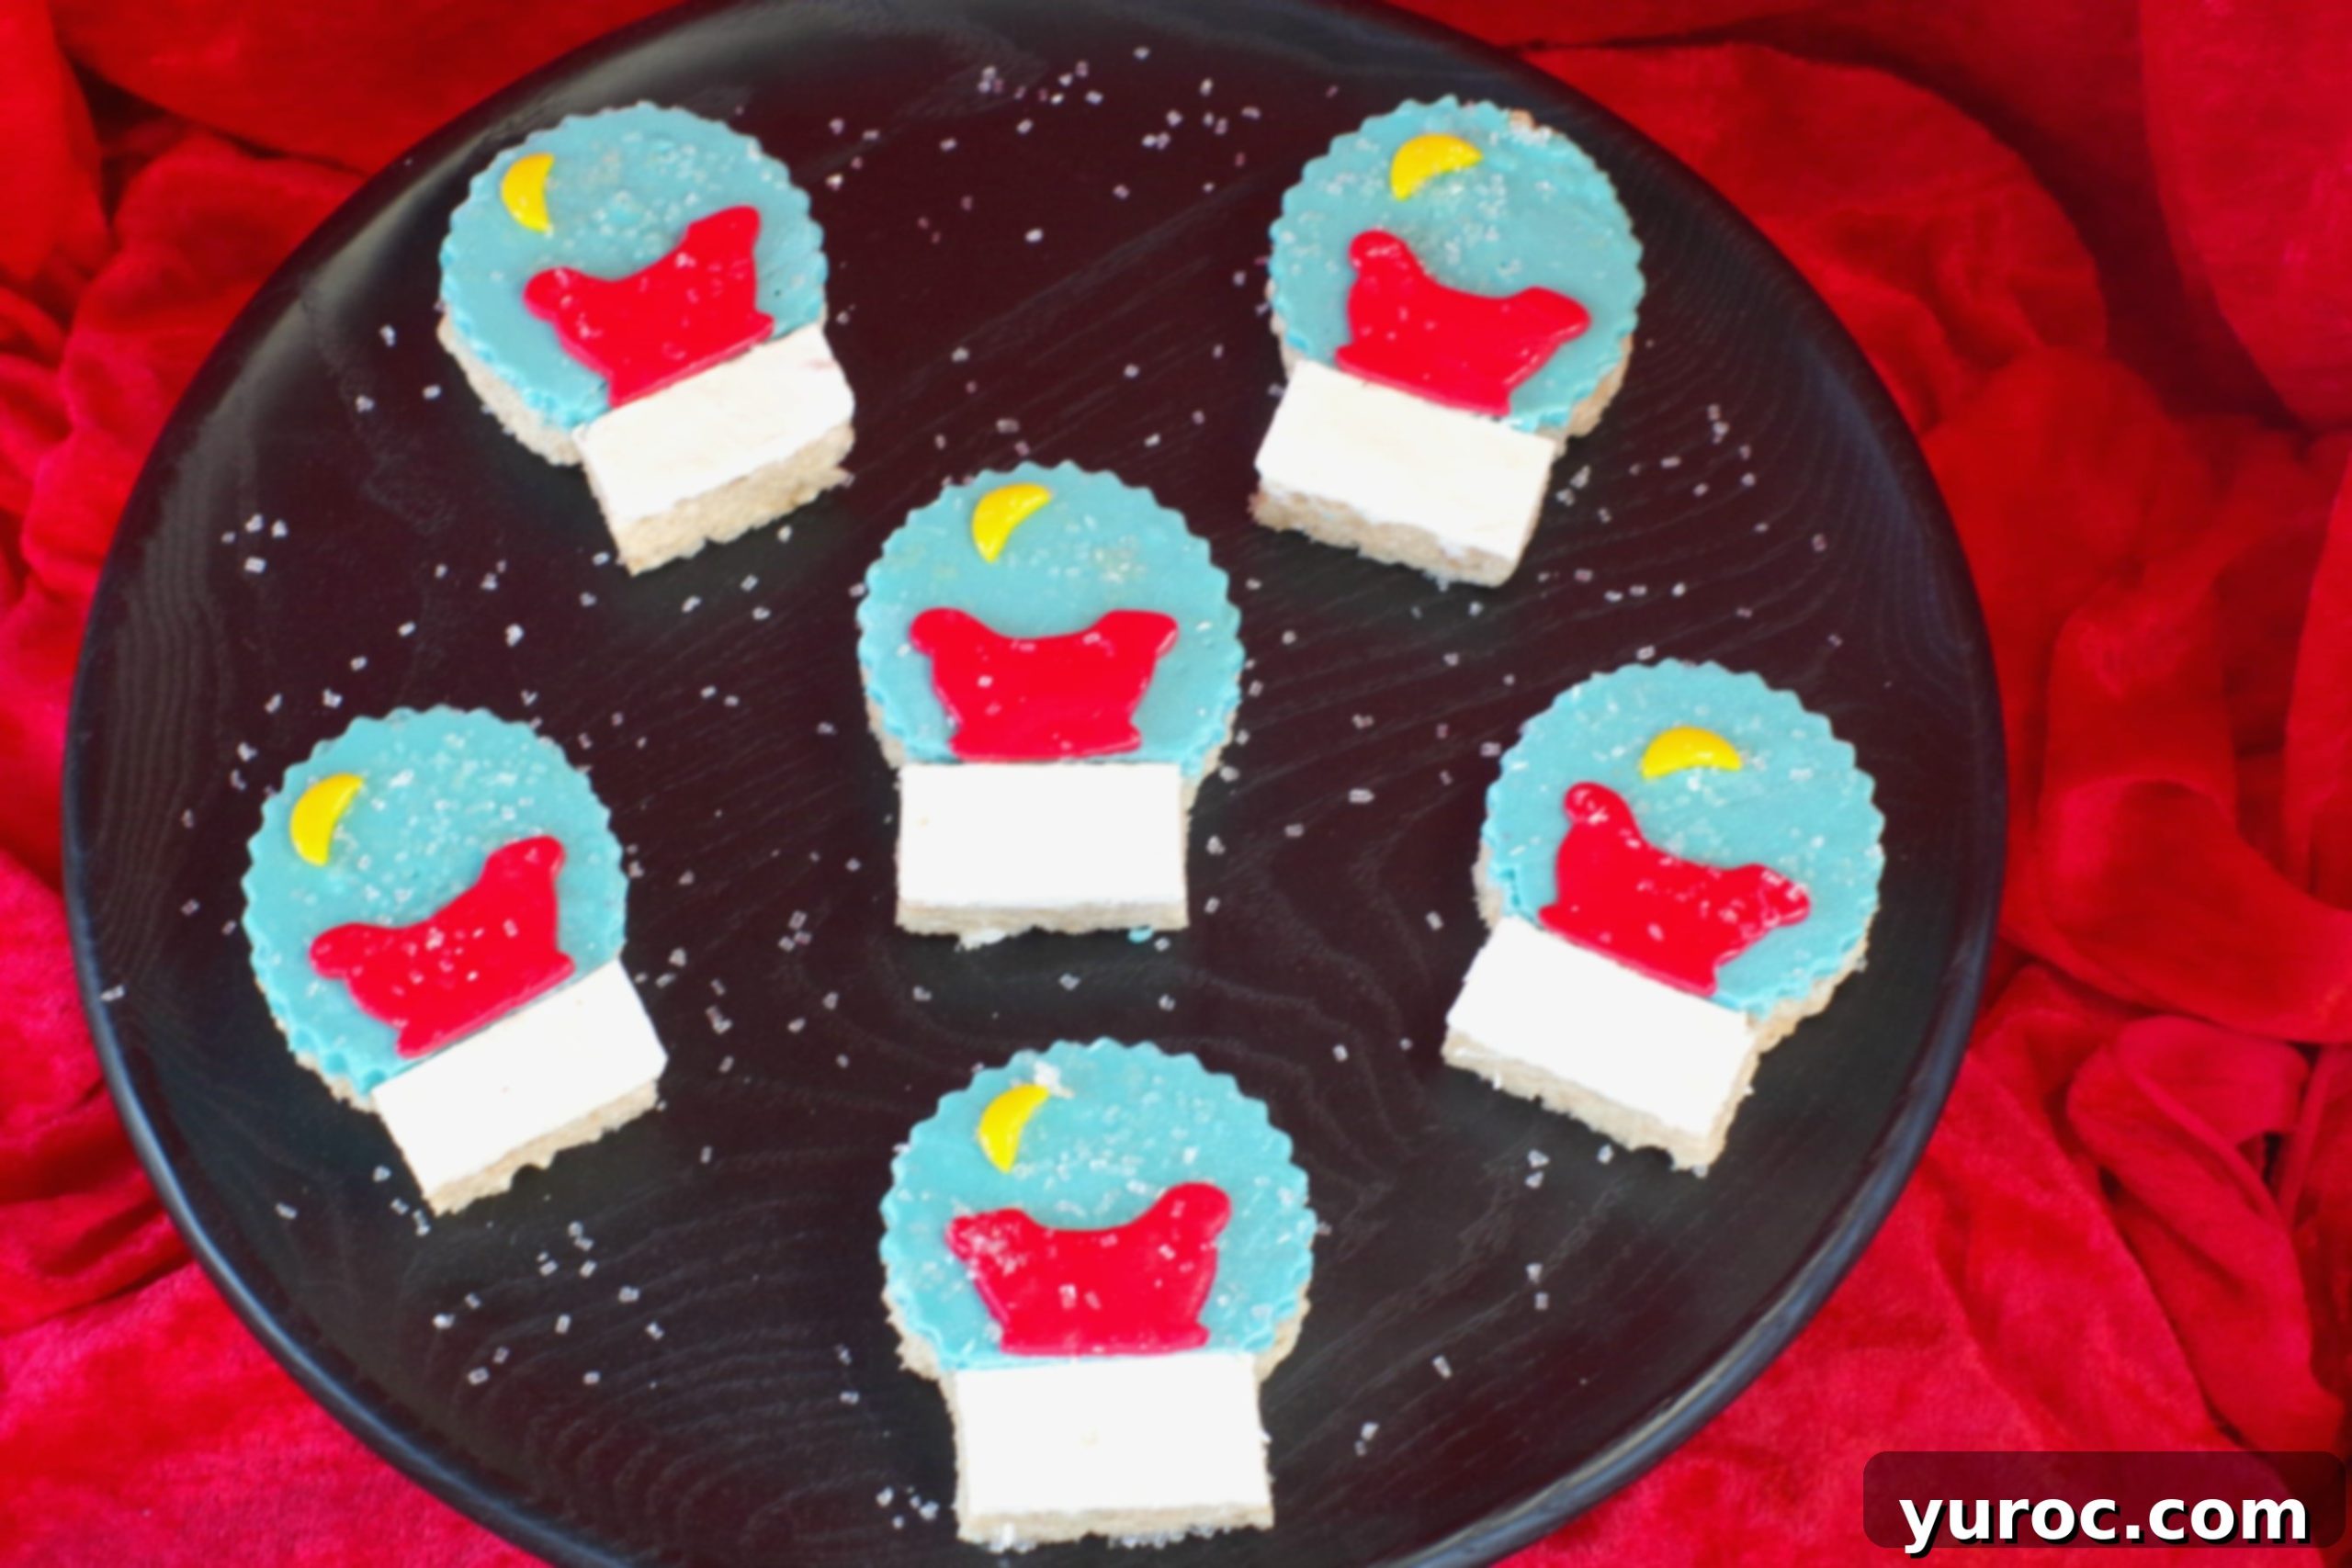
There’s something inherently enchanting about a snow globe. That miniature, perfect world encased in glass, conjuring images of winter wonderlands and cozy holiday cheer. For years, I’ve been captivated by them, imagining stepping into those idyllic scenes, even when the real world outside was covered in snow. And if there’s one thing that rivals the simple joy of a snow globe, it’s a classic Rice Krispie Treat. So, what could be better than merging these two sources of happiness into one delightful holiday creation? Introducing our enchanting Christmas Rice Krispie Treat Snow Globes! These aren’t just any festive treats; they are a charming, edible rendition of those beloved miniature worlds, designed to bring a unique sparkle to your holiday season.
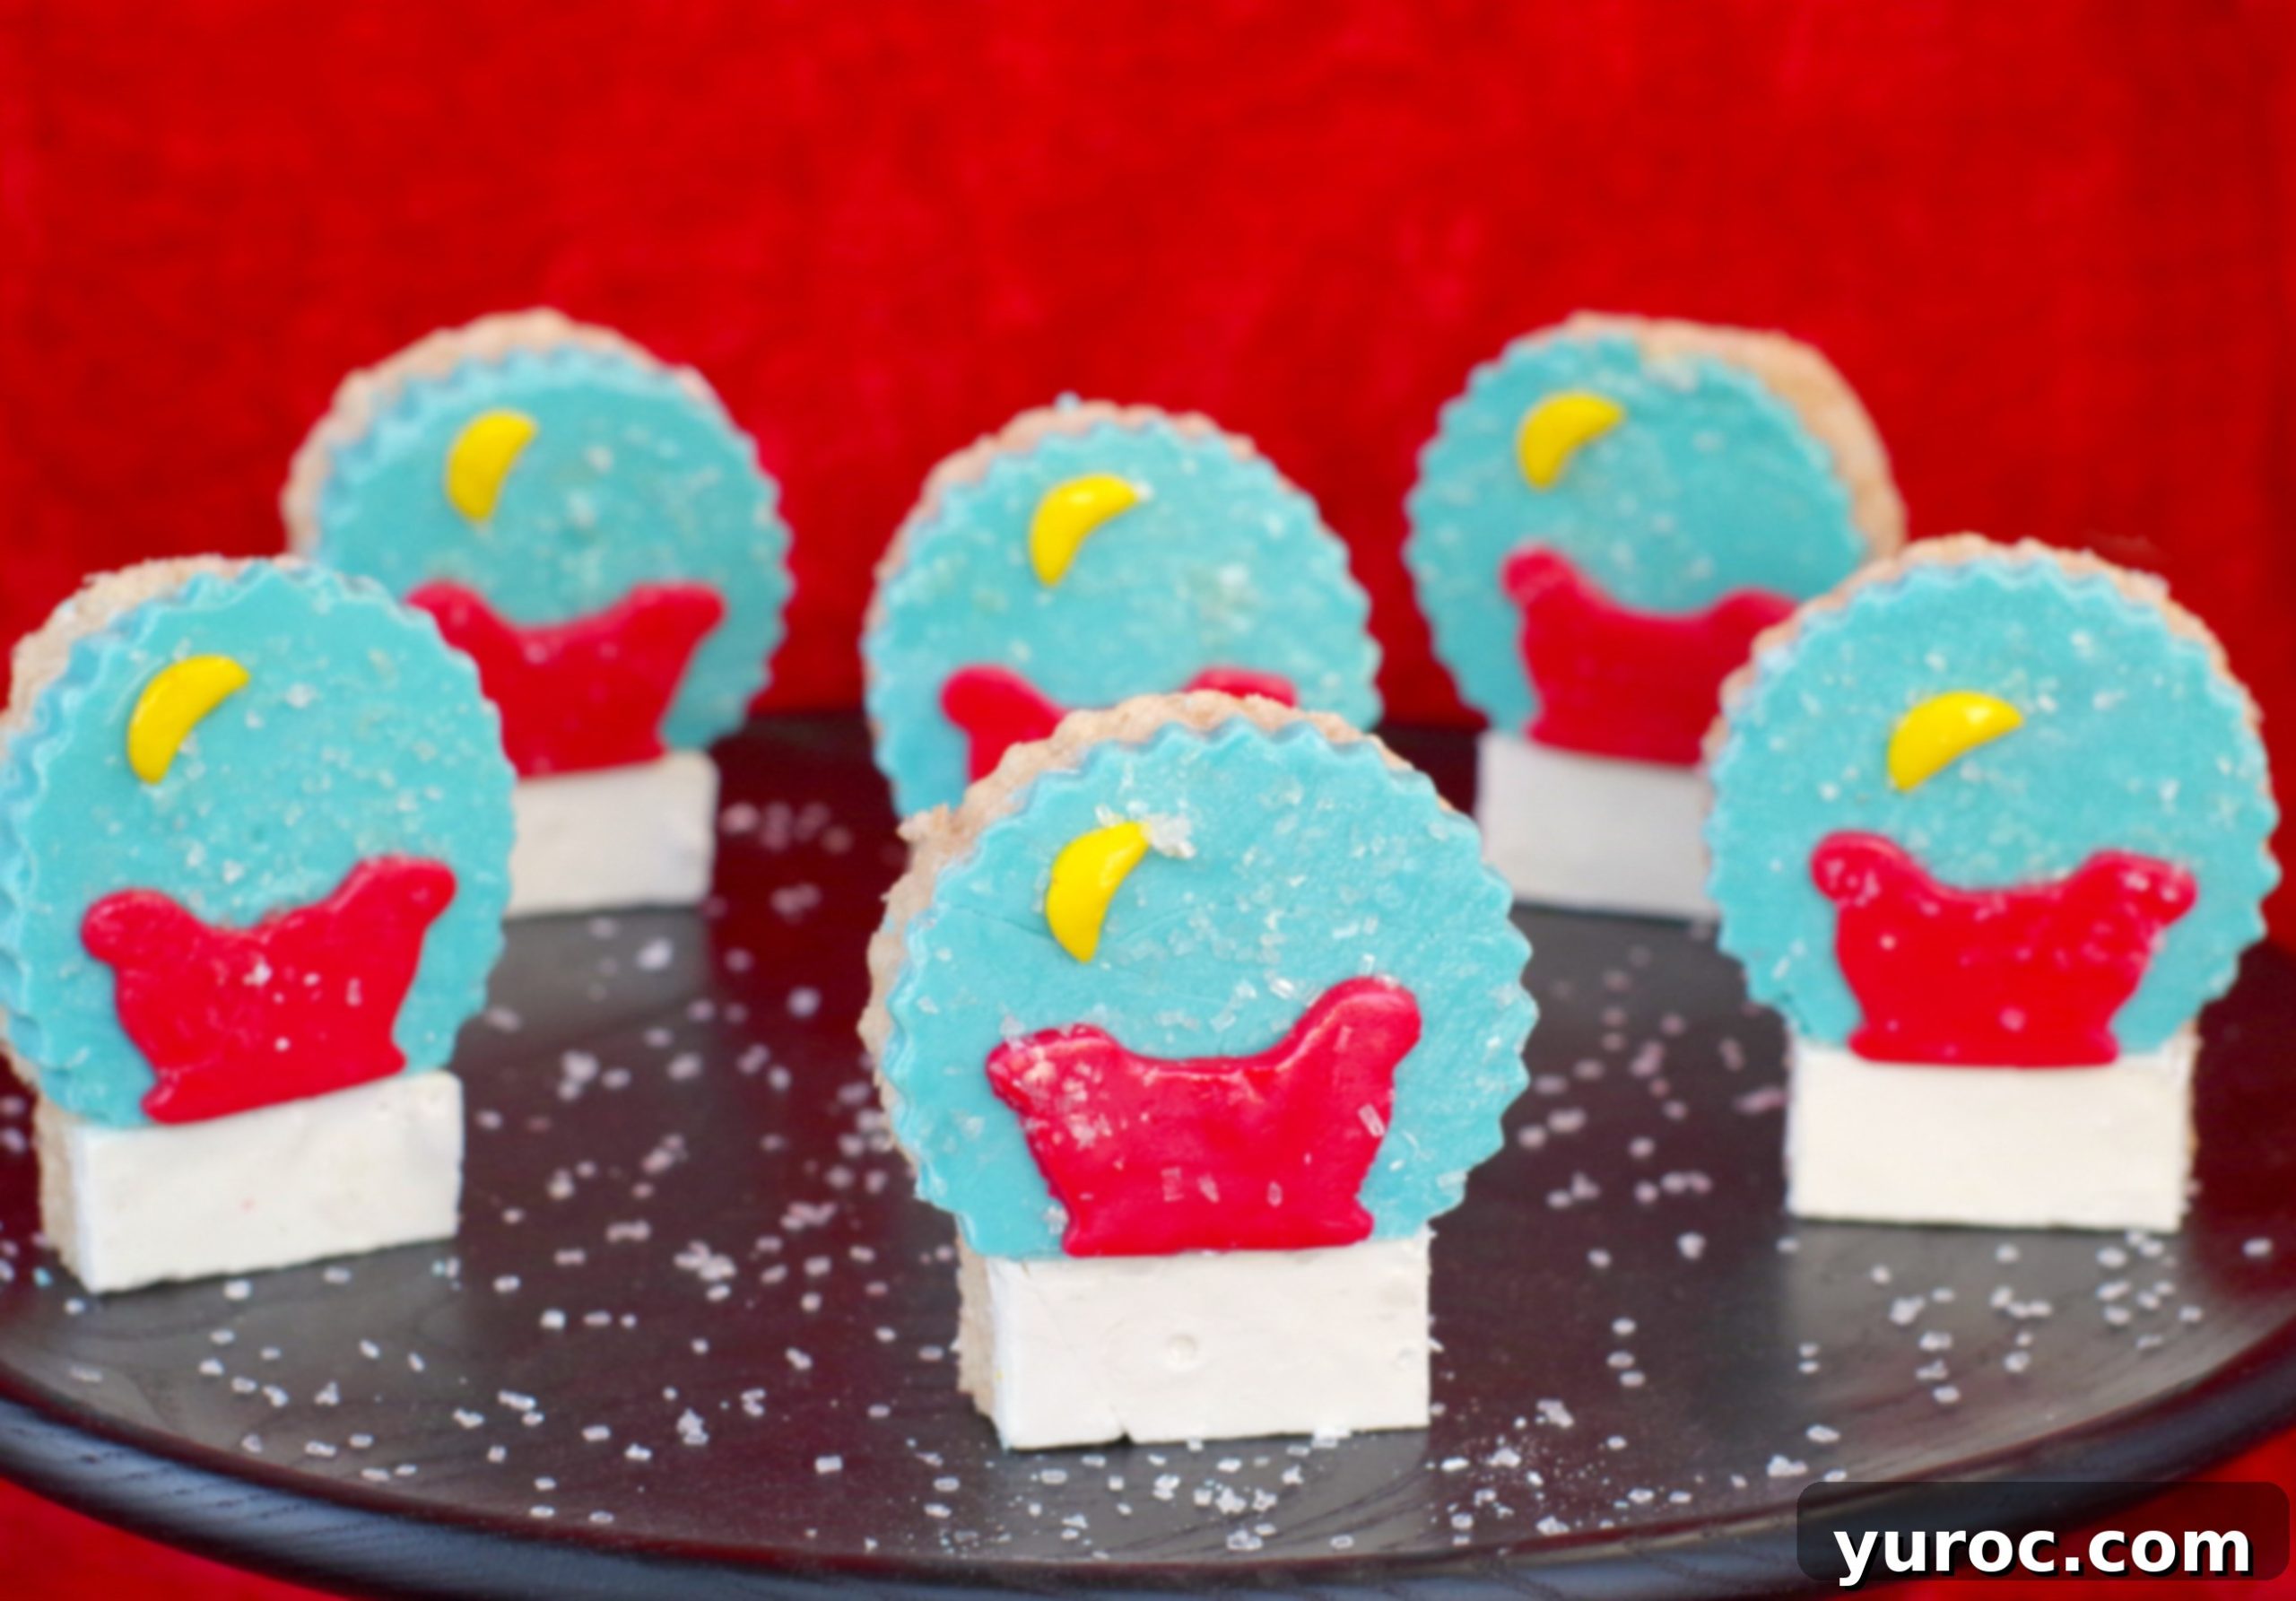
Rice Krispie treats have long been a household favorite, especially during the festive period. While Christmas cookies and traditional sweets are always welcome, these Snow Globe Rice Krispie Treats offer a refreshingly unique twist. They stand out from the typical holiday fare, providing a fun and interactive baking experience that even the kids can enthusiastically join in. Imagine crafting these delightful edible snow globes for your next Christmas cookie exchange, a vibrant holiday party, or simply as a heartwarming project with your little ones. They are guaranteed to be a conversation starter and a memorable addition to any celebration, appealing to both the young and the young at heart.
You might have seen many snow globe cookies around, but you won’t find Snow Globe Rice Krispie Treats quite like these. Our recipe takes a clever shortcut that makes holiday baking significantly easier and more enjoyable. Instead of individually rolling out intricate fondant for each “glass” dome, we utilize colorful candy melts. This eliminates a time-consuming step, allowing for a much faster and more efficient decorating process. The candy melts are simply poured over an entire pan of prepared Rice Krispie treats, creating a smooth, vibrant canvas that’s then cut into enchanting snow globe shapes. This method not only simplifies the creation of these adorable Christmas treats but also ensures they are perfect for sending along to a kids’ Christmas party, classroom celebrations, or as unique edible gifts that delight people of all ages!
Why These Christmas Rice Krispie Treats Are a Must-Make
Unique Holiday Charm
In a festive season brimming with gingerbread men and sugar cookies, these edible snow globes truly shine with their distinctive appearance. Their whimsical design instantly captures attention and brings an extra touch of magic to your holiday dessert spread. Each treat is a miniature masterpiece, meticulously crafted to evoke the cozy feeling of a snowy winter scene. This makes them perfect for creating lasting and joyful memories during the most wonderful time of the year. They are a delightful, unexpected alternative for anyone looking to try something truly new and exciting this Christmas.
Kid-Friendly Fun for All Ages
This recipe is designed with family engagement and fun at its core! The step-by-step instructions are clear and straightforward enough that children can actively participate in various stages of the creation process. From helping to mix the Rice Krispies to eagerly decorating the finished globes with fondant cut-outs and sparkling sugar, it’s a fantastic way to involve them in holiday preparations. This hands-on activity fosters creativity, develops fine motor skills, and creates cherished memories in the kitchen. Plus, the bright colors and edible glitter are sure to spark their imaginations, making these treats even more enjoyable to make, share, and, of course, eat!
Simpler Than You Think with Candy Melts
One of the biggest advantages and ingenious aspects of this recipe is its innovative use of candy melts. Unlike intricate fondant work, which can be time-consuming and often requires specific artistic skills, candy melts provide a smooth, colorful, and delicious coating with minimal effort. The process of pouring and spreading candy melts over the Rice Krispie base is significantly quicker and less labor-intensive than rolling and shaping individual fondant pieces. This method allows you to create a batch of beautiful and impressive snow globes without the usual stress and extensive time commitment often associated with elaborate holiday baking. The result is consistently stunning and delicious, making it accessible even for beginner bakers or those short on time.
Perfect for Any Festive Occasion
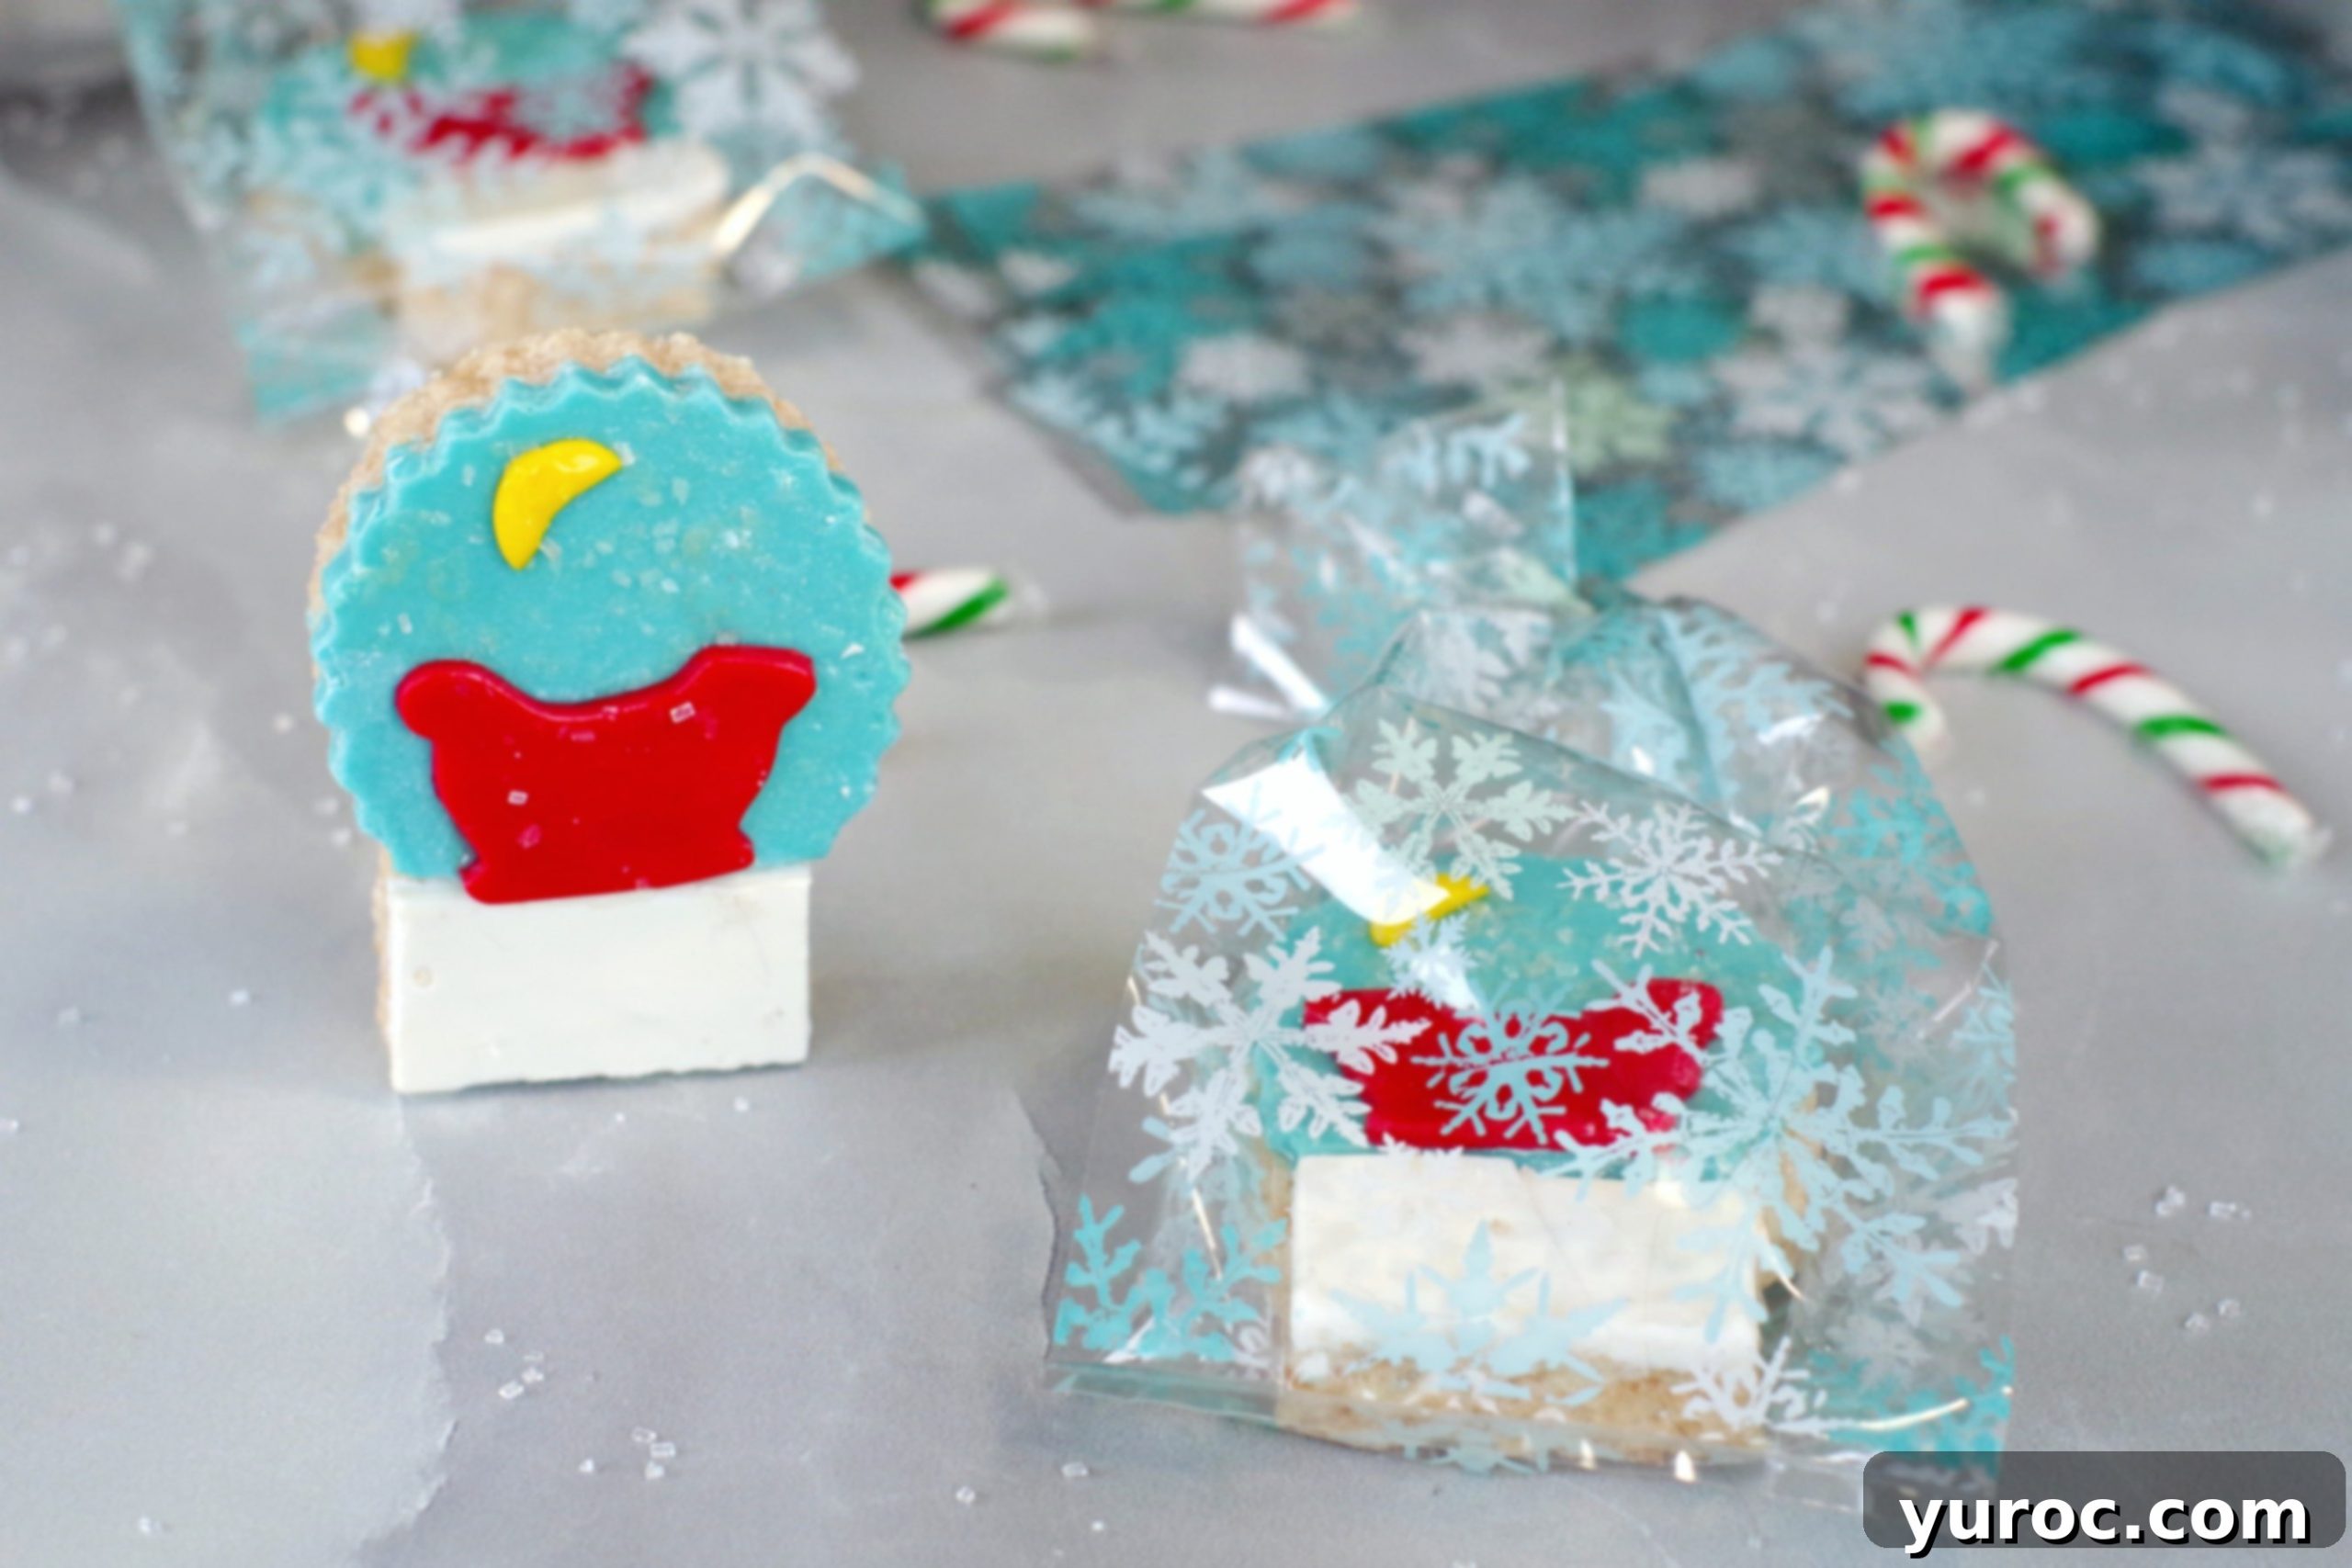
Whether you’re hosting a grand holiday feast, participating in a lively cookie exchange, preparing treats for a school event, or searching for truly unique edible gifts, these Snow Globe Rice Krispie Treats are an excellent and versatile choice. Their captivating and charming appearance ensures they will be a standout at any gathering, drawing smiles and compliments from everyone. Their delightful taste guarantees they’ll be quickly devoured by guests of all ages. For gifting, consider packaging individual snow globes in clear cellophane bags tied with a festive ribbon, perhaps adding a personalized tag for a truly thoughtful and homemade present. They are an unexpected, welcome, and enchanting addition to any Christmas celebration, making every moment a little more magical.
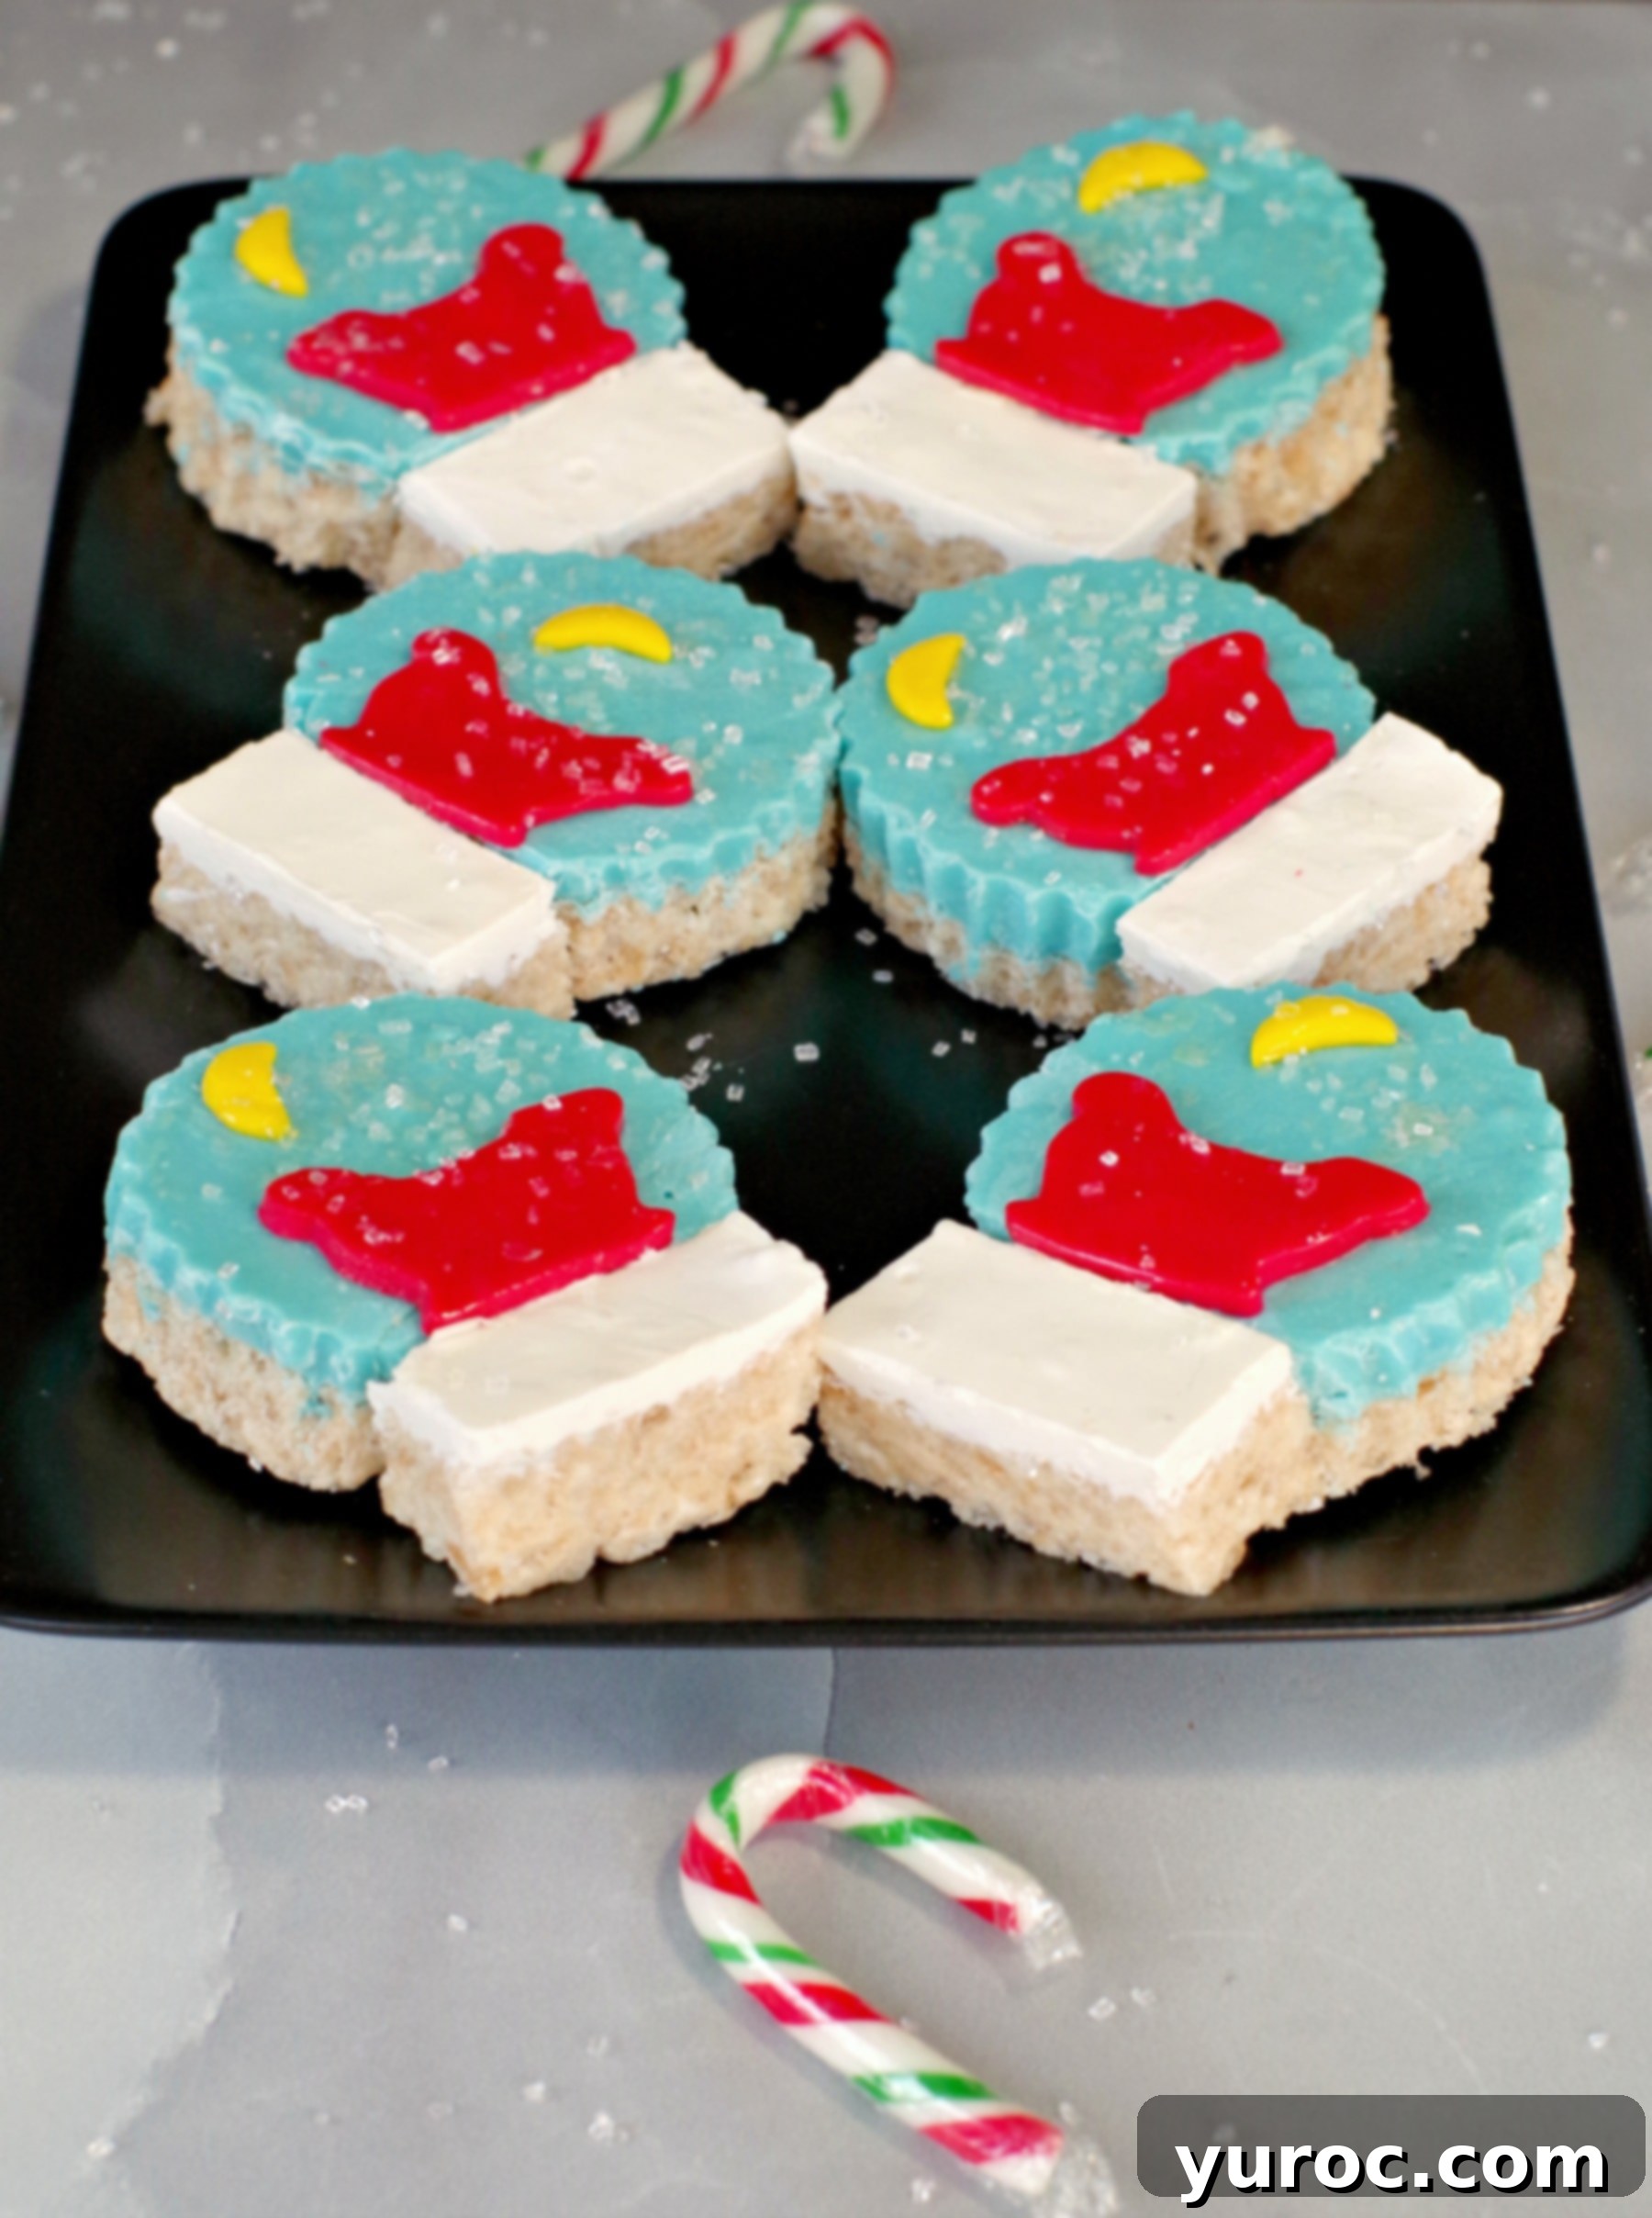
Ingredients for Christmas Snow Globe Rice Krispie Treats
One of the best and easiest parts about making these festive holiday treats is that you don’t need to fuss with food coloring; the vibrant magic comes from easily accessible, pre-colored candy melts! For these enchanting holiday Rice Krispie treats, you’ll need the following ingredients:
- Rice Krispie Cereal: The quintessential foundation for our crispy, chewy treats, providing that satisfying crunch.
- Mini Marshmallows: These melt beautifully to bind the cereal together, creating that classic gooey and irresistible texture.
- Melted Butter or Margarine: Adds a rich, buttery flavor and helps create the perfect sticky consistency for your treats, ensuring they hold their shape.
- Light Blue Candy Melts: Essential for creating the frosty, snowy sky backdrop of your edible snow globes, giving them their iconic winter look.
- White Candy Melts: Used to form the sturdy and appealing “snow mound” base of your snow globes, completing the miniature scene.
- Vegetable Shortening: A crucial ingredient for thinning the candy melts, ensuring they have a smooth, pourable consistency. It also helps prevent them from seizing or becoming too thick.
- Red Fondant: For crafting small, vibrant decorations that pop against the blue background, like Santa hats, tiny berries, or cheerful accents.
- Yellow Fondant: Perfect for creating glowing moons, twinkling stars, or other cheerful, bright accents that illuminate your snow globe scene.
- Sparkling White Sugar: Provides a beautiful, glittery snow effect, adding a magical and realistic sparkle to your winter wonderland.
- Cake Sparkles (Edible Glitter): For an extra shimmering, icy touch that truly makes your globes dazzle and catch the light.
- Confectioners Glaze or Edible Shine Spray: This specialized coating gives your snow globes a realistic, glassy sheen, enhancing their visual appeal and making them truly look like miniature glass globes.
- Corn Syrup: A sticky secret ingredient for effortlessly attaching your delicate fondant decorations firmly to the candy melt surface.
*Refer to the comprehensive recipe card below for precise quantities and any additional details you might need.
Essential Equipment for Snow Globe Rice Krispie Treats
To ensure a smooth and enjoyable baking experience, gathering all your necessary kitchen tools and equipment before you begin is highly recommended. Having everything organized and within reach will make the process much more efficient and fun:
- 9×13 inch baking pan: This size is perfect for creating the larger blue portion of your Rice Krispie treats, which will form the main “sky” of your snow globes.
- 8×8 inch baking pan: Used for making the smaller white Rice Krispie treats that will serve as the sturdy base of your snow globes.
- Large microwave-safe bowl: An indispensable tool for safely and efficiently melting your marshmallows and butter.
- Large spoon or spatula: Essential for thoroughly mixing the Rice Krispie mixture and pressing it firmly and evenly into the baking pans. A plastic spoon is often preferred for stickiness.
- 3-4 inch round cookie cutter (fluted edge recommended): This is key for cutting out the perfect circular snow globe shapes. A fluted edge adds an extra decorative and charming detail to the edges of your globes.
- Butter knife: Handy for carefully loosening the edges of the set treats from the pans, ensuring they come out cleanly without breaking.
- Large cutting board: Provides a spacious and stable surface for cutting and intricately decorating your Rice Krispie treats.
- Parchment paper or wax paper: Crucial for placing your decorated treats on, preventing them from sticking to your work surface while they dry.
- Mini cookie cutters: A selection of small, festive cookie cutters is perfect for shaping tiny, intricate fondant decorations like stars, trees, or snowflakes.
- Icing tip (large end): Surprisingly useful for cutting small, perfectly round circles from fondant, which can then be shaped into crescent moons or other designs.
- Small paintbrush: Ideal for carefully and evenly applying the confectioners glaze or edible shine spray to give your snow globes that convincing glassy finish.
Step-by-Step Instructions: How to Make Edible Snow Globes
Creating these festive Snow Globe Christmas Rice Krispie Treats is a fun and rewarding process that brings a touch of magic to your holiday baking. Follow these detailed steps carefully for delightful and picture-perfect results:
- Prepare Your Pans: Begin by lightly spraying a 9×13 inch baking pan and an 8×8 inch baking pan with non-stick cooking spray. Ensure all interior surfaces, including the corners, are lightly coated. This crucial step guarantees that your treats will release easily later.
- Grease Your Mixing Tools: Generously grease a large microwave-safe bowl and a large mixing spoon (a sturdy plastic spoon is often best for this purpose) with a little vegetable shortening or butter. This proactive measure prevents the notoriously sticky Rice Krispie mixture from adhering to your tools, making the mixing and pressing process much smoother and less messy.
*Alternatively, if you prefer, you can prepare the Rice Krispie mixture on a stovetop. In a large saucepan, melt the marshmallows and butter together over low heat, stirring constantly until fully combined and smooth.
- Melt Marshmallows and Butter: Add the margarine (or butter) and mini marshmallows to your greased microwave-safe bowl. Microwave the mixture for approximately 1 minute and 30 seconds. Carefully remove the bowl and stir thoroughly until mostly smooth. If there are still unmelted marshmallow pieces, return the bowl to the microwave in short 15-20 second increments, removing and stirring well after each interval, until the mixture is completely melted and smooth. Be vigilant not to overcook the marshmallows, as this can make the treats tough.
- Combine with Cereal: Once the marshmallow mixture is perfectly melted and smooth, immediately pour it over the Rice Krispie cereal in a separate large mixing bowl. Using your greased spoon or spatula, stir quickly and thoroughly until all the cereal pieces are evenly coated with the gooey marshmallow mixture. Work efficiently before the mixture cools too much.
- Press into Pans: Divide the warm, coated cereal mixture. Press approximately two-thirds (⅔) of the mixture evenly and firmly into the prepared 9×13 inch pan. This will form the larger, blue portion of your snow globes. Then, press the remaining one-third (⅓) of the mixture into the 8×8 inch square pan; this will be for your white snow globe bases. To prevent sticking, lightly dampen your hands with water or grease them with butter/non-stick spray (or use a greased spatula) to press the mixture down tightly and evenly into both pans.
- Chill the Rice Krispie Bases: Place both pans containing the pressed Rice Krispie treats into the refrigerator for 15-20 minutes. This chilling time is essential, as it allows the treats to firm up and set, making them much easier to handle, cut, and coat with the candy melts in the subsequent steps.
- Melt Candy Melts: In separate microwave-safe bowls, melt the light blue and white candy melts. Microwave them on 50% power for about 3 minutes, stirring thoroughly halfway through. After melting, add 3 tablespoons of vegetable shortening to the blue candy melts and 1 tablespoon to the white candy melts. Stir each bowl well until the shortening is completely incorporated and the candy melts are smooth and fluid. You may need to microwave them briefly again (still at 50% power) after adding the shortening to achieve a perfectly smooth, pourable consistency; it’s critical to avoid overheating, as this can cause candy melts to seize and become unusable.
- Coat with Blue Candy Melts: Retrieve the 9×13 inch pan of chilled Rice Krispie treats from the refrigerator. Carefully pour the melted blue candy melts evenly over the entire surface of the treats. Use a clean, greased spatula to spread the candy melt smoothly and completely to all edges, creating an even layer.
- Remove Air Bubbles (Blue): To ensure a smooth surface, gently but firmly bang the pan several times on your counter. This action helps to settle the candy melt layer and release any trapped air bubbles. If you still observe a few stubborn air bubbles, carefully poke them with a toothpick, then give the pan another gentle bang. Don’t worry if a few tiny bubbles remain; they won’t detract from the charm of the finished snow globes.
- Coat with White Candy Melts: Repeat steps 8 and 9 for the 8×8 inch pan of Rice Krispie squares, this time using the melted white candy melts. Ensure that the white layer is also spread smoothly and evenly across the entire surface.
- Refrigerate Again: Return both candy-coated pans to the refrigerator for another 15-20 minutes. This second chilling period is crucial for allowing the candy melt coatings to fully set and become hard to the touch. A firm coating is essential for clean and precise cutting.
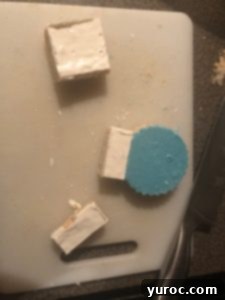
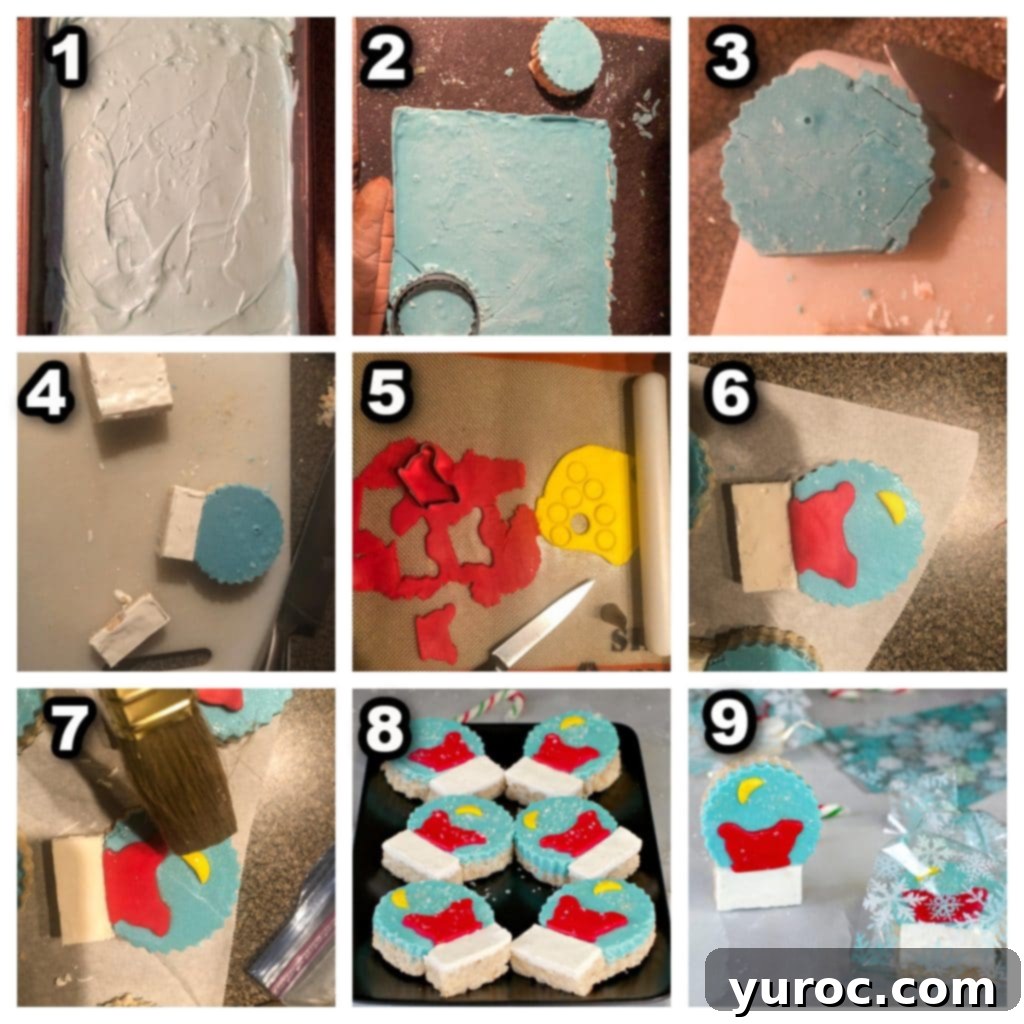
- Cut the Blue Snow Globes: Once the candy melts are completely firm, remove the pans from the fridge. Carefully use a butter knife to loosen the edges of the Rice Krispie blocks from their pans. Gently ease the entire candy-coated treats out onto a large, clean cutting board, ensuring the candy melt side is facing upwards. Using a 3-4 inch round cookie cutter (a fluted edge is recommended for a lovely decorative detail), firmly cut out circular shapes from the blue Rice Krispie treat slab.
**Important Tip: It is very common and completely normal for the candy melt coating to crack somewhat during this cutting stage, due to the contrast between the firm candy and soft treat. Do not despair! You can easily remedy this. Simply gently push the cracked pieces back together and softly rub your fingers over the cracks a few times. The natural warmth from your hands will slightly melt the candy melts, allowing the edges to fuse and repair the cracks. Furthermore, the confectioners glaze you will apply later will act as an additional sealant, helping to further obscure any minor imperfections, which will then be beautifully covered by the sparkling sugar.
- Prepare for the Base: For each blue circular snow globe treat, carefully slice off a small, straight portion from one end. This will create a flat edge on the bottom, which is essential for securely attaching the snow globe base.
- Cut the White Bases: Take the white Rice Krispie squares and cut them into smaller squares. Then, cut each of these squares in half again to create rectangular base pieces. These will form the snow-covered bases for your miniature snow globes.
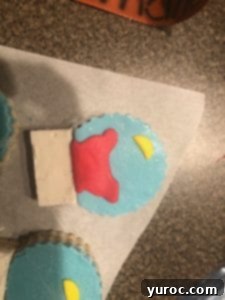
- Attach the Bases: Press one white rectangular base piece onto the flattened bottom edge of each blue snow globe circle. The stickiness of the Rice Krispie treats should allow them to adhere fairly well on their own. For extra security and to prevent separation, you can dab a tiny bit of corn syrup or press a small piece of fondant on the back of the base before attaching it.
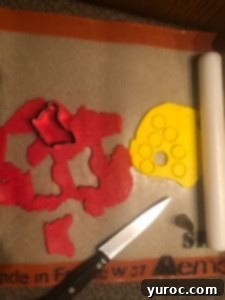
- Create Fondant Decorations: On a surface lightly dusted with powdered sugar, roll out your red and yellow fondant thinly. Use a variety of mini cookie cutters to create small, festive shapes for your snow globe scenes. For a charming moon shape, for example, use the large end of an icing tip to cut small circles, then cut these circles in half and gently shape them to resemble crescent moons. Let your imagination guide you!
- Decorate the Globes: Arrange your prepared Rice Krispie snow globes on parchment paper or wax paper. Apply a tiny dot of corn syrup to the back of each fondant decoration you’ve created and carefully press it onto the blue candy melt surface to bring your desired winter scene to life. Feel free to get creative – a small green fondant Christmas tree, tiny white snowflakes, a mini gingerbread man, or a whimsical reindeer would all look absolutely wonderful!
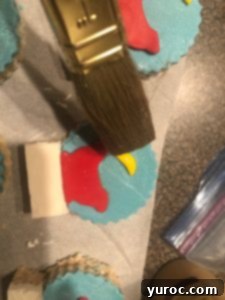
- Apply Glaze: To give your snow globes a realistic, glassy sheen, carefully paint each one with a thin, even layer of confectioners glaze using a small, clean paintbrush, or spray them evenly with an edible shine spray. This step truly enhances their visual appeal and makes them look like genuine snow globes.
- Add Sparkle: Immediately after applying the glaze (while it is still wet and tacky), generously sprinkle white sparkling sugar and cake sparkles over the entire surface of each snow globe. This creates a dazzling, snowy effect and ensures that the sprinkles adhere beautifully to the wet glaze.
- Allow to Dry: Let the decorated snow globes dry undisturbed for at least 30 minutes, or until the glaze is no longer visibly wet. They might still feel slightly sticky to the touch, which is perfectly normal. Once dry, they are ready!
- Serve or Gift: Your magical Christmas Rice Krispie Treat Snow Globes are now complete and ready to be enjoyed! Serve them proudly at your holiday gathering, or package them individually for charming, homemade edible gifts that are sure to delight.
Expert Tips for Perfect Christmas Rice Krispie Treats
Don’t Fear the Cracks: Easy Fixes for Candy Melts
As we’ve mentioned in the instructions, it’s quite likely that the candy melt coating will experience some minor cracking when you cut the Rice Krispie treats with your cookie cutter. This is a common occurrence and perfectly normal, arising from the contrast between the firm candy shell and the soft, chewy Rice Krispie base. But there’s absolutely no need for concern or frustration! This is an easily fixable situation. Simply and gently push the cracked edges back together. Then, softly run your clean fingers over the cracks a few times. The natural warmth from your hands will subtly melt the candy coating just enough, allowing the edges to fuse back together seamlessly. Furthermore, the confectioners glaze that you will apply later in the process will act as an additional sealant, helping to further obscure any minor imperfections. Once the sparkling sugar is generously sprinkled on, any remaining tiny cracks will be beautifully disguised and blend into the magical snowy effect, leaving you with a perfectly charming and impressive snow globe. Remember, homemade treats have character, and these small quirks are part of their unique charm!
Achieving Smooth Candy Melt Coating
To ensure your candy melts are perfectly smooth and easy to work with, it’s crucial to melt them gradually. Use a low power setting on your microwave (around 50%) and stir frequently. Overheating can cause candy melts to seize, becoming thick, grainy, and unusable. Adding the specified amount of vegetable shortening helps thin the melts to an ideal pourable consistency, ensuring they spread effortlessly over the Rice Krispie treats. After pouring, gently tap the pan on your counter. This simple action helps the coating settle evenly and releases any trapped air bubbles, leading to a much smoother, more flawless finish that truly resembles glass.
Preventing Stickiness During Assembly
Rice Krispie treats, by their very nature, can be notoriously sticky. To make the entire process of pressing them into pans, handling them, and especially cutting and shaping them much easier, liberally grease your hands or your spatula with butter or a non-stick cooking spray. When you’re actively cutting the shapes and attaching the bases, working quickly and with hands that are still slightly greased can significantly help prevent the treats from sticking to your fingers and tools, ensuring a cleaner and less frustrating assembly process. This small preparation step makes a big difference!
Unleash Your Creativity with Fondant Decorations
The true beauty and unique appeal of these Snow Globe Christmas Rice Krispie Treats lie in their customizable nature. While we suggest a classic winter scene featuring a moon and stars, do not hesitate to let your imagination soar! This is an opportunity to personalize each treat. Experiment with various mini Christmas cookie cutters to craft tiny, intricate details like miniature Christmas trees, adorable gingerbread figures, delicate snowflakes, wrapped presents, or even a tiny Santa Claus silhouette. You can also play with different colors of fondant to match your specific holiday theme or personal preference. This is truly where the kids, and adults alike, can express their artistic flair and make each snow globe truly unique and special.
Serving Suggestions & Gifting Ideas
This easy and delightful holiday treat recipe yields approximately 10 charming edible snow globes, making it perfectly suitable for a variety of festive occasions. Should you need more or fewer, you can effortlessly scale the recipe up or down by clicking on the blue serving size number in the recipe card located below; the ingredient quantities will automatically adjust to your desired yield. These unique treats stand apart from your typical Christmas cookie or even a standard red and white cereal bar, which makes them exceptional and memorable edible gifts. Their novelty, whimsical design, and intricate appearance are sure to impress and delight friends, family, teachers, colleagues, or anyone special on your holiday list. Consider packaging individual snow globes in clear cellophane bags, tied elegantly with a festive ribbon, and perhaps add a personalized tag for a truly thoughtful and homemade present that speaks volumes. They also make fantastic and visually appealing favors for holiday parties, delightful additions to school events, or even a whimsical and unexpected touch to a Christmas brunch spread, offering a unique charm that guests will undoubtedly adore and remember.
Storing Your Snow Globe Rice Krispie Treats
To keep your festive creations fresh and tasting their best, it’s important to store these charming cereal treats properly. Place them in an airtight container at room temperature, where they will maintain their deliciousness and texture for up to 3 days. For longer preservation, these treats can be successfully frozen, but there’s a crucial detail to remember: do NOT apply the confectioners glaze or edible shine spray before freezing. The glaze can react to the freezing and thawing process by becoming sticky, cloudy, or losing its intended glassy sheen, detracting from the visual appeal of your snow globes. Instead, freeze your unglazed snow globes flat (it’s important to avoid stacking them directly on top of each other to prevent sticking) in an airtight container for up to 3 months. When you’re ready to enjoy them, allow them to fully defrost at room temperature with the container lid off until the fondant decorations are completely dry to the touch. Only after they are thoroughly thawed and dry should you proceed to apply the glaze and sparkling sugar as directed in the recipe. This method ensures your treats retain their beautiful, glossy finish and their delightful, chewy texture, making them perfect to serve at any time.
Variations and Customization Ideas
One of the most exciting aspects of making these Snow Globe Rice Krispie Treats is the boundless potential for customization! While the classic blue and white combination creates a universally appealing winter wonderland scene, don’t hesitate to experiment with different candy melt colors to match a specific theme or personal preference. Imagine charming pink globes for a whimsical touch, vibrant green for a festive forest scene, or even a playful mix of colors for a truly unique and eye-catching display. Beyond colors, the fondant decorations offer endless creative opportunities. Use various mini cutters to craft tiny reindeer, cheerful Santa figures, delicate snowmen, miniature gifts, or even personalized initials. For an extra touch of sparkle, consider mixing edible glitter or additional festive sprinkles directly into the melted candy melts before pouring, creating a magical shimmer within the “globe” itself. You can also vary the base by adding a layer of crushed candy canes, mini chocolate chips, or sprinkles to the white candy melt layer for added texture and flavor. Let your imagination be your guide to personalize these delightful treats for any holiday occasion, party, or gift recipient, making each snow globe a truly bespoke creation!
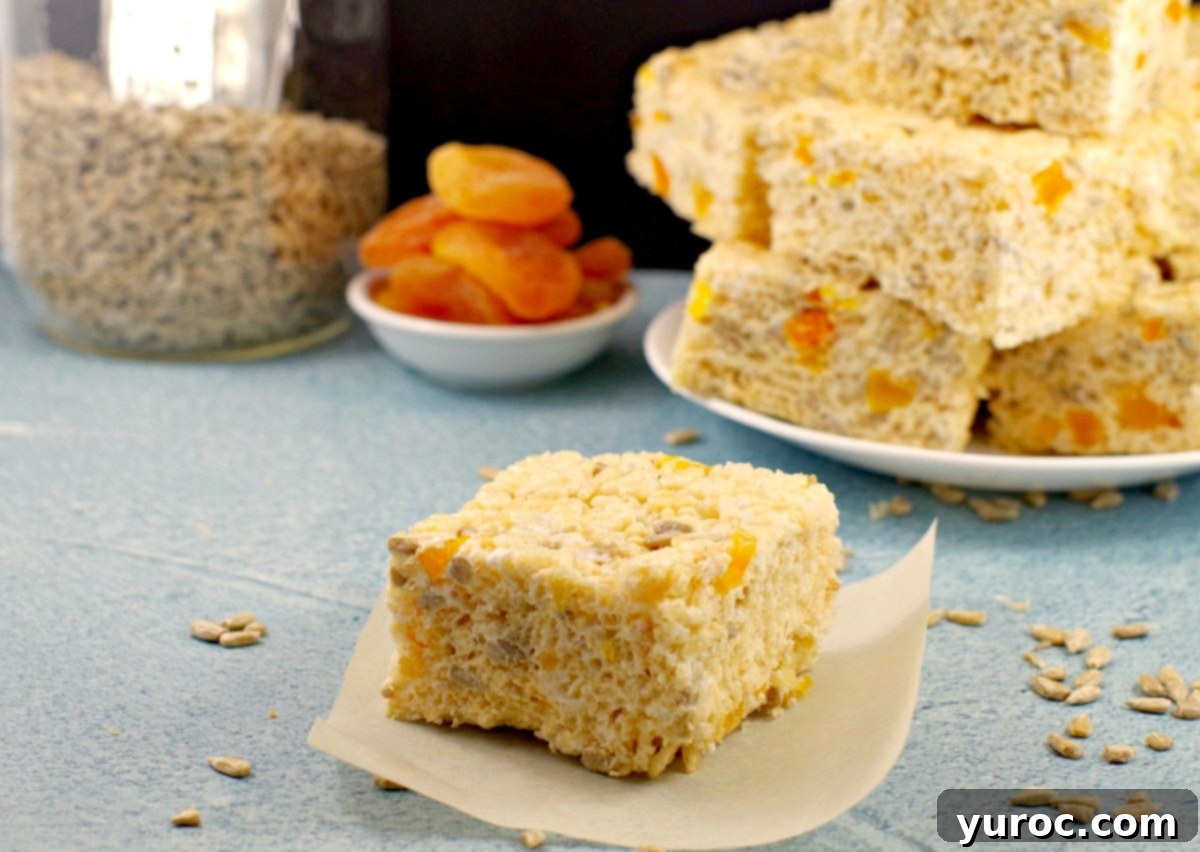
While the holidays are undoubtedly a wonderful time to indulge in sweet and festive delights, if you find yourself craving a slightly healthier alternative after the festive season, you might enjoy exploring recipes such as these Apricot Sunflower Seed Rice Krispie Treats. However, in the meantime, if you are genuinely looking for a fun, unique, and utterly delicious Christmas treat that will stand out at any party or serve as an unforgettable edible gift, these homemade Snow Globe Christmas Rice Krispie Treats are an absolute must-try! Although they involve a little more flair and creative effort than your typical, straightforward Rice Krispie squares, the magical, enchanting results are undeniably worth the small extra investment of time and creativity. They are sure to be a cherished highlight of your holiday celebrations and leave a lasting impression on everyone who enjoys them!
Merry Christmas and happy baking!
Share Your Creations & Comments
Did you know that leaving a comment and rating a recipe is one of the best ways to support your favorite food creators? We absolutely love hearing about your baking adventures and seeing your wonderful creations! If you tried and loved this enchanting Snow Globe Christmas Rice Krispie Treats recipe, please take a moment to leave a comment and rate it in the recipe card below. Your feedback helps other bakers in our community. Don’t forget to share your beautiful photos on social media using the hashtag #foodmeanderings or by tagging @foodmeanderings! Your enthusiastic shares and positive reviews truly help our community grow and inspire countless others to create holiday magic in their own kitchens.

Snow Globe Christmas Rice Krispie Treats Recipe
Print Recipe
Pin
Save RecipeSave Recipe
Rate
Add to Shopping ListGo to Shopping List
Ingredients
- 9 cups rice krispies cereal
- 7.5 cups mini marshmallows
- ⅓ cup margarine or butter (melted)
Decorations
- 1.5 -14 oz- bags of light blue candy melts (approx. 397 g per bag)
- ¾ – of a 14 oz bag of white candy melts
- 4 tablespoons vegetable shortening
- red fondant
- yellow fondant
- sparkling white sugar
- cake sparkles (edible glitter)
- confectioners glaze or edible shine spray
- corn syrup
Instructions
-
Spray a 9 X 13 inch pan and an 8X8 inch pan with non-stick cooking spray, ensuring all surfaces are lightly coated.
-
Grease a large microwave-safe bowl and a large mixing spoon (a plastic one works best to prevent sticking) with a little vegetable shortening. This step is key to handling the sticky Rice Krispie mixture with ease.
*For an alternative, you can also melt the marshmallows and butter on a stovetop using a large saucepan over low heat, stirring constantly until smooth.
-
Add the margarine (or butter) and marshmallows to your greased bowl. Microwave for 1 minute and 30 seconds. Remove and stir well. If the marshmallows are not fully melted, return to the microwave in 15-20 second bursts, stirring after each, until the mixture is completely smooth. Avoid overcooking marshmallows, as they can become tough.
-
Once the marshmallow mixture is fully melted and smooth, remove it from the microwave and immediately pour it into a large bowl containing the Rice Krispie cereal. Stir quickly and thoroughly until all cereal pieces are evenly coated.
-
Press approximately two-thirds (⅔) of the warm cereal mixture evenly into the 9×13 inch pan. Then, press the remaining one-third (⅓) into the 8×8 inch square pan. To prevent the mixture from sticking to your hands, you can lightly dampen them with water or grease them with butter/non-stick spray, or use a greased spatula. Press firmly to create a compact base.
-
Refrigerate both pans for 15-20 minutes. This allows the Rice Krispie treats to firm up, making them easier to handle and coat with candy melts.
-
Melt the blue and white candy melts in separate microwave-safe bowls. Microwave for approximately 3 minutes on 50% power, stirring occasionally. Add 3 tablespoons of vegetable shortening to the blue candy melts and 1 tablespoon to the white candy melts, stirring until smooth. If needed, briefly microwave again on 50% power to fully incorporate the shortening and achieve a pourable consistency; be careful not to overheat to prevent seizing.
-
Retrieve the 9×13 inch pan of Rice Krispie treats from the fridge. Pour the melted blue candy melts evenly over the entire surface of the treats and spread smoothly with a spatula, ensuring full coverage.

-
Gently bang the pan on your counter a few times. This helps to smooth out the candy melt layer and release any trapped air bubbles. If you still see a few bubbles, carefully poke them with a toothpick, then bang the pan once more. Minor imperfections are fine!
-
Repeat steps 7 and 8 with the white candy melts and the 8×8 inch pan of Rice Krispie squares. Ensure the white layer is also smooth and even.
-
Place both pans back into the refrigerator for another 15-20 minutes, or until the candy melt coatings are completely set and hard to the touch. This firm setting is essential for clean cutting.
-
Once the candy melts are firm, remove the pans from the fridge. Use a butter knife to gently loosen the edges of the Rice Krispie blocks from the pans. Carefully ease the entire treats out onto a large cutting board, ensuring the candy melt side is facing up.

-
Using a 3-4 inch round cookie cutter (a fluted edge adds a charming detail), cut out circles from the blue Rice Krispie treat slab. As mentioned, some cracking in the candy melt coating is normal. Simply gently push the cracked pieces back together and softly rub your fingers over them a few times. The warmth from your hands will help melt the candy melts enough to repair the cracks, and the glaze applied later will further seal them. These will eventually be covered beautifully with sparkling sugar.

-
To create a flat bottom for your snow globe, carefully slice a small, straight portion off one end of each blue circular treat. This squared-off edge is where the base will attach.
-
From the white Rice Krispie squares, cut them into smaller squares, then cut each square in half again to create rectangular base pieces for your snow globes.
-
Attach one white rectangular base to the flattened bottom of each blue snow globe circle. Press them gently together; they should stick well enough on their own. For added security, you can apply a tiny dab of corn syrup or a small piece of fondant to the back of the base before pressing it on.

-
Roll out your red and yellow fondant thinly on a lightly powdered sugar surface. Use mini cookie cutters to create your desired festive decorations. For a moon shape, for example, use the large end of an icing tip to cut circles, then cut these circles in half and gently shape them to resemble crescent moons.

-
Place the prepared Rice Krispie snow globes on parchment paper or wax paper. Apply a tiny dot of corn syrup to the back of each fondant decoration and carefully attach them to the blue candy melt surface to bring your charming winter scene to life. You can easily customize the scene – perhaps a small green fondant Christmas tree, tiny white snowflakes, or a little red present!

-
To give your snow globes a realistic, glassy appearance, carefully paint each one with a thin, even layer of confectioners glaze using a small brush, or spray them evenly with an edible shine spray.

-
Immediately after applying the glaze (while it’s still wet and tacky), generously sprinkle white sparkling sugar and cake sparkles over the entire surface of each snow globe. This creates a dazzling, snowy effect and ensures that the sprinkles adhere beautifully to the wet glaze.
-
Allow the decorated snow globes to dry for at least 30 minutes, or until the glaze is no longer wet to the touch. They may remain slightly sticky, which is normal. Serve immediately, or prepare them for gifting!
Notes
It is perfectly normal for the candy melt coating to crack slightly when you cut the Rice Krispie treats with a cookie cutter. Do not be concerned! You can easily fix this by gently pushing the cracked areas back together and softly running your fingers over them a few times. The heat from your hands will slightly melt the candy melts, allowing them to fuse and repair the cracks. Additionally, the glaze you apply later will help seal these imperfections, which will then be beautifully concealed by the sparkling sugar. Remember, Rice Krispie squares are a challenging canvas for intricate decoration, and slight imperfections are part of their charm. Nobody will notice or mind – they’ll be too enchanted by your edible snow globes!
👪 SERVING SIZE: Easily Adjustable
This recipe is designed to yield 10 beautiful Snow Globe Christmas Rice Krispie Treats. If you need more or fewer, you can easily double or triple the recipe. Simply click on the blue serving size number in the recipe card above and select your desired number of servings. The ingredient amounts will automatically adjust to help you prepare the perfect batch.
🌡️STORING: For Optimal Freshness
Store your finished Snow Globe Rice Krispie Treats in an airtight container at room temperature for up to 3 days to maintain their freshness and texture. If you plan to freeze them for longer storage, it is crucial NOT to glaze them beforehand. Glazing them before freezing can lead to a sticky or cloudy finish upon thawing. Instead, freeze the unglazed treats flat (not stacked) in an airtight container for up to 3 months. When ready to serve, let them fully defrost at room temperature with the container lid off until the fondant decorations are completely dry, then apply the glaze and sparkling sugar as directed in the recipe. This method ensures they look and taste their best!
My Amazon Recommendations (affiliate links)
Calories from Fat 45
Nutrition
🎁More Enchanting Edible Gifts for Christmas
- Christmas Chocolate Gingerbread Bark
- Savory Christmas Snack Mix
- Christmas Biscotti Recipe (with Cranberry and Pistachio)
- Microwave Sugar Cookie Fudge Recipe
