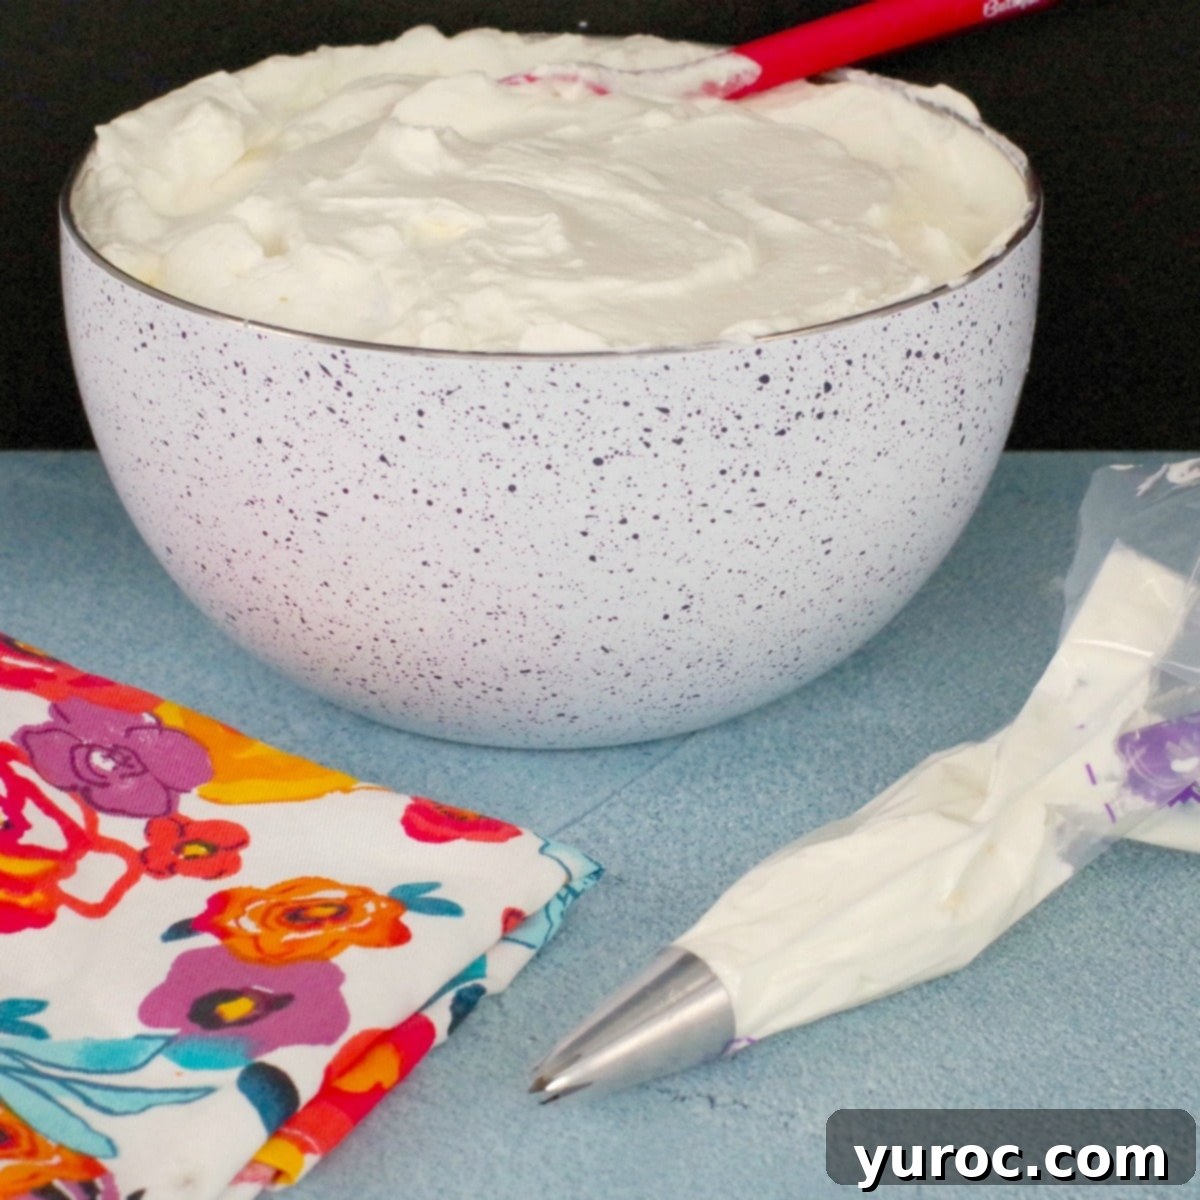
Easy Stabilized Whipped Cream Frosting: The Ultimate Piping Gel Recipe for Flawless Cakes & Desserts
Whipped cream frosting is a beloved classic, cherished for its light texture, subtle sweetness, and incredible versatility. It complements a vast array of cakes and desserts, offering a refreshing alternative to heavier frostings. However, traditional whipped cream has a notorious drawback: its short lifespan. Without a proper stabilizer, it quickly loses its airy volume, making it impractical for elaborate cake decorating or preparing desserts in advance. This is where the magic of Stabilized Whipped Cream Frosting comes in, and our recipe leverages a brilliant shortcut – piping gel – to deliver consistently perfect results every time. It’s ideal for frosting, piping, and topping all your favorite sweet treats.
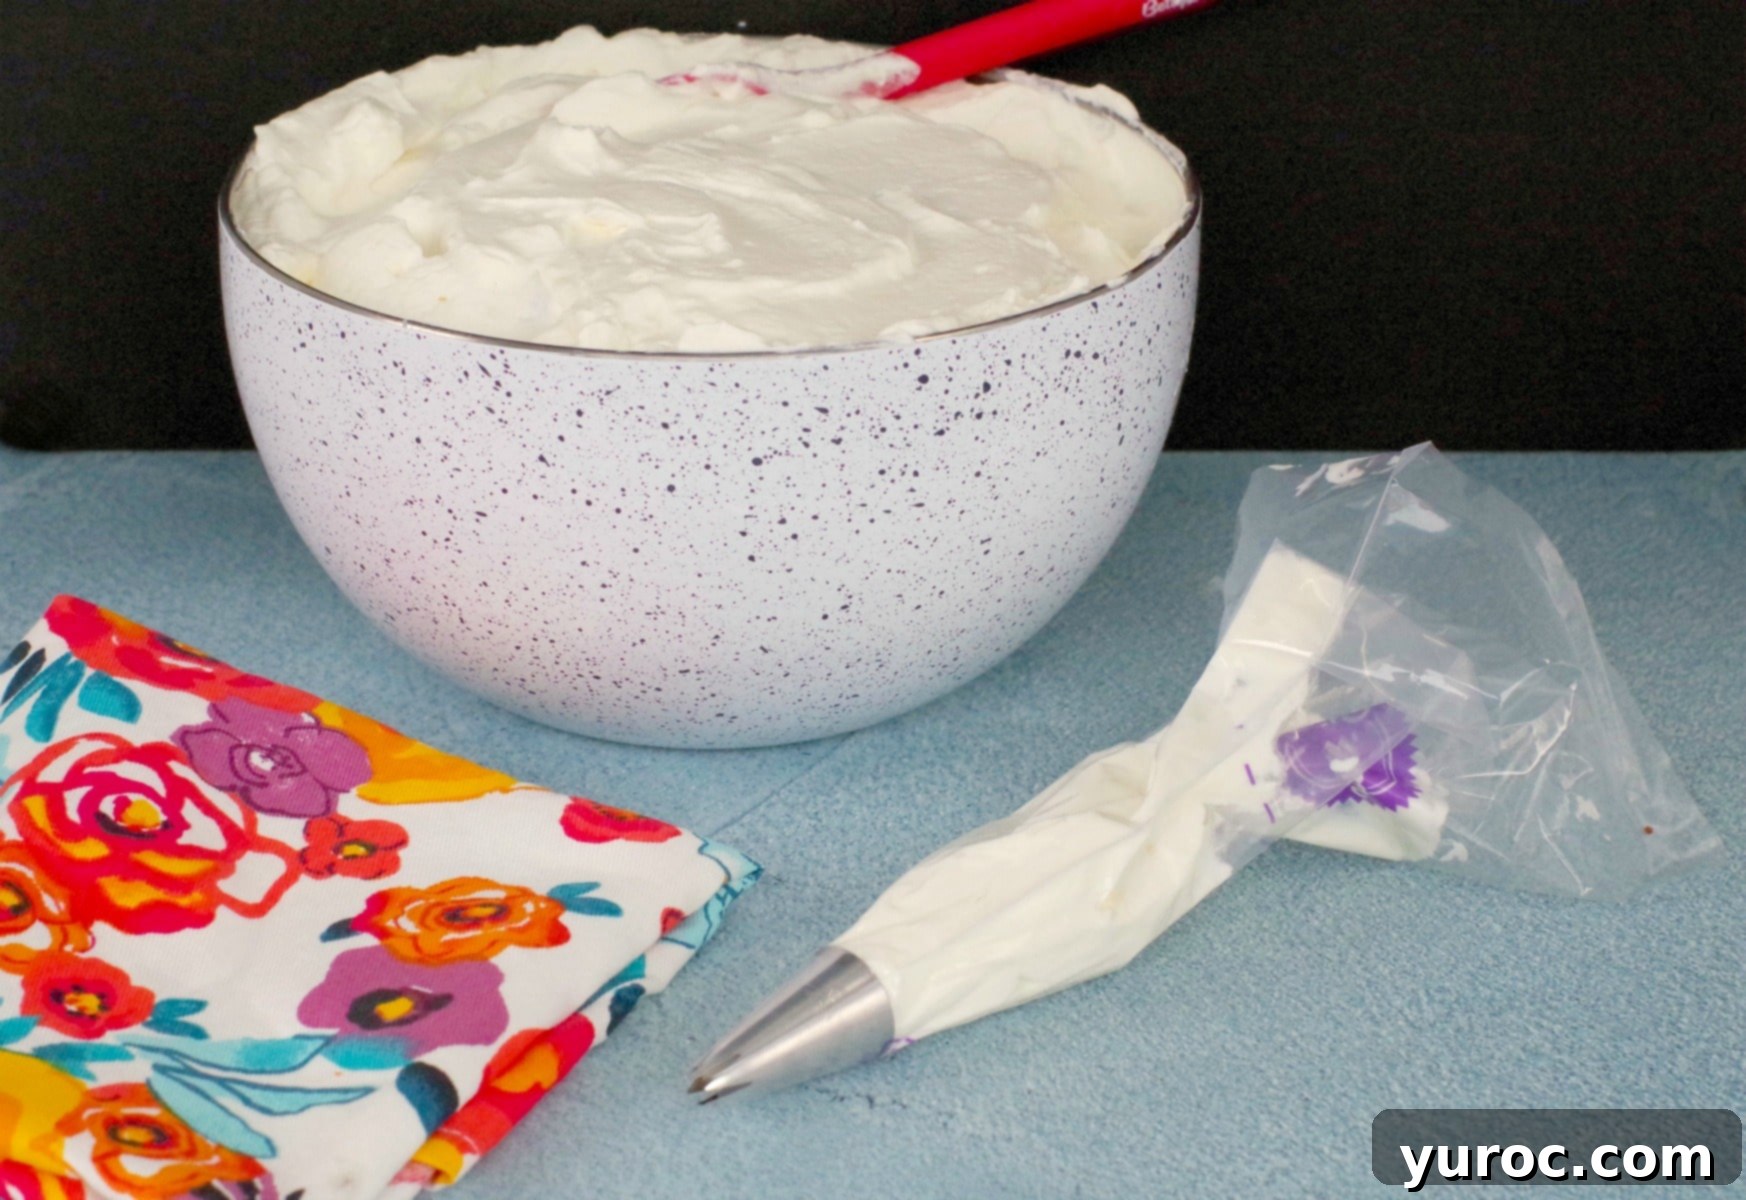
The secret to this recipe’s unparalleled ease and reliability lies in replacing fussy gelatin with simple piping gel. This ingenious swap streamlines the stabilization process, making it significantly quicker and more straightforward to achieve a whipped cream that holds its shape beautifully. Whether you’re decorating an intricate layer cake, piping elegant borders, or simply adding a delightful cloud of topping to a pie, this stabilized whipped cream frosting is your go-to solution. It’s a popular choice year-round and pairs exquisitely with countless cake, pie, and dessert recipes.
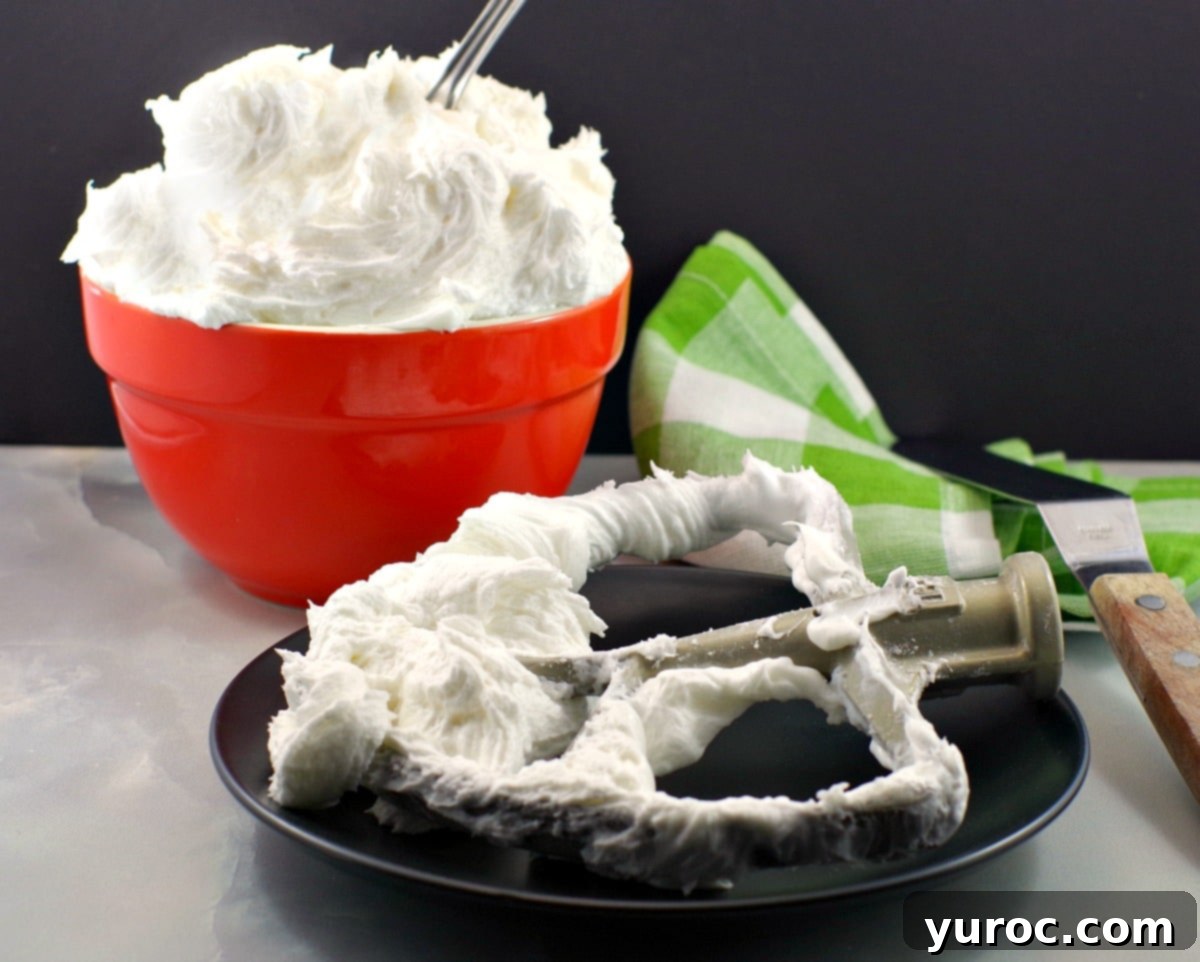
Having dedicated years to the art of baking and cake decorating, I’ve come to understand that frosting is just as crucial as the cake itself. A truly exceptional dessert is a symphony of flavors and textures, and the right frosting plays a pivotal role. As many of you who have followed my culinary journey know, I’m not the biggest admirer of traditional buttercream. In my humble opinion, the rich, buttery goodness belongs *within* the cake, enhancing its moistness and flavor, rather than overwhelming the topping. That’s why my recipe collection boasts a variety of delightful, butter-free frostings, including my popular Whipped Cream Buttercream Frosting (pictured below, offering a lighter take on a classic), my rich No-Butter Chocolate Frosting, and the incredibly simple 2-Ingredient White Chocolate Whipped Cream Frosting. This stabilized whipped cream recipe perfectly aligns with my philosophy, delivering a light, ethereal finish without the heaviness of butter.
🥘 Essential Ingredients for Perfect Stabilized Whipped Cream
Crafting this flawless whipped cream frosting requires just a few basic ingredients, readily available for most bakers. Each component plays a vital role in achieving the desired light texture, delicate sweetness, and impressive stability.
- Heavy Whipping Cream: The foundation of our frosting. For best results, use heavy cream with at least 35% milk fat. Higher fat content ensures better whipping and a more stable finished product. Make sure it’s well-chilled for optimal volume.
- Powdered Sugar (Confectioners’ Sugar): This fine sugar not only adds sweetness but also contributes to the frosting’s smooth texture. Its superfine consistency dissolves effortlessly into the cream, preventing any grainy mouthfeel, unlike granulated sugar.
- Vanilla Extract: A splash of vanilla elevates the flavor, adding a warm, aromatic note that complements almost any dessert. Clear vanilla extract is preferred if you want to maintain a pure white frosting color.
- Piping Gel: The star stabilizer of this recipe! Piping gel is the key to a whipped cream that holds its peaks for extended periods, making it ideal for decorating and preventing deflation.
*Refer to the recipe card below for precise quantities and detailed instructions.
💭 Why Stabilize Whipped Cream? The Science and the Shortcut
The primary reason to stabilize whipped cream is to prevent its inevitable collapse. Unstabilized whipped cream frosting, while delicious, is notoriously fragile. It typically holds its shape for only 2-3 hours, even when refrigerated, before starting to weep and deflate. This makes it challenging for anything beyond immediate consumption and impossible for intricate cake decorations that require structural integrity.
Traditionally, gelatin has been a common stabilizer. However, working with gelatin can be quite finicky. It requires precise water temperature to bloom correctly, a waiting period, and then careful tempering to avoid lumps in your cream. It’s an extra step that adds fussiness and time to your baking process. This is precisely why our recipe champions piping gel as the superior stabilizer. With piping gel, there’s no blooming, no tempering, and no waiting. You simply whip your cream to soft peaks, incorporate the piping gel, and continue whipping until stiff peaks form. It’s a game-changer, simplifying the process while delivering perfectly stable, pipeable whipped cream every time.
💭 What is Piping Gel and How Does It Work?
Piping gel is a clear, viscous, and often shiny gel commonly used in confectionery. While it’s known for adding a glossy finish to cakes, facilitating image transfers onto edible surfaces, and securely adhering fondant decorations, its role as a whipped cream stabilizer is truly exceptional. It works by creating a stable matrix within the whipped cream, preventing the air bubbles from escaping and the fat particles from separating, which are the main culprits behind deflation. This ensures your whipped cream maintains its volume and structure, even in warmer conditions or over longer periods.
Piping gel comes in a natural clear color, which is ideal for this recipe as it won’t alter the pristine white appearance of your whipped cream. However, it can also be tinted with food coloring gels or powders, just like frosting, allowing for creative colored designs. Its neutral flavor ensures it won’t interfere with the delicate taste of your whipped cream.
Unlike common grocery store items, piping gel is typically found in craft stores specializing in baking supplies or, more conveniently, online. Leading baking brands offer high-quality piping gel that is reliable for stabilization and other decorative uses. You can learn more about the versatile applications of piping gel here. For those looking to purchase it quickly, you can conveniently order it here (affiliate link).
Wilton 704-9987 Clear Piping GelShop on Amazon
🍽️ Essential Equipment for Whipping Perfection
The right tools make all the difference in achieving light, fluffy, and stable whipped cream. For this recipe, an electric mixer is essential to efficiently incorporate air into the cream and reach the desired consistency. You have two excellent options:
- Electric Hand Mixer: A versatile and compact option, perfect for smaller batches or if you have limited counter space. A reliable electric hand mixer can be found here (affiliate link).
- Stand Mixer: For larger batches or hands-free operation, a stand mixer is incredibly convenient. Its powerful motor and whisk attachment make quick work of whipping cream to stiff peaks. You can find a good stand mixer here (affiliate link). While both work, a stand mixer often proves easier and more efficient.
Beyond the mixer, having a large, deep mixing bowl is crucial to prevent splattering as the cream whips and expands. Make sure your whisk attachment is clean and dry before you begin.
🌡️ Storing Your Stabilized Whipped Cream Frosting
One of the significant advantages of stabilized whipped cream is its improved shelf life. This frosting will hold beautifully for several days, provided it is kept refrigerated in an airtight container. Proper storage prevents it from absorbing odors from other foods in your refrigerator and helps maintain its structure and freshness. Avoid leaving it at room temperature for extended periods, as even stabilized whipped cream performs best when kept cold. For optimal results and food safety, always return any leftover frosting to the refrigerator promptly after use.
👪 Serving Size and Adjustments
This recipe for stabilized whipped cream frosting yields approximately 16 generous servings. This quantity is typically sufficient to generously frost a double-layer 8-inch cake, with enough left over for a delightful filling or extra garnishes. Should your baking project require more or less frosting, the recipe is easily adjustable. Simply click on the blue serving number in the recipe card below and select your desired number of servings. The ingredient quantities will automatically scale to your needs, taking the guesswork out of modifications.
💭 Pro Tips for Whipped Cream Success
Achieving the perfect stabilized whipped cream is simple, but a few key practices can elevate your results from good to exceptional:
- Keep Everything Cold: This is arguably the most important tip. Cold heavy cream whips up faster, incorporates more air, and holds its structure better. Similarly, a chilled mixing bowl and whisk attachment will significantly aid in the whipping process. Place your bowl and whisk in the freezer for 15-20 minutes before you start.
- Don’t Over-Whip: While you want stiff peaks, be careful not to over-whip your cream. Over-whipped cream can become grainy, butter-like, and lose its smooth, delicate texture. Stop whipping as soon as firm peaks form and the cream holds its shape.
- Gradual Sweetening: Add powdered sugar gradually. This ensures even distribution and allows you to adjust the sweetness to your preference without overdoing it.
- Clear Vanilla for Purity: If a pristine white frosting is desired, opt for clear vanilla extract. Regular vanilla extract can impart a slight yellowish tint.
- Quality Ingredients: Start with high-quality heavy whipping cream for the best flavor and whipping performance.
This stabilized whipped cream frosting is incredibly versatile, making it a fantastic addition to almost any dessert. Its robust structure means it’s perfect for frosting and decorating cakes like my Gingerbread Cake with Cookie Butter Filling, my rich Chocolate Italian Sponge Cake, and my crowd-pleasing Easy Black Forest Cake. It also functions beautifully as a luxurious filling for layer cakes, adding a light and airy contrast to denser cake layers. Beyond cakes, consider it as a dollop on hot chocolate, a topping for fruit tarts, or a luscious element in parfaits.
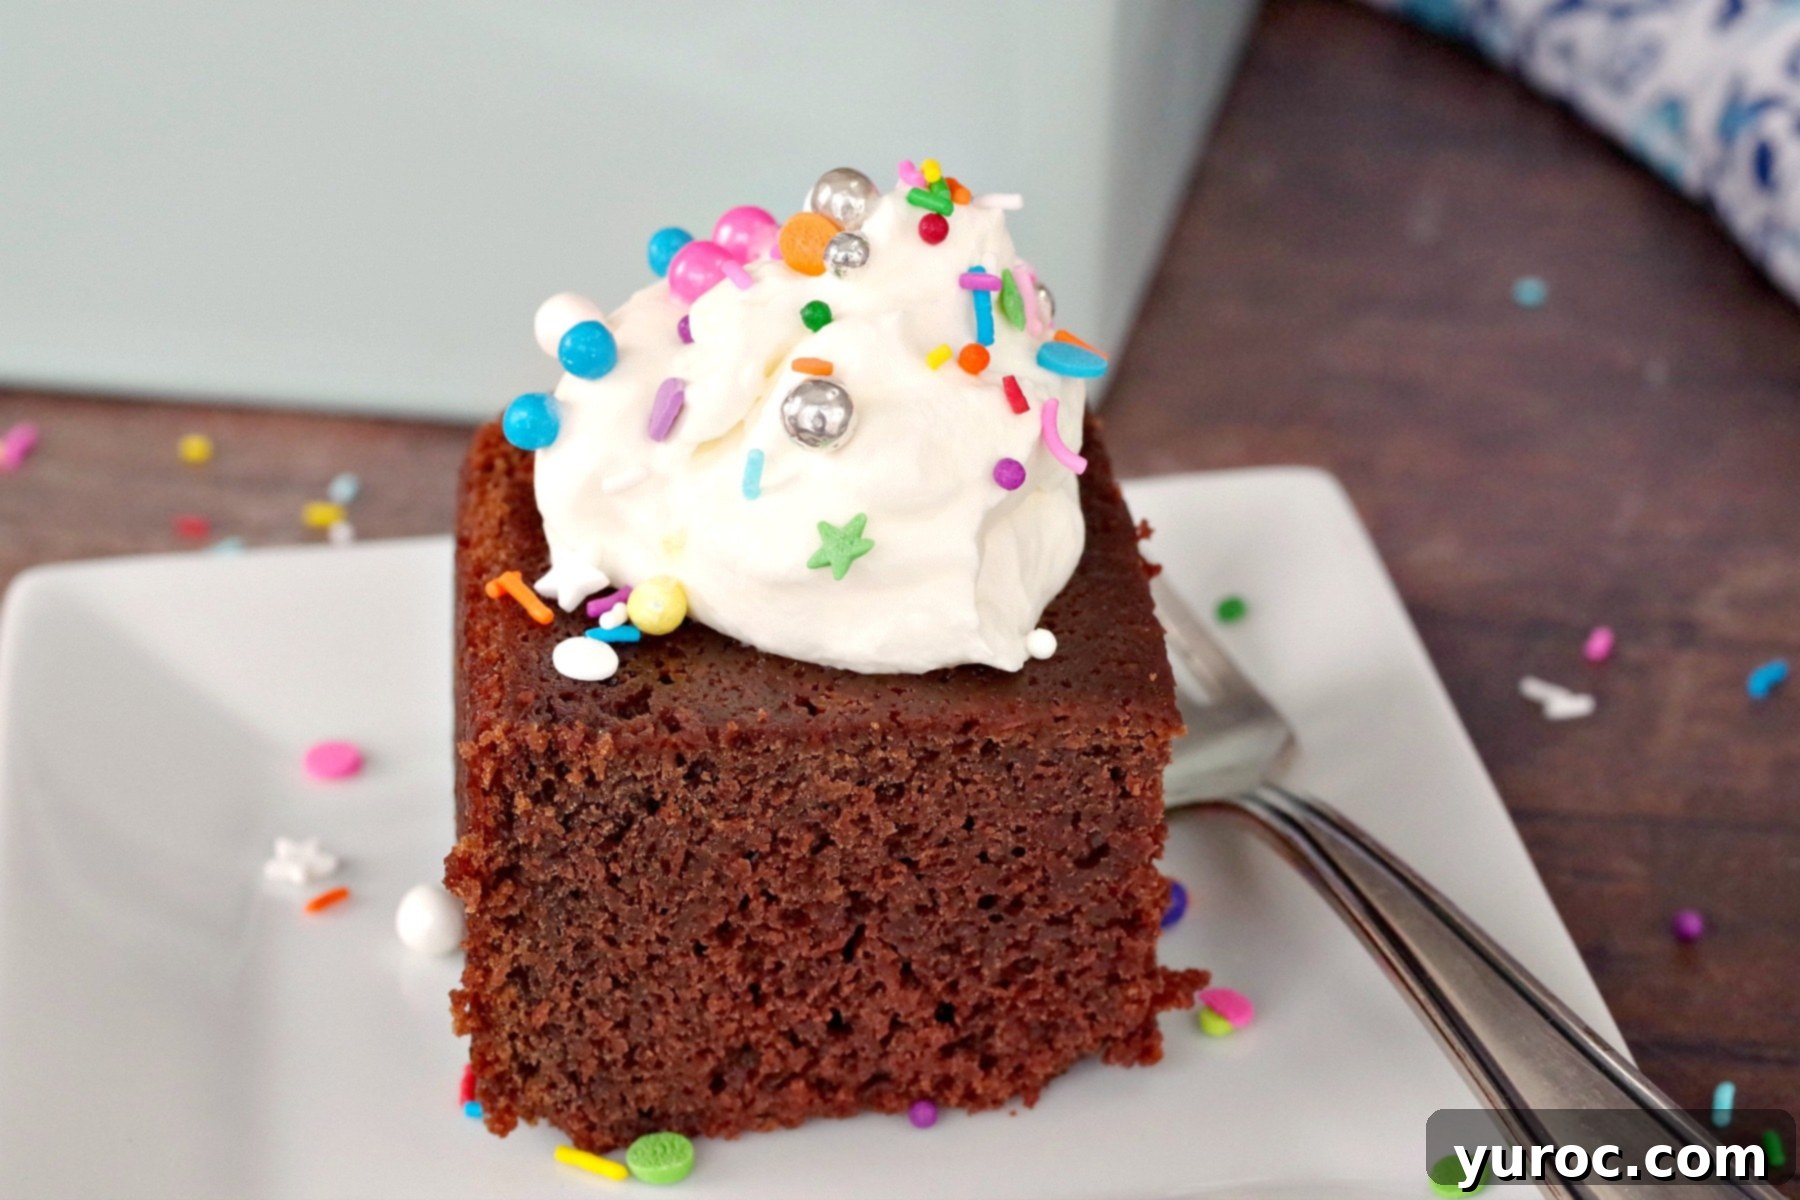
And let’s not forget its role as an irresistible topper for pies and other individual desserts, including my comforting Old-fashioned Sour Cream Chocolate Fudge Cake, where its lightness beautifully balances the rich chocolate.
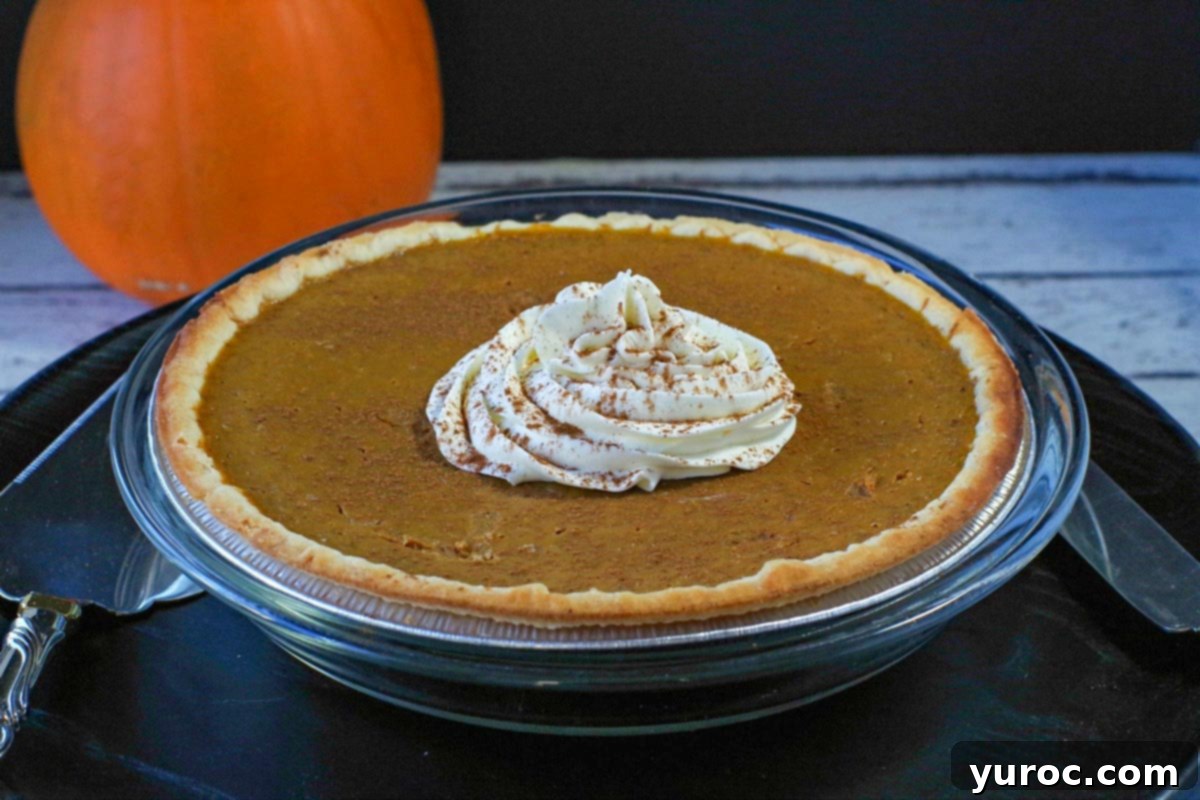
It’s also the ideal finish for holiday favorites, like my award-winning Prize Pumpkin Pie, adding a touch of elegance and creamy texture.
So, whether you’re searching for a reliable whipped cream icing recipe for decorating cakes, an airy topping for your favorite desserts, or a delightful filling, this piping gel method is truly a game-changer. It’s an easy, elegant, and versatile frosting that will quickly become a staple in your kitchen, ensuring your creations look and taste professional every time. Give it a try – you won’t be disappointed!
⭐ Reviews and Community
Did you make this easy recipe? We’d love to hear from you! Please RATE THE RECIPE below and share your experience in the comments. Your feedback helps our community of bakers.
To stay updated with my latest recipes and baking tips, please SUBSCRIBE (and get my FREE E-cookbook as a thank you!) and be sure to FOLLOW ME on FACEBOOK, TWITTER, INSTAGRAM, and PINTEREST! Let’s connect and share our love for baking!

📋 Easy Stabilized Whipped Cream Frosting Recipe
Print Recipe
Pin
Save RecipeSave Recipe
Rate
Add to Shopping ListGo to Shopping List
Equipment
-
mixer
Ingredients
- 4 cups heavy whipping cream (35% milk fat, well-chilled)
- ½ cup powdered sugar (also known as confectioners’ sugar)
- ½ cup clear piping gel
- 2 teaspoons clear vanilla extract
Instructions
-
Ensure your mixing bowl and whisk attachment are thoroughly chilled. Combine the very cold heavy whipping cream and powdered sugar in the large mixing bowl (or the bowl of your stand mixer).
-
Using an electric mixer with the whisk attachment, begin whipping the cream on medium-high speed. Continue whipping until soft peaks begin to form. The cream should hold its shape somewhat, but the peaks will gently fold over.
-
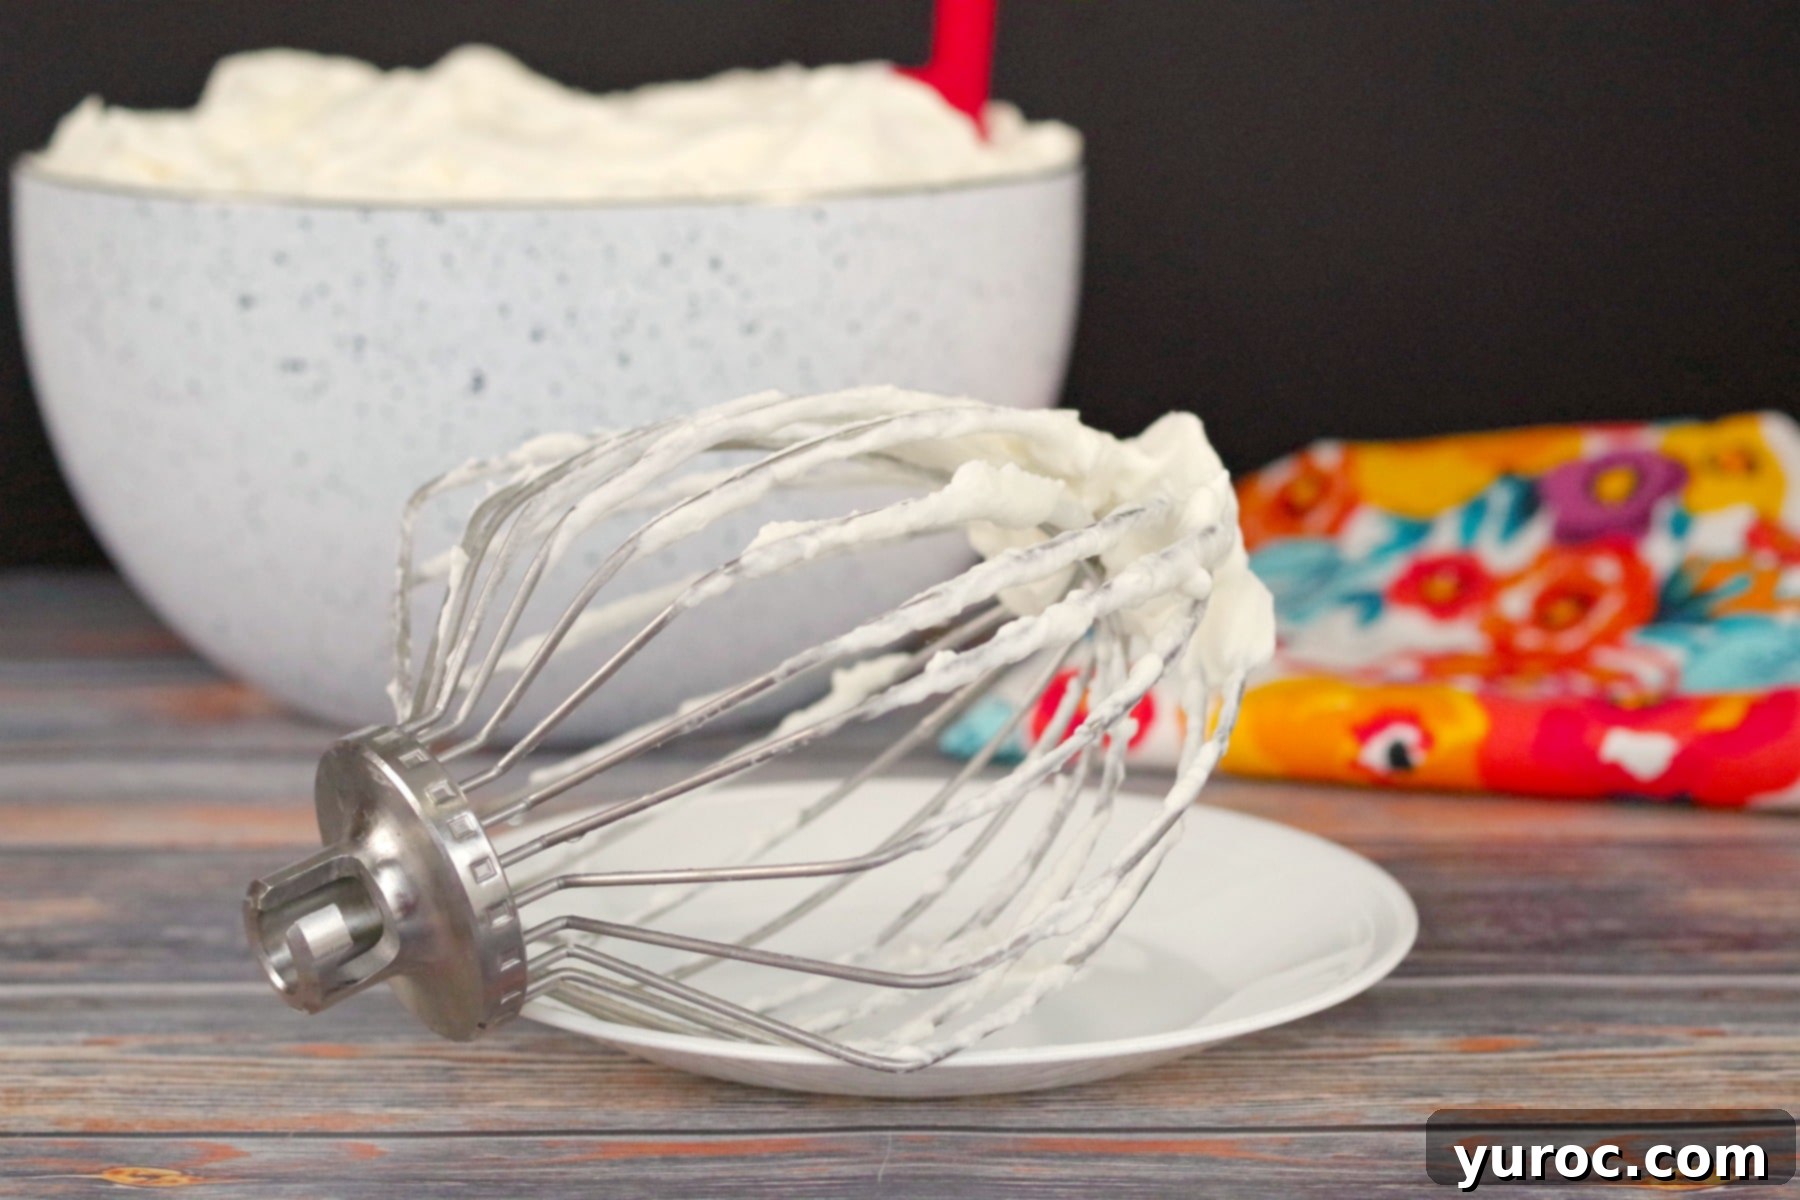
At this stage, add the piping gel and vanilla extract to the cream. Resume whipping on medium-high speed and continue until stiff peaks form. The cream should be thick, smooth, and hold its shape firmly when the whisk is lifted. Be careful not to over-whip, or it may become grainy.
Notes
**Note: This stabilized whipped cream frosting must be refrigerated. Store in an airtight container to maintain freshness and prevent odor absorption.
My Amazon Recommendations (affiliate links)
Calories from Fat 198
Nutrition
More Light and Delicious Frosting Recipes!
If you enjoy the delicate texture and balanced sweetness of this stabilized whipped cream, you’ll love exploring other butter-free and lighter frosting options from my collection:
- Rich & Creamy Chocolate Frosting (without butter)
- Light & Fluffy Whipped Cream Buttercream Frosting
- Effortless 2-Ingredient White Chocolate Whipped Cream Frosting (Ganache)
- Sweet & Fruity Strawberry Whipped Cream Frosting (made with jam)
