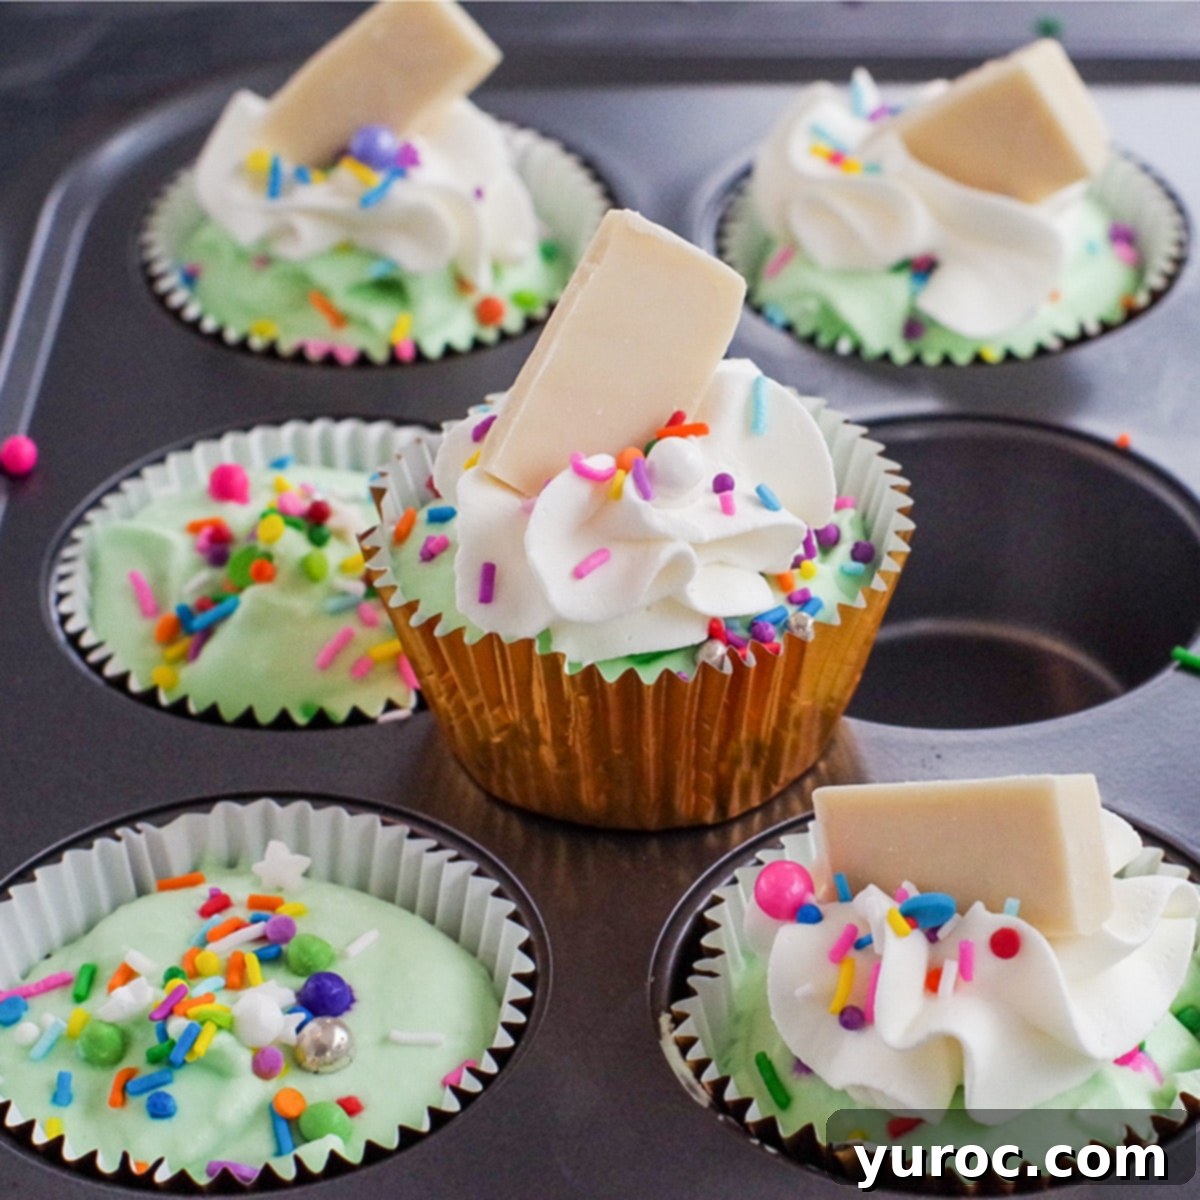
Decadent No-Churn White Chocolate Almond Ice Cream Cupcakes with Oreo Crust: An Easy, Maker-Free Recipe for Any Occasion
Indulge in these incredibly simple and delightful white chocolate almond-flavored No-Churn Ice Cream Cupcakes, complete with a rich Oreo crust. This recipe simplifies dessert making by requiring absolutely no ice cream maker, relying instead on a magical blend of condensed milk and whipping cream. While their vibrant green hue makes them an irresistible treat for St. Patrick’s Day, you can easily customize the food coloring to suit any celebration or mood, making them truly versatile for any event.
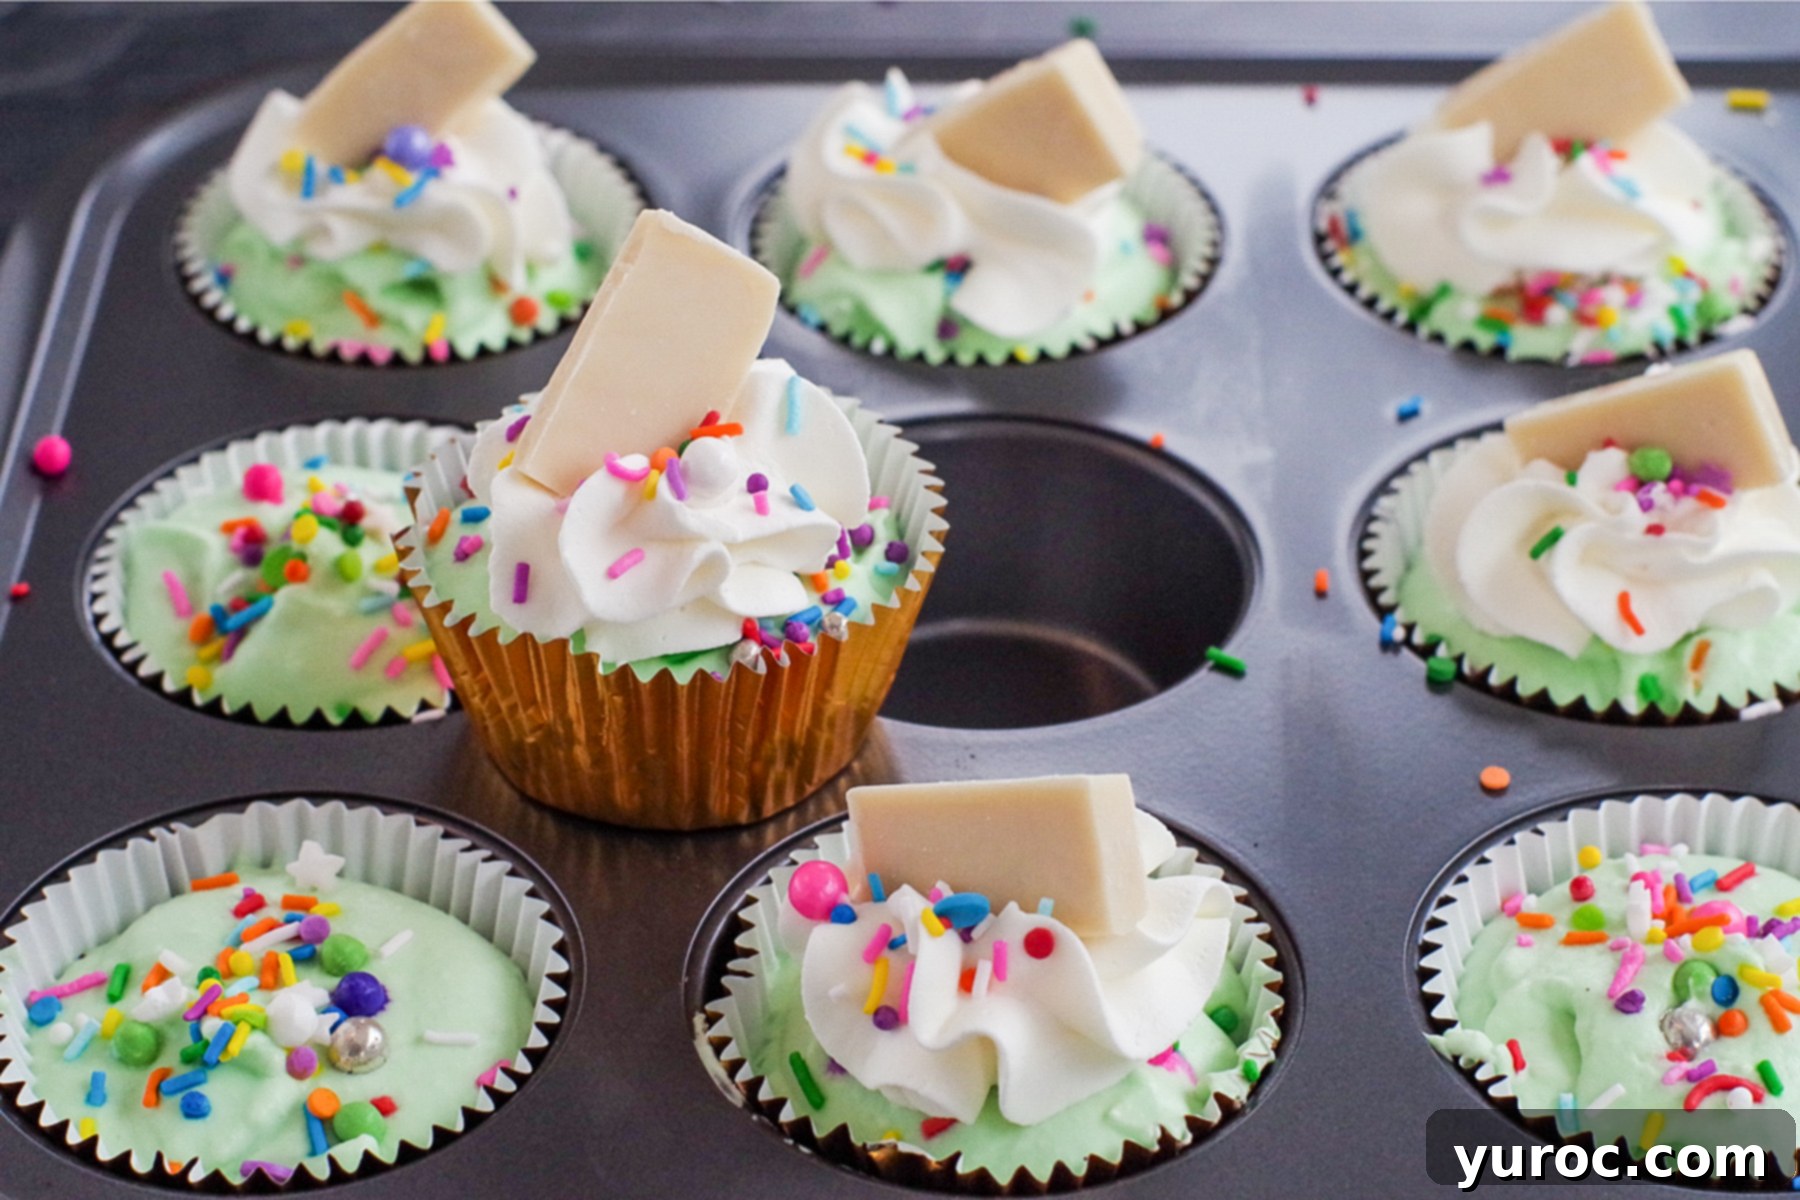
Ice cream cupcakes are a consistent favorite in my household, especially with the kids. We often opt for them at birthday parties and other festive gatherings due to their universally loved appeal and the convenient portion control they offer. However, if you’re seeking a dessert that is not only effortless but also promises a fresher, more delicious outcome, making them from scratch at home is the way to go. It’s far more economical and guarantees a dessert that tastes homemade and special – perfect for those warm summer parties or any time you crave a frozen delight!
Looking for more festive green desserts to celebrate St. Patrick’s Day? Don’t miss my St. Patrick’s Day Irish Cream Dessert Shots or my enchanting Shamrock Tarts!
🍨 Essential Ice Cream Cupcake Ingredients
My family and I share a huge love for frozen desserts all year round – who says ice cream is exclusively for summer? This no-churn ice cream recipe is absolutely ideal because it eliminates the need for an expensive ice cream maker. You also won’t need ice cream cones, as these delightful treats are served in convenient cupcake liners. The simplicity of this recipe is truly what makes it shine!
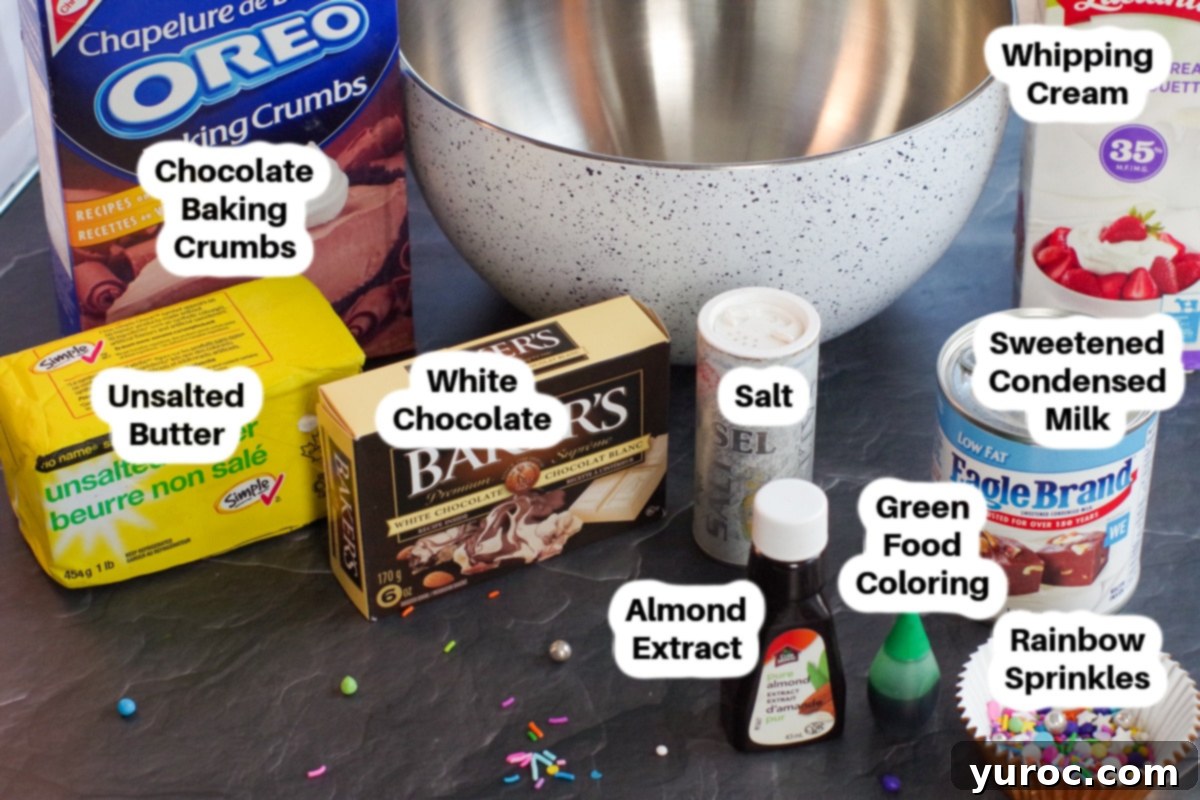
For these easy no-churn ice cream cupcakes, you’ll need just a few key components:
- Oreo Baking Crumbs: These form the perfect chocolatey base for our cupcakes. While Oreo baking crumbs can sometimes be hard to find (and may even be discontinued in certain areas), any store-bought chocolate baking crumbs will work wonderfully. Alternatively, you can easily crush whole Oreo cookies yourself – simply place them in a zip-top bag and crush with a rolling pin or pulse them in a food processor until fine.
- Whipping Cream / Heavy Cream: The secret to truly rich and airy no-churn ice cream! Ensure you use a whipping cream with a fat content of 33-36%. This high fat content is crucial for achieving stable stiff peaks, which are essential for the creamy texture of the ice cream.
- Butter: I always opt for unsalted butter in my recipes. This allows for precise control over the salt levels, as the salt content in salted butter can vary significantly between brands. Melted butter binds the cookie crust together perfectly.
- Sweetened Condensed Milk: This is the magic ingredient that makes no-churn ice cream possible. It provides the necessary sweetness and creamy consistency without the need for an ice cream maker, as its sugar content helps prevent large ice crystals from forming.
- White Chocolate: For that delightful white chocolate almond flavor. It’s important to use white chocolate baking squares or bars, not chocolate chips, as baking chocolate melts smoother and incorporates better into the mixture.
- Almond Extract: This gives our ice cream its distinct and delicious almond flavor, perfectly complementing the white chocolate.
- Salt: A tiny pinch of salt enhances all the other flavors, balancing the sweetness and bringing out the richness of the chocolate and almond.
- Green Food Coloring: If you’re aiming for a vibrant, deep green color, especially for St. Patrick’s Day, I highly recommend using gel food coloring (brands like Americolor or Wilton Kelly Green are excellent choices). Gel food coloring provides a much more intense color with less liquid, preventing any alteration to the ice cream’s texture.
One important thing to note about no-churn ice cream is that it tends to melt a bit faster than commercially produced ice cream. Therefore, you’ll want to plan to serve and enjoy these delicious cupcakes relatively quickly once they’re out of the freezer. But that shouldn’t be a problem, right? They’re too delicious to last long anyway! 😉
*See the comprehensive recipe card below for the full list of ingredients and precise quantities.
📖 Creative Variations & Substitutions
The beauty of these no-churn ice cream cupcakes lies in their incredible adaptability. You can easily customize them to match any theme, flavor preference, or celebratory occasion!
- Color Customization: While we’ve highlighted these easy ice cream cupcakes in festive green, the possibilities are endless. Simply swap out the green food coloring for any other shade! Think pastel pink or blue for a baby shower, romantic red for Valentine’s Day, vibrant yellow for a summer party, or classic rainbow colors for a birthday celebration. The visual appeal is entirely up to you.
- Flavor Exploration: This recipe features a delightful white chocolate and almond profile, but don’t stop there! Consider other extracts like peppermint for a holiday treat, vanilla for a classic taste, coconut for a tropical twist, or even a hint of coffee extract. You could also swirl in fruit purees, caramel, or chocolate sauce before freezing for added depth. The flavor combinations are truly limitless!
- Topping Creativity: Elevate your cupcakes with a variety of toppings. Instead of traditional whipped cream, try a dollop of Cool Whip for a lighter option. Add a colorful maraschino cherry on top, a sprinkle of chocolate shavings, mini chocolate chips, crushed nuts, or different types of sprinkles to match your color scheme. A drizzle of fudge or caramel sauce would also be divine!
- Crust Alternatives: Beyond Oreo crumbs, feel free to experiment with other cookie crusts. Graham cracker crumbs create a classic cheesecake-like base, vanilla wafer crumbs offer a milder flavor, or even crushed pretzels for a salty-sweet contrast.
If you discover a love for making ice cream this effortless way, you might also enjoy exploring some of my other popular no-churn creations, such as my magical No Churn Butterbeer Ice Cream, the Canadian-inspired Butter Tart Ice Cream (no churn), festive Pumpkin Pie Ice Cream (no churn), uniquely regional Saskatoon Berry Ice Cream (no churn), the surprising No Churn Potato Ice Cream, and my spooky-fun Boo Batter No Churn Ice Cream!
🔪 Step-by-Step Guide: How to Make Ice Cream Cupcakes
Creating these irresistible ice cream cupcakes is surprisingly straightforward, but remember that patience is key for the freezing process.
NOTE: This recipe requires a minimum of 8 hours freezing time for the perfect set.
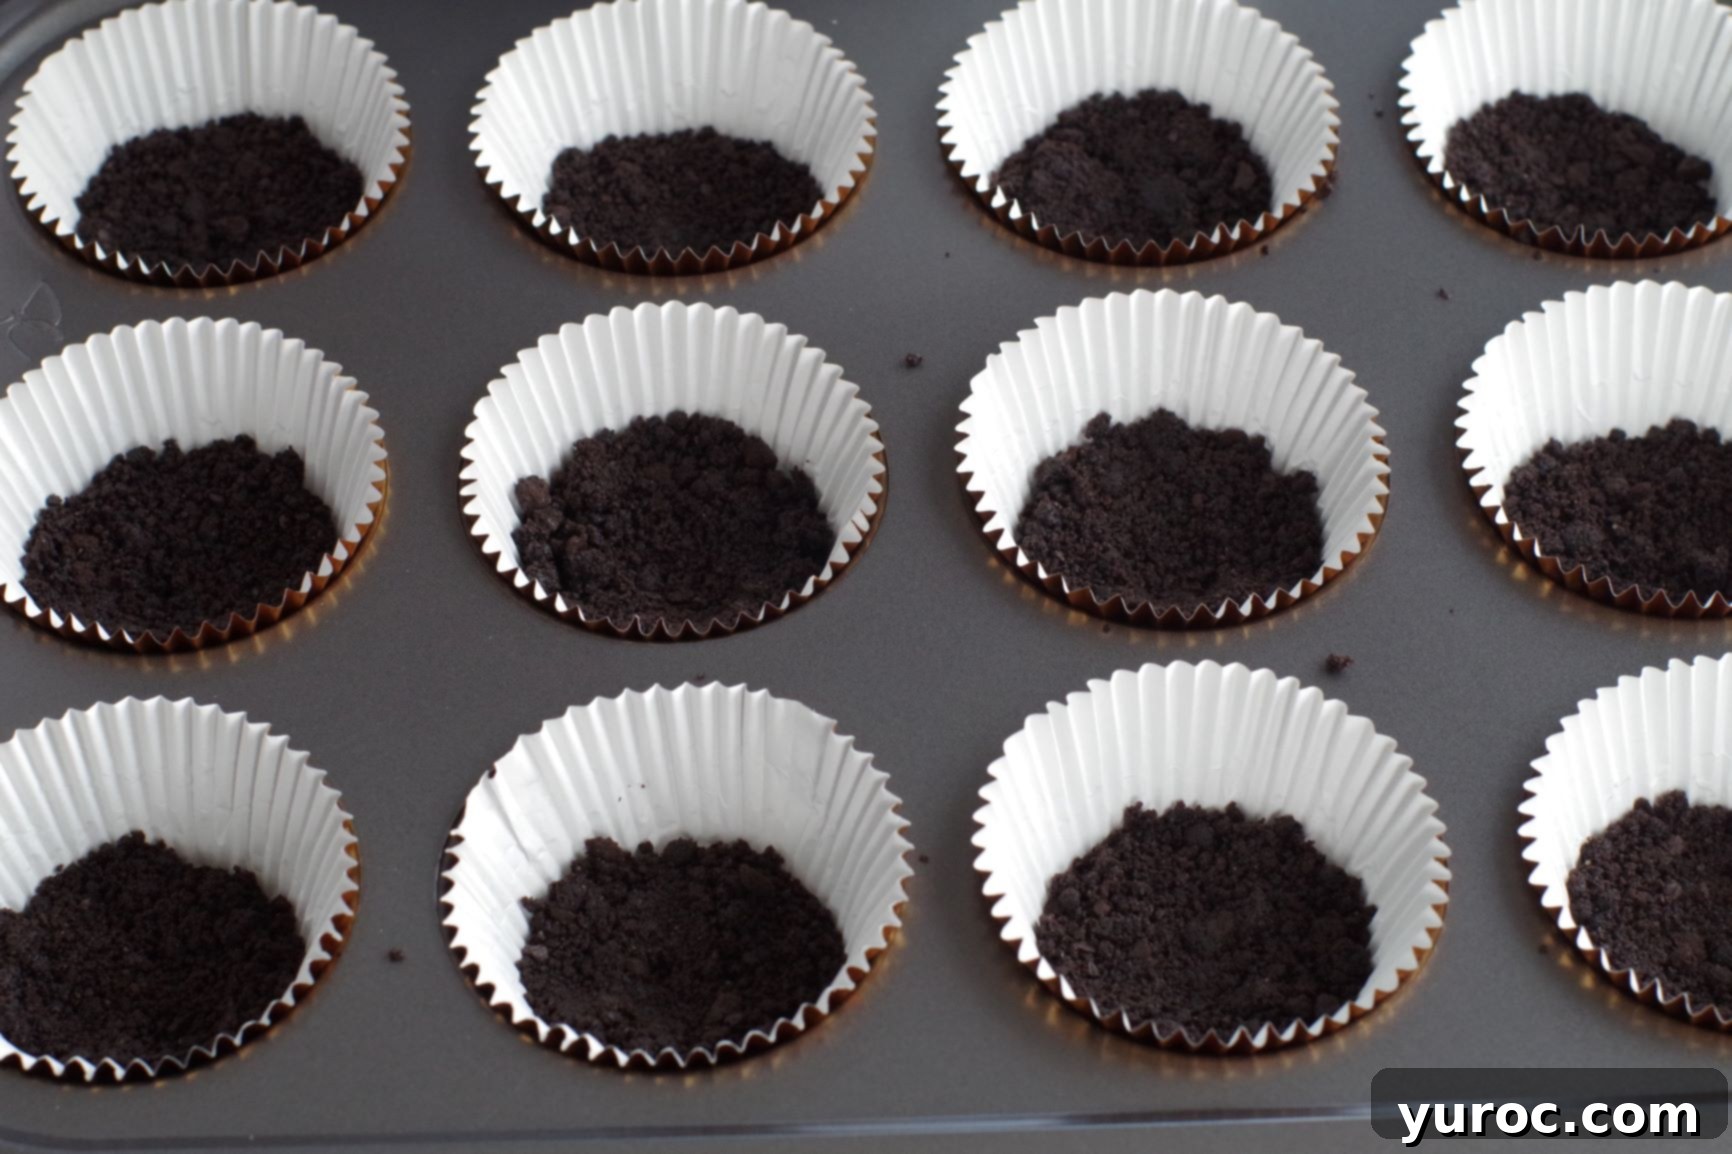
- Step 1: Prepare the Base. In a medium bowl, combine the Oreo baking crumbs with the melted butter until thoroughly mixed. This creates a moist, crumbly mixture.
- Step 1b: Form the Crust. Evenly distribute the crumb mixture into all 18 muffin cups lined with sturdy cupcake liners. Press the mixture firmly into the bottom of each liner using the back of a spoon or a small glass. This compact base will prevent crumbling when enjoying your cupcake.
- Step 2: Create the Filling – Whip Cream. For the best results, chill a large mixing bowl and the beaters of your electric mixer in the freezer for about 10 minutes. Once chilled, add the whipping cream to the bowl and beat with the electric mixer until stiff peaks form. The cream should hold its shape firmly.
- Step 2b: Melt White Chocolate. Gently melt the white chocolate in the microwave. Heat it at 50% power for approximately 1 ½ minutes, stirring every 30 seconds, until smooth and fully melted. Allow it to cool slightly before the next step.
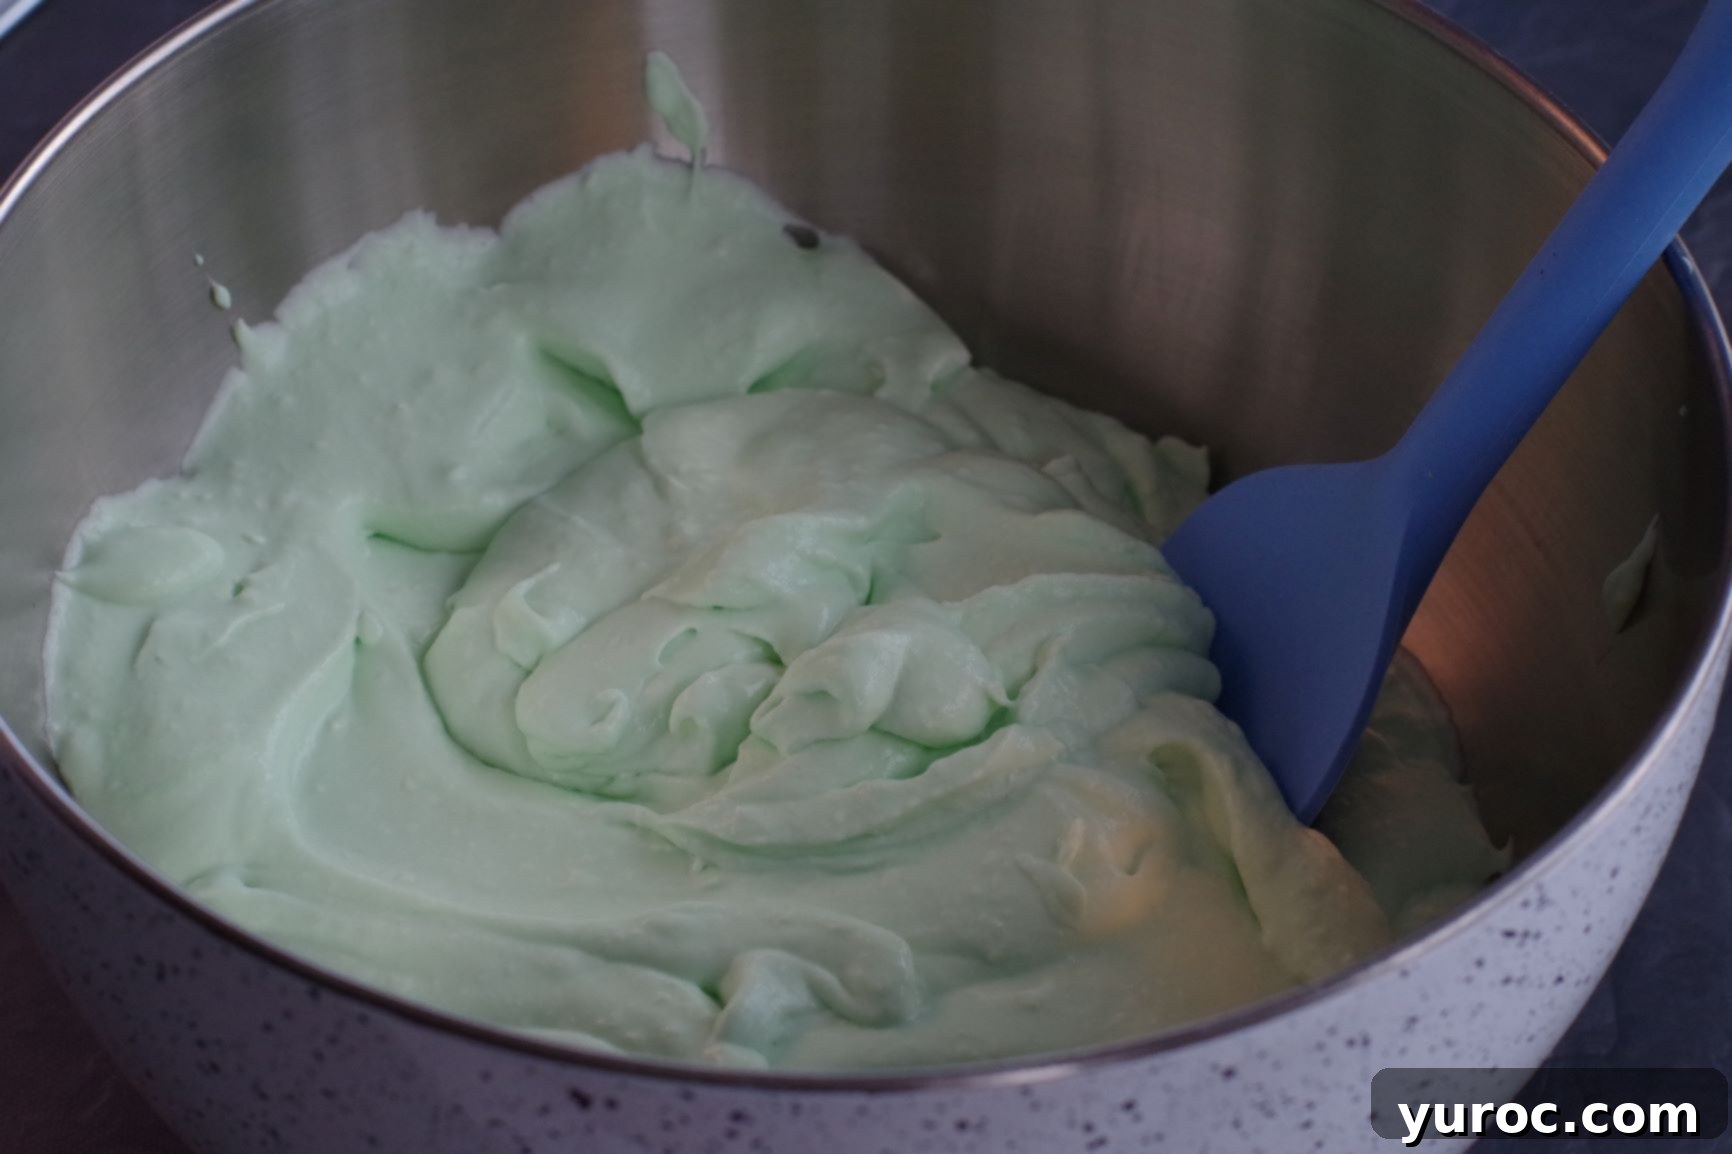
- Step 2c: Combine Filling Ingredients. In a separate bowl, whisk together the sweetened condensed milk, 2 tablespoons of cooled melted butter, the slightly cooled melted white chocolate, salt, almond extract, and your chosen food coloring. Mix until thoroughly combined and the color is uniform.
- Step 3: Gently Fold Mixtures. Carefully fold the sweetened condensed milk mixture into the whipped cream. Use a spatula and a gentle hand, ensuring not to deflate the whipped cream. Continue folding until the mixture is homogenous and light green (or your chosen color).
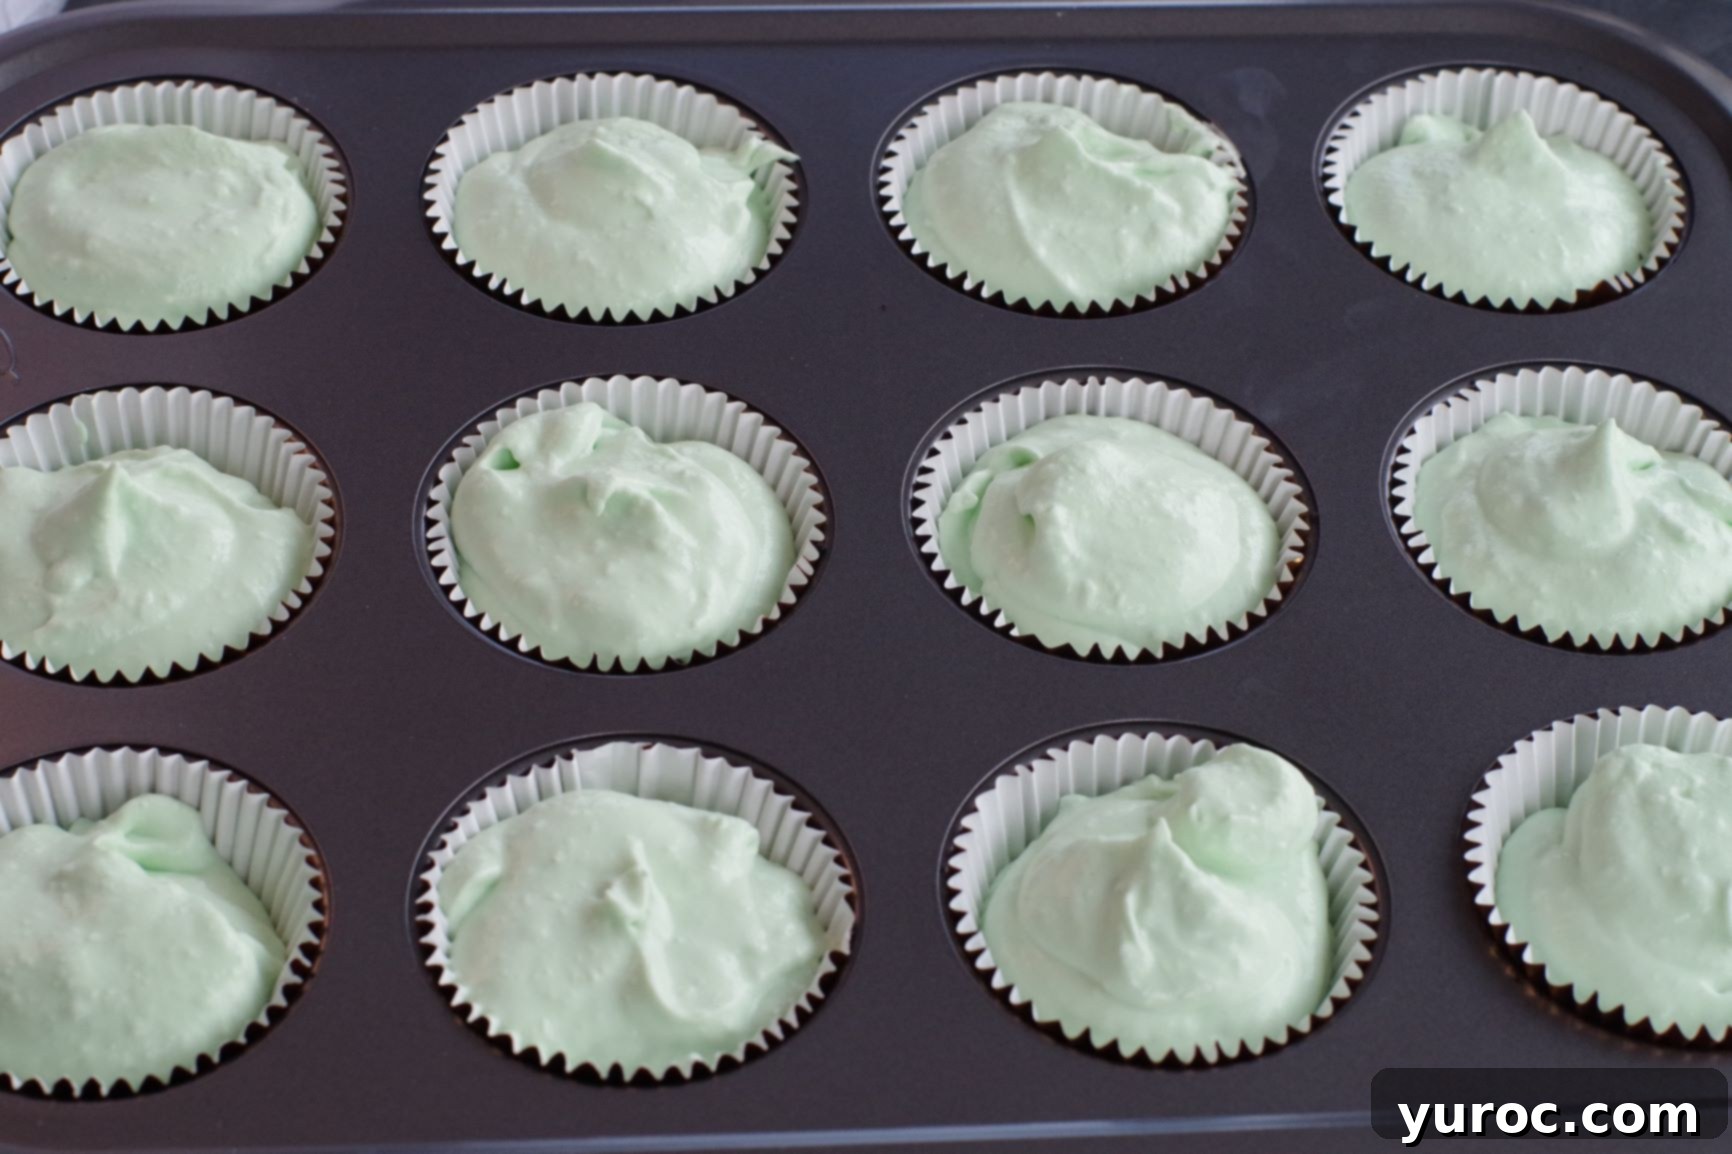
- Step 3b: Fill the Cupcakes. Spoon this creamy filling over the prepared cookie bases in each cupcake liner, dividing the mixture evenly among all 18. Smooth the tops for an even finish.
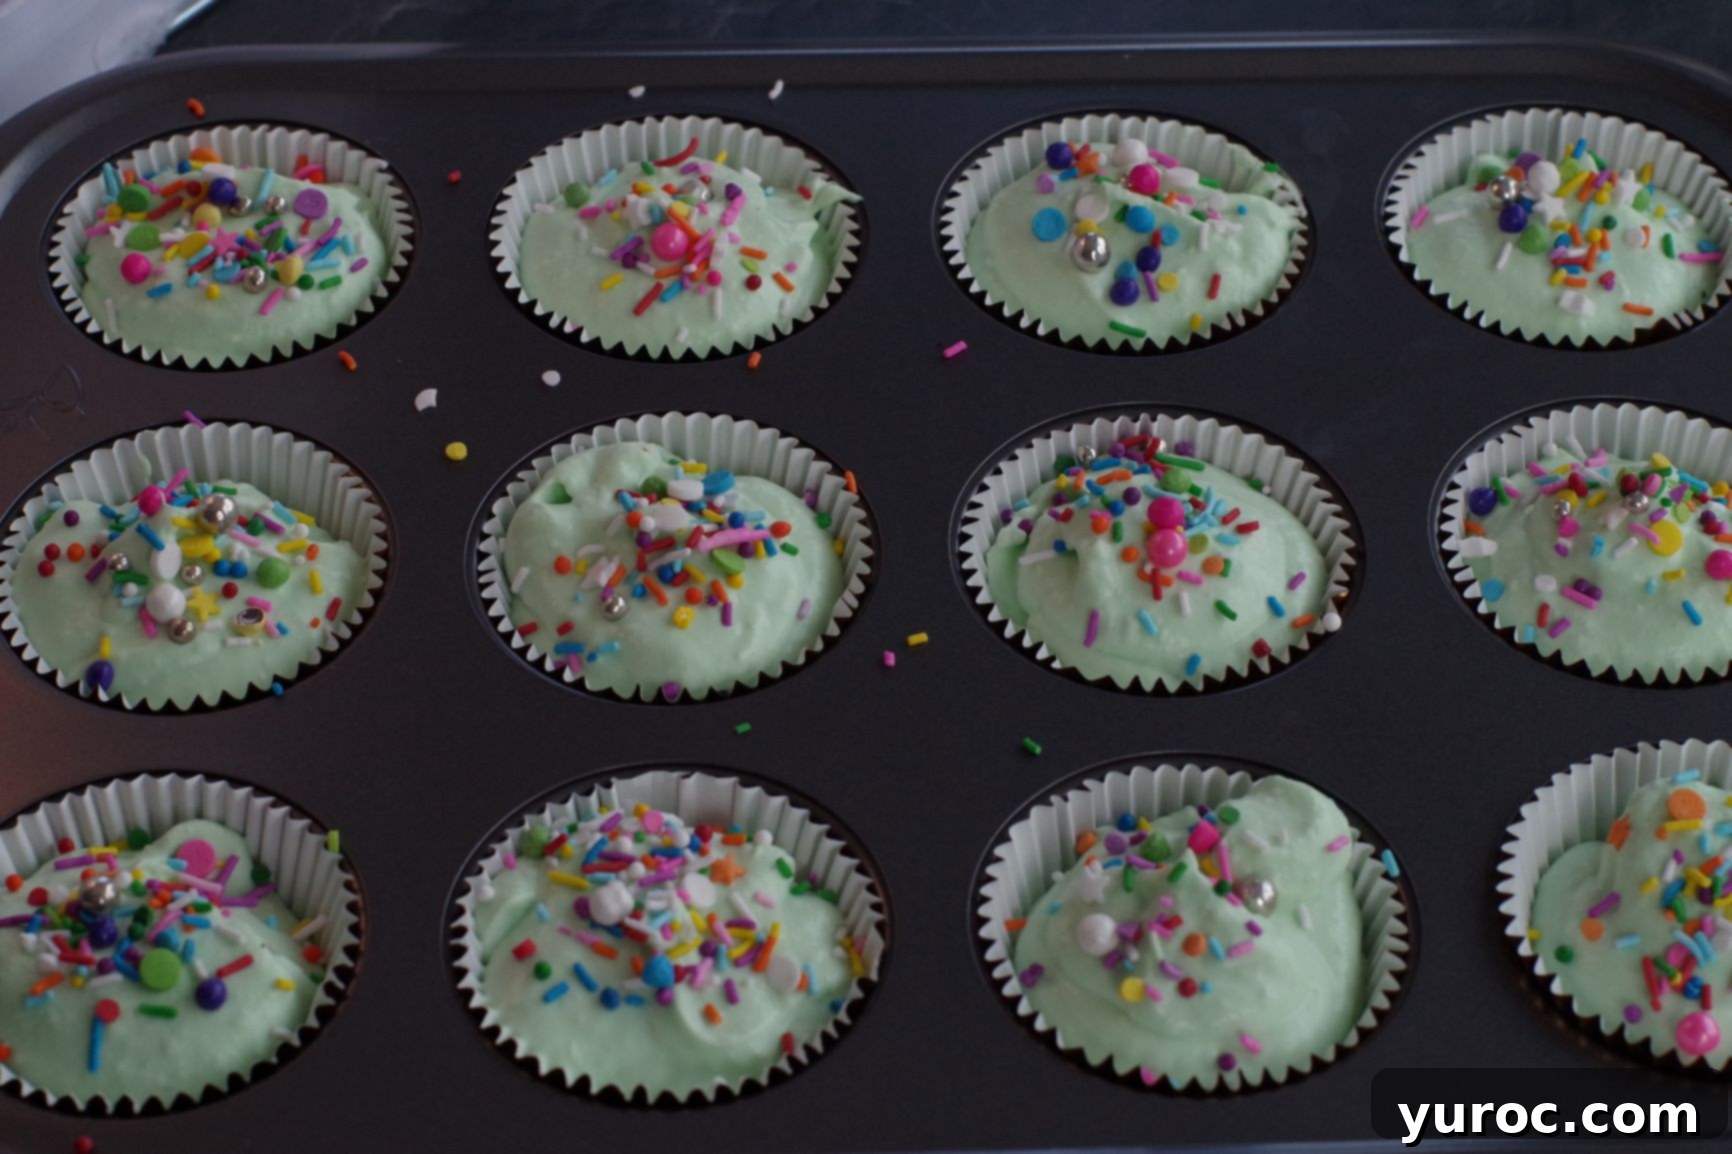
- Step 4: Add Sprinkles & Freeze. Immediately sprinkle your desired rainbow sprinkles over the filled cupcakes. Once sprinkled, cover the entire muffin tin tightly with plastic wrap or transfer the cupcakes to an airtight container.
- Step 4b: Set the Ice Cream. Freeze the cupcakes for a minimum of 8 hours, or ideally overnight, to allow them to set completely and achieve the perfect ice cream consistency.
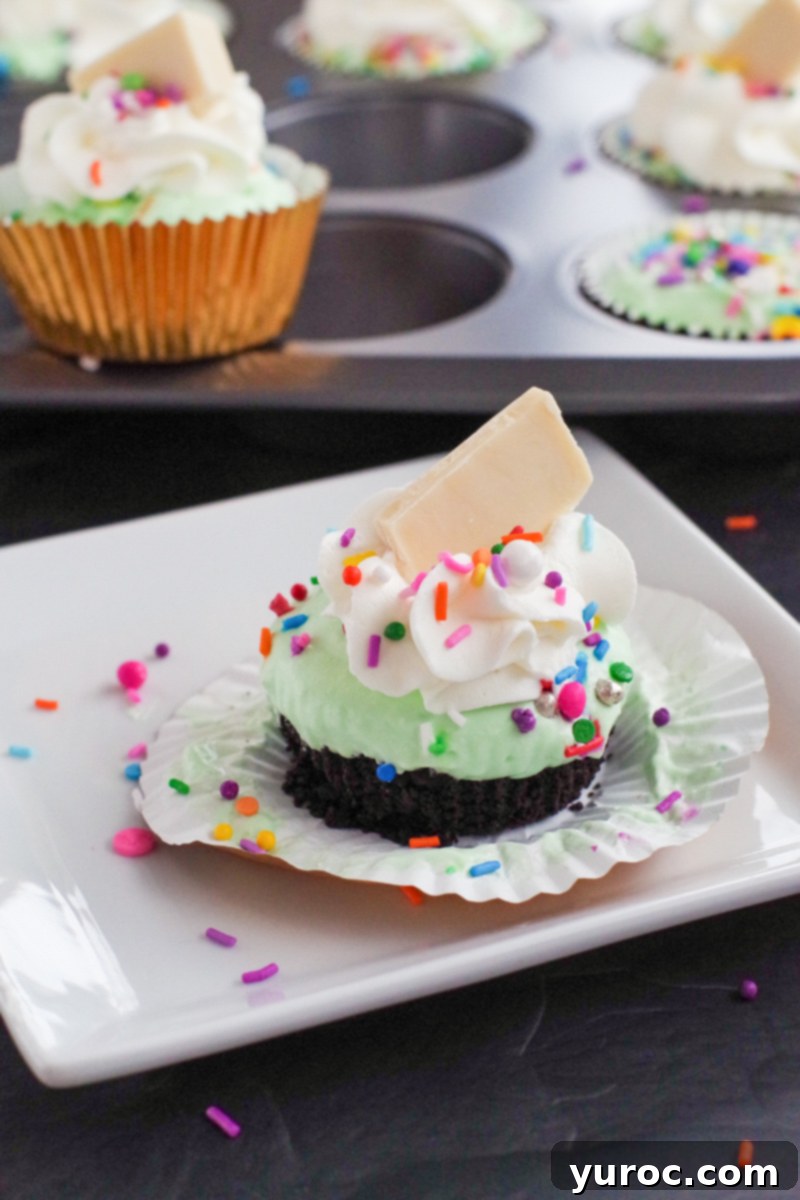
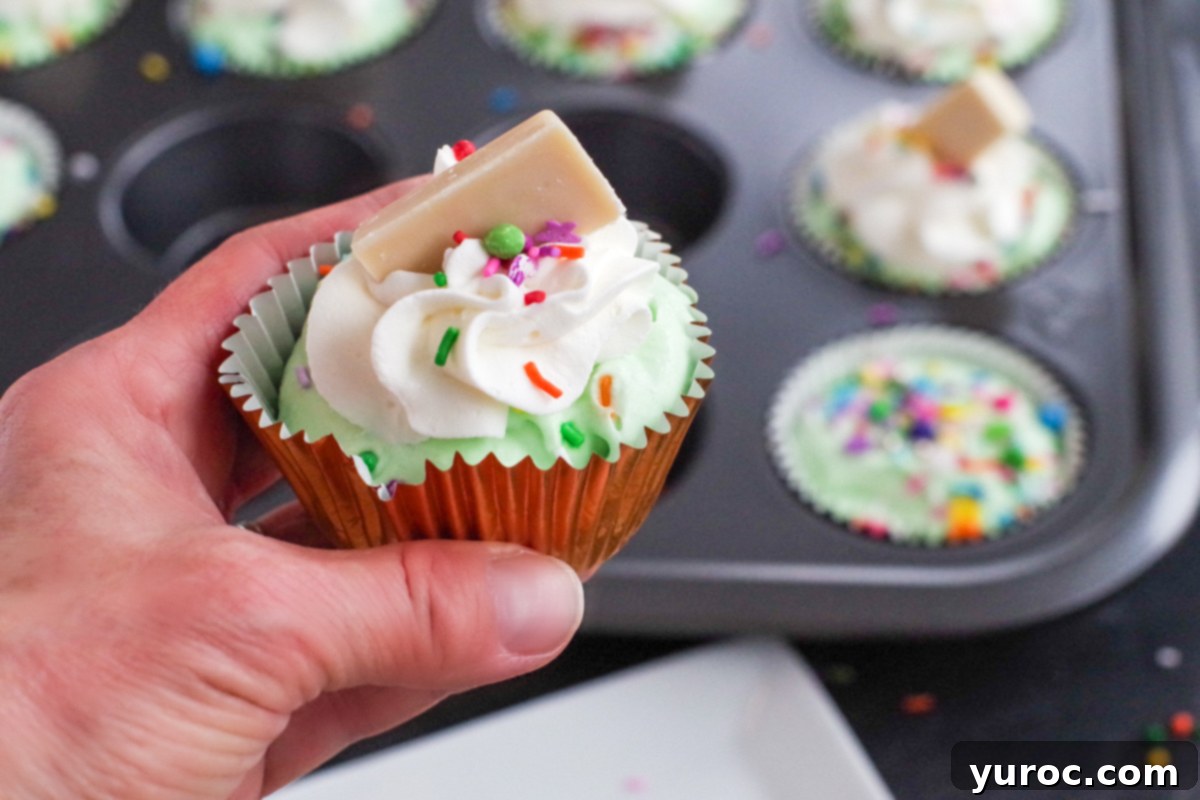
- Step 4c: Serve! When you’re ready to enjoy, carefully remove the cupcakes from the muffin tin. Serve them straight from the freezer. Optionally, garnish each with a dollop of fresh whipped cream, a few extra rainbow sprinkles, and a small piece of white chocolate for an extra touch of elegance and flavor.
👪 Yield & Serving Information
This recipe for no-churn ice cream cupcakes yields a generous batch of 18 perfectly portioned cupcakes. Each one is just the right size for a delightful treat. If you need to adjust the quantity, you can easily half, double, or even triple the recipe. Simply click on the serving number in the recipe card below and select your desired number of servings; the ingredient quantities will automatically adjust to make your preparation seamless.
Top Recipe Tips for Perfect No-Churn Ice Cream Cupcakes
To ensure your no-churn ice cream cupcakes turn out perfectly every time, keep these valuable tips in mind:
- Opt for Strong Cupcake Liners: Since these are frozen treats, durability is key. Use sturdy cupcake liners, such as foil or silicone varieties, as they provide better support and make for effortless removal once frozen. Flimsy paper liners can become soggy and tear when exposed to the moisture from the ice cream. For a festive touch on St. Patrick’s Day, I particularly like using a gold cupcake liner (affiliate link).
- Chill Your Equipment for Optimal Whipping: This is a game-changer for achieving light, airy whipped cream. Before you start whipping your heavy cream, place your mixing bowl and the beaters from your electric mixer in the freezer for 10-15 minutes. Cold equipment helps the cream whip up much faster and attain those desirable stiff peaks that contribute to the smooth texture of your no-churn ice cream.
- Master the Art of Melting White Chocolate: White chocolate can be temperamental and is prone to seizing or burning if not handled correctly. To avoid this, melt it gently in the microwave at 50% power. Heat in short 30-second intervals, stirring thoroughly after each interval, until the chocolate is completely smooth. Crucially, prevent any moisture from coming into contact with the chocolate, as this can cause it to seize. Allow the melted white chocolate to cool slightly before incorporating it into the condensed milk mixture.
- Firmly Press the Cookie Base: A well-compacted crust is essential for structural integrity. Use the back of a spoon or the bottom of a small, flat-bottomed glass to firmly press down the Oreo crumb mixture into each cupcake liner. This firm pressing ensures the base holds together beautifully and doesn’t crumble when you bite into your delicious treat.
- Avoid Overmixing the Ice Cream Mixture: Once your sweetened condensed milk and melted chocolate are ready, it’s time to combine them with the whipped cream. When folding these components together, do so gently. Vigorous stirring can deflate the air pockets in the whipped cream, resulting in a denser, less airy ice cream texture. Use a soft, folding motion with a spatula to keep the mixture light and fluffy.
- Choose Gel Food Coloring for Vibrant Hues: For the most intense and professional-looking colors, especially if you’re aiming for a rich green for St. Patrick’s Day, opt for gel food coloring. Brands like Wilton or Americolor offer highly concentrated gel colors that deliver a vibrant shade without adding excess liquid, which could potentially impact the ice cream’s delicate texture.
- Ensure Proper Freezing for Ideal Texture: To prevent the formation of icy crystals and achieve the creamiest texture, it’s vital to cover your muffin tin properly before freezing. Use plastic wrap, pressing it directly onto the surface of the cupcakes, or place them in an airtight container. Freeze for at least 8 hours, or preferably overnight, to allow the ice cream to fully set and solidify.
- Serve Immediately from the Freezer: Remember that no-churn ice cream typically melts faster than its store-bought counterparts. For the best enjoyment, remove the cupcakes from the freezer only when you are ready to serve them. Take them out and serve *immediately* to prevent them from becoming too soft. And don’t worry – if they start to melt a little, there’s absolutely no rule against grabbing a spoon and savoring every last drop!
🌡️Storage Guidelines
To keep these delightful frozen treats fresh and delicious, store them in an airtight container in your freezer. When properly stored, they will maintain their quality for up to 3 months, allowing you to enjoy them whenever a craving strikes!
❔ Frequently Asked Questions About This Recipe
Absolutely! While Oreo baking crumbs provide a fantastic classic chocolatey base, feel free to get creative. If Oreo crumbs are unavailable or if you prefer a different flavor, you can easily use any chocolate cookie crumbs, such as crushed chocolate wafers, or simply crush whole Oreo cookies yourself. Graham cracker crumbs or vanilla wafer crumbs also make excellent alternatives, offering a different but equally delicious flavor profile for your crust.
No-churn ice cream, by nature, tends to melt a bit faster than store-bought varieties because it often has a higher fat content and less air whipped into it. To keep them firm, ensure you serve them directly from the freezer. If you’re hosting a party, try to keep the cupcakes frozen until the very last moment before serving. This immediate transfer from freezer to serving will help them maintain their solid form for as long as possible.
For the filling of the ice cream itself, it’s essential to use heavy whipping cream (with 33-36% fat content). The high fat content and ability to whip to stiff peaks are crucial for achieving the correct, creamy, and stable no-churn ice cream texture. Cool Whip, while delicious, is a different product with a lighter consistency and won’t yield the same results for the ice cream base. However, Cool Whip can certainly be used as a convenient and tasty topping once your ice cream cupcakes are frozen and ready to serve!
Absolutely! These no-churn ice cream cupcakes are perfect for making in advance, which makes them ideal for entertaining. You can prepare them up to 3 months ahead of your event. Just ensure they are stored in an airtight container in the freezer to prevent freezer burn and maintain their optimal texture and flavor. This allows you to enjoy your party without worrying about last-minute dessert preparations!
Whether you’re searching for an easy ice cream cupcake recipe, innovative desserts in cupcake liners, or generally simple cupcake ideas, these white chocolate almond no-churn delights are the answer! So go ahead, dig in, indulge, and enjoy some homemade green ice cream for St. Paddy’s Day – or really, any day you desire a sweet, frozen escape!
If you’re a true enthusiast of ice cream desserts, you’ll also love my rich Buster Bar Ice Cream Cake Recipe or my copycat recipe for a dreamy Cookie Dough Ice Cream Cake (Dairy Queen Copycat)!
👩🏻🍳 More St. Patrick’s Day & Dessert Recipes
- Pistachio Pudding Dessert
- 10 Irresistible Baileys Irish Cream Dessert Recipes (Must-Try for St. Patrick’s Day!)
- Baileys French Toast Casserole
- Green Grasshopper Mocktail
Did your family ❤️ this recipe? Did you know that commenting and ⭐ rating recipes is one of the best ways to support your favorite recipe creators? If you LOVED this recipe, please comment and rate it in the recipe card or share photos on social media using the hashtag #foodmeanderings or tagging @foodmeanderings!

📋 No-Churn Ice Cream Cupcake Recipe
Equipment
-
electric hand mixer
Ingredients
Base
- 1 cup Oreo baking crumbs
- 4 tablespoon melted butter
Filling
- 2.5 cups whipping cream *33-35%
- 10 ounce – can of sweetened condensed milk 300 ml
- 2 tablespoon unsalted butter, melted and cooled
- ¼ teaspoon salt
- 2 ounces white chocolate, melted * use white chocolate baking squares, not white chocolate chips
- ½ teaspoon almond extract
- 2 teaspoon green food coloring * or add more to reach desired color.
- rainbow sprinkles
Garnish
- additional rainbow sprinkles
- whipped cream (optional)
- ½ ounce white chocolate baking bar
Instructions
-
*NOTE: This recipe requires 8 hours freezing time
Base
-
Mix the baking crumbs and 4 tablespoon melted butter together.1 cup Oreo baking crumbs, 4 tablespoon melted butter
-
Press into muffin cups, dividing evenly by all 18.
Filling
-
Chill a medium bowl and beaters (from electric mixer) in the freezer for about 10 minutes.
-
Add whipping cream to chilled bowl and beat to stiff peaks.2.5 cups whipping cream
-
Melt white chocolate in the microwave for about 1 ½ minutes on ½ (50%) power.2 ounces white chocolate, melted
-
Add the sweetened condensed milk, 2 tablespoon melted butter, melted white chocolate, salt, almond extract, food coloring and blend together.10 ounce – can of sweetened condensed milk, 2 tablespoon unsalted butter, melted and cooled, ¼ teaspoon salt, ½ teaspoon almond extract, 2 teaspoon green food coloring
-
Add a scoop of ice cream, over the base, to fill the rest of the cupcake liners, dividing evenly amongst all 18. Sprinkle the cupcakes with rainbow sprinkles.rainbow sprinkles
-
Tightly cover the muffin tin with saran wrap or place in an airtight container. Freeze cupcakes for 8 hours or overnight to set.
-
When ready to serve remove cupcakes from tin.
Garnish (optional)
-
Serve immediately with dollops of whipped cream added to the top of the cupcake and additional rainbow sprinkles (optional) and piece of white chocolate.additional rainbow sprinkles, whipped cream, ½ ounce white chocolate baking bar
Notes
- Use a Strong Cupcake Liner. Since these are frozen treats, use sturdy cupcake liners (foil or silicone work best) to ensure easy removal. Paper liners can get soggy when exposed to moisture. I like to use a gold cupcake liner (affiliate link) for a fun dessert on St. Patrick’s Day
- Chill Your Equipment for Best Whipping. Before whipping the heavy cream, chill your mixing bowl and beaters in the freezer for 10-15 minutes. This helps the cream whip up faster and achieve stiff peaks.
- Melt White Chocolate Properly. White chocolate can easily seize or burn. Melt it in the microwave at 50% power in 30-second intervals, stirring in between, until smooth. Do not let any moisture come into contact with it. Cool slightly before mixing it into the condensed milk.
- Press the Cookie Base Firmly. Use the back of a spoon or the bottom of a small glass to firmly press down the Oreo crumb mixture. This prevents the base from crumbling when eating.
- Don’t Overmix the Ice Cream Mixture. When folding the sweetened condensed milk and melted chocolate into the whipped cream, gently fold instead of stirring vigorously to keep the mixture light and airy.
- Use Gel Food Coloring for Vibrant Color. Gel food coloring (such as Wilton or Americolor) provides a more intense color without adding excess liquid, which could alter the texture.
- Freeze Properly for Best Texture. Cover the muffin tin with plastic wrap or an airtight container to prevent ice crystals from forming. Freeze for at least 8 hours or overnight for the best results.
- Serve Immediately After Removing from Freezer. No churn ice cream melts faster than store-bought ice cream. Remove the cupcakes from the freezer only when ready to serve to prevent them from becoming too soft. Take them out and serve immediately, as they melt quickly! Oh and there’s no rule saying you can’t use a spoon once they start to melt 🙂
