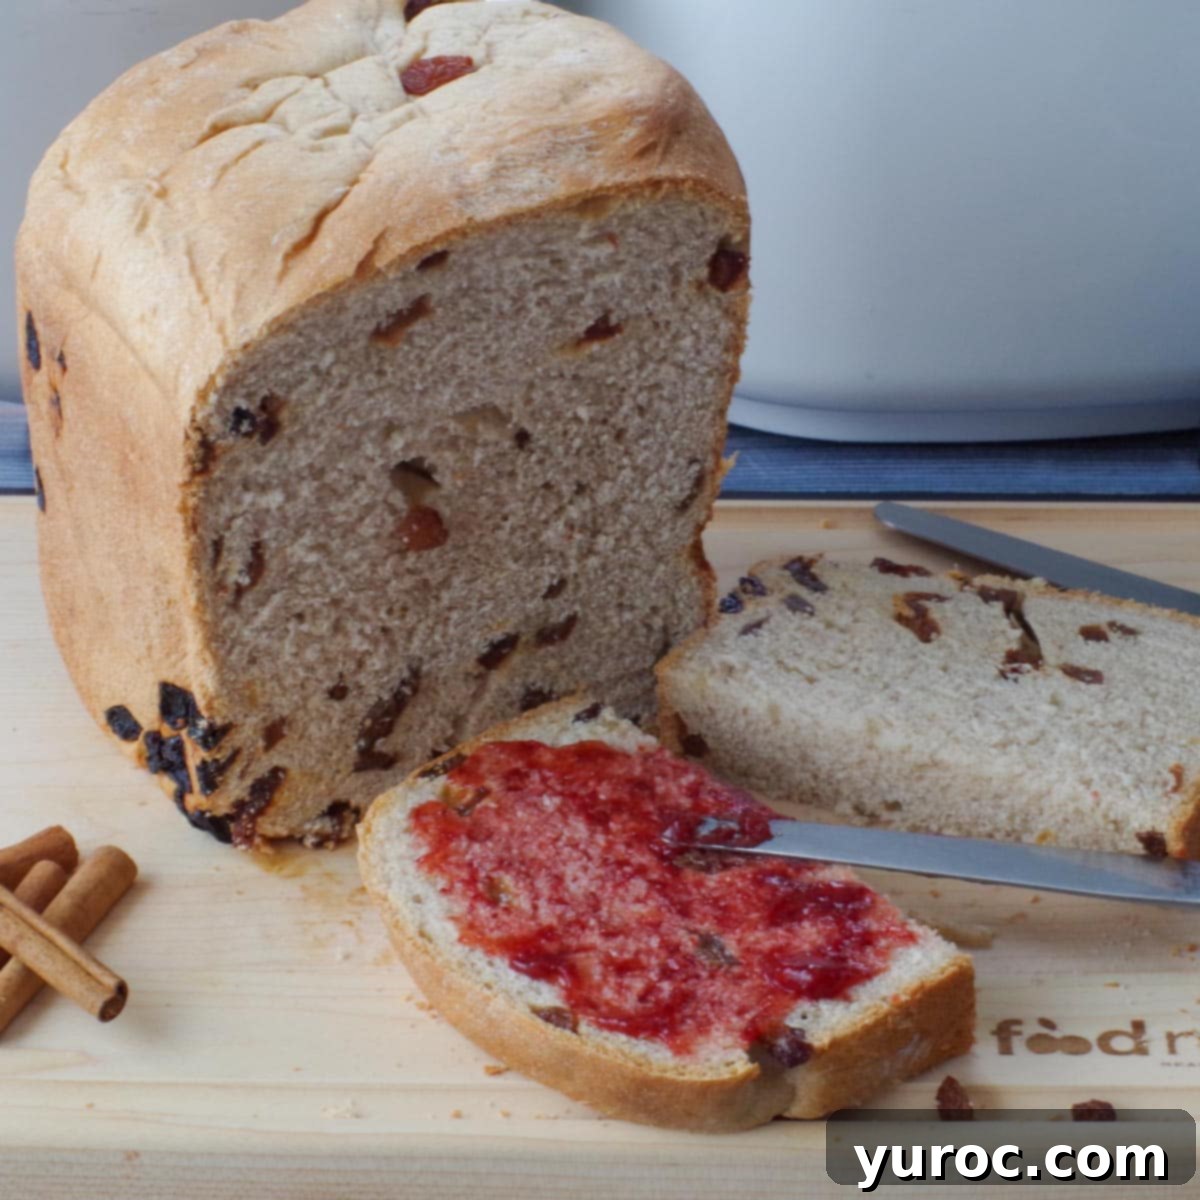
Effortless Homemade Cinnamon Raisin Bread: Your Ultimate Bread Machine Recipe Guide
There’s nothing quite like the comforting aroma and taste of freshly baked bread. And when that bread is sweet, spiced cinnamon raisin bread, it’s an experience that awakens the senses and delights the palate. But who has hours to spend kneading dough and waiting for it to rise? This is where your trusty bread machine becomes an absolute game-changer! Our recipe for Bread Maker Cinnamon Raisin Bread streamlines the entire process, allowing you to enjoy warm, homemade goodness with minimal effort. Simply add your ingredients, press a button, and let your bread machine do all the heavy lifting. Forget expensive grocery store loaves; craft your own perfect, fluffy cinnamon raisin bread that’s wonderfully economical and incredibly satisfying. The heavenly scent alone will make you swoon!
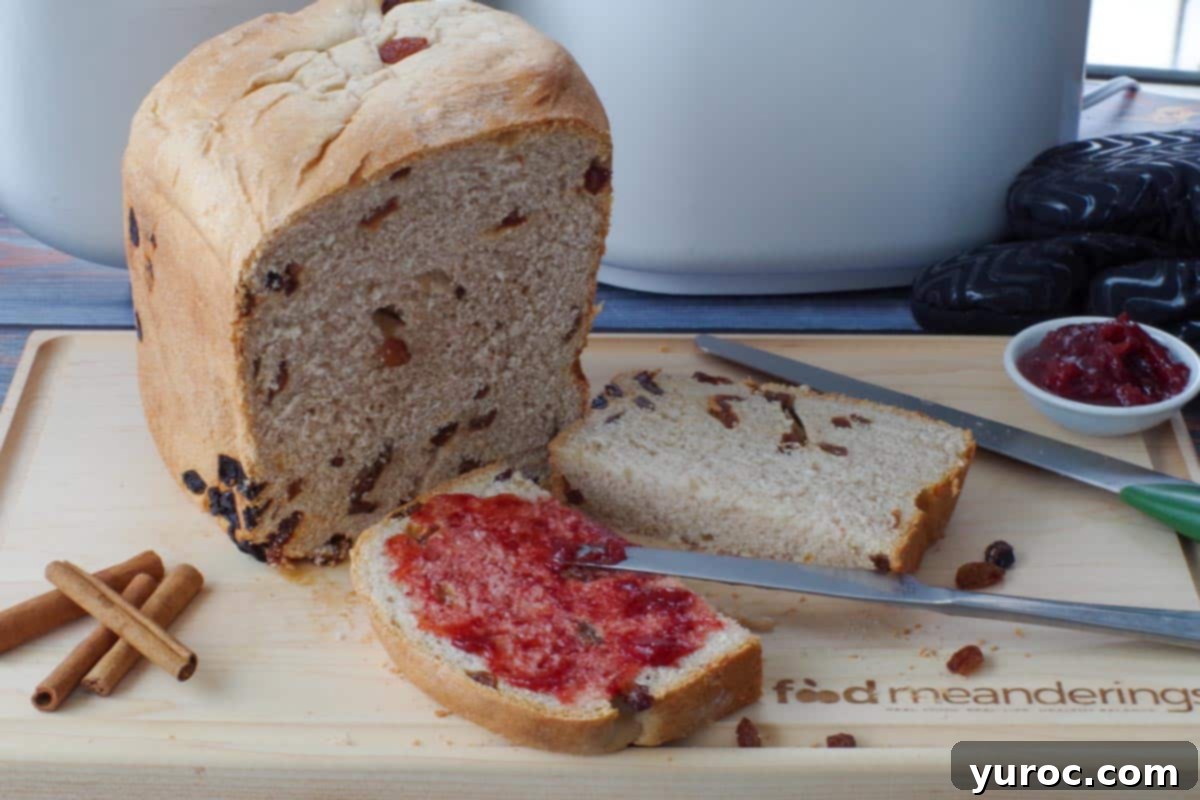
Cinnamon raisin bread is a timeless favorite, enjoyed throughout the year. One of the best aspects of using a bread machine for this recipe is that you can bake it even during the warmest months without heating up your entire kitchen. This particular bread machine recipe was born out of a deep affection for all things cinnamon and raisin. My passion extends to other delightful treats like my Cinnamon Raisin Oatmeal Cookies, creative Cinnamon Raisin Tortilla Sushi, and even my convenient Cinnamon Raisin Oatmeal Cookie Overnight Oats. This recipe brings that beloved flavor profile into a wonderfully soft and fragrant loaf of bread.
Developing this specific Cinnamon Raisin Bread Machine recipe was a journey of trial and error! I used the same bread machine for nearly three decades (and it still works perfectly!), but after receiving a new, more aesthetically pleasing model for food photography, I found myself adapting some of my tried-and-true recipes. Bread machines can be quite particular about ingredient ratios and order, and it took a few attempts to get the texture and rise just right with the new machine. But rest assured, I finally nailed it, creating a foolproof recipe that consistently delivers a fantastic loaf every time.
Essential Tips for Bread Machine Cinnamon Raisin Bread
- Check Your Yeast: Always ensure your bread machine yeast is fresh and not expired. Old or inactive yeast is the most common reason for a bread machine loaf not rising properly, leading to dense, heavy bread.
- Precise Measurements Are Key: Bread machines are very sensitive to exact measurements. Unlike traditional baking where you might have some leeway, precise amounts of flour, liquid, and yeast are critical for the chemistry of bread machine baking. Use proper measuring cups and spoons, and level your dry ingredients.
- Follow the Ingredient Order: Add ingredients in the exact order specified in the recipe. Typically, liquids go in first, followed by dry ingredients, with the yeast added last, creating a protective barrier from the liquid until kneading begins. This prevents premature activation of the yeast.
- Cool Before Slicing: For the best results, allow the bread to cool completely on a wire rack before slicing. Using a serrated bread knife will help achieve clean, even slices. If you prefer warm bread, toast a cooled slice rather than cutting into a hot loaf, which can result in a gummy texture.
- Choose Light Crust Setting: If your bread machine offers crust color options, select the lightest setting. A lighter crust tends to be softer and makes the bread easier to cut, ensuring a perfect slice every time without crushing the loaf.
🥘Ingredient Notes: What You’ll Need for Perfect Bread
You don’t necessarily need specialized bread flour for this recipe; good quality all-purpose flour works wonderfully. Here’s a breakdown of the key ingredients you will need for this delightful bread machine recipe:
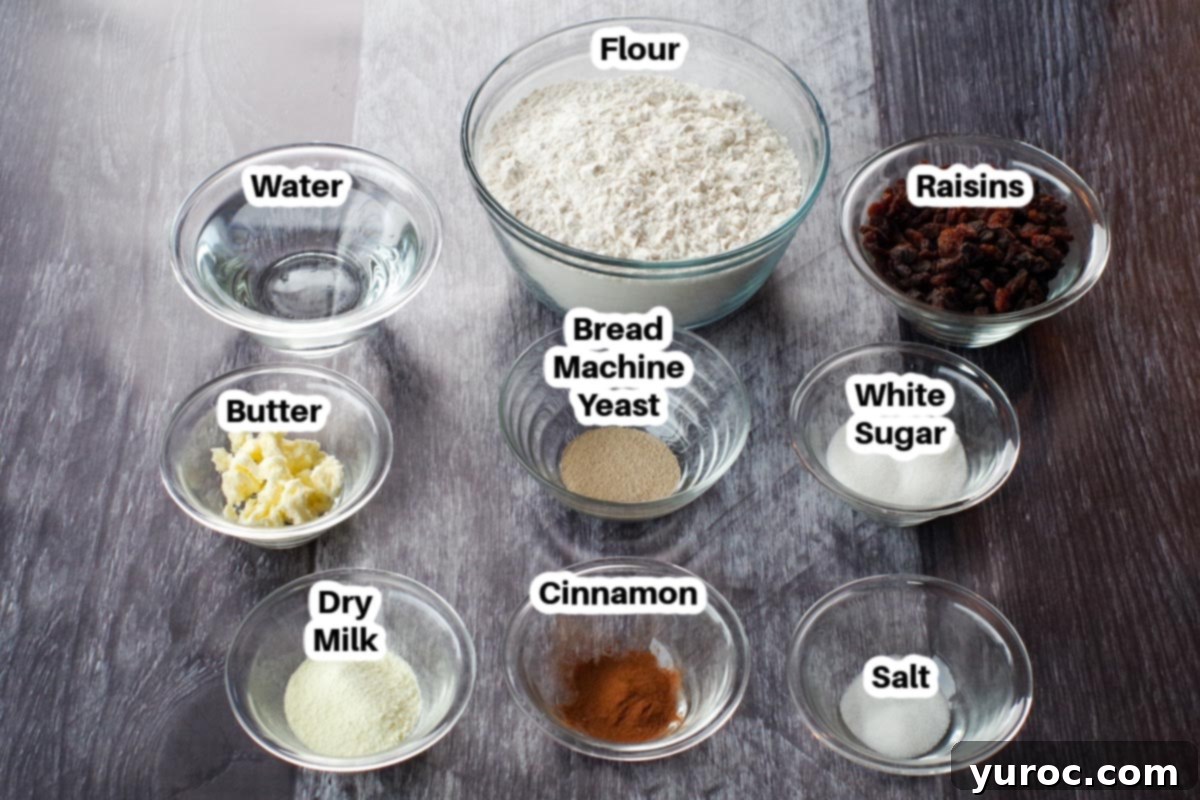
- Unsalted Butter: We opt for unsalted butter to maintain precise control over the overall salt content in the bread. The amount of salt in salted butter can vary significantly between brands, which could affect the final taste and rise. Ensure it’s softened, not melted, for proper incorporation into the dough.
- All-Purpose Flour: In many regions, including Canada, all-purpose (AP) flour typically has a high enough protein content (around 9g per serving) to produce excellent bread. While bread flour usually has a higher protein content (around 11g), which contributes to more gluten development and a chewier texture, AP flour often performs admirably. It’s a good practice to check the protein content of your specific brand of AP flour. If it’s on the lower side, you might consider using bread flour for a slightly better rise and structure.
- Powdered Milk: Dry milk, whether skim or whole, adds to the bread’s tenderness and contributes to a beautiful golden crust. It also helps with the bread’s shelf life. I personally use skim milk powder, but either works.
- Bread Machine Yeast: This is a crucial ingredient. Bread machine yeast (or instant yeast) is specifically designed to work quickly and consistently in the bread machine environment. Active dry yeast can also be used, but it might require activation in warm water first, and may not yield the same consistent results without adaptation. Always double-check that your yeast is within its expiration date for optimal rise.
- Raisins: The star of our cinnamon raisin bread! You can use any type of raisin you prefer, such as standard Thompson seedless raisins, golden raisins for a brighter flavor, or even sultanas. If your raisins seem a bit dry, you can plump them by soaking them in warm water for a few minutes and then patting them thoroughly dry before adding them to the machine.
📖 Creative Variations & Easy Substitutions
While this recipe is perfect as is, you can easily customize it to suit your preferences or what you have on hand:
- Dry Milk: Feel free to use either skim or regular dry milk powder. Both will contribute to the bread’s soft texture and rich flavor.
- Butter: If you only have salted butter available, simply reduce the amount of added salt in the recipe to about ½ teaspoon to account for the salt already present in the butter.
- Raisins: Any type of dried grape will work beautifully! Experiment with golden raisins, standard Thompson raisins, or sultanas for subtle differences in flavor and sweetness. Dried cranberries or chopped dried apricots could also offer an interesting twist.
- White Sugar: Brown sugar can be a fantastic substitute for white granulated sugar. It will add a deeper, more molasses-like flavor and a slightly moister texture to your bread.
- Cinnamon Swirl Bread: Achieving a distinct cinnamon swirl in a bread machine loaf is tricky without manual intervention. The machine’s kneading paddles will typically mix everything evenly. If a swirl is what you truly desire, you’d need to use the dough cycle only, remove the dough, roll it out, spread a cinnamon-sugar mixture, roll it up, and then bake it in a conventional oven. Alternatively, try my easy Brown Sugar Cinnamon Swirl Bread (a quick bread recipe) and simply add raisins to it for a similar flavor profile with a beautiful swirl.
🔪How to Make Delicious Bread Maker Cinnamon Raisin Bread
Making this incredible cinnamon raisin bread in your bread machine is surprisingly simple. Just follow these steps carefully, and you’ll be enjoying warm, fragrant bread in no time!
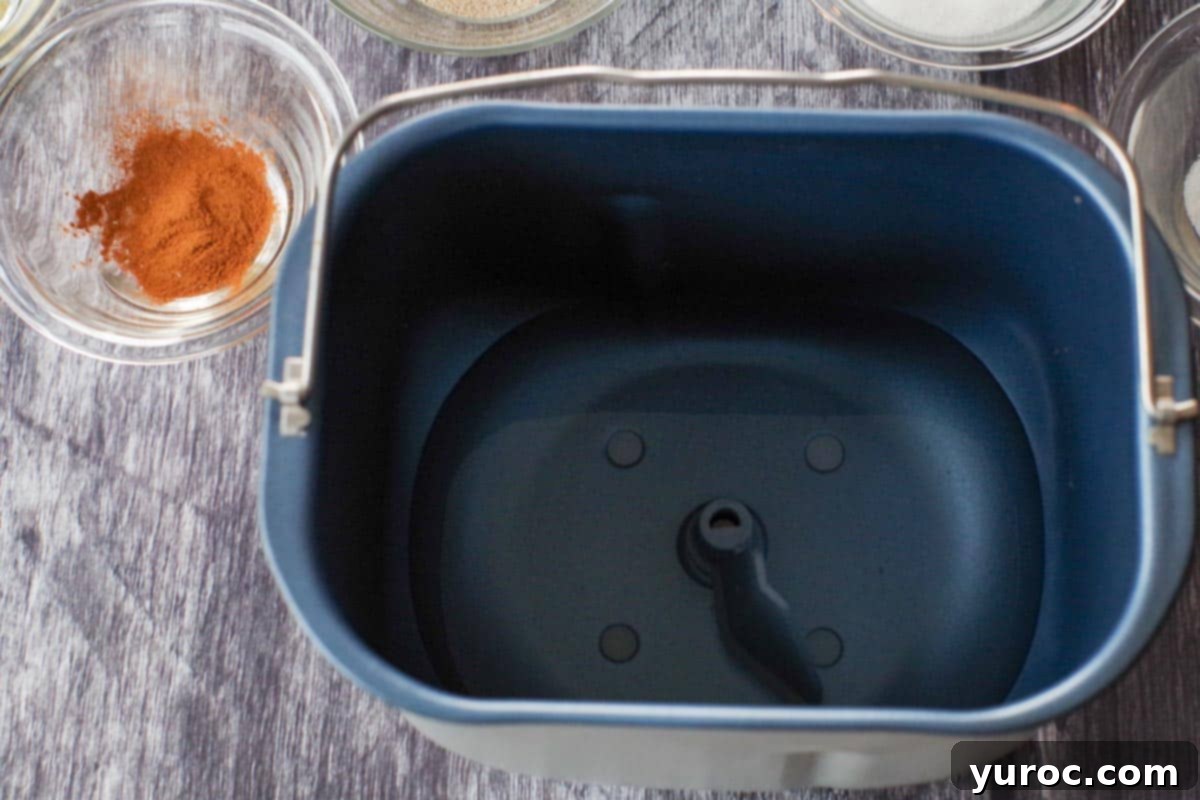
- Step 1: Add Liquids and Butter. Begin by precisely measuring and adding all the liquid ingredients to your bread machine pan. Next, add the softened (but definitely NOT melted) unsalted butter. Softened butter incorporates smoothly into the dough, contributing to its rich flavor and tender texture.
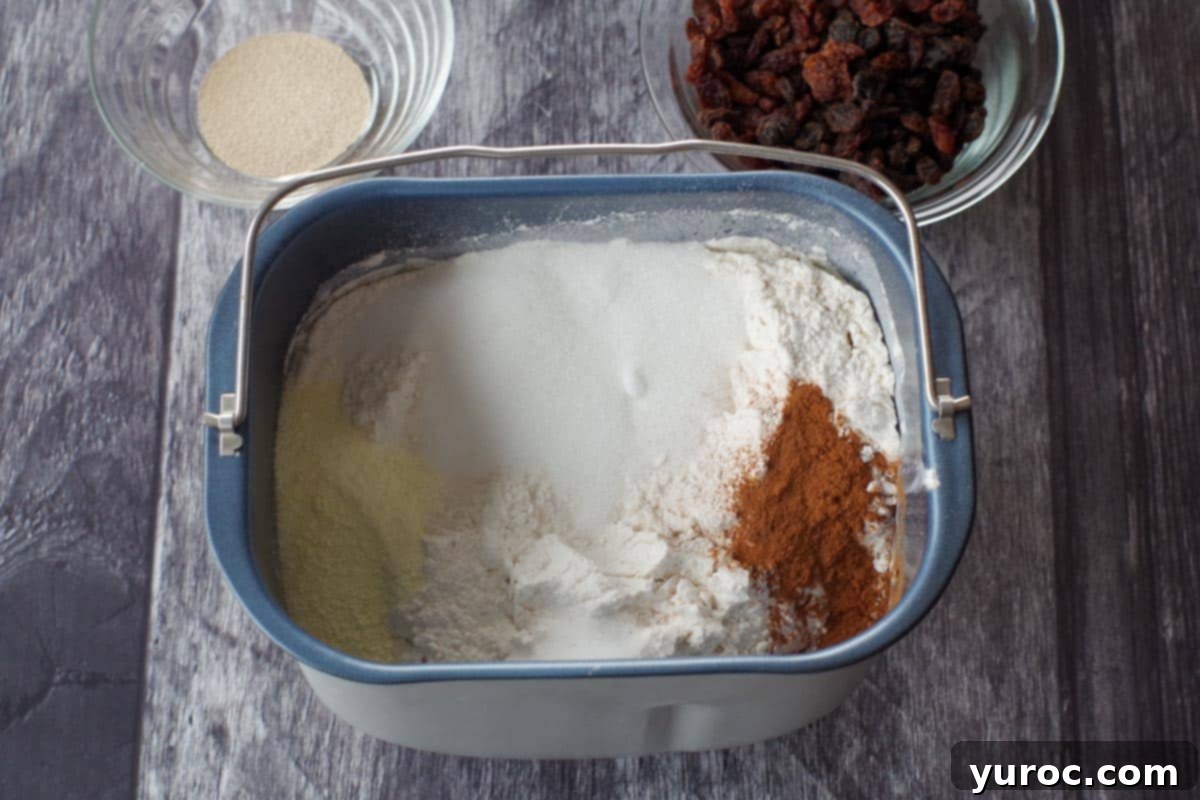
- Step 2: Layer Dry Ingredients (Except Yeast). Measure and carefully add the dry ingredients to the bread pan, layering them on top of the liquids and butter. Start with the flour, spreading it evenly. Then, pour the salt, sugar, dry milk, and cinnamon along the sides of the pan, creating a clear space in the center. This careful layering is important to keep the yeast separate from the liquid.
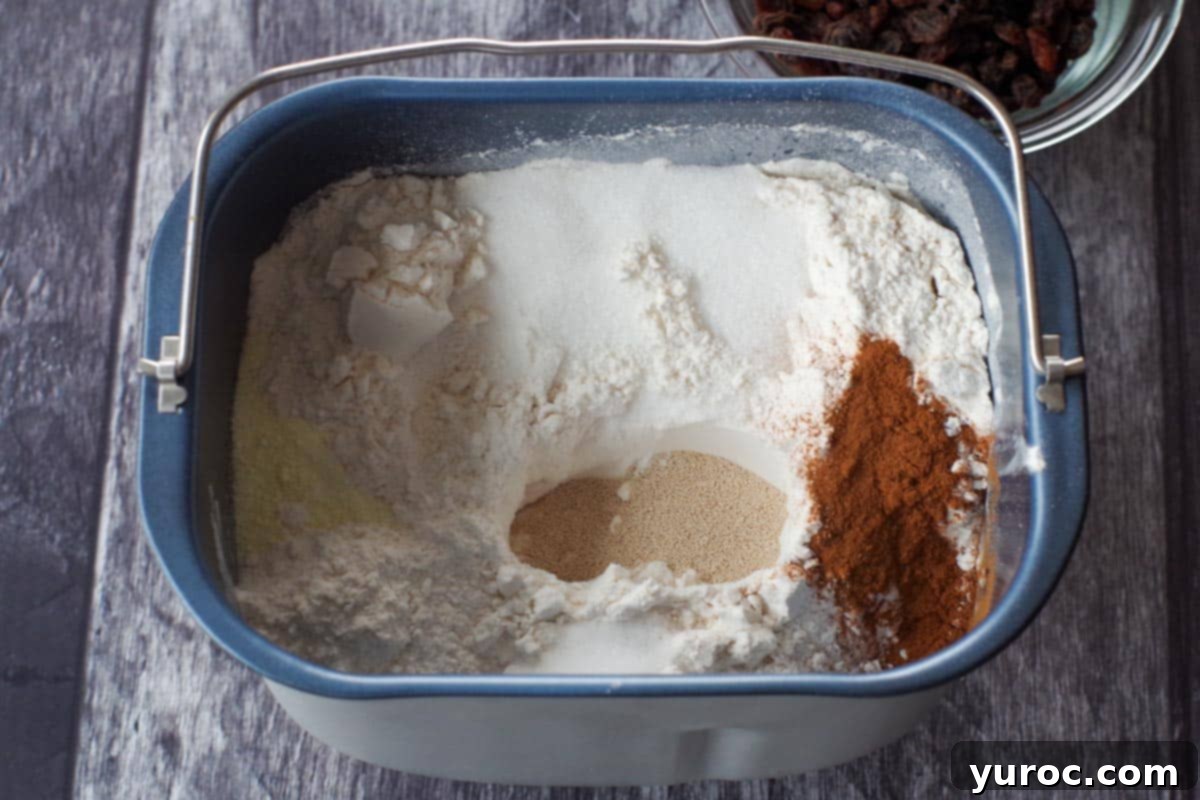
- Step 3: Create a Well for the Yeast. Using your finger, gently form a small well (or hole) in the center of the flour layer. This is where the yeast will reside. It is absolutely crucial that the yeast does not come into direct contact with the liquid ingredients prematurely, as this can activate it too soon and negatively impact the bread’s rise and texture. Measure your bread machine yeast accurately and carefully pour it into this well, ensuring it remains isolated from the wet ingredients and other dry components for as long as possible.
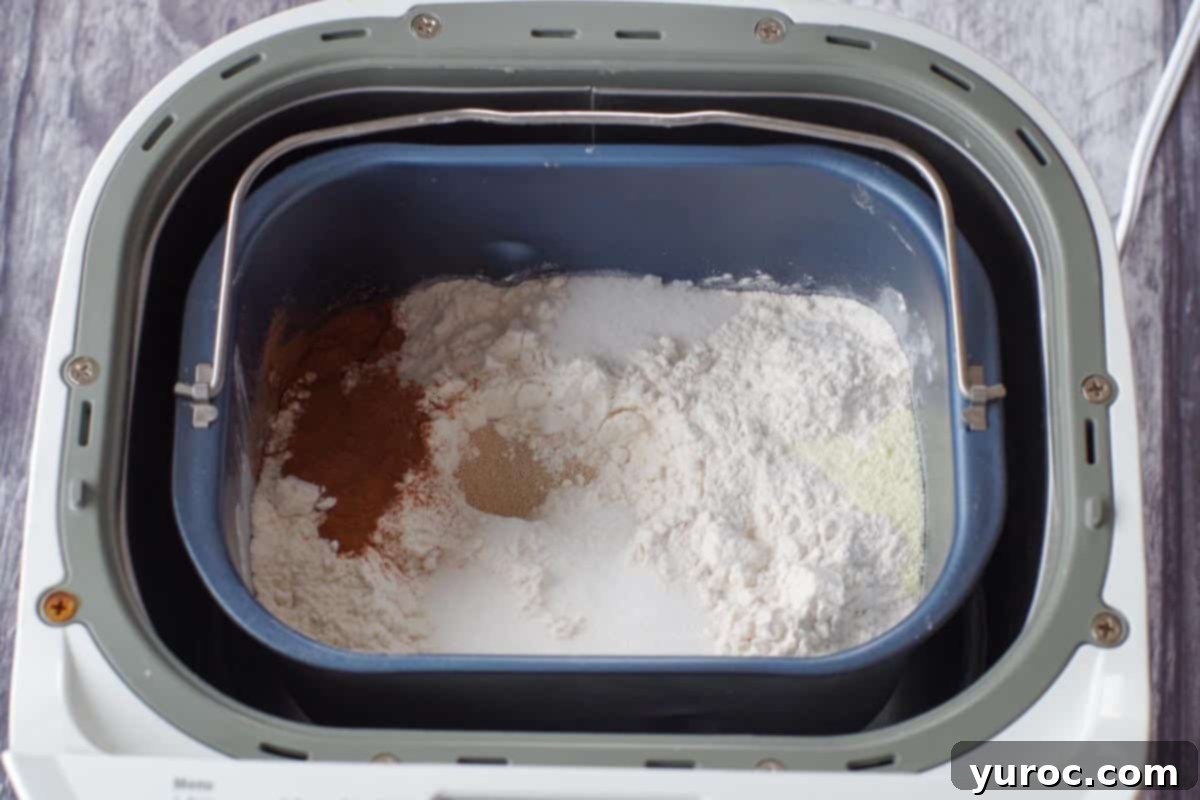
- Step 4: Start Your Bread Machine. Once all ingredients are in place, carefully put the bread pan into the bread maker and securely close the lid. Select the ‘normal’ or ‘basic’ mode on your machine. This recipe is designed for a 2lb loaf, so select that size setting if available. If your machine offers a crust color option, choose ‘LIGHT’ – a lighter crust often results in bread that is easier to slice once baked. Press the start button.
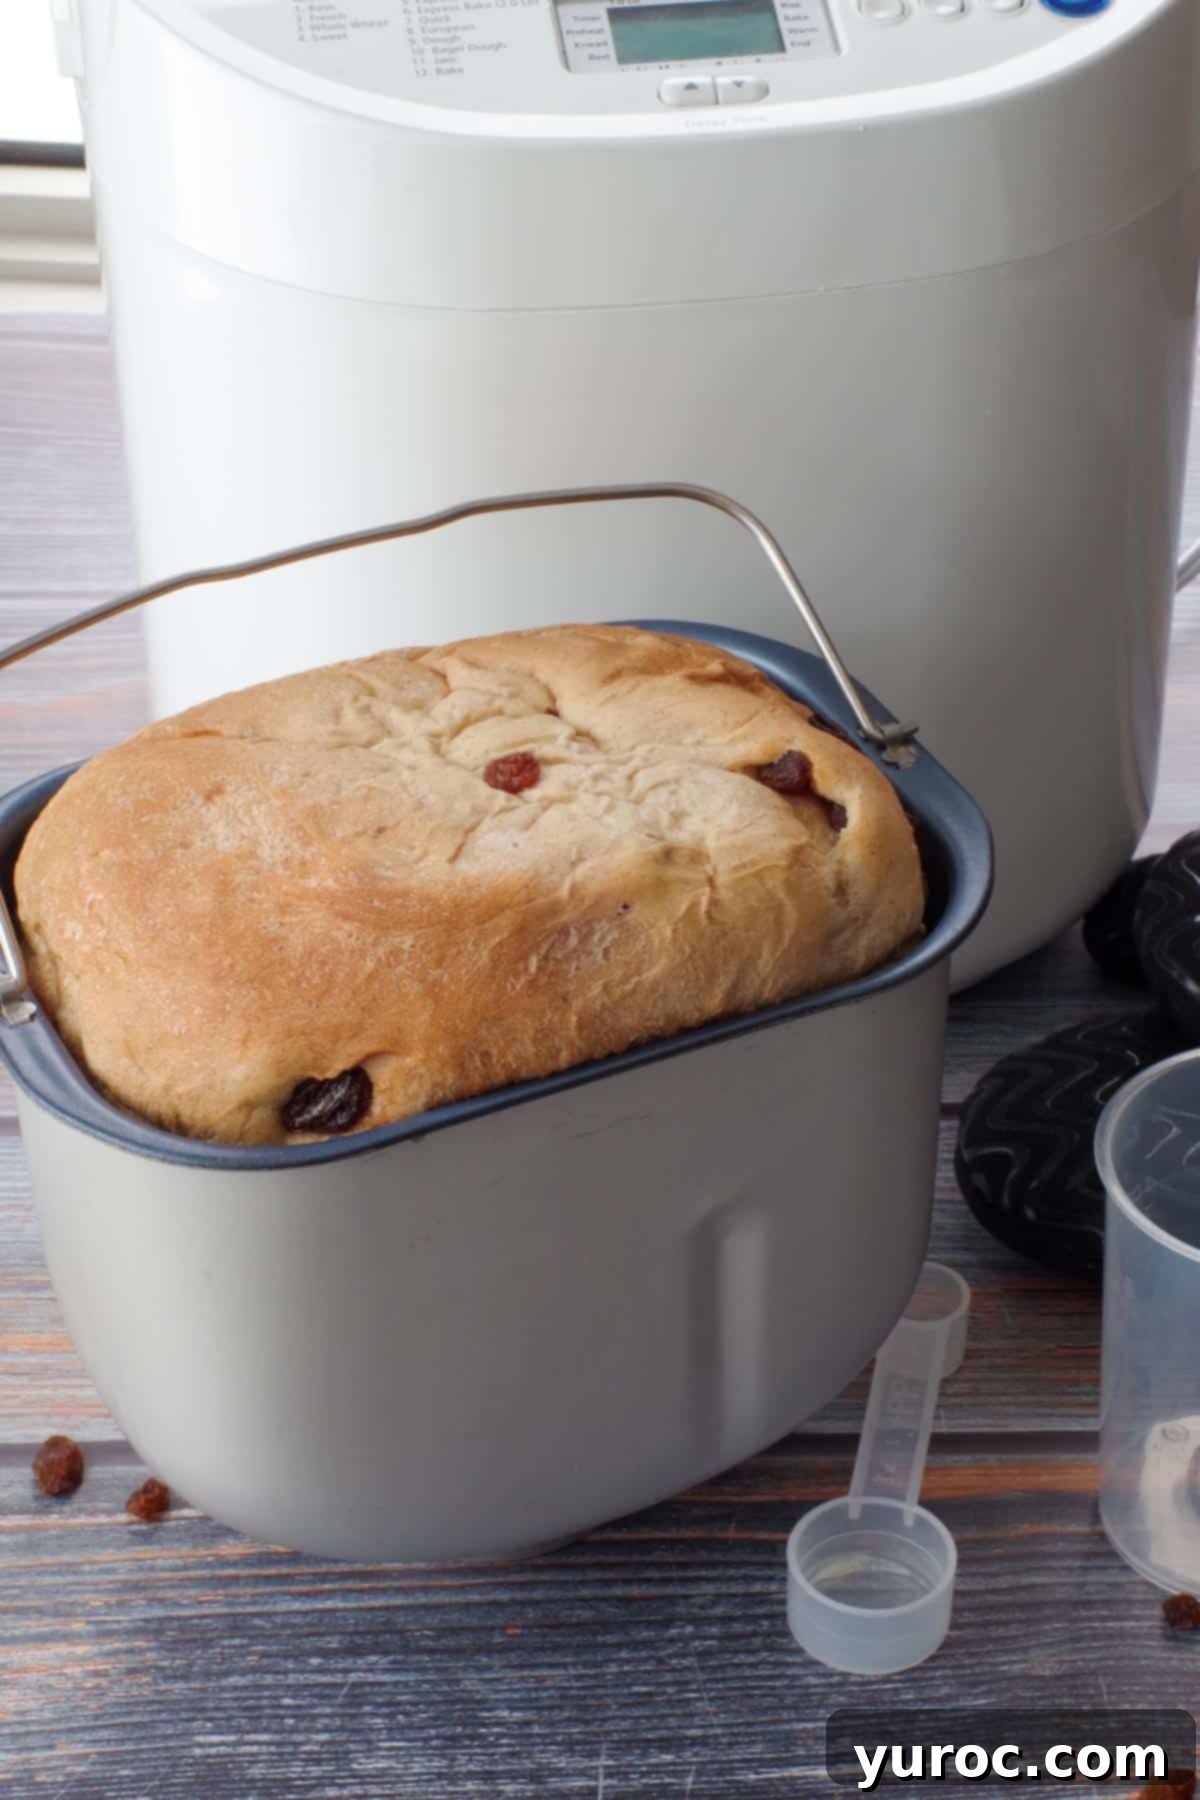
The baking process will typically take between 2 ½ to 3 ½ hours, depending on your specific bread machine model and chosen settings. Keep an ear out for the “fruit signal” from your machine; this is the ideal time to add the raisins. If your machine doesn’t have a fruit signal, manually add the raisins after the second kneading cycle, which usually occurs about 15-20 minutes into the program. This timing ensures the raisins are evenly distributed without being excessively chopped by the kneading paddle. Once the timer signals the end of the baking cycle, promptly remove the bread pan from the machine. Allow the bread to cool in the pan for about 10 minutes before carefully transferring the loaf to a wire rack to cool completely. This cooling process is crucial for optimal texture and ease of slicing.
Helpful Hint: Always use oven mitts or heat-resistant gloves when handling the loaf pan and removing the bread. The handle and the pan itself will be very hot. The kneading paddle might also be hot and could be stuck in the bottom of the bread. If this happens, wait until the bread cools further before gently removing the paddle to avoid tearing your beautiful loaf.
🍽Essential Equipment for Bread Machine Success
To embark on your journey to homemade Cinnamon Raisin Bread, you’ll need a few key pieces of equipment. The star of the show, of course, is a reliable bread machine. Beyond that, a good serrated knife and a sturdy cutting board are indispensable for slicing your finished loaf.
If you’re in the market for a new bread machine, there are several excellent options. For those seeking an economical yet effective model, I personally recommend something similar to the Oster Express Bake (affiliate link). It’s a fantastic entry-level bread maker that delivers consistent results. In fact, I recommended it to my mom, and she loved it so much she eventually gifted me her new one! However, if your budget allows for an upgrade and you’re looking for the absolute “Cadillac” of bread machines, the Zojirushi Home Bakery Virtuoso Bread Maker (affiliate link) comes highly recommended for its advanced features and exceptional performance. Don’t forget a wire rack for cooling your bread properly, ensuring a crisp crust and ideal texture. (For additional recommended equipment links and photos, please refer to the comprehensive recipe card below).
🌡️Storing Your Homemade Cinnamon Raisin Bread
Proper storage is essential to keep your delicious homemade cinnamon raisin bread fresh and enjoyable for as long as possible. At room temperature, wrapped tightly or stored in an airtight container, your bread will remain fresh for up to 5 days. However, for extending its life significantly, the freezer is your best friend. Bread can be stored in the freezer for up to 3 months without compromising its quality. For the absolute best way to store this bread and ensure it lasts the longest, ready for a quick snack or breakfast, consider slicing and freezing it.
Once your bread has fully cooled on a wire rack, carefully slice the entire loaf using a serrated knife into portions that fit easily into your toaster. This proactive step saves time later and prevents you from trying to slice a frozen loaf. Place the sliced bread into freezer-safe bags or containers, separating slices with parchment paper if desired to prevent sticking. When you’re ready for a slice, simply pull one out. You can either pop it directly into the toaster for a perfectly warm and slightly crispy piece, or microwave it for about 10 seconds to gently defrost. This method ensures you always have fresh-tasting homemade bread on hand.
👪 Serving Size and Loaf Options
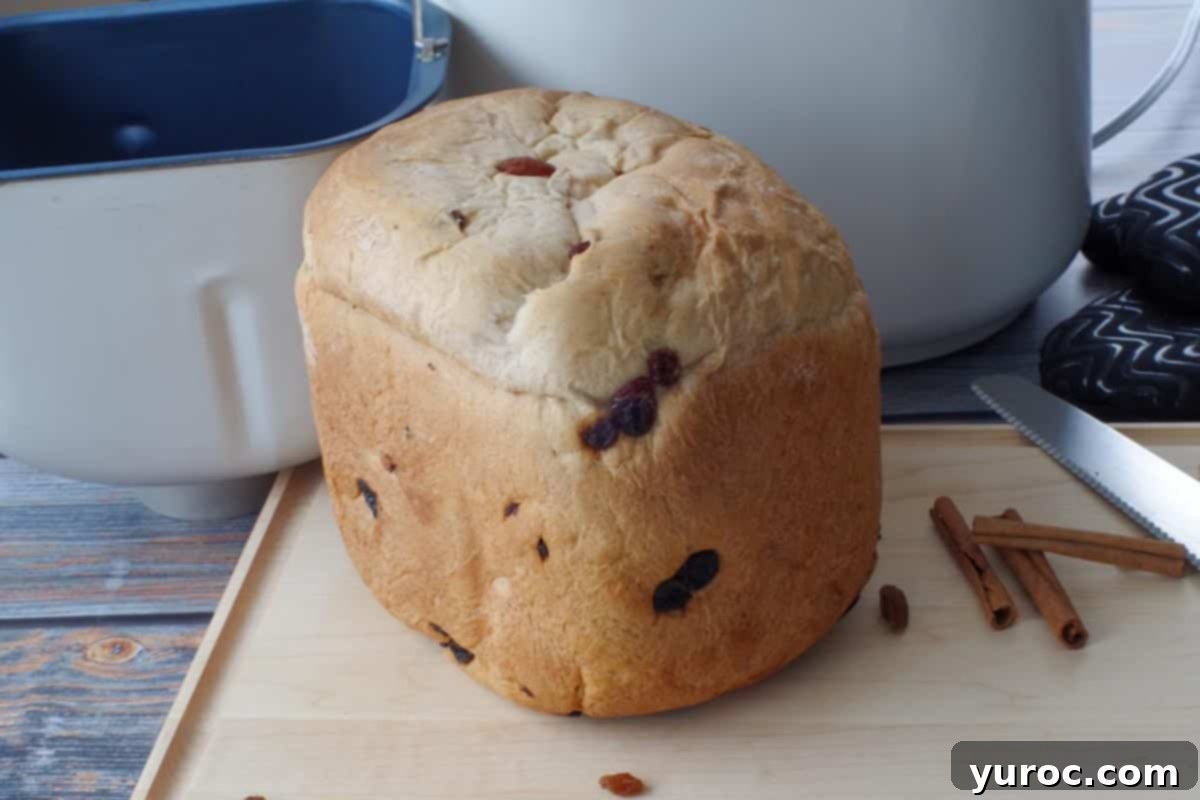
This Homemade Cinnamon Raisin Bread recipe yields a generous 2 lb loaf, which typically provides about 10 substantial servings or slices. The photo above showcases what a full loaf looks like – it’s quite impressive! Each slice is usually long and fairly large, making it perfect for a hearty breakfast or snack. You might find it beneficial to cut each slice in half, especially if you want it to fit neatly into a standard toaster slot.
For those who prefer a smaller quantity, you’ll be pleased to know that you can also make a 1 lb loaf of this delightful Raisin Cinnamon Bread. I’ve thoroughly tested this smaller version multiple times to ensure perfect results. Please refer to the detailed NOTES section within the recipe card for the specific ingredient adjustments required for a 1 lb loaf. Remember to select the appropriate 1 lb loaf setting on your bread machine if that option is available, to ensure correct baking times and cycles.
Top Tip: Extend Your Bread’s Freshness
To make your homemade bread last significantly longer and ensure maximum enjoyment, always store it in the freezer, pre-sliced. This simple strategy prevents waste and keeps your bread tasting fresh for weeks.
After your baked loaf has completely cooled to room temperature, place it in the freezer for about two hours. This firms it up just enough to make slicing incredibly easy and clean. Remove it from the freezer, and with a sharp serrated knife, slice the entire loaf into individual portions that are the perfect size for your toaster. Immediately transfer these slices back into freezer-safe bags or containers. This way, you can grab a single slice whenever a craving strikes. It can be easily defrosted in the microwave for a mere 10 seconds or, even better, popped directly into the toaster for a warm, crispy treat. Additionally, if your bread maker offers a choice of crust colors, opt for the light crust setting. A lighter crust is not only delightful in texture but also significantly easier to cut through once baked, giving you perfect slices every time.
🥗 What to Serve with Bread Maker Cinnamon Raisin Bread
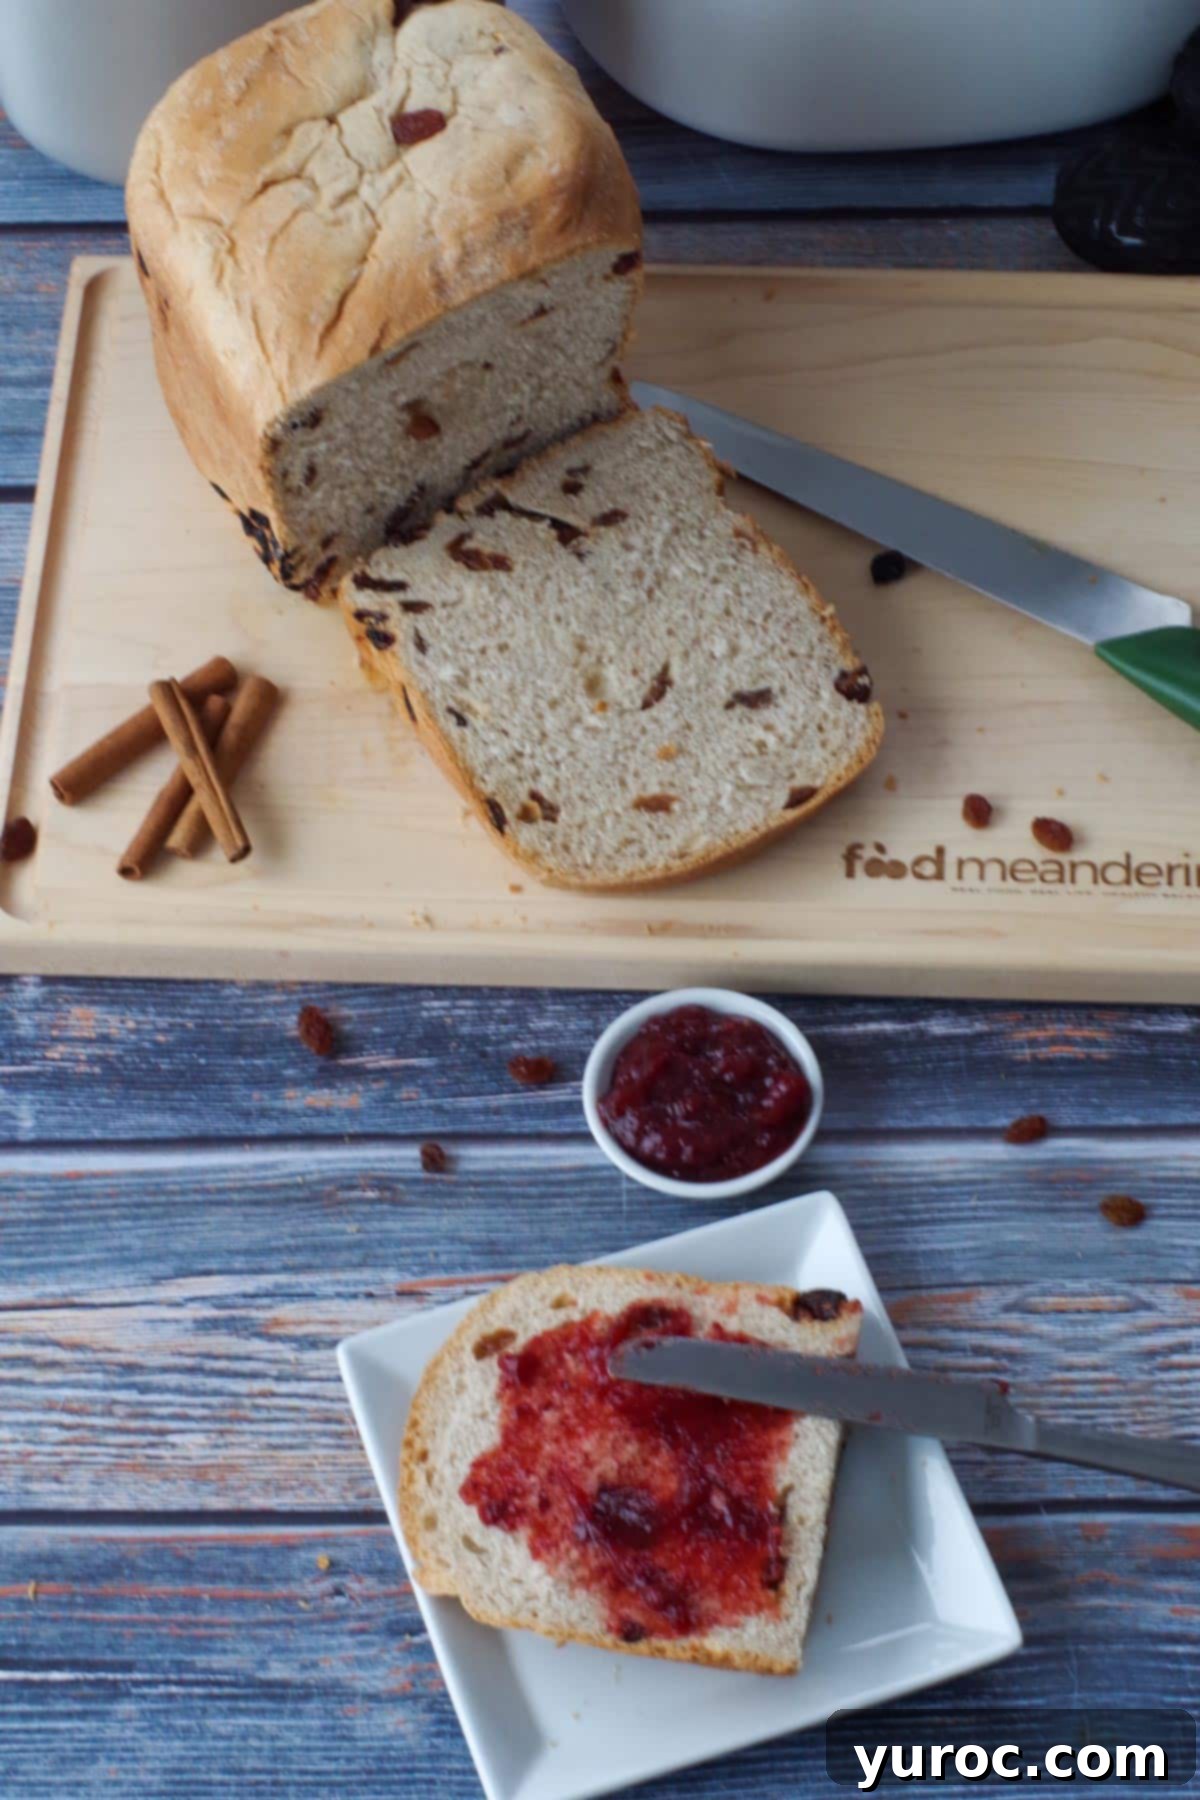
This versatile homemade cinnamon raisin bread is utterly delicious on its own, but it truly shines when paired with a variety of accompaniments. My favorite way to enjoy it is toasted, slathered with creamy butter and a dollop of your favorite fruit jam. It also makes for an incredibly decadent and comforting French toast or a delightful French Toast Casserole for a crowd. Beyond breakfast, it pairs wonderfully with lighter meals and beverages.
Consider serving it alongside a refreshing Classic Fruit Salad with Honey Lime Dressing, savory Roasted Red Pepper Egg White Bites, or crispy Air Fryer Turkey Sausages for a complete brunch experience.

For beverages, pair it with your morning coffee, a comforting cup of tea, a vibrant Rhubarb Smoothie, or a festive non-alcoholic bubbly drink like my cheerful Mimosa Mocktail (pictured above)! Each pairing enhances the sweet, spiced flavors of the bread, making every bite a memorable one.
❔Frequently Asked Questions about Bread Maker Cinnamon Raisin Bread
Many older or simpler bread machines may not include a dedicated “fruit signal” to prompt you to add mix-ins. If this is the case for your machine, you should manually add the raisins after the second kneading cycle. This usually occurs about 15 to 20 minutes into the bread-making process. You can listen for the distinct sound of the dough being kneaded a second time. Adding them at this stage ensures the raisins are thoroughly incorporated without being overly crushed or causing problems with the dough’s initial rise.
Absolutely, you can definitely make a smaller, 1 lb loaf of this delicious cinnamon raisin bread. However, simply halving all the ingredients might not yield the best results due to the delicate balance required for bread machine recipes. For precise measurements and instructions tailored for a 1 lb loaf, please refer to the specific modifications detailed in the NOTES section of the recipe card below. It’s also important to remember to select the 1 lb loaf setting on your bread machine, if available, to ensure the correct baking program and time are used.
This is a critical step in bread machine baking. Yeast is a living organism, and when it comes into contact with liquid too early in the cycle, it can activate prematurely. This rapid, uncontrolled activation can lead to the yeast expending its energy before the main kneading and rising phases, resulting in a bread loaf that doesn’t rise properly or has an undesirable texture. By creating a well in the dry ingredients and adding the yeast last, you provide a protective barrier, ensuring the yeast activates at the optimal moment when the bread machine begins its programmed cycle, allowing for a consistent and perfect rise.
Didn’t find the answer you’re looking for?
Ask AI to answer based on this specific recipe
So, if you’re craving that delightful combination of sweet cinnamon and plump raisins in a soft, homemade loaf, this bread machine recipe is your perfect solution! It’s designed for simplicity and deliciousness, making freshly baked bread an easy reality in your kitchen.
If your love for cinnamon and raisins runs deep, don’t miss out on my unique Sheet Pan Rum and Cinnamon Raisin Pancakes – another fantastic way to enjoy these complementary flavors!
📋More Delicious Bread Machine Recipes to Try
- Savory Onion and Olive Bread Machine Recipe
- Easy Italian Bread Machine Breadsticks
- Gruyère Apple Pie Bread Machine Cinnamon Rolls
- Simple Bread Machine Pizza Dough Recipe
Did your family❤️this recipe? Did you know that commenting and⭐rating recipes is one of the best ways to support your favorite recipe creators? If you LOVED this recipe, please comment and rate it in the recipe card or share photos on social media using the hashtag #foodmeanderings or tagging @foodmeanderings !

📋 Bread Maker Cinnamon Raisin Bread
Print Recipe
Pin
Save RecipeSave Recipe
Rate
Add to Shopping ListGo to Shopping List
Equipment
-
bread machine
-
cutting board
-
serrated knife
-
wire rack
Ingredients
- 13 oz water
- 3 tbsps unsalted butter softened
- 4 cups all – purpose flour
- ¾ teaspoon salt
- 3 tbsps white granulated sugar
- 2 tbsps dry milk *I use dry skim milk
- 3 tsps cinnamon
- 1 ¾ tsps bread machine yeast
- 1 cup raisins
Instructions
-
Measure and add wet ingredients to the bread pan.13 oz water
-
Then add unsalted butter, softened NOT melted (not shown)3 tbsps unsalted butter
-
Measure and add dry ingredients (EXCEPT YEAST) to bread pan. For best results, pour the salt, sugar, dry milk and cinnamon along the edge of the pan on different sides (avoiding the middle of the pan)4 cups all – purpose flour, ¾ teaspoon salt, 3 tbsps white granulated sugar, 3 tsps cinnamon, 2 tbsps dry milk
-
Use your finger to form a well (hole) in the flour (where the yeast will go).
*Don’t dig too deep because you don’t want the water to seep through
***The yeast must never come into contact with the liquid! ***
-
Measure yeast and carefully pour it into the well1 ¾ tsps bread machine yeast
-
Put the baking pan into the bread maker and close the lid.
-
At the fruit signal, add raisins, but just a small amount at a time. *you have to be very patient
*if you don’t have a fruit signal, add them after the 2nd knead.
1 cup raisins -
Depending on the type of bread machine you have, select ‘normal’ or ‘basic’ mode and and size (this is for a 2lb loaf). *See NOTES for 1 lb loaf
-
If you have the option, select crust color. *I recommend the lightest crust color setting (it makes it easier to cut the bread when it’s baked).
-
It will take anywhere from 2 ½ – 3 ½ hours, depending on your bread machine. When the timer goes off, remove it from the machine and let it cool for 10 minutes before taking it out of the pan. Then move the loaf to a wire rack to continue cooling.
Notes
- Make sure your bread machine yeast is fresh for a good rise.
- Measure all ingredients precisely; bread machines are finicky.
- Follow the directions exactly, adding ingredients in order, and keep yeast from touching liquid initially.
- Use a serrated knife for slicing, ideally after the bread has cooled.
- Select the lightest crust color setting if available, as it makes the bread easier to cut.
🌡️Storage & Top Tip:
Bread can be stored at room temperature for up to 5 days. For longer freshness (up to 3 months), slice the cooled loaf and freeze it. You can then grab individual slices to toast or defrost as needed. Choosing a light crust setting also aids in easier slicing.
To make a 1 lb loaf, adjust ingredients as follows:
- 6.5 oz water
- 1.5 tablespoons butter (softened)
- 2 cups all-purpose flour
- ¼ teaspoon salt
- 1.5 tablespoons white sugar
- 1 tablespoon dry milk
- 1.5 teaspoons cinnamon
- 1 teaspoon bread machine yeast
- ⅔ cup raisins
-
Follow general instructions: Add liquid ingredients, then butter, then dry ingredients (except yeast).
-
Form a well in the flour, add yeast carefully.
-
Place pan in bread maker.
-
Select ‘normal’ or ‘basic’ mode and ensure ‘1 lb loaf’ size setting is chosen.
-
Add raisins at fruit signal or after second knead.
-
Select light crust color.
