Easy No-Churn Pumpkin Pie Ice Cream: Your Ultimate Fall Dessert (No Machine Needed!)
Imagine the warm, comforting flavors of your favorite pumpkin pie transformed into a lusciously cold, creamy ice cream. This isn’t just a dream – it’s exactly what you get with our simple, quick, and absolutely delicious no-churn Pumpkin Pie Ice Cream recipe! Perfect for autumn gatherings, holiday tables, or simply satisfying that seasonal craving, this homemade treat delivers all the beloved notes of pumpkin pie spice and rich pumpkin puree without the need for an expensive ice cream maker. It’s a delightful dessert that truly tastes like a slice of pie in every frozen spoonful!
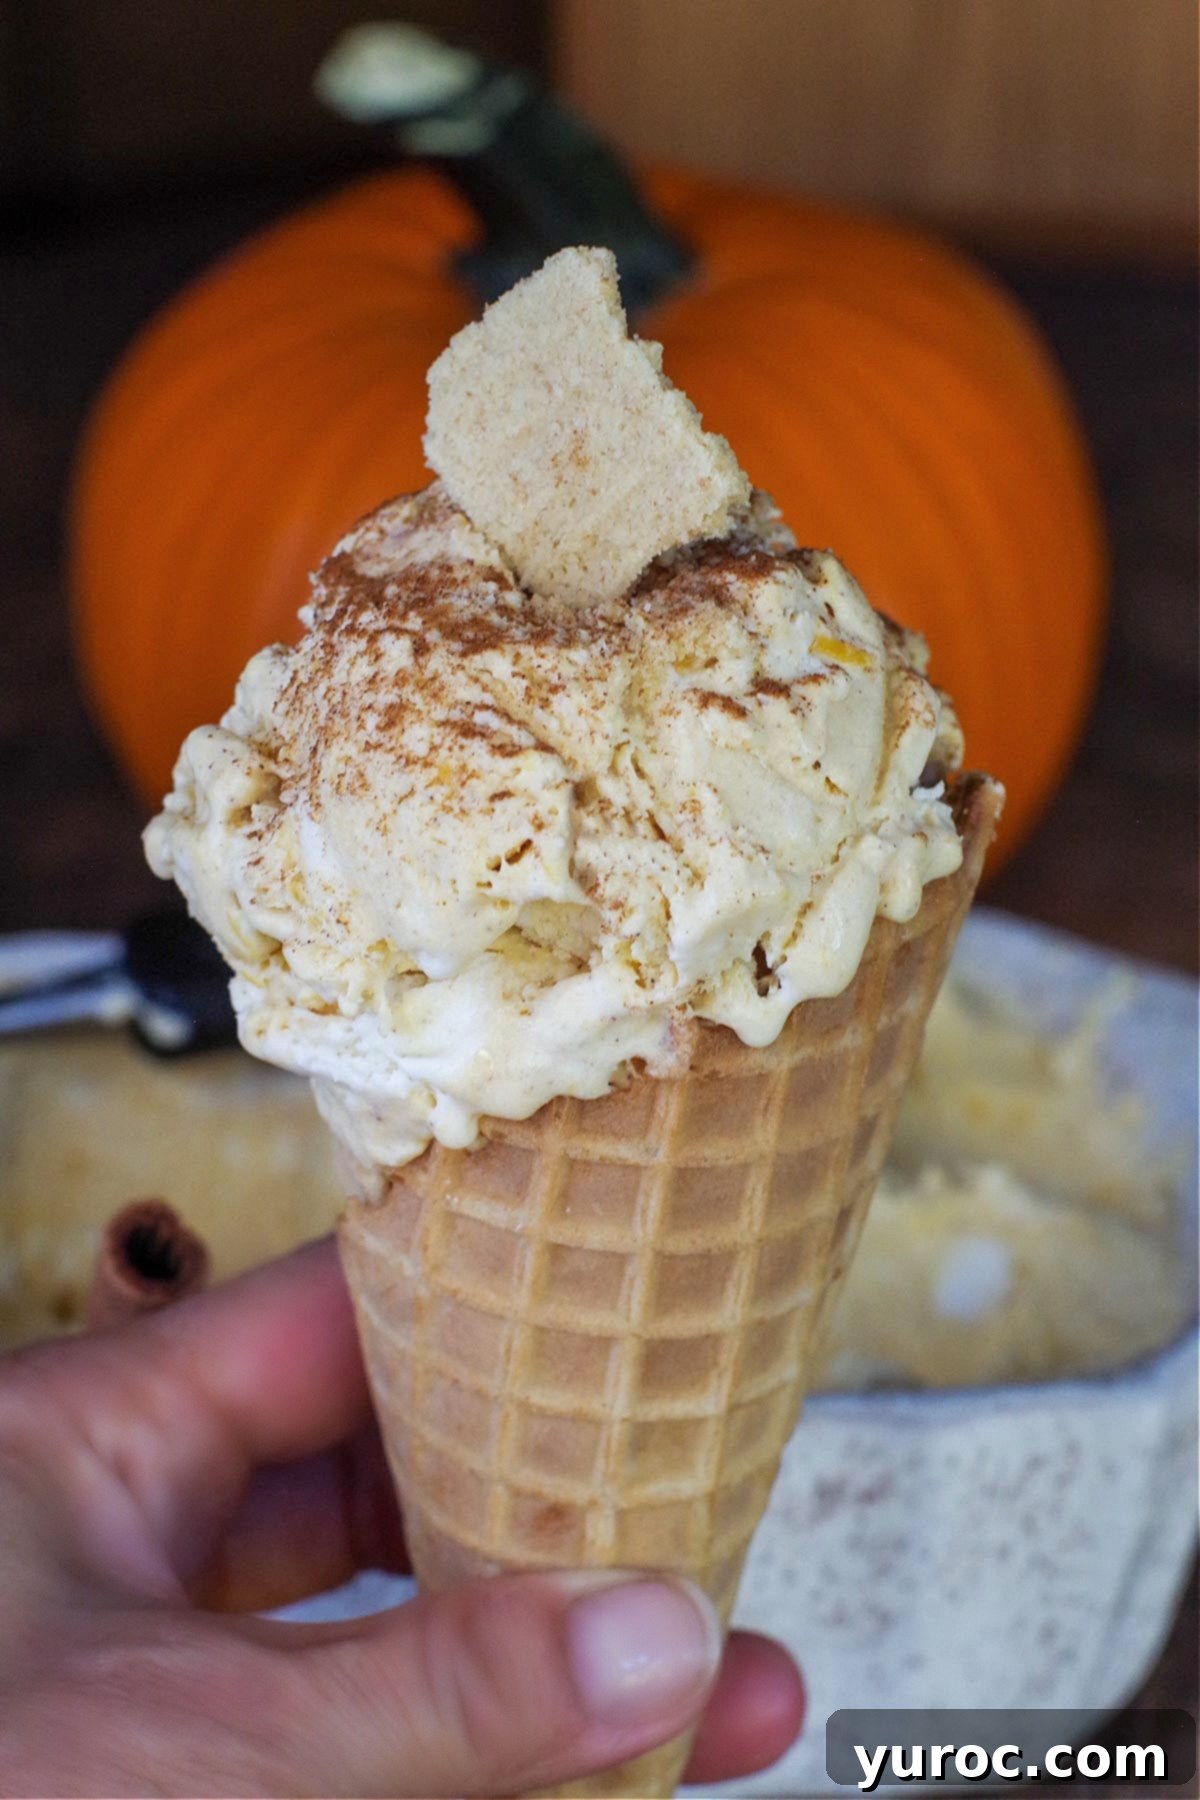
The inspiration for this heavenly dessert comes from the delightful simplicity of other no-churn creations, such as our popular Saskatoon Berry Ice Cream. We wanted to capture the cozy essence of fall in a frozen form, and after rigorous testing (by enthusiastic tasters, of course!), we’re thrilled to report that this recipe tastes remarkably similar to our beloved classic pumpkin pie. The best part? You have the flexibility to use either wholesome homemade pumpkin puree or a convenient can of pure pumpkin puree to create this easy, creamy, no-churn sensation. While especially popular during the fall season, its irresistible flavor makes it a delightful indulgence any time of the year!
This recipe is designed for maximum flavor with minimal effort, ensuring a smooth, rich texture without any ice crystals. The blend of real pumpkin with traditional warming spices creates a truly authentic pumpkin pie experience. Forget about complicated steps or specialized gadgets; if you have a bowl and a mixer, you’re just a few steps away from enjoying this incredible frozen dessert. It’s truly a game-changer for anyone who loves pumpkin pie but wants a cold, refreshing twist.
Why You’ll Adore This No-Churn Pumpkin Pie Ice Cream
- Effortlessly Simple: No need for an expensive ice cream machine or tedious churning. This recipe comes together with basic kitchen tools.
- Authentic Pumpkin Pie Flavor: Crafted with real pumpkin puree and a classic blend of spices, it perfectly mimics the taste of a homemade pumpkin pie.
- Rich and Creamy Texture: The no-churn method creates an incredibly smooth and luxurious ice cream, free from icy bits.
- Seasonal Delight: It’s the ultimate fall dessert, ideal for Thanksgiving, Halloween, or any autumn celebration.
- Customizable: Easily adapt with your favorite mix-ins or toppings, from graham cracker crust crumbles to extra cinnamon.
- Make Ahead: Prepare it in advance and store it in your freezer, ready to serve whenever a craving strikes.
🥘 Ingredients for the Perfect Scoop
Crafting this irresistible dessert requires just a handful of simple ingredients, most of which you likely already have in your pantry or can easily find at any grocery store. The quality of your ingredients will shine through, especially with the fresh pumpkin puree and aromatic spices.
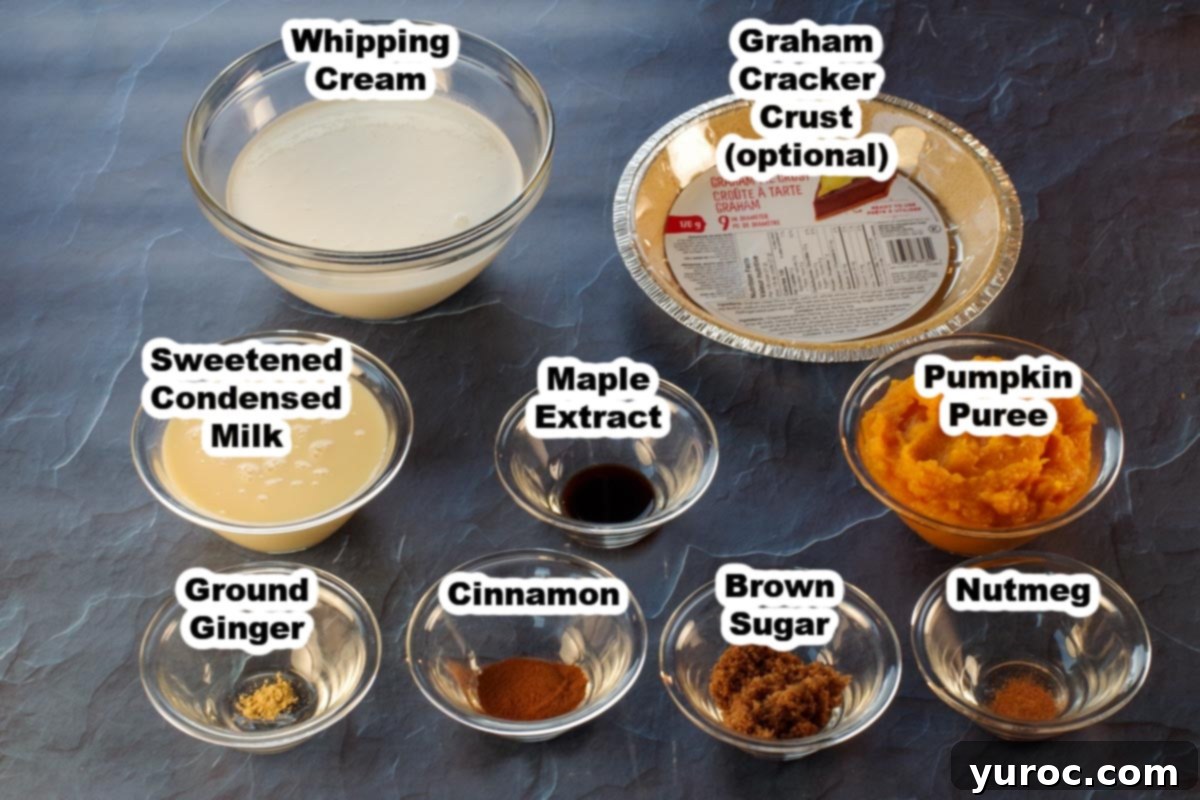
- 14 ounce can of sweetened condensed milk: This is the magic ingredient that sweetens the ice cream and prevents ice crystal formation, giving it that wonderfully smooth, creamy texture without churning.
- 1 tsp maple extract (affiliate link): Adds a subtle, warm, and distinctly autumnal flavor that complements the pumpkin beautifully. Don’t skip this for an extra layer of deliciousness!
- 3 cups heavy whipping cream (heavy cream): The base of our no-churn ice cream. When whipped to stiff peaks, it creates an airy, voluminous foundation for the other ingredients. Ensure it’s very cold for best results.
- 1.5 cups pure pumpkin puree: The star of the show! Make sure to use pure pumpkin puree, NOT pumpkin pie filling, which contains added sugars and spices that would alter the flavor profile. You can use homemade pumpkin puree for an even fresher taste.
- ⅛ teaspoon ground ginger: Provides a gentle warmth and classic spice note.
- ¼ teaspoon ground nutmeg: Essential for that authentic pumpkin pie aroma and flavor.
- 1 teaspoon ground cinnamon: The primary spice that brings everything together, giving it that comforting, familiar taste.
- 2 tablespoons brown sugar: Enhances the sweetness and deepens the molasses-like notes, adding to the rich pumpkin flavor.
Note on Pumpkin Puree: Always double-check your can to ensure it’s 100% pure pumpkin puree. Pumpkin pie filling is pre-spiced and sweetened, which will throw off the delicate balance of this recipe.
🔪 Simple Step-by-Step Instructions
Making this no-churn pumpkin pie ice cream is incredibly straightforward. Just follow these easy steps to create a dessert that will impress everyone!
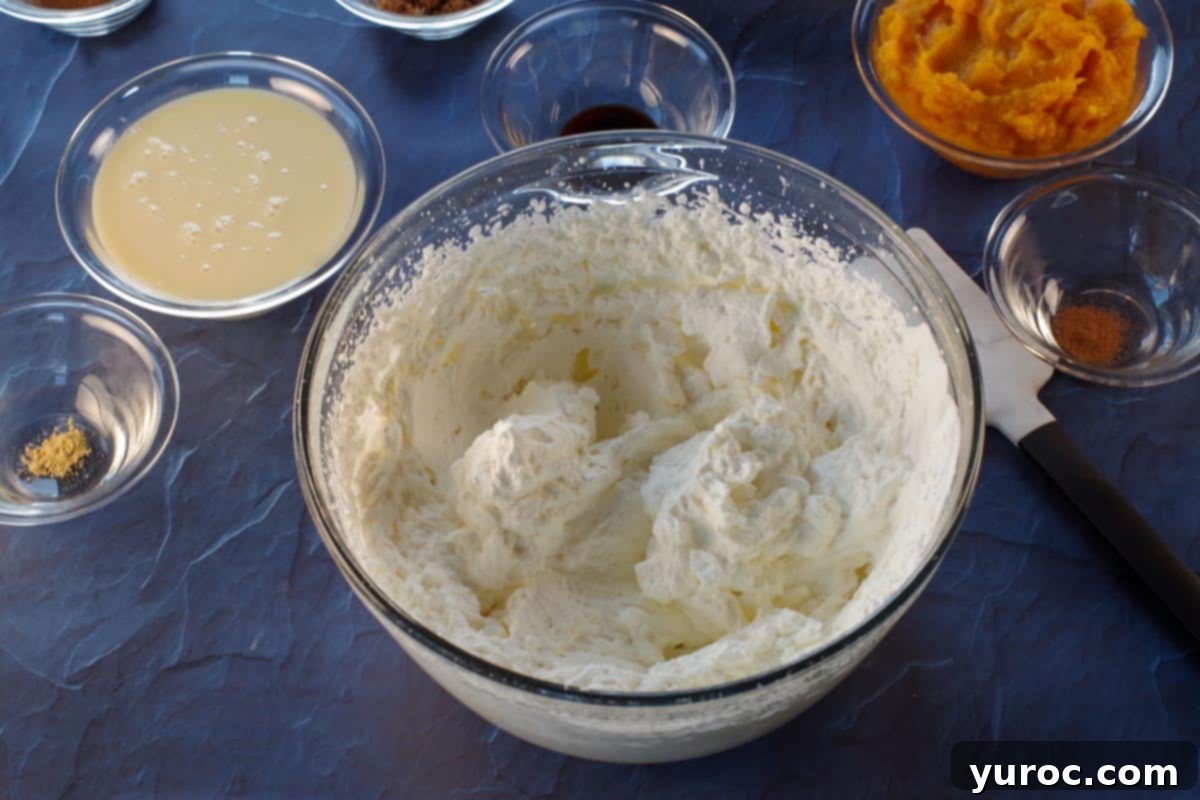
Step 1: Whip the Cream. In a large, preferably chilled mixing bowl, beat the heavy whipping cream on high speed using an electric mixer until stiff peaks form. This means the cream will hold its shape when you lift the beaters, providing the essential airy base for your ice cream. Be careful not to overbeat, as it can turn grainy.
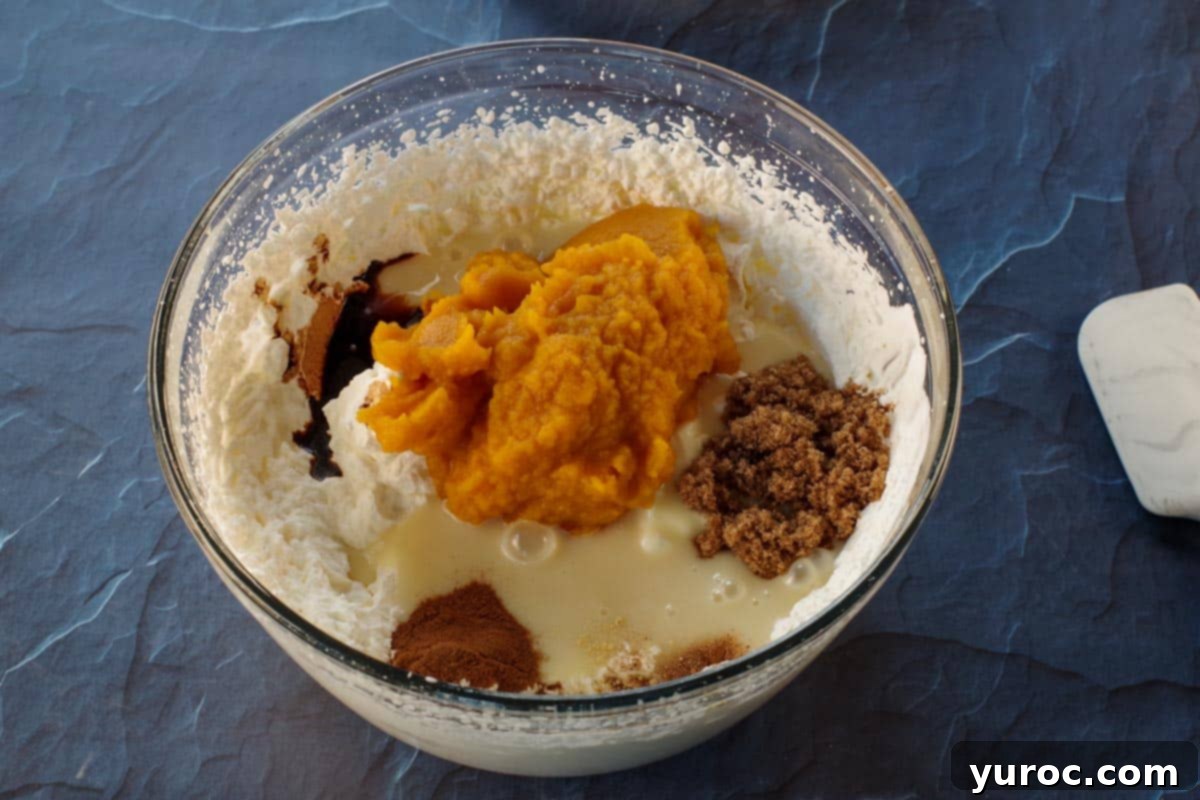
Step 2: Fold in Flavors. Gently add the pumpkin puree, maple extract, sweetened condensed milk, ground nutmeg, ground ginger, ground cinnamon, and brown sugar to the whipped cream. Using a spatula, carefully fold these ingredients into the whipped cream mixture. The goal is to incorporate everything without deflating the airy texture of the cream.
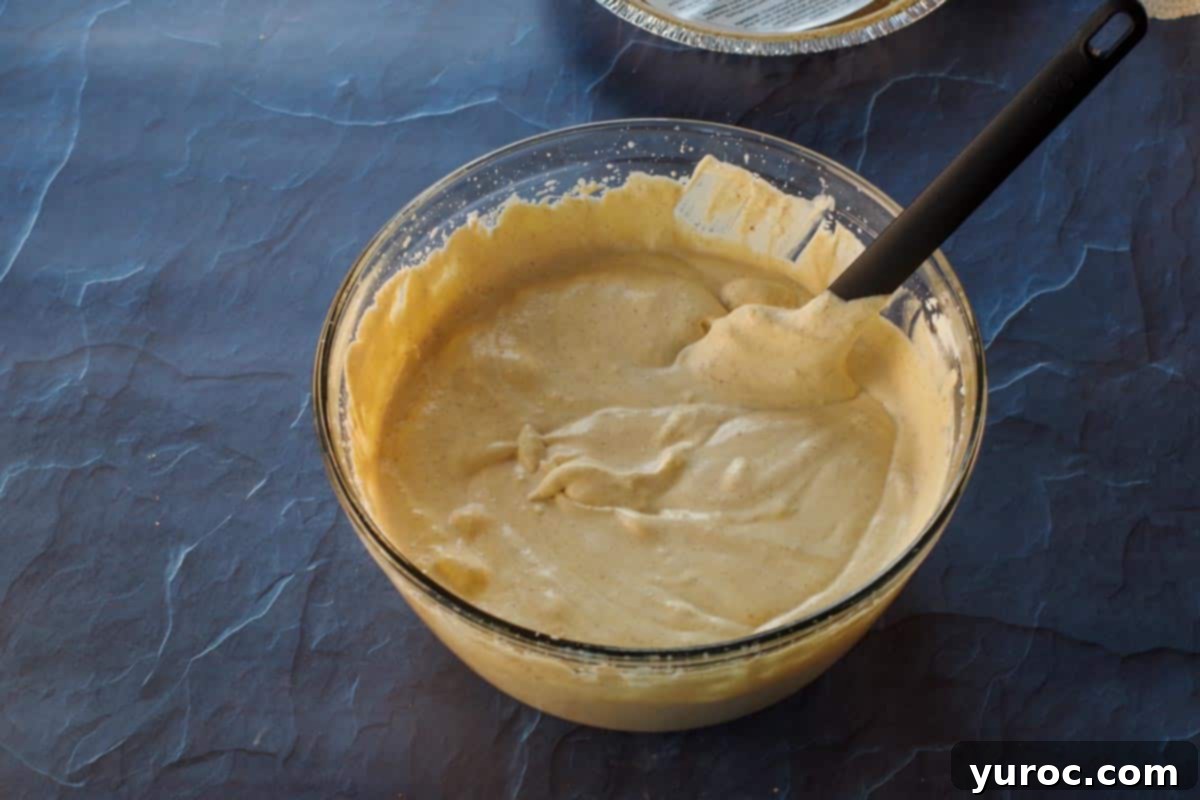
Step 3: Mix Until Just Combined. Continue to stir gently with your spatula until all the ingredients are fully incorporated and the mixture is a uniform, creamy orange color. Be careful not to overmix, as this can affect the final texture of the ice cream. The mixture should remain light and airy.
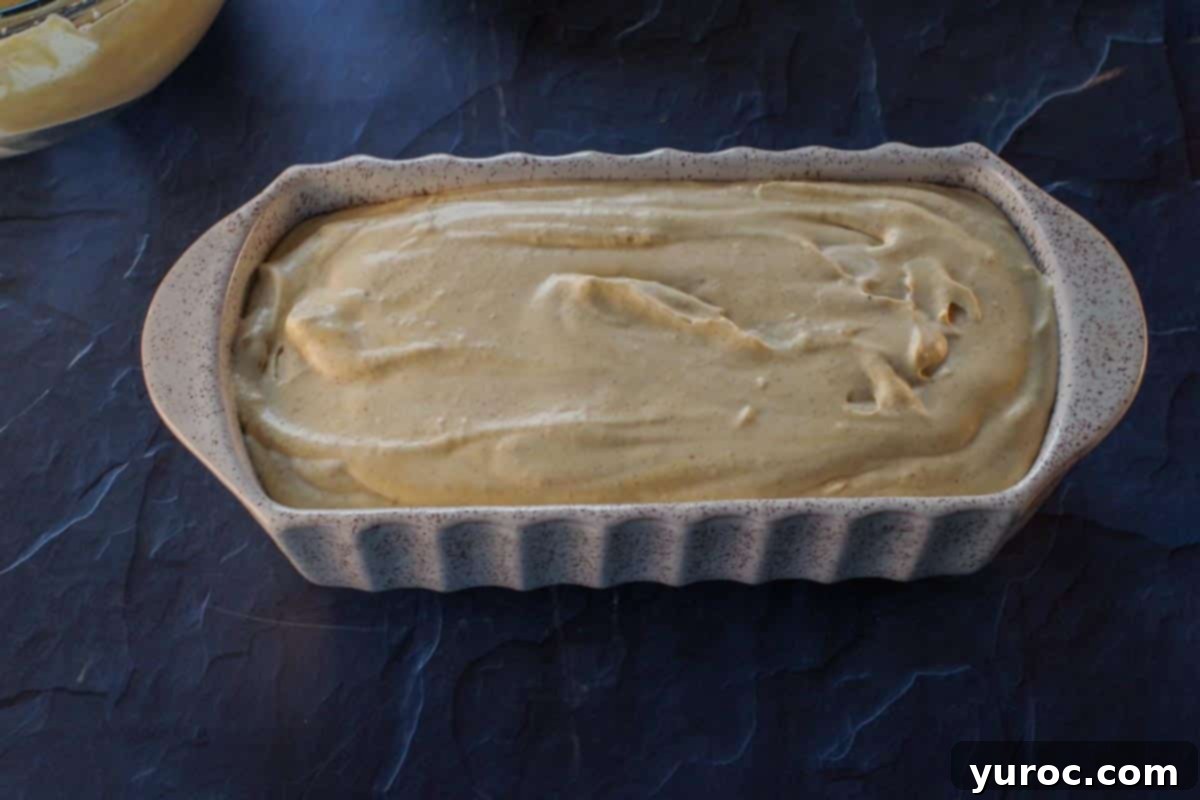
Step 4: Transfer to a Container. Pour the creamy pumpkin ice cream mixture into a freezer-safe container. A 9×5 inch loaf pan works perfectly, but any shallow airtight container will do. The goal is to provide enough surface area for efficient freezing while allowing for easy scooping later.
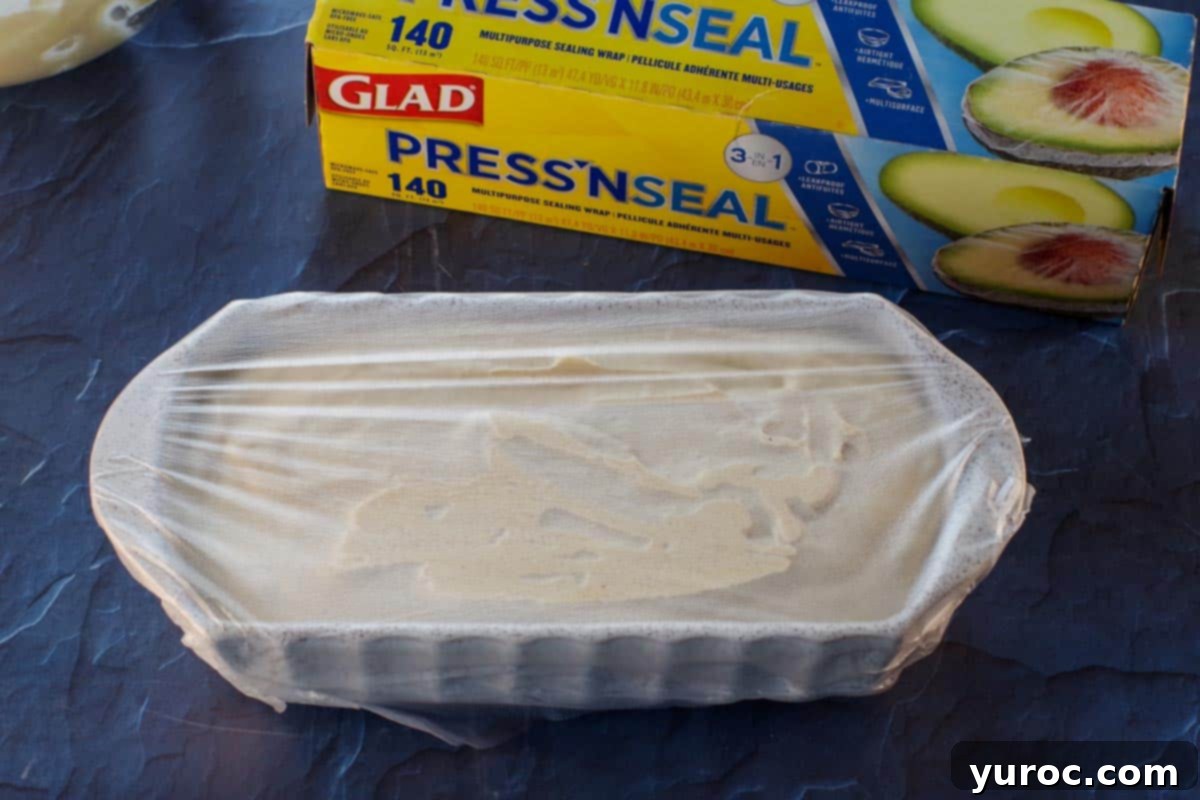
Step 5: Freeze. Cover the container tightly with plastic wrap, pressing it directly onto the surface of the ice cream to prevent ice crystals from forming. Alternatively, use a container with an airtight lid. Freeze for a minimum of 6-8 hours, or preferably overnight, to ensure it sets completely and reaches the perfect scoopable consistency.
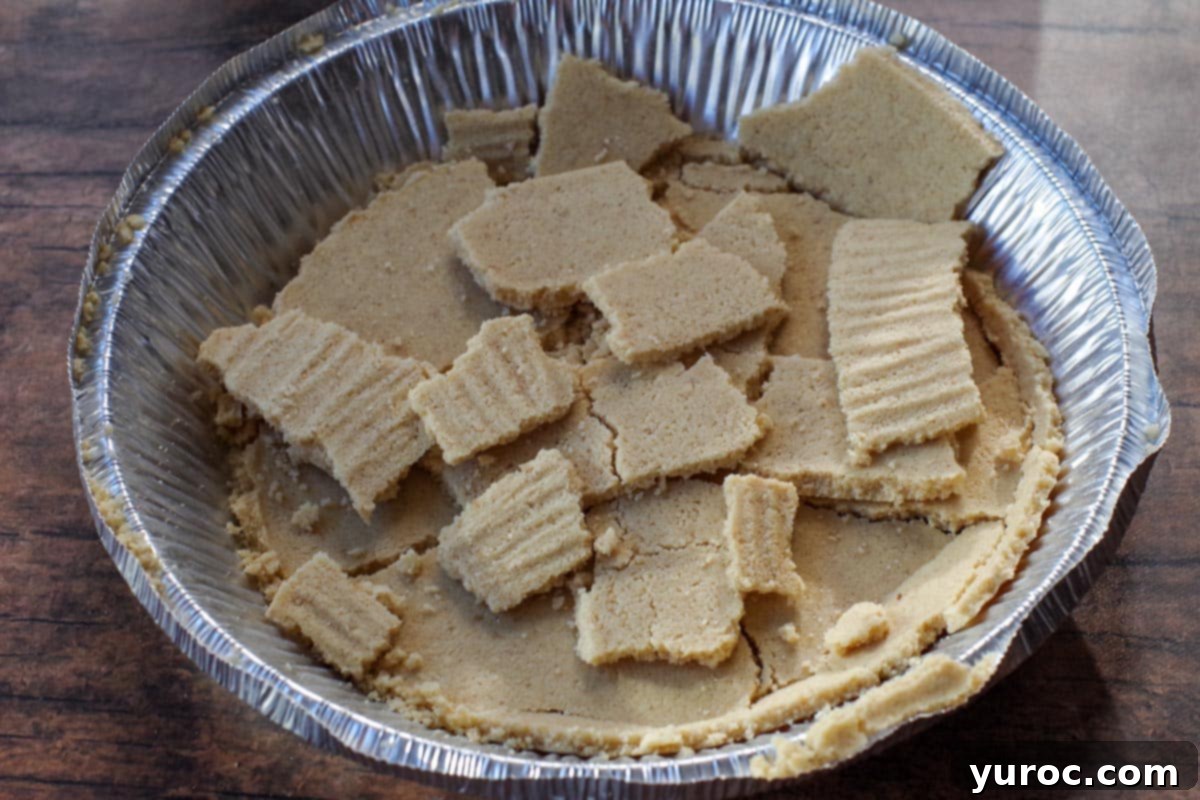
Step 6: Garnish and Serve. Once the ice cream is firm, you can break up a graham cracker crust into small pieces or use graham cracker crumbs. Scoop the ice cream into bowls or cones, then generously top with the graham cracker pieces. For an extra touch of flavor and aroma, sprinkle on additional cinnamon just before serving. Enjoy your homemade, no-churn pumpkin pie ice cream!
🌟 Tips for Success
Achieving the perfect creamy, no-churn ice cream is easy with a few simple tricks:
- Chill Your Bowl and Beaters: For the quickest and most effective whipping of heavy cream, chill your mixing bowl and beater attachments in the freezer for 10-15 minutes before you begin. Cold equipment helps the cream whip up faster and more stably.
- Use Cold Heavy Cream: Ensure your heavy whipping cream is very cold, straight from the refrigerator. This is crucial for achieving stiff peaks.
- Avoid Overmixing: While whipping the cream to stiff peaks is important, be careful not to overmix it once you’ve added the other ingredients. Overmixing can deflate the cream, resulting in a less airy and denser ice cream. Fold gently until just combined.
- Press Plastic Wrap Directly: To prevent ice crystals from forming on the surface of your ice cream, press plastic wrap directly onto the surface before covering the container with a lid. This creates a barrier against air and moisture.
- Allow Ample Freezing Time: While 6-8 hours is a good minimum, freezing overnight (10-12 hours) often yields the best, firmest texture for scooping.
- Real Pumpkin Puree is Key: As mentioned, always use pure pumpkin puree, not pumpkin pie filling. The filling has added spices and sweeteners that will disrupt the intended flavor balance of this recipe.
📖 Variations & Substitutions to Customize Your Treat
This pumpkin pie ice cream recipe is wonderfully versatile, allowing you to tailor it to your preferences or dietary needs. Get creative with these delicious variations and substitutions:
- Pumpkin Puree: Feel free to use either your own freshly made pumpkin purée for a vibrant flavor, or opt for convenient canned pumpkin puree. Just remember to use pure pumpkin, never pumpkin pie filling.
- Pie Crust: The graham cracker crust adds a delightful textural contrast and classic pie flavor. You can use a store-bought graham cracker pie crust (crumbled), create your own homemade pie crust, or even try a gingersnap crust for a spicier kick. If you don’t have a crust on hand, simply crush some plain graham crackers for a quick substitute.
- Spices: For ultimate convenience, you can substitute the individual cinnamon, nutmeg, and ginger with 2 teaspoons of a pre-made pumpkin pie spice blend. This ensures a consistent, classic pumpkin pie flavor with less effort. Adjust to your taste!
- Maple Extract: While maple extract (affiliate link) is readily available in most baking aisles and provides a concentrated flavor, if you prefer natural flavors or can’t find it, you can substitute it with 2 tablespoons of real maple syrup. When doing so, reduce the amount of sweetened condensed milk by 2 tablespoons to maintain the correct sweetness and consistency. You can also add 1 teaspoon of vanilla extract for a classic touch.
- Dairy-Free Option: To make this recipe dairy-free, substitute the heavy whipping cream with a dairy-free whipping topping (brands like Nutriwhip are known to freeze well). For the condensed milk, use a dairy-free condensed milk alternative, which can often be found in specialty stores or made at home.
- WW Friendlier (Weight Watchers): For a lighter version, if you’re comfortable with sugar-free ingredients, you can use sugar-free whipped topping (like Cool Whip Free) and make your own sugar-free condensed milk. This modification significantly reduces calories and points.
- Pumpkin Ice Cream Sandwich: For a fun twist, create pumpkin ice cream sandwiches! Freeze this delicious ice cream between two layers of graham crackers. For best results, follow a method similar to our Black Forest Ice Cream Sandwich Recipe to ensure perfect layering and freezing.
- Pumpkin Ice Cream Pie: Transform this ice cream into a show-stopping dessert pie! Simply fill a pre-made graham cracker pie shell with the pumpkin ice cream mixture and freeze for at least 8 hours until firm. Garnish with whipped cream and a sprinkle of cinnamon for an elegant presentation.
🍽 Essential Kitchen Equipment
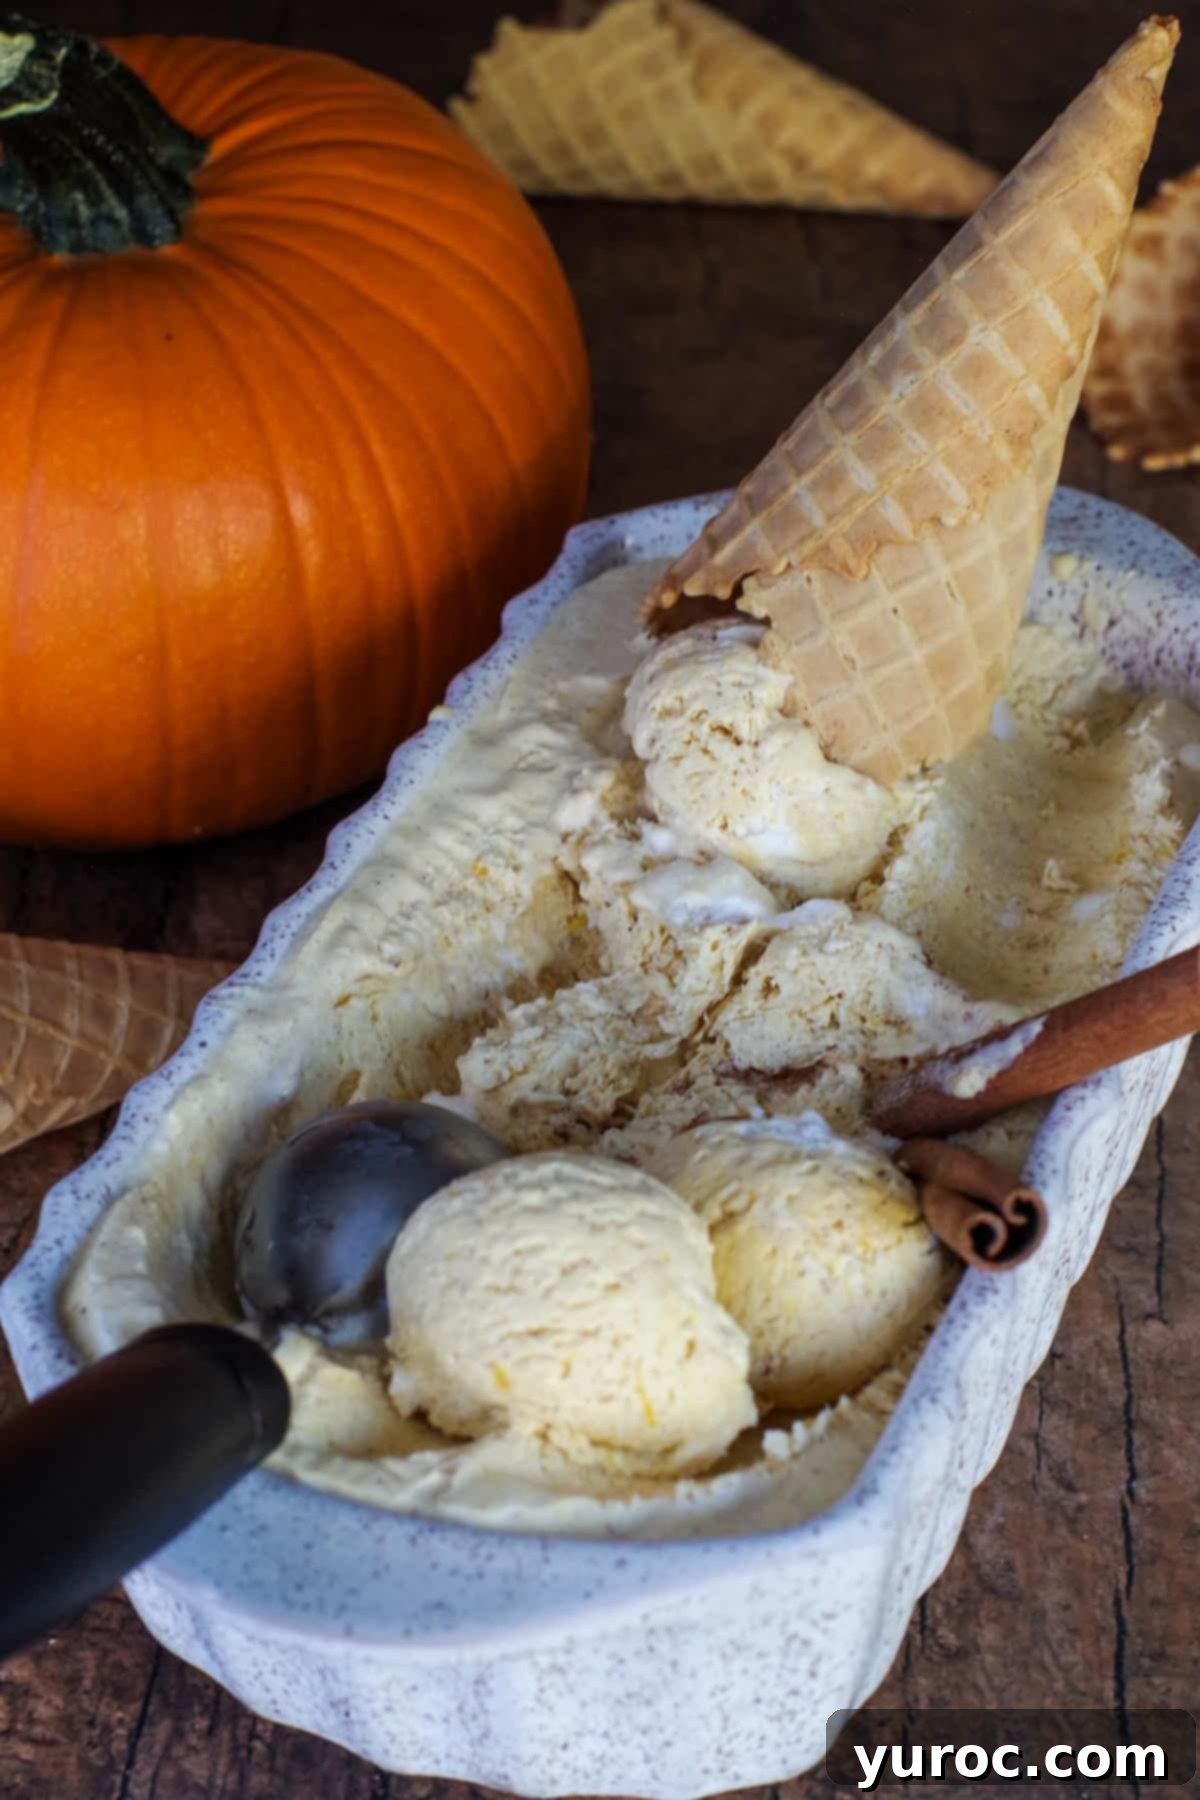
One of the many beauties of this no-churn pumpkin ice cream recipe is that you absolutely do NOT need a fancy ice cream machine or any highly specialized equipment. This makes it accessible for almost anyone to create delicious homemade ice cream!
However, you will need an electric mixer to whip the heavy cream to stiff peaks. Both a trusty hand mixer or a robust stand mixer will work perfectly, making the whipping process quick and effortless.
If you choose to make your own pumpkin puree from scratch, you’ll find a food processor or blender invaluable for achieving a smooth consistency. For freezing, a standard loaf pan (metal or ceramic) is ideal as its shape makes scooping easier. Always remember to cover your ice cream tightly with Glad Press’n Seal or a lid to prevent ice crystals. Later, for longer storage, transfer any leftovers to an airtight freezer container. For ultimate convenience, a loaf pan with a dedicated lid can be a fantastic investment!
🌡️ Storage Tips for Lasting Freshness
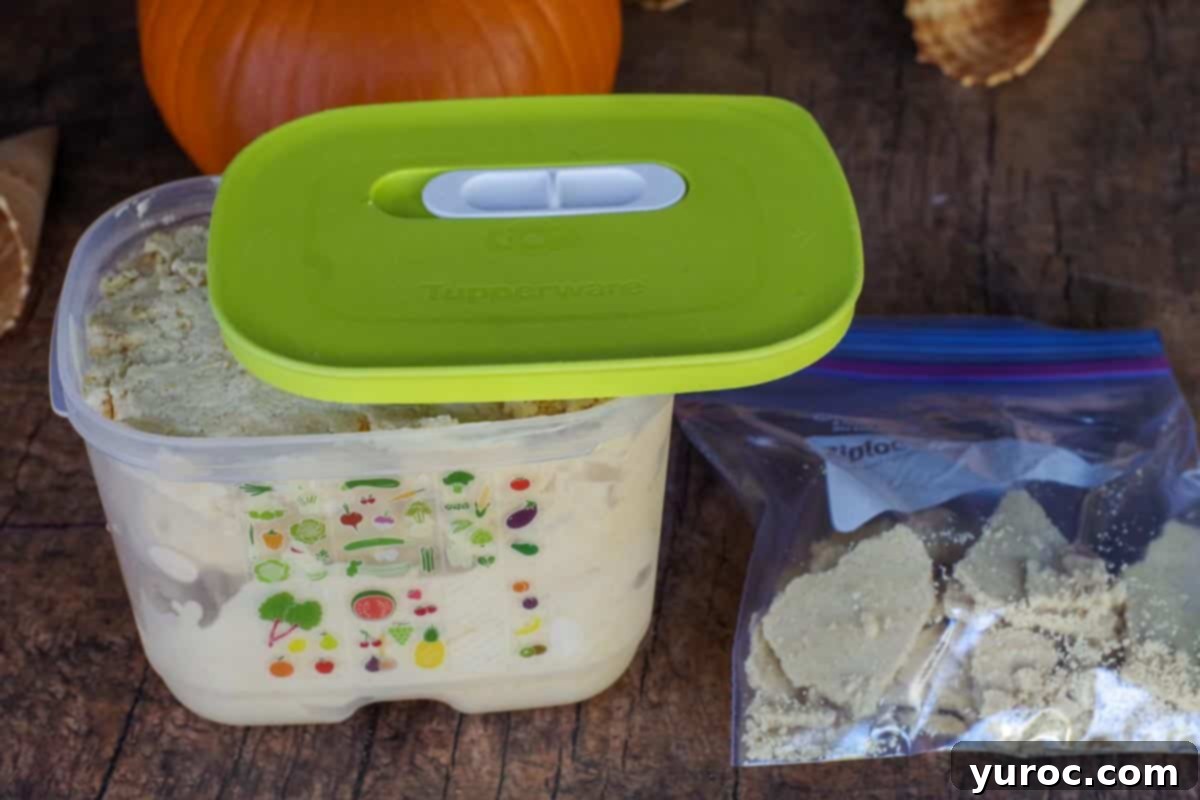
Proper storage is key to enjoying your delicious pumpkin pie ice cream for weeks to come. This homemade ice cream will maintain its best quality when stored in any type of airtight container in the freezer for up to 3 months. To prevent freezer burn and preserve its creamy texture, ensure the container is tightly sealed. For any leftover graham cracker crust pieces, an ordinary Ziploc freezer bag works perfectly.
It’s important to note that homemade no-churn ice cream tends to freeze harder than commercially produced ice cream, especially after a couple of days or longer in the freezer. For the best scoopable consistency, we recommend taking your ice cream out of the freezer and letting it sit at room temperature for about 10-15 minutes before scooping and serving. This brief softening period will allow you to enjoy its rich, creamy texture without struggling to get a perfect scoop.
👪 Serving Size & Suggestions
This delightful recipe for pumpkin pie ice cream yields approximately 8 generous servings, making it perfect for family desserts or small gatherings. If you need to adjust the quantities for a larger crowd or a smaller portion, simply double, triple, or half the recipe as needed. The ingredient quantities are easily scalable to fit your requirements. For serving, enjoy it plain in a bowl, scooped into a crispy ice cream cone, or get creative with toppings like a drizzle of caramel sauce, a dollop of whipped cream, or extra graham cracker crumbs. It’s also fantastic alongside a warm piece of apple pie!
If you’re looking for an easy homemade ice cream with an unbelievably delicious pumpkin flavor that will become a seasonal favorite, you absolutely must try this one!
And for those eager to explore more fantastic no-churn ice cream recipes, don’t miss our indulgent Butter Tart Ice Cream and the magical No-Churn Butterbeer Ice Cream!
❓ Frequently Asked Questions (FAQ)
- Can I use pumpkin pie filling instead of pure pumpkin puree?
- No, it’s crucial to use pure pumpkin puree. Pumpkin pie filling contains added spices, sugar, and sometimes other ingredients that will alter the flavor and sweetness balance of this recipe, making the final ice cream too sweet or overpoweringly spiced.
- How long does no-churn ice cream last in the freezer?
- When stored in an airtight container, homemade no-churn ice cream typically lasts for up to 3 months in the freezer. Beyond that, its texture and flavor may start to degrade due to freezer burn.
- Why is my no-churn ice cream freezing so hard?
- Homemade ice cream, especially no-churn varieties, tends to freeze harder than commercial ice creams because it lacks the stabilizers and air whipped in by industrial processes. To combat this, let it sit at room temperature for 10-15 minutes before serving to soften it to a scoopable consistency.
- Can I reduce the sugar in this recipe?
- The sweetened condensed milk is essential for both sweetness and texture, preventing ice crystals. Reducing it significantly can affect the creaminess. However, you can slightly reduce the added brown sugar if you prefer a less sweet ice cream, but taste the mixture before freezing to ensure it’s still to your liking.
- What’s the best way to prevent ice crystals?
- The key steps are using sweetened condensed milk, whipping the heavy cream to stiff peaks (incorporating air), and covering the ice cream tightly with plastic wrap pressed directly onto the surface before placing the lid on the container. This minimizes exposure to air and moisture.

📋 No-Churn Pumpkin Pie Ice Cream Recipe
Dessert
American, Canadian, North American
Vegetarian
8
servings
491
kcal
Terri Gilson
20
6
6
20
Ingredients
-
14
ounces
sweetened condensed milk -
1
teaspoon
maple extract -
3
cups
heavy whipping cream -
1.5
cups
pure pumpkin puree -
⅛
teaspoon
ground ginger -
¼
teaspoon
ground nutmeg -
1
teaspoon
ground cinnamon -
2
tablespoons
brown sugar
Garnish (Optional)
- graham cracker pie crust (crumbled)
- additional cinnamon
Instructions
-
In a large bowl, beat heavy whipping cream to stiff peaks using an electric mixer.
-
Add pumpkin puree, maple extract, sweetened condensed milk, nutmeg, ginger, cinnamon, and brown sugar to the whipped cream.
-
Gently stir until all ingredients are just combined and the mixture is uniform. Do not overmix.
-
Pour the mixture into a freezer-safe container (a 9×5 inch loaf pan is recommended, but any suitable container works).
-
Cover tightly with plastic wrap, pressing it directly onto the surface of the ice cream, and freeze for 6-8 hours or overnight until firm.
Garnish (Optional)
-
Break up graham cracker crust into pieces or use graham cracker crumbs.
-
Serve in an ice cream cone or bowl and garnish with graham cracker pieces and an additional sprinkle of cinnamon, if desired.
Nutrition
Serving:
0.5
cup
|
Calories:
491
kcal
(25%)
|
Carbohydrates:
36
g
(12%)
|
Protein:
7
g
(14%)
|
Fat:
37
g
(57%)
|
Saturated Fat:
23
g
(144%)
|
Polyunsaturated Fat:
2
g
|
Monounsaturated Fat:
9
g
|
Cholesterol:
118
mg
(39%)
|
Sodium:
90
mg
(4%)
|
Potassium:
369
mg
(11%)
|
Fiber:
1
g
(4%)
|
Sugar:
34
g
(38%)
|
Vitamin A:
8594
IU
(172%)
|
Vitamin C:
4
mg
(5%)
|
Calcium:
217
mg
(22%)
|
Iron:
1
mg
(6%)
Did you make this recipe?
Please leave a star rating and review below!
📋 More Delicious Pumpkin Recipes to Explore
If you’re a fan of the comforting flavors of pumpkin, we have even more delightful recipes to satisfy your cravings. From warming soups to sweet treats, these pumpkin dishes are perfect for any season, especially fall!
- Healthy Pumpkin Soup (without cream)
- Pumpkin Pie Sheet Pan Pancakes
- Healthy Pumpkin Biscotti Recipe
- Light Pumpkin Cheesecake (with Oreo Crust)