The Best Homemade Stovetop Apple Pie Filling: Quick, Easy, and Deliciously Versatile
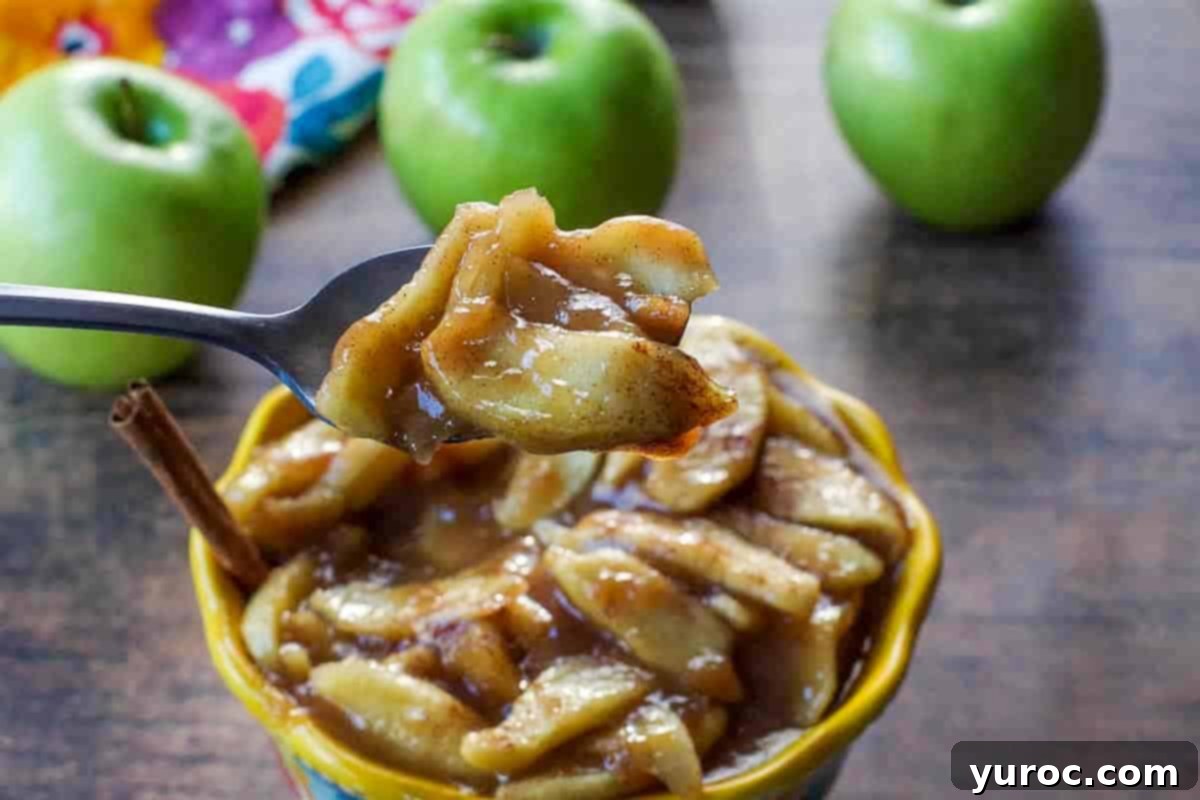
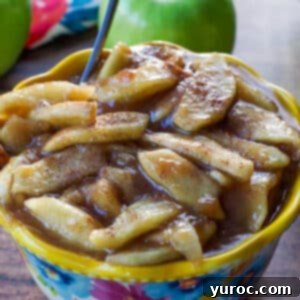
Prepare to elevate your dessert game with this incredible homemade Stovetop Apple Pie Filling. This recipe is a quick and effortless way to create a rich, creamy, and flavorful apple filling right on your stovetop, capturing the essence of my renowned award-winning apple pie. It masterfully blends the crisp sweetness of fresh apples with the warm spice of cinnamon and the deep notes of brown sugar, all brightened by a delicate hint of lemon. Far superior to any store-bought canned version, this precooked apple pie filling is your secret weapon for a myriad of culinary creations. Whether you’re baking a classic pie, crafting elegant tarts, or simply looking for a luscious topping for breakfast staples like pancakes and waffles, yogurt, or even a scoop of ice cream, this recipe delivers. You might even find yourself enjoying it straight from the spoon!
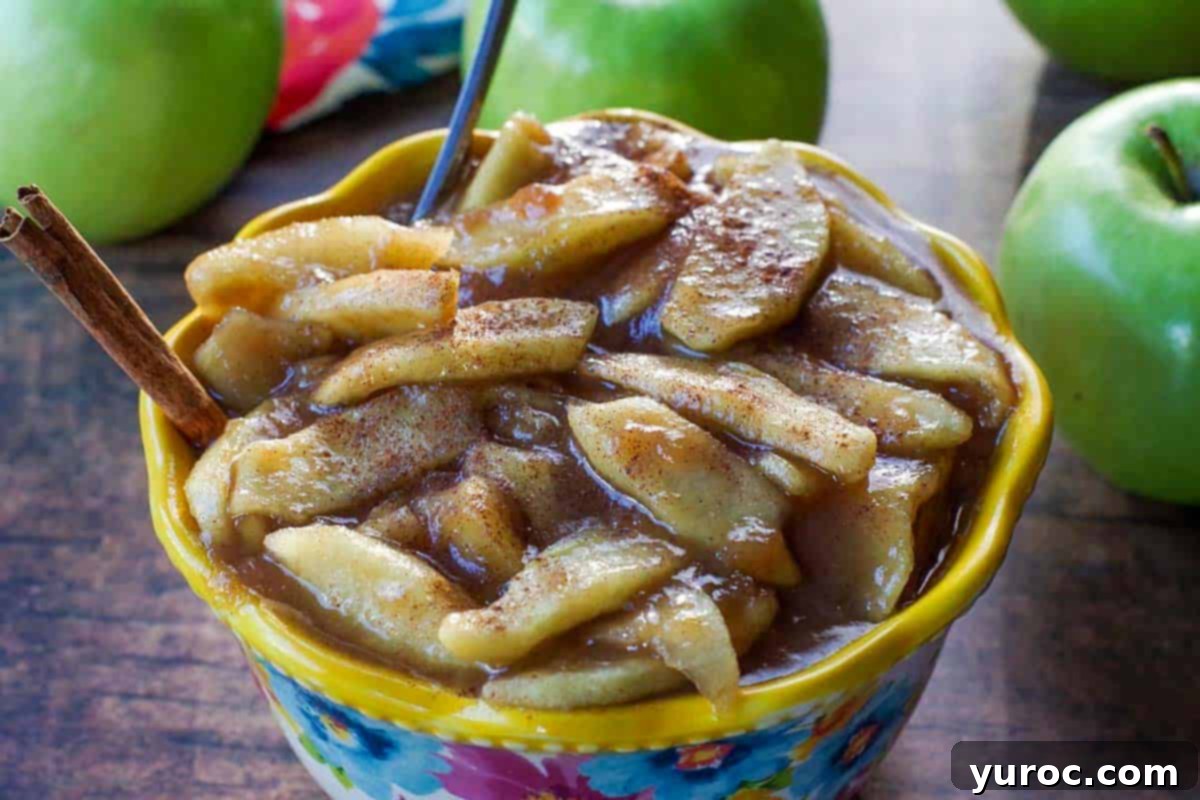
The inspiration for this easy stovetop method came directly from my Award-winning Apple Pie Recipe. Readers consistently asked for a reliable homemade, precooked apple pie filling, especially for popular dishes like my Caramel Apple Cheesecake Pie Recipe. It became clear that a dedicated recipe for a rich, ready-to-use apple pie filling was essential. This particular precooked apple pie filling recipe gains immense popularity during the autumn months when apples are at their peak and fresh off the trees, though its deliciousness makes it a year-round favorite.
Making your own apple pie filling from scratch offers numerous advantages over relying on store-bought cans. You have complete control over the quality of ingredients, allowing you to choose the freshest apples and adjust the sweetness and spice levels to your preference. This results in a naturally vibrant flavor and texture that no commercial product can match. Plus, the aroma of apples simmering with cinnamon and sugar on your stovetop is an experience in itself, filling your kitchen with an inviting warmth that signals comfort and deliciousness.
[feast_advanced_jump_to]
🍏 Why Choose Homemade Stovetop Apple Pie Filling?
Opting for a homemade stovetop apple pie filling over its canned counterpart is a decision you won’t regret. Here’s why this recipe stands out:
- Superior Flavor & Texture: Fresh apples, simmered to perfection, retain a delightful texture and burst with natural apple flavor, enhanced by real butter, brown sugar, and vibrant lemon zest. Canned fillings often lack this depth and can be overly sweet or gummy.
- Control Over Ingredients: You dictate what goes into your filling. Choose organic apples, adjust sugar levels, and customize spices to suit your taste or dietary needs. No artificial preservatives or corn syrups here!
- Incredibly Versatile: While perfect for pies, this precooked filling opens up a world of culinary possibilities, from breakfast toppings to savory accompaniments. Its ready-to-use nature makes it incredibly convenient for quick desserts or additions to various dishes.
- Cost-Effective: Especially when apples are in season, making your own filling can be significantly more economical than buying multiple cans of pre-made filling.
- Easy & Quick: Don’t let the “homemade” aspect intimidate you. This stovetop method is surprisingly fast and straightforward, making it accessible for even novice cooks.
🍎 Choosing the Best Apples for Your Pie Filling
The type of apple you choose can significantly impact the final texture and flavor of your pie filling. While many varieties can work, some are undeniably superior for holding their shape and contributing the perfect balance of tartness and sweetness.
- Granny Smith (Highly Recommended): My top choice for apple pie filling. These tart green apples are fantastic because they hold their shape exceptionally well during cooking, preventing a mushy filling. Their crisp texture and bright acidity perfectly balance the sweetness of the sugars.
- Honeycrisp: A wonderfully crisp and juicy apple with a balanced sweet-tart flavor. They hold up well to cooking and add a fantastic dimension.
- Fuji: Sweet and crisp, Fujis are another good option. They soften nicely but don’t turn to complete mush.
- Gala: A sweeter, milder apple that still maintains some structure when cooked. It’s a good choice if you prefer a less tart filling.
- Braeburn: Known for its firm texture and complex sweet-tart flavor, Braeburns are excellent baking apples that won’t fall apart.
- Golden Delicious: These apples tend to soften more, so if you use them, be prepared for a slightly softer filling. They are sweet and aromatic.
Pro Tip: For the most complex and interesting flavor, consider using a mix of two or three different apple varieties. Combining a tart apple like Granny Smith with a sweeter, softer apple such as Golden Delicious or Fuji creates a nuanced profile that truly shines.
🥘 Essential Ingredients
Creating this precooked filling requires a selection of simple, readily available ingredients that come together to form an irresistible treat. Here’s what you’ll need, along with a brief explanation of each ingredient’s role:
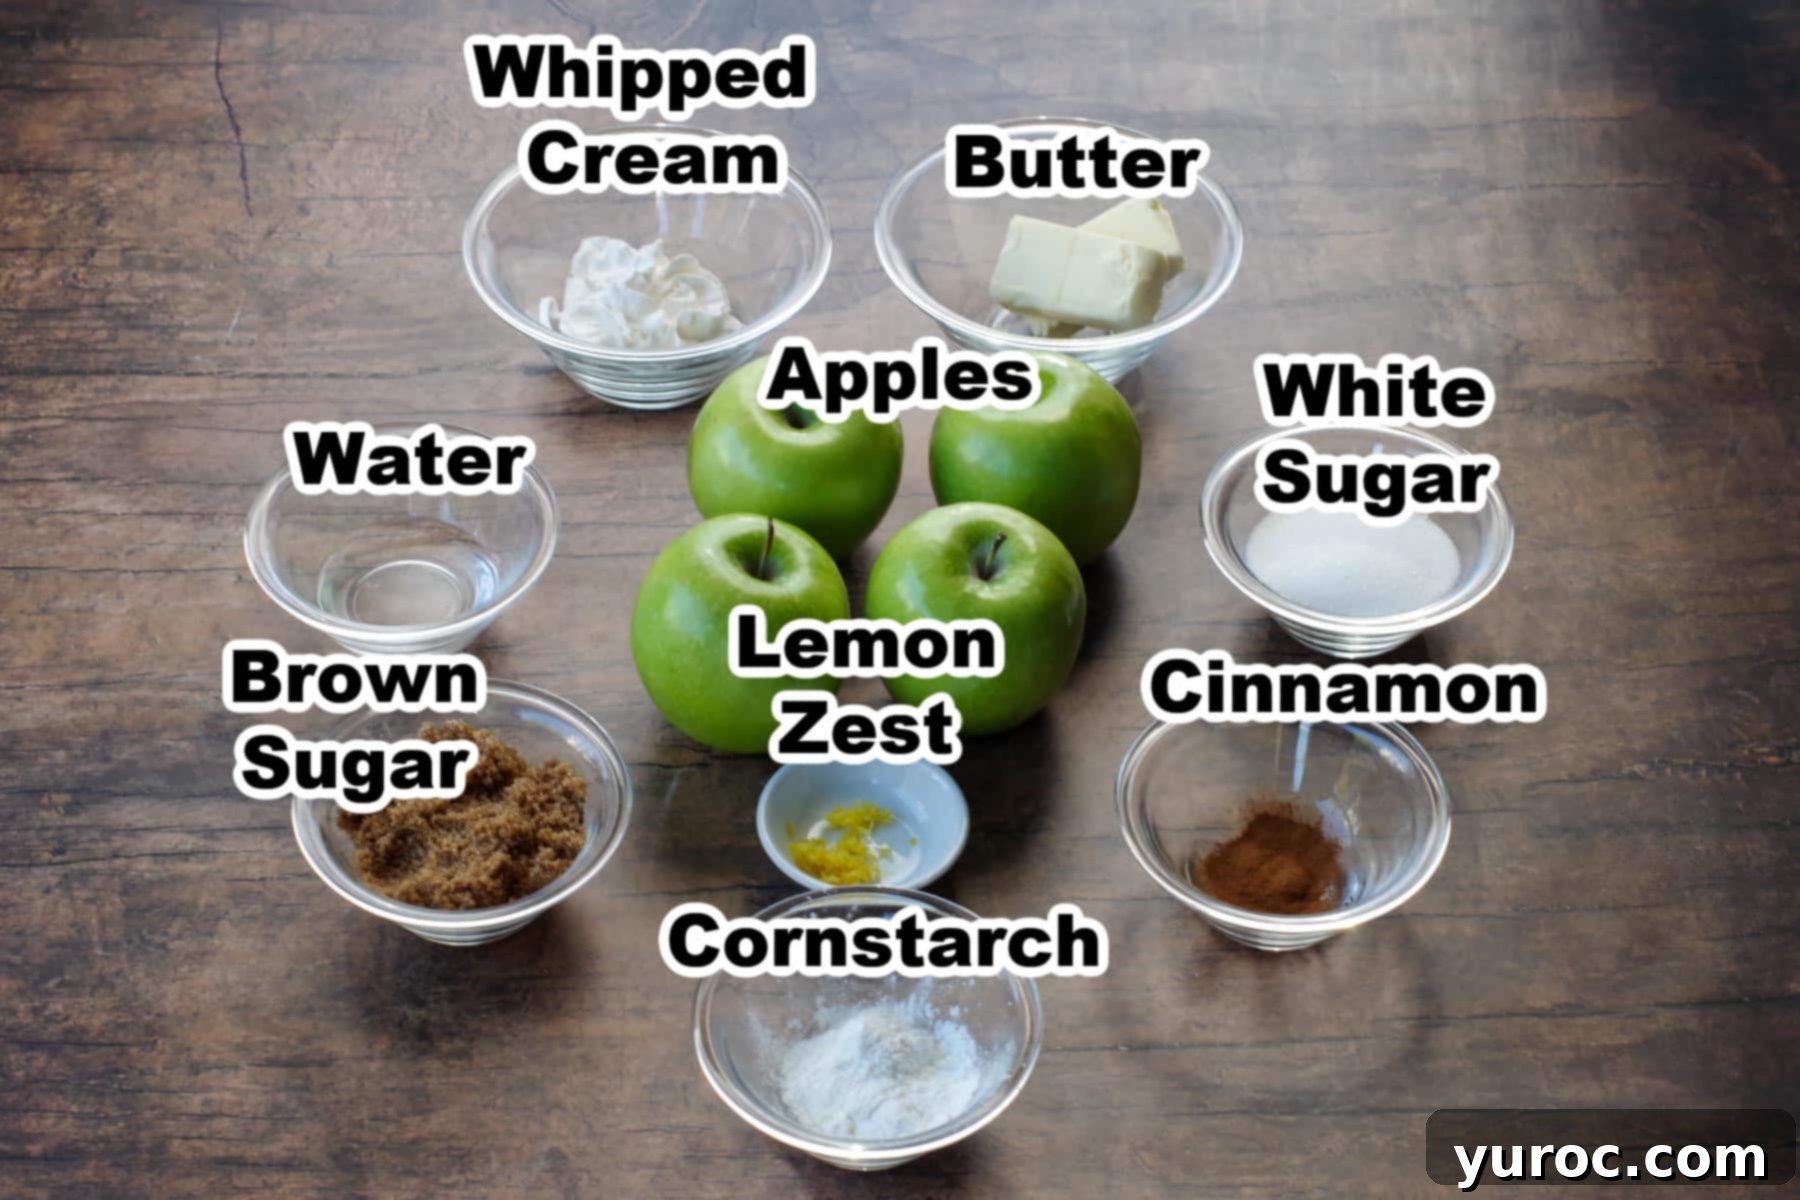
- Apples: The star of the show! As discussed, Granny Smith are preferred for their tartness and ability to hold shape, but feel free to experiment with your favorite varieties. You’ll need about 3-4 large apples, peeled, cored, and thinly sliced.
- White Granulated Sugar: Provides clean sweetness to balance the tartness of the apples.
- Brown Sugar: Adds a deeper, caramelized flavor profile and contributes to the rich, golden hue of the filling.
- Cinnamon: The quintessential spice for apple dishes, offering warmth and a comforting aroma.
- Unsalted Butter: Imparts a luscious richness and helps create that smooth, creamy texture.
- Lemon Zest: A crucial ingredient that brightens the entire filling, cuts through the sweetness, and enhances the fresh apple flavor. It also helps prevent the apples from browning excessively.
- Whipped Cream: A dollop of whipped cream (or cool whip) added towards the end contributes to the filling’s creamy consistency and luxurious mouthfeel. It’s an optional but highly recommended addition that sets this recipe apart.
- Cornstarch: The thickening agent for our filling. When mixed with water, it creates a slurry that thickens the apple mixture to the perfect consistency.
- Water: Used to dissolve the cornstarch, preventing lumps when added to the hot apple mixture.
*See the complete recipe card below for precise quantities and detailed instructions.
🔪 Step-by-Step Instructions for Your Perfect Apple Pie Filling
Making your own delicious apple pie filling from scratch is surprisingly simple. Just follow these easy steps to achieve a perfectly cooked, rich, and creamy filling that will impress everyone:
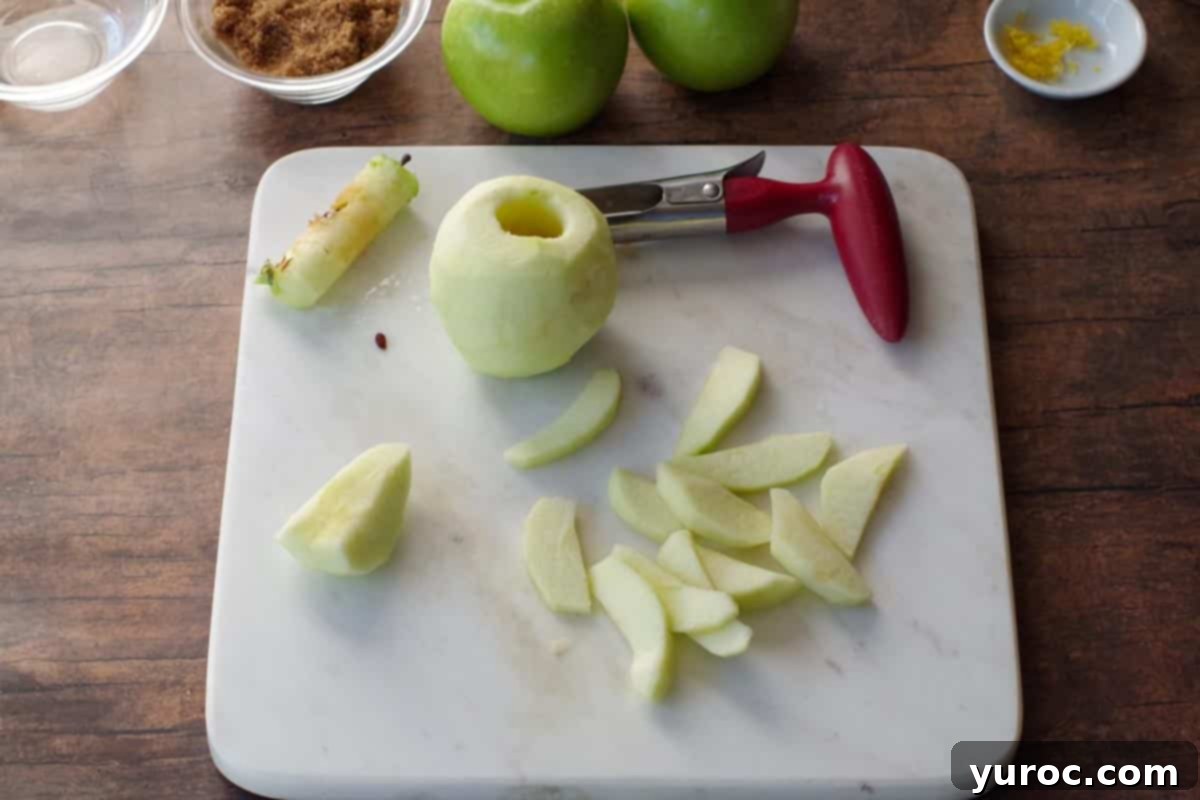
1. Prepare the Apples: Begin by thoroughly washing your apples. Then, carefully peel them, remove the core, and slice them thinly and evenly. Aim for slices about ¼ to ½ inch thick to ensure they cook consistently. If you prefer a chunkier filling, you can cut them into small chunks instead.
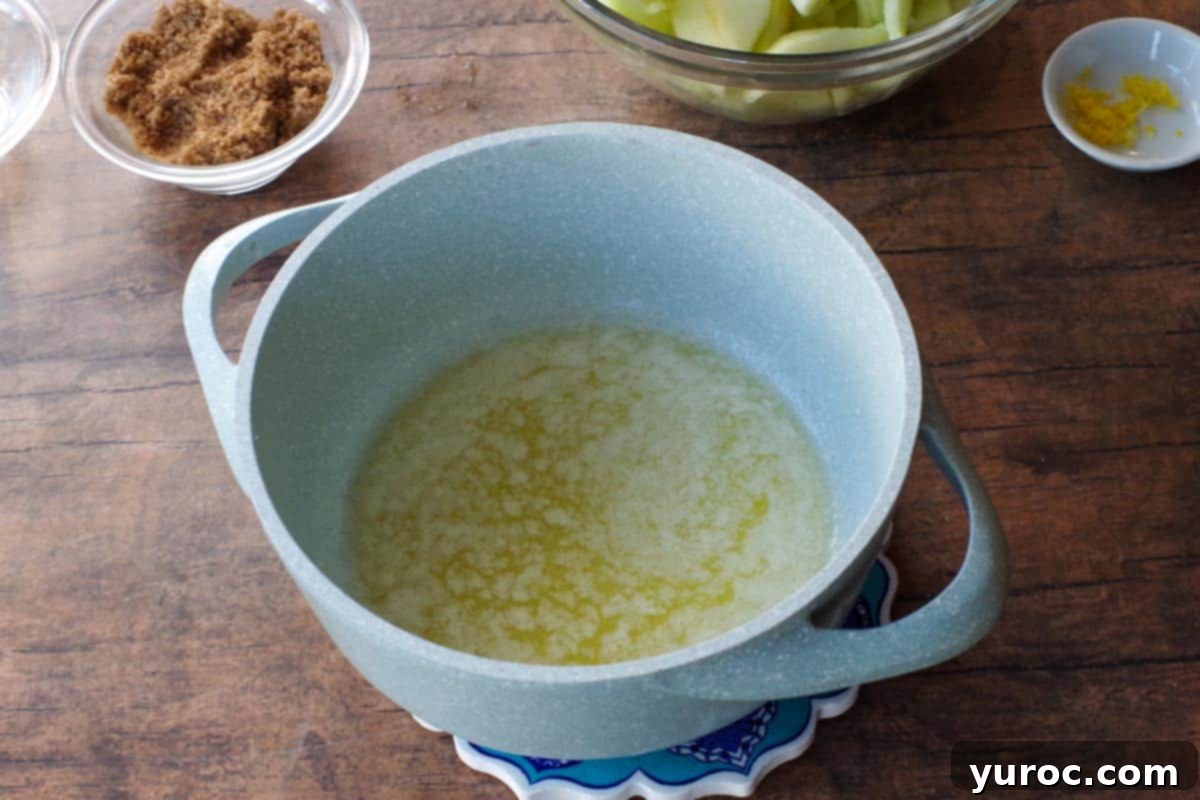
2. Melt the Butter: In a medium to large-sized pot or saucepan set on your stovetop, melt the unsalted butter over medium-low heat. Ensure the butter is fully melted and lightly shimmering, but don’t let it brown.
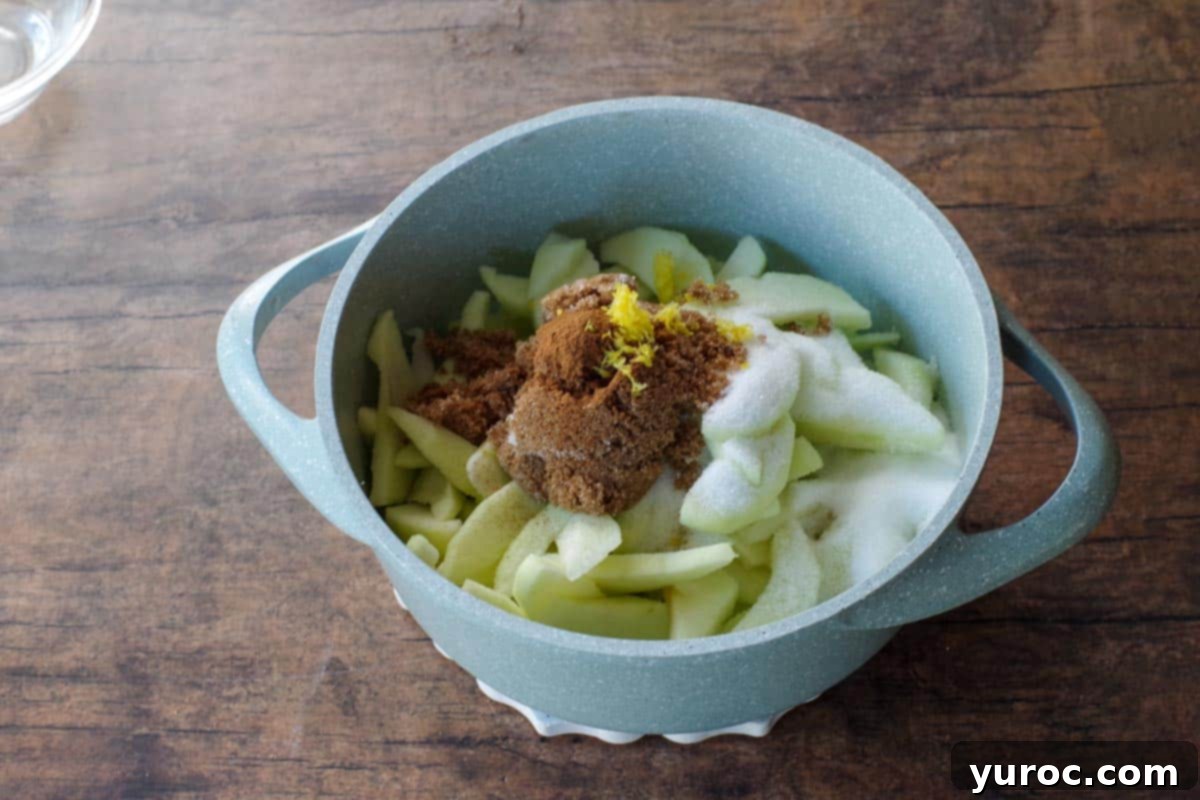
3. Combine Ingredients: Add your prepared raw apple slices to the melted butter in the pot. Then, sprinkle in the white granulated sugar, brown sugar, and cinnamon. Finally, add the fragrant lemon zest. Stir everything together gently to ensure the apples are well coated with the sugars and spices.
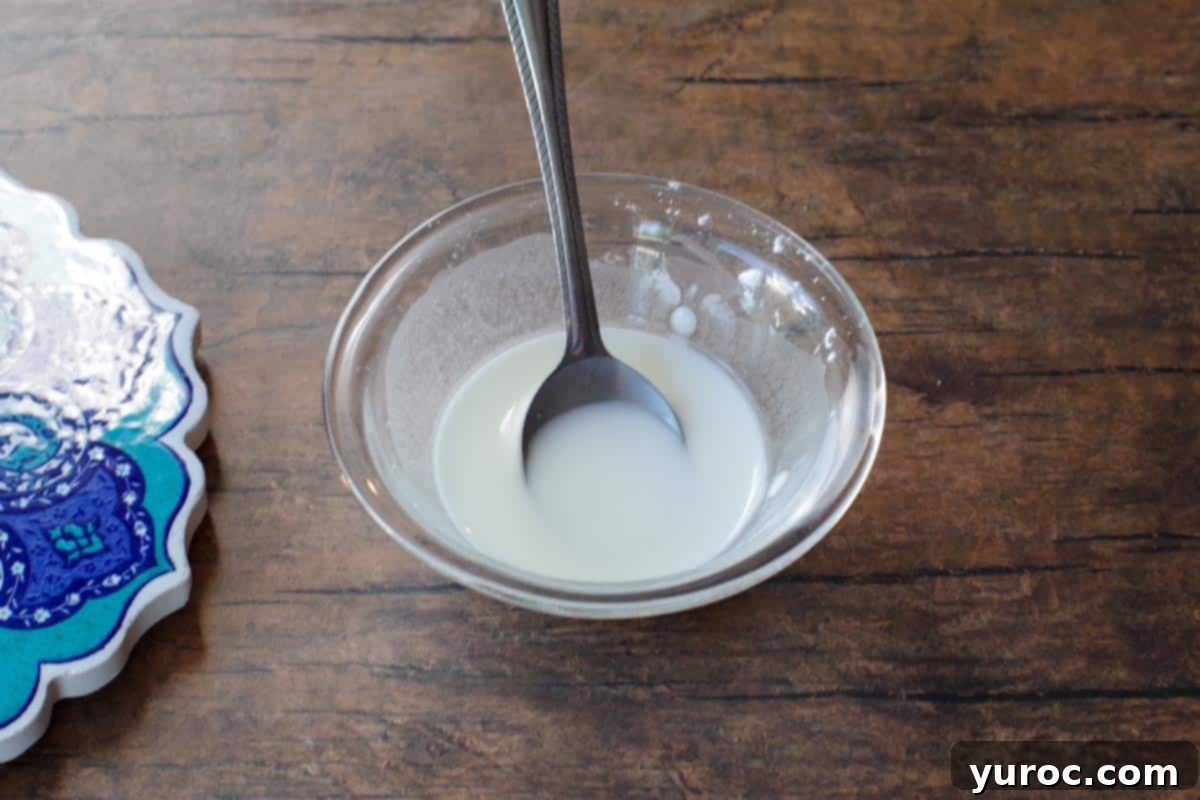
4. Prepare Cornstarch Slurry: In a small separate dish or bowl, combine the cornstarch with the water. Whisk it vigorously until the cornstarch is completely dissolved and no lumps remain. This slurry will be added later to thicken your filling.
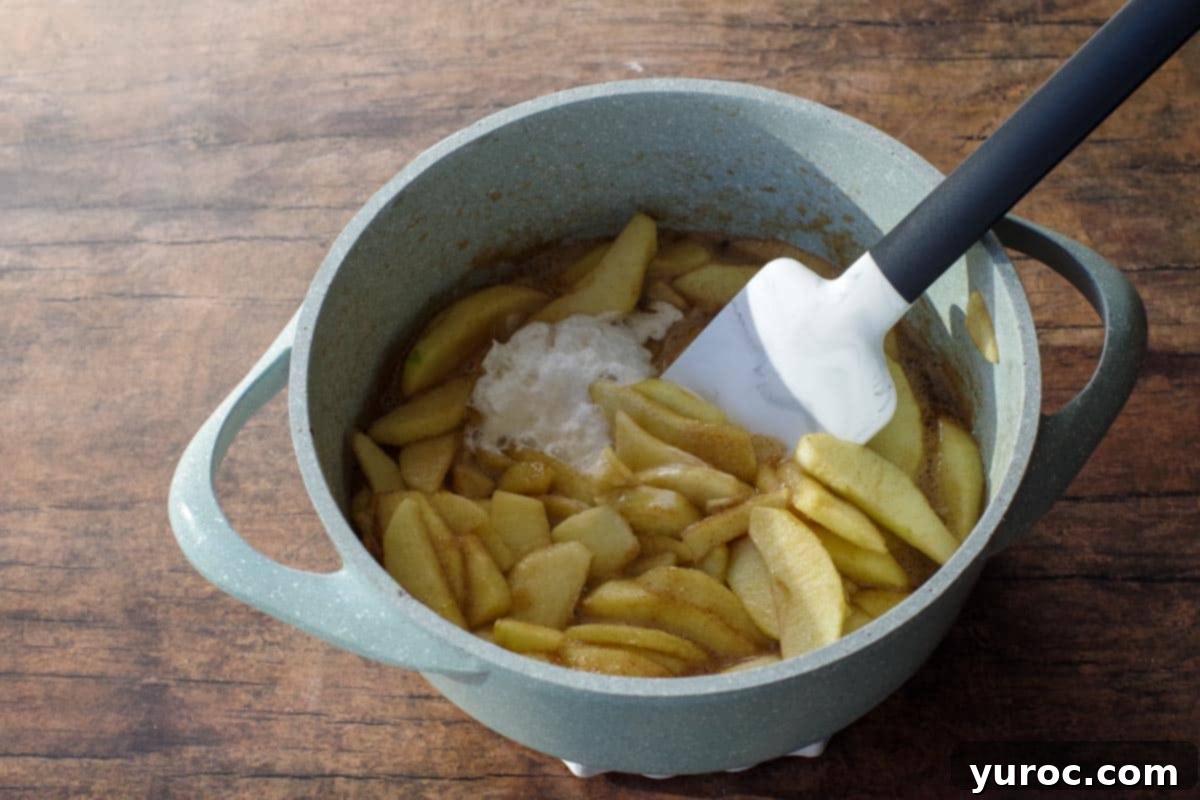
5. Cook the Apples: Place the pot back on medium heat. Cook the apple mixture for approximately 12 minutes, stirring frequently to prevent sticking and ensure even cooking. Continue cooking until the apples have softened to your desired tenderness. They should still have a slight bite but be easily pierced with a fork. Once softened, remove from heat and stir in the cornstarch-water slurry and the whipped cream. This will start the thickening process and add creaminess.
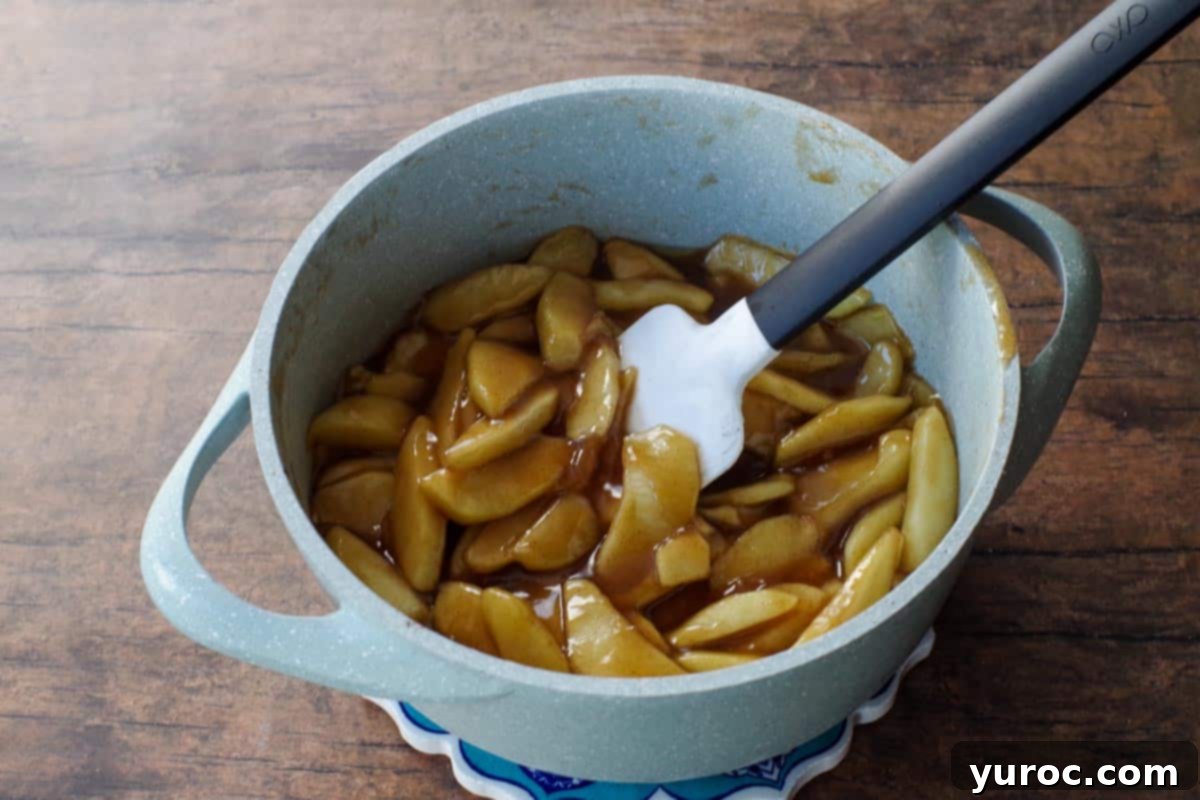
6. Thicken the Filling: Return the pot to medium-low heat. Continue to cook, stirring regularly, for an additional 2-3 minutes. As the mixture heats, the cornstarch will activate, and the filling will visibly thicken to a glossy, desirable consistency. Let the mixture gently bubble for 1 minute to ensure the cornstarch is fully cooked and the filling reaches its maximum thickness. Remove the pot from the heat and allow the apple pie filling to cool completely before using or storing.
📖 Creative Variations & Smart Substitutions
This stovetop apple pie filling recipe is incredibly flexible, allowing you to customize it to your taste or dietary needs. Here are some ideas:
- Apple Varieties: As mentioned earlier, while Granny Smith apples are ideal for their tartness and ability to hold their shape, you can absolutely use any type of apples you have on hand. Feel free to experiment with red delicious, Gala, Cosmic Crisp, Pink Lady, Golden Delicious, or Macintosh apples, or even a blend for a more complex flavor profile.
- Cutting Apples: If you prefer a filling with more substantial apple pieces, feel free to cut them into chunks instead of slices. Just be aware that chunks might require a slightly longer cooking time to reach the desired tenderness.
- Healthier Alternatives (Weight Watchers Friendly): To make this recipe lighter, opt for a light butter or vegan margarine and a light whipped topping (like a spray cream or a sugar-free whipped cream). For an even lighter option, consider using my WW friendly apple cinnamon topping as a base and then adjusting for pie filling consistency.
- Whipped Cream Options: You can use traditional homemade whipped cream for ultimate richness, store-bought whipped cream from a spray can for convenience, or even a non-dairy whipped topping like Cool Whip. Each will contribute a slightly different texture and flavor.
- Dairy-Free Version: To make this filling suitable for a dairy-free diet, simply substitute unsalted butter with a high-quality vegan margarine. For an extra buttery flavor, you can add ¼ teaspoon of butter extract. Replace regular whipping cream with a dairy-free whipped topping or coconut cream.
- Spice It Up: While cinnamon is classic, consider adding a pinch of nutmeg, a tiny dash of ground cloves, or a sprinkle of allspice for a more complex “apple pie spice” flavor.
- Caramel Apple Infusion: For a delightful twist, stir in a tablespoon or two of homemade or store-bought caramel sauce along with the whipped cream for a luscious caramel apple pie filling.
🍽 Essential Equipment for Success
To prepare this homemade stovetop apple pie filling, you’ll need a few basic kitchen tools:
- A medium-large pot or saucepan: Essential for cooking the apples evenly.
- A cutting board: For safely peeling and slicing your apples.
- A paring knife or chef’s knife: For precision slicing and dicing.
- A vegetable peeler: To efficiently remove apple skins.
- An apple corer: While not strictly necessary (a knife can work), an apple corer makes the task much quicker and easier for this homemade pie filling! (Affiliate links are provided for your convenience).
- Whisk or spoon: For stirring ingredients and creating the cornstarch slurry.
🌡️ Proper Storage for Freshness
Once you’ve made this delicious homemade apple pie filling, proper storage ensures it stays fresh and ready for your next culinary creation:
- Refrigeration: Allow the filling to cool completely to room temperature before transferring it to an airtight container. Store it in the refrigerator for up to 4 days. This makes it perfect for meal prepping desserts or having a quick topping on hand.
- Freezing: For longer storage, this apple pie filling freezes beautifully. Once cooled, spoon the filling into an airtight freezer-safe container or a heavy-duty Ziploc freezer bag. Ensure you leave about ½ inch of headspace in containers to account for expansion. Freeze for up to 3 months. When you’re ready to use it, simply defrost the filling in the refrigerator overnight. You can also gently reheat it on the stovetop over low heat, stirring occasionally, if you need it warm.
👪 Yield and Adjusting Serving Size
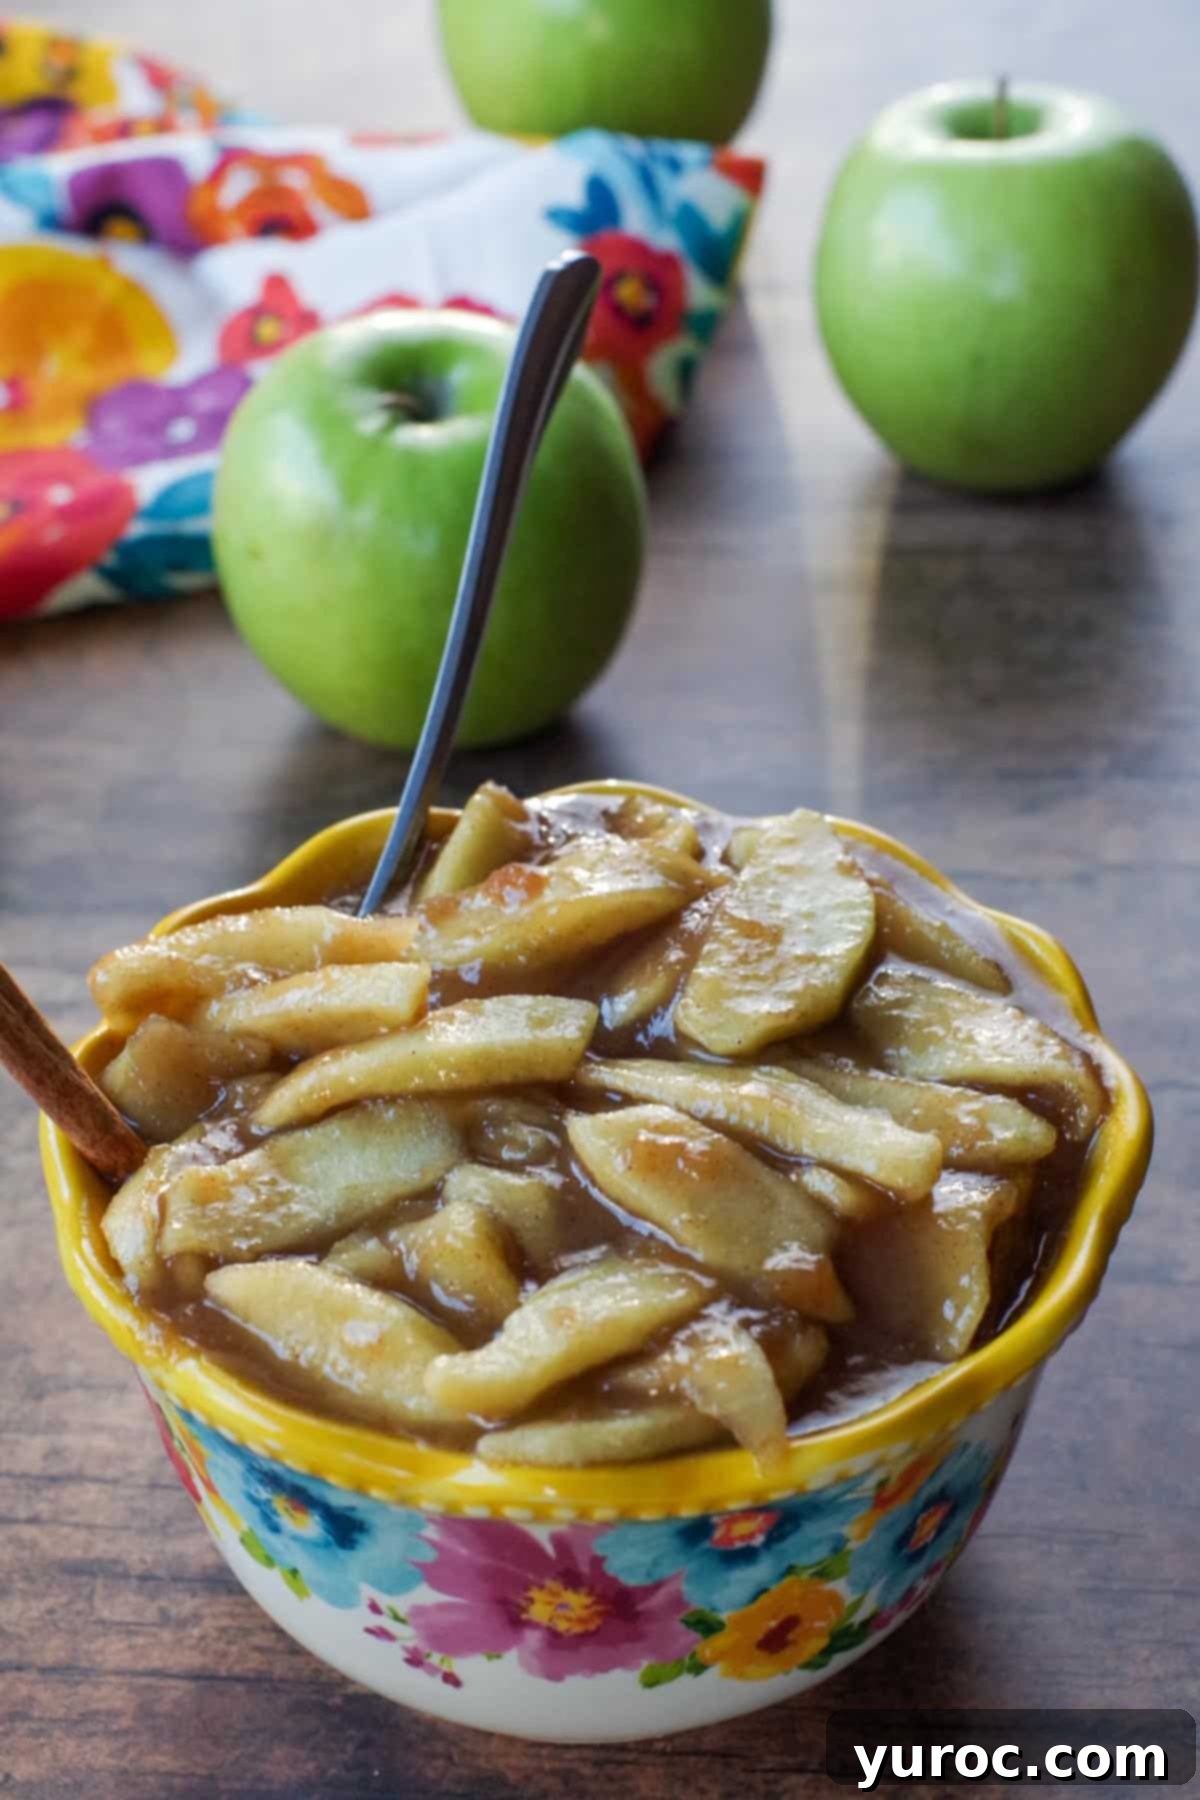
This fantastic apple pie filling recipe yields approximately 2 cups of rich and creamy filling, which translates to about 8 (¼ cup) servings. This is a perfect batch size for a small pie, a few tarts, or ample topping for several servings of breakfast or dessert. One of the best features of this recipe is its flexibility in terms of serving size. You can easily half, double, or even triple the recipe to suit your needs. Simply click on the blue serving number within the recipe card, and a dropdown menu will allow you to select your desired number of servings. The ingredient quantities will then automatically adjust to match your selection, taking all the guesswork out of scaling the recipe!
💭 Creative Ideas for Using Your Homemade Apple Pie Filling
While this homemade apple filling recipe is typically used as a superior replacement for canned apple pie filling in various baked goods, its versatility extends far beyond just pies. If you are making an apple pie from scratch, you don’t always need to precook the filling, but using this stovetop version ensures a consistent, perfectly thickened result every time. Here are some delightful ways to enjoy your freshly made apple pie filling:
- Pies and Tarts: Of course, this is its primary use! Fill a blind-baked pie crust for a quick and easy apple pie, or use it in mini tarts for individual portions.
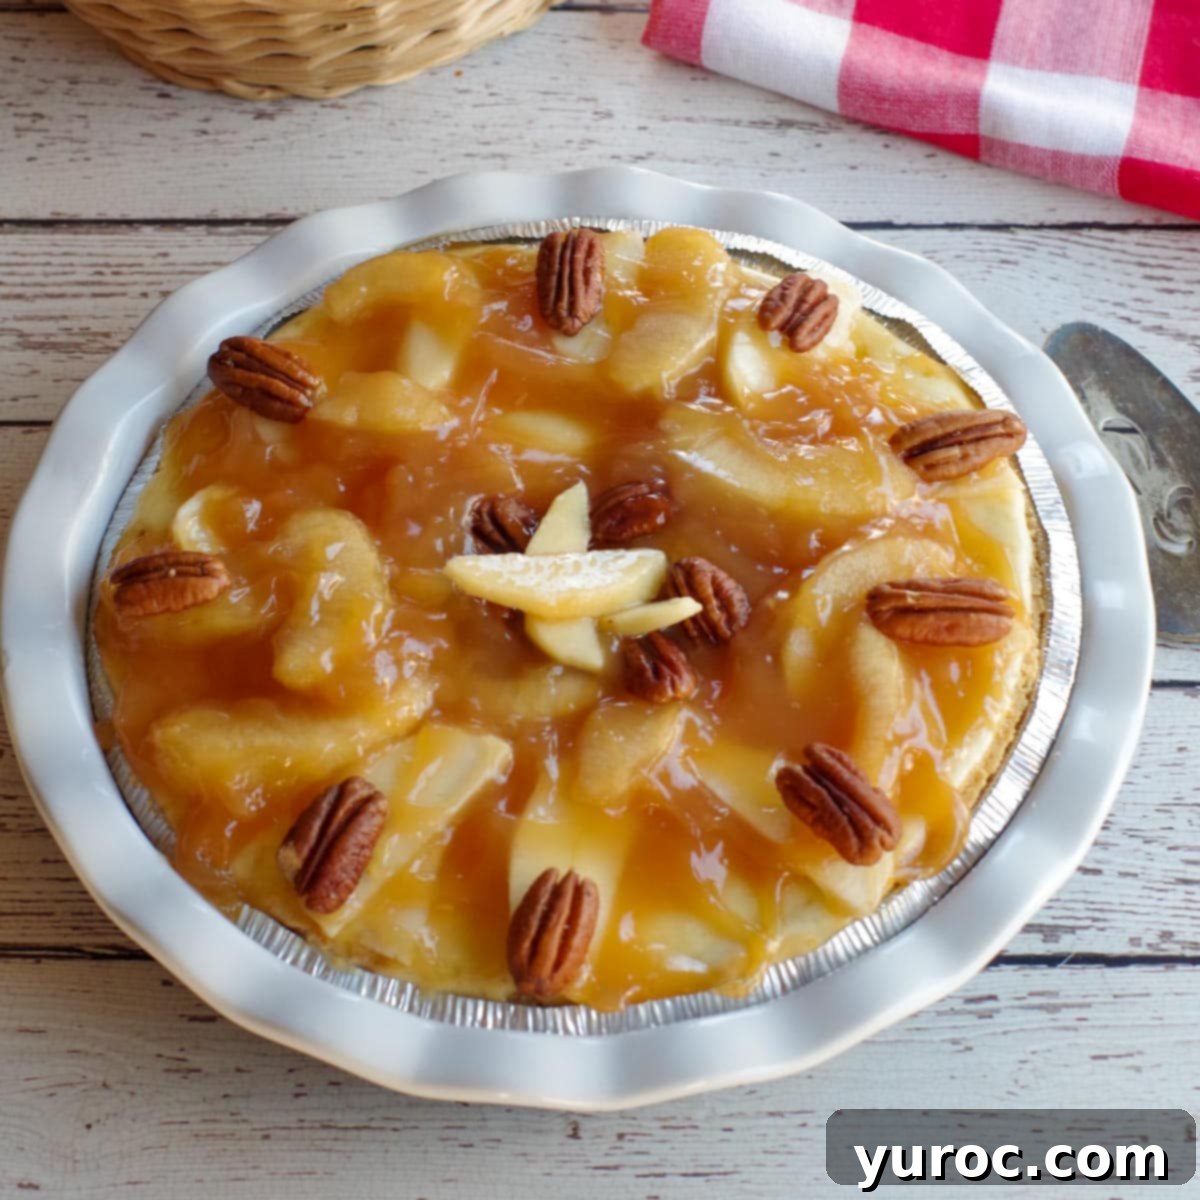
- Caramel Apple Cheesecake Pie: It’s the perfect filling for my famous Caramel Apple Cheesecake Pie Recipe (shown below), creating layers of incredible flavor and texture. It also works wonderfully as a decadent topping on a plain cheesecake.
- Ice Cream Topping: Spoon warm or cold apple pie filling over a generous scoop of vanilla ice cream for an instant, comforting dessert. Add a sprinkle of chopped nuts for extra crunch.
- Dessert Perogies: Get creative and use this apple filling in place of Saskatoon berry filling or blueberry filling in sweet perogies. The apple will be a delightful surprise!
- Breakfast Delights: Transform your breakfast routine by topping Harvest Grain and Nut Pancakes, fluffy waffles, or crispy French toast with a generous dollop of this warm apple filling.
- Apple Hand Pies or Turnovers: Cut pie dough into squares, fill with a spoonful of apple filling, fold, seal, and bake for individual portable treats.
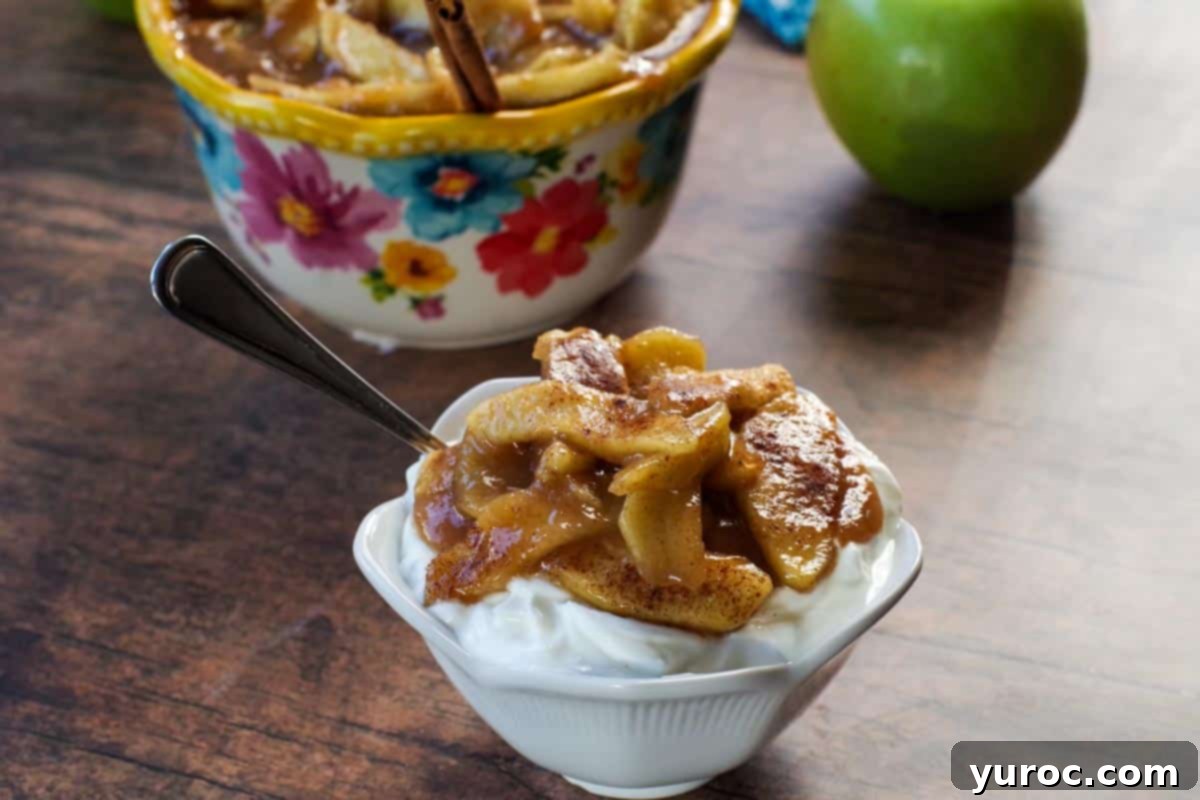
- Oatmeal or Yogurt Parfaits: Stir it into your morning oatmeal for a flavorful boost, or layer it with yogurt and granola for a wholesome and delicious parfait (as shown below).
- Crepes or Blintzes: Use it as a sweet filling for delicate crepes or traditional blintzes, perhaps with a dusting of powdered sugar.
- Puff Pastry Desserts: Spoon the filling onto squares of puff pastry, fold into triangles or pockets, seal, and bake until golden brown and flaky.
- Apple Crumble or Crisp Base: For a quick crumble, layer this filling in a dish and top with a simple oat or streusel topping before baking.
Whether you’re fortunate enough to have an abundance of apples from your own trees or simply seeking an easy stovetop apple pie filling that tastes remarkably gourmet, you are going to fall in love with this homemade version of my award-winning recipe! The depth of flavor and fresh quality you get from making your own filling is simply unparalleled when compared to any canned alternative.
❓ Frequently Asked Questions (FAQ)
- What kind of apples are best for apple pie filling?
Granny Smith apples are highly recommended due to their tartness and ability to hold their shape during cooking, preventing a mushy filling. However, you can use other firm apples like Honeycrisp, Fuji, or Braeburn, or a mix of varieties for a more complex flavor.
- Can I make this apple pie filling ahead of time?
Absolutely! This recipe is perfect for meal prepping. You can prepare the filling up to 4 days in advance and store it in an airtight container in the refrigerator.
- How do I thicken my apple pie filling if it’s too runny?
The cornstarch slurry in this recipe is designed to provide the right thickness. If your filling still seems too thin after cooking, you can create a small slurry with an additional 1 teaspoon of cornstarch mixed with 2 teaspoons of cold water. Stir this into the simmering filling and cook for another minute or two until it thickens to your desired consistency.
- What if my apple pie filling is too thick?
If your filling turns out too thick, you can thin it out by stirring in a tablespoon or two of water, apple juice, or even a splash of apple cider until it reaches your preferred consistency. Do this over low heat, stirring continuously.
- Can I freeze homemade apple pie filling?
Yes, this filling freezes beautifully! Allow it to cool completely, then transfer it to freezer-safe bags or containers, leaving a little headspace. It can be frozen for up to 3 months. Thaw overnight in the refrigerator before use.
- Is lemon zest necessary? Can I skip it?
While you can technically skip it, lemon zest adds a bright, fresh note that cuts through the sweetness and enhances the natural apple flavor. It also helps prevent the apples from browning. I highly recommend including it for the best results.
- Can I use a different sweetener?
You can experiment with other sweeteners like maple syrup or honey, but the quantities and the final flavor profile will change. Start with smaller amounts and adjust to taste, keeping in mind they might affect the overall consistency.

📋 Stovetop Apple Pie Filling Recipe
Print Recipe
Pin
Save RecipeSave Recipe
Rate
Add to Shopping ListGo to Shopping List
Equipment
-
paring knife
-
cutting board
-
apple corer
-
vegetable peeler
-
medium pot
Ingredients
- 3-4 LARGE peeled and cored thinly sliced green Granny Smith apples * (like the size of the apple in the lead photo. If your apples are very small, use more to get approximately 2 cups of filling.)
- 6 tablespoons white granulated sugar
- 6 tablespoons brown sugar
- 1 teaspoon cinnamon
- ¼ cup butter
- ½ teaspoon lemon zest
- 8 dollops whipped cream * (can use spray can whipped cream or Cool Whip)
- 1 tablespoon cornstarch
- 2 tablespoons water
Instructions
-
Peel, core, and slice apples into even, thin pieces (approximately ¼ to ½ inch thick).
-
In a medium-sized pot on the stovetop, melt butter over medium-low heat.
-
Add the prepared apple slices, white granulated sugar, brown sugar, cinnamon, and lemon zest to the pot. Stir gently to combine.
-
In a small separate dish, whisk together the cornstarch and water until smooth to create a slurry.
-
Cook the apple mixture on medium heat for approximately 12 minutes, stirring frequently, until the apples have softened to your liking. Remove from heat, then stir in the cornstarch slurry and the whipped cream.
-
Return the pot to medium-low heat and continue to cook, stirring regularly, for an additional 2-3 minutes, until the filling has visibly thickened and become glossy.
-
Allow the filling to gently bubble for 1 minute to ensure the cornstarch is fully cooked.
-
Remove the pot from heat and let the apple pie filling cool completely before using or storing.
Nutrition
📋 More Delicious Apple Recipes to Try
If you’ve enjoyed making and tasting this homemade stovetop apple pie filling, you’ll love exploring other apple-centric recipes. Apples are incredibly versatile, lending themselves to both sweet and savory dishes. Here are some more fantastic apple recipes to add to your culinary repertoire:
- Healthy Microwave Apple Crisp (in a Mug)
- Apple Walnut Bread (with brown butter glaze)
- Toffee Apple Pie Cookies (award-winning)
- Cosmic Caramel Apple Pie and Cheddar Bites