Homemade Black Forest Biscotti: Your Ultimate Chocolate Cherry Coffee Companion & Edible Gift
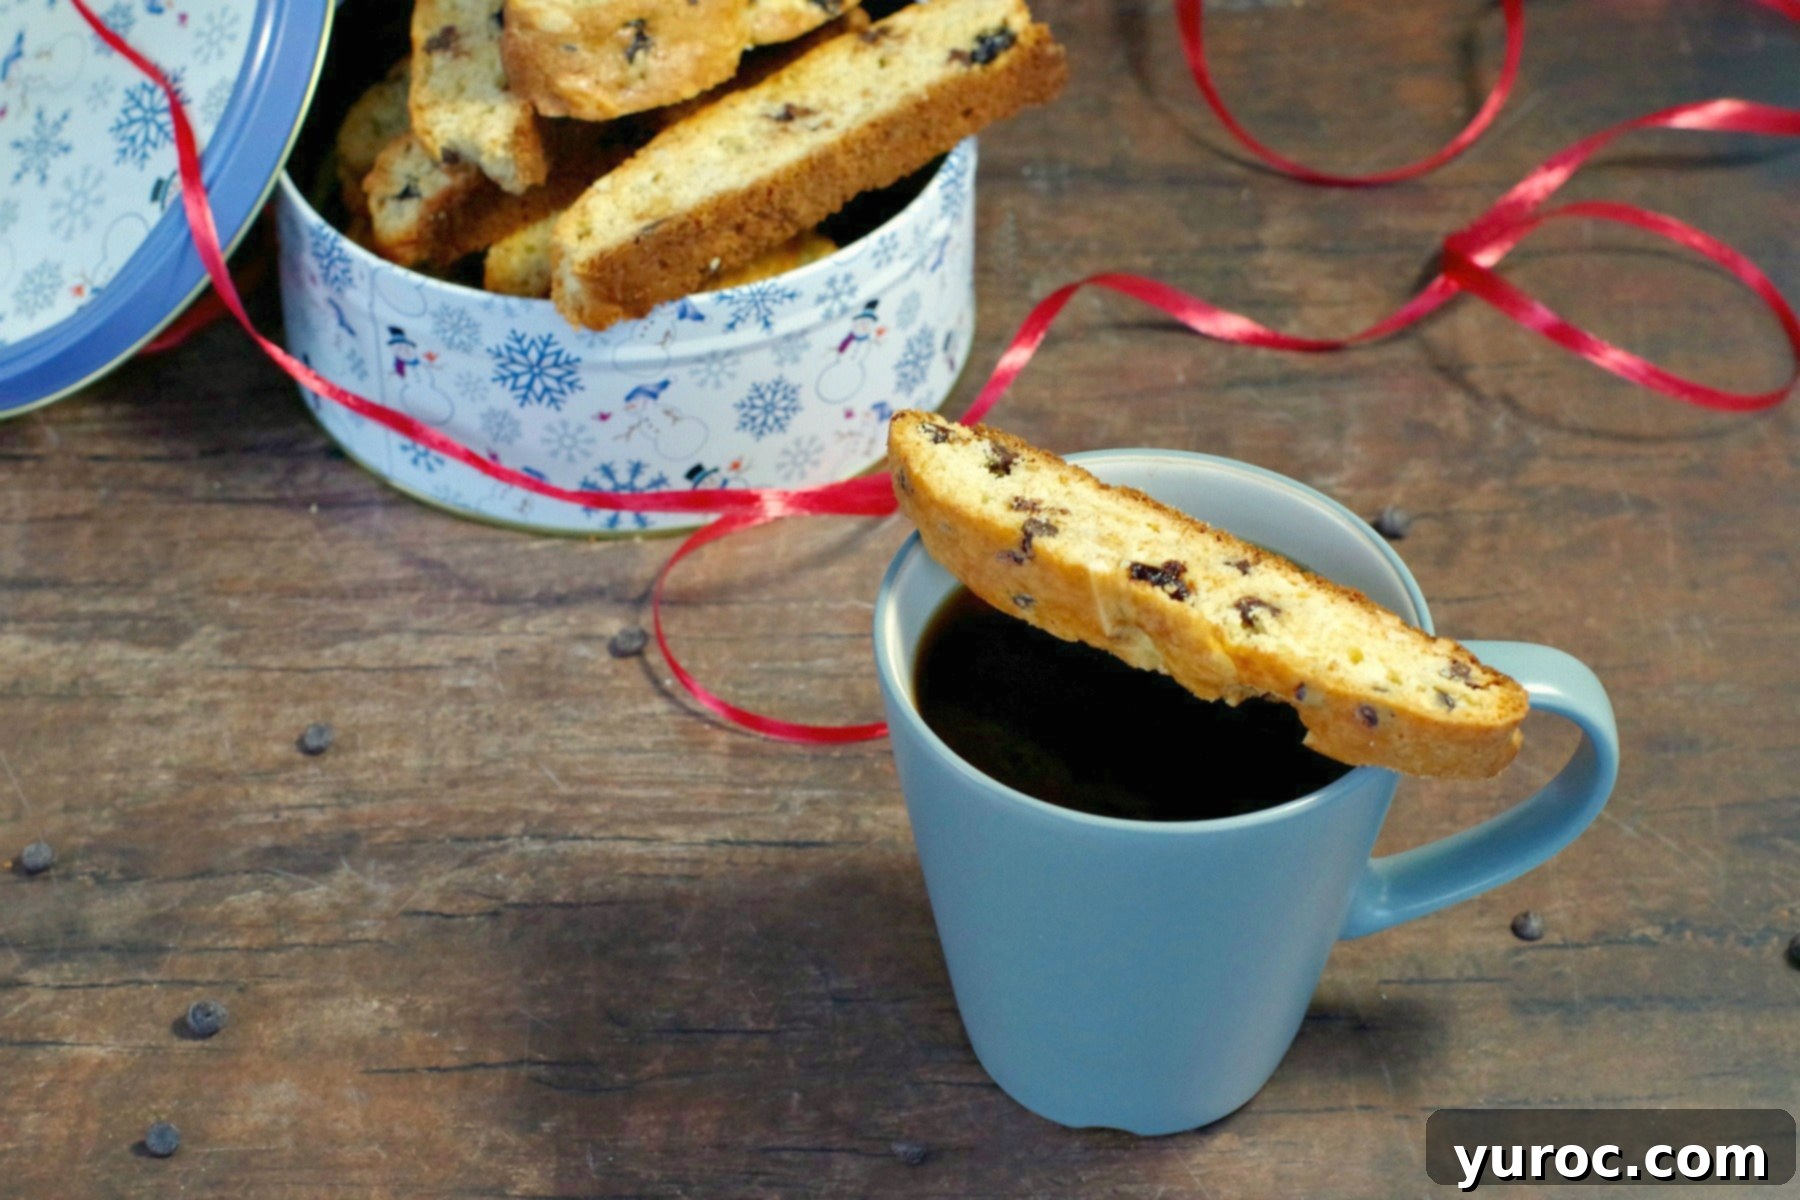
Imagine dipping a little slice of Black Forest cake into your morning coffee or tea, but in a perfectly portable, delightfully crunchy form. That’s exactly the experience you get with this incredible Black Forest Biscotti! Infused with the iconic flavors of dried cherries, luscious chocolate chips, and a special touch of whipping cream (powdered dessert topping mix) right in the dough, these twice-baked Italian cookies are a true revelation. They transform a simple coffee break into a decadent moment, offering a sophisticated twist on a classic treat.
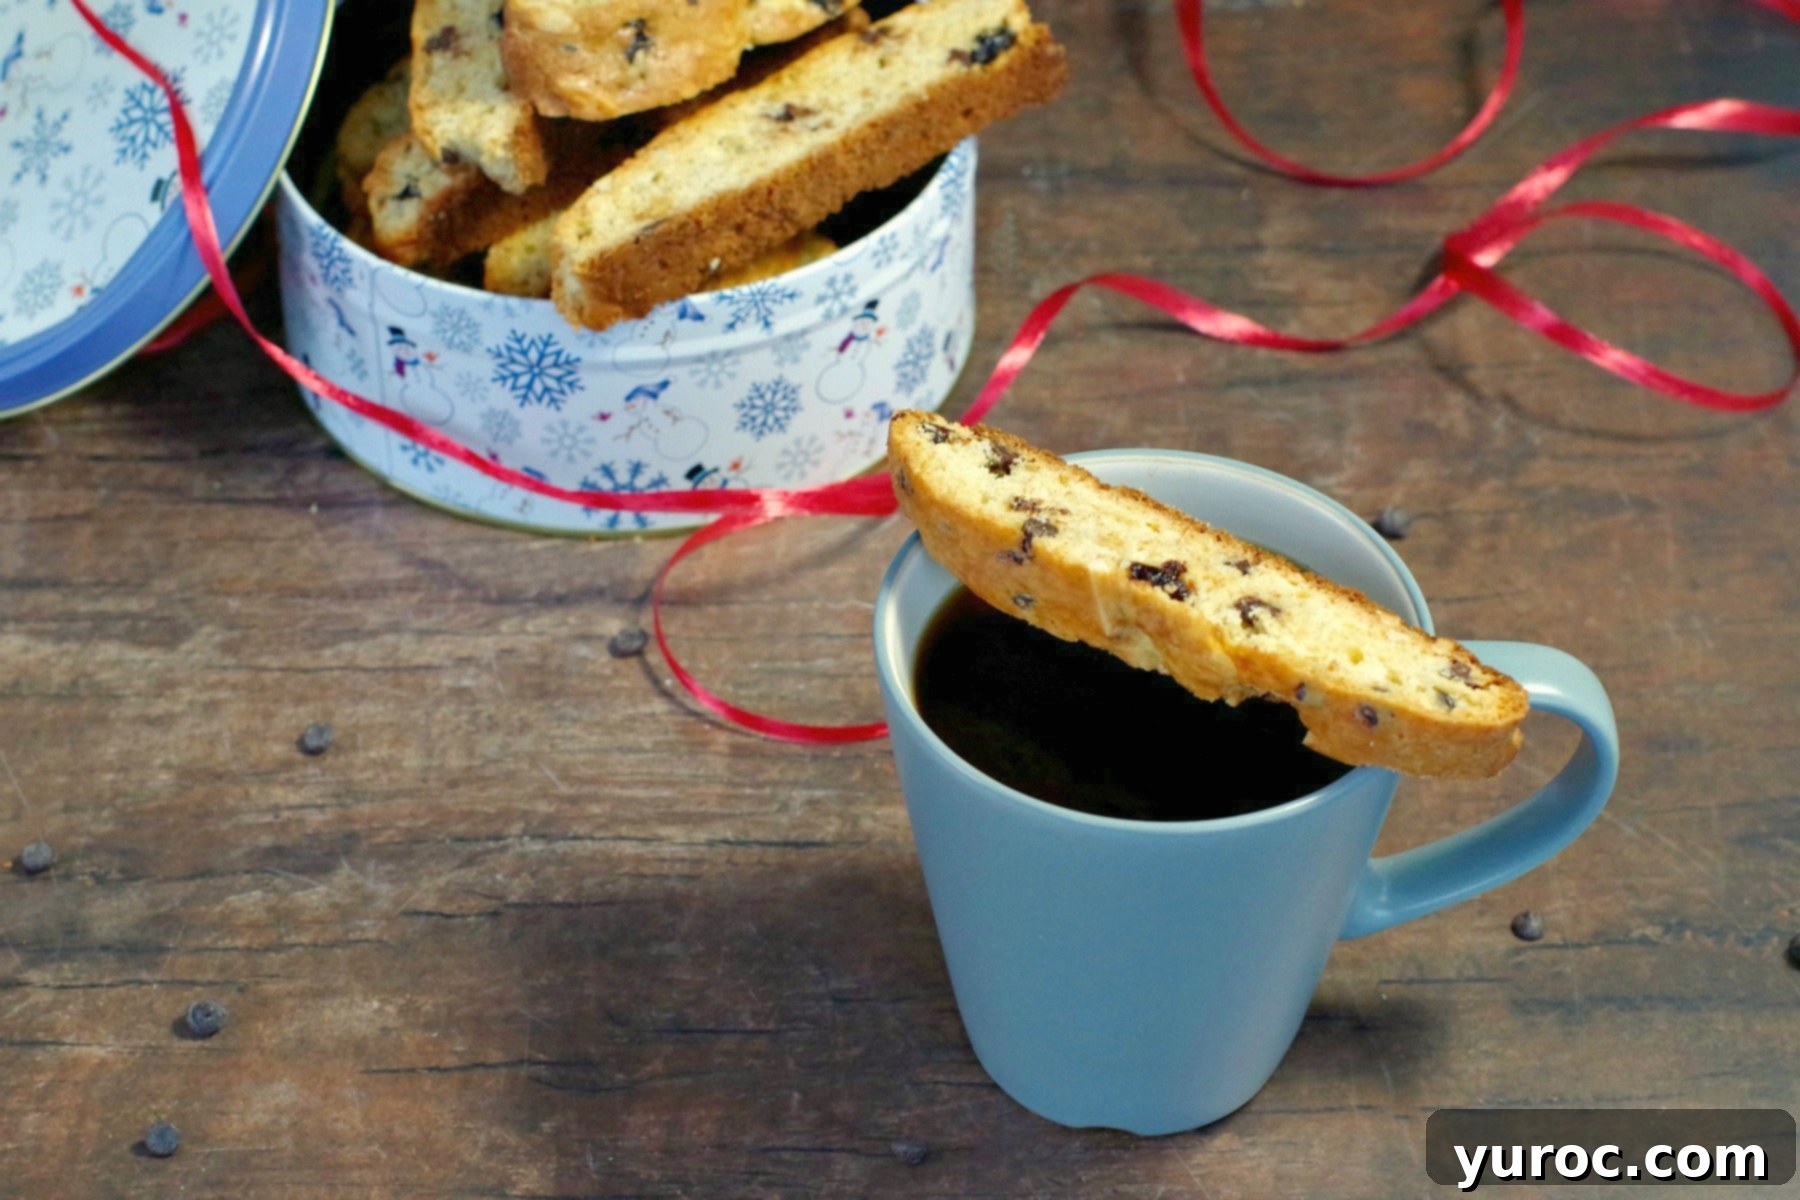
This recipe, which I lovingly perfected several years ago, has finally found its way to you – and just in time for every occasion! It’s not just a cookie; it’s a versatile delight that shines as a thoughtful edible gift during the holidays, a standout item for cookie exchanges, an elegant hostess gift, or a delightful addition to any breakfast or brunch spread, no matter the season. Its robust flavor and satisfying crunch make it a universal crowd-pleaser.
Rediscovering Biscotti: From Hard to Heavenly
Growing up, biscotti wasn’t a familiar treat in my household. My first encounters with it at coffee shops were, to be frank, rather underwhelming. Often, it was incredibly hard – almost jaw-breaking – and frequently dry, sometimes even verging on stale. I struggled to understand its enduring popularity. That is, until I decided to try making it at home. The moment I pulled my first batch of homemade biscotti from the oven, everything changed. Homemade biscotti is an absolute game-changer, transforming what I once considered a mundane cookie into an extraordinary indulgence.
My initial venture into this delicious world was a Holiday Biscotti recipe, featuring vibrant cranberries and pistachios. It was a delightful start, but it was this Black Forest version that truly cemented my love for biscotti, turning me into a genuine fanatic. The rich, nuanced flavors and perfect texture were simply irresistible.
Biscotti: More Than Just a Cookie
While often categorized as a cookie, biscotti truly stands as an entity all its own. Its unique twice-baked process, which gives it its characteristic crispness and extended shelf life, sets it apart. This distinct quality also makes it an ideal choice for cookie exchanges, especially when people are seeking something fresh and exciting beyond the traditional Christmas cookies. The first time I received homemade biscotti in a cookie exchange, I was absolutely thrilled by its novelty and deliciousness!
The only significant difference between preparing regular cookies and biscotti lies in the baking process: biscotti requires two rounds in the oven. The good news is that the second bake is considerably shorter than the first, and I promise you, that small extra step is entirely worth the effort for the resulting perfectly crunchy texture and rich flavor.
The Allure of Black Forest Flavors in Biscotti
Who can resist the classic combination of sweet cherries, rich chocolate, and light whipped cream? This iconic trio is what makes our Black Forest Biscotti so incredibly delicious and utterly captivating. The inspiration, of course, comes from the legendary Black Forest cake – a dessert I hold dear to my heart. Black Forest cake was actually the very first cake I ever baked, a sentimental choice because it was my Mom’s favorite. Sometimes, I could even convince her to join me in the kitchen if I dangled the promise of this particular cake!
That early experience sparked a lifelong love affair with all things Black Forest. Much like my Mom, I admit I’m a little “Black Forest crazy.” If you share this passion for the delightful blend of chocolate and cherries, you absolutely must try my other Black Forest recipes. Many of them even offer the convenience of being no-bake options, allowing you to enjoy these flavors with minimal effort!
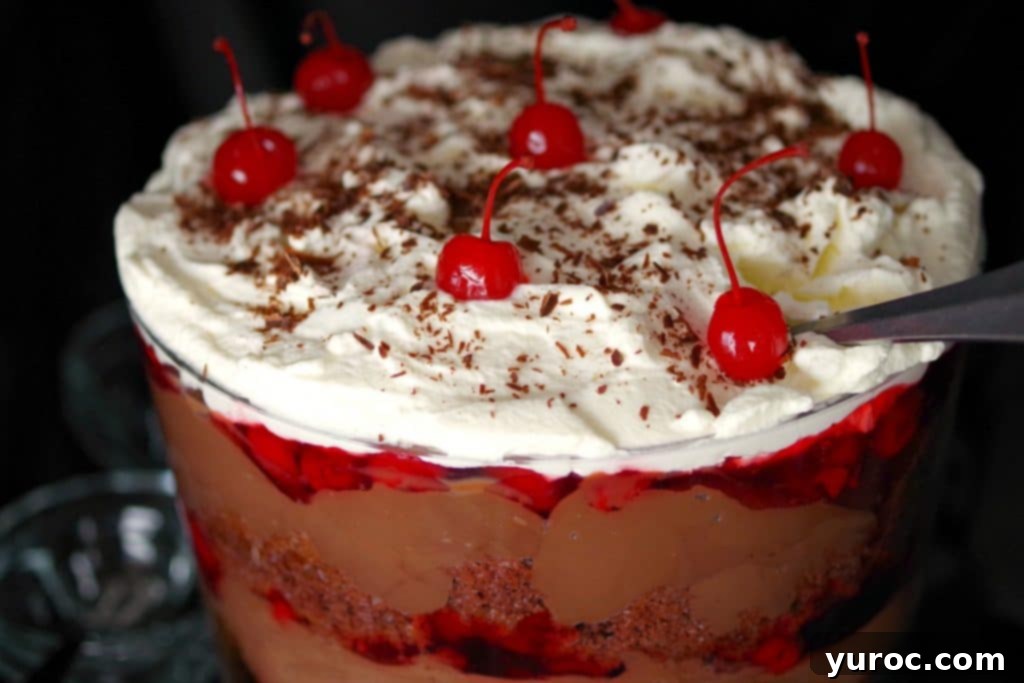
No-Bake Black Forest Trifle
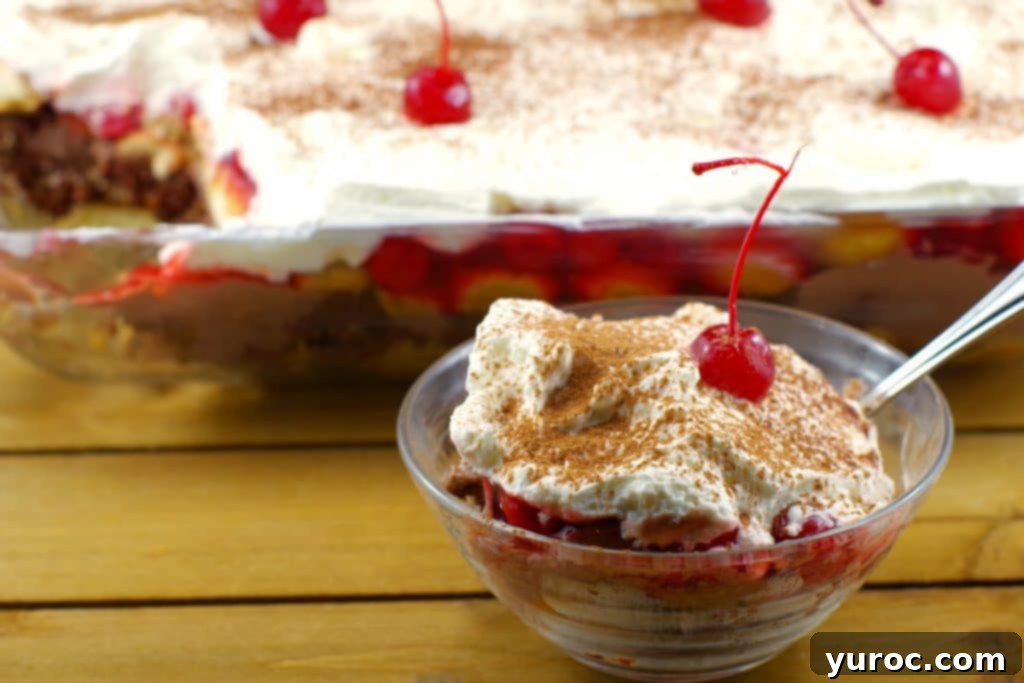
No-Bake Black Forest Tiramisu
Black Forest Biscotti: The Perfect Edible Gift & Versatile Treat
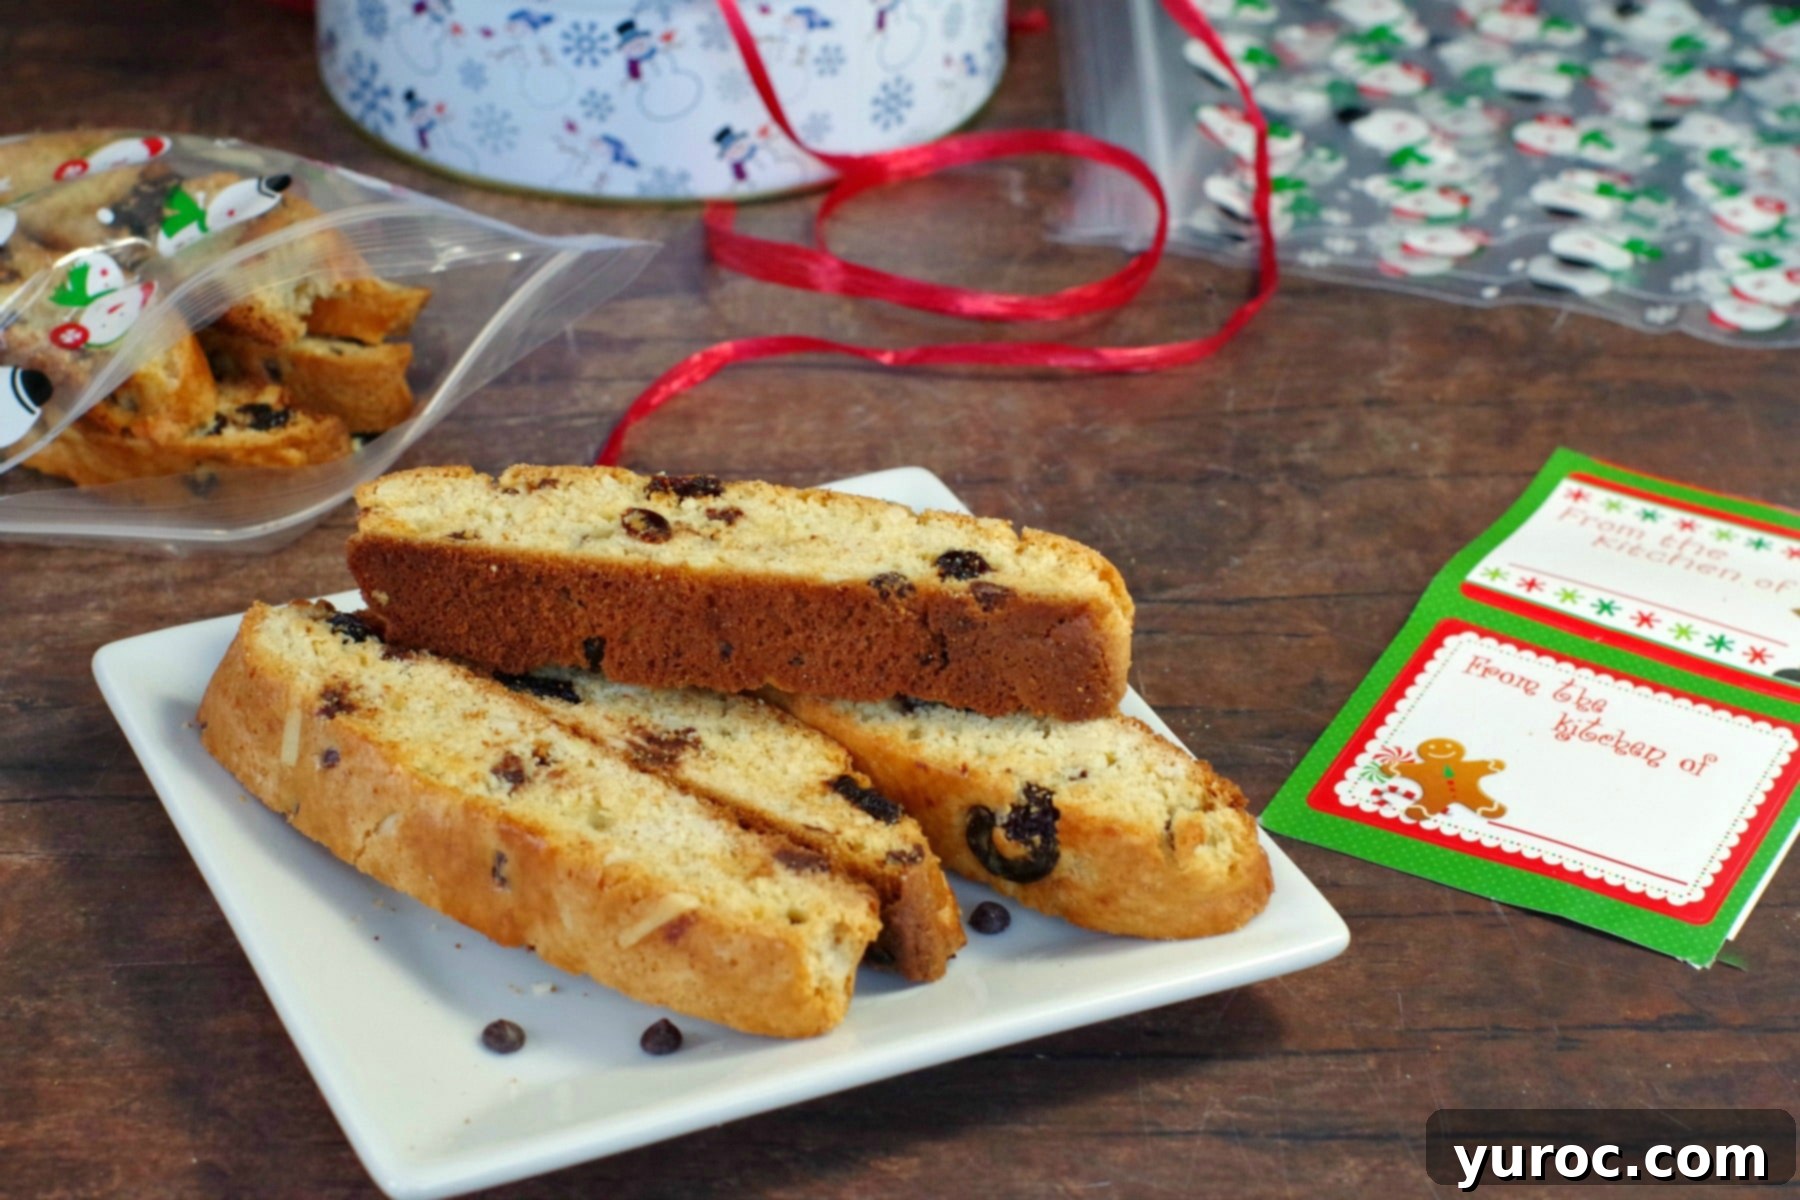
One of the most wonderful aspects of Black Forest Biscotti is its versatility, especially as an edible gift. There’s something inherently charming and personal about sharing homemade treats. I absolutely adore presenting biscotti in a festive cookie tin, creating a delightful surprise for friends and family. Another cherished idea is to tuck a few pieces into a beautiful Christmas coffee mug, perhaps alongside a gift card to their favorite coffee shop – it’s a gift that keeps on giving!
Beyond gifting, these biscotti are incredibly well-suited for social gatherings. They are a fantastic item to bring along to a breakfast or brunch potluck, offering a unique and elegant alternative to typical pastries. They also make an excellent hostess gift, a thoughtful gesture that shows appreciation and provides a delicious snack. My personal favorite way to enjoy and serve them is as a delightful “breakfast dessert” when I have company over for breakfast or brunch. They provide that touch of sweetness and sophistication that elevates any morning meal.
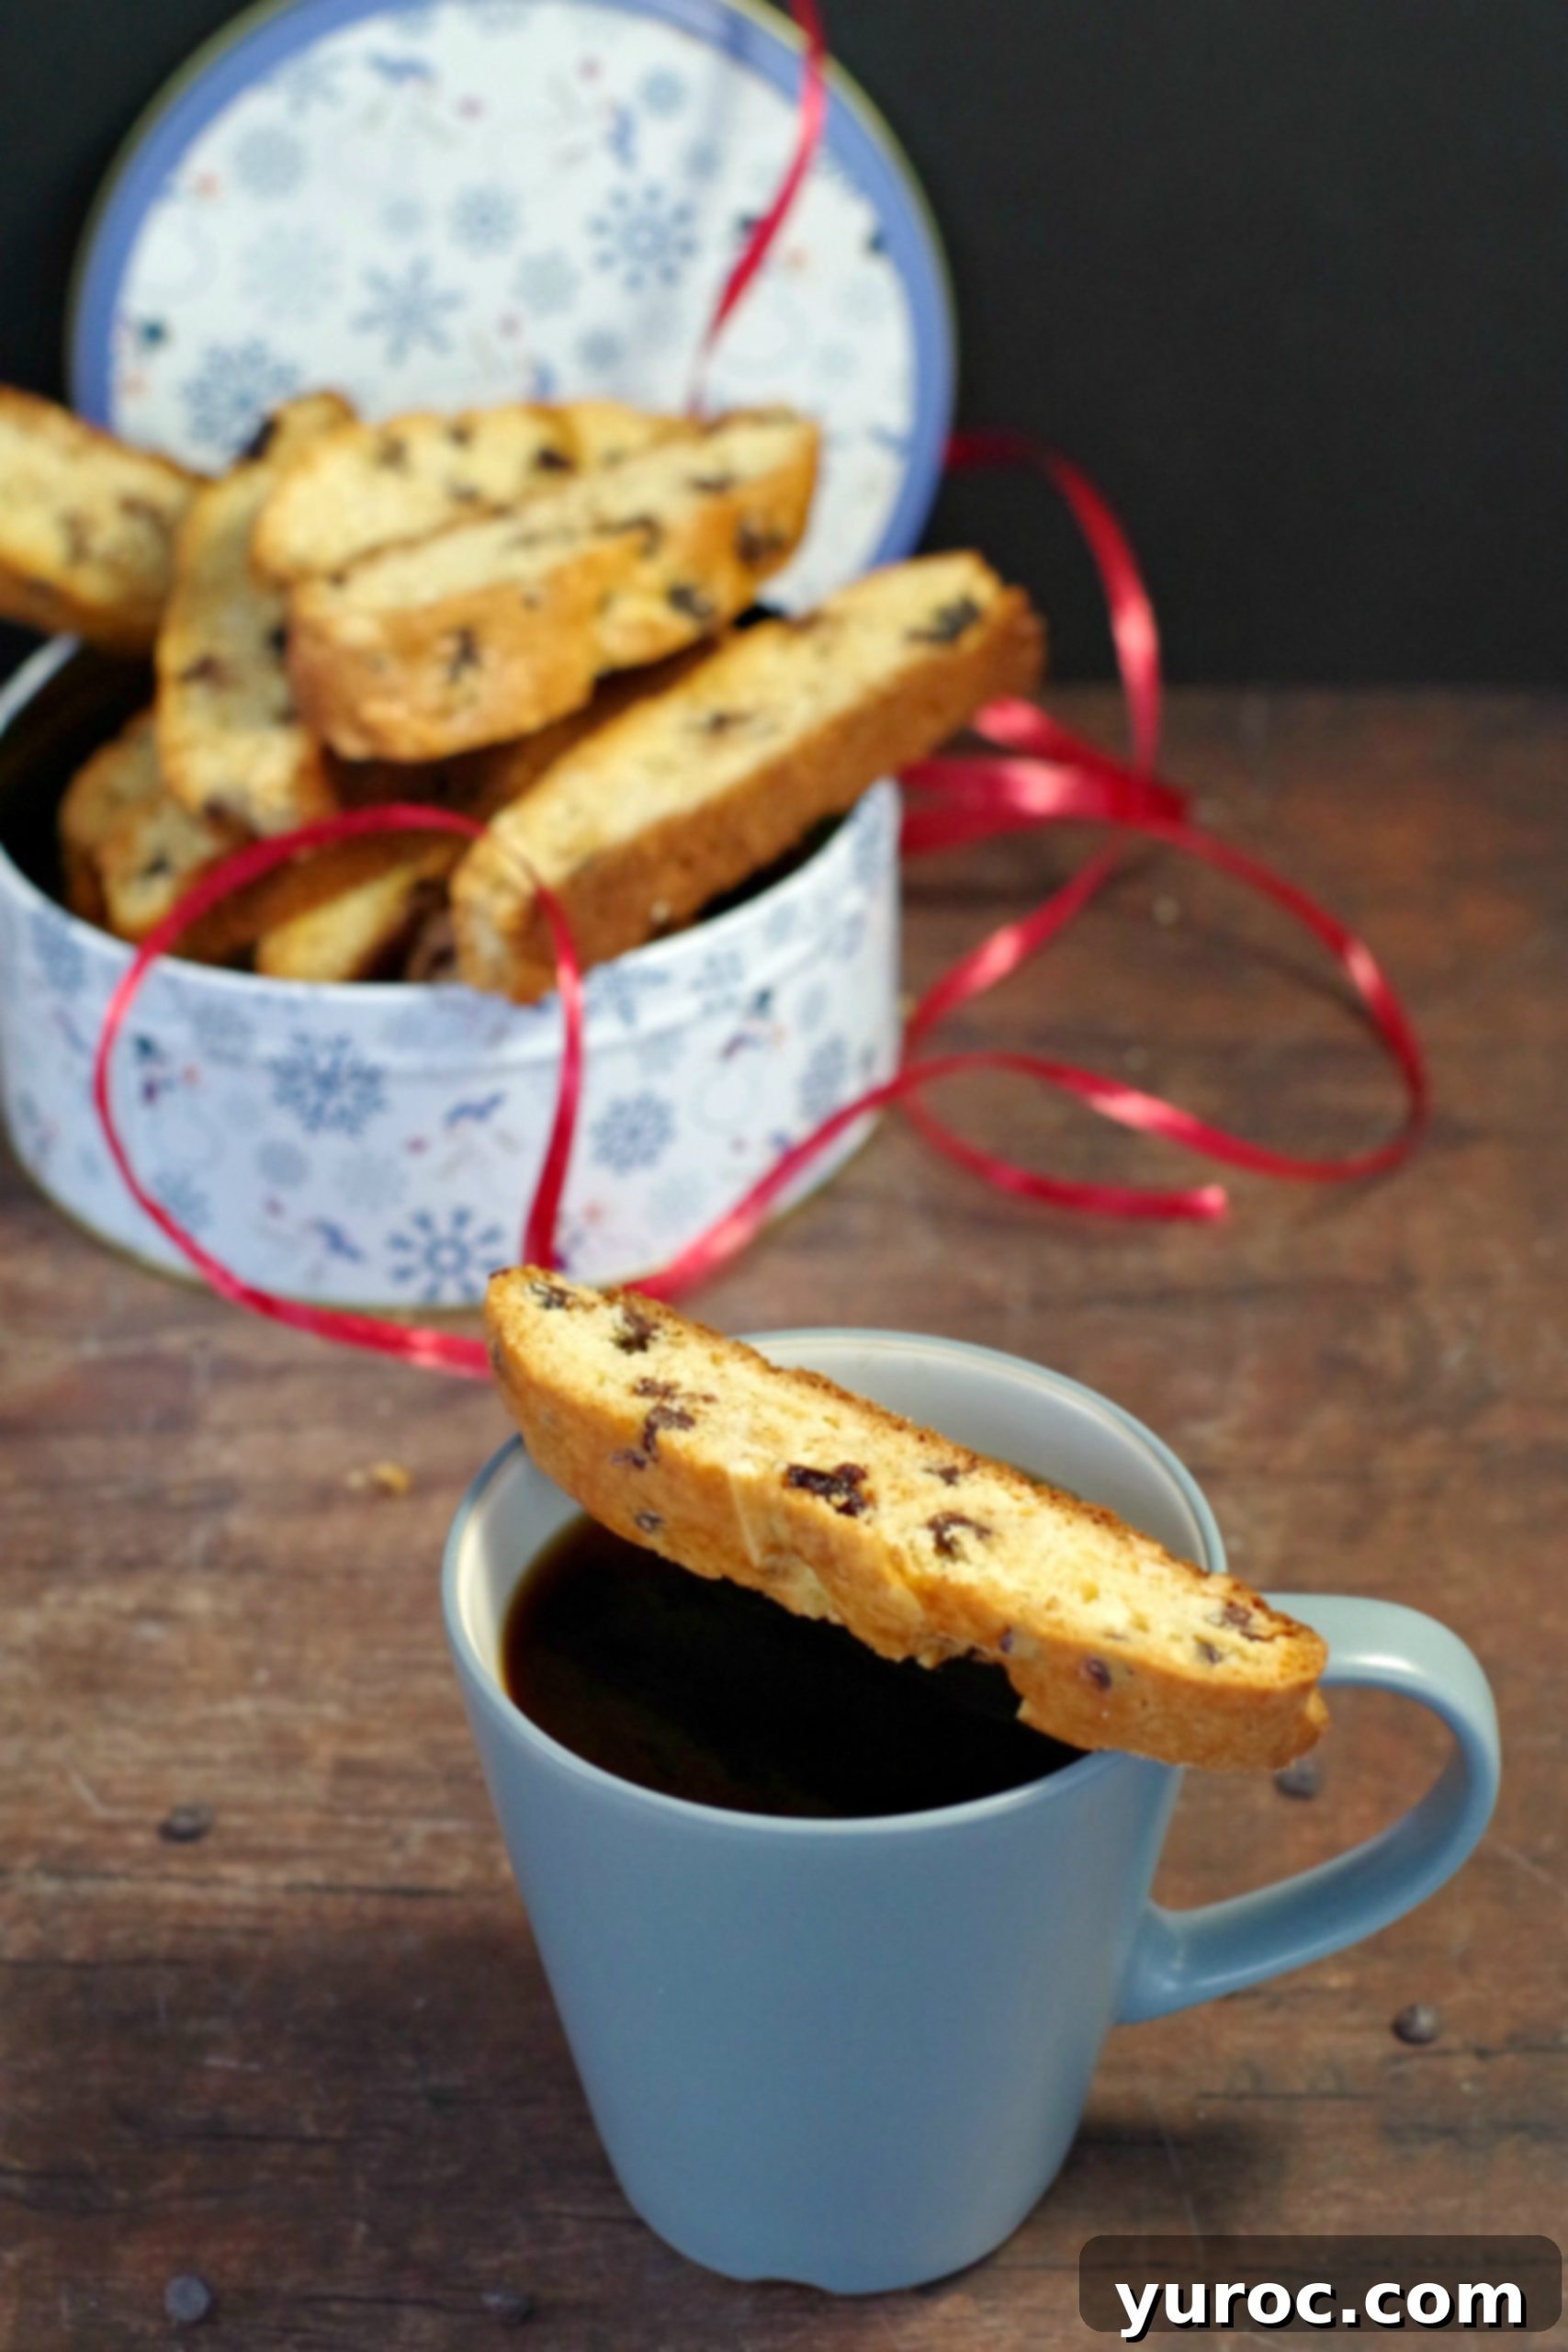
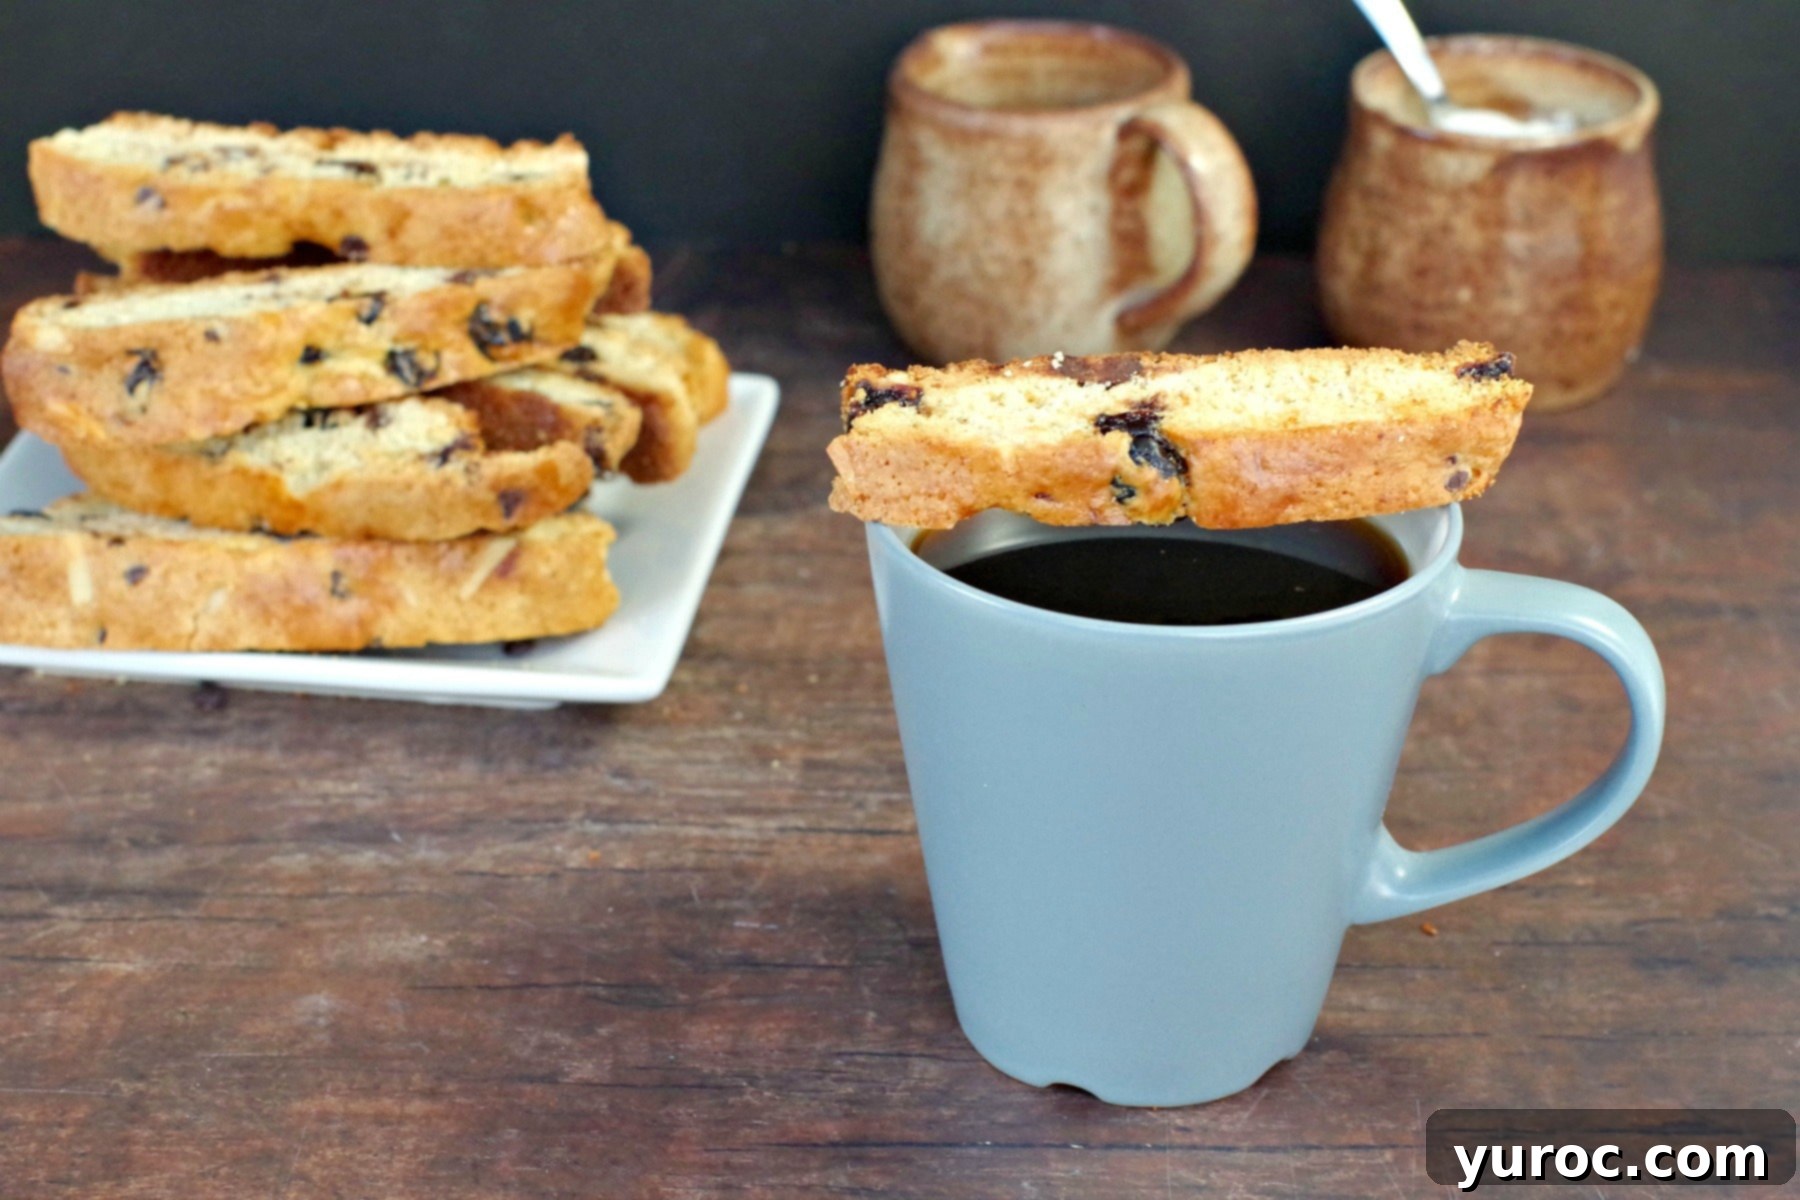
What truly sets this Black Forest Biscotti apart, and perhaps the very BEST part, is that it makes dipping what feels like a little cake into your coffee at breakfast perfectly acceptable. It’s an act of pure, unadulterated indulgence that you can feel good about, especially knowing it’s homemade with love.
Tips for Crafting Perfect Black Forest Biscotti
Achieving that ideal biscotti crunch and flavor is simpler than you might think, especially with a few key tips:
- The Dough Consistency: The dough for biscotti should be firm enough to shape but not overly dry. The addition of dried cherries, chocolate chips, and the powdered dessert topping mix (which acts like whipping cream) contributes to a dough that’s rich and flavorful, yet holds its shape.
- Chilling is Crucial: Don’t skip the chilling step! Refrigerating the dough for at least two hours makes it much easier to handle and shape into logs, preventing it from spreading too much during the first bake.
- First Bake (The “Log” Stage): This initial bake sets the shape and cooks the dough through. You’re looking for a lightly golden crust.
- Cooling Before Slicing: Allow the logs to cool completely after the first bake. This is vital for clean, even slices. If you try to cut them while warm, they’ll crumble.
- The Diagonal Slice: Cutting the logs diagonally creates the classic elongated biscotti shape, which maximizes the surface area for the second bake, leading to that signature crispness. Aim for about ½ inch thick slices.
- Second Bake (The “Crisping” Stage): This is where the magic happens! Laying the slices cut-side down ensures even toasting. Flipping them halfway through guarantees a uniform golden-brown color and that desired dry, crunchy texture. Keep a close eye on them to prevent over-browning.
- Storage: Once completely cooled, store your Black Forest Biscotti in an airtight container at room temperature. They will stay fresh and crunchy for several weeks, making them ideal for preparing in advance for gifts or gatherings.
This attention to detail ensures every bite of your homemade Black Forest Biscotti is a perfect blend of crispness, chewiness from the cherries, and rich chocolate flavor.
ENJOY!

Black Forest Biscotti
Print Recipe
Pin
Save RecipeSave Recipe
Rate
Add to Shopping ListGo to Shopping List
Equipment
-
hand mixer
Ingredients
- ¼ cup unsalted butter softened.
- ¾ cup white granulated sugar
- 1 teaspoon baking powder
- ½ teaspoon baking soda
- ¼ teaspoon Salt
- 3 large eggs
- ½ teaspoon vanilla extract
- ⅓ cup – (about 2 envelopes) of powder dessert topping mix *** I use Dream Whip and recommend using this
- 2 cups all purpose flour
- ⅓ cup slivered almonds
- ⅓ cup mini semi sweet chocolate chips
- ½ cup dried cherries
Egg wash
- 1 egg
- 1 tablespoon water
Garnish
Instructions
-
Heads up: There is a 2 hour chilling time before baking! This step is crucial for easy handling of the dough.
-
Using an electric mixer, cream the softened butter in a large bowl for about 30 seconds until light and fluffy. Gradually add the white granulated sugar, baking powder, baking soda, and salt, beating until all ingredients are well combined. Next, beat in the 3 large eggs one at a time, followed by the vanilla extract, ensuring the mixture is smooth. In a separate bowl, whisk together the all-purpose flour and the powdered dessert topping mix (such as Dream Whip – highly recommended for best results).
-
Begin incorporating the flour/Dream Whip mixture into the wet ingredients, beating with the hand mixer until as much as possible is combined. Then, switch to a wooden spoon to stir in any remaining flour until just combined, being careful not to overmix. Finally, gently fold in the slivered almonds, mini semi-sweet chocolate chips, and dried cherries. You can chop the cherries if you prefer smaller pieces, but it’s not strictly necessary. Cover the dough tightly and refrigerate for a minimum of 2 hours, or until the dough becomes firm and easy to handle.
-
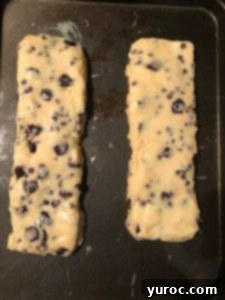
Preheat your oven to 350°F (175°C). Lightly grease a large cookie sheet. Remove the chilled dough from the refrigerator and divide it in half. On the prepared cookie sheet, shape each half of the dough into a log approximately 12 inches long and 1 ½ inches thick. Ensure the logs are placed at least 3 inches apart to allow for spreading. Gently flatten each log to form a ¾ inch thick loaf.

Egg Wash & Second Bake
-
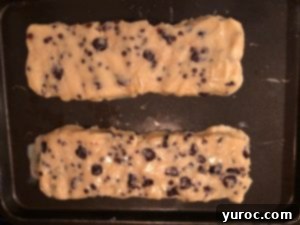
In a small bowl, whisk together the 1 egg and 1 tablespoon of water to create an egg wash. Lightly brush this egg mixture over the tops and sides of both dough loaves.

-
Bake the logs in the preheated oven for 25-30 minutes, or until they are lightly golden brown and firm to the touch. Once baked, remove the cookie sheet from the oven and allow the loaves to cool completely on the sheet for at least 1 hour. This cooling step is essential for easy and clean slicing.
-
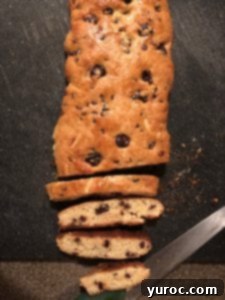
Once the baked loaves are completely cool, reduce the oven temperature to 325°F (160°C). Carefully transfer the cooled loaves to a cutting board. Using a sharp, serrated knife, slice each loaf diagonally into ½-inch thick slices. This creates the characteristic biscotti shape.

-
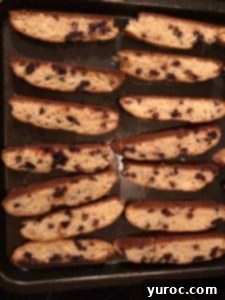
Arrange the sliced biscotti on the cookie sheet, cut sides down. Return them to the preheated oven and bake for 8 minutes. After 8 minutes, remove from the oven, gently turn each slice over to the other cut side, and bake for an additional 5 minutes, or until the biscotti are dry, crisp, and slightly golden.

-
Once baked to perfection, transfer the hot biscotti cookies to wire racks to cool completely. They will crisp up further as they cool. Store in an airtight container at room temperature for up to several weeks.
Notes
Calories from Fat 27
Nutrition
