Realistic Jello Worms and Dirt Cups: A Fun, Edible Earth Day Craft for Kids!
As Earth Day approaches, the idea of a simple green and blue globe-shaped treat felt a bit… ordinary. I wanted to create something truly unique, an exciting and highly interactive dessert that kids would absolutely adore making and devouring! These Jello Worms and Dirt Cups are the perfect solution, combining a touch of realistic fun with irresistible flavors.
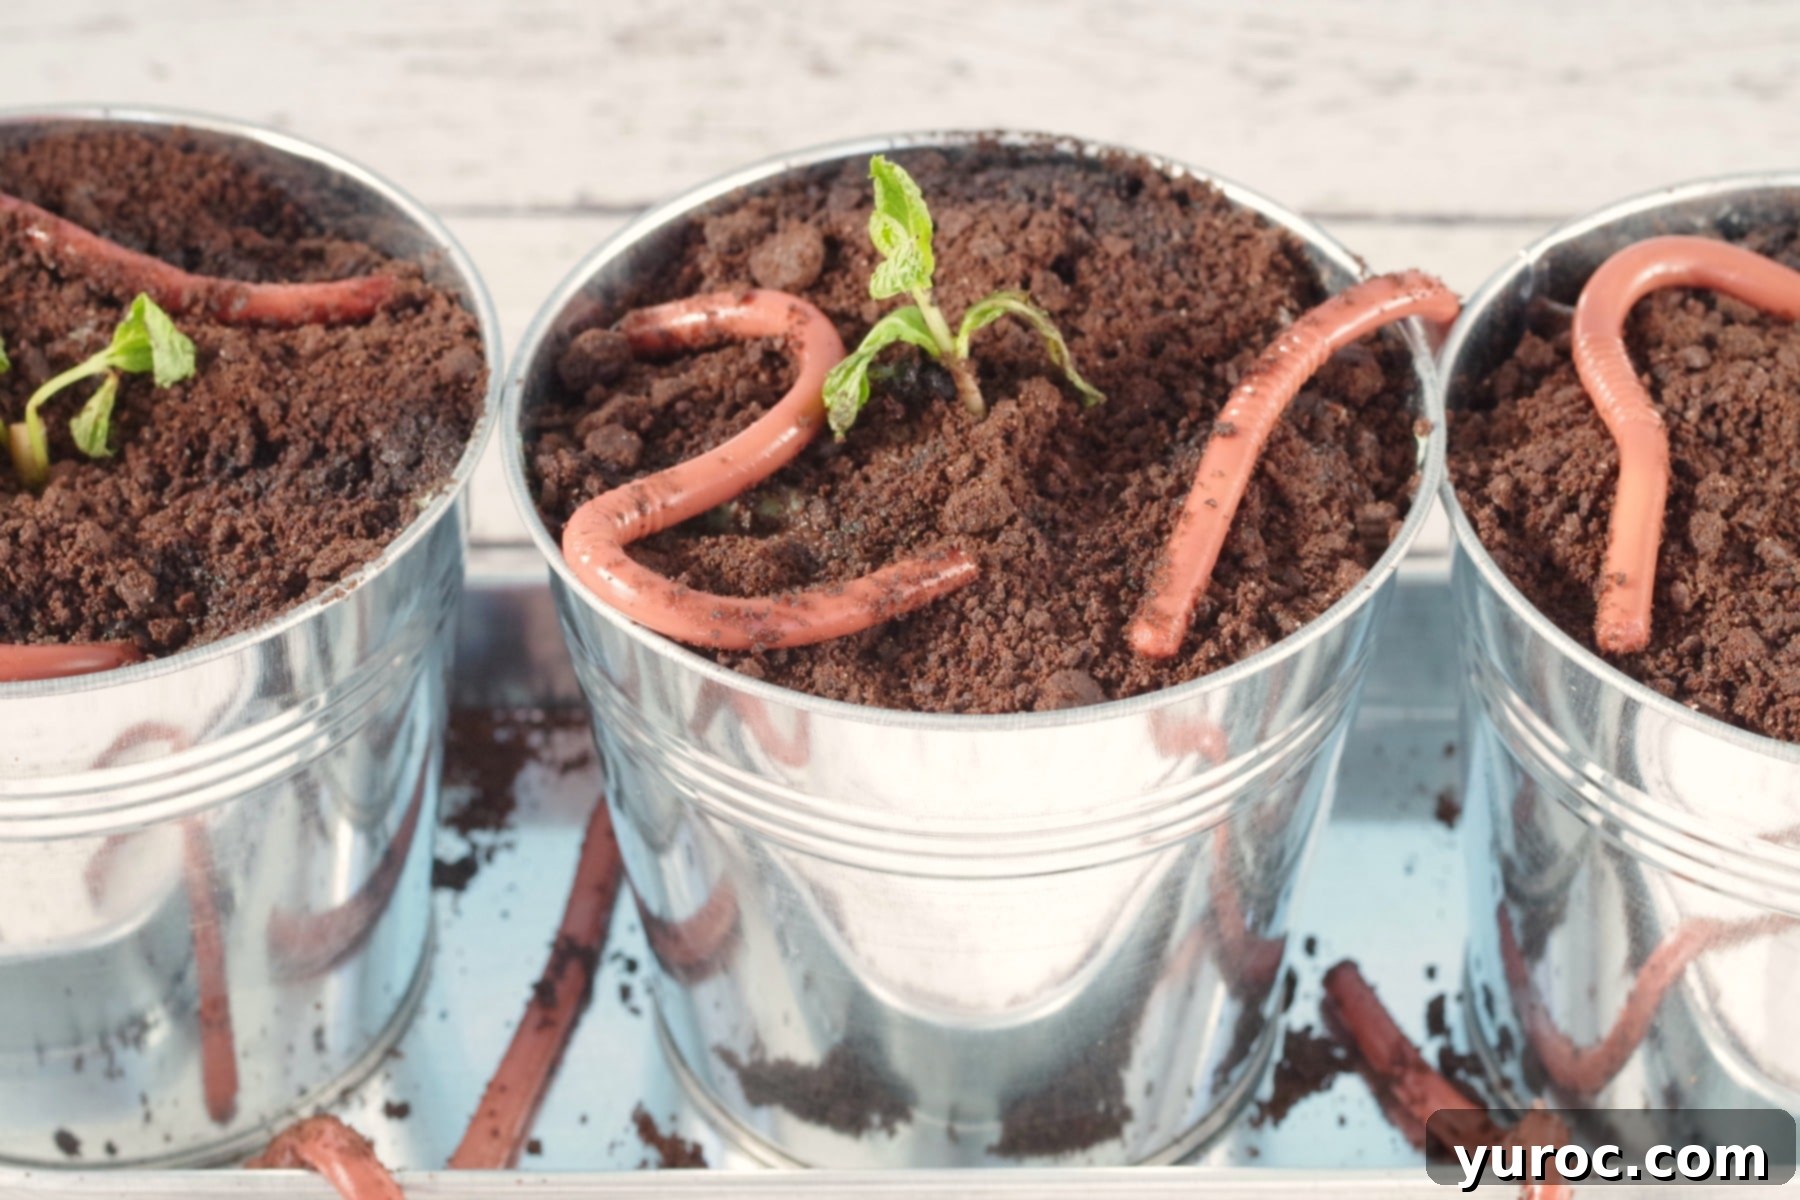
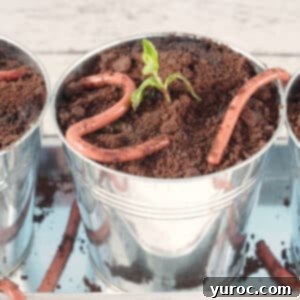
As a passionate cake decorator, making food look incredibly realistic has always been my forte. However, as a food blogger, the ultimate goal is also to make dishes look utterly delicious and appetizing. These realistic Jello worms certainly challenge that second goal! Their uncanny resemblance to actual earthworms (and, as I’ve been told, their slightly “gross” appearance) might make you do a double-take. But don’t let their realistic look fool you – these edible worms are surprisingly delicious and undeniably fun to make, especially for a memorable Earth Day celebration!
[feast_advanced_jump_to]
Interestingly, my husband was initially quite put off by their appearance and hesitated to try them. My children, on the other hand, had no such reservations! They were completely fascinated by how cool and authentic these edible Jello worms looked, making quick work of polishing them off with great enthusiasm. Their reaction proved that sometimes, a little bit of “gross” can lead to a whole lot of fun and deliciousness!
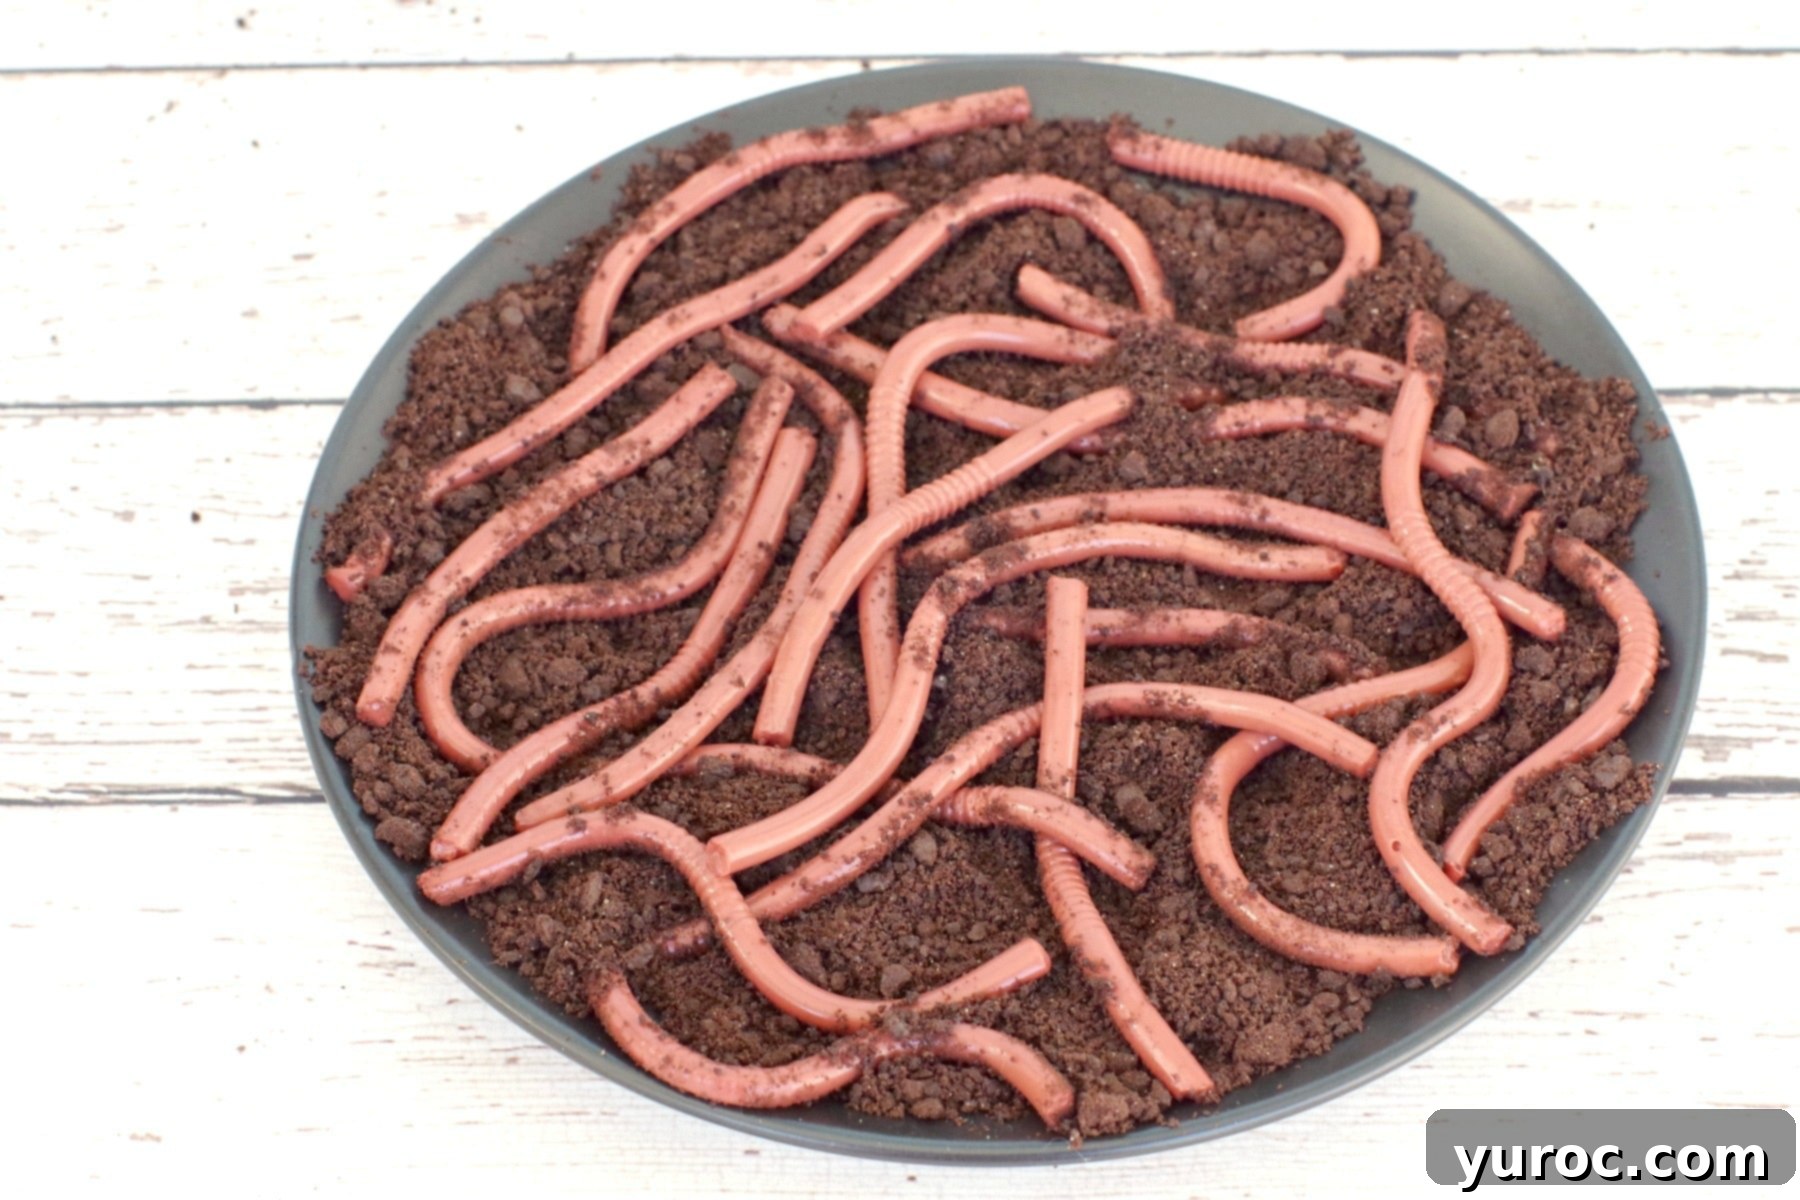
Creating these Jello Worms and Dirt Cups is more than just making a dessert; it’s a fantastic, hands-on project perfect for celebrating Earth Day and keeping little hands happily busy. My kids absolutely adored every step, from preparing the jiggly worms to assembling their individual “dirt” cups, and of course, enjoying the final edible creation. The most satisfying part, by far, is the exciting moment of squeezing the perfectly formed, wobbly worms out of the straws – it’s a delightful sensory experience that elicits squeals of joy!
While these realistic Jello worms require some patience due to their chilling time (a minimum of eight hours, ideally overnight), the wait is absolutely worth it for such a unique and engaging treat. Plus, it’s a fantastic indoor activity, perfect for those days when you’re looking for a creative project to do at home. The “dirt cups” themselves are incredibly easy to assemble, featuring layers of store-bought cake, creamy instant pudding, and crunchy Oreo cookie crumbs, all topped with a fresh mint sprig to resemble a tiny plant. Together, they create the most convincing and delicious edible garden scene imaginable.
💭What is Earth Day?
Earth Day is a monumental global event, recognized as the largest secular observance worldwide. Celebrated annually on April 22nd, it’s a dedicated day when people across the globe unite to demonstrate and voice their unwavering support for environmental protection. From educational programs to community clean-ups and public rallies, countless events are organized to raise awareness about critical environmental issues and inspire action. First commemorated in 1970, Earth Day has grown exponentially and is now coordinated internationally by the Earth Day Network, with participation spanning over 192 countries each year. As of April 22, 2024, we proudly mark the 54th anniversary of this vital movement, continuing its legacy of advocating for a healthier, more sustainable planet for all.
💭History of Earth Day
The origins of Earth Day trace back to 1970 in the United States, a period marked by rising public concern over environmental degradation. Spearheaded by Senator Gaylord Nelson, the initiative was a direct response to the devastating 1969 Santa Barbara oil spill, which underscored the urgent need for environmental regulation and public awareness. On that inaugural day, over 20 million Americans participated in rallies, demonstrations, and various activities across the nation, all united by a common goal: to promote a clean, safe, and sustainable living environment. This powerful grassroots movement successfully pushed for new, robust legislation aimed at protecting the Earth at all levels of government, laying the groundwork for many of the environmental policies we have today.
By 1990, the vision of Earth Day expanded dramatically, transforming from a primarily U.S.-focused observance into a truly global phenomenon. This international expansion paved the way for monumental future projects, such as the 1992 United Nations Earth Summit, which brought together world leaders to address critical environmental challenges on a global scale. What began as a day dedicated to environmental preservation within the United States has evolved into a massive, worldwide push for cleaner habitats, sustainable practices, and a collective commitment to safeguarding our planet’s delicate ecosystems. Today, Earth Day continues to be a powerful catalyst for change, inspiring millions to engage in environmental stewardship. You can delve deeper into how Earth Day began HERE and explore its journey to becoming a large-scale global movement HERE.
🔪 Instructions for Making Your Earth Day Jello Worms and Dirt Cups
Get ready for a super fun and slightly messy culinary adventure! Making these Jello worms is a fantastic activity for kids, blending science with deliciousness. Just a quick heads-up: patience is key, as this recipe requires a minimum of 8 hours of chilling time for the worms to set perfectly. Plan accordingly to enjoy your realistic Jello worms and dirt cups!
How to make realistic Jello worms with straws:
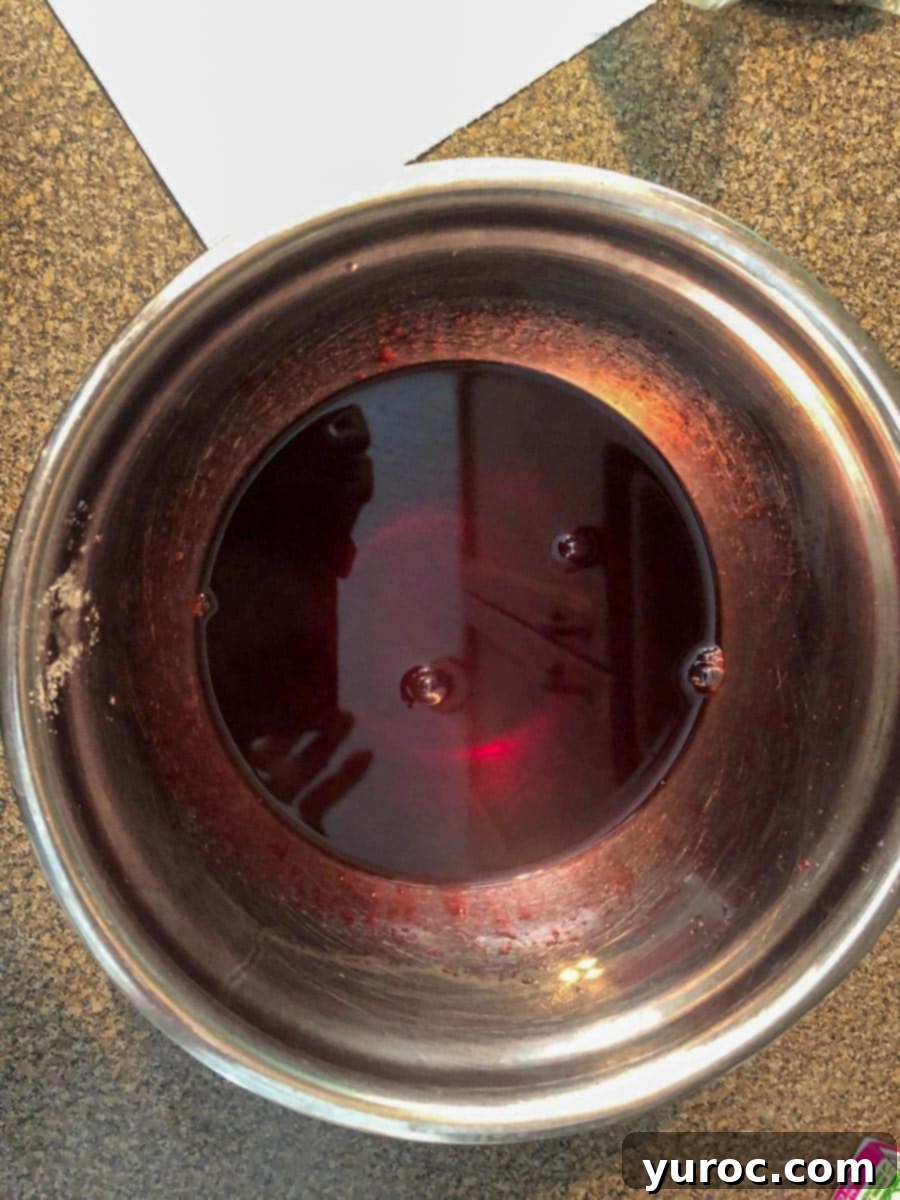
In a spacious mixing bowl, combine the raspberry Jello powder with the unflavored gelatin powder. Stir them together thoroughly to ensure an even mixture before adding any liquids.
Carefully add the boiling water to the gelatin mixture. Stir continuously and vigorously until both the raspberry Jello and unflavored gelatin powders are completely dissolved, leaving no granules. Once dissolved, transfer the mixture to the fridge to chill until it reaches a lukewarm temperature, which should take approximately 20 minutes. This step is crucial for achieving the right consistency for your worms.
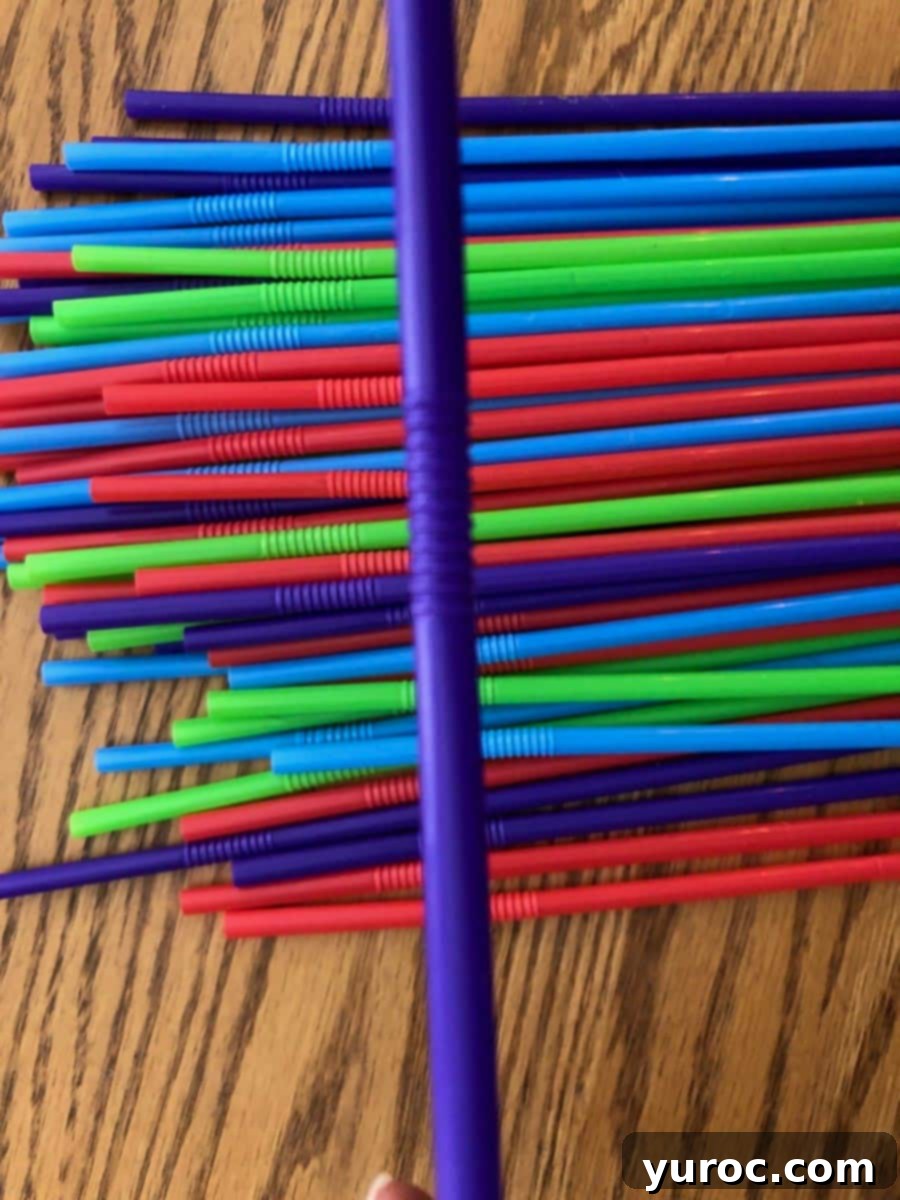
While your gelatin mixture chills, prepare your straws. Gently pull the flexible accordion part of each plastic straw to extend it to its full, straight length. This creates the optimal length and shape for your realistic Jello worms.
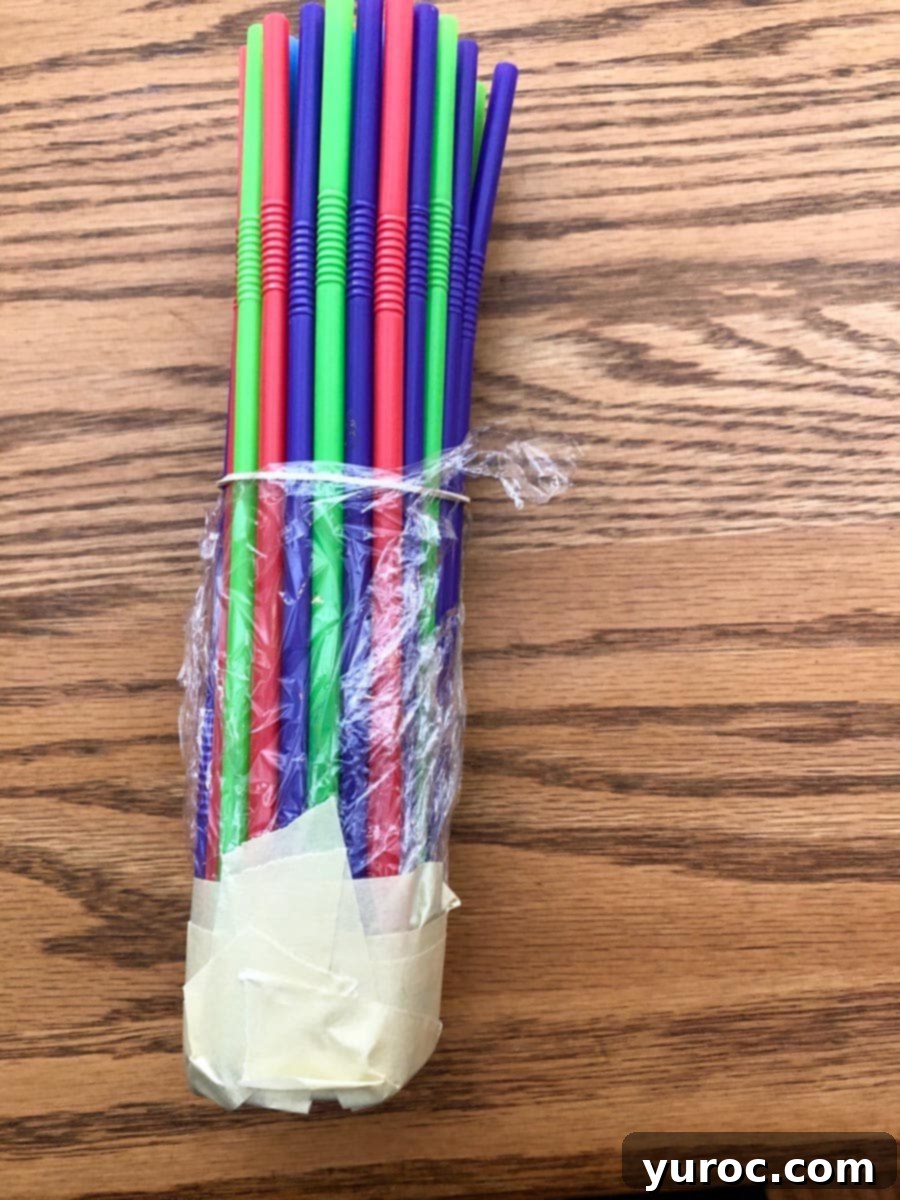
Gather the extended straws into a tight bundle, then secure them firmly together with an elastic band. Next, carefully wrap the bottom ends of the straws with several layers of plastic wrap (saran wrap or food-safe wrap) to prevent any leakage. For extra security and to ensure a watertight seal, reinforce this with masking tape over the plastic wrap.
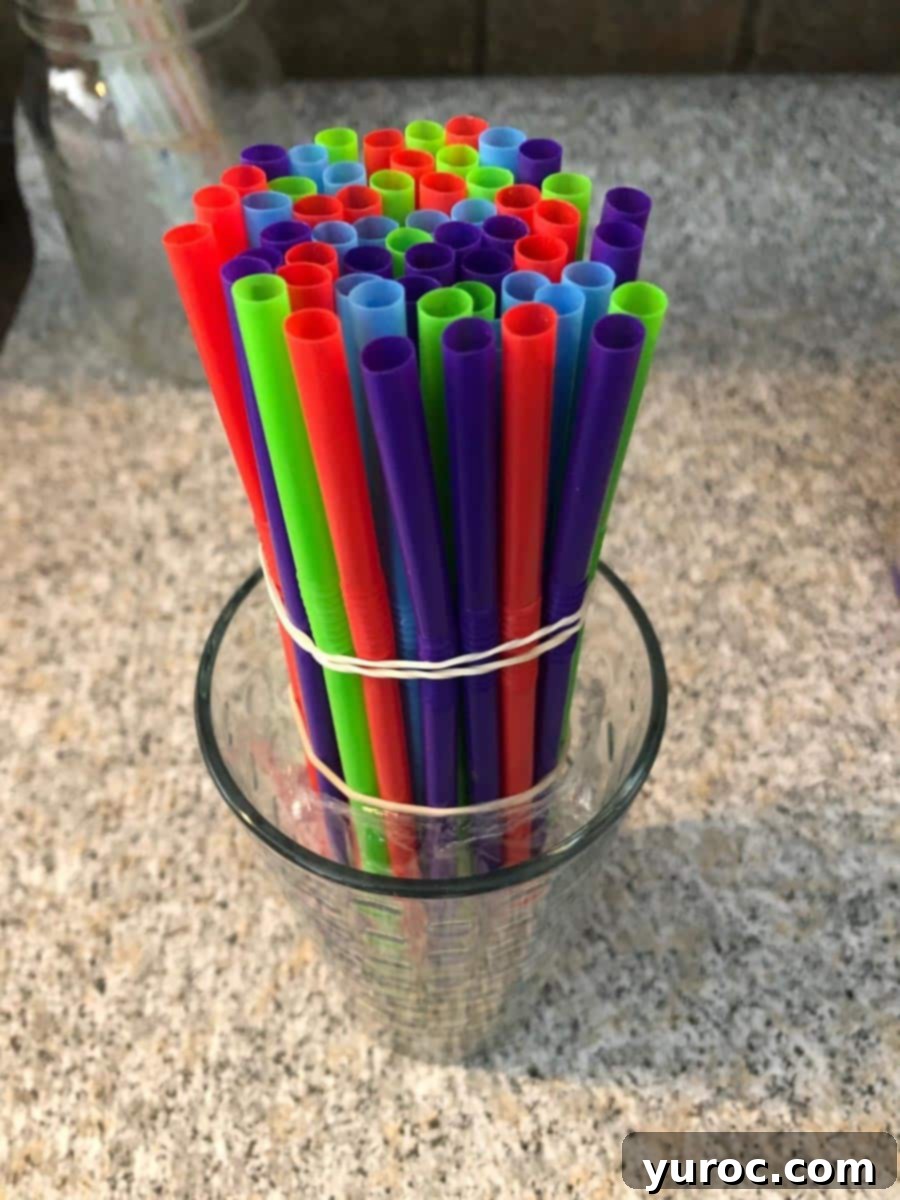
To further secure the base and prevent any leaks, cover the masking tape with an additional layer of plastic wrap and wrap it tightly with another elastic band. Then, place the entire bundle of straws into a tall, sturdy glass or container. Ensure it’s a tight fit, as this will help keep the straws upright and prevent them from shifting during the pouring process.
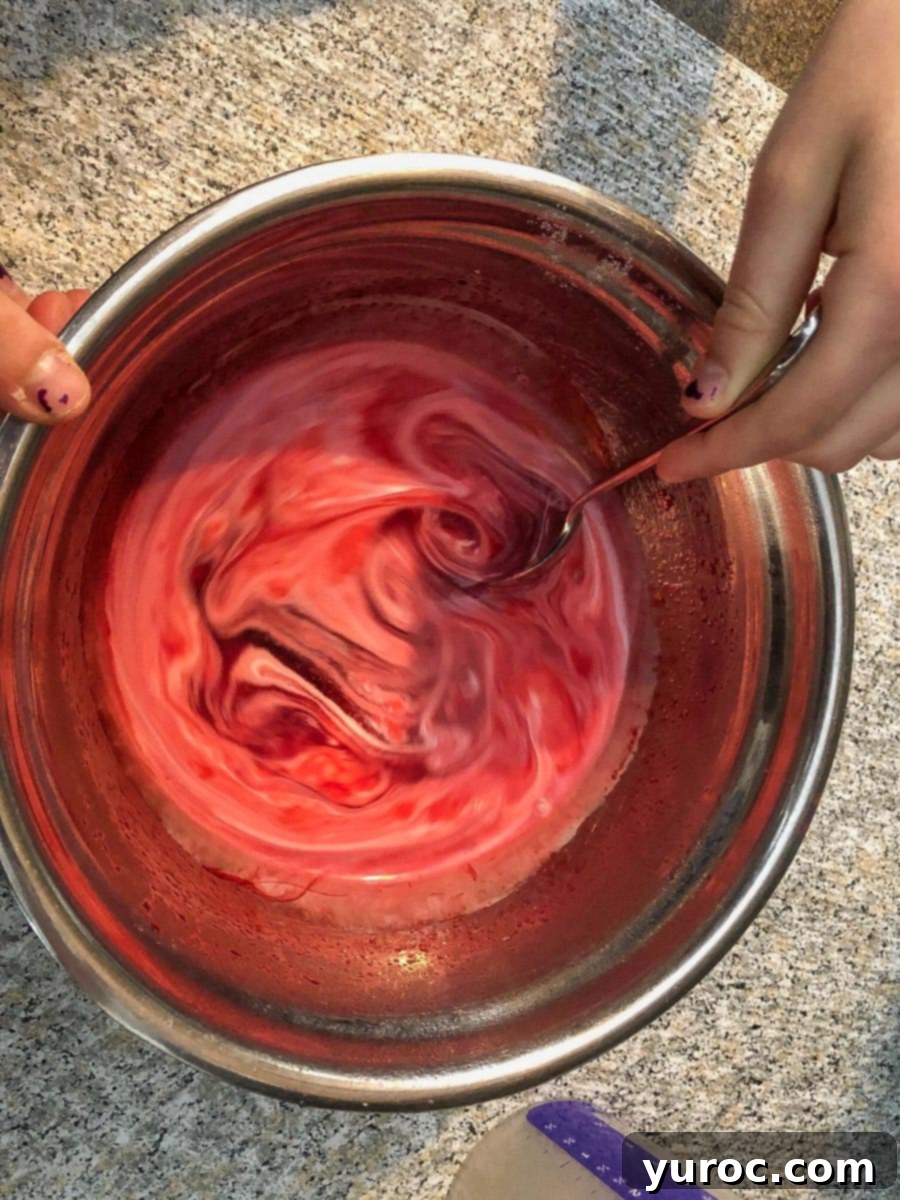
Once the gelatin mixture is lukewarm, add the liquid whipping cream and your chosen food coloring. Gently blend these ingredients into the gelatin mixture. The cream helps create an opaque, more realistic “wormy” look and a smoother texture.
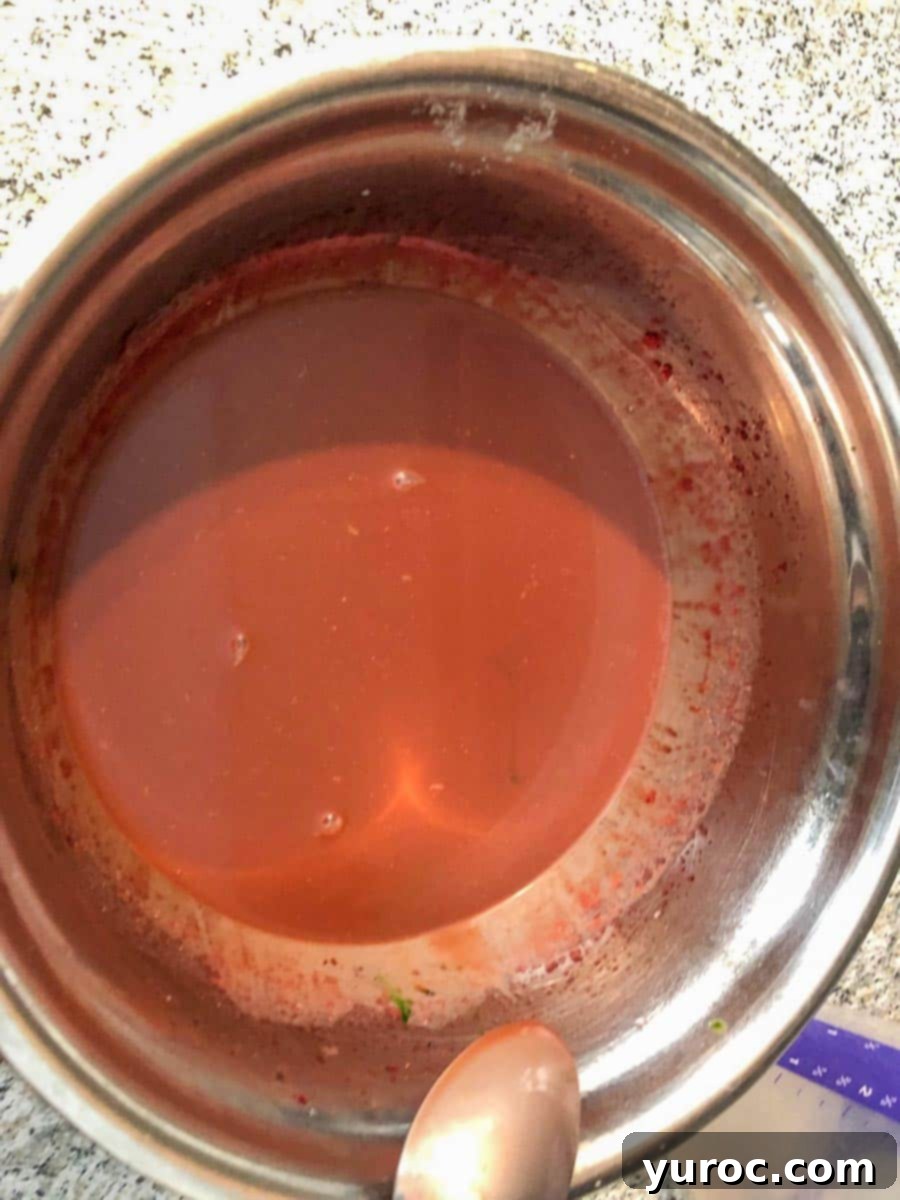
Continue adding food coloring, drop by drop, until you achieve your desired “earthworm” color. A mix of red and a touch of green or brown often works well for a natural, realistic appearance. Don’t be afraid to experiment to get that perfect shade!
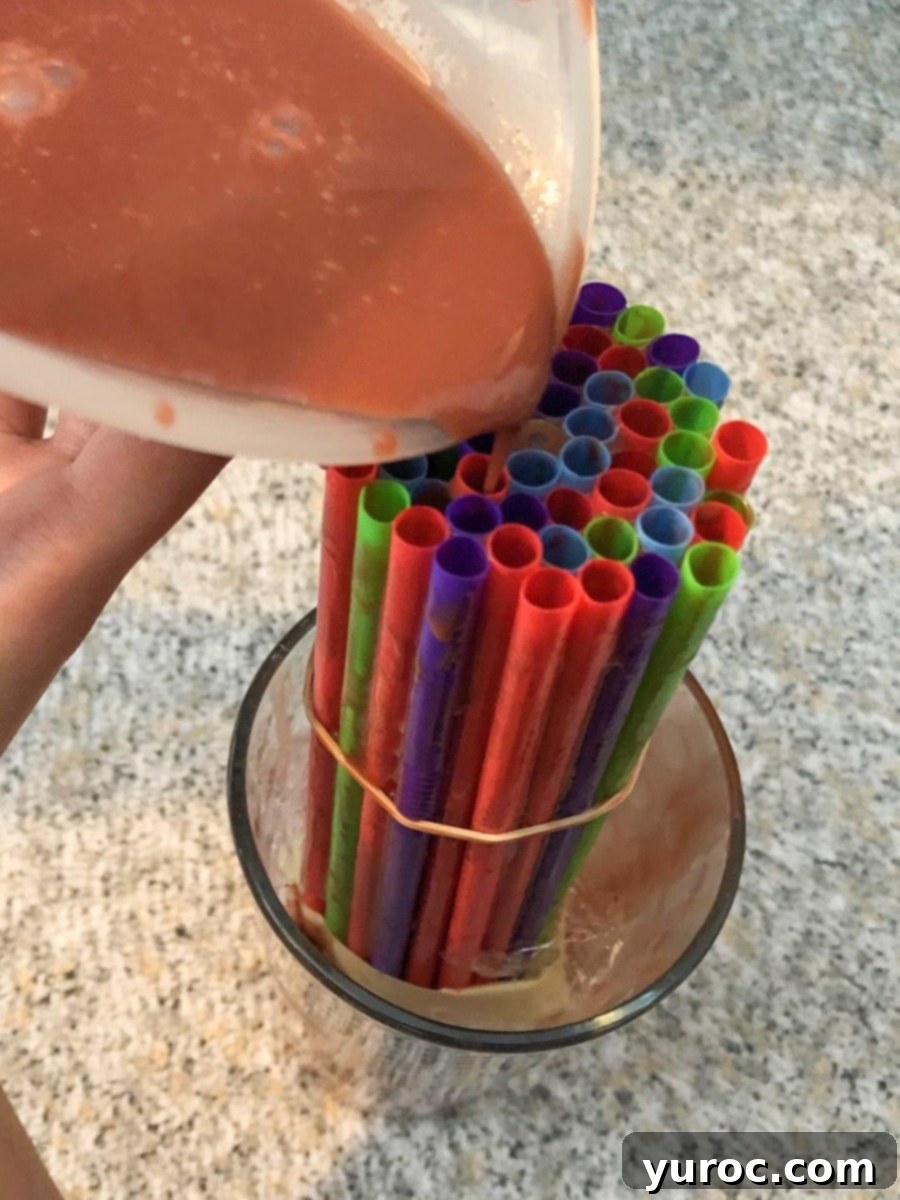
Carefully pour the prepared Jello mixture into the straw-filled container, ensuring that each straw is completely filled. A measuring cup with a spout or a small pitcher can make this task easier and less messy. (For a visual guide, be sure to SEE THE VIDEO: Jello worms being poured into straws in the NOTES section below.)
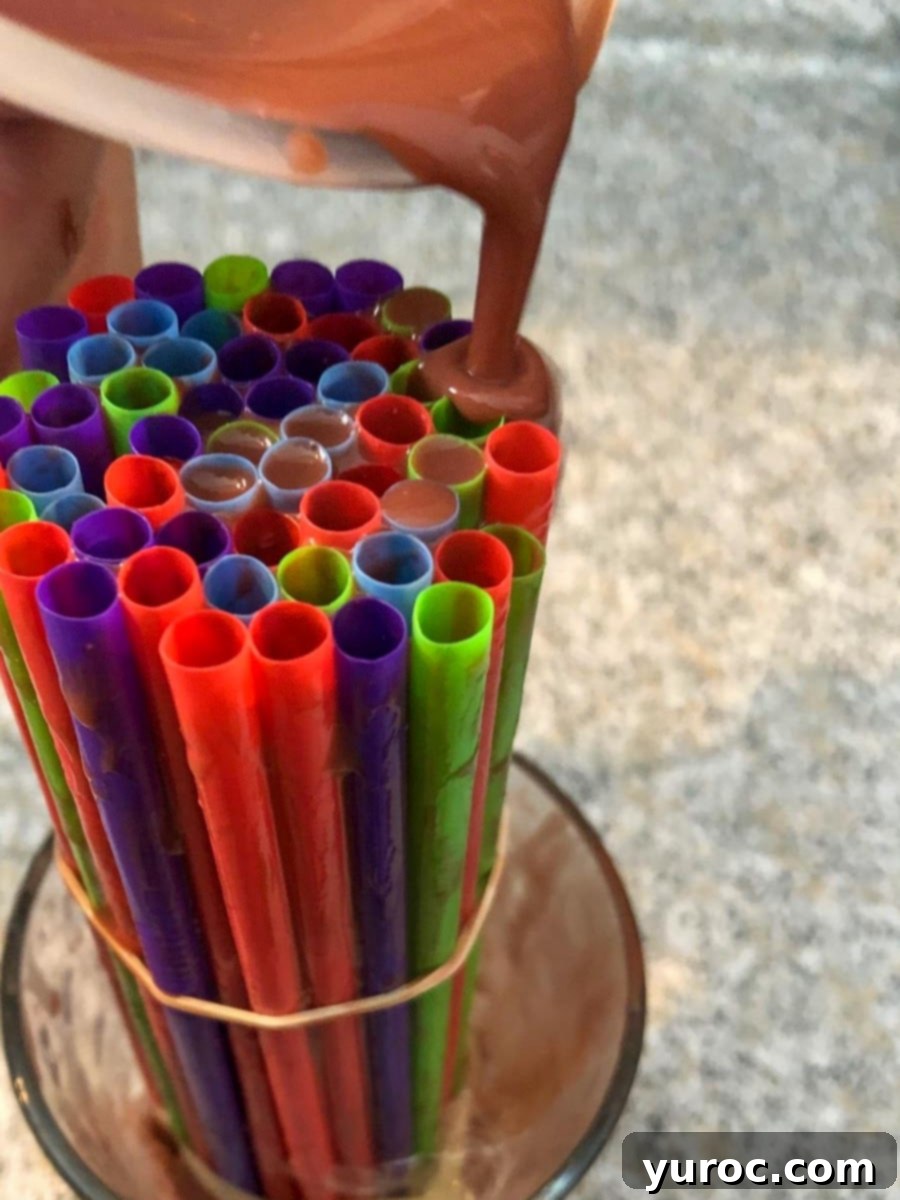
Continue filling the straws until all the Jello mixture is used. Don’t worry if some of the mixture overflows and runs down the sides of the straws into the bottom of the glass; the most important thing is that the straws themselves are filled to the brim. This method ensures all your “worms” are perfectly formed! Once filled, **chill the straws in the refrigerator until the gelatin is completely firm, which will take at least 8 hours, and ideally overnight.** You can cover the tops of the straws with plastic wrap to protect them and chill them for up to 2 days if preparing ahead of time.
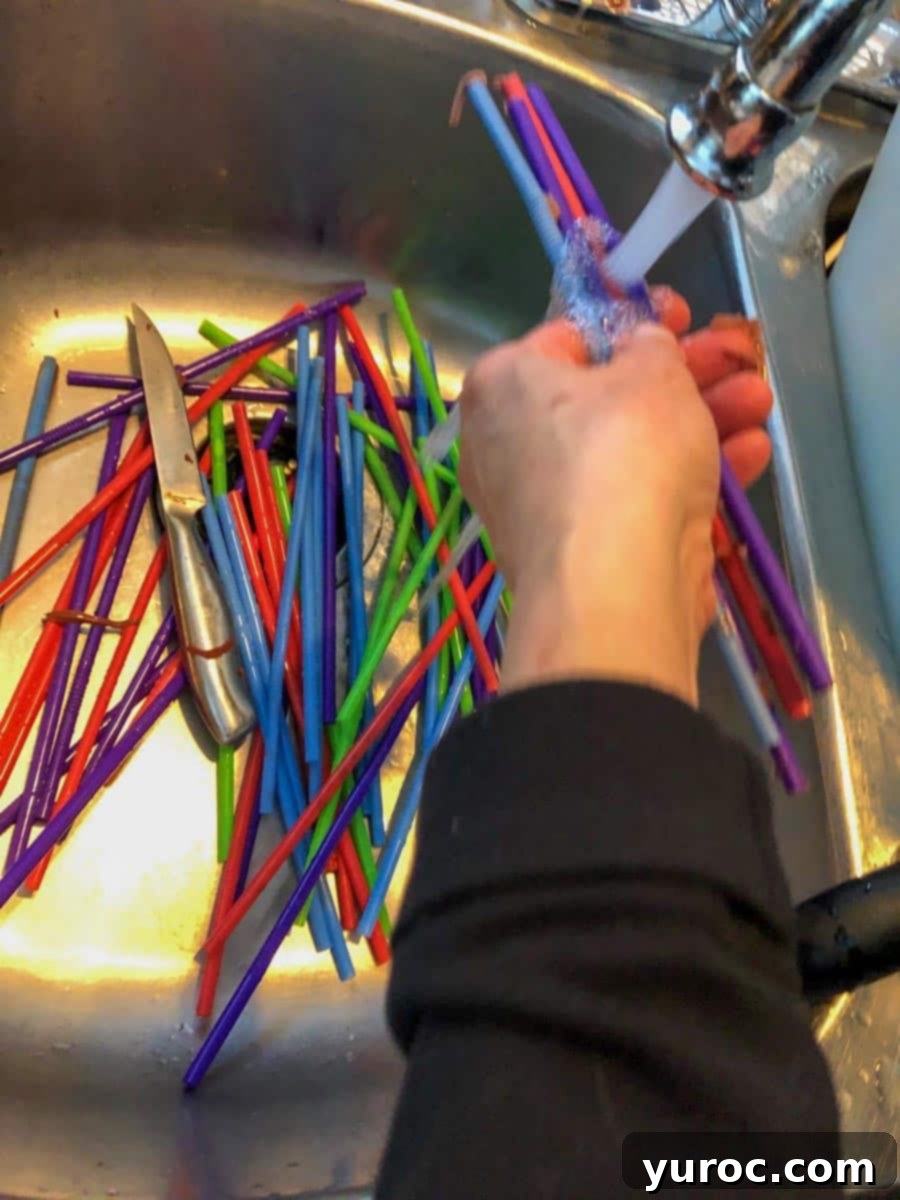
Once chilled and firm, carefully pull the bundle of straws out of the container. Remove all the layers of plastic wrap and masking tape from the bottom. Gently pull the straws apart from each other. To facilitate the worm removal, briefly run hot tap water over the sides of 3 to 4 straws at a time for about 2-3 seconds, being very careful to keep the water from entering the inside of the straws. This slight warmth helps loosen the gelatin without melting it.
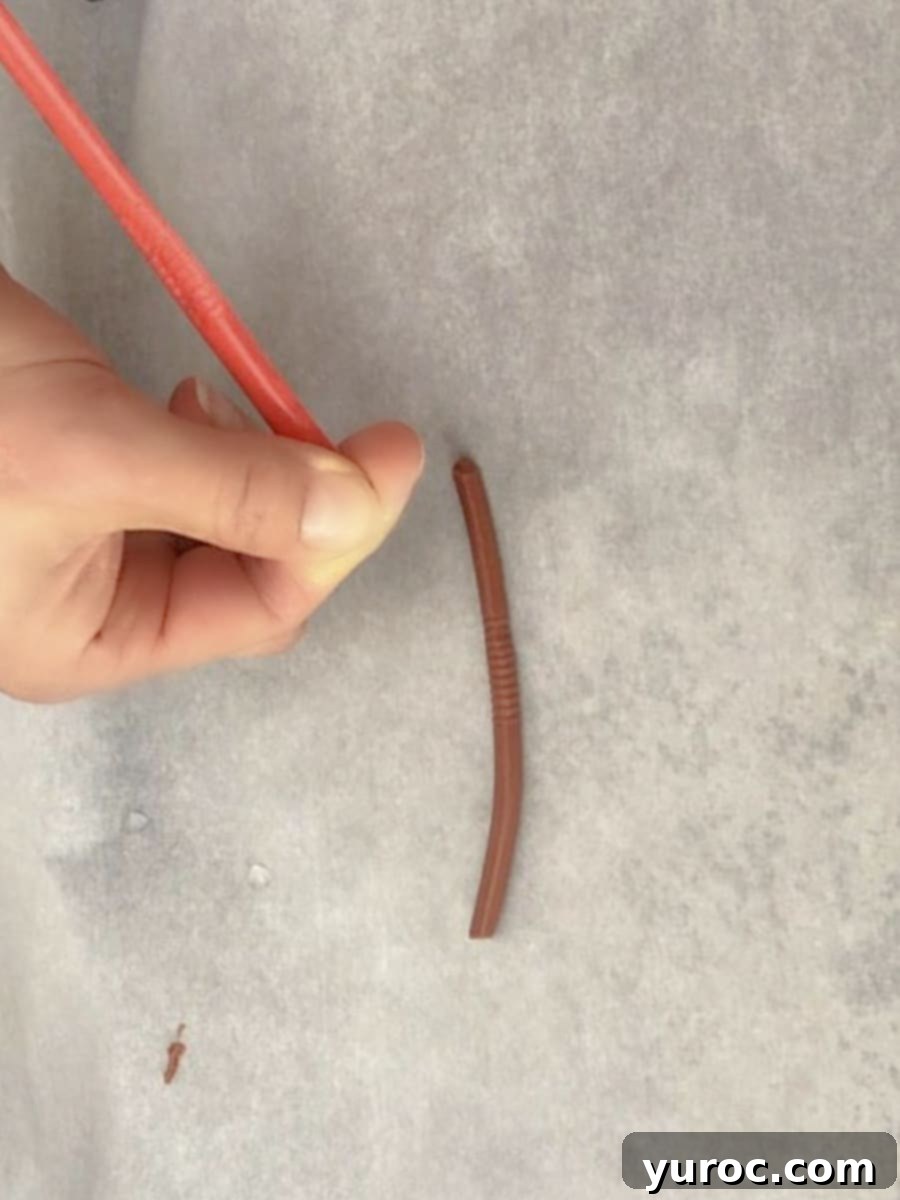
Now for the most satisfying part! Starting from the empty, open ends of the straws, gently push the Jello worms out. You can use your fingers or a small, blunt object (like the back of a spoon) to push them through. The ribbed texture of the straws will create a realistic segmented look on your worms! (Refer to the VIDEO in the NOTES section for a clear demonstration on how to push the worms out of the straws.)
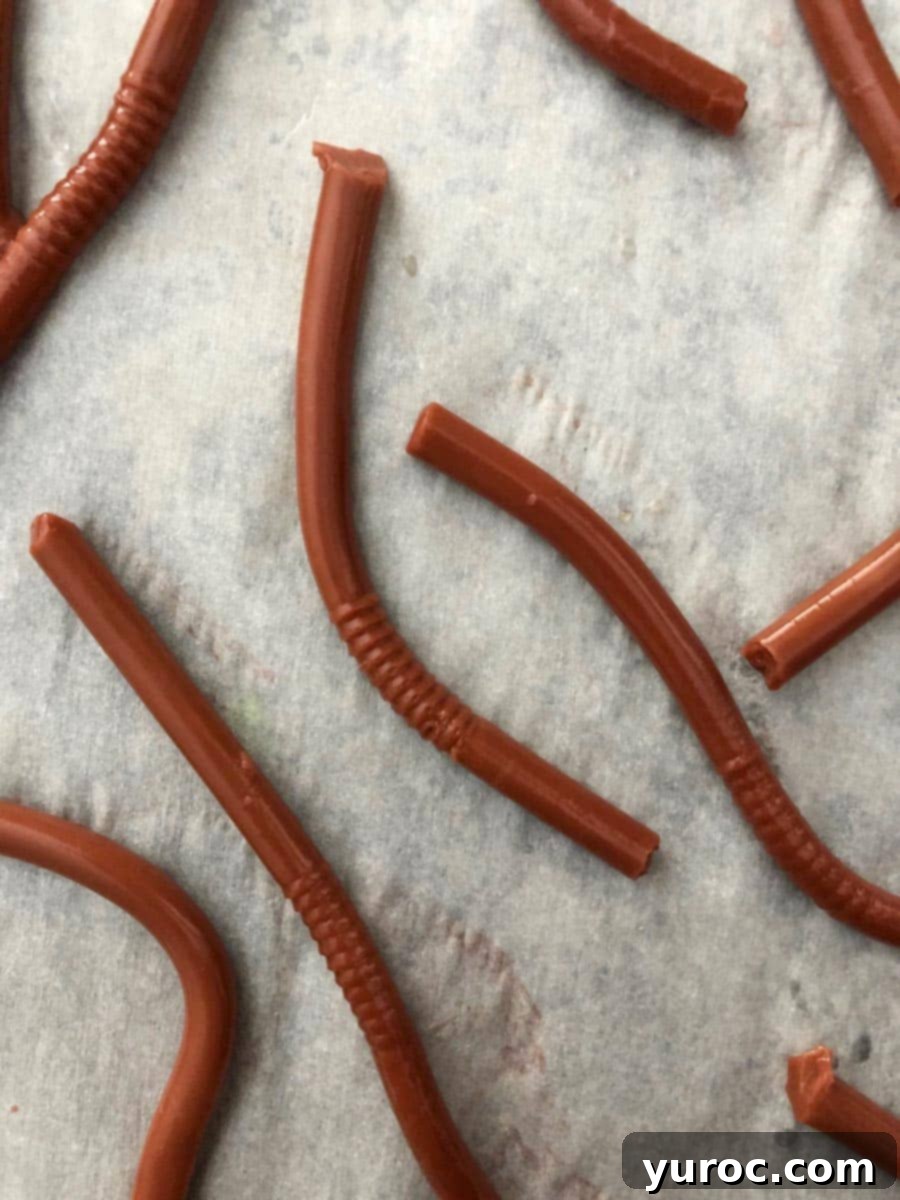
Once you’ve successfully extracted all your Jello worms, carefully lay them out on baking sheets lined with parchment paper. This prevents them from sticking. Place the baking sheets back into the fridge to chill for another 20 minutes before serving. This final chill ensures they are perfectly firm and refreshing when enjoyed.
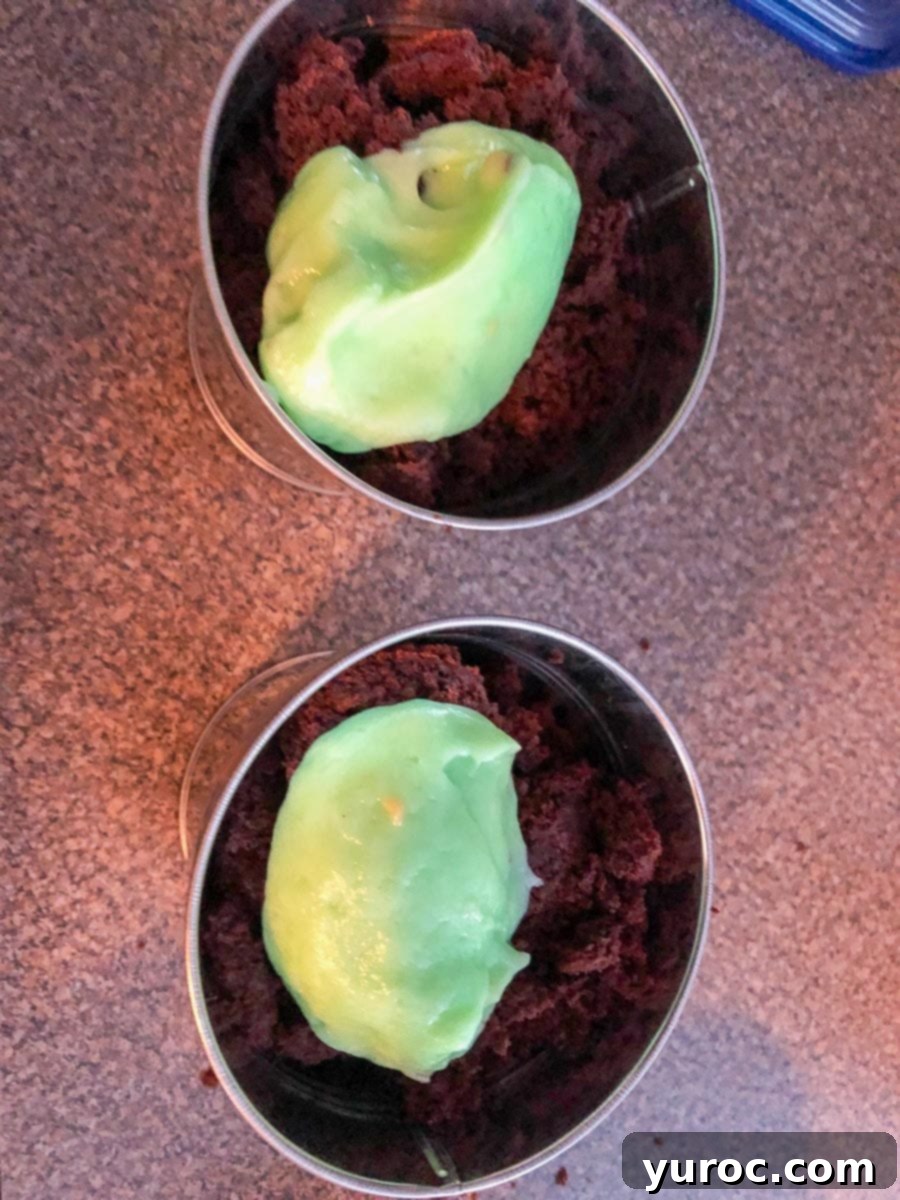
To prepare the “dirt” cups, first, make your instant pudding mix according to the package directions, using cold milk. While the pudding sets slightly, arrange your cake. Crumble or cut pieces of chocolate pound cake or loaf cake and place a layer at the bottom of each individual cup, mini planter, or whatever dish you’re using. Divide the cake evenly based on your desired number of servings.
Once the cake layer is down, pour the prepared pudding mixture over the cake. The pudding will act as a moist, rich layer beneath the “dirt,” making the cups even more delightful.
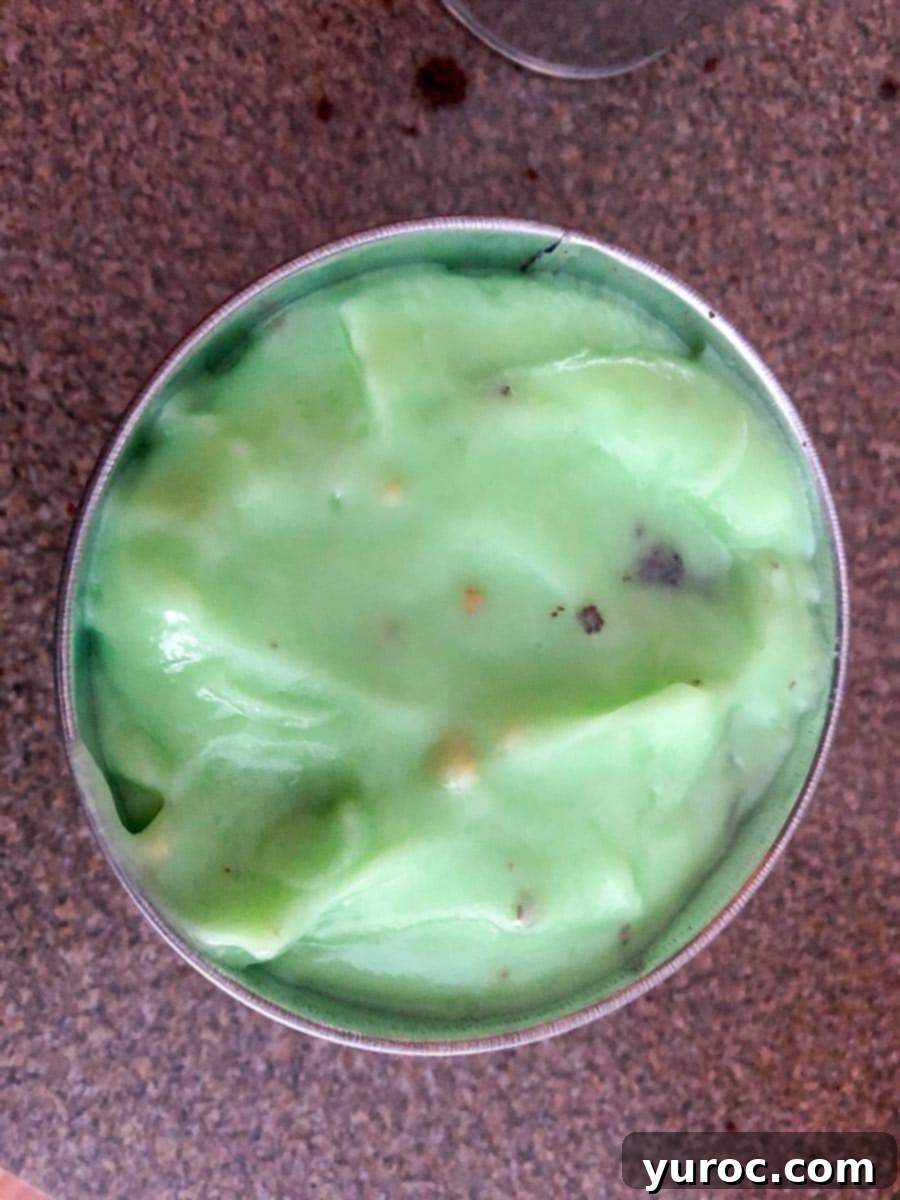
Carefully spread the pudding evenly over the cake layer in each of your chosen serving containers. Distribute the pudding mixture equally among all 6 cups (or adjust according to the number of servings you are making), ensuring a consistent layer in each.
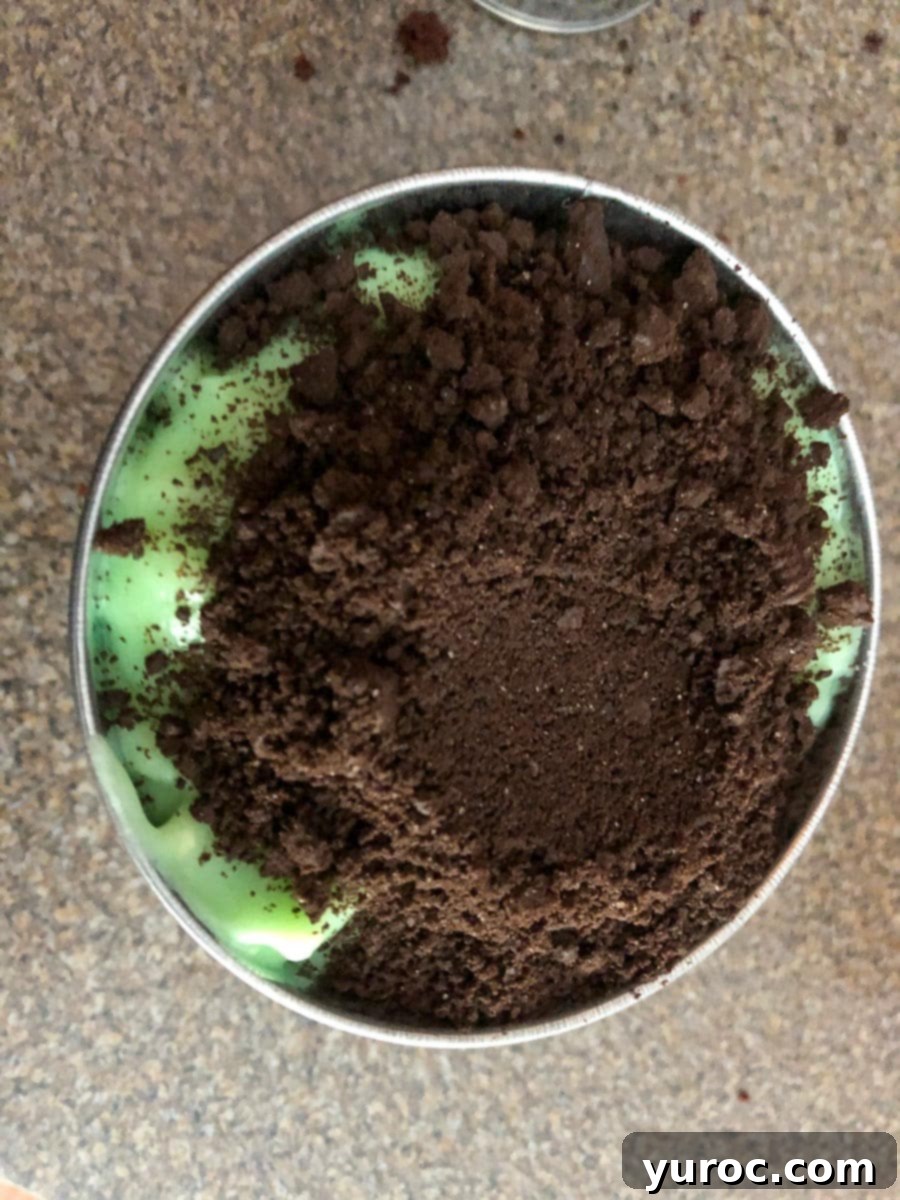
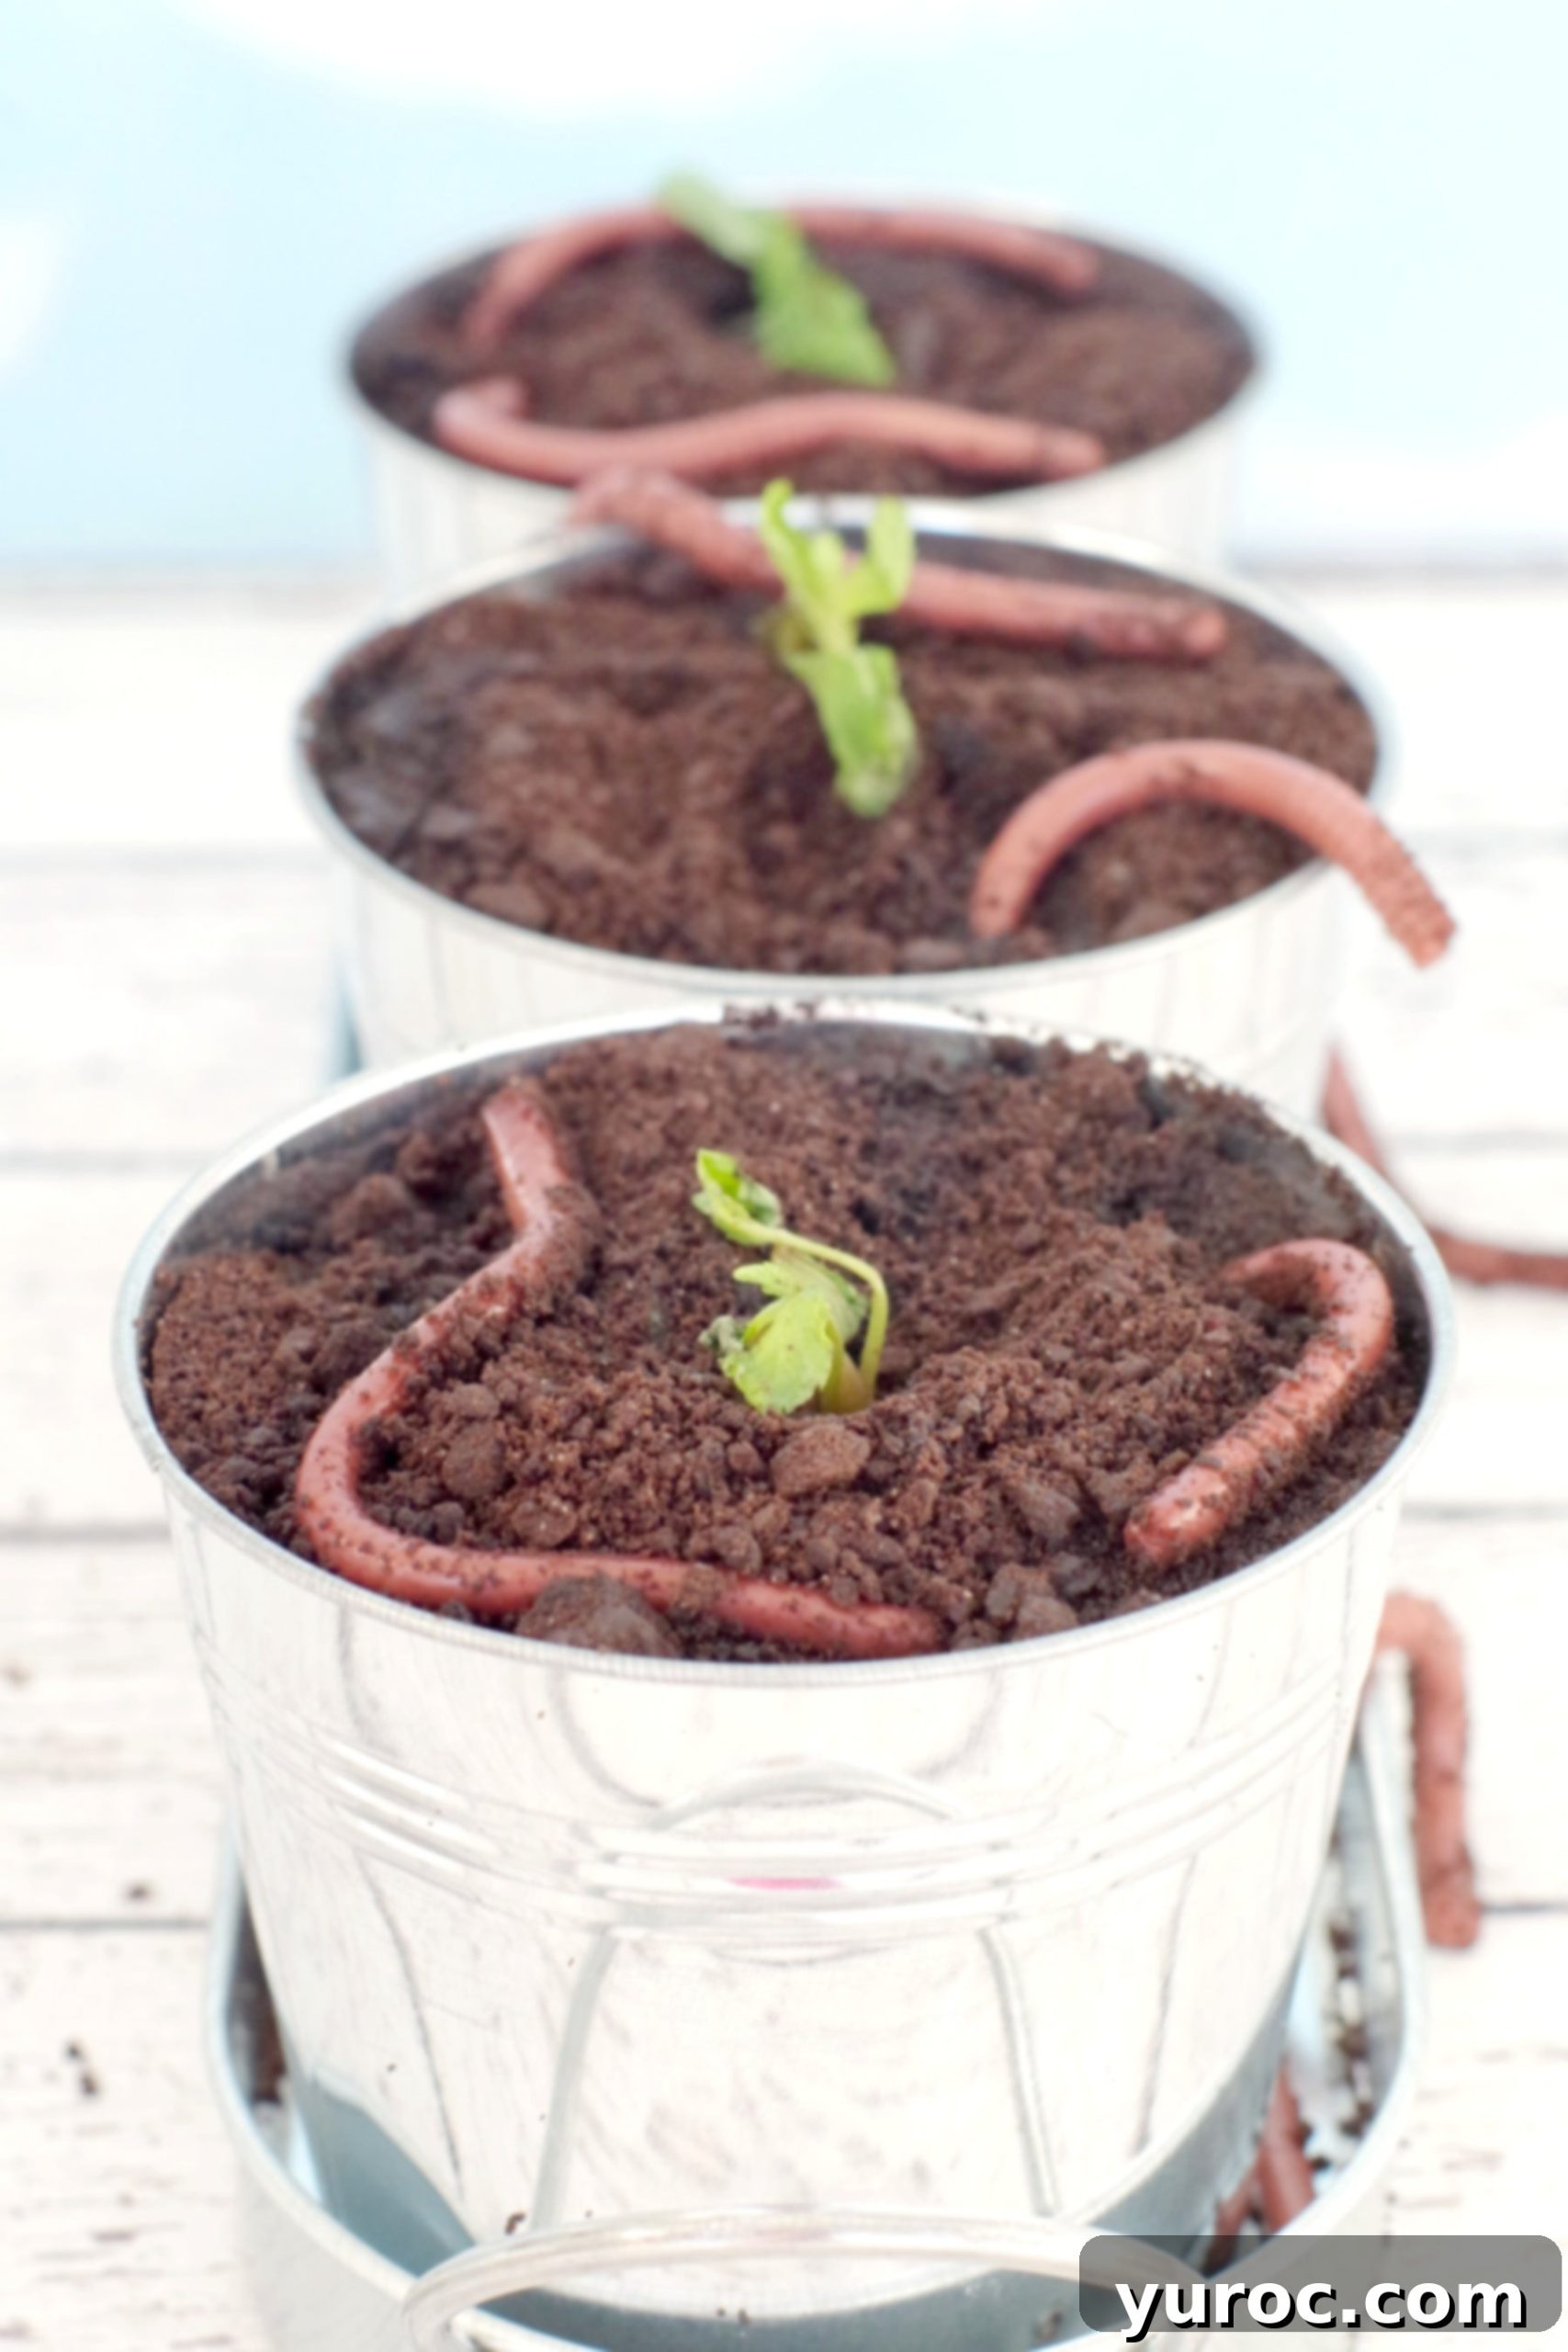
Finally, generously sprinkle the Oreo cookie crumbs (or crushed Oreos) over the top of the pudding layer, completely covering it to create the realistic “dirt” effect. Divide the crumbs evenly among all 6 dirt pudding cups (or however many you are preparing). For a final touch, gently dig a small hole in the center of the “dirt” and “plant” a fresh mint sprig to resemble a tiny, growing plant, completing your edible garden scene. Arrange your chilled Jello worms artfully on top of the “dirt” just before serving for the full, captivating effect.
🎥 Videos
VIDEO: Jello worms being poured into straws
VIDEO: pushing worms out of the straws
I first experimented with making Halloween Jello worms for a dessert a couple of years ago, and even then, I thought they would make a really cool and unique spring dessert. The idea of earthworms being a fitting and thematic treat for Earth Day immediately came to mind, prompting me to refine the recipe. I’m thrilled to say that this time around, they turned out even better, proving to be the perfect blend of playful realism and deliciousness for celebrating our planet!
💭Top Tip for Perfectly Realistic Jello Worms
Achieving that perfectly realistic worm color is key to the charm of this dessert. Don’t hesitate to be bold with your food coloring! I highly recommend using a concentrated gel food coloring, such as Wilton icing coloring, as it provides vibrant colors without diluting your mixture. Feel free to add more green food coloring than you initially think you need, and even a little extra liquid whipping cream. The cream not only contributes to the opaque, natural appearance but also helps you adjust the shade. Rest assured, even with a bit more liquid, your gelatin mixture will still set beautifully, giving you those delightfully wiggly, realistic worms every time!
📖Variations & Substitutions to Customize Your Dirt Cups
This Jello Worms and Dirt Cup recipe is wonderfully versatile, allowing for many creative twists to suit different tastes and dietary needs. Here are some ideas to make it your own:
- Pudding Power: While pistachio pudding offers a lovely light green hue that can complement the “earthy” theme, feel free to experiment with other flavors. Rich chocolate pudding, classic French vanilla pudding, or a nutty butterscotch pudding would all be delicious alternatives. For those who prefer a homemade touch, you can easily substitute instant pudding with a homemade custard or pudding recipe.
- Jello Colors & Flavors: For your Jello worms, raspberry Jello provides a great base color, but strawberry Jello powder is another excellent substitution if you prefer. You could even mix in a tiny drop of brown food coloring to give them an even more realistic, deep earthworm shade. For a less “gross” but still fun option, use orange or purple Jello for colorful, fantastical worms!
- Cake Base: Instead of individual dirt cups, you could create a larger “dirt cake” and arrange your Jello worms artfully on top. For the cake base, feel free to use your favorite homemade chocolate cake recipe, or for ultimate convenience, store-bought chocolate pound cake or a chocolate loaf cake works perfectly. You could also use crushed chocolate cookies or brownies for a richer base.
- “Dirt” Alternatives (Oreo Cookie Crumbs): Oreo baking crumbs are ideal for that dark, rich “dirt” look and flavor. However, if you don’t have them, simply take regular Oreo cookies (or any chocolate sandwich cookie) and scrape off the cream filling (though keeping it won’t be a deal-breaker, it just might alter the “dirt” texture slightly). Place the cookies in a resealable plastic bag and crush them with a rolling pin, or use a food processor for finer crumbs. Chocolate graham cracker crumbs are another delicious option for a slightly different texture and flavor profile.
- Whipped Topping: While liquid whipping cream is essential for incorporating into the Jello mixture to create the worms, for topping your dirt cups, you have more flexibility. A fluffy whipped topping like Cool Whip makes for a quick and easy finish. Alternatively, a dollop of freshly made homemade whipped cream adds an extra touch of decadence.
🍽Essential Equipment for Your Jello Worms and Dirt Cups
To embark on this fun and creative dessert project, you’ll need a few key pieces of equipment. For the Jello worms, gather several mixing bowls for your gelatin mixture, a tall, slender glass or container (that is the same height as your extended straws for stability), plenty of plastic wrap for sealing, and masking tape for extra reinforcement. A pourable measuring cup or a pitcher will be invaluable for neatly filling the straws. And of course, you’ll need a bundle of plastic flexible straws. I know, plastic straws aren’t the most eco-friendly choice, but they are undeniably the best for achieving the authentic ridged texture of these Jello worms. The good news is, you can wash them thoroughly in the dishwasher and reuse them for future projects! For your dirt cups, you’ll need individual cups, small jars, or cute mini planters (I found mine at a dollar store, perfect for the “garden” theme). If your chosen containers aren’t food-safe, simply line them with plastic wrap before assembly. For a detailed visual guide and direct links to recommended equipment, please consult the recipe card below.
👪 Serving Size & Customization
This delightful Worms and Oreo Dirt dessert recipe typically yields approximately 50 realistic Jello worms, providing plenty for a crowd. For the dirt cups, you can expect to create either 3 large or 6 smaller servings, depending entirely on the size of the containers you choose. The beauty of this recipe is its adaptability! You can easily adjust the quantities to suit your needs; simply click on the serving number in the recipe card and select your desired number of servings. The ingredient quantities will automatically scale up or down, making it incredibly convenient to prepare for any gathering, big or small.
🌡️Storage for Freshness
To keep your Earth Day dessert fresh and delicious, store the Oreo dirt cups and the Jello worms separately in the refrigerator. The dirt cups should be placed in an airtight container to prevent them from drying out. These components can be prepared a day or two in advance, allowing you to assemble them closer to serving time for optimal freshness and texture. Unfortunately, neither the prepared dirt cups nor the Jello worms stand up well to freezing, as the textures would be compromised upon thawing. For the best experience, enjoy them chilled and fresh within a few days of preparation.
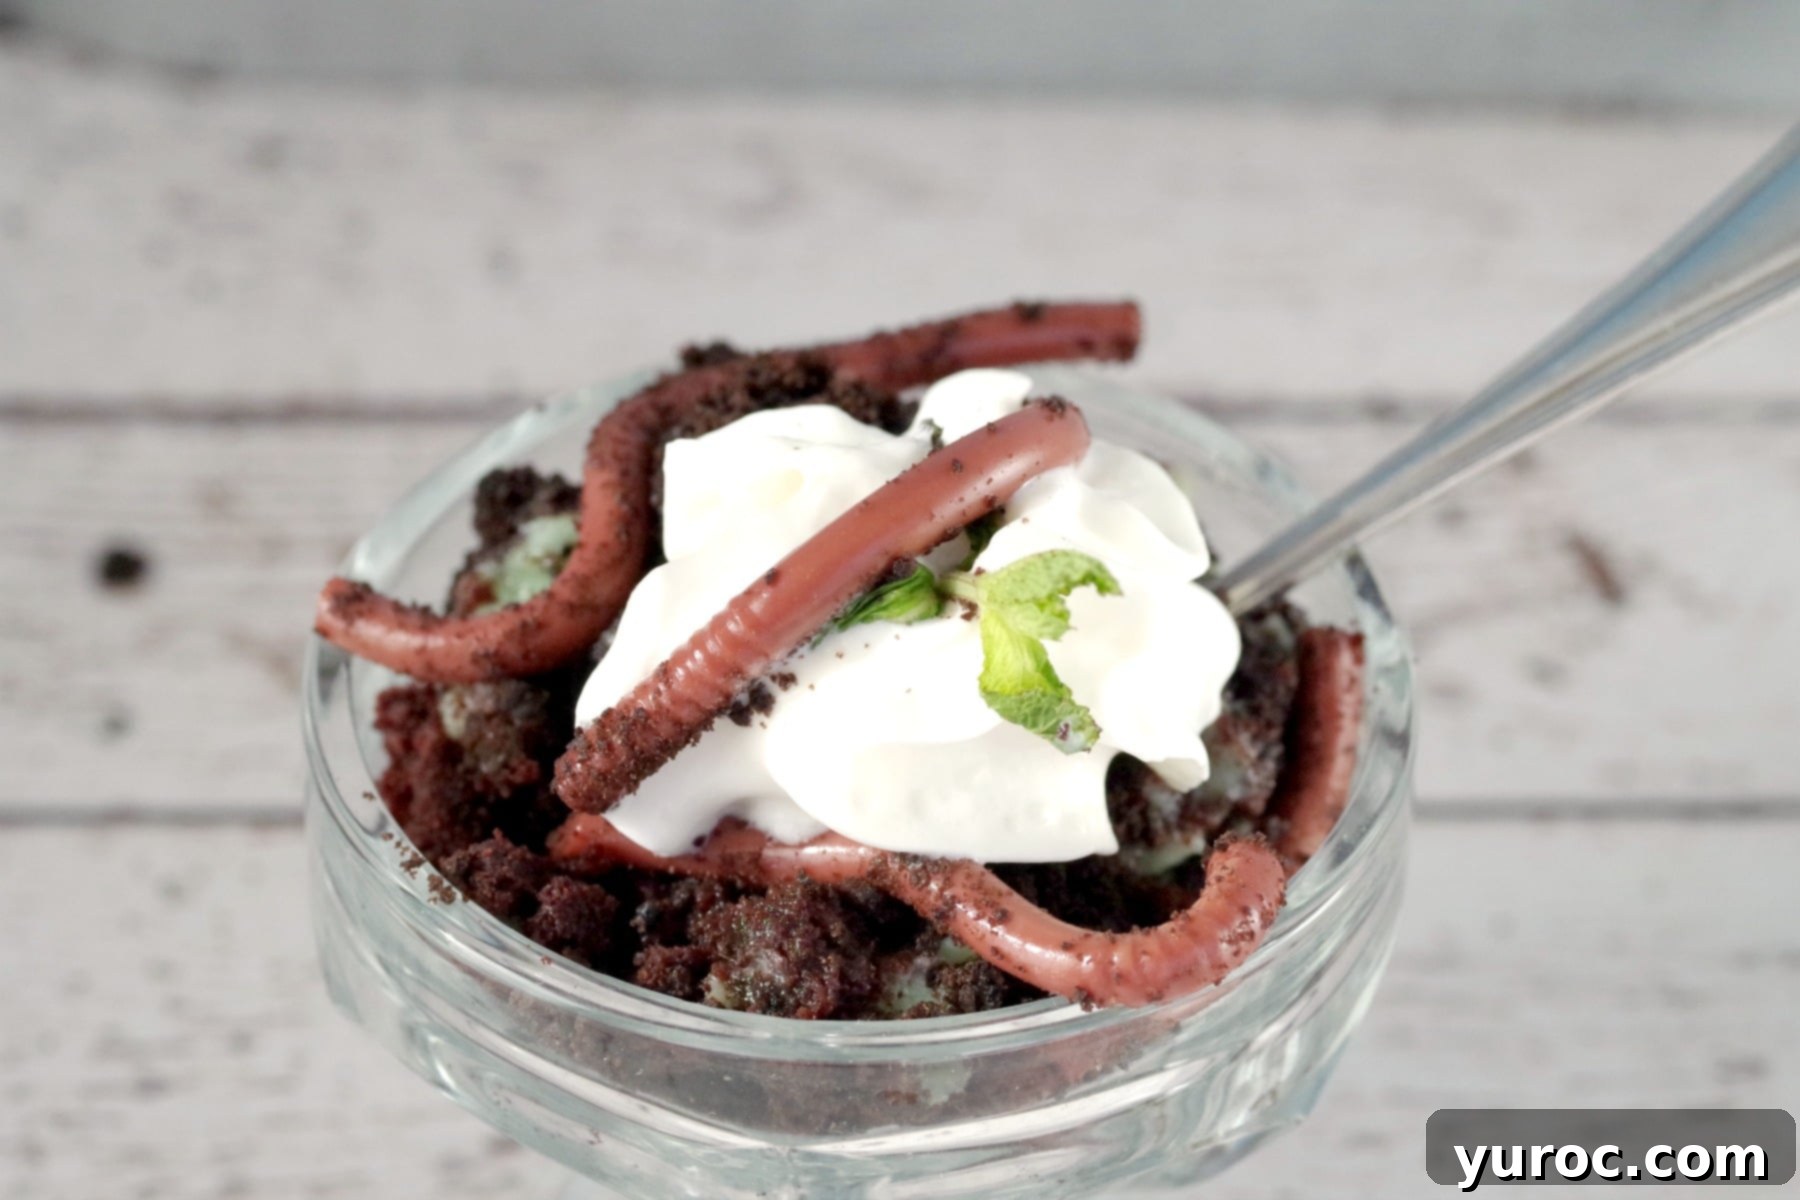
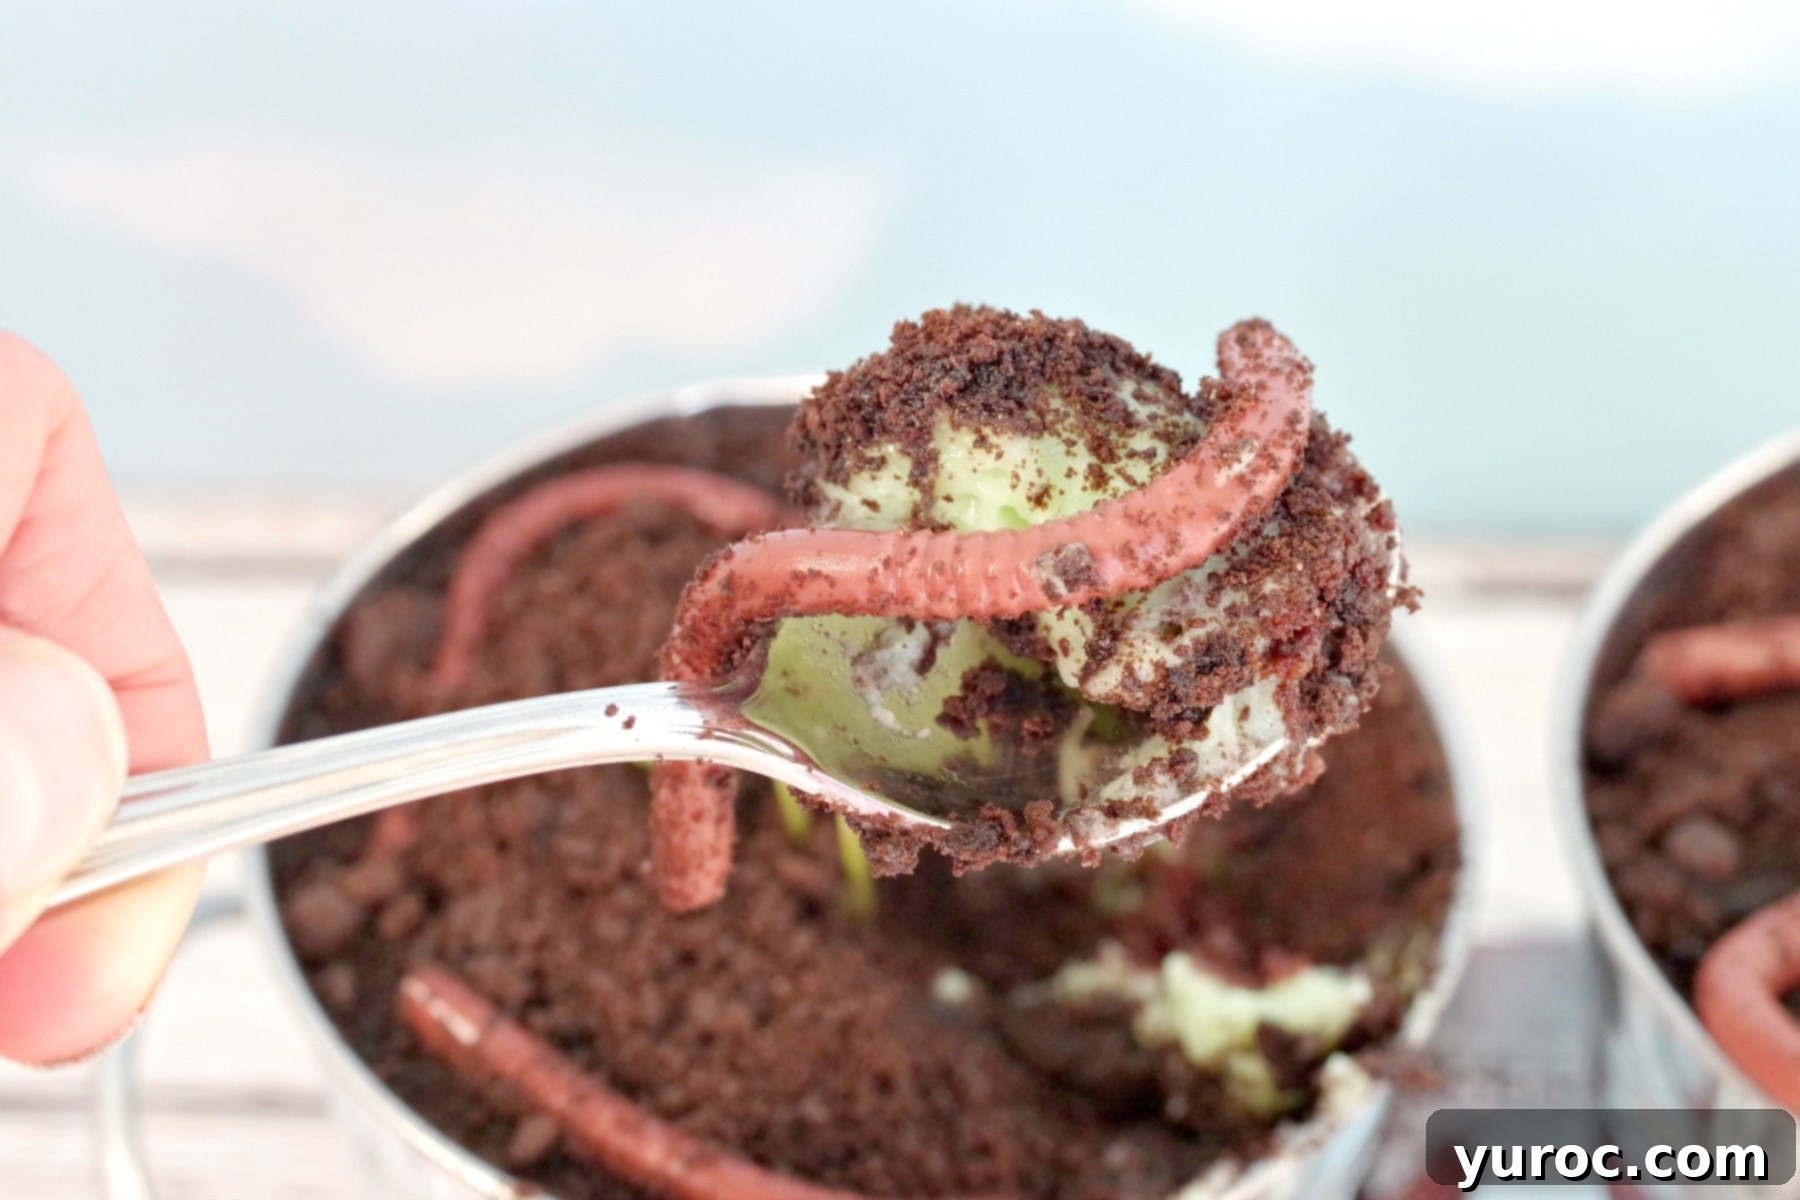
Despite their incredibly realistic, “creepy-crawly” appearance that might initially gross some out, these Jello worms are genuinely delicious, offering a burst of fruity flavor and a fun, jiggly texture. They pair exceptionally well with the rich, moist chocolate cake, creamy pudding, and crunchy cookie crumbs of the dirt cups. Adding a swirl of homemade whipped cream on top takes this playful dessert to an even more indulgent level!
So, whether you’re searching for a wonderfully fun and entertaining project to celebrate Earth Day with your kids, or an unforgettable, conversation-starting treat for a Halloween party, making these realistic Jello worms is an absolute must. They are not only a fantastic way to engage children in a hands-on activity but also a deliciously memorable dessert that is sure to be a huge hit and leave everyone smiling (and maybe a little bit surprised!).
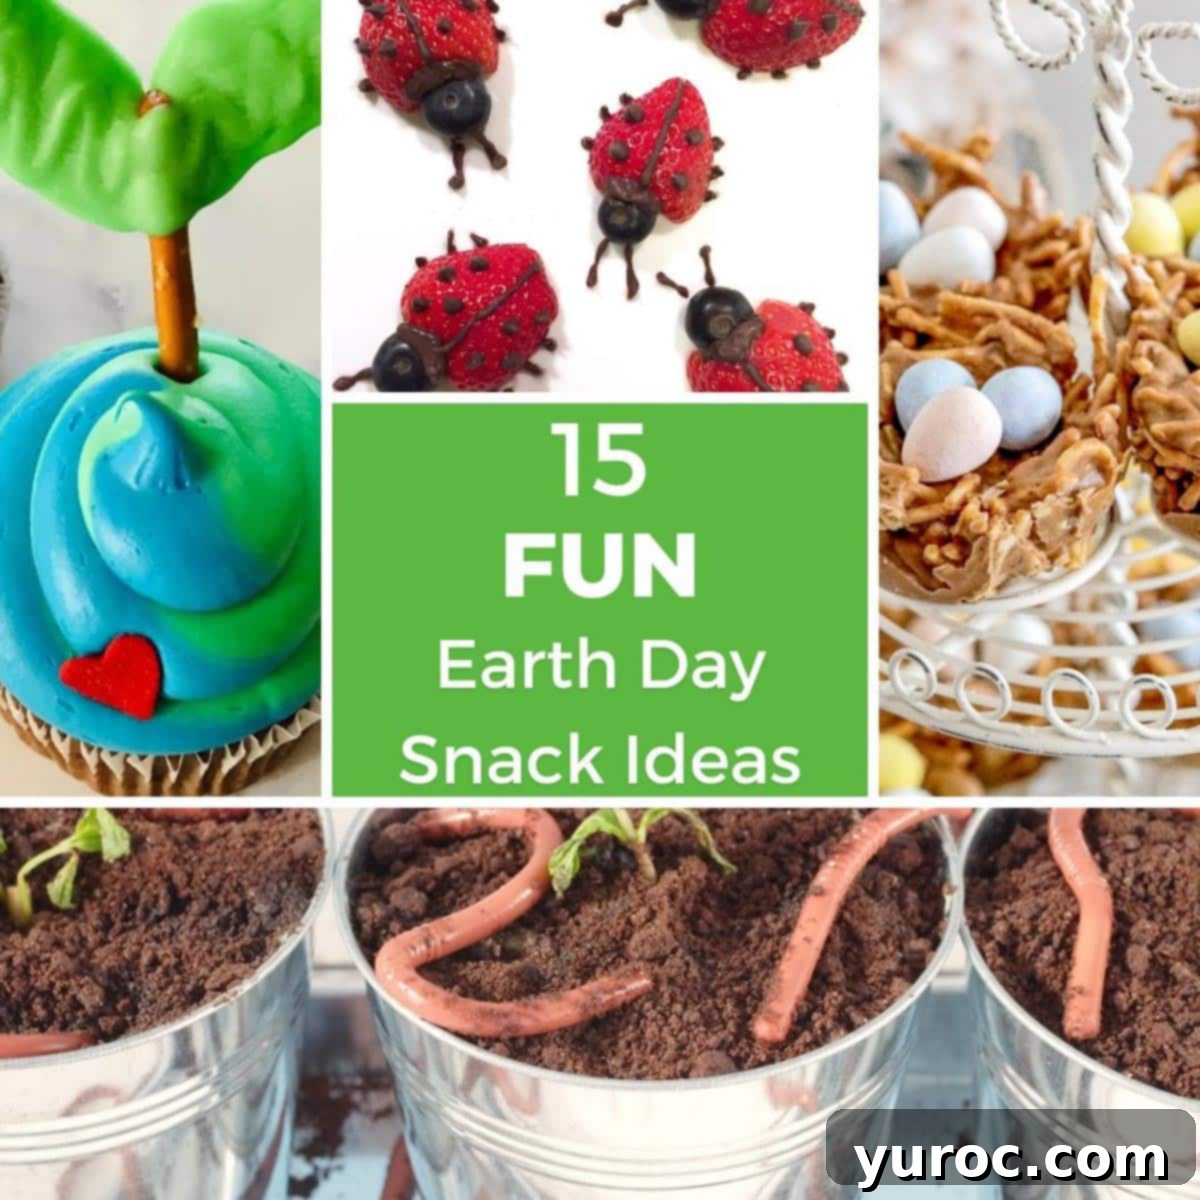
Looking for more ways to celebrate our planet with tasty treats? Here are some more Earth Day Snack Ideas!
⭐ COMMENTS & REVIEWS
Did you know that commenting and rating recipes is one of the best ways to support your favorite recipe creators? If you loved this recipe, please comment and rate it in the recipe card or share photos on social media

📋 Worms and Dirt Cup Recipe
Print Recipe
Pin
Save RecipeSave Recipe
Rate
Add to Shopping ListGo to Shopping List
Equipment
-
plastic flexible straws
-
stainless steel mixing bowl
-
Pourable measuring cup
-
Individual planters
Ingredients
Jello worms
- 1 package raspberry gelatin powder 85 grams
- ½ envelope unflavored gelatin 14 grams
- 1 ½ cups boiling water
- ⅓ cup whipping cream * the liquid (NOT whipped) * you may need a little more
- 3 – 6 drops leaf green food coloring add until desired color appears * I use Wilton icing coloring
Supplies
- 50 flexible plastic straws
- tall slender 4 cup container same height as extended straws * I use a drinking glass
Dirt Cup
- 99 g pistachio dessert * or any flavor of pudding (1 box)
- 300 g chocolate pound or loaf cake store bought or homemade * or use a McCain’s chocolate cake with the icing scraped off
- 1 ½ cup Oreo baking crumbs (or cookie crumbs)
- 6 sprigs mint
Instructions
-
HEADS UP: There is an 8 hour chilling time with this recipe!
How to Make Jello Worms
-
In a large bowl, combine gelatin and raspberry jello powders.
-
Add boiling water; stir until gelatins completely dissolves. Chill jello mixture until lukewarm in fridge, about 20 minutes.
-
Meanwhile, gently pull the flexible part of the straws to extend to full length.
-
Wrap together with elastic and cover bottom of the straws with saran wrap/food safe wrap and then cover with masking tape.
-
Then cover masking tape with more saran wrap and wrap with another elastic. Place in tall glass (so it’s a tight fit)
-
Blend cream and food coloring with the lukewarm gelatin mixture.
-
Add food coloring until you reach desired color
-
Pour jello into straw filled container, filling straws. (SEE VIDEO: Jello worms being poured into straws in NOTES)
-
Keep filling until all of it is gone. Some will go down sides of straws into the bottom of the glass, so don’t worry, as long as the straws get filled up. *This is the very best way to do this!
-
Chill filled straws until gelatin is firm, at least 8 hours. You can cover the tops of the straws with plastic wrap and chill up to 2 days.
-
Pull straws from container and remove saran wrap and tape. Pull straws apart; run hot tap water on the sides of the straws for about 2 seconds, over 3 to 4 straws at a time (ensuring to keep water away from the inside). * You don’t need longer than 2-3 seconds!
-
Starting at the empty ends, push worms from straws by gently pushing them out of the straw. (See VIDEO in NOTES for demonstration on how to push worms out of straws.)
-
Lay worms on parchment paper-lined baking sheets. Then chill for 20 minutes and serve.
Dirt Cup
-
Make pistachio pudding as per package directions
-
Add cake to bottom of mini planter, pot or whatever dish you are using, dividing cake by number of servings you have.
-
Then top with pudding, dividing between all 6 cups (or depending on how many you make)
-
Add Oreo crumbs over the pudding layer, covering pudding and dividing between all 6 cups (or depending on how many you make)
-
Dig a little hole in the middle and plant the ‘mint’.
Notes
**NOTE: This recipe makes about 50 worms
***NOTE: VIDEO: Jello worms being poured into straws
****NOTE: VIDEO: pushing worms out of the straws