Quick & Easy Microwave Saskatoon Berry Crisp in a Mug: Your 7-Minute Small Batch Dessert!
Craving a warm, comforting fruit crisp but don’t want to heat up your kitchen or make a huge batch? This Microwave Saskatoon Berry Crisp (in a mug) is your perfect solution! In just about 7 minutes, you can indulge in a delicious, single-serving (or two-serving) dessert that’s bursting with the unique flavor of Saskatoon berries. It’s an ideal recipe when you have a small amount of berries on hand or simply desire a speedy, satisfying treat.
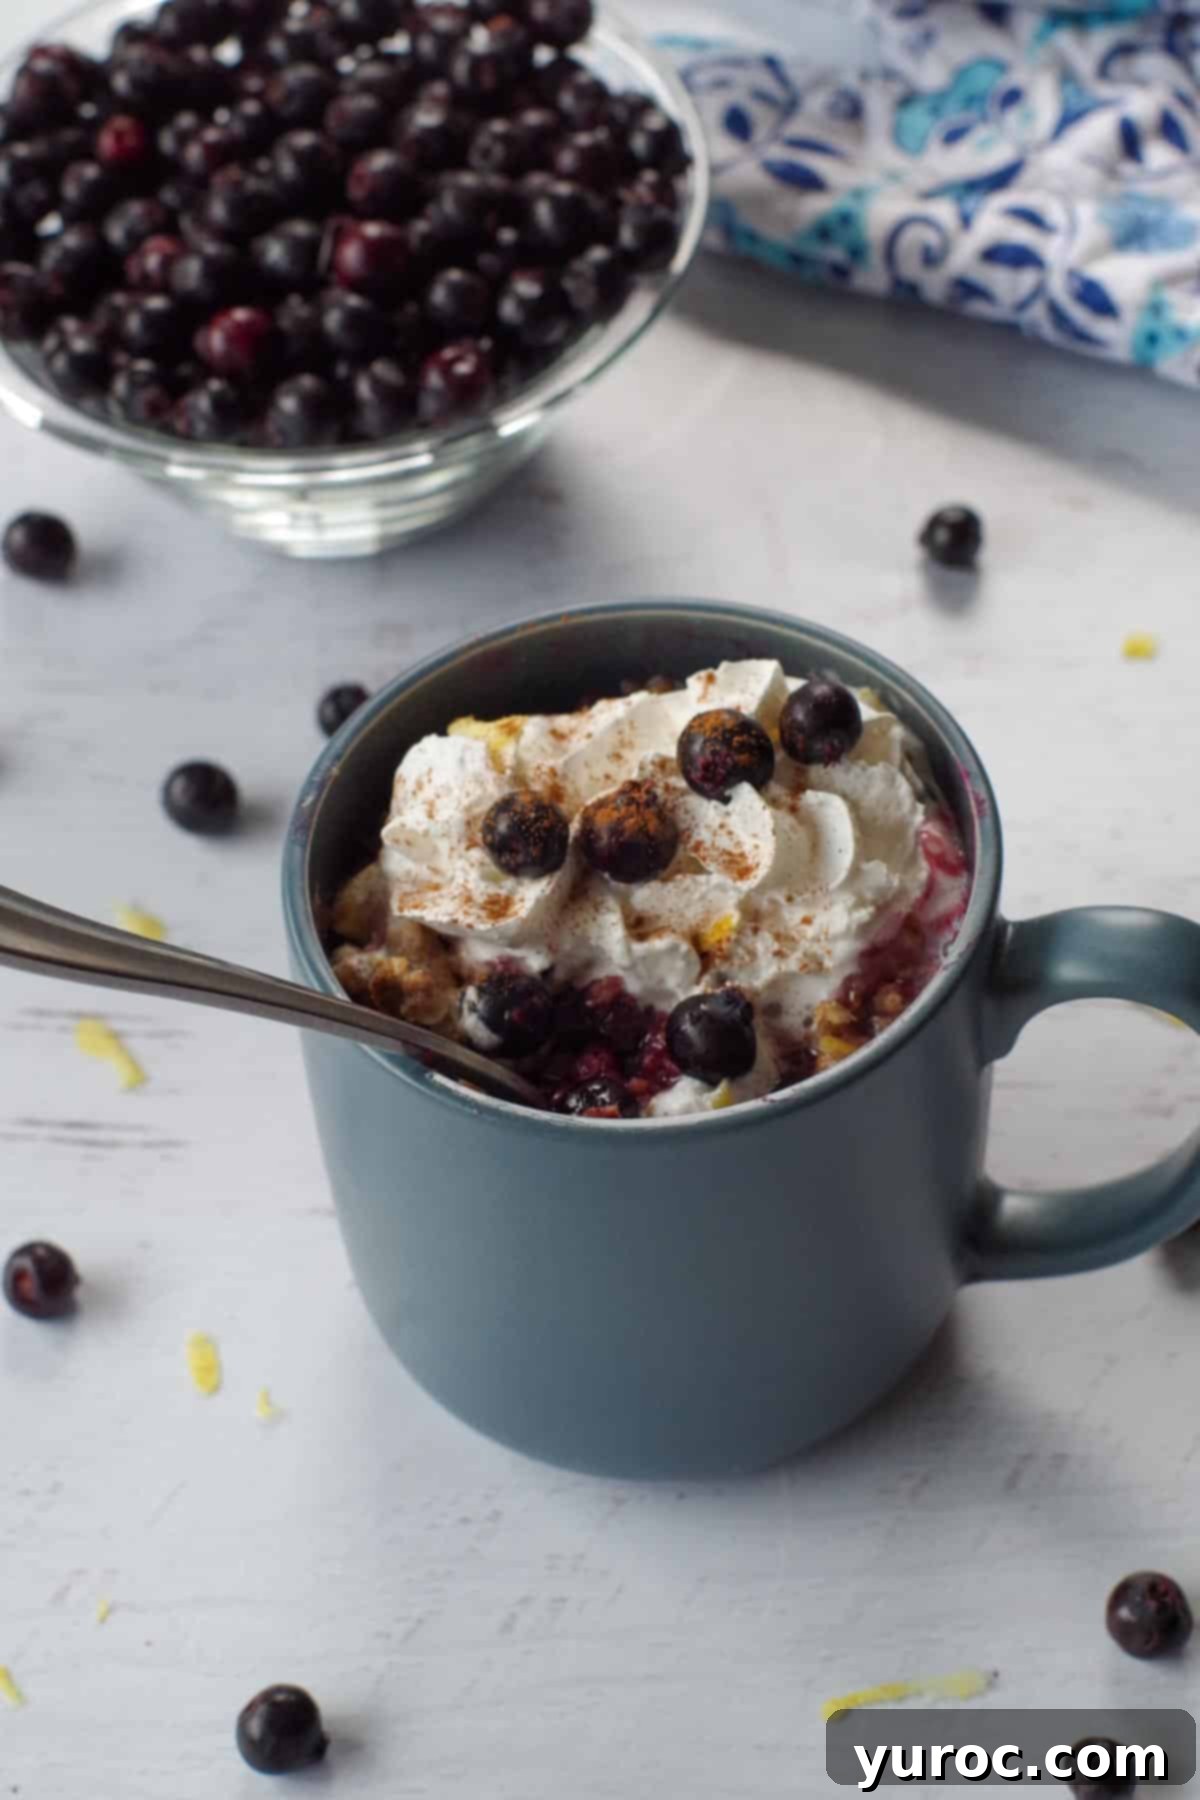
Saskatoon berries, with their delightfully short season typically from mid-late July to early August (depending on region and climate), are a true summer gem. This individual-sized Saskatoon crisp recipe draws inspiration from other popular mug fruit crisps on this site, such as our Healthy Apple Crisp in a Mug and Microwave Rhubarb Crisp (in a mug). It makes for a wonderful conclusion to any summer meal, perfectly complementing dishes like our Buffalo Chicken Zucchini Boats!
Discovering Saskatoon Berries: A Unique North American Delight
Before we dive into making this delectable crisp, let’s appreciate the star ingredient: Saskatoon berries. Often compared to blueberries, these dark purple berries are native to western North America and possess a distinct flavor profile. They offer a unique blend of sweetness with a hint of almond and an earthy undertone, setting them apart from other berries.
Beyond their exquisite taste, Saskatoon berries are packed with nutritional benefits. They are rich in antioxidants, fiber, and various vitamins and minerals, making this crisp not only a treat for your taste buds but also a healthier dessert option. Their brief growing season makes them a coveted ingredient, so enjoying them fresh or frozen in recipes like this microwave crisp is a fantastic way to savor their seasonal goodness.
🥘 Essential Ingredient Notes for Your Microwave Crisp
Crafting the perfect Saskatoon berry crisp in a mug requires a few key ingredients, each playing a vital role in achieving that ideal balance of sweet, tart, and crunchy. Here’s what you’ll need and some tips for best results:
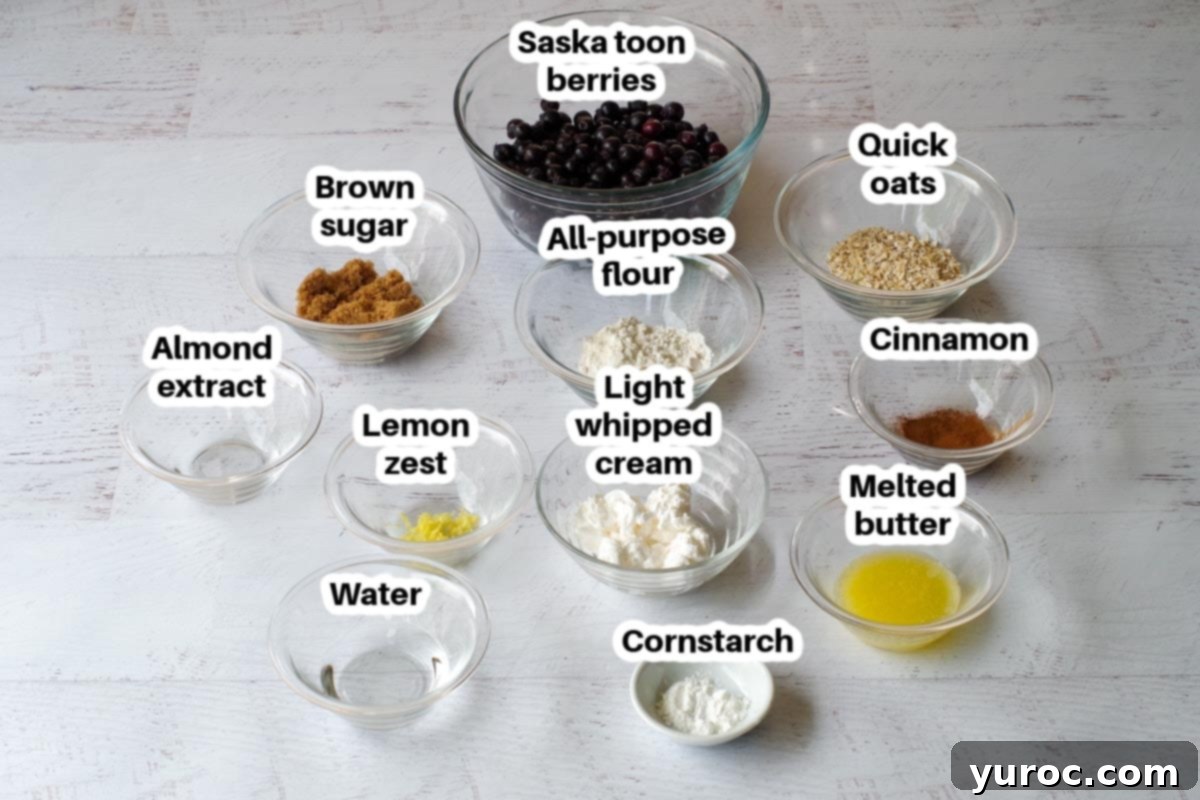
- Quick Oats. We specifically use quick rolled oats because their thinner, partially cooked nature allows them to soften and crisp up much faster in the microwave compared to old-fashioned rolled oats. Avoid instant oats entirely, as they tend to turn mushy and won’t give you the desired crisp texture.
- Brown Sugar. This recipe calls for brown sugar, which lends a wonderful depth of flavor, introducing subtle caramel and toffee notes that beautifully complement the Saskatoon berries. For the topping, it also contributes to a lovely golden color.
- Unsalted Butter. Using unsalted butter is crucial for controlling the overall salt content in your crisp. Salted butter’s sodium levels can vary significantly between brands, making it harder to achieve consistent results. If you only have salted butter, you may want to slightly reduce any added salt in the recipe and taste for sweetness.
- Saskatoon Berries. You can use either fresh or frozen Saskatoon berries. If opting for frozen berries, it’s essential to fully defrost them first. Once thawed, make sure to thoroughly drain any excess liquid. This step is critical to prevent your crisp filling from becoming watery and ensures a rich, thick consistency.
- Lemon Zest. A touch of fresh lemon zest is a game-changer! It provides a bright, acidic counterpoint that perfectly balances the sweetness of the berries and sugar, elevating the overall flavor profile without making it overly tart.
- Almond Extract. This ingredient is key to unlocking the full potential of Saskatoon berries. Almond extract enhances their natural, slightly almond-like undertones, giving the crisp a unique and sophisticated twist that vanilla extract simply can’t replicate.
- Light Whipped Cream. For convenience and a lighter touch, we recommend spray light whipped cream. It’s quick, easy to apply, and offers fewer calories and less fat than regular whipped cream, allowing the berry flavor to shine without being overly rich.
- All-Purpose Flour. A small amount of all-purpose flour in the crisp topping helps bind the ingredients together and contributes to that desirable crumbly texture.
- Cinnamon. Ground cinnamon is added to both the berry filling and the crisp topping. Its warm, spicy notes perfectly complement the fruit and brown sugar, creating a classic crisp flavor.
- Cornstarch and Water. These are combined to create a slurry that thickens the berry filling, preventing it from becoming too runny. This ensures a luscious, saucy consistency that clings beautifully to the berries.
📖 Creative Variations & Smart Substitutions
While this recipe is fantastic as written, feel free to get creative and adapt it to your preferences or what you have on hand. Here are some popular variations and substitutions:
- Butter – If unsalted butter isn’t available, you can use salted butter. However, be mindful of the salt content and adjust the brown sugar slightly if needed to balance the flavors. You might find adding a tiny pinch of extra brown sugar or reducing the overall salt in the filling helps.
- Whipped Cream – For a richer dessert, regular whipped cream can be used instead of the light version. Alternatively, a dollop of vanilla ice cream or a scoop of frozen yogurt makes a delightful topping.
- Oats – Regular rolled oats (old-fashioned oats) can be substituted for quick oats, but be aware they will result in a chewier topping and might require an extra 10-15 seconds of microwave cooking time for the topping to soften adequately.
- Lemon Zest – If you don’t have a lemon, the zest of an orange can provide a similar bright, citrusy note, though it will impart a slightly different flavor profile.
- Sugar – White granulated sugar can be used in place of brown sugar. This will yield a crisp with a lighter flavor and less of the caramel depth that brown sugar provides. Adjust to your sweetness preference.
- Almond Extract – While almond extract is highly recommended for its unique pairing with Saskatoon berries, vanilla extract can be used as a substitute. This will result in a more classic fruit crisp flavor.
- Saskatoon Berries – As mentioned, both fresh and frozen berries work beautifully. The key with frozen berries is to ensure they are fully thawed and meticulously drained before measuring and mixing to avoid a watery crisp.
- Other Berries/Fruits: Don’t have Saskatoon berries? This recipe framework works wonderfully with other small fruits like blueberries, raspberries, or chopped peaches. You might need to adjust sweetness and cornstarch slightly based on the fruit’s natural juiciness and tartness.
- Gluten-Free Option: To make this crisp gluten-free, substitute the all-purpose flour with a gluten-free all-purpose flour blend. Ensure your oats are certified gluten-free.
🔪 How to Make Your Speedy Saskatoon Berry Crisp in a Mug
Making this delightful dessert is incredibly straightforward. Follow these simple steps for a warm, delicious treat in minutes:
Prep: Begin by lightly spraying a microwave-safe mug (we recommend a 16 oz mug for two servings, or an 8 oz mug for a single serving) with a non-stick cooking spray. This will prevent sticking and make cleanup easier.
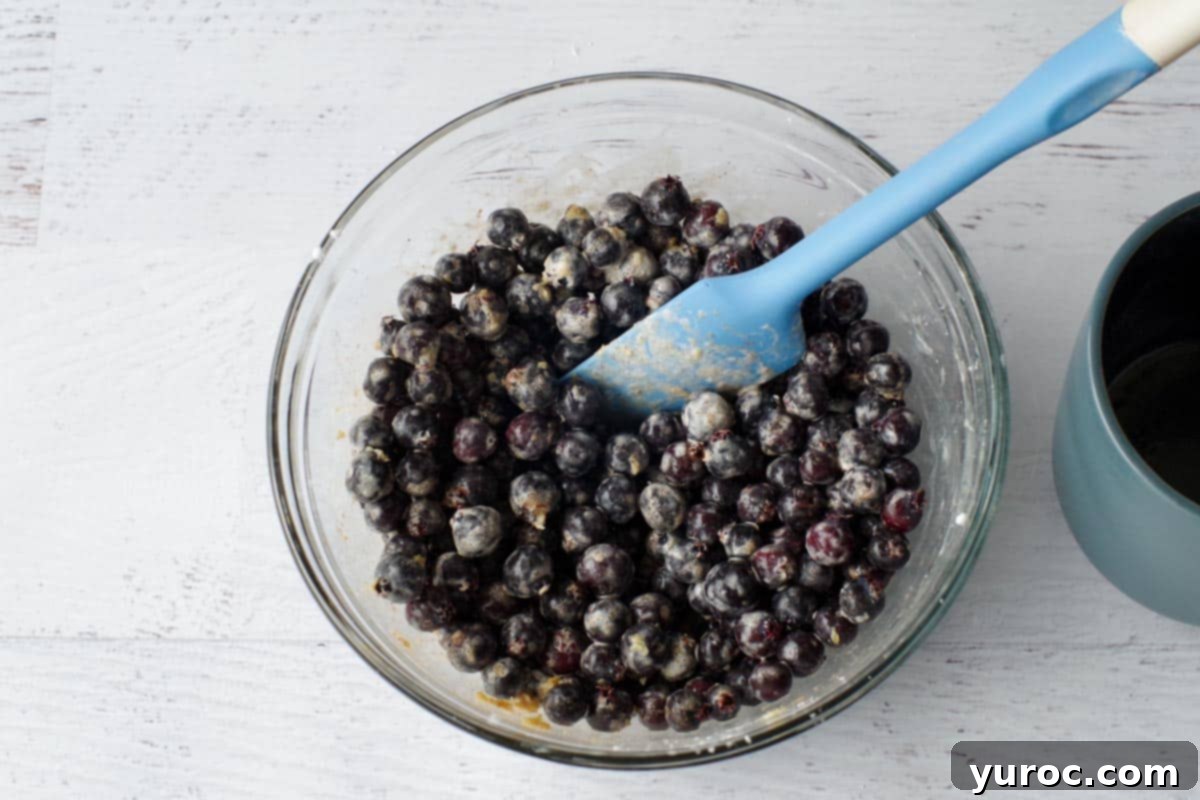
In a separate medium bowl, or directly in your microwave-safe mug if you prefer to minimize dishes, combine the Saskatoon berries with ½ tablespoon of brown sugar, 1 teaspoon of cinnamon, lemon zest, almond extract, and light whipped cream. In a very small separate bowl, whisk together the cornstarch and 2 tablespoons of water to create a smooth slurry, then add this slurry to the berry mixture. Gently toss everything together until the berries are evenly coated. This ensures a thick, luscious filling.
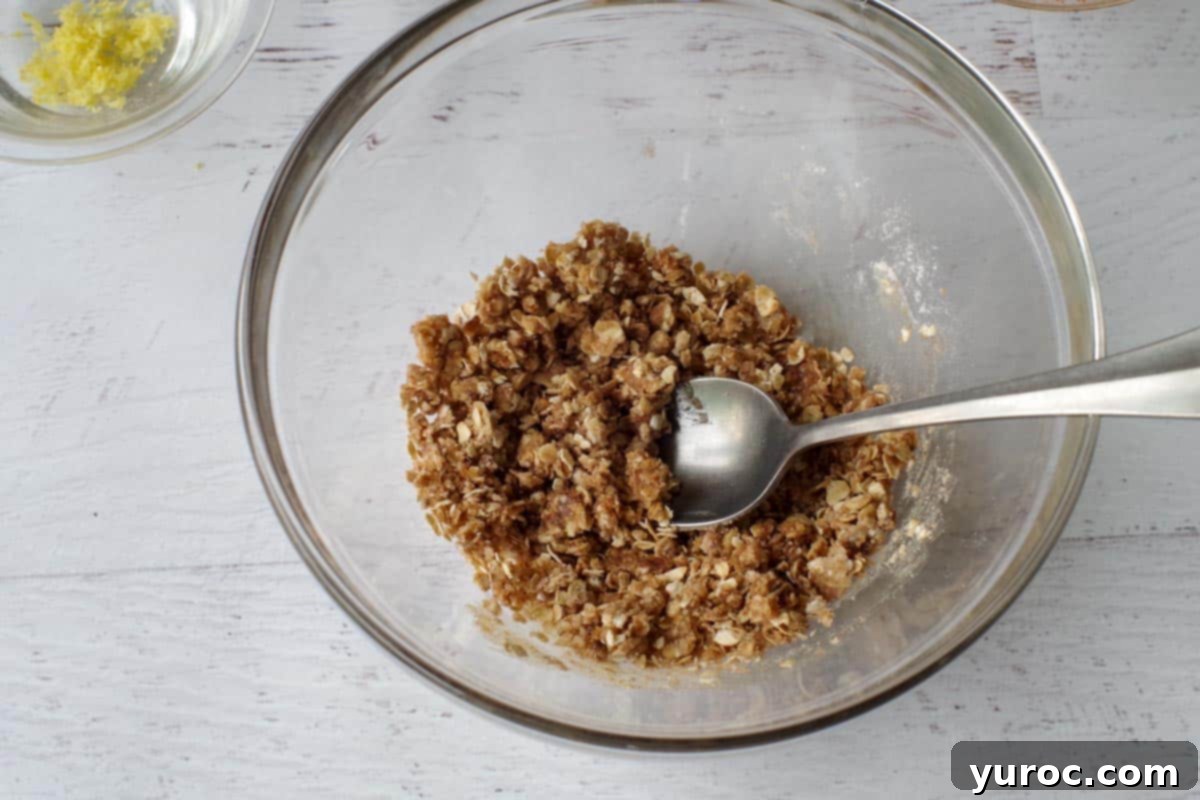
In a small bowl, combine the quick oats, all-purpose flour, 1 tablespoon of brown sugar, and 1 teaspoon of cinnamon. Use a fork or your fingertips to mix these dry ingredients well. Then, pour in the melted unsalted butter and stir until the mixture resembles coarse, moist crumbs. This is your delicious crisp topping.
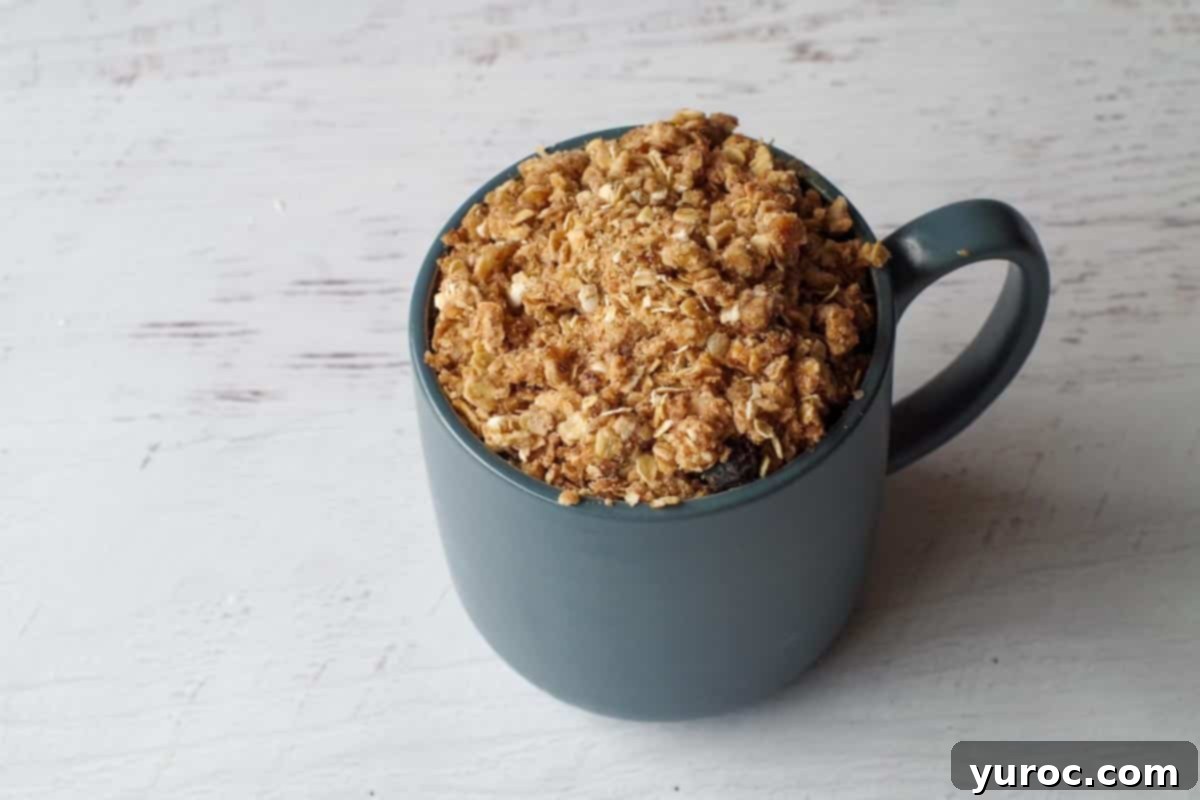
Carefully spoon the prepared Saskatoon berry mixture into your sprayed microwave-safe mug. You’ll likely need to gently press down on the berry mixture with the back of a spoon or a small spatula to slightly compress it. This creates space and ensures all the delicious filling and topping will fit comfortably in the mug without overflowing during cooking. Once the filling is settled, evenly spoon the crisp topping mixture over the top.
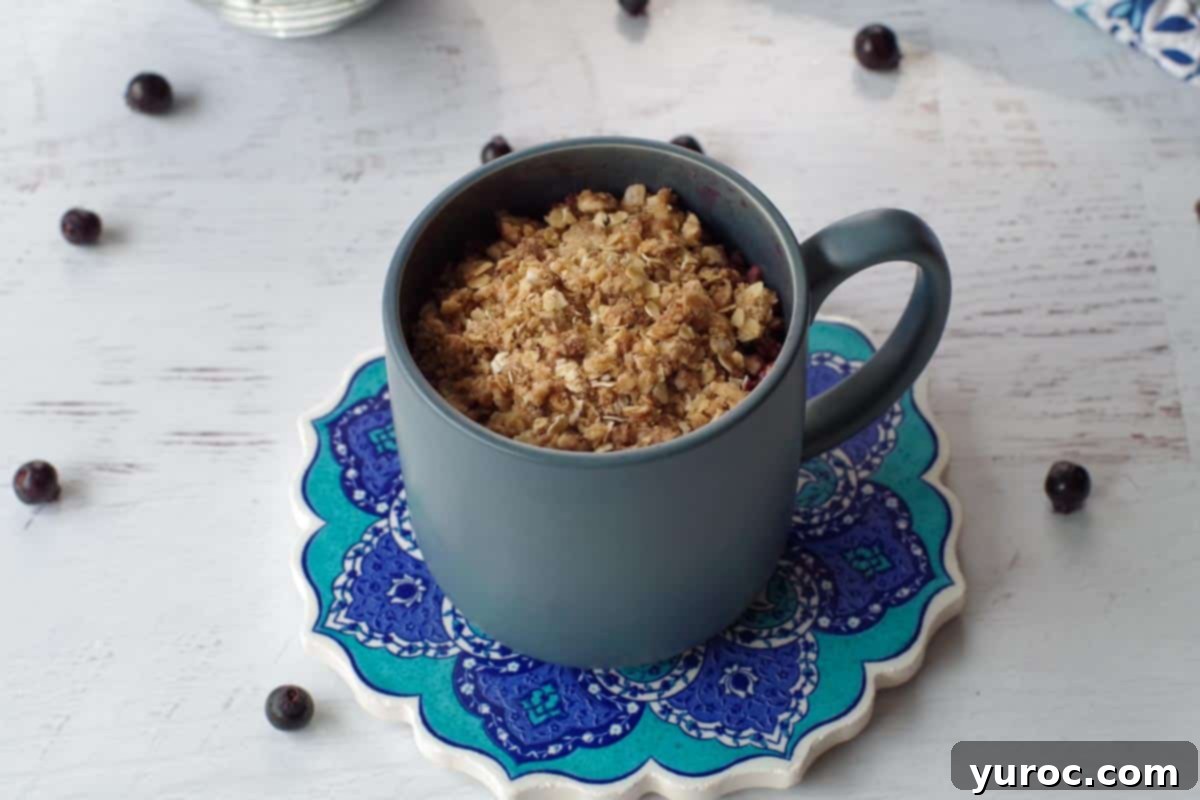
Place the mug in the microwave and cook for approximately 2 minutes and 30 seconds to 2 minutes and 40 seconds. Keep in mind that cooking times can vary based on your microwave’s wattage (this timing is based on a 1200W microwave). The crisp will noticeably reduce in size as it cooks. If you prefer your berries softer or more thoroughly cooked, continue microwaving in short 10-15 second intervals until it reaches your desired tenderness. Once cooked, carefully remove the hot mug from the microwave using an oven mitt and let it stand on a trivet for a few minutes. This resting period allows the filling to set and cool slightly before eating, as it will be extremely hot initially.
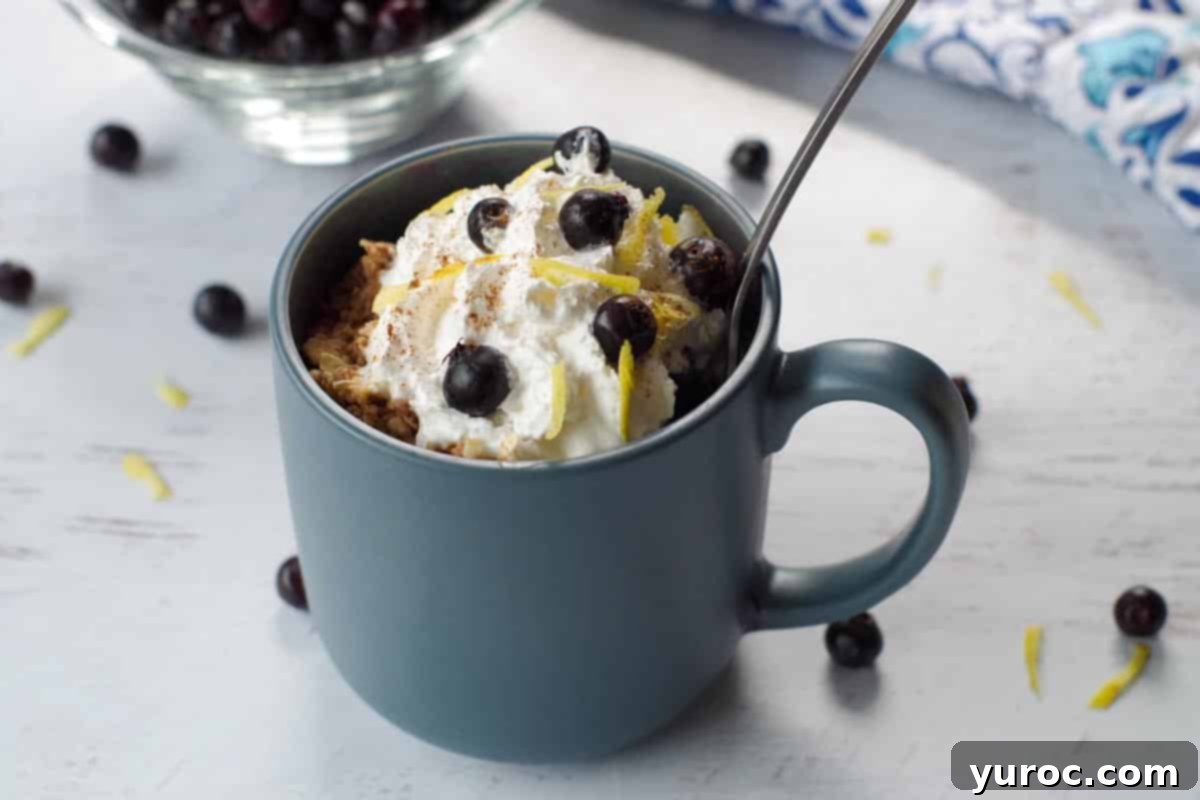
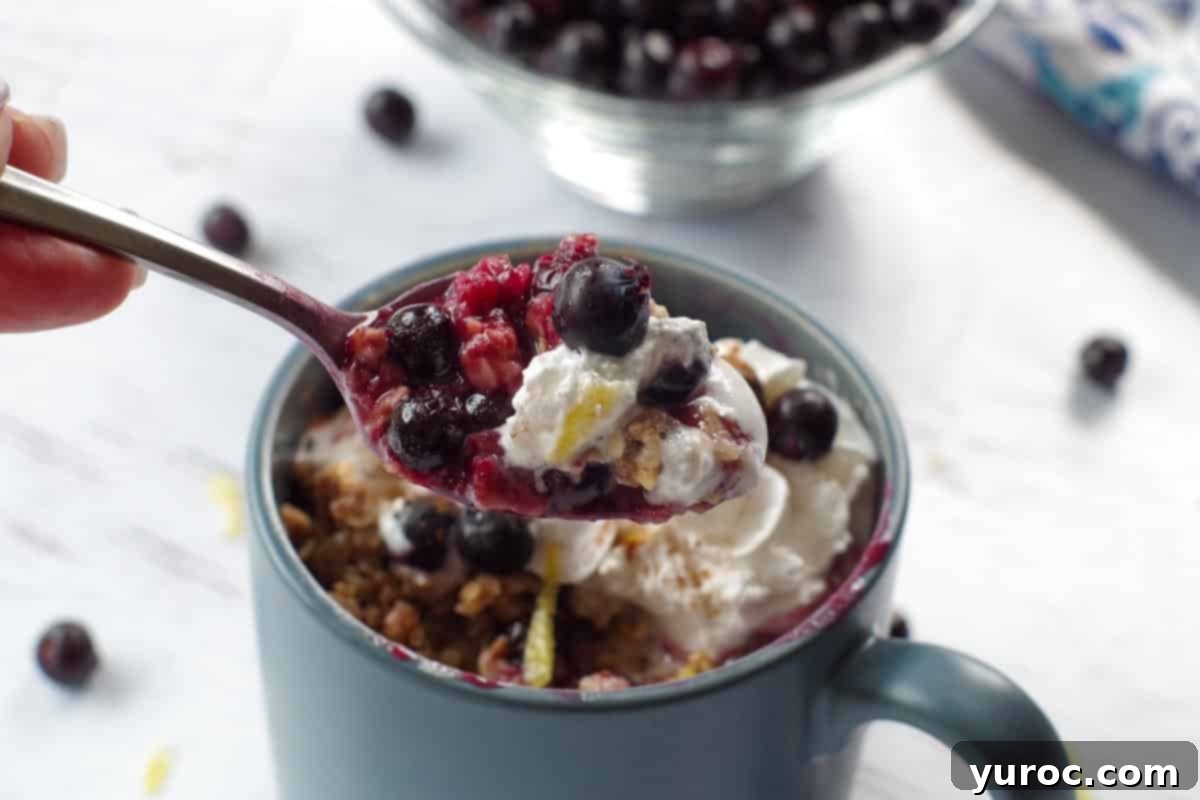
Your microwave Saskatoon berry crisp is now ready to be enjoyed! Serve it warm or cool, enhanced with an additional dollop of light whipped cream, a sprinkle of cinnamon, a few fresh berries, and a tiny bit more lemon zest if you desire. For an extra indulgent treat, a scoop of vanilla ice cream or frozen yogurt is a perfect accompaniment.
⭐ Expert Recipe Tips for the Best Microwave Crisp
Achieve microwave crisp perfection every time with these valuable tips:
- Understand Your Microwave’s Wattage. Cooking times provided are based on a 1200W microwave. If your microwave has a lower wattage, you will almost certainly need to add extra cooking time. Start with small increments (10-15 seconds) and check for doneness to prevent overcooking.
- Layer and Pack the Filling Smartly. Gently pressing the berry filling down before adding the topping helps compact it, ensuring it fits well within the mug and cooks more evenly. Don’t overfill the mug, as the filling can bubble up slightly during cooking.
- Thaw and Drain Frozen Berries Completely. This step cannot be stressed enough. Frozen berries contain more moisture. Failing to fully thaw and drain them will result in a runny, watery crisp filling, which no one wants!
- Boost Topping Crispness. While microwave crisps won’t achieve the exact crunch of oven-baked versions, you can enhance the topping’s texture. After microwaving, if it’s not crisp enough for your liking, you can microwave it for another 10-15 seconds. For a truly golden-brown, extra-crispy topping, carefully transfer the crisp to a toaster oven or under a broiler for a minute or two (watch it very closely to prevent burning!).
- Allow for Resting Time. Patience is a virtue, especially with this dessert. Letting the crisp stand for a few minutes after cooking allows the filling to thicken and cool down to a more enjoyable temperature. This resting period is essential for optimal texture and flavor.
- Customize Your Topping. If you’re a fan of a hearty, generous crisp topping, consider doubling the topping ingredients. Just ensure your mug is large enough (e.g., a 20 oz mug) to accommodate the extra volume without overflowing.
- Don’t Overmix the Topping. When combining the topping ingredients, mix until just combined and crumbly. Overmixing can develop the gluten in the flour, leading to a tougher, less crumbly topping.
- Prevent Overflow. Always place your mug on a microwave-safe plate when cooking. This catches any potential overflow from bubbling fruit juices, keeping your microwave clean.
🥗 Perfect Pairings: Summer Meals with Saskatoon Berry Crisp
This individual Saskatoon Berry Crisp in a Mug is a versatile dessert that beautifully complements a wide range of summer meals. Its light yet satisfying nature makes it an ideal follow-up to a fresh salad or a hearty BBQ spread. We love enjoying it after:
- A refreshing Easy Japanese Cold Noodle Salad (as pictured), offering a vibrant contrast to the crisp’s warmth.
- A classic Grilled Chicken Caesar Salad, for a balanced and satisfying meal.
- A flavorful BBQ meal, like our BBQ Beer Can Chicken. The crisp provides a sweet, fruity finish to savory grilled dishes.
- Any light summer main, such as grilled fish or vegetarian burgers, where a quick and easy dessert is desired.

🍽 Essential Equipment for Your Mug Crisp
One of the beauties of this recipe is its minimal equipment requirement, making it perfect for small kitchens or dorm rooms. You’ll primarily need:
- A 16 oz microwave-safe mug: This size is ideal for the two servings this recipe yields. If you plan to make only one serving, an 8 oz mug will suffice, and you can half the ingredients accordingly. Ensure it’s explicitly labeled “microwave-safe” to prevent any mishaps.
- Small mixing bowls: Two small bowls are useful for preparing the filling and topping separately.
- Measuring cups and spoons: For accurate ingredient quantities.
- A fork or small spatula: For mixing and pressing down the ingredients.
- An oven mitt or heat-resistant glove: Essential for safely removing the hot mug from the microwave.
That’s it! No fancy gadgets needed for this quick and easy dessert.
🌡️ Storage & Reheating Instructions
This Saskatoon Berry Crisp is best enjoyed fresh and warm, but if you happen to have leftovers, here’s how to store and reheat them properly:
- Refrigeration: Store any leftover Saskatoon berry crisp in an airtight container in the fridge for up to 3-4 days. If you’re only storing it overnight, you can simply cover the mug tightly with plastic wrap or Glad Press ‘n Seal.
- Reheating: To reheat, simply place the crisp (still in its mug or transferred to a microwave-safe bowl) back into the microwave for 30-60 seconds, or until warmed through. Be careful not to overheat, as this can make the berries tough. The topping might lose some of its initial crispness upon reheating, but the flavor will still be delightful.
- Freezing: Freezing this small-batch microwave crisp is not recommended, as the texture of the berries and the topping can become overly soft and watery upon thawing and reheating. It’s truly designed for immediate enjoyment or short-term refrigeration.
👪 Adjusting Serving Size
This recipe is designed to yield 2 generous servings, perfect for sharing or for a larger individual portion. However, it’s incredibly easy to adjust! If you click on the serving number within the recipe card below, you can select your desired number of servings. The ingredient quantities will automatically recalculate to match your selection, making it simple to half, double, or even triple the recipe to suit your needs.
🔢 Weight Watchers (WW) Points & Healthier Options
For those tracking their intake, this recipe comes in at approximately 9 WW (Weight Watchers) points per serving (8 oz). You can easily make this crisp even more point-friendly and healthier with a few simple modifications:
- Light Butter: Substituting light butter for regular unsalted butter can further reduce the fat and calorie count, thereby lowering the WW points.
- Sugar Substitutes: Consider using a sugar substitute, such as monk fruit sweetener or erythritol, instead of brown sugar. Many sugar substitutes are much sweeter than sugar, so you’ll typically only need to use about half the amount (or follow the package instructions for conversion). This change can significantly reduce both calories and WW points.
- Portion Control: Sticking to the recommended serving size or even dividing it into smaller portions can also help manage your intake.
❔ Your Top Questions Answered: Recipe FAQs
Yes, absolutely! If you want to make more than two servings, use a larger microwave-safe bowl (at least 32 oz) to prevent overflowing. You’ll also need to increase the cooking time. Start with the suggested time for a single mug (around 2 minutes 40 seconds) and then continue microwaving in 15-second intervals, checking for doneness after each interval, until the berries are tender and the topping is cooked through.
A runny crisp usually indicates excess moisture. This can happen if frozen berries weren’t fully thawed and drained before being measured and added to the filling. Undrained liquid from the berries, or an insufficient amount of cornstarch, will prevent the filling from thickening properly. Additionally, make sure you allow the crisp to stand for a few minutes after cooking; the filling will continue to thicken as it cools.
Microwave crisps naturally won’t achieve the same level of crispness as those baked in an oven. However, you can try microwaving it for an additional 10-15 seconds. For a truly crispier top, you can carefully transfer the crisp to a toaster oven or place it under a broiler for a very brief period (30-60 seconds), watching constantly to prevent burning.
You can prepare the topping mixture and store it in an airtight container at room temperature for up to 2 days. The berry filling can be mixed (without the cornstarch slurry) and stored in the fridge for up to 1 day. Combine the slurry and fruit just before assembling and microwaving for the best results, as the cornstarch will thicken over time.
As is, the recipe is vegetarian. For a gluten-free version, ensure your oats are certified gluten-free and substitute the all-purpose flour with a gluten-free flour blend. For a vegan option, replace butter with a plant-based butter alternative and use a vegan whipped cream or ice cream for topping. The original recipe uses dairy whipped cream and butter.
Whether you’re seeking healthy Saskatoon berry recipes, a quick Saskatoon crisp, or simply don’t want to heat up your house or prepare a large portion, this delightful recipe is sure to become a favorite!
📋 Explore More Saskatoon Berry Recipes
If you love the unique taste of Saskatoon berries, be sure to check out these other fantastic recipes from our collection:
- The 10 BEST Saskatoon Berry Recipes
- Saskatoon Berry Layer Cake
- Saskatoon Berry Loaf with Brown Butter Glaze
- Saskatoon Berry Ice Cream (no churn)
Did your family ❤️ this recipe? Did you know that commenting and ⭐rating recipes is one of the best ways to support your favorite recipe creators? If you LOVED this recipe, please comment and rate it in the recipe card below or share photos on social media using the hashtag #foodmeanderings or tagging @foodmeanderings!


📋 Saskatoon Berry Crisp (in a mug)
Print Recipe
Pin
Save RecipeSave Recipe
Rate
Add to Shopping ListGo to Shopping List
Ingredients
Topping
- 4 tablespoons quick oats
- 2 tablespoons all purpose flour
- 1 tablespoon brown sugar
- 1 teaspoon cinnamon
- 2 tablespoons unsalted butter melted
Filling
- 2 cups Saskatoon berries
- ½ tablespoon brown sugar
- ½ teaspoon lemon zest
- 1 teaspoon cinnamon
- ½ teaspoon almond extract
- 4 tablespoons light whipped cream * I use spray whipped cream
- 2 tablespoons water
- ¾ teaspoon cornstarch
Instructions
-
Prep: Lightly spray a microwave-safe mug with non-stick cooking spray.
-
In a small bowl, stir together the quick oats, all-purpose flour, 1 tablespoon of brown sugar, and 1 teaspoon of cinnamon. Add the melted unsalted butter and mix until crumbly to create the crisp topping.
-
In a separate bowl (or directly in the mug), combine the Saskatoon berries with ½ tablespoon of brown sugar, ½ teaspoon of lemon zest, 1 teaspoon of cinnamon, almond extract, and 4 tablespoons of light whipped cream. In a tiny separate dish, whisk ¾ teaspoon of cornstarch with 2 tablespoons of water to form a smooth slurry, then add it to the berry mixture and toss gently until well coated.
-
Add the Saskatoon berry mixture to the prepared mug. Gently press down on the berry mixture with a spatula or the back of a spoon to compact it slightly and ensure it fits well. Then, spoon the crisp topping evenly over the berry layer.
-
Microwave for 2 minutes and 30 seconds to 2 minutes and 40 seconds. The crisp will slightly reduce in size as it cooks. (Note: If you prefer softer, more cooked berries, microwave in additional 10-15 second intervals until it reaches your desired consistency.)
This cooking time is based on a 1200W microwave; your timing may vary depending on your microwave’s wattage.
*Carefully remove the hot mug from the microwave using an oven mitt and let it stand on a trivet for a few minutes until it’s cool enough to enjoy. Be cautious, as it will be very hot at first!
-
Serve your Saskatoon Berry Crisp warm or cool. Enhance with an extra dollop of whipped cream, a sprinkle of cinnamon, fresh berries, or a touch more lemon zest, if desired. It’s also delicious with a scoop of vanilla ice cream or frozen yogurt.
Notes
-
- Microwave wattage matters. Cooking times are based on a 1200W microwave, so if yours has a lower wattage, you’ll likely need to add extra time in 10-15 second increments.
- Layer and pack the filling carefully. Lightly pressing the filling down before adding the topping helps it fit better in the mug and cook more evenly.
- Use fully thawed and drained berries for best texture. Thawed berries can release excess moisture, so draining them helps prevent a runny filling.
- If the topping isn’t crisp enough, finish it off. You can microwave it a little longer or even pop it under a broiler or toaster oven briefly for a crispier texture.
- Let it rest before eating. This gives the dessert time to cool slightly and the filling time to thicken for the best eating experience.
- Add extra topping for a heartier crisp. If you love a generous crisp topping, doubling it works well—just be sure your mug has enough space.
Storage
Store Saskatoon berry crisp in the fridge in an airtight container for up to 4 days. You can store it in the mug in the fridge, covered in plastic wrap or Glad Press ‘n Seal, if you’re just storing it overnight.
