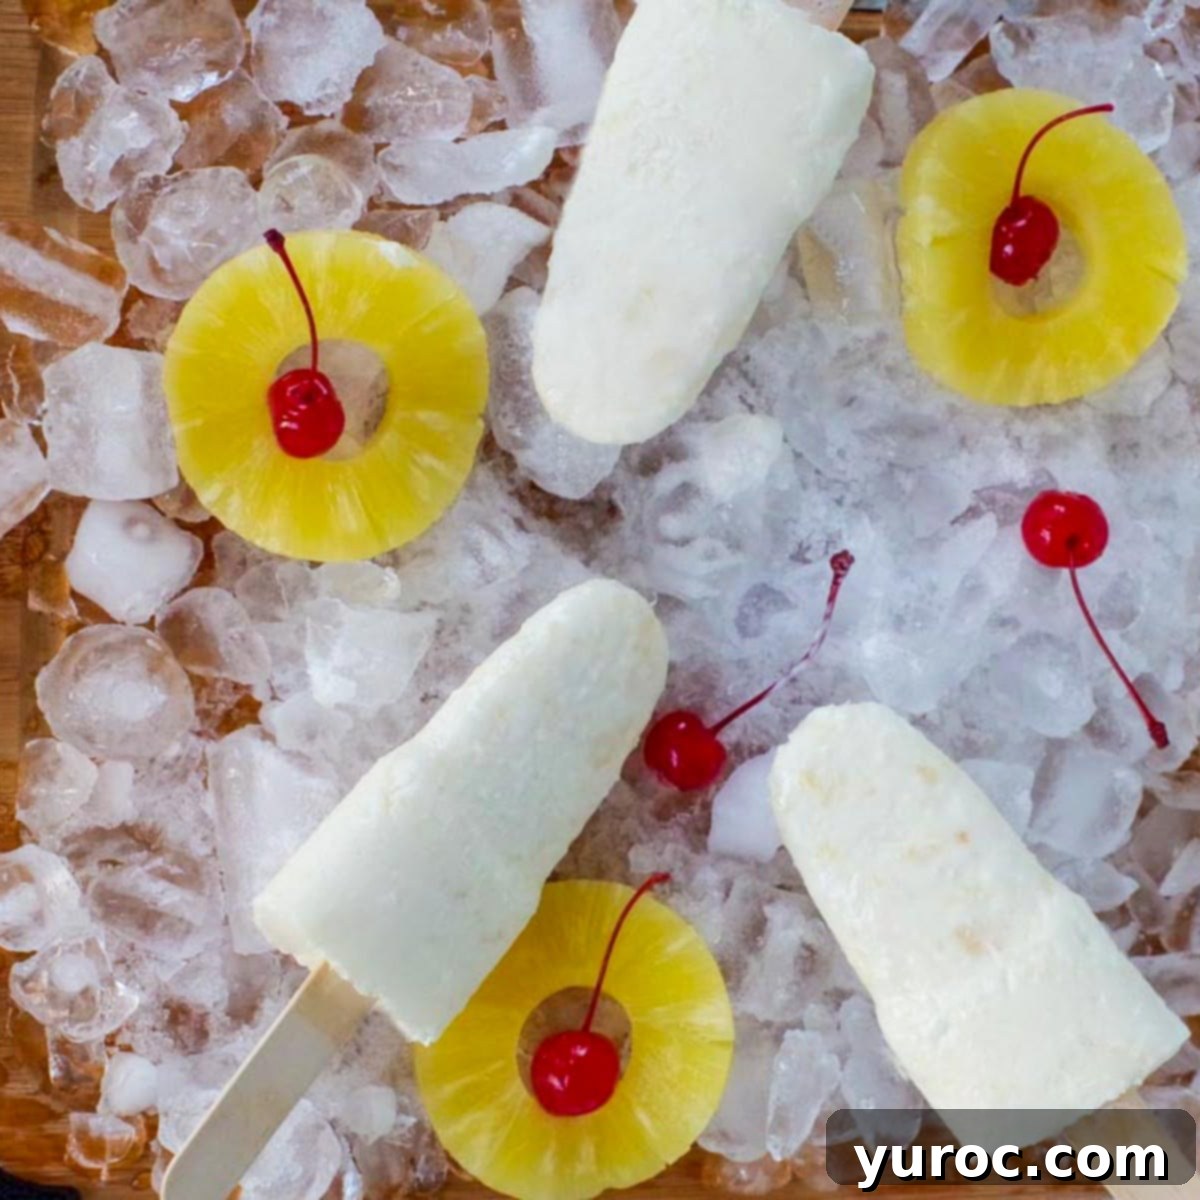
Creamy & Easy 4-Ingredient Piña Colada Popsicles (Non-Alcoholic)
Transform your summer days with these incredibly simple, 4-ingredient Piña Colada Popsicles (non-alcoholic). Forget complicated recipes or stovetop cooking; these vibrant, tropical treats come together in minutes, requiring zero cooking and delivering maximum flavor. Summer is fleeting, and so is the opportunity to enjoy the season’s best frozen delights. Don’t let another hot day pass without savoring these delightful homemade popsicles!
There’s truly nothing more satisfying than biting into a frosty, homemade popsicle when the sun is blazing. These Piña Colada Popsicles capture the essence of a tropical vacation, offering a creamy, refreshing escape in every lick. They are the perfect way to cool down, entertain guests at a summer cookout or backyard BBQ, or simply relax by the pool. Their non-alcoholic nature makes them suitable for all ages, ensuring everyone can enjoy a taste of paradise.
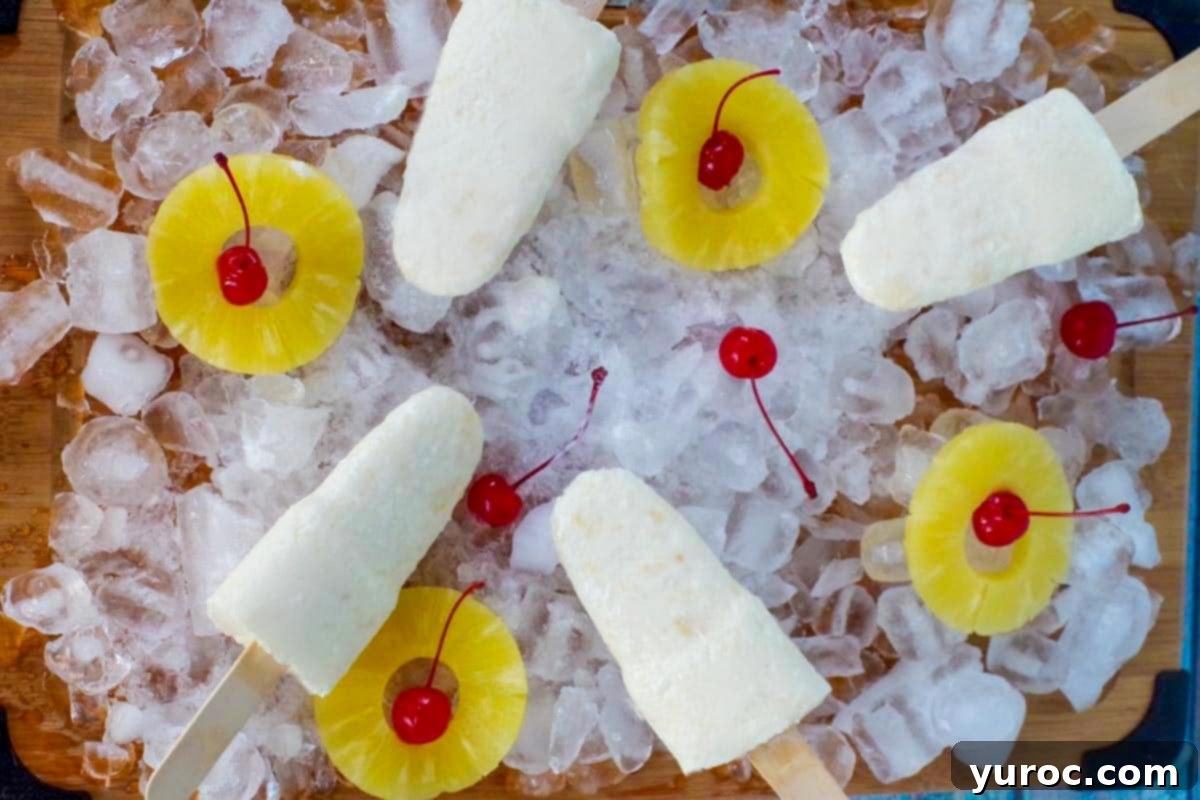
Craving a taste of the Caribbean without the fuss? These creamy pineapple coconut popsicles are your answer. They’re not just a dessert; they’re an experience, promising a burst of sweet pineapple and rich coconut with every bite. Easy to prepare and even easier to enjoy, they’ll quickly become your go-to frozen treat for any summer occasion.
🍒 Rave Review
My son, a tough critic, couldn’t get enough of these! He exclaimed: “They taste so refreshing and tropical – I can’t stop eating them!” ⭐⭐⭐⭐⭐ His five-star approval truly speaks volumes about their irresistible appeal.
[feast_advanced_jump_to]
Why You’ll Love These Piña Colada Popsicles
- Effortless Preparation: With just 4 main ingredients and no cooking required, you can whip up the mixture in less than 5 minutes.
- Irresistible Tropical Flavor: Each popsicle delivers the classic, beloved taste of a Piña Colada – sweet pineapple and creamy coconut – perfect for satisfying those summer cravings.
- Family-Friendly & Non-Alcoholic: These delightful frozen treats are suitable for everyone, making them an ideal dessert or snack for kids and adults alike. (Adult versions with a splash of rum are also an option!)
- Cool & Refreshing: Beat the heat with these perfectly chilled popsicles, offering a delightful way to stay cool on the warmest days.
- Customizable: Easily adapt the recipe to be vegan-friendly or Weight Watchers-friendly with simple ingredient swaps, without compromising on flavor.
Last year, I embarked on a quest for a Piña Colada popsicle recipe, only to be met with disappointment. Most recipes I found were overly complicated, featuring lengthy ingredient lists and requiring arduous steps, some even demanding stovetop cooking. Who wants to cook popsicles on a hot summer day?
My goal was simple: create an easy, delicious, and convenient frozen treat. This frustration led me to develop my own simplified recipe, leveraging the convenience of a good quality Piña Colada drink mix. The result is a truly indulgent frozen dessert that hits all the right notes without any unnecessary fuss.
Fair warning – this frozen Piña Colada recipe is undeniably indulgent, packed with rich, creamy goodness! But sometimes, a little indulgence is exactly what you need to make summer feel special. It’s all about balance, after all. The good news is, if you’re looking for a lighter option, you can easily adapt this recipe to be WW friendly. Check out the variations and substitutions section below for details on how to create a guilt-free version of these amazing pineapple coconut popsicles.
🥘 Essential Ingredients
Crafting these homemade Piña Colada popsicles is refreshingly straightforward, requiring absolutely no cooking! The best part? You only need four core ingredients to achieve that dreamy tropical flavor and creamy texture.
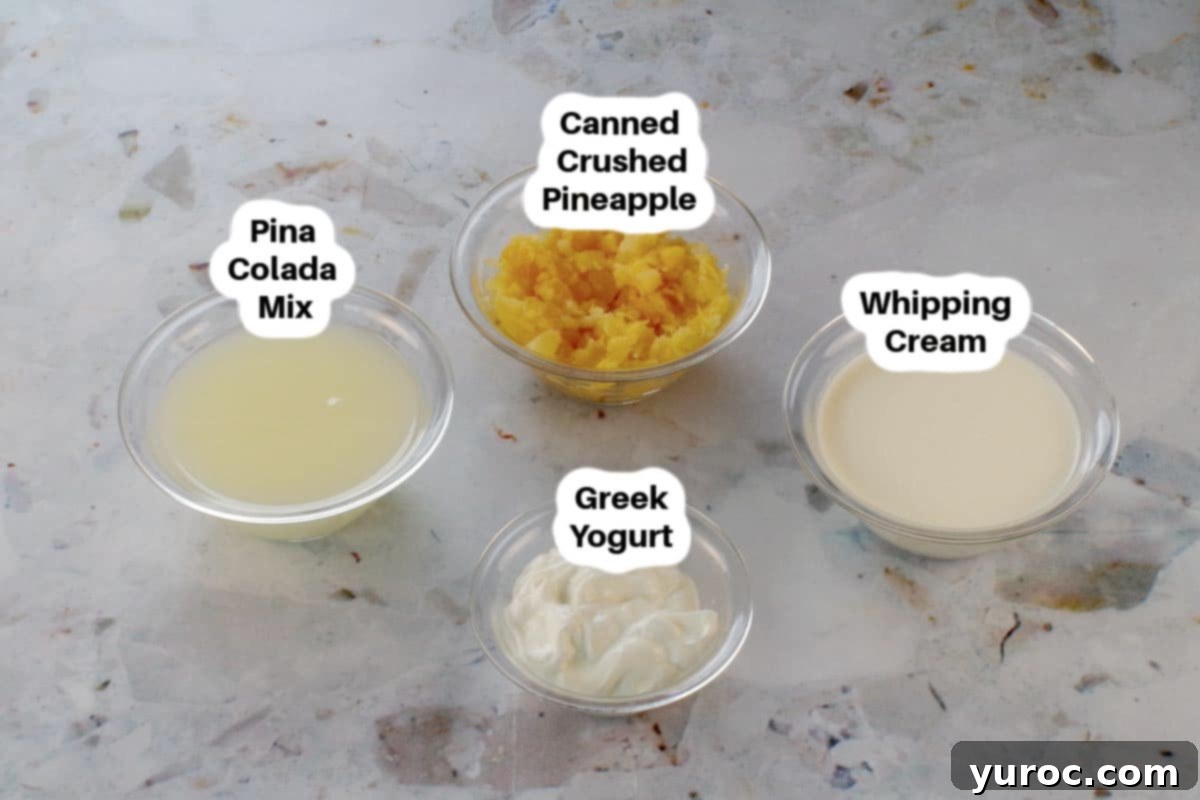
- Piña Colada Drink Mix (affiliate link): This is your secret weapon for incredible flavor with minimal effort. Look for a liquid concentrate or a powdered mix in the beverage aisle of most grocery stores. Choose a good quality brand for the best taste.
- Whipping Cream (aka Heavy Cream): This is essential for the rich, velvety texture that makes these popsicles so indulgent. Ensure you select whipping cream with 33% to 36% milk fat, not pre-whipped topping. The higher fat content prevents ice crystals and provides superior creaminess.
- Greek Yogurt: Adding a touch of plain Greek yogurt contributes to the popsicles’ creamy consistency while also introducing a subtle tang that perfectly complements the sweetness of the pineapple and coconut. Opt for full-fat Greek yogurt for the richest results, or a lower-fat version for a lighter treat.
- Crushed Pineapple: The star fruit of the Piña Colada! Make sure to drain the crushed pineapple thoroughly. For best results, press out as much liquid as possible through a fine-mesh sieve or cheesecloth. This step is crucial to prevent your popsicles from becoming icy and ensures a smooth, creamy texture.
*A complete list of ingredients and precise quantities can be found in the recipe card at the bottom of this post.
📖 Variations & Customizations
One of the beauties of this easy Piña Colada popsicle recipe is how versatile it is! You can easily adjust it to suit different tastes or dietary needs. Here are some fantastic ways to customize your frozen treats:
- Add a Splash of Rum (Adults Only!): While this recipe is designed to be non-alcoholic for everyone to enjoy, you can certainly add a grown-up twist for adults. To do so, substitute 1-2 tablespoons of white rum for an equal amount of whipping cream. This maintains the liquid balance, preventing an overly icy texture. Remember that alcohol lowers the freezing point, so alcoholic popsicles may have a softer consistency and take slightly longer to freeze.
- Rum Flavor without the Alcohol: For that classic rum essence without the alcohol content, add about ½ teaspoon of rum extract to the mixture. This is a great way to deepen the tropical flavor in your non-alcoholic popsicles.
- Fresh Pineapple Chunks: While canned crushed pineapple is convenient, you can absolutely use fresh pineapple if you prefer. Dice fresh pineapple into very small pieces or pulse it in a food processor until finely crushed. Just ensure you still remove any excess juice to maintain the creamy texture. You could also blend half the fresh pineapple into the liquid mixture and stir in the other half for textural interest.
- Vegan Piña Colada Popsicles: Easily make these popsicles dairy-free and vegan! Substitute the whipping cream with full-fat canned coconut cream or a rich, full-fat canned coconut milk (refrigerate it first and scoop out the thick cream that rises to the top). Replace the Greek yogurt with a dairy-free alternative like coconut yogurt or almond yogurt. Note that the texture might be slightly different – coconut cream tends to be very creamy, while some dairy-free yogurts can result in a slightly icier popsicle.
- Sweetness Adjustment: If your Piña Colada mix is unsweetened or you prefer a sweeter treat, add a tablespoon or two of your favorite sweetener, such as granulated sugar, maple syrup, or agave nectar, to taste before freezing.
- Tropical Swirls: For an extra layer of flavor and visual appeal, swirl in a tablespoon of mango or passion fruit puree into the mixture before pouring into molds.
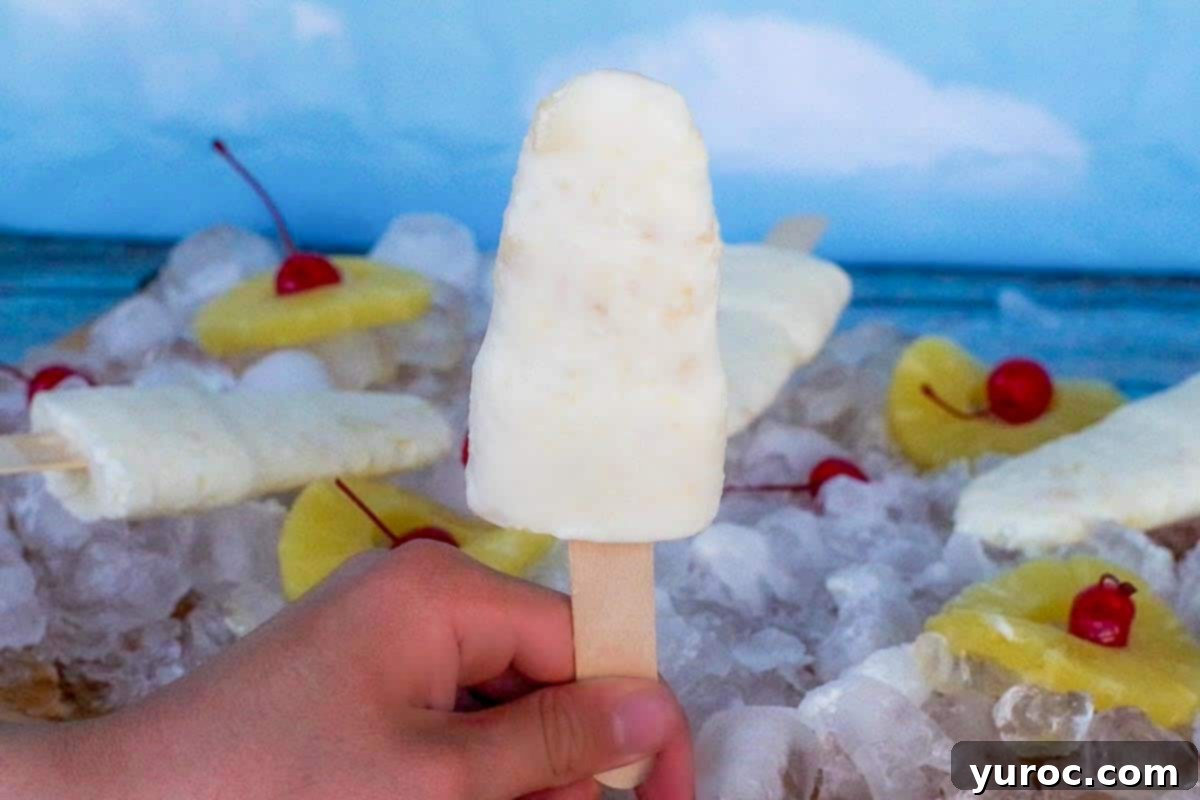
🔢 Weight Watchers Friendly Version
Lighter Piña Colada Popsicles: Your WW-Friendly Treat!
Enjoy the tropical goodness of Piña Colada popsicles without derailing your health goals! This adapted recipe yields 8 delicious pineapple coconut popsicles, each coming in at just 2 WW points. These lighter popsicles were inspired by my popular Healthy Piña Colada Mocktail, one of my absolute favorite refreshing drinks. Now you can experience that same vibrant flavor in a convenient, frozen form!
To create this smart-swap version, we make a few key adjustments:
- 1 cup Skinny Mix: Piña Colada Cocktail Flavoring (affiliate link): This low-calorie, sugar-free flavoring provides all the classic Piña Colada taste without the added sugars and calories of traditional mixes.
- ⅔ cup 0% (non-fat) Greek yogurt: We increase the amount of Greek yogurt slightly from the original recipe (from ½ cup) and opt for a non-fat version to boost creaminess and protein content while keeping the points low.
- 1 cup light coconut milk: Replacing the whipping cream with light coconut milk significantly reduces the fat content. This substitution also provides an authentic, enhanced boost of coconut flavor, making these popsicles truly taste like a tropical dream.
- ⅓ cup canned crushed pineapple: Ensure it’s thoroughly drained, just like in the original recipe, to maintain the desired texture.
These adjustments allow you to indulge in a delicious, creamy Piña Colada popsicle while staying on track with your Weight Watchers journey. They prove that healthy eating can still be incredibly flavorful and satisfying!
🔪 How to Make Piña Colada Popsicles: A Step-by-Step Guide
Making these tropical Piña Colada popsicles couldn’t be easier! With just a few simple steps, you’ll have a batch of refreshing frozen treats ready for your freezer.
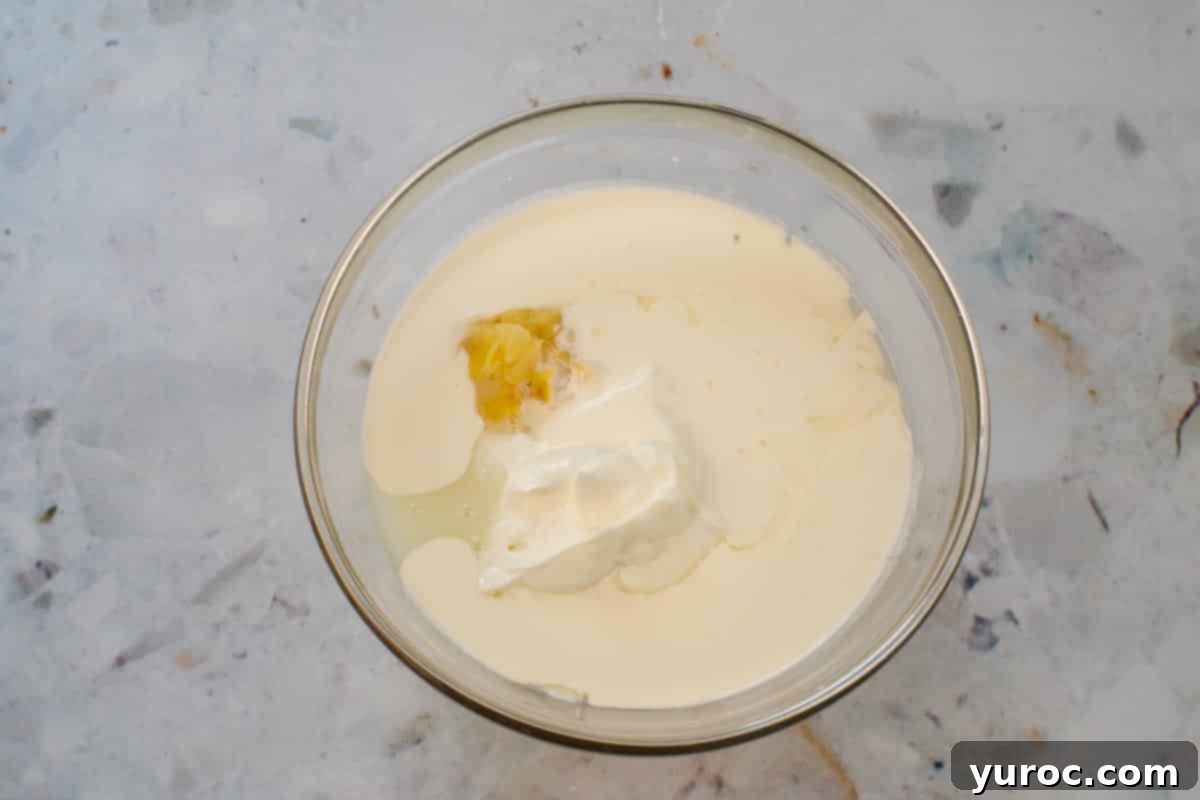
- Step 1: Combine All Ingredients. In a large mixing bowl, add the whipping cream, Piña Colada drink mix, Greek yogurt, and thoroughly drained crushed pineapple. Ensure the pineapple has as little liquid as possible – this is key for creamy popsicles!
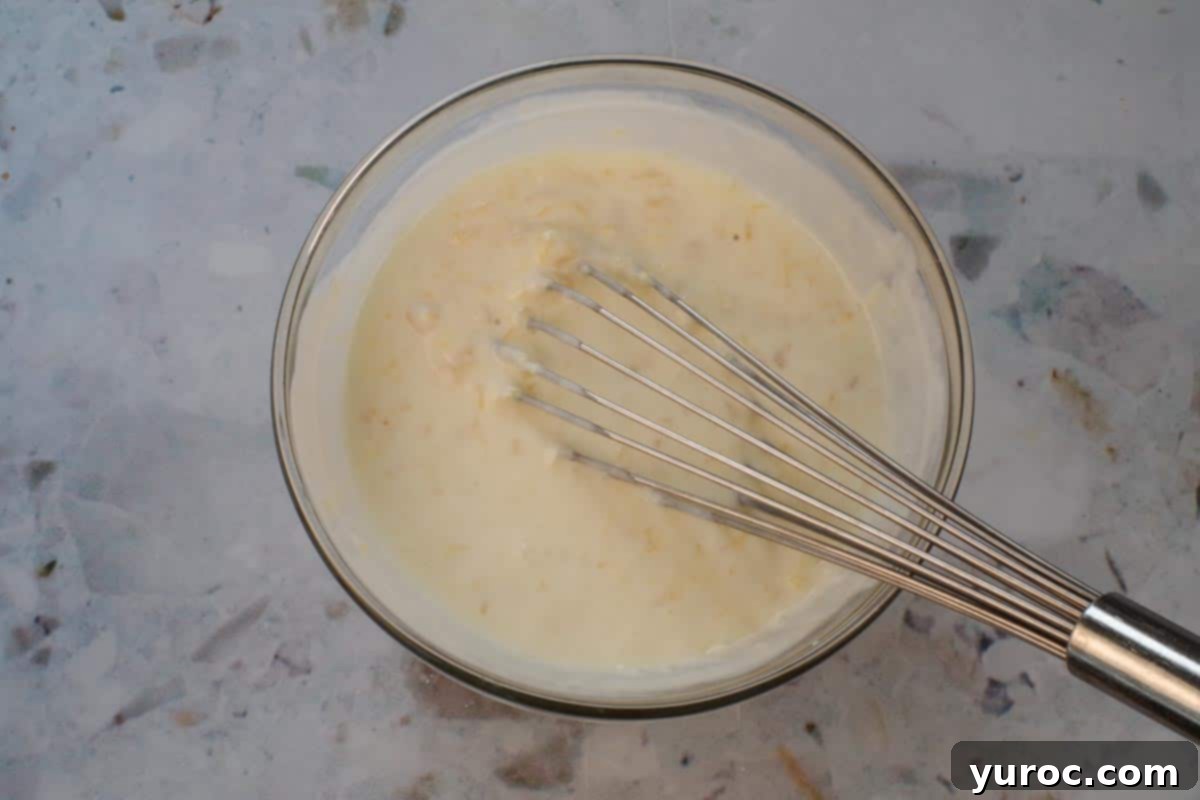
- Step 2: Whisk Until Smooth. Vigorously whisk all the ingredients together until they are well combined and the mixture appears smooth and consistent. You want to ensure there are no lumps of yogurt or undissolved mix, and that the pineapple is evenly distributed.
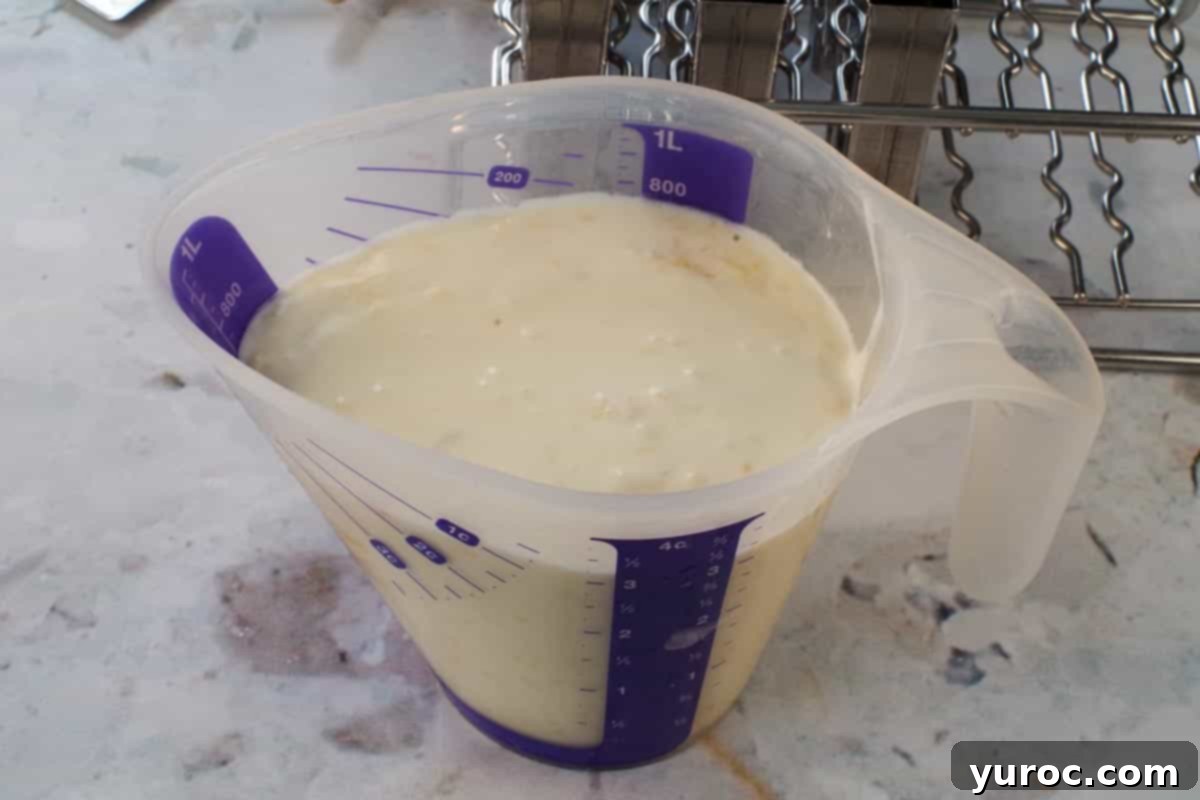
- Step 3: Prepare for Pouring. For easy and mess-free pouring, transfer the whisked mixture into a large measuring cup or a bowl equipped with a convenient pour spout. This step helps prevent spills and ensures you can evenly fill your popsicle molds.
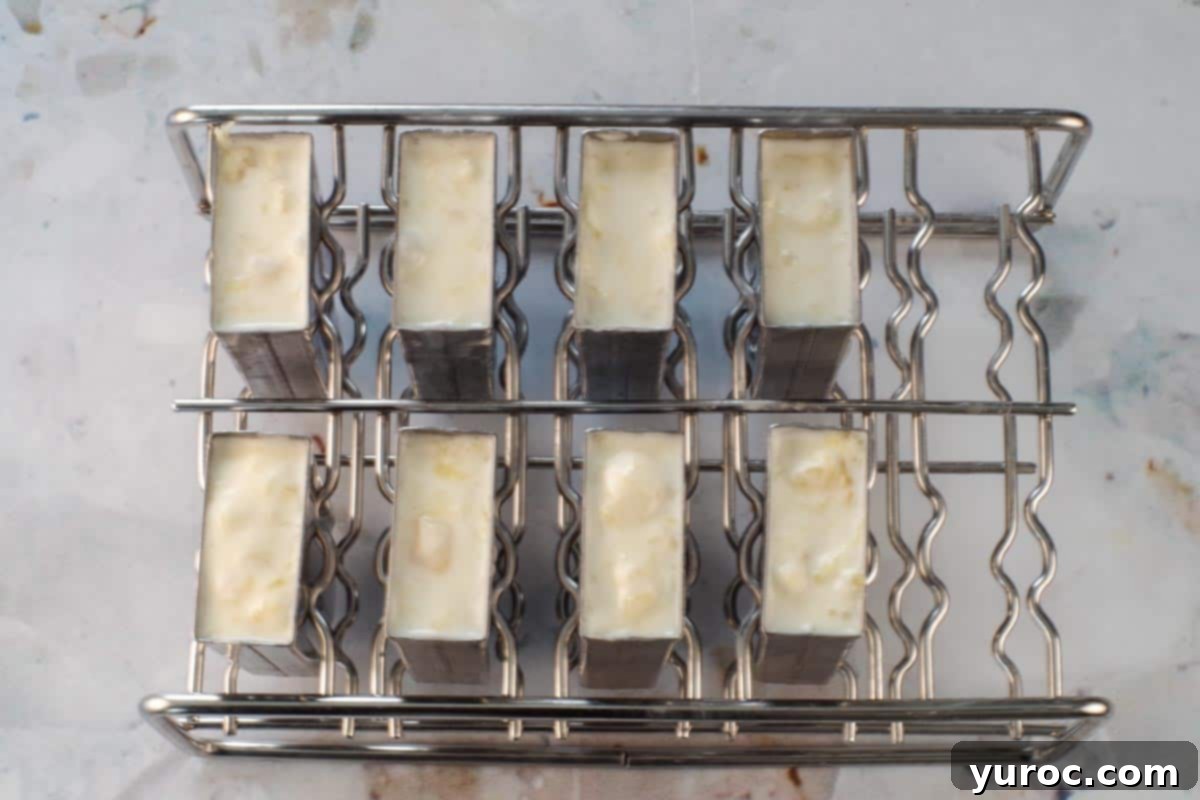
- Step 4: Fill Molds & Remove Air. Pour the Piña Colada mixture evenly into your popsicle molds, leaving about ¼ inch of space at the top of each mold to allow for expansion during freezing. Gently tap the filled molds a couple of times on a hard surface to release any trapped air bubbles, which helps prevent gaps and ensures solid popsicles.
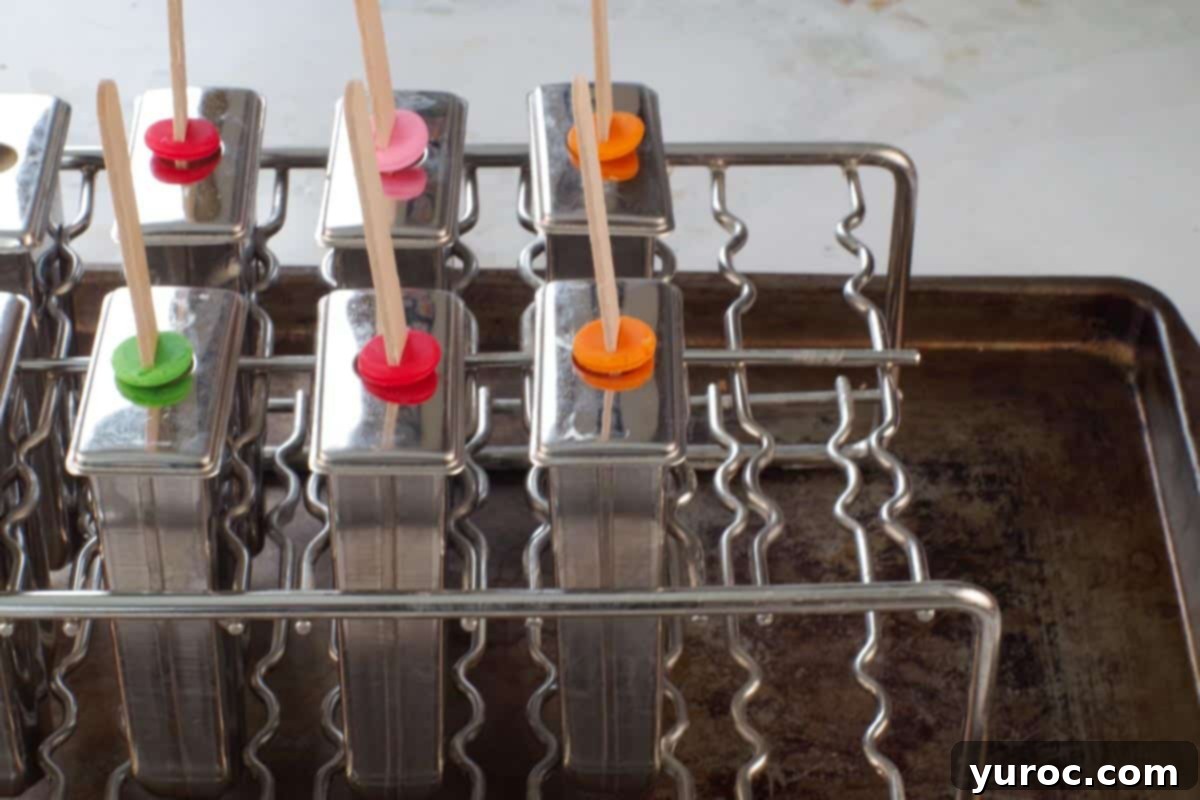
- Step 5: Freeze Until Solid. Carefully transfer the molds (I find placing them on an old sheet pan makes this easier) to your freezer. Freeze them upright until they are completely solid, which typically takes about 8 to 10 hours. The exact freezing time can vary depending on the thickness and material of your molds, so plan ahead!
- Serving: Once fully frozen, run the molds under cool water for a few seconds to gently loosen the popsicles. Then, simply slide them out and serve immediately for a refreshing tropical treat!
Expert Recipe Tips for Perfect Piña Colada Popsicles
Achieving the perfect creamy, non-icy Piña Colada popsicle is easy with these expert tips:
- Drain the Pineapple Thoroughly: This is arguably the most crucial step for a creamy texture. Excess liquid from the crushed pineapple will turn into ice crystals, making your popsicles icy rather than smooth. Use a fine-mesh sieve and press down firmly on the pineapple with the back of a spoon to squeeze out every last drop of juice. You can even use a cheesecloth for maximum liquid removal.
- Whisk Until Perfectly Smooth: Take the time to whisk all ingredients together until the mixture is completely smooth and uniform. This ensures that the rich whipping cream, tangy Greek yogurt, and flavorful Piña Colada mix are fully integrated. Proper mixing prevents separation during freezing and guarantees a consistent taste and texture in every popsicle.
- Utilize a Pourable Container: After mixing, transferring your Piña Colada mixture to a large measuring cup with a spout or a similar pourable container will make filling the molds much easier and cleaner. This simple trick minimizes spills and allows for precise, even distribution into each mold.
- Tap Molds to Eliminate Air Bubbles: Once the molds are filled, gently tap them a few times on your kitchen counter. This helps to release any trapped air bubbles from the mixture. Air bubbles can create unsightly gaps or weak spots in your frozen popsicles, making them more prone to breaking.
- Do Not Overfill Your Molds: Always leave a small amount of space, about ¼ inch (0.5 cm), from the top of each popsicle mold. This accounts for the natural expansion that occurs as the liquid freezes, preventing overflow and ensuring neatly formed popsicles.
- Use Cold Water to Release Easily: When it’s time to enjoy your popsicles, briefly run the outside of the mold under cold water (not warm!) for about 10-20 seconds. Cold water helps the popsicle release cleanly from the mold by slightly softening the outermost layer without melting the entire treat too quickly.
- Invest in Quality Molds for Best Results: While any popsicle mold will work, stainless steel molds are highly recommended. They freeze contents faster, are incredibly durable, and allow for remarkably easy release of the popsicles. If using plastic or silicone, know that freezing times might vary, and silicone offers excellent flexibility for unmolding.
- Always Taste Before Freezing: Before you commit your mixture to the freezer, give it a quick taste test. This is your chance to adjust the sweetness, add more rum extract for flavor, or tweak any other elements, especially if you’re experimenting with substitutions like different yogurts or sugar-free mixes.
- Label Different Flavors/Versions: If you’re making multiple batches, perhaps a non-alcoholic version and a rum-infused one, clearly label your molds or use distinct popsicle sticks. This prevents mix-ups and ensures everyone gets the treat they expect!
- Garnish for a Festive Touch: Elevate the presentation for parties or gatherings by garnishing your Piña Colada popsicles. A small wedge of fresh pineapple, a maraschino cherry on the stick, or a sprinkle of toasted coconut flakes can add a beautiful, inviting, and truly tropical flourish.
🥗 Delicious Pairings for Piña Colada Ice Pops
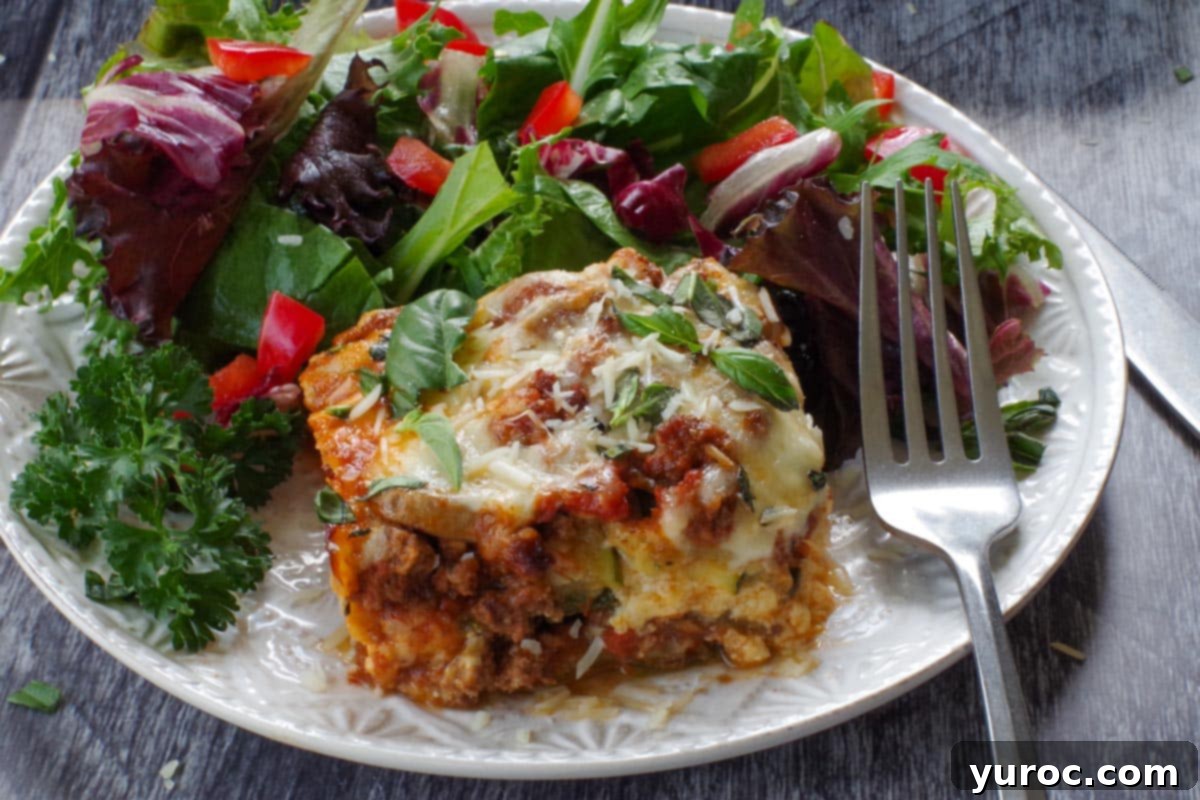
These luscious Piña Colada Ice Pops are more than just a dessert; they’re a versatile summer snack or the perfect sweet ending to any warm-weather meal. Their refreshing tropical notes make them an ideal companion for a variety of savory dishes. I particularly enjoy serving them after hearty yet comforting summer meals such as a rich Zucchini Ground Beef Lasagna (as shown in the image below), or alongside the vibrant flavors of a Creamy Bacon Ranch Chicken Pasta Salad.
They also pair wonderfully with grilled fare like BBQ chicken, fish tacos, or spicy shrimp. For a lighter pairing, consider serving them after a fresh garden salad or a vibrant fruit platter. And of course, they are perfectly delightful on their own as a mid-afternoon pick-me-up or a late-night treat!
🍽 Recommended Equipment
To embark on your Piña Colada popsicle-making adventure, you’ll primarily need a good set of popsicle molds. While any type will work, I cannot recommend stainless steel molds (affiliate link) enough. They truly stand out for several reasons:
- Superior Freezing: Stainless steel conducts cold more efficiently, leading to faster freezing times for your popsicles.
- Effortless Release: Popsicles tend to slide out of stainless steel molds with remarkable ease after a quick rinse under cold water.
- Durability & Longevity: Unlike plastic molds that can crack or warp over time, stainless steel is built to last, offering years of reliable use. This also makes them a more eco-friendly choice.
- Taste Neutral: Stainless steel doesn’t absorb flavors or odors, ensuring your popsicles taste pure and fresh every time.
I can’t tell you how many different types of plastic molds I’ve tried, only to be disappointed time after time! While silicone molds are another flexible and easy-to-release option, they may take slightly longer to freeze. Additionally, you will need a set of sturdy popsicle sticks if your chosen molds do not come with reusable handles.
🌡️ Storing Your Piña Colada Popsicles
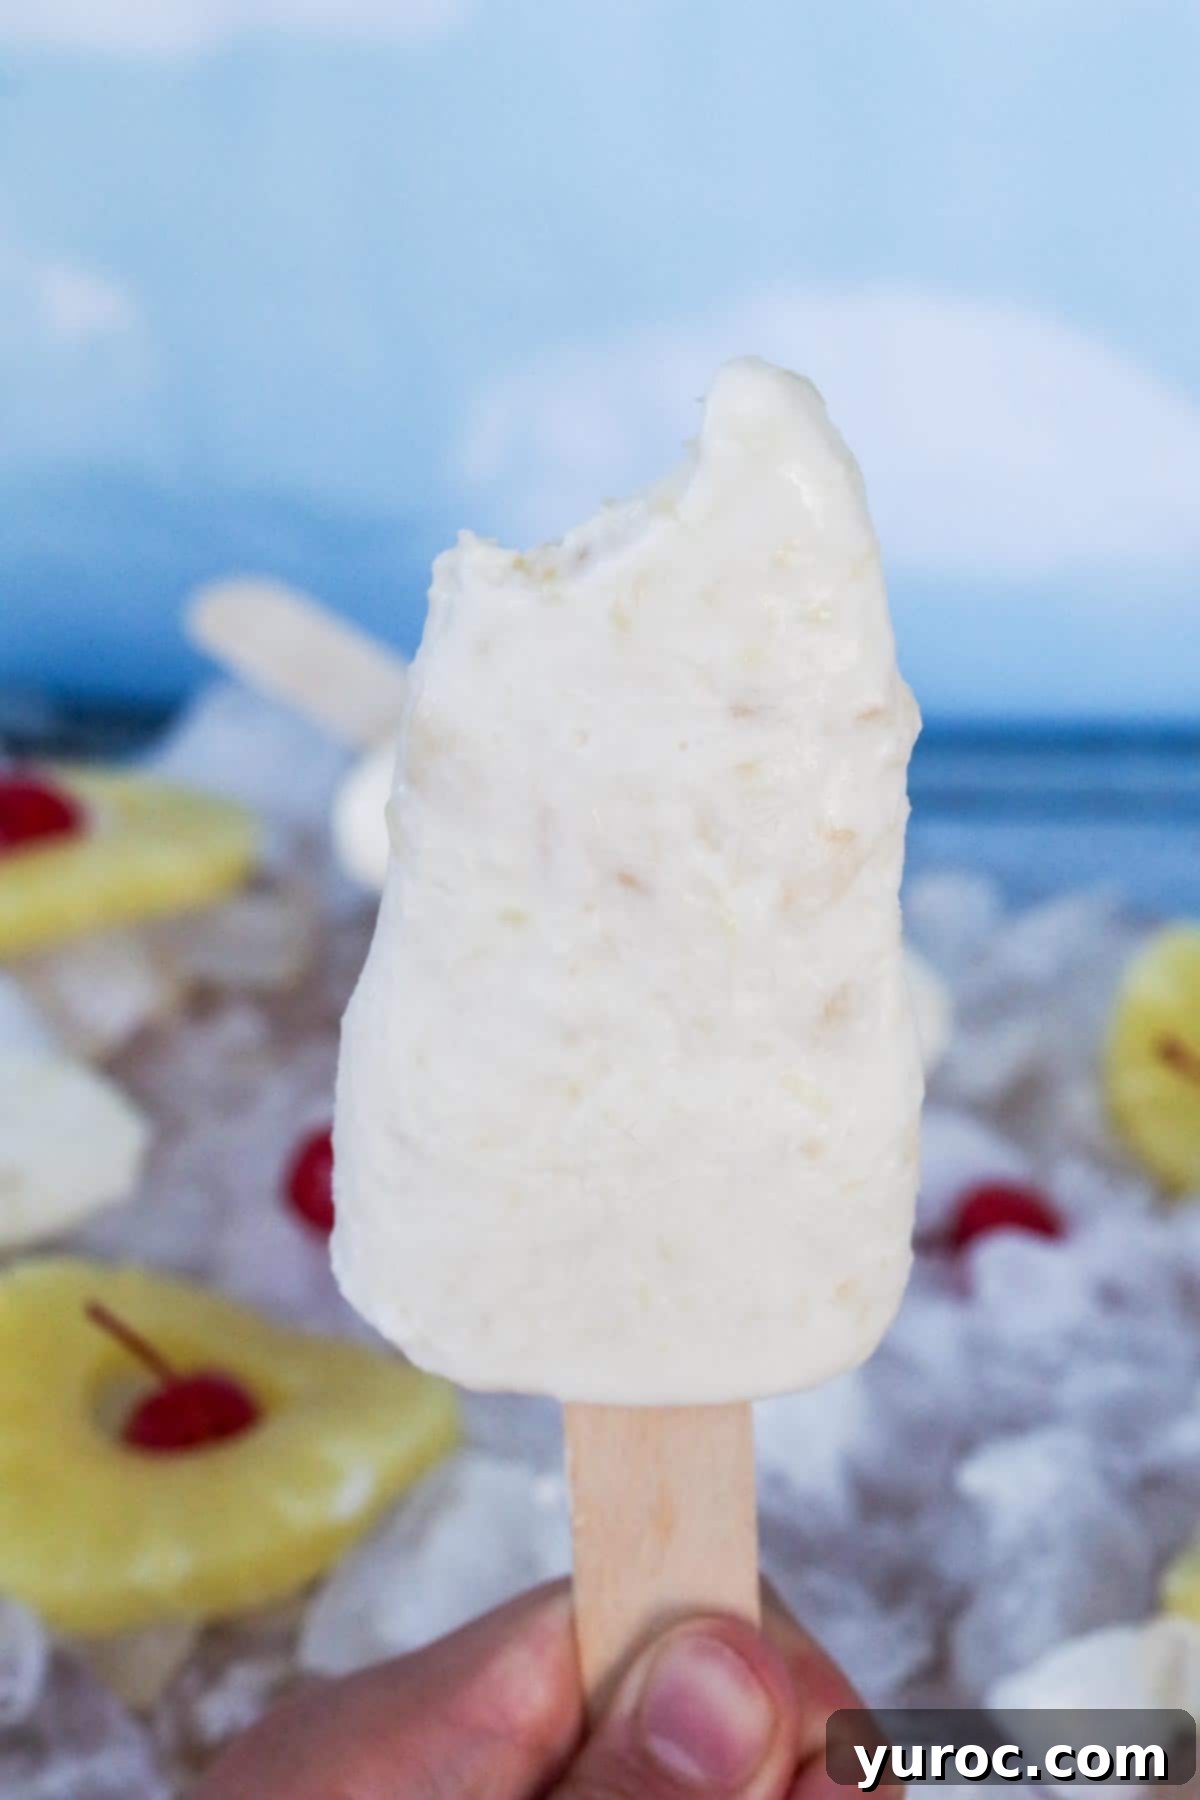
The best way to store this virgin Piña Colada popsicle recipe for optimal freshness and enjoyment is to keep them in their molds in the freezer. This method allows you to simply take one out as needed. When you’re ready to indulge, just run the portion of the mold you wish to remove under cold water for a few seconds; the popsicle will slide right out.
Even if the popsicle defrosts a little during the release process, don’t worry – it will refreeze perfectly. For longer-term storage, once the popsicles are completely frozen and firm, you can remove them from their molds, wrap each individual popsicle tightly in plastic wrap or parchment paper, and then store them in an airtight freezer bag or container. This helps to prevent freezer burn and keeps them tasting fresh.
However, it’s important to note that homemade popsicles, especially creamy ones like these, are best enjoyed within the first two weeks. Beyond this period, they can gradually start to develop an icier texture and lose some of their initial creaminess. So, while they will still be edible, for the ultimate tropical experience, try to enjoy your batch within a couple of weeks of making them!
❔ Frequently Asked Questions About Piña Colada Popsicles
Yes, you can, especially if you’re aiming for a vegan or lighter version. However, be aware that full-fat canned coconut milk will result in a slightly less creamy and potentially icier texture compared to whipping cream. Whipping cream is what gives these popsicles their signature rich, indulgent consistency. If using light coconut milk, as noted in the WW version, the texture will be even lighter and more ice-crystal prone, but still delicious and flavorful.
Absolutely not! This recipe is designed for maximum ease and minimal cleanup. All you need is a large bowl and a whisk. Simply combine all the ingredients and whisk them together until smooth. No need to dirty extra equipment like a blender!
Yes, silicone molds are an excellent alternative. Their flexibility makes it incredibly easy to release the frozen popsicles without much effort. While they might take a bit longer to freeze solid compared to stainless steel molds, they are a fantastic choice, especially if you’re new to making homemade popsicles.
Due to the high-fat content from the whipping cream, these Piña Colada popsicles hold their shape a bit longer than typical water or juice-based popsicles. However, like any frozen treat, they will still melt quickly in very hot weather, especially outdoors. It’s best to enjoy them right out of the freezer for the optimal refreshing experience!
For the best quality, taste, and texture, these creamy Piña Colada popsicles are best consumed within 2-3 weeks. Beyond that, while still safe to eat, they may start to develop more ice crystals and lose some of their smooth, creamy consistency. Storing them individually wrapped in an airtight container can help prolong their freshness.
Absolutely! While the recipe calls for crushed pineapple, you can certainly stir in small, finely diced pieces of fresh pineapple, mango, or even shredded coconut for added texture and a burst of fresh flavor. Just be mindful not to add too much, as it could impact the overall freezing time and consistency.
So, if you’re searching for cool treats for a hot summer’s day, one that the whole family will enjoy with minimal effort, this easy Piña Colada popsicles recipe is an absolute must-try! And if you find yourself with leftover Piña Colada mix after making these delightful popsicles, don’t let it go to waste – you can easily whip up my refreshing Miami Vice Mocktail for another taste of the tropics!
🌡️ More Delicious Popsicle Recipes to Try!
If you’ve fallen in love with homemade popsicles, you’re in luck! We have a collection of other fantastic recipes that are perfect for cooling down and enjoying simple, flavorful frozen treats.
- Real Fruit Popsicles (Sugar-Free)
- Coconut Blue Raspberry Popsicles
- Healthy Chocolate Banana Popsicles (WW Friendly)
- Healthy Strawberry Yogurt Popsicle Recipe
Did your family ❤️ this tropical treat? Did you know that leaving a comment and a ⭐ rating on recipes is one of the best ways to support your favorite recipe creators? If you LOVED this creamy Piña Colada popsicle recipe, please take a moment to comment and rate it in the recipe card below, or share photos of your delicious creations on social media using the hashtag #foodmeanderings or by tagging @foodmeanderings! Your feedback means the world to us!

📋 Creamy Piña Colada Popsicle Recipe
Print Recipe
Pin
Save RecipeSave Recipe
Rate
Add to Shopping ListGo to Shopping List
Equipment
-
Popsicle Molds
-
Large Mixing Bowl
-
Whisk
-
Measuring Cup with Pour Spout
Ingredients
- 1 cup whipping cream (heavy cream, 33-36% fat, not whipped cream)
- 1 cup Piña Colada drink mix
- ½ cup Greek yogurt (full-fat recommended for creaminess)
- ⅓ cup crushed pineapple (thoroughly drained, liquid squeezed out)
Instructions
-
In a large bowl, whisk together the whipping cream, Piña Colada mix, Greek yogurt, and thoroughly drained crushed pineapple until the mixture is smooth and well combined.1 cup whipping cream, 1 cup Piña Colada mix, ½ cup Greek yogurt, ⅓ cup crushed pineapple
-
Transfer the mixture to a large measuring cup or bowl with a pour spout for easy filling. Carefully pour the mixture into popsicle molds, leaving about ¼ inch of space at the top for expansion. Gently tap the molds on a hard surface a couple of times to release any air bubbles.
-
Place the molds upright in the freezer (a sheet pan can help stabilize them) and freeze until completely solid. This will take approximately 8 to 10 hours, depending on the size and thickness of your molds.
-
Once frozen solid, run the molds under cool water for 10-20 seconds to loosen the popsicles, then gently pull them out and serve immediately!
Notes
Drain the pineapple really well. This is crucial! Excess liquid from the pineapple can lead to ice crystals forming in your popsicles, making them less creamy and more icy. Use a fine-mesh sieve and press firmly, or even a cheesecloth, to extract every last drop of juice. The goal is a thick, almost pulp-like pineapple.
Whisk until smooth. Thoroughly combine the thick cream, yogurt, and drink mix to ensure an even distribution of flavors and avoid separation during freezing. Proper mixing prevents separation during freezing and guarantees a consistent taste and texture in every popsicle.
Use a pourable container. After mixing, transfer the mixture to a large measuring cup or bowl with a spout to make it easier to pour into molds cleanly and evenly, minimizing spills.
Tap molds to release air bubbles. Gently tapping the molds on the counter helps prevent gaps or cracks in the popsicles once frozen by removing trapped air.
Don’t overfill the molds. Leave about ¼ inch of space at the top of each mold to allow for expansion during freezing and prevent overflow.
Run under cold water to release. Using cold water helps popsicles slide out more cleanly without melting the surface layer too quickly.
Use stainless steel molds for best results. Stainless steel molds freeze faster, last longer, and help the popsicles release more easily, offering superior durability and taste neutrality.
Taste before freezing. If you’re experimenting with substitutions like alcohol or yogurt alternatives, tasting the mixture first lets you adjust sweetness or flavor balance to your preference.
Label them if making multiple flavors. Label molds or use different sticks to avoid mix-ups, especially when making alcoholic and non-alcoholic versions for different audiences.
Serve with garnishes for fun presentation. Pineapple wedges, maraschino cherries, or coconut flakes add a festive tropical touch for parties and BBQs.
Storage:
The best way to store this virgin Piña Colada popsicle recipe is in the freezer, directly in their molds. This allows you to simply take them out as needed and run the desired mold under cold water for easy release. Even if they defrost a little during removal, they’ll freeze up again without significant issue. For longer storage, once fully frozen, remove from molds and wrap individually in plastic wrap, then store in an airtight freezer bag or container.
However, for optimal creaminess and texture, these popsicles are best enjoyed within a couple of weeks in the freezer. Beyond that, they may start to get icier.
