The Ultimate No-Butter Chocolate Frosting: Easy, Stable, and Deliciously Creamy Shortening-Based Recipe
Discover the secret to perfect bakery-style cakes with this incredible **Chocolate Frosting (without butter)**. Boasting a rich, deep chocolate flavor, this recipe ingeniously uses vegetable shortening instead of butter, making it exceptionally light, fluffy, and effortlessly spreadable. It’s the ideal choice for decorating everything from elaborate wedding cakes to simple birthday cupcakes, offering a consistency that holds its shape beautifully and pipes with precision. One of its standout features is its remarkable stability: this frosting doesn’t require refrigeration and remains shelf-safe for days, even holding up wonderfully in warm environments. This makes it an absolute game-changer for outdoor events, summer parties, and special occasions where heat resilience is crucial.
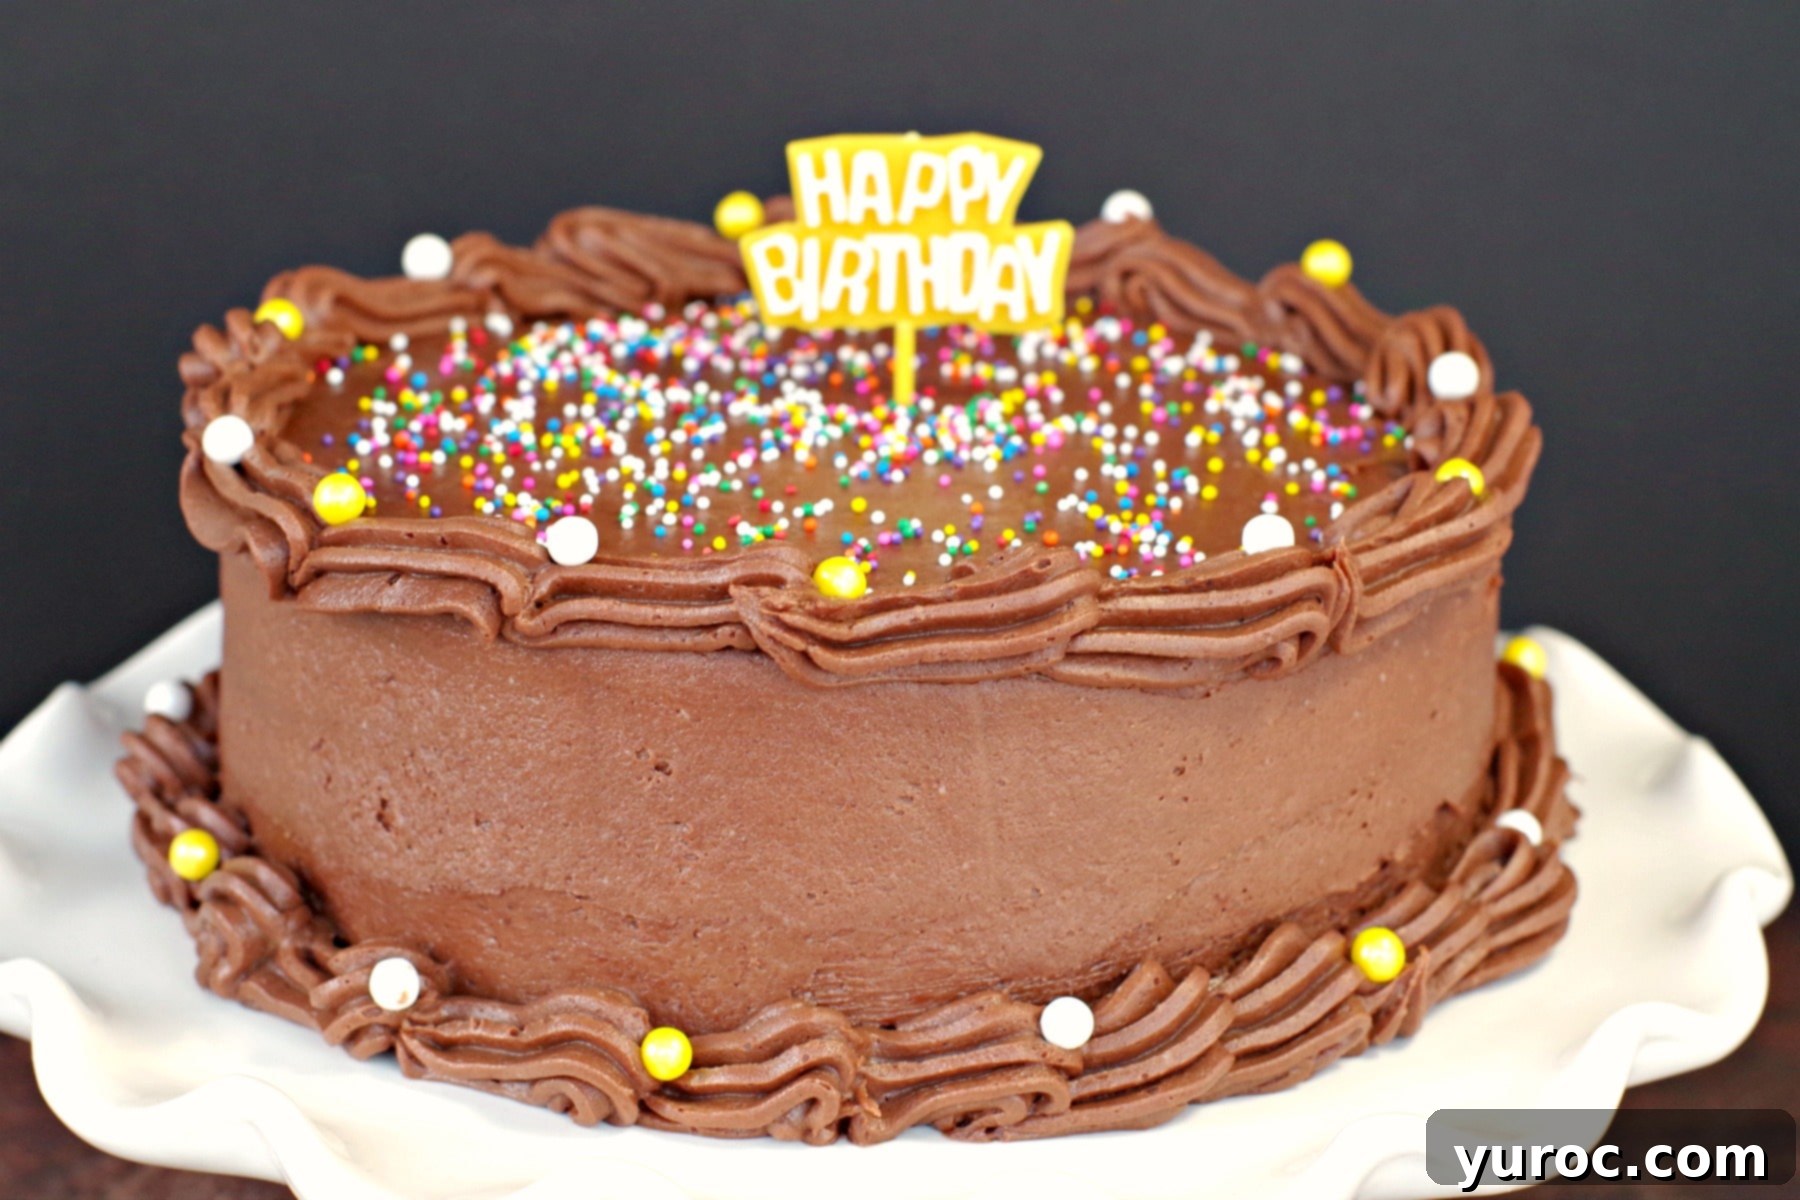
This versatile, butter-free chocolate frosting is perfect for enhancing a wide array of your favorite baked goods. Imagine it crowning your classic chocolate sheet cakes, adding a decadent swirl to moist chocolate cupcakes, or elevating homemade chocolate squares. It’s especially delightful when paired with my beloved Old Fashioned Sour Cream Chocolate Cake, creating a harmonious balance of flavors and textures. Its creamy texture and robust chocolate taste make it a go-to for any dessert that demands a truly exceptional topping.
My childhood memories are filled with the joy of Safeway birthday cakes. There was something undeniably magical about that frosting – a smooth, melt-in-your-mouth texture and a sweetness that homemade versions rarely matched. For years, I couldn’t quite put my finger on why I always preferred the store-bought variety over my grandmother’s or mother’s lovingly prepared buttercreams. Then, it clicked: it was the butter! Traditional butter-based frostings, while rich, often felt too heavy and, at times, had an almost greasy mouthfeel that I simply didn’t adore. This realization sparked a quest to recreate that beloved grocery store taste and texture in my own kitchen. The result is this incredible **Chocolate Frosting (without butter)**, which uses vegetable shortening (like Crisco) as its base. It’s the secret to achieving that light, creamy, and wonderfully familiar flavor that transports me straight back to those happy childhood birthdays.
The characteristic appeal of bakery-style cakes often comes down to their frosting. Unlike traditional homemade buttercreams, which rely heavily on butter for their structure and flavor, many commercial bakeries utilize shortening-based frostings. This fundamental difference is precisely why I always gravitated towards them. Shortening offers a different kind of richness and a superior stability that butter simply cannot replicate, especially when it comes to holding intricate decorations or enduring warmer temperatures.
Why You’ll Adore This No-Butter Chocolate Frosting
This chocolate frosting recipe isn’t just a substitution; it’s an enhancement. Here’s why this shortening-based delight will become your new favorite:
- Effortlessly Simple to Make. Forget complicated techniques! This frosting comes together quickly and easily, making it perfect for both novice and experienced bakers. You don’t even need a fancy stand mixer; a simple hand mixer will achieve beautifully smooth results. Its straightforward process means less time in the kitchen and more time enjoying your delicious creations.
- Utilizes Common Pantry Staples. You likely already have all the necessary ingredients on hand. This recipe relies on readily available items, eliminating the need for a special trip to the grocery store. It’s a convenient option for last-minute baking or when inspiration strikes.
- No Refrigeration Required. Unlike many buttercreams that can seize or harden in the cold, this frosting maintains its perfect consistency at room temperature. This is a significant advantage, as cakes, in general, tend to dry out in the refrigerator (see our Expert Tips below for more on this!). This means your cakes stay moist and delicious without the hassle of chilling.
- Exceptional Heat Resilience. Shortening, such as Crisco, boasts a significantly higher melting point compared to butter. This inherent property makes this frosting incredibly stable and robust, allowing it to hold its shape beautifully even in warm weather. It’s the ultimate choice for outdoor celebrations like birthday parties, summer weddings, picnics, or any event where your dessert might be exposed to heat for extended periods. Say goodbye to melted, sagging frosting!
- Authentic Bakery Flavor. This recipe faithfully recreates that nostalgic, smooth, and perfectly sweet taste of your favorite grocery store bakery cakes. If you grew up loving those classic frosted treats, this recipe will transport you back to those cherished memories with every bite.
- Superior for Cake Decorating. For anyone who loves to decorate, shortening-based frosting is a dream come true. Its stable nature allows it to “crust” slightly, forming a delicate shell that makes it easier to handle and less prone to smudging than butter-based alternatives. This stability provides a pristine surface for intricate piping designs, smooth finishes, and detailed artistic expressions, making your decorated cakes look truly professional.
If you’ve fallen in love with the benefits of shortening-based frostings, you’ll also appreciate my other delightful creations like the 2 Ingredient White Chocolate Whipped Cream Frosting (Ganache), the vibrant Strawberry Whipped Cream Frosting (with jam), and my luscious Whipped Cream Buttercream Frosting. While the latter takes a touch more time to prepare than this quick chocolate recipe, it offers a slightly less sweet profile, a lighter texture, and an equally delicious taste, and yes, it can also be easily adapted into a chocolate version!
🥘 Essential Ingredient Notes for No-Butter Frosting
Crafting this smooth and stable butter-free chocolate frosting requires just a few simple, yet key, ingredients. Each plays a vital role in achieving its perfect texture and rich flavor:
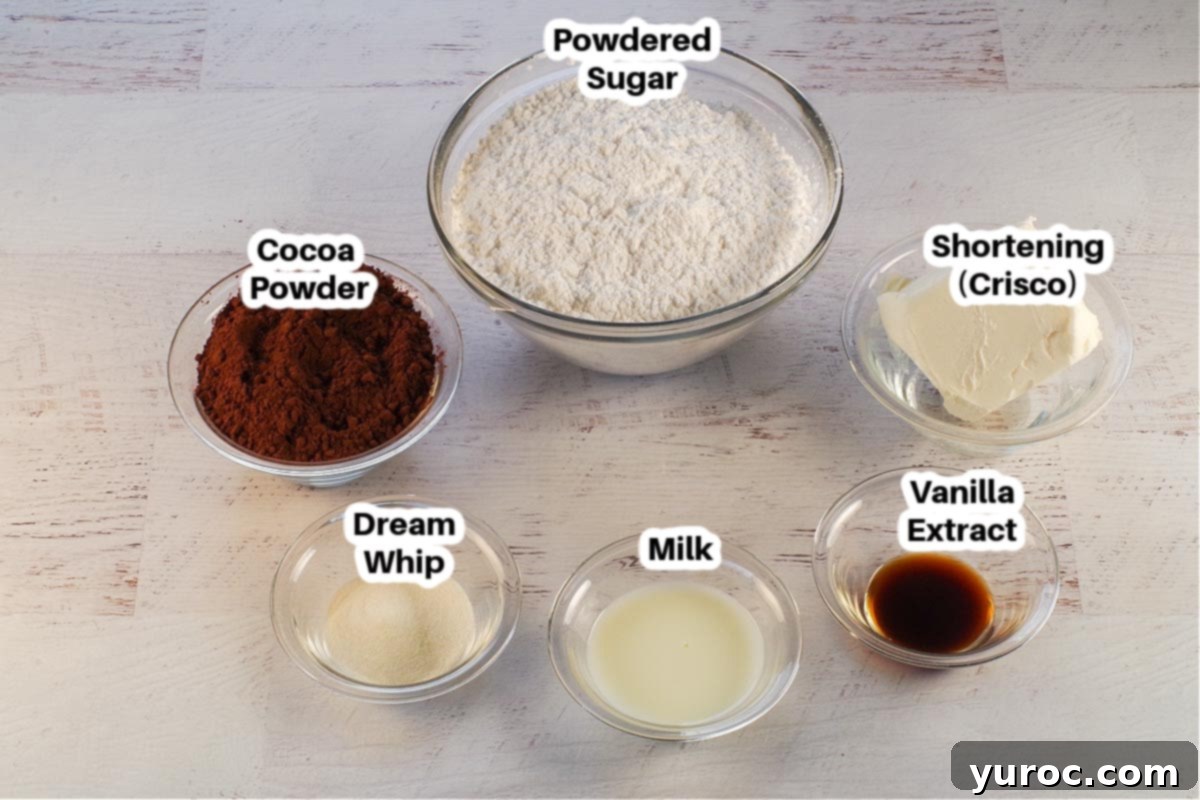
- Vegetable Shortening (Crisco or equivalent). This is the cornerstone of our butter-free frosting. Shortening is a solid fat that remains stable at room temperature and has a much higher melting point than butter, making it crucial for a frosting that holds its shape beautifully, especially in warmer conditions. It also contributes to an exceptionally creamy, light, and airy texture that’s difficult to achieve with butter alone. While any good quality vegetable shortening will work, brands like Crisco are widely available and reliable. For those aiming for the absolute creamiest and most professional-grade frosting, consider using a high-ratio shortening (affiliate link). This type of shortening has added emulsifiers that allow it to incorporate more liquid and sugar, resulting in an even silkier, more stable frosting.
- Dream Whip Powder. This might seem like an unconventional addition, but it’s one of the “secret ingredients” that truly elevates this chocolate frosting recipe. Dream Whip, a powdered whipped dessert topping mix, acts as an emulsifier and stabilizer. When incorporated, it contributes significantly to the frosting’s smooth, velvety texture and helps it achieve a desirable “crust” without becoming brittle. This crusting property is invaluable for decorating, providing a firm surface that prevents smudging and allows for cleaner designs. I even use Dream Whip in my Black Forest Biscotti for added smoothness.
- Unsweetened Cocoa Powder. For that rich, intense chocolate flavor, unsweetened cocoa powder is our star. It offers a deep, authentic chocolate taste without the fuss of melting chocolate or adjusting for sweetness. I typically opt for Hershey’s, but any good quality unsweetened cocoa powder will work beautifully. You can experiment with different types of cocoa – natural cocoa powder (lighter color, fruitier flavor) or Dutch-processed cocoa powder (darker color, milder, less acidic flavor) – to achieve your desired chocolate profile.
- Milk. Milk is the essential liquid component that binds the dry ingredients and allows us to achieve the perfect consistency. It helps create a smooth, pliable frosting that’s easy to spread and pipe. The amount of milk can be slightly adjusted based on your desired thickness – a little more for a thinner, drizzly consistency, or a little less for a stiffer frosting suitable for intricate piping. You can use any type of milk (dairy or non-dairy) according to your preference.
- Vanilla Extract. A touch of vanilla extract is crucial for enhancing the chocolate flavor, adding depth and warmth without overpowering it. Use good quality vanilla for the best results.
*Please refer to the detailed recipe card below for the complete list of ingredients and precise quantities.
📖 Variations & Creative Substitutions
This butter-free chocolate frosting recipe is wonderfully versatile and can be easily adapted to suit your taste preferences or dietary needs:
- Classic Vanilla Frosting: If chocolate isn’t what you’re craving, transforming this into a delicious vanilla frosting is simple. Just substitute the 1.5 cups of cocoa powder with an additional 1.5 cups of powdered sugar. For a truly pristine white frosting, especially for wedding cakes or elegant decorations, make sure to use clear vanilla extract instead of the standard amber-colored vanilla.
- Adjusting Sweetness: For those who find frostings too sweet, a tiny pinch of salt can work wonders. Salt helps to balance and cut through the sweetness, enhancing the overall flavor profile without making the frosting taste salty. Start with a tiny amount and add more to your liking.
- Milk Alternatives & Consistency Control: The amount of milk is key to achieving your desired frosting consistency. Feel free to adjust it slightly: add a little more milk, a tablespoon at a time, for a thinner, creamier frosting ideal for spreading. For a stiffer consistency, perfect for detailed piping or holding its shape in warmer weather, use slightly less milk. You can also experiment with other liquids like heavy cream for a richer texture or even a splash of coffee for an intensified chocolate flavor.
🔪 Step-by-Step: How to Make Dreamy Chocolate Icing (No Butter)
Creating this stable and delicious chocolate frosting is incredibly straightforward. Follow these simple steps for perfect results every time:
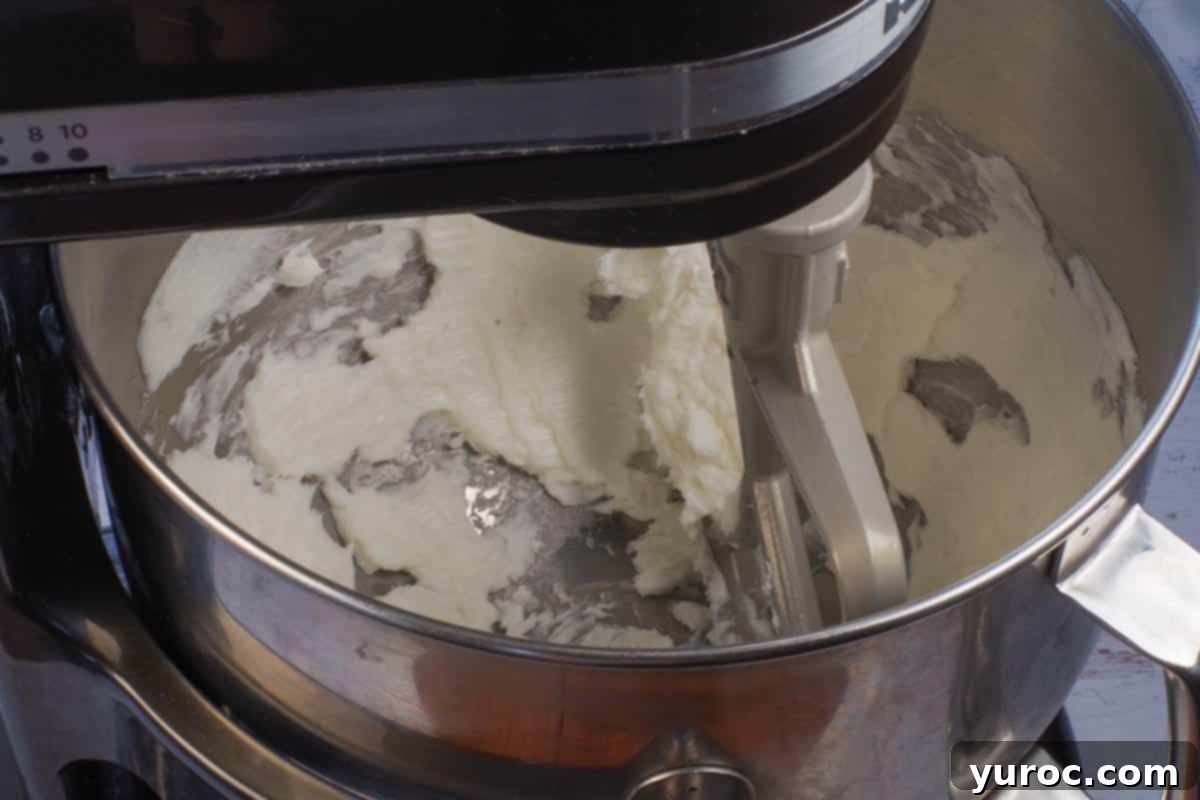
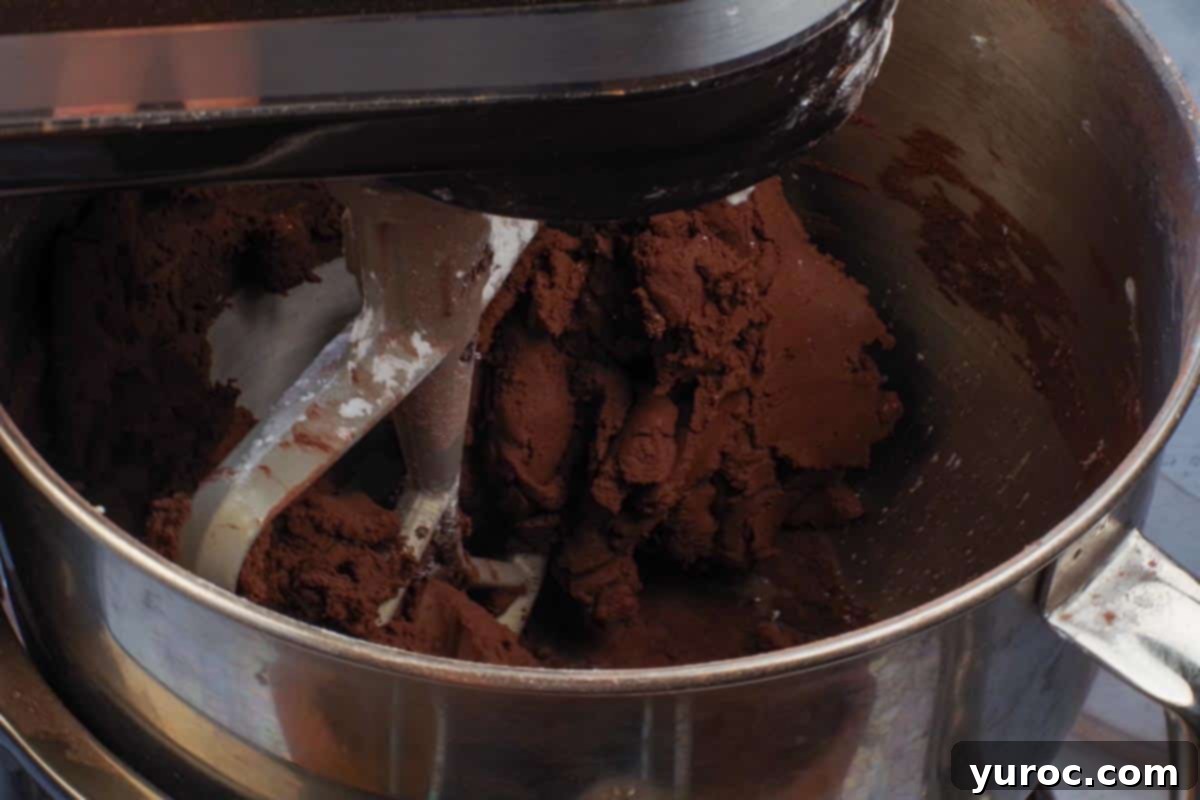
- Step 1: Cream the Shortening. In the bowl of a stand mixer fitted with the paddle attachment, or using a large mixing bowl with an electric hand mixer, add the shortening. Beat on medium-high speed for about 2-3 minutes until the shortening is light, fluffy, and noticeably increased in volume. This step is crucial for incorporating air and creating a truly light texture. Scrape down the sides of the bowl occasionally to ensure even creaming.
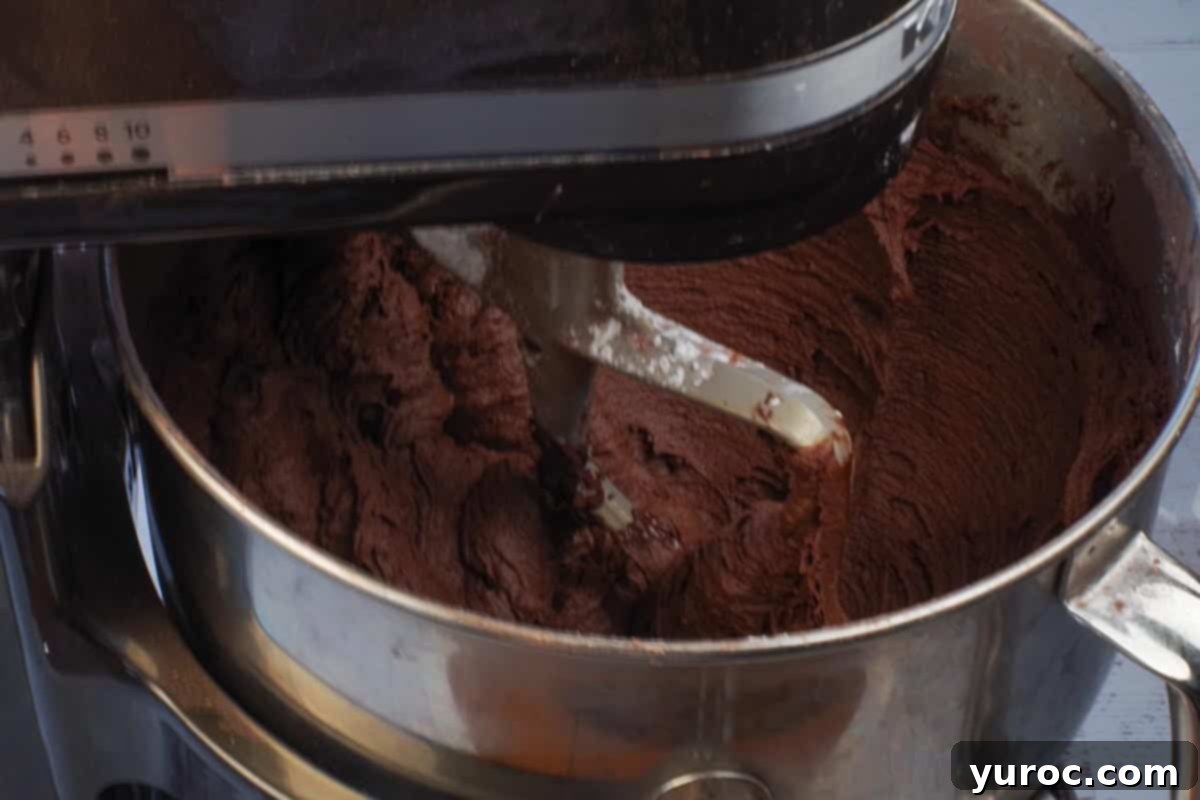
- Step 2: Incorporate Dry Ingredients. Gradually add the powdered sugar, Dream Whip powder, and cocoa powder to the creamed shortening. Start mixing on a very low speed to prevent the dry ingredients from flying out of the bowl, then gradually increase to medium speed. Continue mixing until all ingredients are fully combined and the mixture is smooth and lump-free. Be sure to scrape down the sides and bottom of the bowl periodically to ensure everything is thoroughly incorporated.
- Step 3: Add Wet Ingredients. With the mixer still running on low, pour in the vanilla extract, followed by the milk. Add the milk gradually, observing the frosting’s consistency as you go.
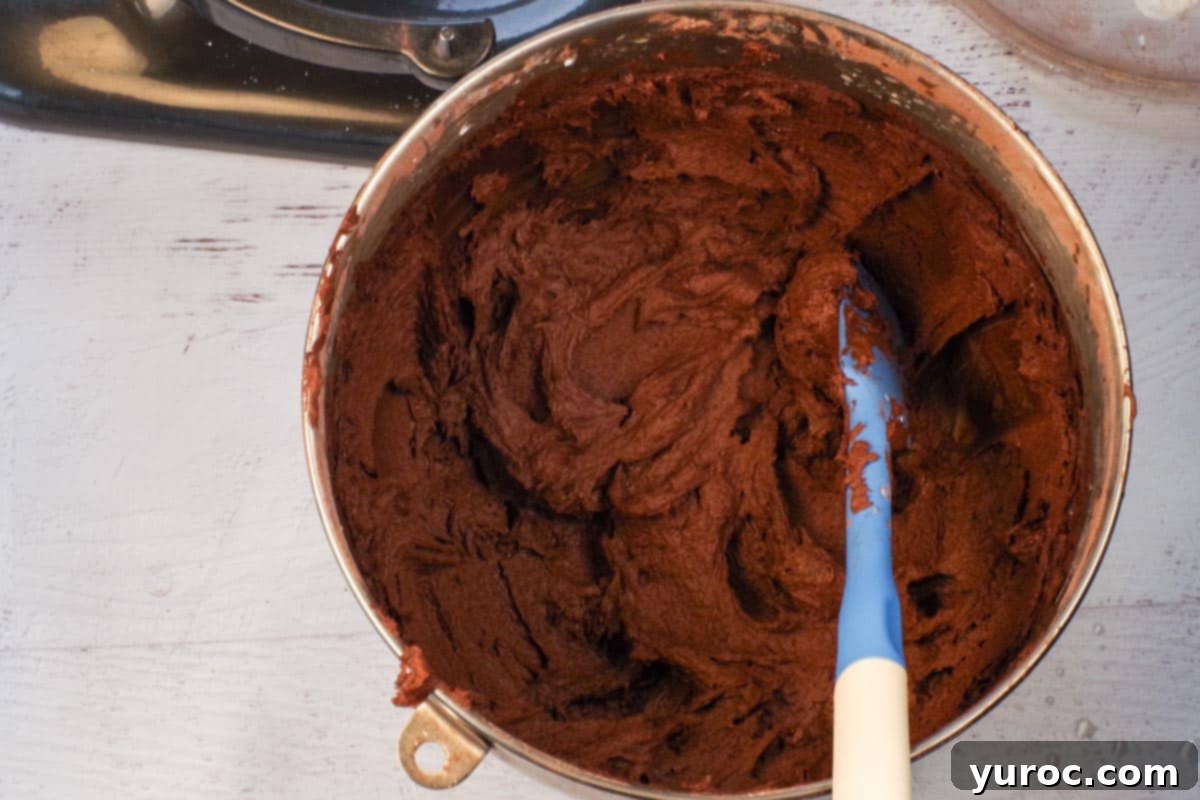
- Step 4: Achieve Perfect Consistency. Increase the mixer speed to medium-high and beat for another 3-5 minutes until the frosting is light, airy, and beautifully smooth. The exact amount of milk needed can vary slightly depending on humidity and how packed your powdered sugar is. I typically find that ⅓ cup of milk yields the perfect consistency, but you might need a tiny bit more or less. If you desire a thicker consistency for intricate piping, use less milk. For a softer, more spreadable frosting, add milk in half-tablespoon increments until you reach your desired texture.
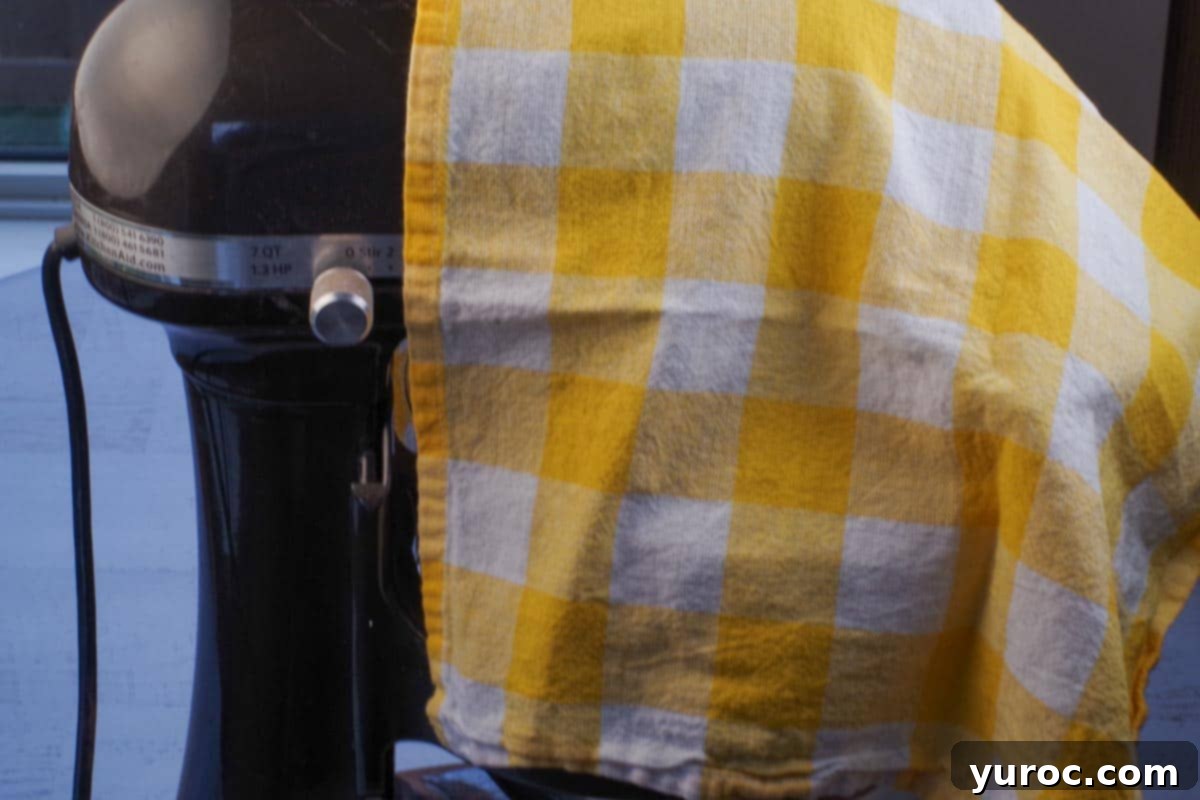
PRO TIP: When you’re adding the powdered sugar, cocoa, and Dream Whip powder in Step 2, always start your mixer on the lowest speed. To further prevent a “powder cloud” from coating your kitchen, it’s highly recommended to use the splash shield on your mixer. As an extra precaution, I often drape a clean kitchen towel over the entire top of the mixer and bowl. This simple trick effectively contains any rogue powder, keeping your counter and mixer spotless!
🌟 Expert Tips for Frosting & Decorating Success
With years of baking and cake decorating experience under my belt, I’ve gathered some invaluable insights to help you achieve professional-looking results with this no-butter chocolate frosting:
A Crucial Rule: The Refrigerator is NOT Your Cake’s Best Friend! This is a common misconception many home bakers have. Unless your cake has a perishable filling (like fresh fruit or custard) or your frosting contains butter (which requires chilling to firm up), you should generally avoid refrigerating your finished cake. Cold temperatures tend to dry out cakes, diminishing their moist texture and flavor. This is one of the biggest advantages of using a shortening-based frosting – your cake can stay beautifully moist at room temperature!
If you’re new to cake decorating or simply want to refine your skills, these simple techniques will help you achieve stunning finishes:
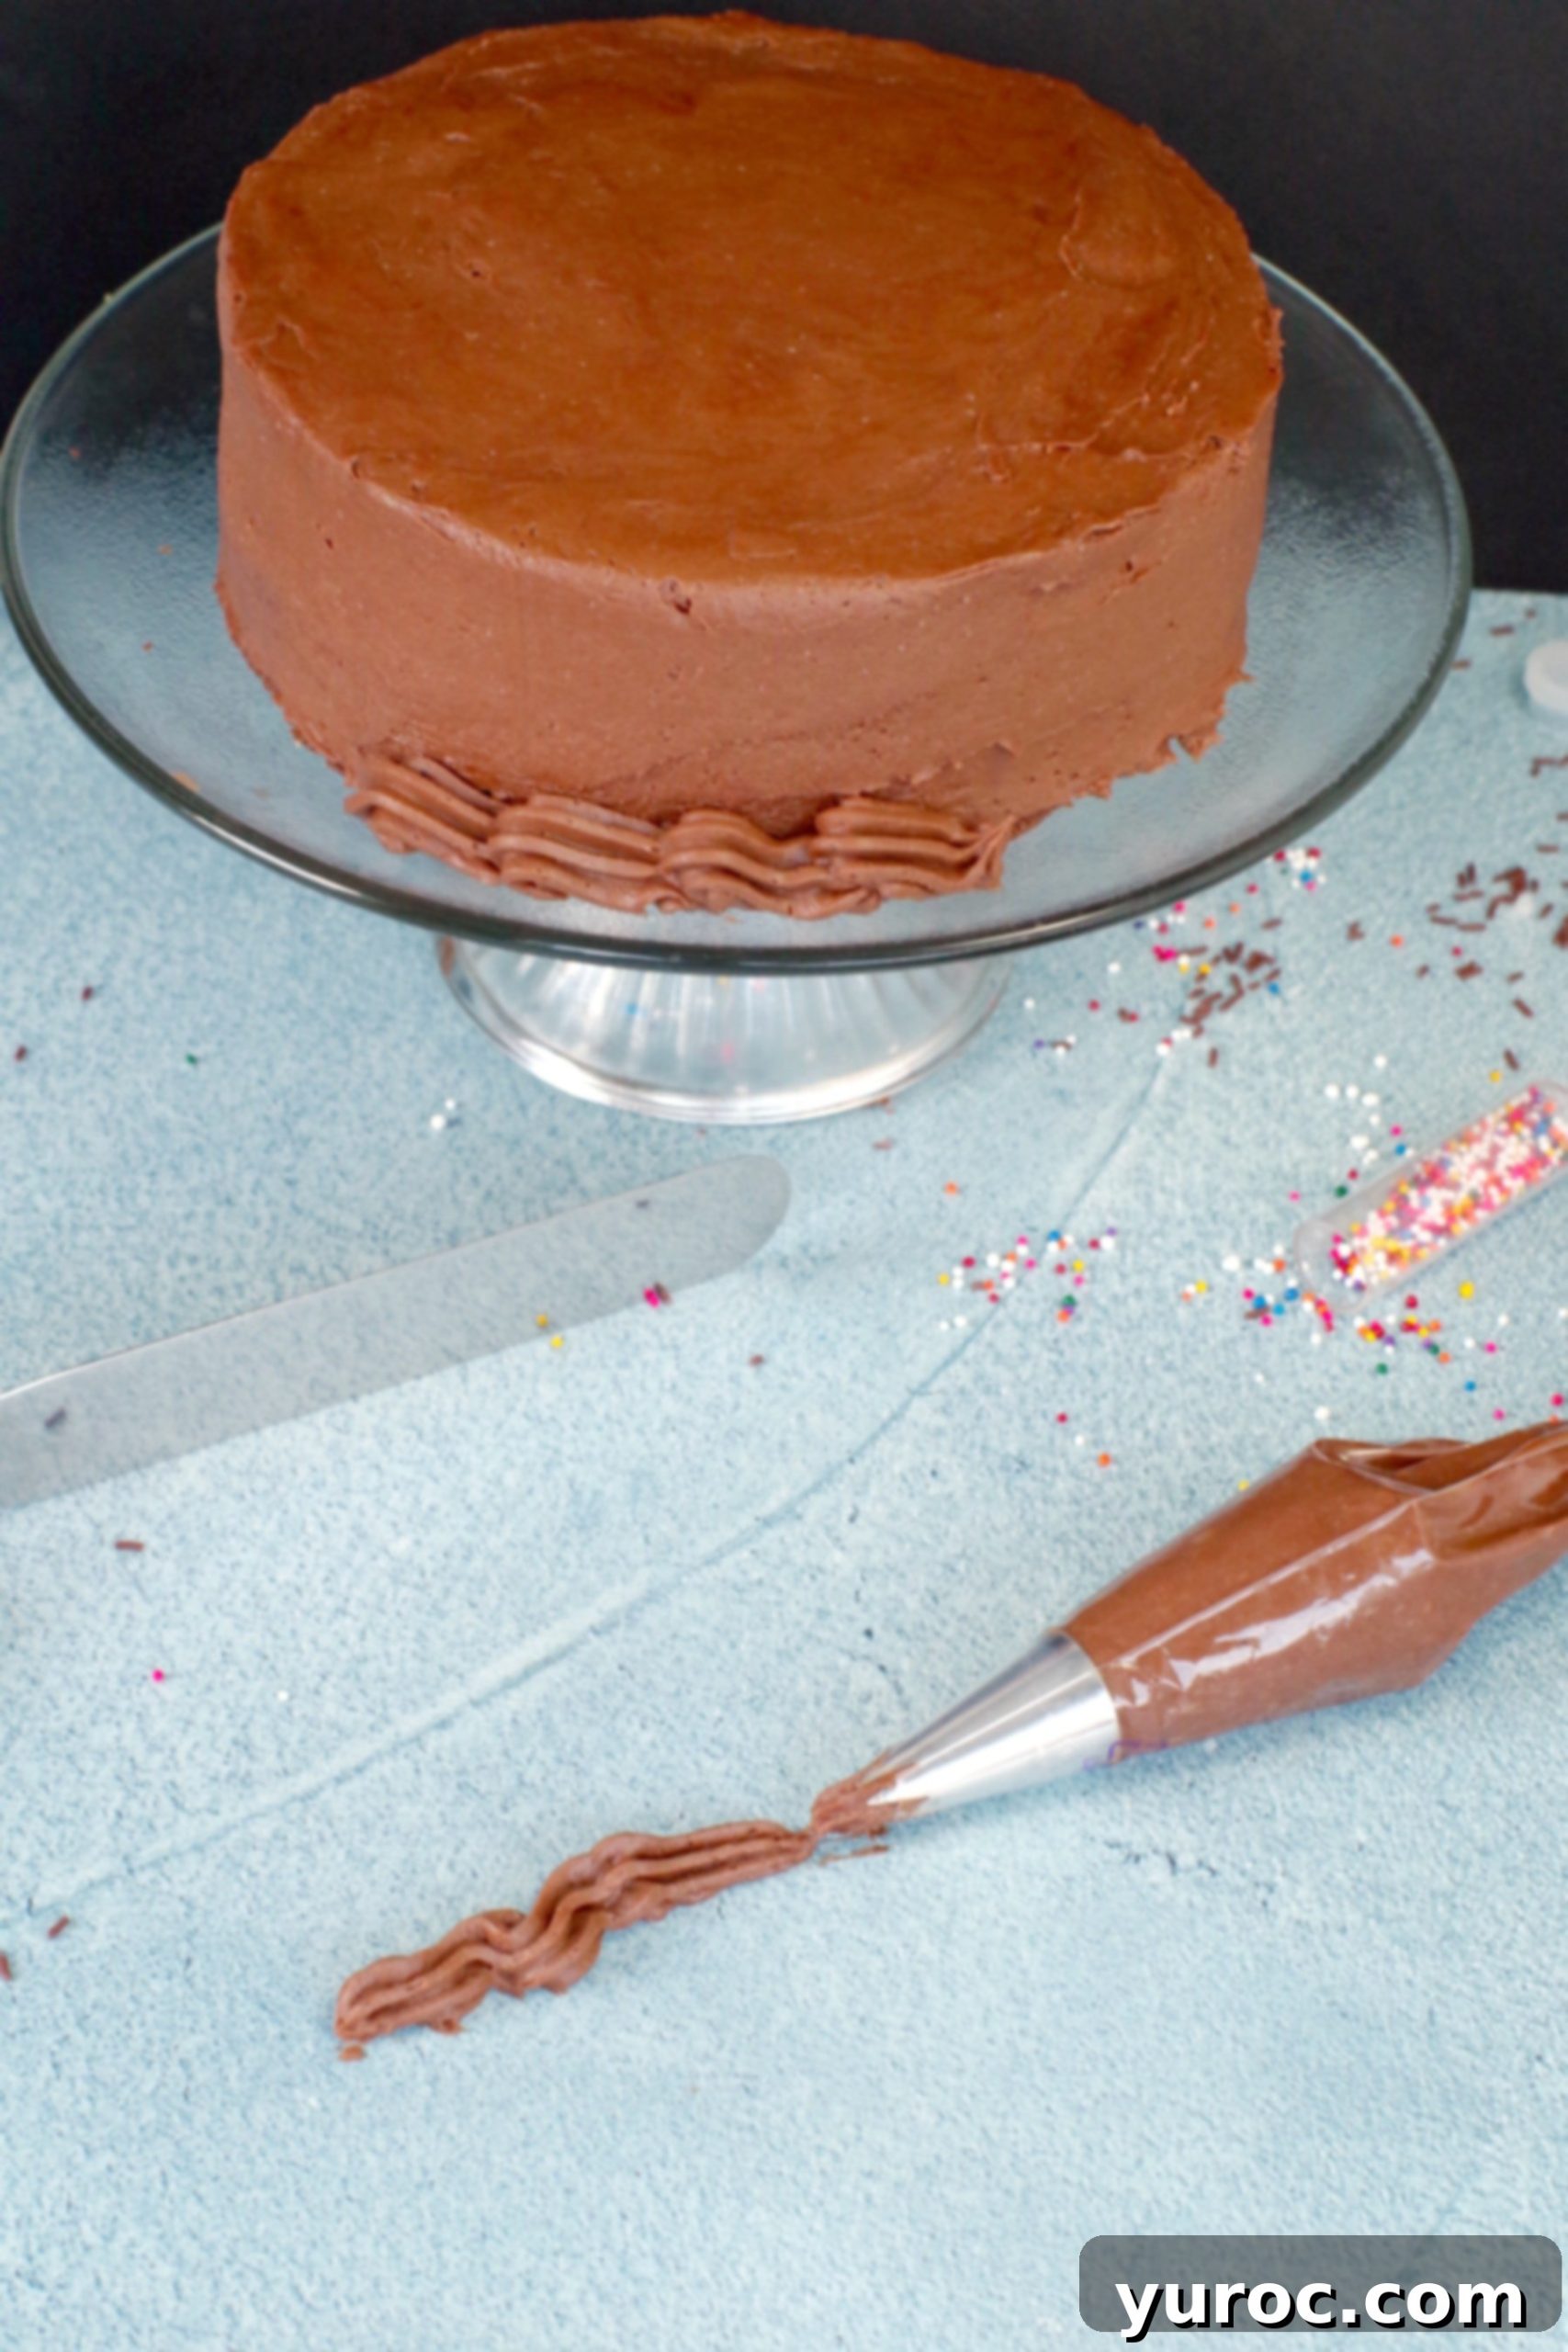
- Achieving Silky Smooth Sides with the Spatula Method: I swear by the Wilton Spatula Method for achieving perfectly smooth cake sides. You can watch a helpful demonstration in this VIDEO (focus on the first method shown). To take it a step further and achieve an almost glass-like smoothness, here’s my pro trick: After applying the initial smoothing technique from the video, heat a metal spatula by dipping it in boiling water. Wipe it completely dry with a clean tea towel. Then, use the warm, dry spatula to gently smooth the frosting, scraping off any excess into a separate bowl. Wipe the spatula clean with a paper towel after each pass. Repeat this process until you reach your desired level of flawless smoothness. The warmth of the spatula helps to melt and level the shortening ever so slightly, creating an incredibly polished surface.
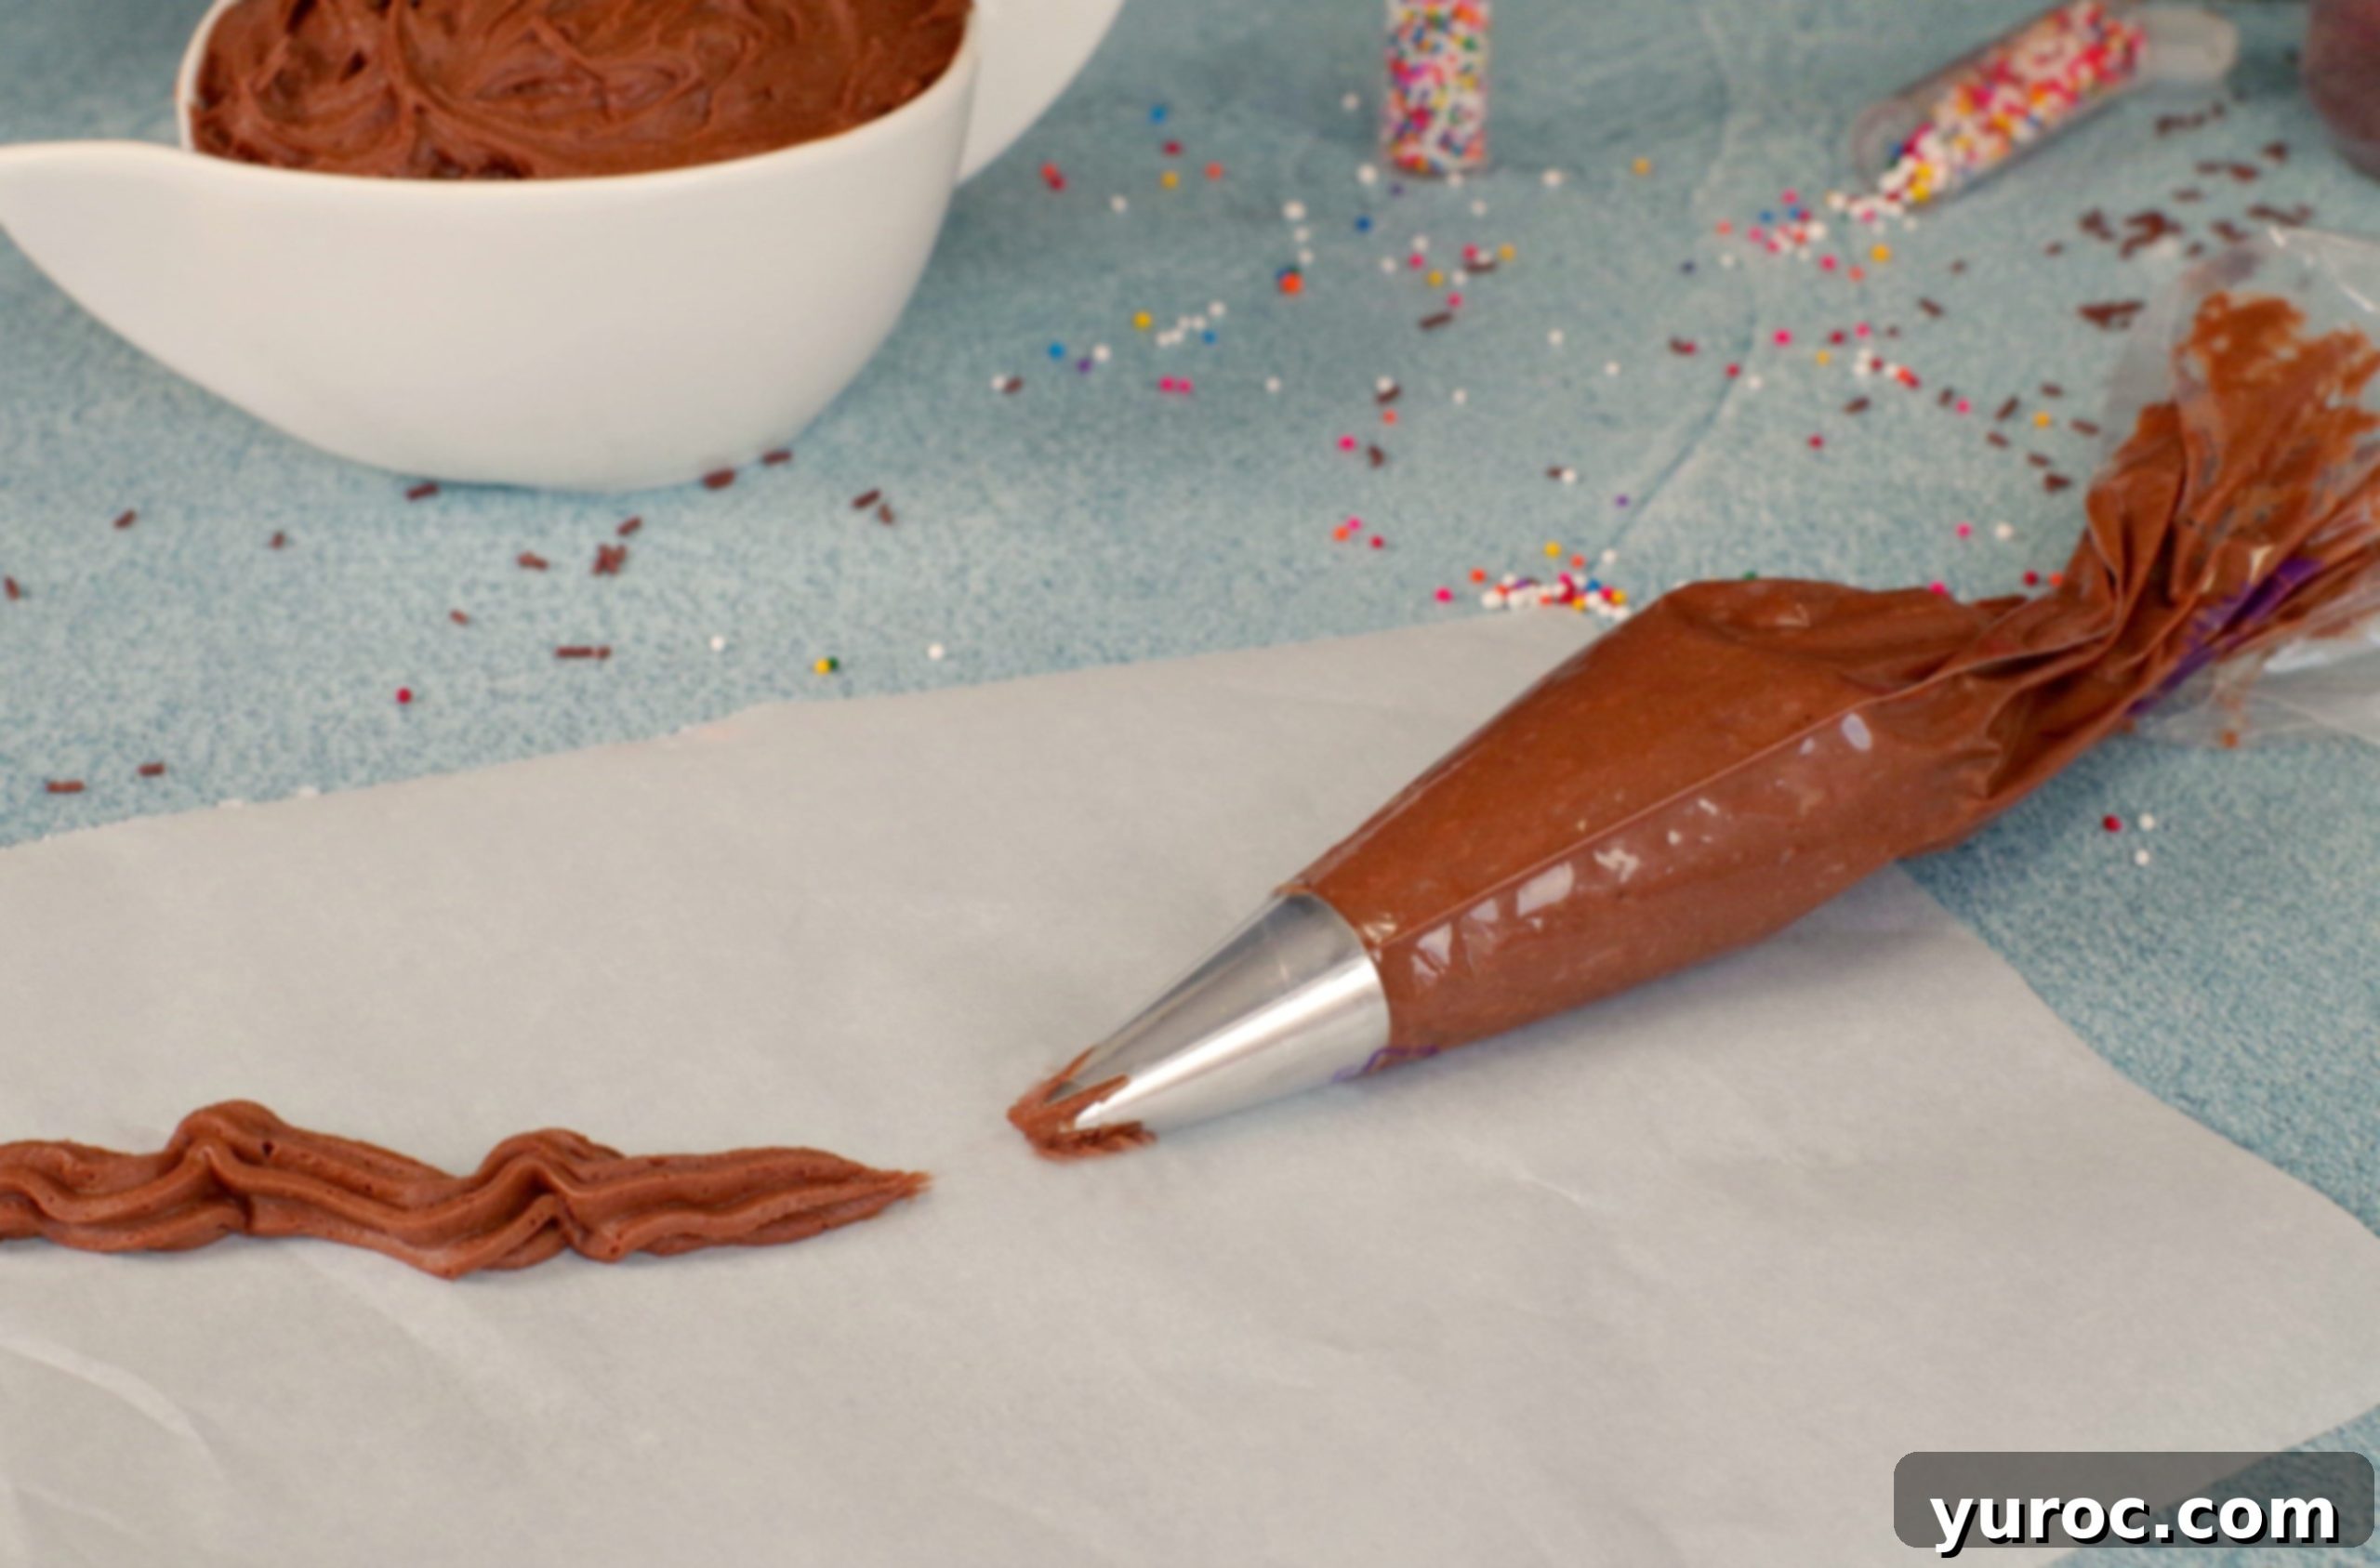
- Mastering the Simple Shell Border: A classic shell border adds an elegant, professional touch to any cake. If you’ve never tried piping one before, this VIDEO provides clear, step-by-step instructions. Practice a few shells on parchment paper first to get a feel for the pressure and movement before applying it to your cake. The stability of this shortening-based frosting makes piping shells a breeze!
- Crumb Coating for Perfection: For the cleanest possible final coat, always apply a thin “crumb coat” first. This involves applying a very thin layer of frosting all over your cake to trap any loose crumbs. Chill the cake for 15-20 minutes, then apply your final, thicker layer of frosting. This prevents crumbs from showing through and ensures a pristine finish.
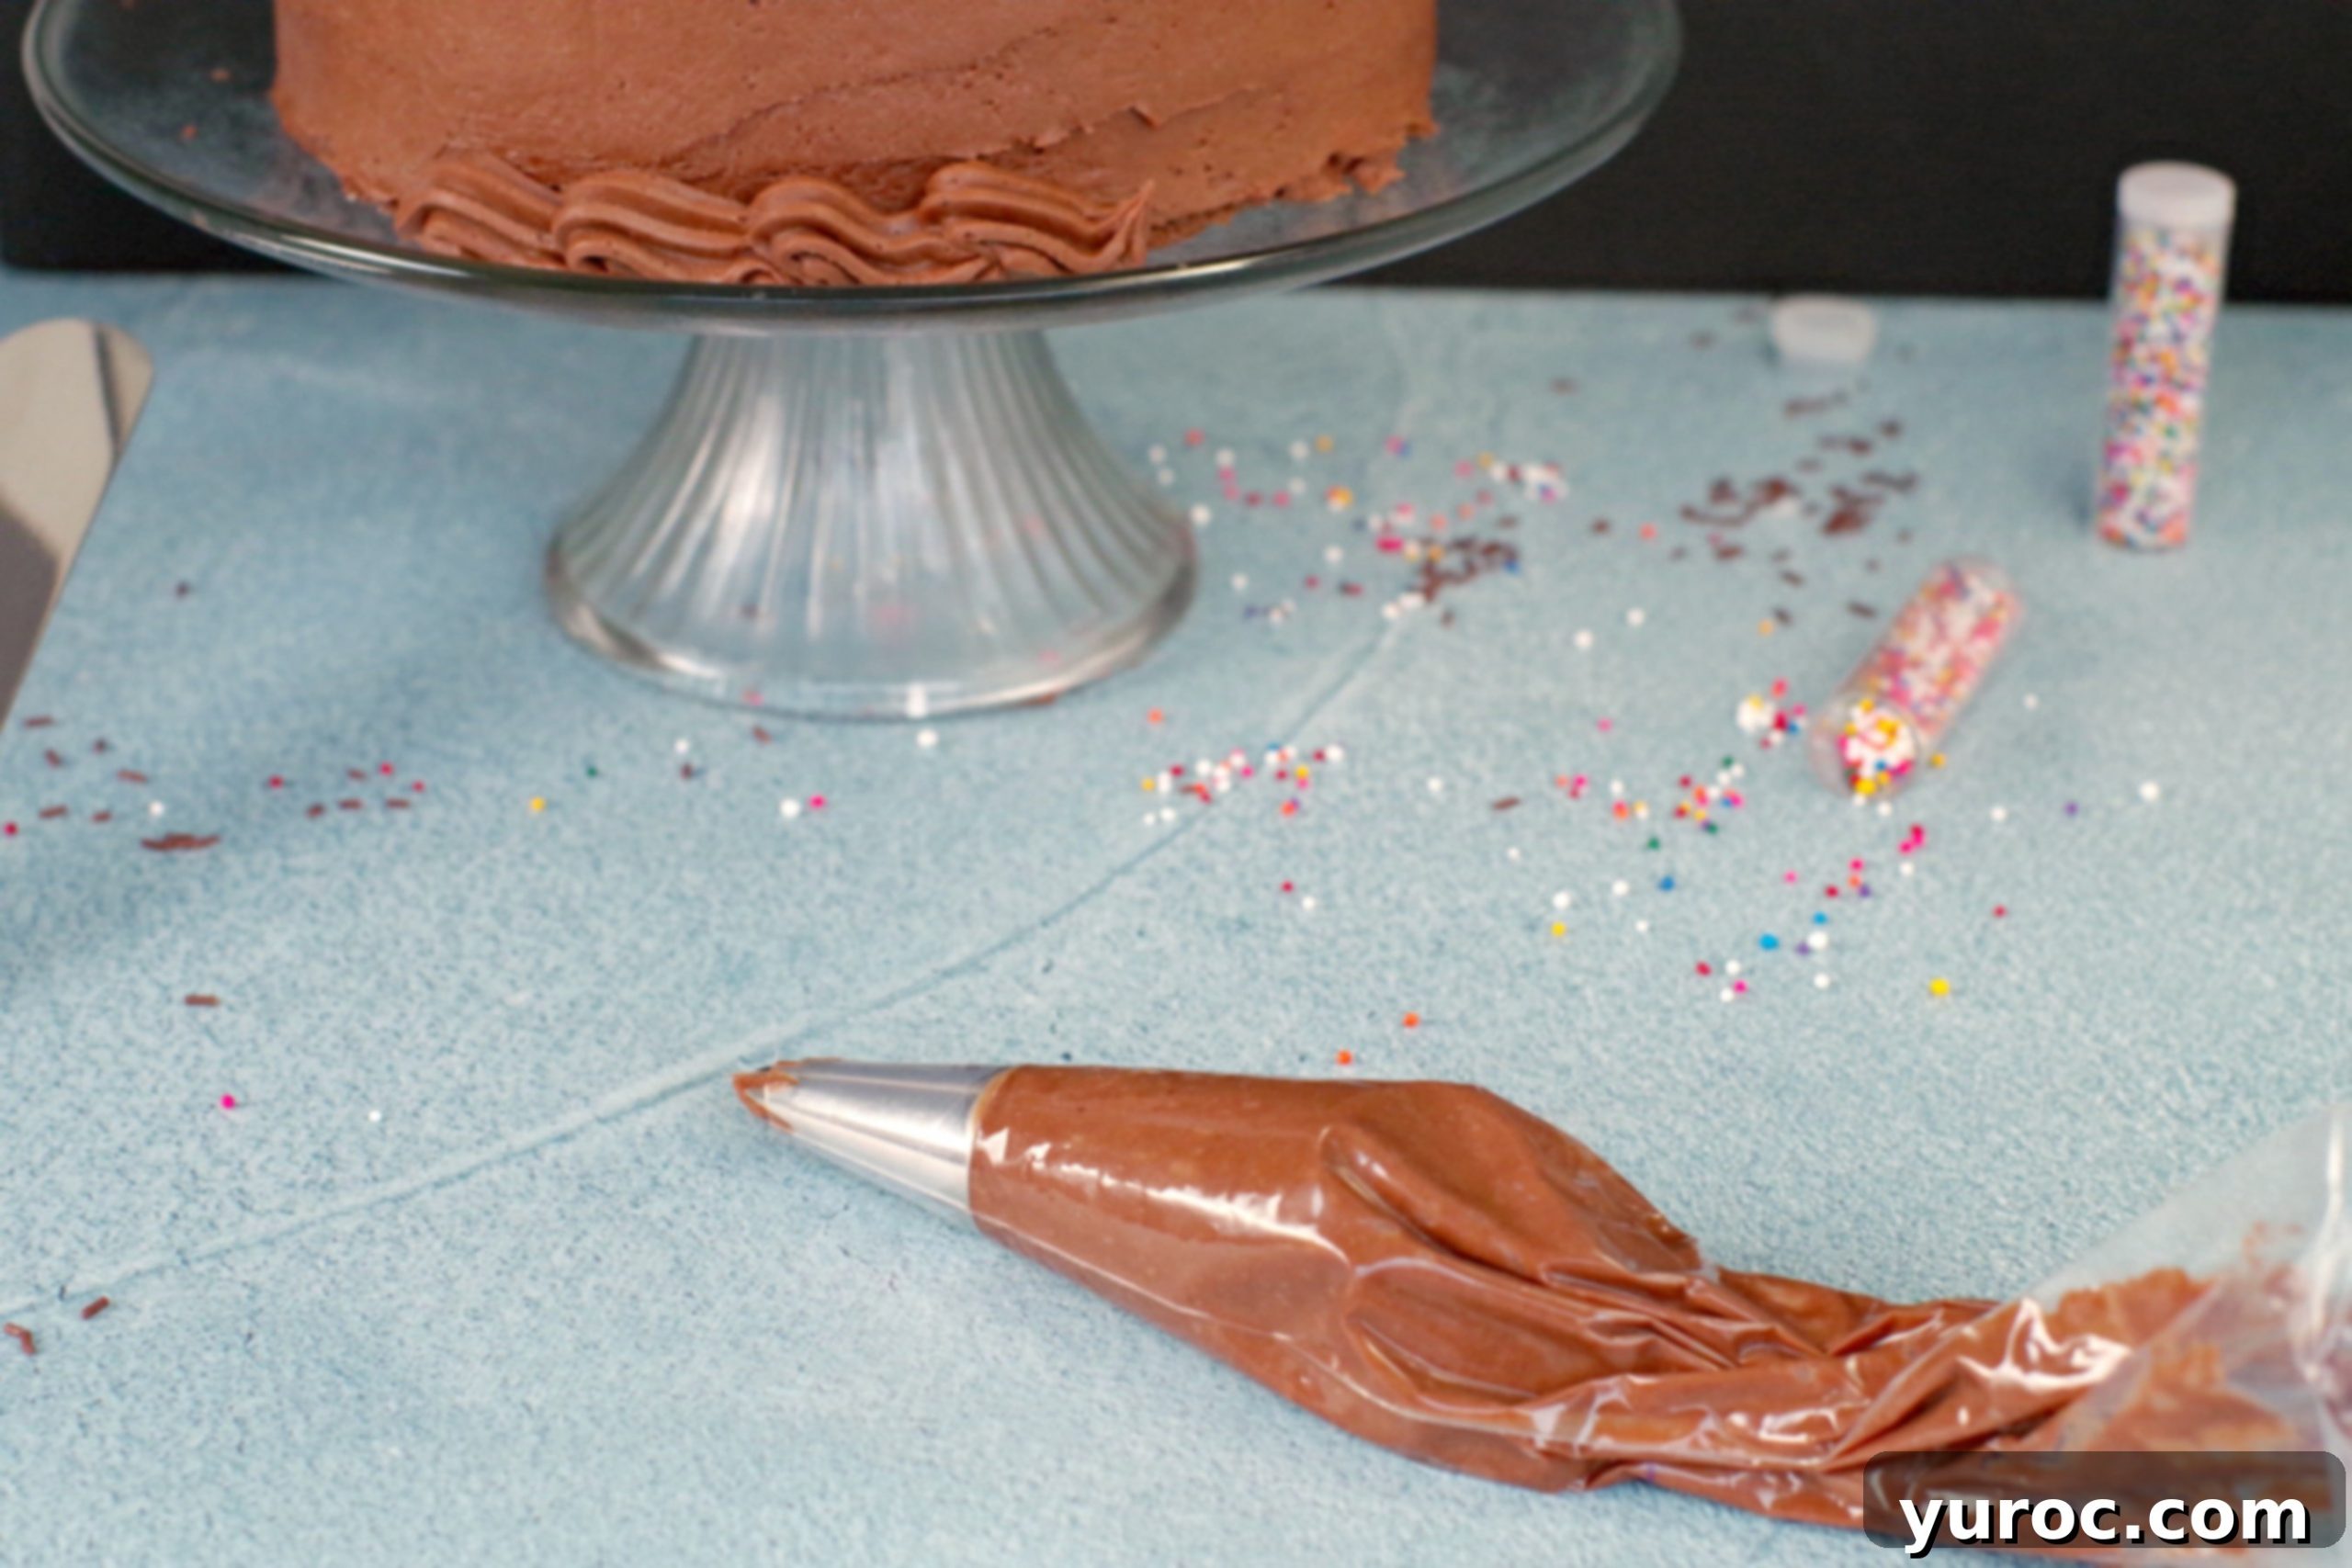
- Piping Bag Tips: When filling a piping bag, use a tall glass to hold the bag open, folding the top edges over the rim. This keeps your hands clean and makes filling easier. Don’t overfill the bag; fill it about two-thirds full to maintain control.
🌡️ Storage Guidelines for Optimal Freshness
Proper storage is key to maintaining the deliciousness of your cake and frosting. Thanks to its butter-free nature, this frosting offers excellent stability and shelf life:
- Unfrosted Cake: If you’re not planning to serve your cake within a day or two, it’s almost always better to freeze it rather than refrigerate. Wrap it tightly in plastic wrap, then aluminum foil, and place it in an airtight freezer bag or container. This prevents it from drying out and preserves its fresh taste. Thaw overnight in the refrigerator before frosting.
- Frosted Cake: One of the many benefits of this shortening-based frosting is that fully frosted cakes do not need to be refrigerated (unless they have a perishable filling). You can safely leave your cake, covered in an airtight cake container or under a cake dome, on the counter at room temperature for 3-4 days. This allows the cake layers to remain wonderfully moist.
- Freezing Frosted Cakes: Yes, you can even freeze fully frosted cakes with this stable frosting! This is fantastic for make-ahead convenience. Ensure the cake is completely cooled before frosting. Once frosted, place the cake in a sealed cake container. For longer-term freezing (beyond a few days, up to 3 months), wrap the entire container securely in two layers of plastic wrap or garbage bags, pressing out as much air as possible to prevent freezer burn. Thaw gradually in the refrigerator, then let it come to room temperature before serving.
- Storing Leftover Frosting: This easy chocolate frosting recipe can be stored at room temperature in an airtight container for up to 5 days. The high sugar content acts as a preservative, stabilizing the small amount of milk and keeping it fresh. For longer storage, you can freeze the frosting for up to 3 months. When ready to use, thaw in the refrigerator, then bring to room temperature and re-whip briefly with your mixer to restore its fluffy texture.
👪 Adjusting Serving Size for Any Occasion
This generous chocolate frosting recipe yields approximately 6 cups, which is typically enough to generously frost a two-layer 8 or 9-inch cake, or a batch of 24-36 cupcakes, depending on your decorating style. The beauty of this recipe is its flexibility! Whether you’re making a small treat or preparing for a large gathering, you can easily scale the recipe. Simply click on the serving number in the recipe card below and select your desired number of servings. The ingredient quantities will automatically adjust, making it effortless to half, double, or even triple the recipe to suit your specific baking needs.
❔ Frequently Asked Questions About Butter-Free Frosting
While often used interchangeably in everyday conversation, there’s a technical distinction between icing and frosting, primarily related to their consistency and application. Frosting, like this recipe, is typically thicker, fluffier, and designed to be spread or piped onto cakes, cupcakes, and cookies, often adding volume and a decorative element. Icing, on the other hand, is generally thinner and has a glossier finish. It’s often poured or drizzled over desserts like coffee cakes, pound cakes, doughnuts, or cookies, and tends to harden as it dries, creating a glaze-like coating.
If your butter-free chocolate frosting is too thin, the easiest and most effective way to thicken it is by gradually adding more powdered sugar. Start by adding one tablespoon at a time, mixing well after each addition until you reach your desired consistency. Be cautious not to add too much at once, as it can quickly become too stiff. If it becomes too thick, you can always thin it slightly with a tiny bit of milk.
Without a doubt, the best and most reliable substitute for butter in chocolate frosting is vegetable shortening, such as Crisco. Shortening offers superior stability, a higher melting point, and helps create a smoother, lighter, and creamier texture than butter. It also provides a neutral base that allows the rich chocolate flavor to shine without the added richness or potential “greasy” mouthfeel that butter can sometimes impart. For professional results, consider high-ratio shortening.
Absolutely! This stable and wonderfully creamy chocolate frosting is perfectly suited for use as a cake filling. Its firm texture holds up beautifully between cake layers, preventing them from shifting or collapsing. It’s also fantastic for filling cupcakes, macarons, or other layered desserts, adding a rich burst of chocolate flavor and a smooth consistency to every bite.
Okay, so I may have mentioned this before, but it’s a belief I hold dear: butter belongs *in* the cake, where it contributes to moisture and richness, but it has absolutely no business in the frosting! While buttercreams are traditional, they often result in a frosting that is overly rich, sometimes a bit heavy, and can feel greasy on the palate. Shortening-based frostings, on the other hand, offer a delightful lightness, a cleaner taste, and are far superior for decorating purposes due to their stability and ability to hold shape.
So, if you’re seeking a quick, reliable, and incredibly delicious chocolate frosting recipe that’s free from butter, doesn’t require refrigeration, and can be whipped up in just a few minutes, then look no further. This homemade chocolate frosting recipe delivers that perfect bakery-style finish and taste, making every cake and cupcake a true celebration!
Perfect Cake Pairings for This Amazing Frosting
This versatile chocolate frosting complements a variety of cakes and desserts beautifully. Here are some of my favorite recipes that truly shine when adorned with this no-butter frosting:
- Old Fashioned Sour Cream Chocolate Cake
- Chocolate Mayonnaise Cake
- Easter Creme Egg Swiss Roll
- Chocoholic Chocolate Squares
Did your family ❤️ this recipe? Did you know that commenting and ⭐ rating recipes is one of the best ways to support your favorite recipe creators? If you LOVED this recipe, please take a moment to comment and rate it in the recipe card below! You can also share photos of your delicious creations on social media using the hashtag #foodmeanderings or by tagging @foodmeanderings – I love seeing your beautiful bakes!

📋 Chocolate Frosting Recipe (without butter)
Print Recipe
Pin
Save RecipeSave Recipe
Rate
Add to Shopping ListGo to Shopping List
Equipment
-
stand mixer
-
piping bag
-
#21 piping tip
Ingredients
- 1-⅓ cups Crisco or another brand of vegetable shortening
- 5.5 cups powdered sugar/icing sugar
- 3 tablespoon Dream Whip powder *or substitute another powdered whipped dessert topping
- 1.5 cup cocoa
- ⅓ cup milk add a little more or less, depending on consistency needed
- 2 tablespoon vanilla depending on your personal taste
Instructions
-
Add the shortening to the mixer and mix for a couple of minutes with the paddle attachment,1-⅓ cups Crisco
-
Then gradually add the powdered sugar, Dream whip, cocoa and blend together until smooth.5.5 cups powdered sugar/icing sugar, 3 tablespoon Dream Whip powder, 1.5 cup cocoa
-
Add the vanilla, then add the milk until you get smooth texture and the right consistency. *I find that ⅓ cup is just right, but you may need a little more or less. If you want a thicker consistency, use less milk.2 tablespoon vanilla, ⅓ cup milk
Notes
- Vanilla Frosting: You can make this plain vanilla frosting if you prefer. Simply replace the 1.5 cups cocoa with 1.5 cups powdered sugar. If you want it to stay pure white, be sure to use clear vanilla extract
- Too sweet? Add a pinch of salt if it’s too sweet for your liking
- Milk: Add a little more or less, depending on the consistency you need.
Expert Tips
I have been baking and cake decorating for a long time and here are some of my tips from experience:
The fridge is NOT a cake’s friend! Many people do not realize this, but unless you have a perishable filling or butter in your icing, you should avoid putting cake in the fridge because it will dry your cake out!
And if you’re not an experienced decorator, check out the simple decorating techniques here:
- I use the Wilton Spatula Method for smoothing my cakes (VIDEO HERE -first method shown)* But I take it a step further and after I’ve smoothed it with the method in the video, I heat my spatula in boiling water, wipe it off with a clean tea towel, smooth, remove excess icing by scraping it into a bowl, then wipe with a paper towel. Then I keep repeating until I reach the desired smoothness.
- If you have never piped a simple shell border, then check out this VIDEO.
Cake: You are better off freezing your cake if you don’t need it for a few days, rather than leaving it in the fridge. That’s another reason I prefer icing without butter. You can leave your cake in an airtight container on the counter for 3-4 days after it’s made if it doesn’t have a perishable filling.
Frosted Cake: You can also freeze fully iced cakes with this frosting. But just be sure to put it in a sealed cake container. And if you need it frozen for more than a few days, wrap the container in 2 garbage bags and push the air out.
Frosting: Store this easy frosting recipe at room temperature for up to 5 days. The small amount of milk is stabilized by a large amount of sugar. You can freeze it for up to 3 months.