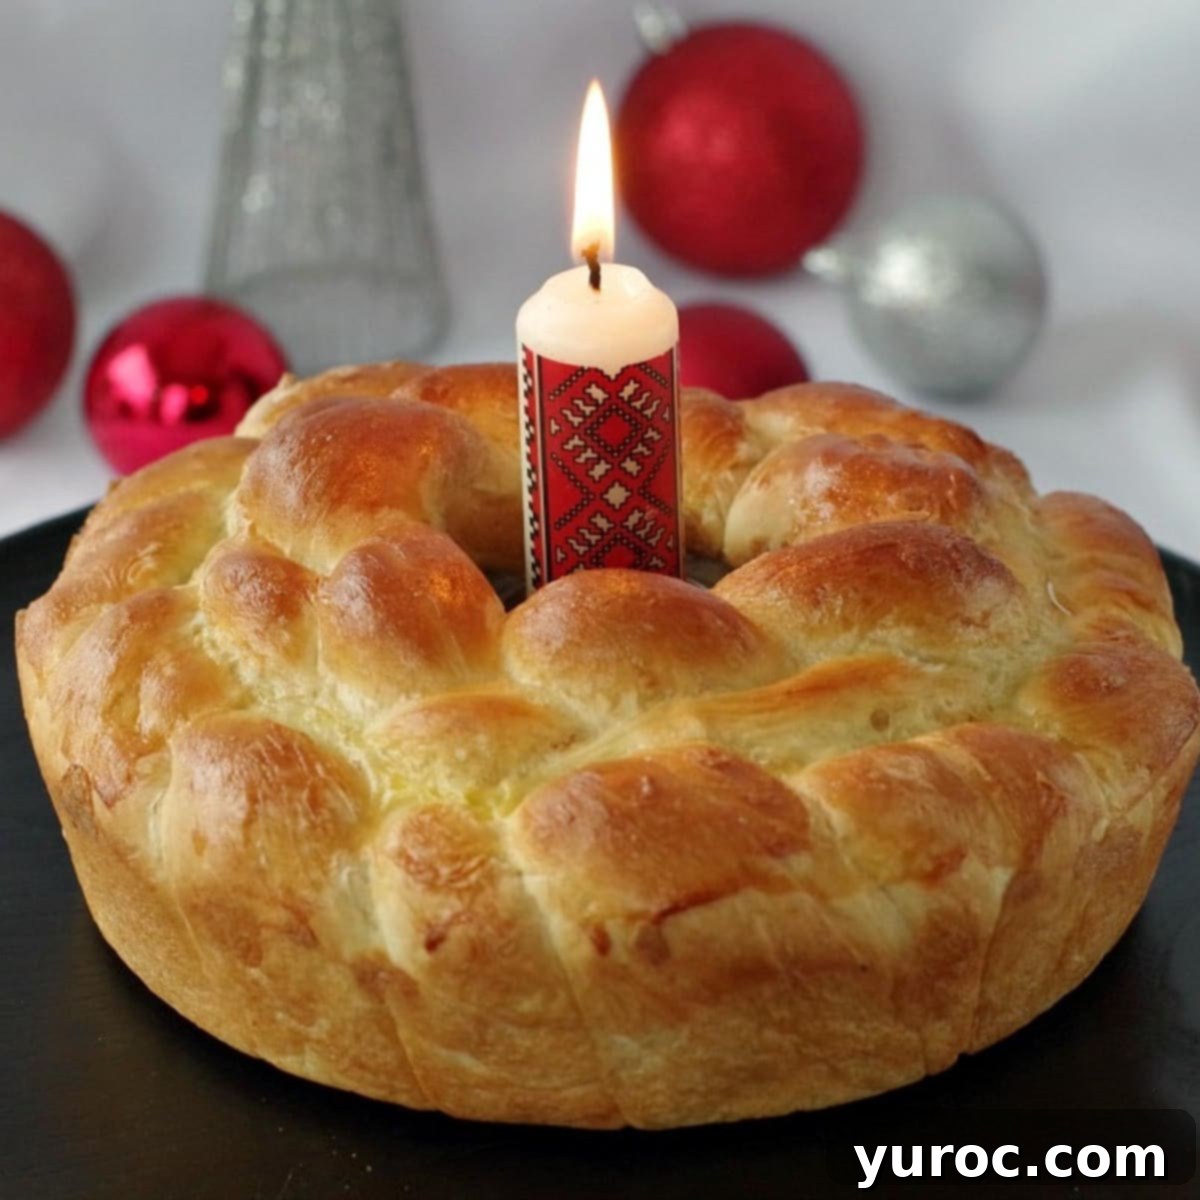
Effortless Bread Machine Kolach: Your Guide to Traditional Ukrainian Christmas Bread
Bread holds profound cultural significance in Ukraine, with a special variety reserved for every significant occasion. Christmas, in particular, is beautifully celebrated with Kolach, a subtly sweet yeast bread that graces Ukrainian Christmas Eve dinner tables, as well as other cherished events like weddings and anniversaries. This traditional braided bread, often presented as three stacked loaves, is a centerpiece of Ukrainian festivities, symbolizing family unity, prosperity, and the continuity of life.
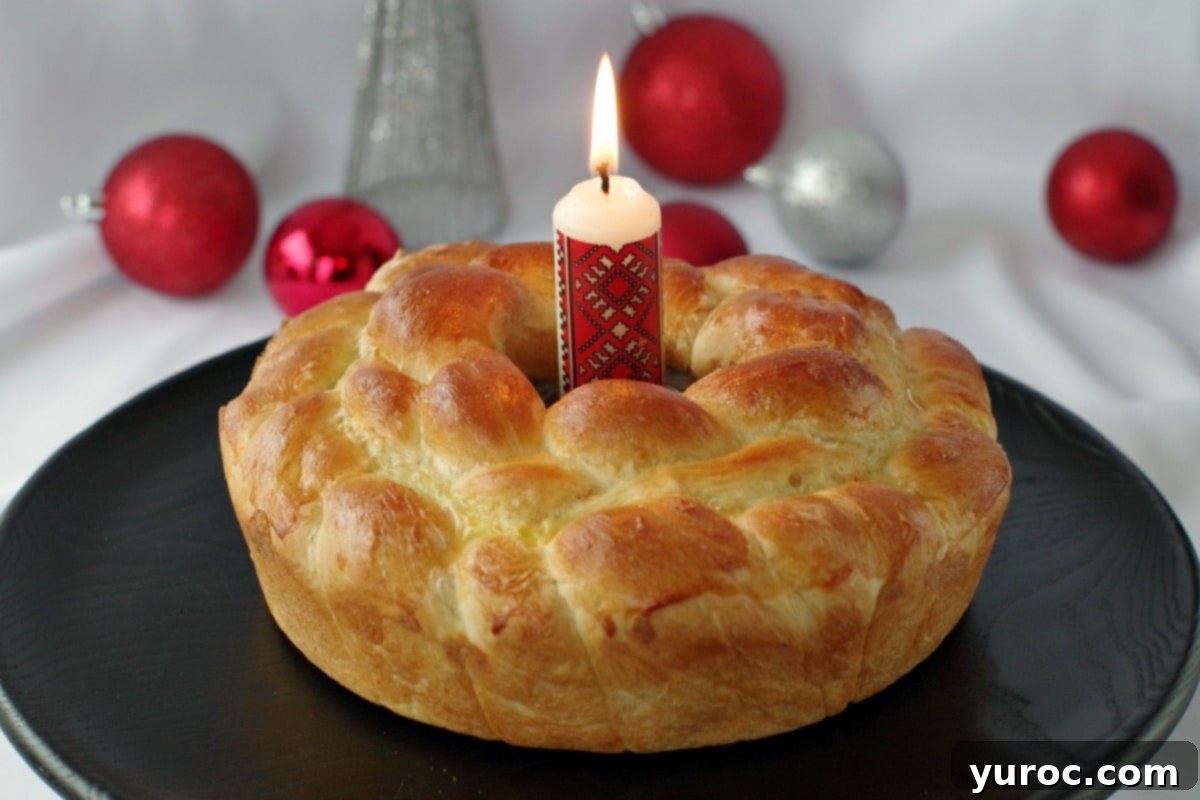
Preparing a traditional Kolach from scratch can be a labor-intensive endeavor, requiring significant time and effort in kneading and rising. To simplify this beloved tradition without compromising on authentic flavor or texture, we’ve developed an incredibly convenient **Bread Machine Kolach recipe**! This innovative approach allows you to create a perfect braided Ukrainian Kolach right in your bread machine, streamlining the process significantly. The result is a tender, fragrant bread that embodies the spirit of Ukrainian holidays, making it accessible for everyone to enjoy this essential part of the Ukrainian Christmas Eve Supper (Svyata Vechera).
Bringing Tradition to Your Modern Kitchen: The Bread Machine Advantage
For years, I’ve cherished the idea of adapting my classic Kolach recipe for the bread machine. The challenge, as with many passionate bakers, lies in balancing countless recipe inspirations with limited time. However, this year, I was determined to transform this vision into a reality. The overwhelming popularity of my Bread Maker Babka and Bread Maker Paska recipes confirmed a widespread desire for simplified traditional baking. It became clear that there was a significant appetite for a bread machine Kolach, a recipe that promises the same rich flavors with a fraction of the manual effort. My bread machine truly acts as an indispensable kitchen assistant, handling the demanding kneading and initial rising stages, freeing up precious time for other holiday preparations.
If you’re looking to explore more effortless baking, I encourage you to check out my comprehensive collection of Bread Machine Bread Recipes HERE, which includes a variety of Ukrainian and other delightful bread creations!
[feast_advanced_jump_to]
The Profound Symbolism of Kolach in Ukrainian Culture
In Ukrainian culture, bread is not merely sustenance; it is revered as one of the holiest foods. A deep-rooted custom involves greeting honored guests with a presentation of bread and salt, a gesture that signifies hospitality and well-wishes. Within the central opening of the Kolach, a small cake of salt is traditionally inserted, further enhancing its symbolic weight. Kolach itself is a powerful emblem, representing good luck, eternity, prosperity, and the promise of a bountiful life. Its circular shape and intricate braids are steeped in meaning, connecting families to generations of tradition.
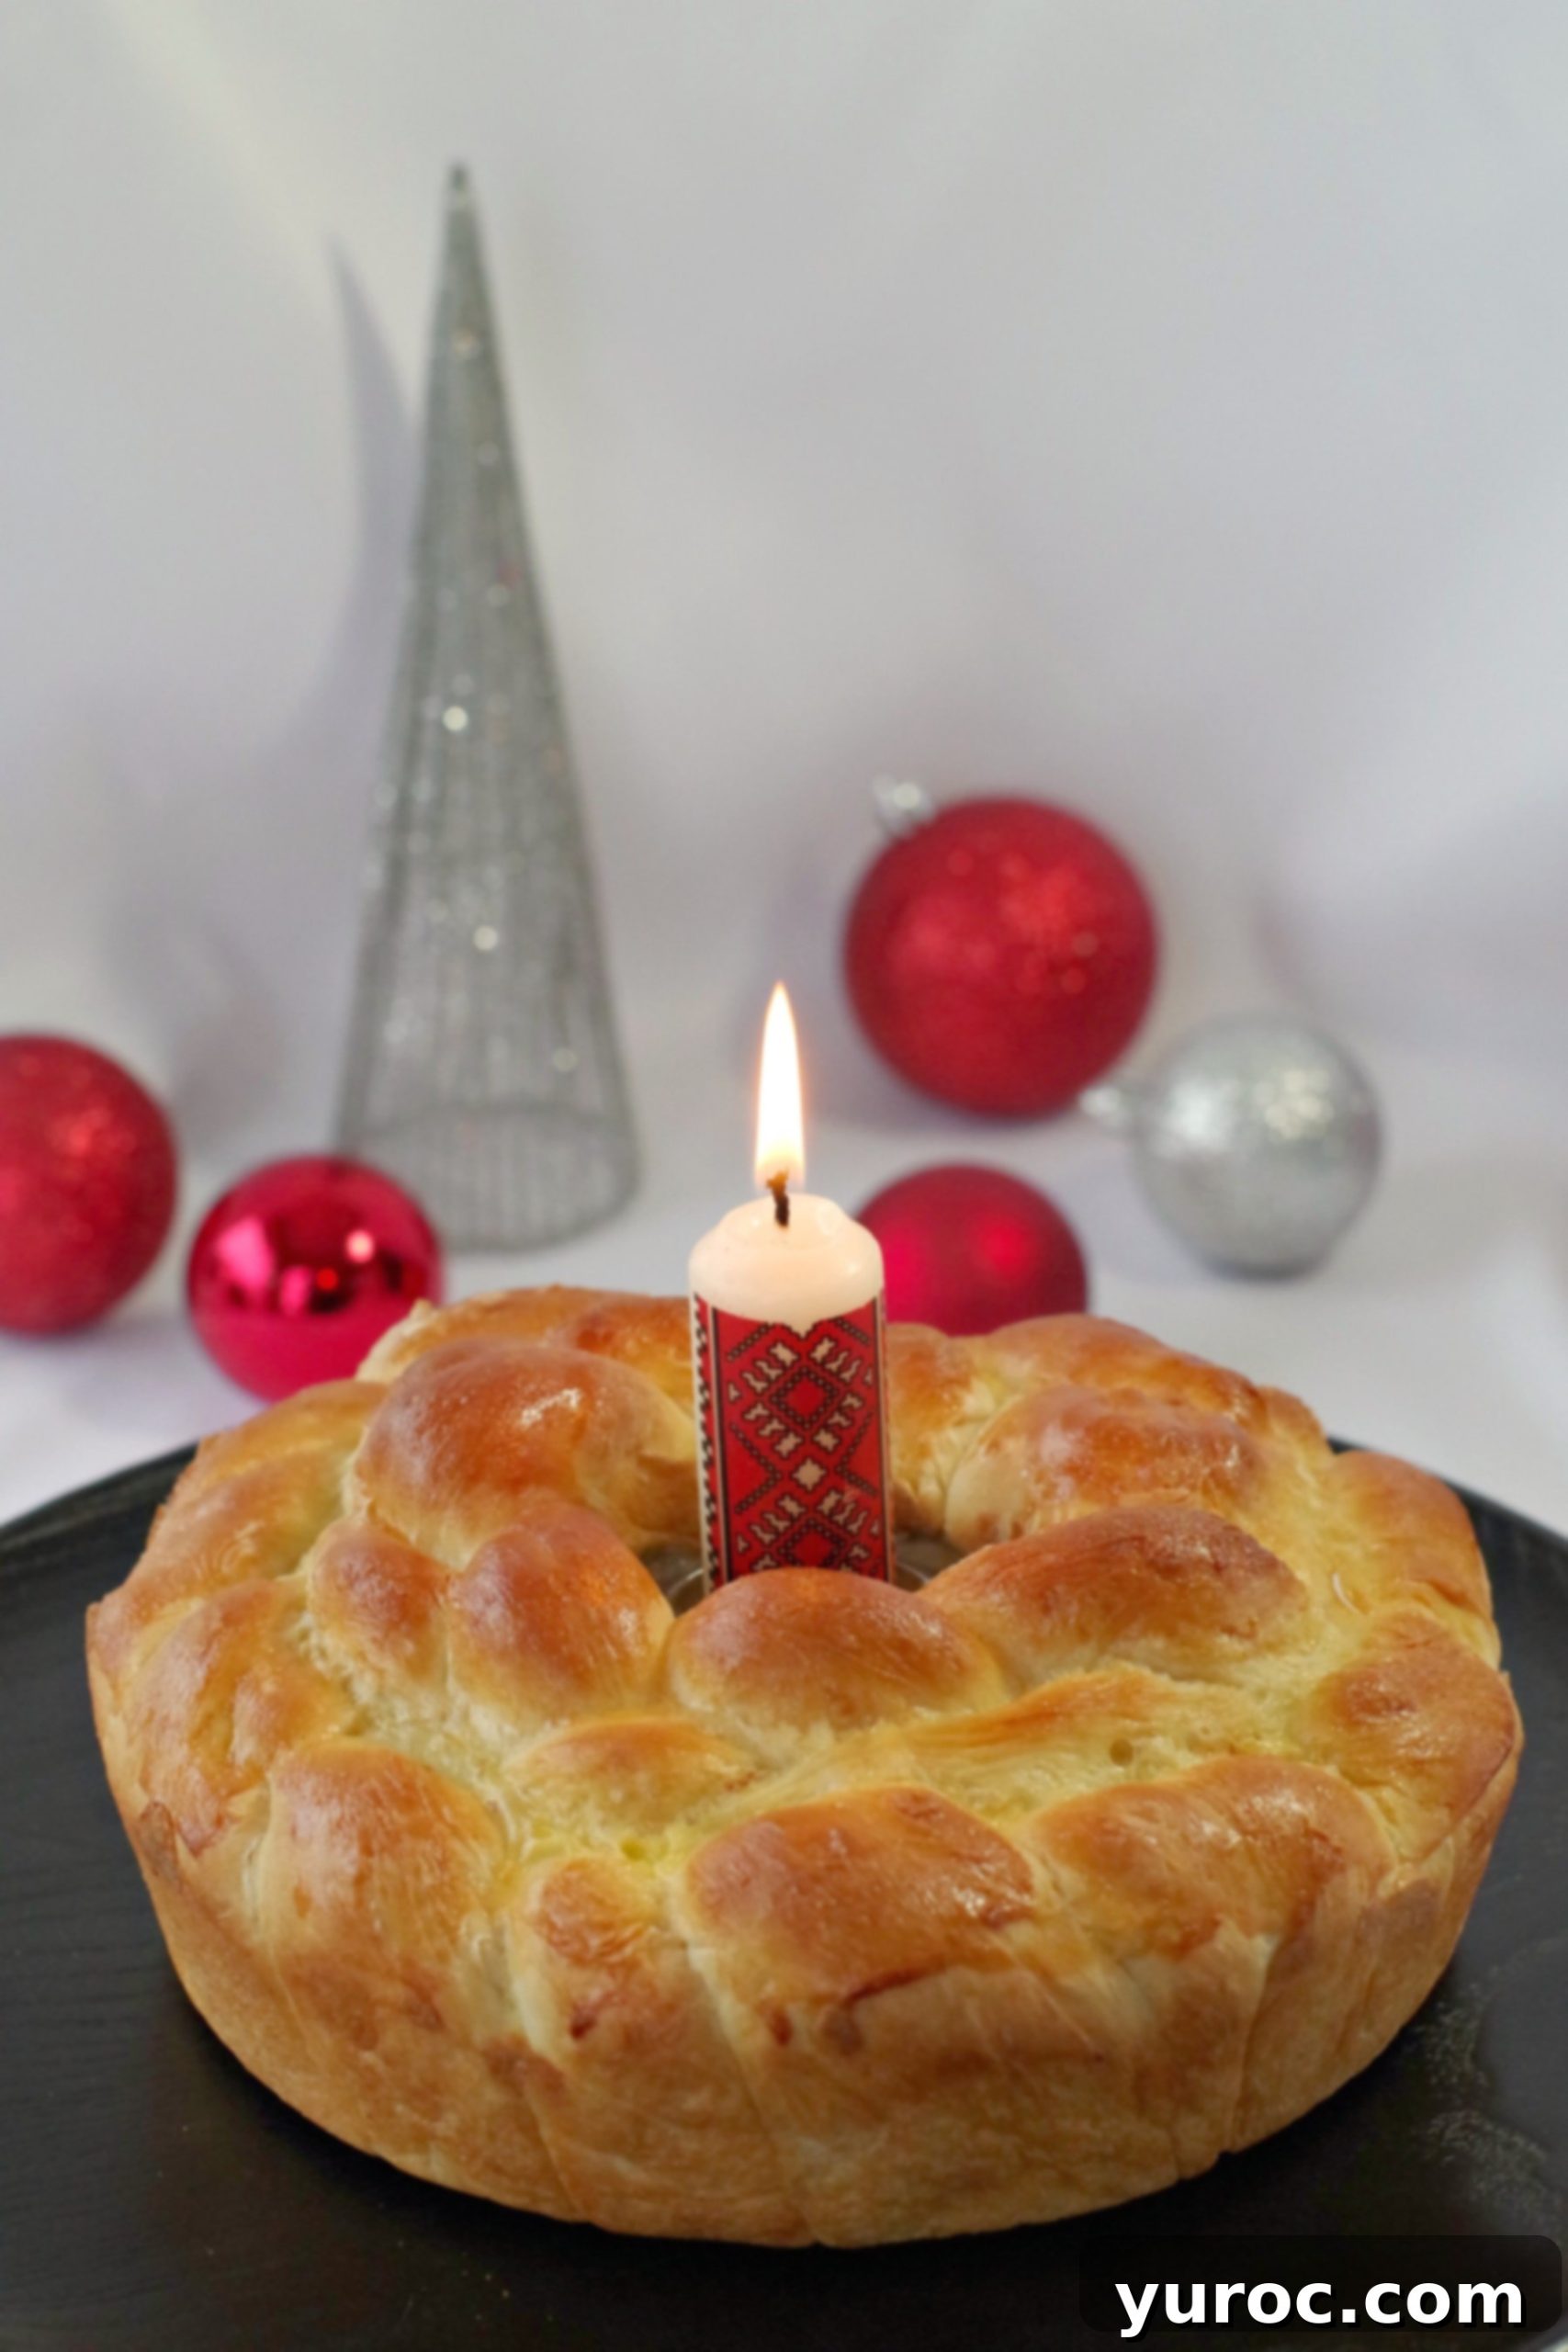
This rich and slightly sweet yeast bread is characterized by its distinct braided coils, carefully formed into a ring with an opening at its core. The versatile Kolach is central to numerous Ukrainian traditions beyond Christmas, playing a significant role in welcoming guests, blessing weddings, celebrating birthdays, and commemorating wedding anniversaries. Its presence signifies joy, community, and the blessings of shared meals, making it a truly indispensable part of Ukrainian cultural heritage.
🥘 Essential Ingredient Notes for Your Bread Machine Kolach
Crafting this delightful Kolach using your bread machine relies on a few fundamental ingredients that you likely already have in your pantry. Let’s delve into the specifics:
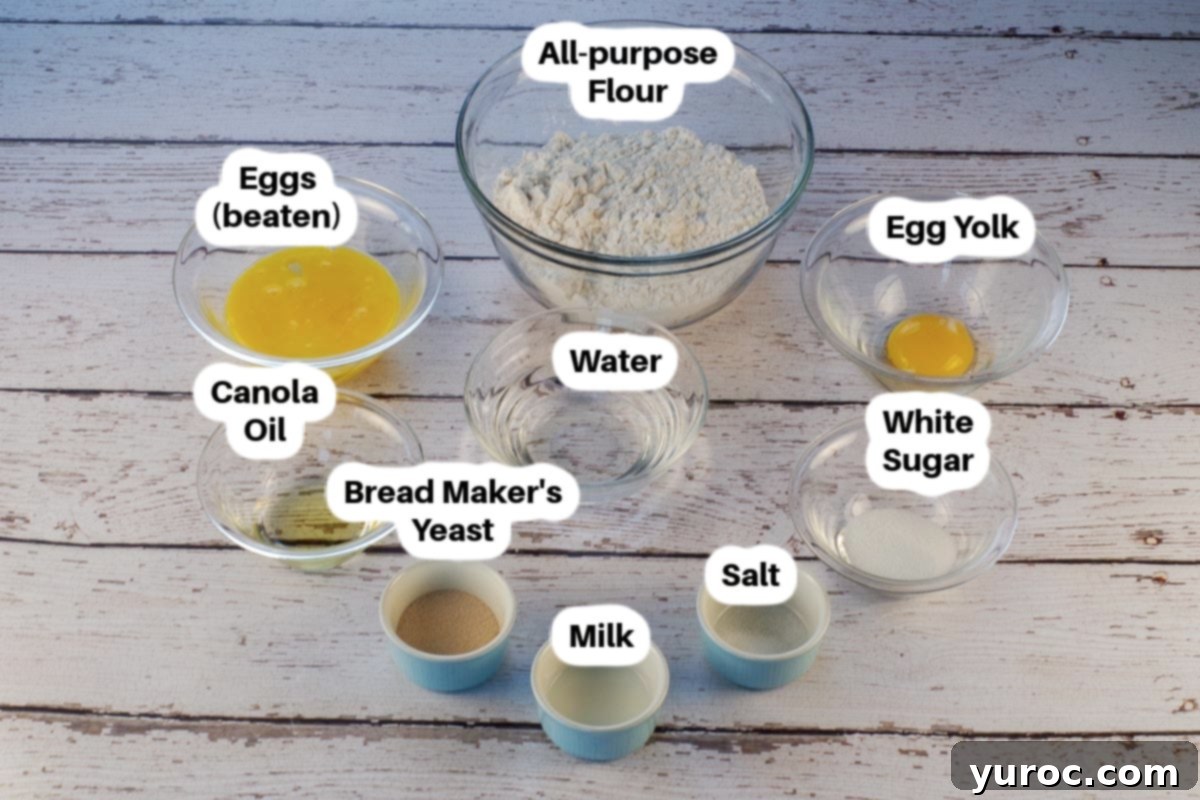
- Cooking Oil: For this recipe, almost any neutral-flavored vegetable oil will work perfectly. I typically reach for canola oil due to its versatility and common availability, but feel free to use your preferred vegetable oil. It contributes to the bread’s tenderness and rich texture.
- All-Purpose Flour: The type of all-purpose flour can vary regionally. In Canada, where I reside, all-purpose flour generally has a higher protein content (around 9.5g per serving), making it sufficiently strong for bread baking. However, if you are in an area where all-purpose flour has a lower protein content, you might consider using bread flour instead. Bread flour, with its higher protein, develops more gluten, which is crucial for the elastic structure and chewiness characteristic of a good yeast bread like Kolach.
- Bread Maker Yeast: This is a critical ingredient for bread machine recipes. Bread machine yeast (also known as instant yeast or rapid-rise yeast) is specifically formulated to be highly active and compatible with the faster cycles and unique environment of a bread machine. Unlike active dry yeast, it doesn’t require proofing beforehand and mixes directly with the dry ingredients, ensuring an efficient and reliable rise within the bread machine’s program. Using the correct type of yeast is key to achieving optimal results.
*Refer to the recipe card below for a complete list of ingredients and their precise quantities.
🔪 Step-by-Step Instructions for Shaping Your Bread Machine Kolach
Once your bread machine has completed its “Dough” cycle, the real artistry begins with shaping your Kolach. Follow these detailed steps to create the beautiful braided design.
MAKE THE DOUGH: Begin by preparing the dough according to the comprehensive instructions provided in the recipe card below. This initial step handles the kneading and first rise, thanks to your bread machine.
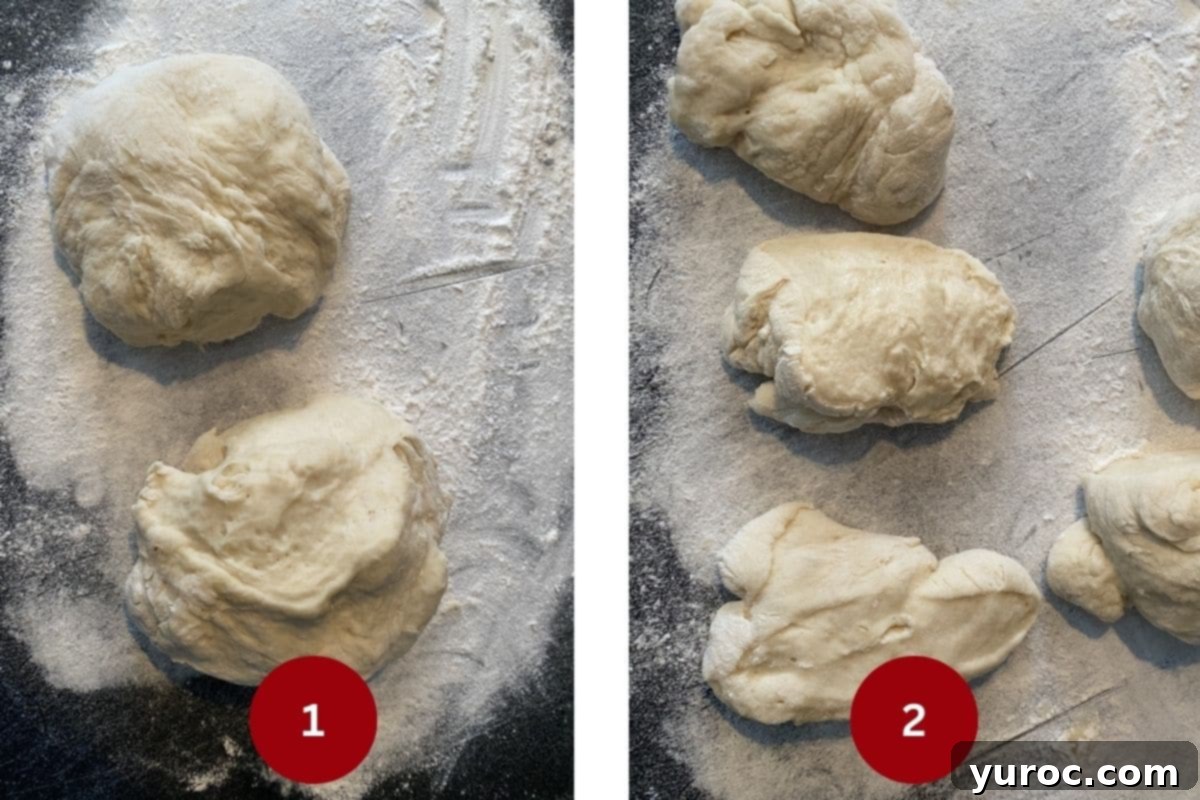
DIVIDE THE DOUGH (STEP 1): After the dough cycle finishes, carefully remove the soft, risen dough to a lightly floured surface. Divide the dough into two main portions, ensuring one is slightly larger than the other. *NOTE: Depending on your local climate, especially if it’s humid, you might need to knead in a small amount of extra flour to achieve a manageable consistency. I live in a very dry climate, so my flour absorption may differ from yours. Prepare an angel food cake pan by spraying it generously with non-stick cooking spray. Now, take the larger of the two main dough portions and divide it into two equal halves. Next, take the smaller main dough portion and divide it into three equal smaller pieces. Set these three smaller pieces aside, making sure they are covered to prevent them from drying out (Image 2).
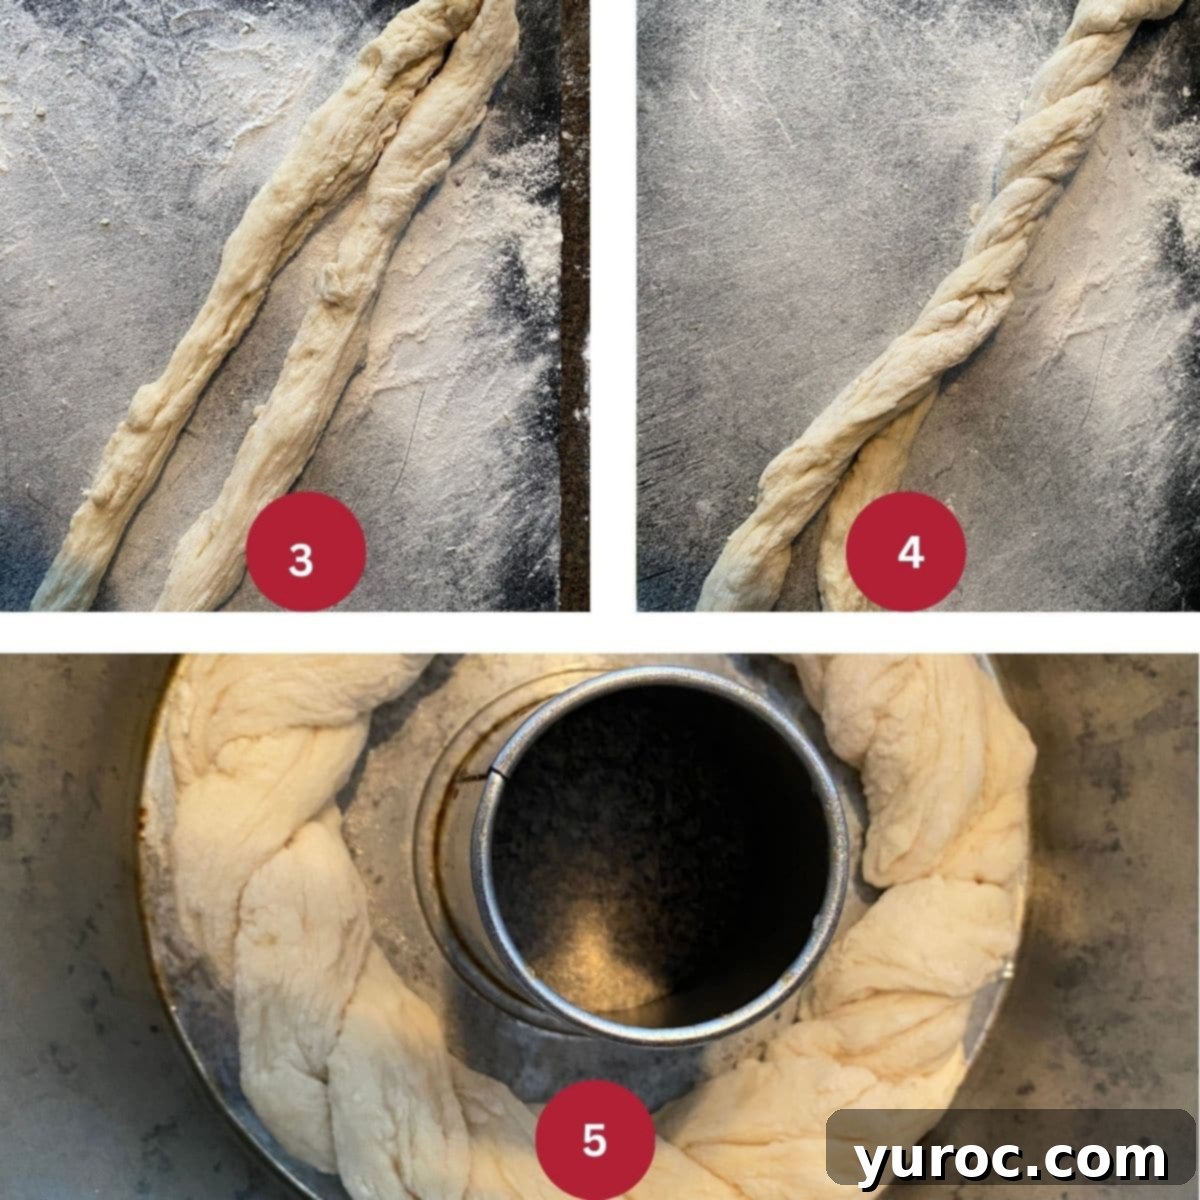
FIRST LAYER (STEP 2): Take each of the two larger dough pieces and roll them out into long ropes, approximately 25 to 30 inches (about 63-76 cm) in length. (I found that around 28 inches or 71 cm worked perfectly for my pan) (Image 3). Once you have your two thick ropes, pinch them together firmly at one end. Cross them over each other in an ‘X’ shape and begin twisting them together all the way to the other end, similar to how you would create a cinnamon twist. Pinch the other end together securely to seal the twist (Image 4). Carefully take this twisted rope and wrap it around the inside bottom of your prepared angel food cake pan in a neat circular motion, forming the base layer of your Kolach (Image 5).
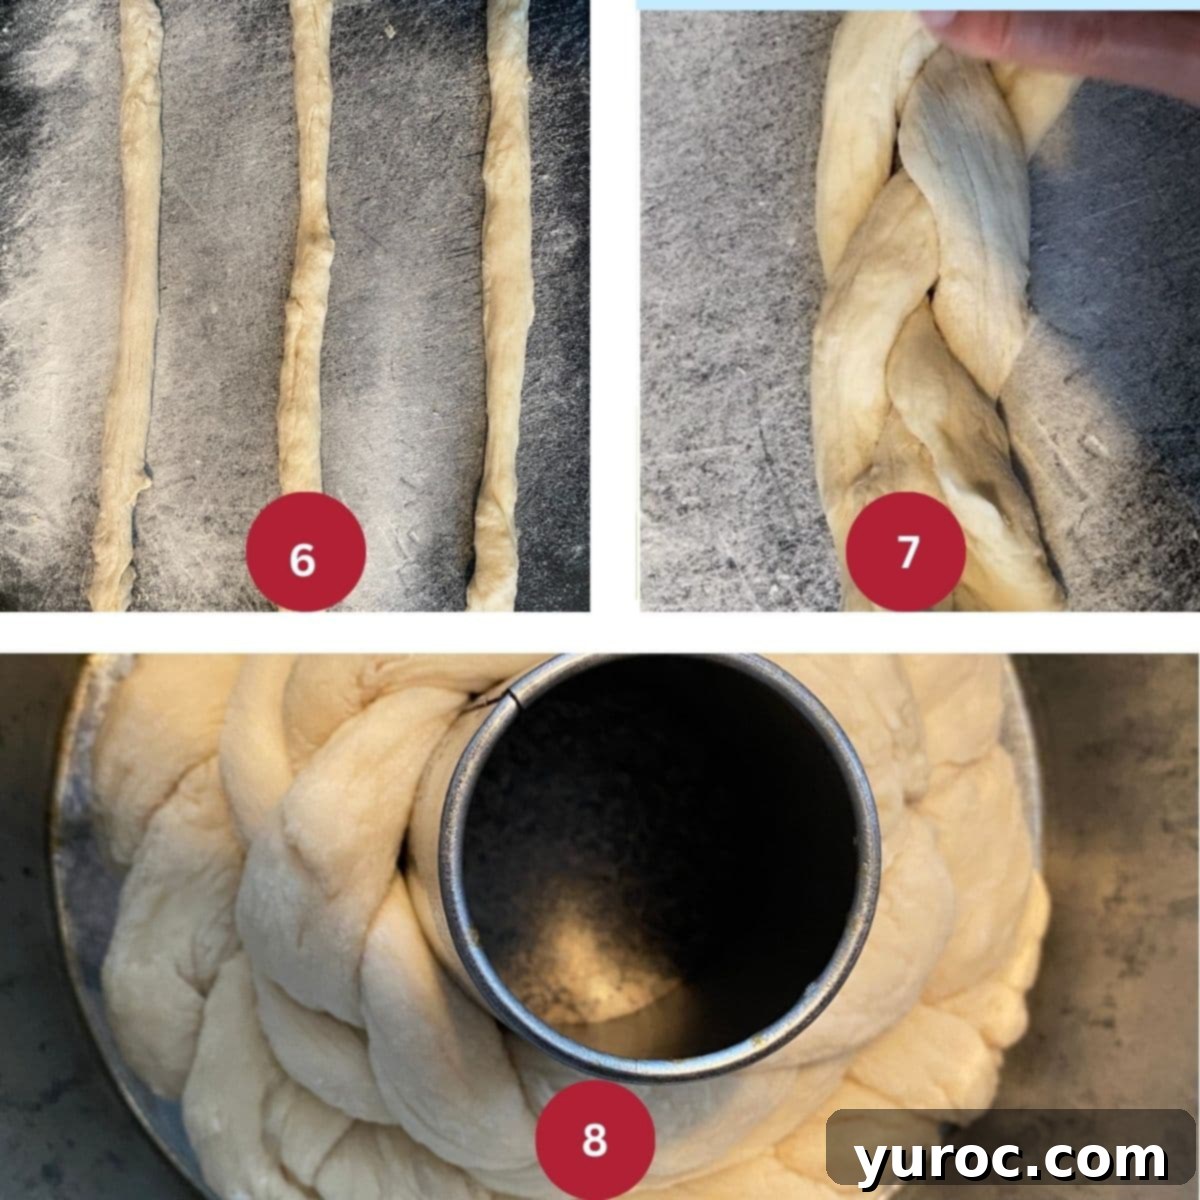
SECOND LAYER (STEP 3): Retrieve the three smaller ropes of dough you set aside earlier. Lay them parallel to each other on your lightly floured board (Image 6). Pinch one end of these three ropes together firmly. Now, meticulously braid them together, creating a classic three-strand braid, and then pinch the other end to secure it (Image 7). For a visual guide, you can refer to this helpful video: How to braid Kolach. Once braided, gently lift this braided rope and carefully wrap it around the inside of the prepared angel food cake pan, placing it directly on top of the first twisted layer. Ensure the seams align for a seamless appearance (Image 8).
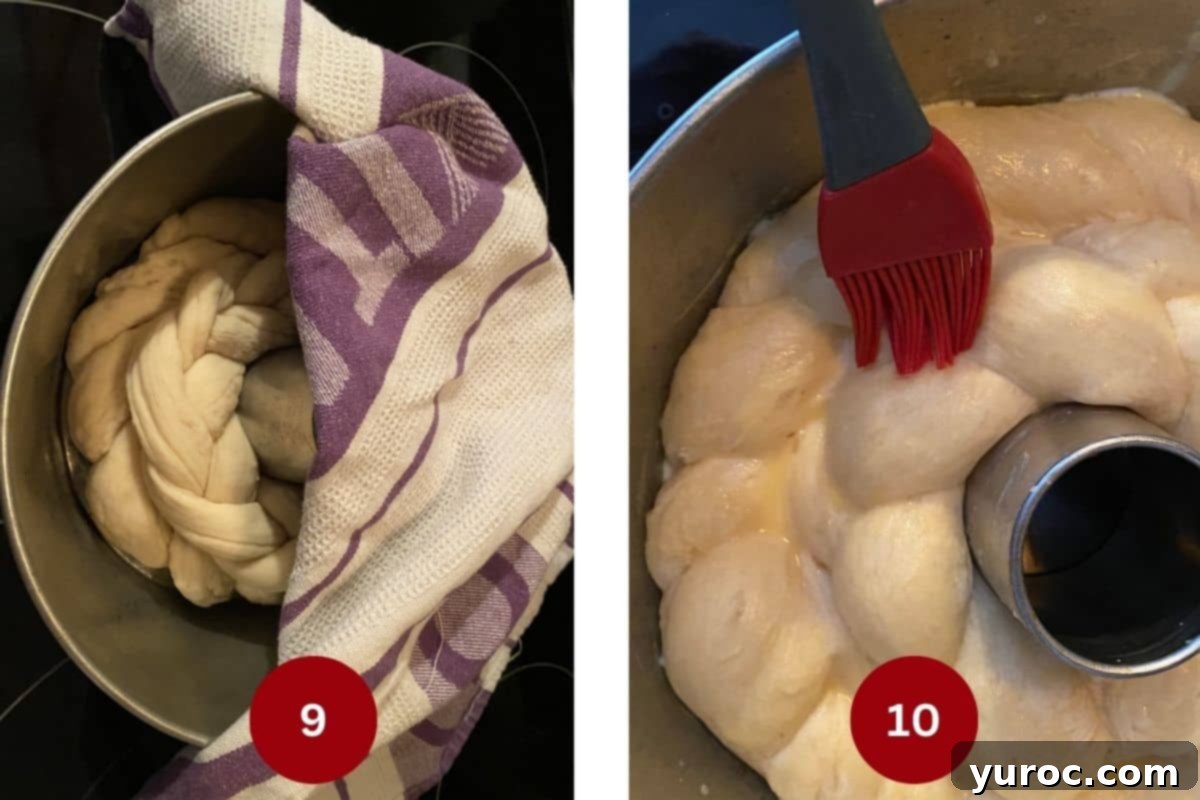
RISING (STEP 4): Before you begin the final rise, preheat your oven to 375 degrees F (175 degrees C). Once shaped, cover the Kolach loosely with a clean tea towel. Place the pan in a warm, draft-free spot to allow the dough to rise for approximately 1 hour, or until it has visibly doubled in size. *A useful trick is to place the pan on top of the stove while the oven preheats, as the ambient warmth helps encourage a good rise (Image 9). For a beautiful golden finish, prepare a simple egg glaze by beating one egg and diluting it with 1 teaspoon (5 ml) of water or milk. Gently brush this glaze over the top surface of your risen Kolach. *You’ll only need about one-third of the glaze mixture for a single loaf (Image 10).
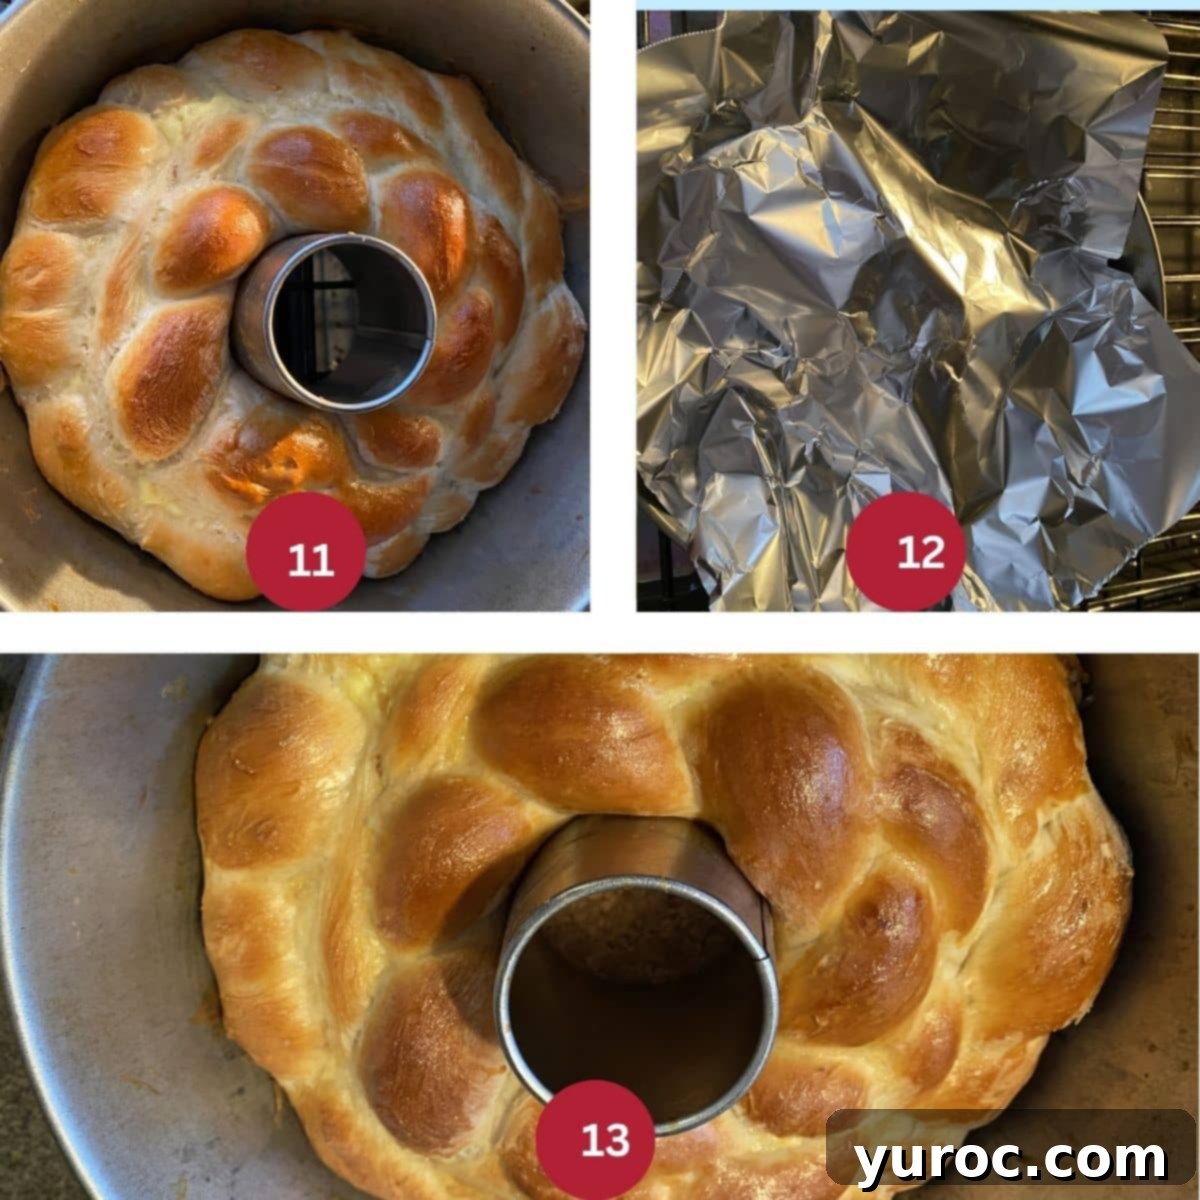
BAKE THE BREAD (STEP 5): Bake your Kolach in the preheated oven at 375 degrees F (175 degrees C) for 35-40 minutes. The bread should achieve a beautiful, light, and even golden-brown color (Image 11). *It’s a good practice to check on your Kolach halfway through the baking process. If you notice the top browning too quickly, or if it has reached a desired golden hue (Image 12), loosely cover the pan with aluminum foil. This will prevent over-browning while allowing the inside to cook thoroughly. Return the covered Kolach to the oven for the remainder of the baking time (Image 13). Once baked, remove the pan from the oven and let the Kolach rest in the pan for 5 to 10 minutes. This allows it to firm up slightly before you gently remove it. Transfer it to a wire rack to cool completely before slicing and serving.
*Note: To create the traditional stacked Kolach display, as seen at Ukrainian Christmas Eve Suppers, you will need to repeat this entire process two more times to yield a total of three loaves.
How to Serve This Symbolic Ukrainian Kolach Bread
The word “Kolach” (kolo) in Ukrainian means “circle,” and this meaningful bread is traditionally shaped into three distinct rings, symbolizing the Holy Trinity. These three round Kolache (the plural form) or Kolachi are then ceremoniously stacked, one on top of the other, forming an impressive centerpiece. A candle is often inserted into the central opening of the top loaf, adding to its sacred and festive presentation. This exquisitely decorative bread display is not merely food; it is an essential and cherished component of the Ukrainian Christmas Eve Supper, known as Svyata Vechera, embodying warmth, family, and tradition.
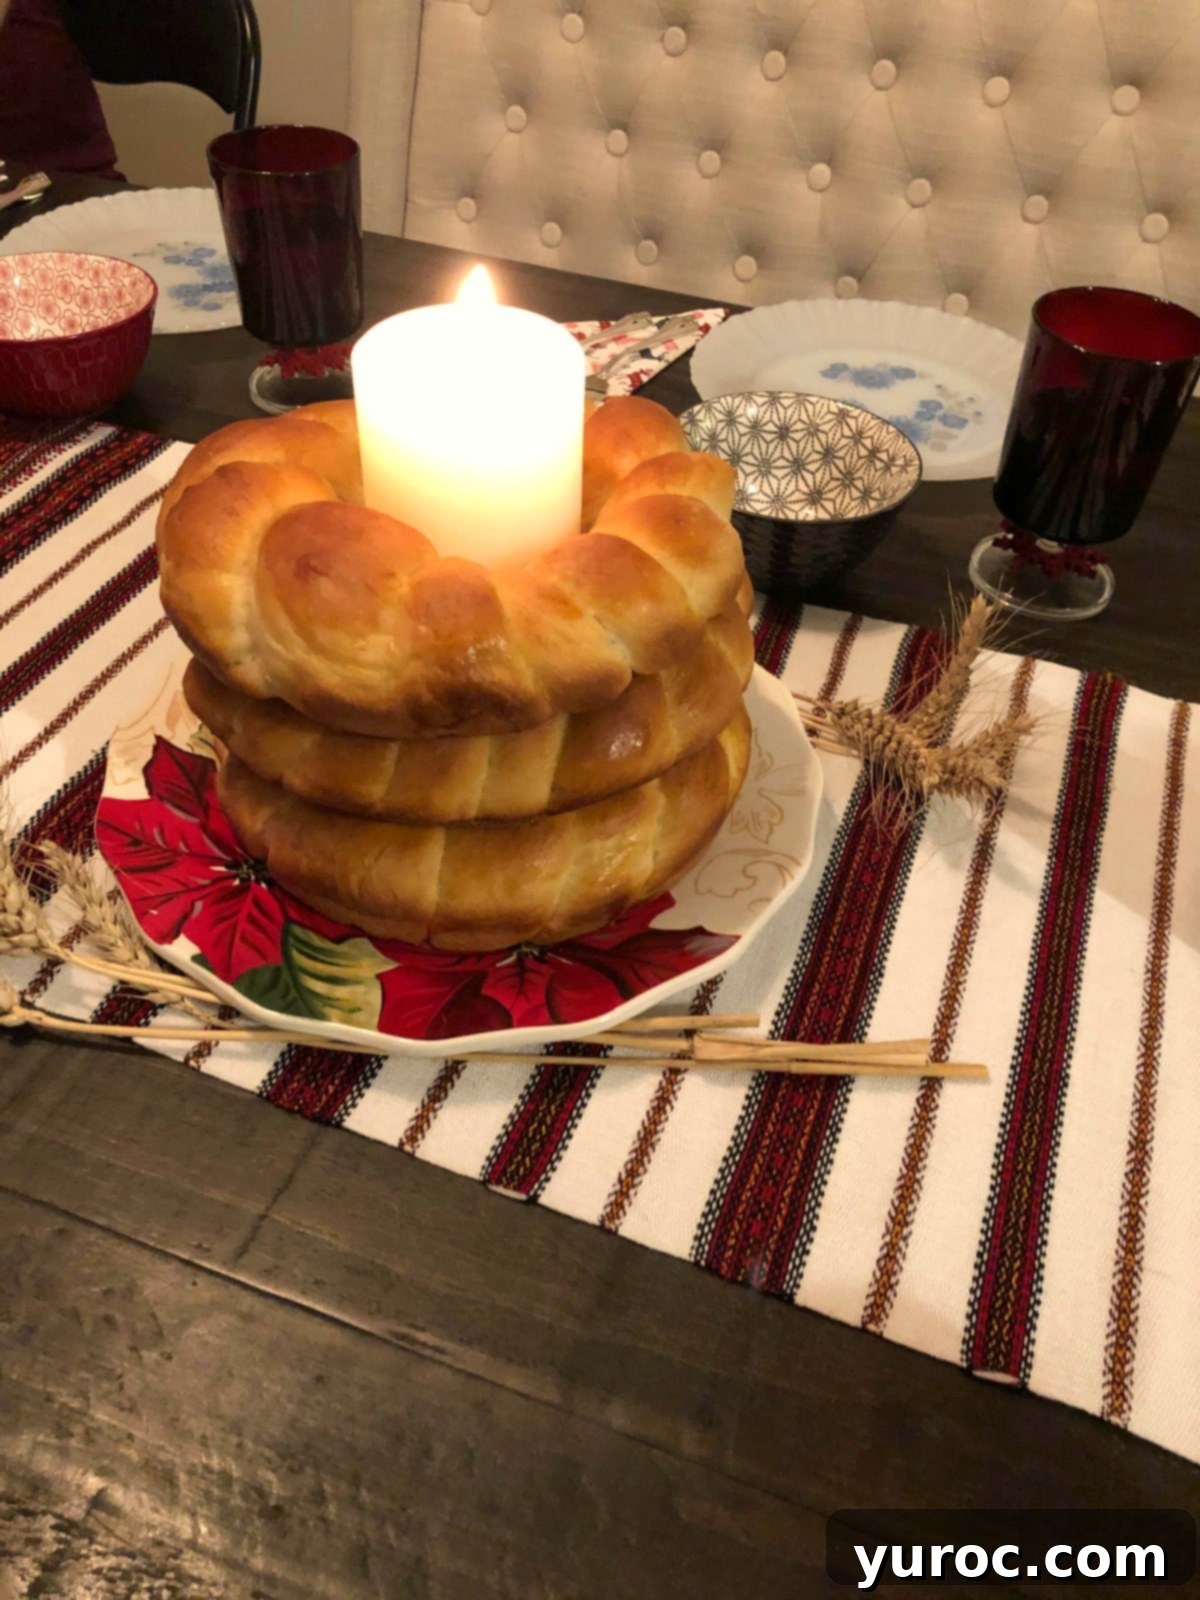
While Kolach is most famously associated with the Christmas Eve tradition, where it is served alongside 12 meatless dishes, its delightful flavor and rich texture make it a wonderful accompaniment to any Ukrainian meal throughout the year. Its subtle sweetness and tender crumb pair beautifully with both savory and hearty dishes.
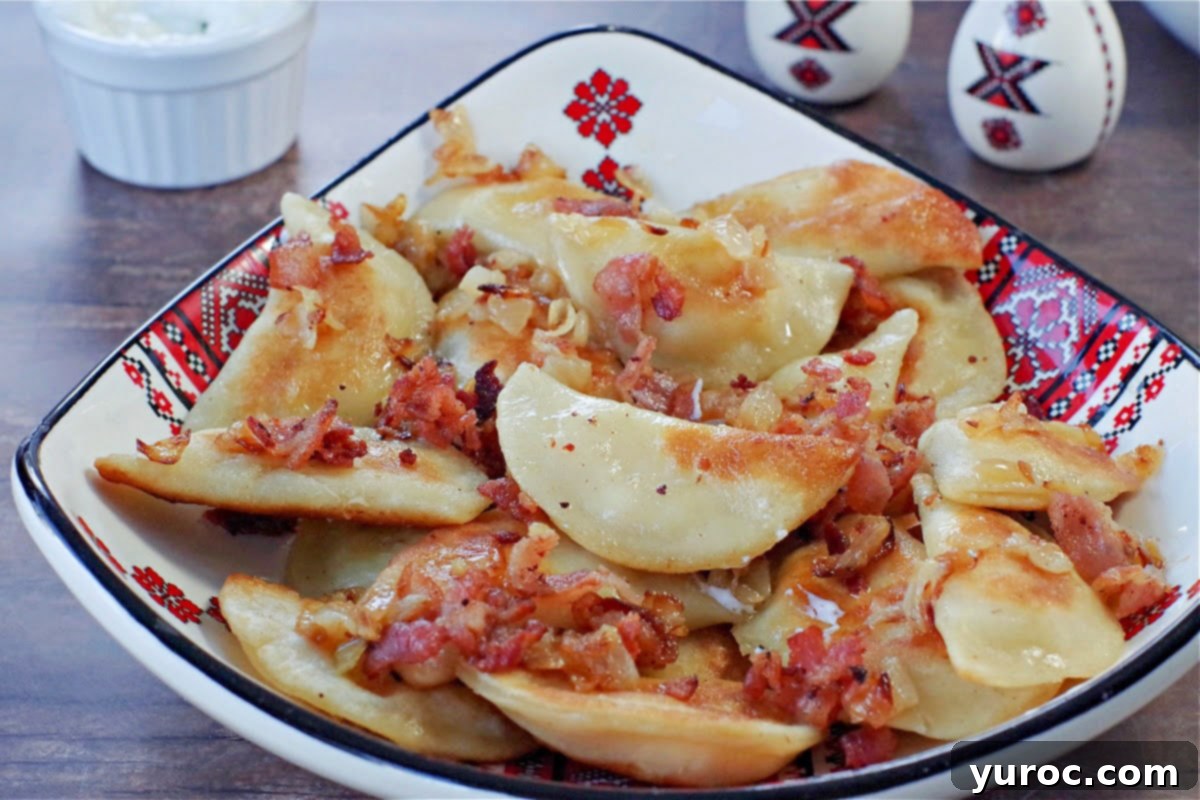
I personally enjoy serving Kolach with a more modern Ukrainian-inspired menu, making it versatile for any gathering. Consider pairing it with dishes like my crispy Air Fryer Kovbasa, classic Potato and Cottage Cheese Perogies (as pictured), or for those days when you need a quick fix, my comforting Lazy Pierogi Casserole. Other fantastic options include Lazy Slow Cooker Cabbage Rolls and a hearty bowl of Borscht (with canned beets) – simply omit the beef for a meatless option if desired. To complete the meal, indulge in a slice of my delicious Ukrainian Walnut Torte for dessert!
👪 Serving Size Information
This recipe is designed for a standard 1-pound bread machine and yields one beautifully round 10-inch Kolach. Perfect for a family gathering or to contribute to a larger festive spread.
🌡️ Storage Guidelines for Your Homemade Kolach
To ensure your Kolach stays fresh and delicious, proper storage is key:
Once completely cooled, Kolach bread can be stored at room temperature for up to 3 days. Place it in an airtight container or a large Ziploc bag to prevent it from drying out and maintaining its soft texture.
For longer preservation, Kolach freezes exceptionally well. After cooling entirely, wrap it tightly in plastic wrap, then place it in an airtight freezer-safe container or an extra-large Ziploc bag. It can be frozen for up to 3 months. To enjoy, thaw at room temperature or gently warm in the oven.
❔ Frequently Asked Questions About Bread Machine Kolach
Dough stickiness can often be attributed to factors like high humidity in your kitchen or slight variations in flour absorption. If your dough feels too sticky to handle comfortably after the bread machine cycle, gently knead in a small amount of extra all-purpose flour on a lightly floured surface until it becomes pliable. Be cautious not to add too much flour, as this can lead to a dense, heavy bread instead of a light and airy Kolach.
The egg glaze, a simple mixture of beaten egg with a touch of water or milk, serves a dual purpose. Firstly, it imparts a beautiful, glossy, and golden-brown finish to the Kolach during baking, making it visually appealing. Secondly, the glaze helps the crust to brown evenly, creating a consistent texture and adding a subtle richness to the exterior of the bread.
A successful second rise is crucial for a light and fluffy Kolach. After shaping, place your dough in a warm, draft-free environment. If your kitchen tends to be on the cooler side, there are a couple of tricks you can use: you can place the covered dough on top of a warming stove (while the oven is preheating) to utilize residual heat, or preheat your oven to its lowest setting (around 175-200°F or 80-95°C) for a few minutes, then turn it off, and place the dough inside with the door slightly ajar. The gentle warmth will create an ideal environment for the yeast to work its magic.
Ukrainian Christmas, celebrated on January 6th or 7th, is a time of deep tradition and family warmth, with special traditional foods playing a central role in the festivities. If you’re interested in learning more about the rich history and many traditions surrounding Ukrainian Christmas, including recipes for the customary 12 meatless Ukrainian Christmas dishes, you can find detailed information and recipes HERE.
If you’re planning to celebrate Ukrainian Christmas and aspire to make Kolach this year, consider giving yourself the gift of ease and tradition with this incredible Bread Machine Kolach recipe. It offers the authentic taste and beautiful presentation without the extensive manual labor, allowing you to focus on the joy of the holiday.
📋 Explore More Beloved Ukrainian Recipes!
- Hearty Pierogi Breakfast Casserole (with frozen pierogies)
- Convenient Lazy Slow Cooker Cabbage Rolls
- Comforting Loaded Pierogi Soup
- Pampushky – Authentic Ukrainian Doughnuts
Did your family ❤️ this recipe? Did you know that commenting and ⭐ rating recipes is one of the best ways to support your favorite recipe creators? If you LOVED this recipe, please comment and rate it in the recipe card or share photos on social media using the hashtag #foodmeanderings or tagging @foodmeanderings !
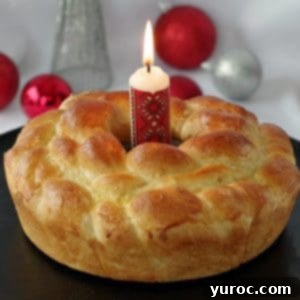

📋 Bread Machine Kolach (Ukrainian Bread) Recipe
Print Recipe
Pin
Save RecipeSave Recipe
Rate
Add to Shopping ListGo to Shopping List
Ingredients
- 1 egg yolk
- 1 egg, beaten
- 1 tablespoon cooking oil
- ⅔ cup lukewarm water
- ½ teaspoon salt
- 1 tablespoon white granulated sugar
- 2 cups all- purpose flour, sifted
- 1 teaspoon bread maker yeast
Glaze
- 1 egg, beaten
- 1 teaspoon water or milk
Instructions
Bread Machine Dough Preparation
-
In a small bowl, beat together the egg and egg yolk until well combined. Add the lukewarm water and cooking oil to the egg mixture and beat again briefly. Pour this wet mixture into your bread machine pan.
-
Carefully add the sifted all-purpose flour on top of the wet ingredients in the bread pan. Then, add the white granulated sugar along one side of the bread pan and the salt along the opposite side. Create a small well or hole in the center of the flour, and add the bread maker yeast into this well. *NOTE: This specific order of ingredients is typical for my older bread machine. Always refer to your bread machine’s instruction manual for the recommended order of ingredients, as it can vary by model.
-
Select the “Dough Mode” setting on your bread machine and press start. This cycle will handle the kneading and the first rise, producing a perfectly prepared dough for shaping.
-
Once the dough cycle is complete, carefully remove the dough from the bread machine pan and transfer it to a lightly floured work surface. Divide the dough into two main portions, with one being slightly larger than the other. *NOTE: If you find the dough to be overly sticky, especially in humid conditions, you may need to gently knead in a little extra flour until it’s easy to handle. My dry climate often requires less flour in this step.
-
Generously spray an angel food cake pan with non-stick cooking spray, ensuring all surfaces are covered to prevent sticking.
Shaping the Kolach
-
Take the larger of your two main dough pieces and divide it into two equal smaller pieces. From the remaining smaller main dough piece, divide it into three equal individual pieces. Cover these three smaller pieces and set them aside to prevent them from drying out while you work on the first layer.
-
Roll each of the two larger dough pieces into a rope, aiming for a length of approximately 25 to 30 inches (63-76 cm). I found that a length of about 28 inches (71 cm) worked well for fitting into the angel food cake pan.
-
Take these two long, thick ropes. Pinch them firmly together at one end. Cross them over each other in an ‘X’ shape and begin twisting them together until you reach the opposite end, creating a spiral effect similar to a cinnamon twist. Securely pinch the other end together to seal the twist.
-
Carefully transfer this twisted rope into the prepared angel food cake pan. Wrap it around the inside bottom of the pan in a circular motion, forming the first layer of your Kolach.
-
Now, take the three smaller ropes of dough that you set aside earlier. Lay them parallel to each other on your lightly floured board.
-
Starting at one end, pinch the three ropes firmly together. Proceed to braid them together, forming a classic three-strand braid, as demonstrated in the shaping instructions section of the main post. Pinch the other end to secure the braid.
-
Gently arrange this newly braided rope into a ring shape. Place it on top of the twisted dough circle already in the angel food cake pan. Align the seams of both layers and pinch the ends of the braided rope together to create a neat, sealed ring.
-
Preheat your oven to 375 degrees F (175 degrees C).
-
Cover the shaped Kolach (still in its pan) with a clean tea towel. Place it in a warm, draft-free location to allow the dough to rise for approximately 1 hour, or until it has noticeably doubled in size. *A great tip is to set the bread pan on top of your stove while the oven preheats; the gentle warmth promotes an excellent rise.
-
Prepare the glaze by beating one egg and mixing it with 1 teaspoon (5 ml) of water or milk. Gently brush the top surface of the risen Kolach with this egg glaze. *You will only need about one-quarter to one-third of the prepared glaze for a single loaf.
Baking the Kolach
-
Bake the Kolach in your preheated oven at 375 degrees F (175 degrees C) for 35-40 minutes. The goal is a light and evenly browned crust, indicating a perfectly baked bread.
-
*It’s highly recommended to check the bread halfway through the baking process (around the 15-20 minute mark).
-
If the top of the Kolach has achieved a beautiful golden brown color as desired (as illustrated in the images), gently cover the pan with aluminum foil. This prevents further browning of the crust while allowing the interior of the bread to finish cooking thoroughly. Return it to the oven for the remaining baking time.
-
Once baking is complete, remove the Kolach from the oven and let it rest in the pan for 5 to 10 minutes. This short resting period helps the bread to set and makes it easier to remove without damaging its delicate structure. After resting, gently remove the Kolach from the pan and transfer it to a wire rack to cool completely.
-
For the traditional Ukrainian Christmas Eve Supper display, which features three stacked loaves, you will need to prepare and bake two additional Kolach loaves following these instructions.
Notes
Kolach bread can be stored ( completely cooled) in an airtight container or in an extra large Ziploc bag at room temperature for up to 3 days.
It can also be frozen for up to 3 months in an airtight container or extra large Ziploc bag.
Nutrition
