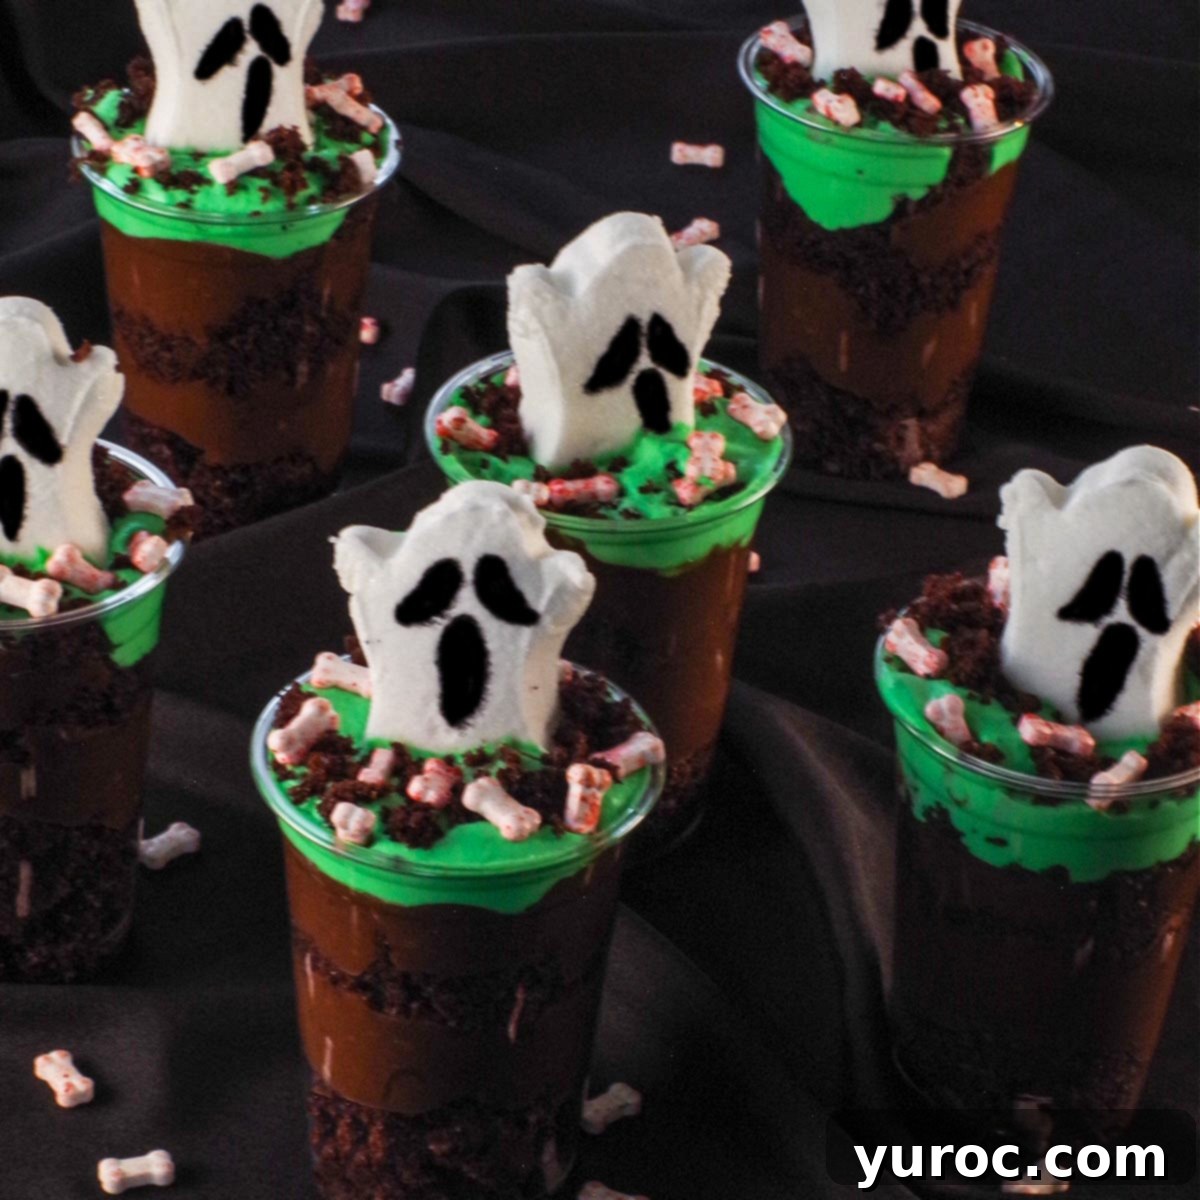
No-Bake Boo Halloween Dessert Cups: Simple & Spooky Treats for Your Best Halloween Party Ever
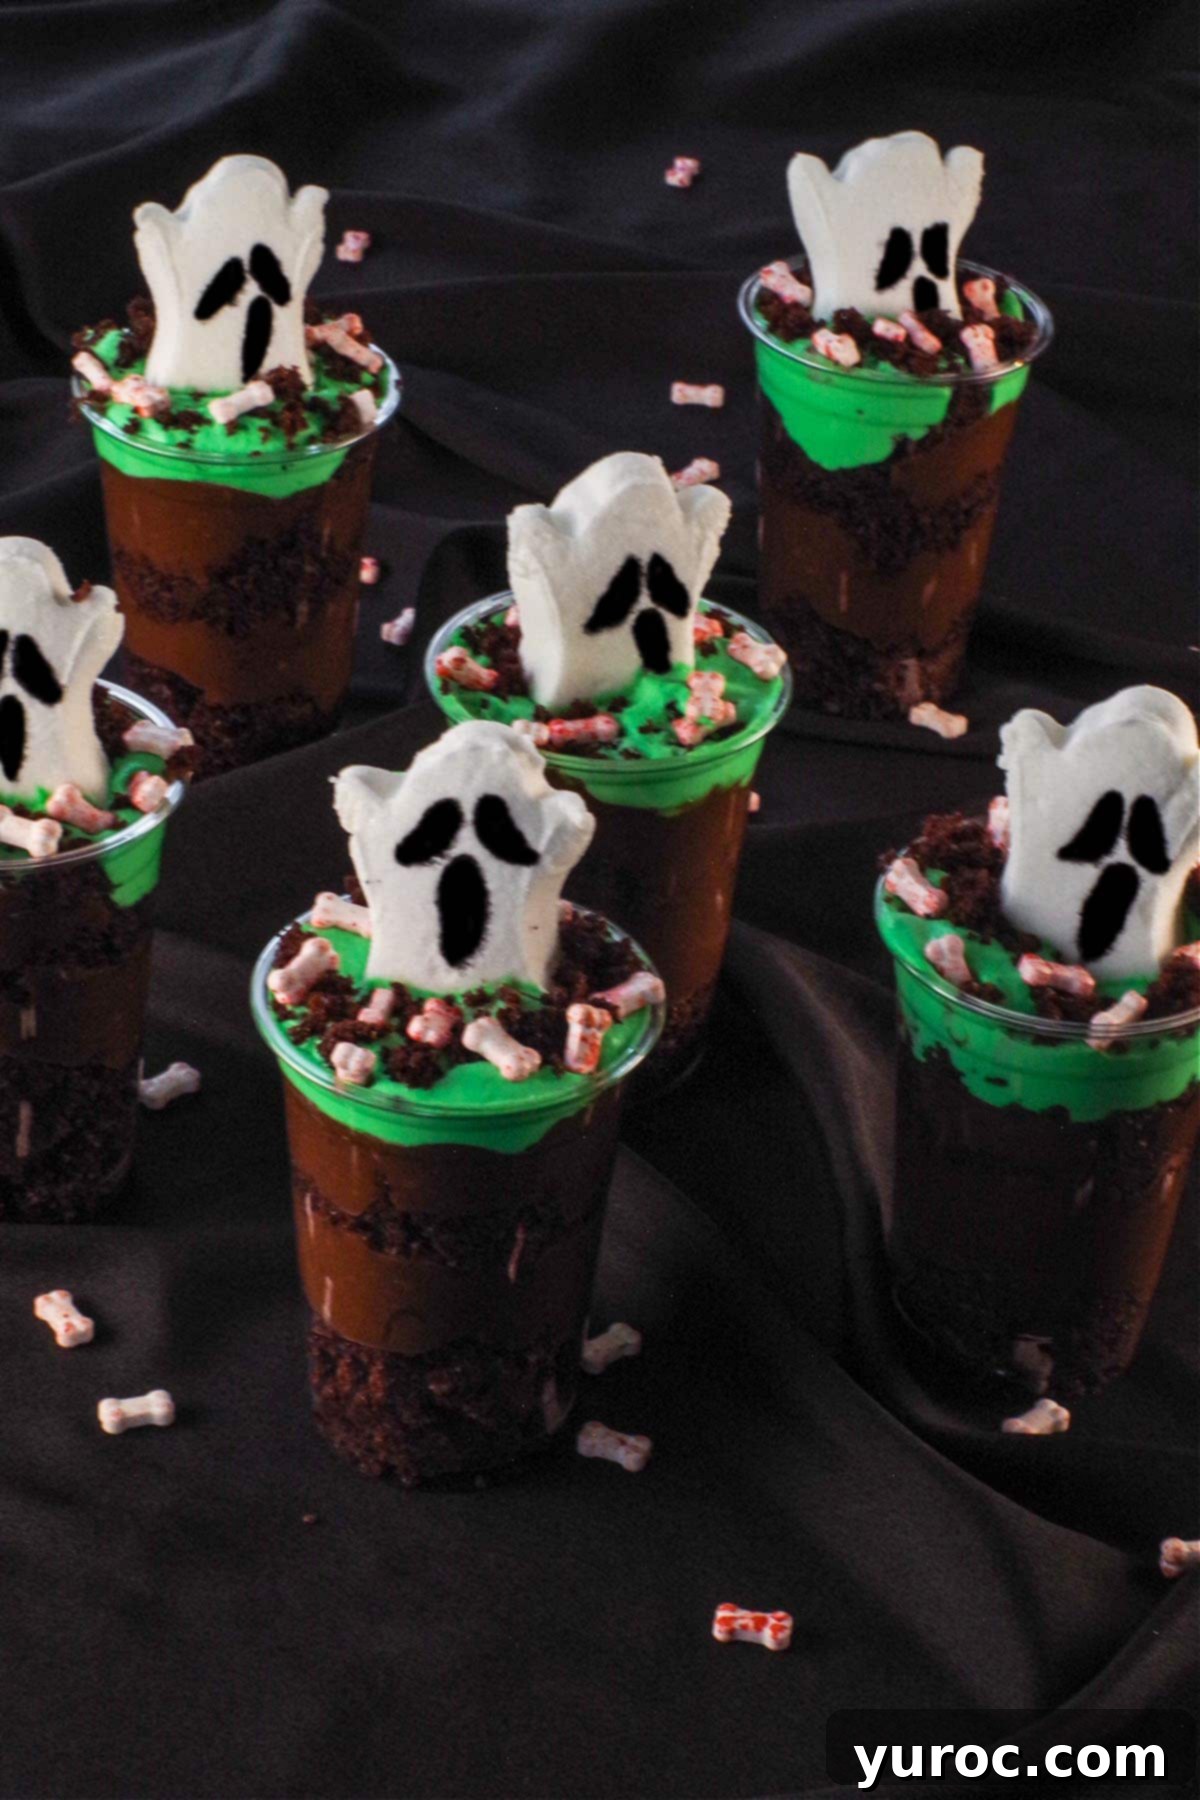
Get ready for a hauntingly good time with these incredibly fun and easy-to-make No-Bake Boo Halloween Dessert Cups! Perfect for all ages, these individual dessert cups are layered with rich chocolate pudding, moist cake, fluffy whipped cream, adorable ghost peeps, and spooky bloody bone candies. This recipe is your go-to for effortless Halloween party desserts, school potlucks, or a special treat at home. They’re designed to be quick, delightful, and bring a fantastic spooky spirit to any gathering without needing an oven.
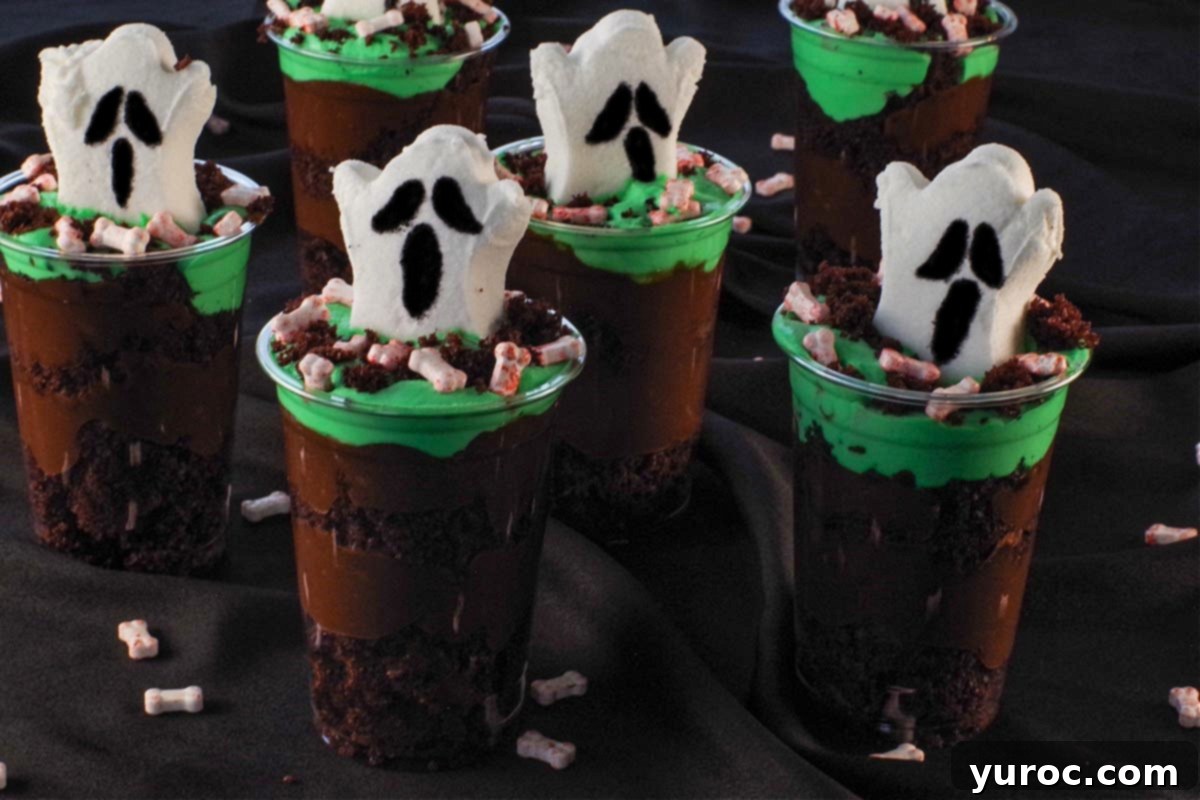
The Halloween season is all about ghostly fun, playful frights, and, of course, delicious treats! These individual Halloween Boo cups are always a hit, captivating both kids and adults alike with their charmingly creepy appearance and irresistible taste. They were inspired by my festive Jack o’lantern Cupcakes and make an excellent companion to my vibrant Melting Witch Halloween Punch (non-alcoholic), creating a complete spooky spread that’s sure to impress your guests.
What makes these Boo dessert cups so special? Beyond their adorable ghost faces and “graveyard” aesthetic, they require absolutely no baking! This makes them an ideal choice for busy parents, novice bakers, or anyone looking for a stress-free dessert option that still delivers maximum Halloween impact. Each cup is a delightful mini-adventure, ensuring perfect portion control and easy serving at any event. Dive into a world of chocolatey goodness, creamy layers, and playful decorations that capture the true essence of Halloween.
[feast_advanced_jump_to]
🥘 Simple Ingredients for Spooky Sweetness
Creating these fun Halloween dirt cups is surprisingly simple, thanks to a few readily available ingredients. You’ll find most of these items at your local grocery store, making preparation a breeze. Here’s what you’ll need to gather:
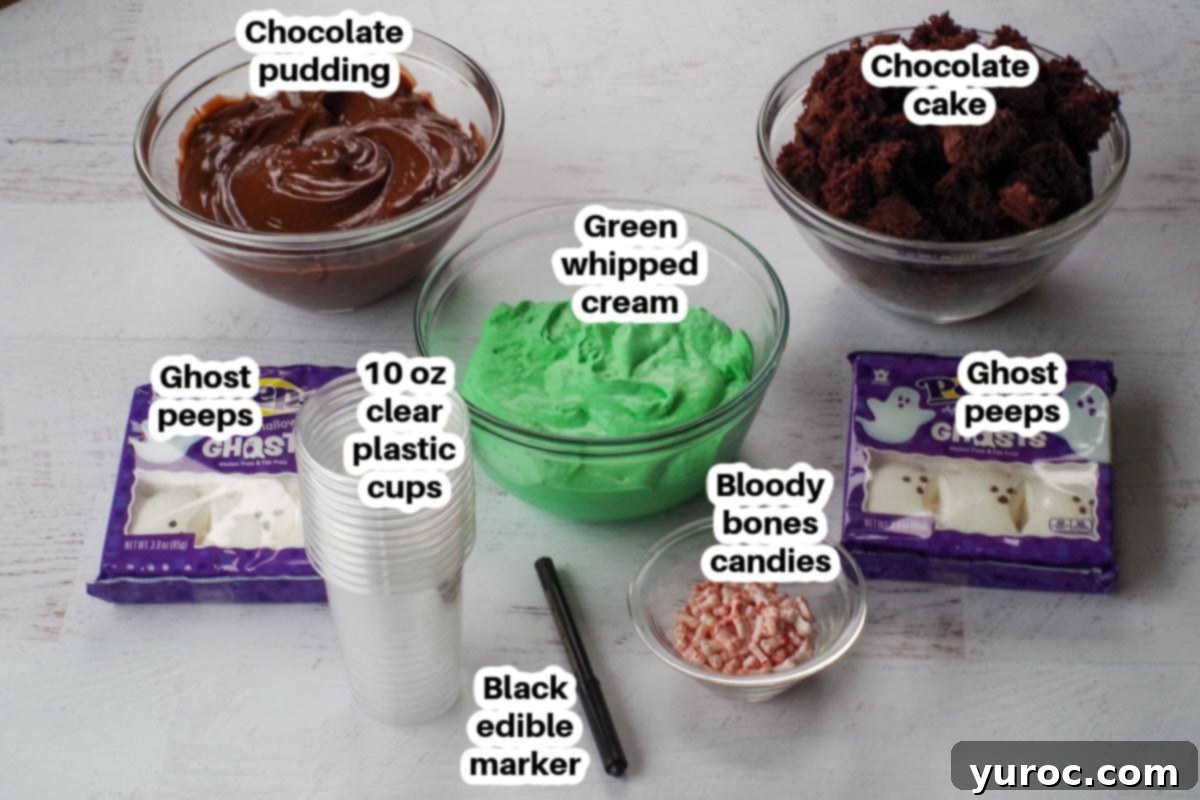
- Chocolate Pound or Loaf Cake: This forms the base and “dirt” layers of your dessert cups. You can easily use store-bought pre-made cakes for convenience, or if you prefer a homemade touch, any chocolate cake recipe will work beautifully. Crumbling it up makes for a rustic, graveyard effect.
- Instant Chocolate Pudding Mix: This provides the creamy, rich chocolate flavor. You can buy the powdered mix and prepare it according to package directions, or for an even quicker option, grab pre-made pudding snack packs. Vanilla pudding or another flavor can also be substituted if chocolate isn’t your preference.
- Whipping Cream (Heavy Cream): Essential for that light, airy, and colorful top layer. Ensure your heavy cream is 33%-35% milk fat for optimal whipping results. For extra ease, a tub of whipped topping like Cool Whip can also be used.
- Ghost Peeps: These iconic marshmallow treats are the stars of our “Boo!” theme. They typically come 6 per box, so you’ll need two boxes for a dozen cups. Their simple shape is perfect for drawing spooky faces.
- Green Food Coloring (affiliate link): A few drops of green food coloring transform your whipped cream into a vibrant, eerie topping, reminiscent of slime or monster goo. I highly recommend Wilton Kelly green icing color for its rich hue.
- Candy Bloody Bones: These add a delightfully gruesome touch to your graveyard scene. You can often find these in craft stores like Michael’s, specialty candy shops, or readily available on Amazon during the Halloween season. If unavailable, gummy worms or other spooky candies make great alternatives.
🔪 Crafting Your Creepy-Cute Halloween Boo Cups
Making these Boo Halloween Dessert Cups is a fun activity, perfect for involving kids! Follow these simple steps for perfectly layered and frightfully delicious treats.
Preparation Steps:
- Prepare Pudding: If using instant pudding mix, follow the package directions to prepare it. Whisk until smooth and thick, then set aside. If you’re using pre-made pudding snack packs, you can skip this step entirely!
- Prepare Cake: If baking a cake from a box mix or homemade, ensure it’s cooled completely before crumbling. For store-bought cakes, simply remove from packaging and prepare to crumble.
- Prepare Whipped Cream: If making homemade whipped cream, beat the heavy cream in a cold bowl with an electric mixer until stiff peaks form. Gradually add a few drops of green food coloring and continue to mix until a uniform, vibrant green color is achieved. If using whipped topping, simply tint it green.
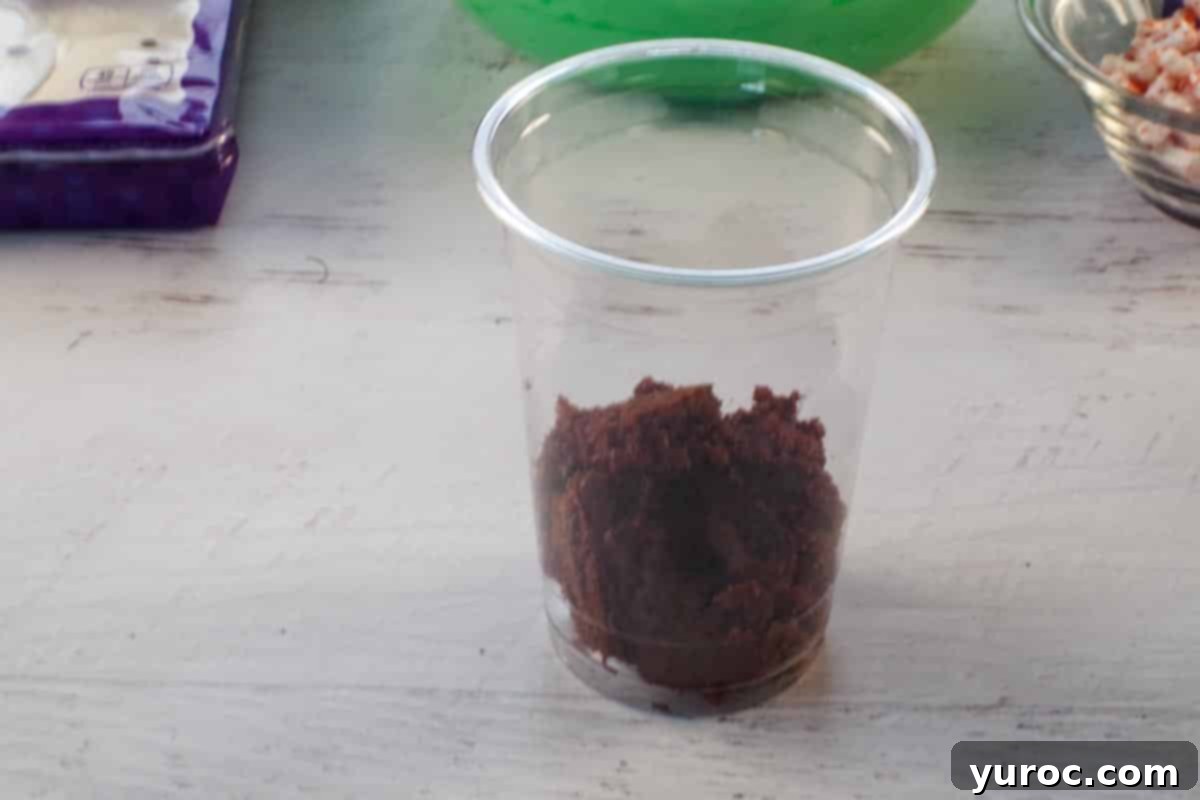
Step 1: Cake Base. Begin by crumbling your chocolate cake into bite-sized pieces. Distribute these evenly among all 12 clear plastic cups, forming the first delicious layer at the bottom. This will serve as the “dirt” base.
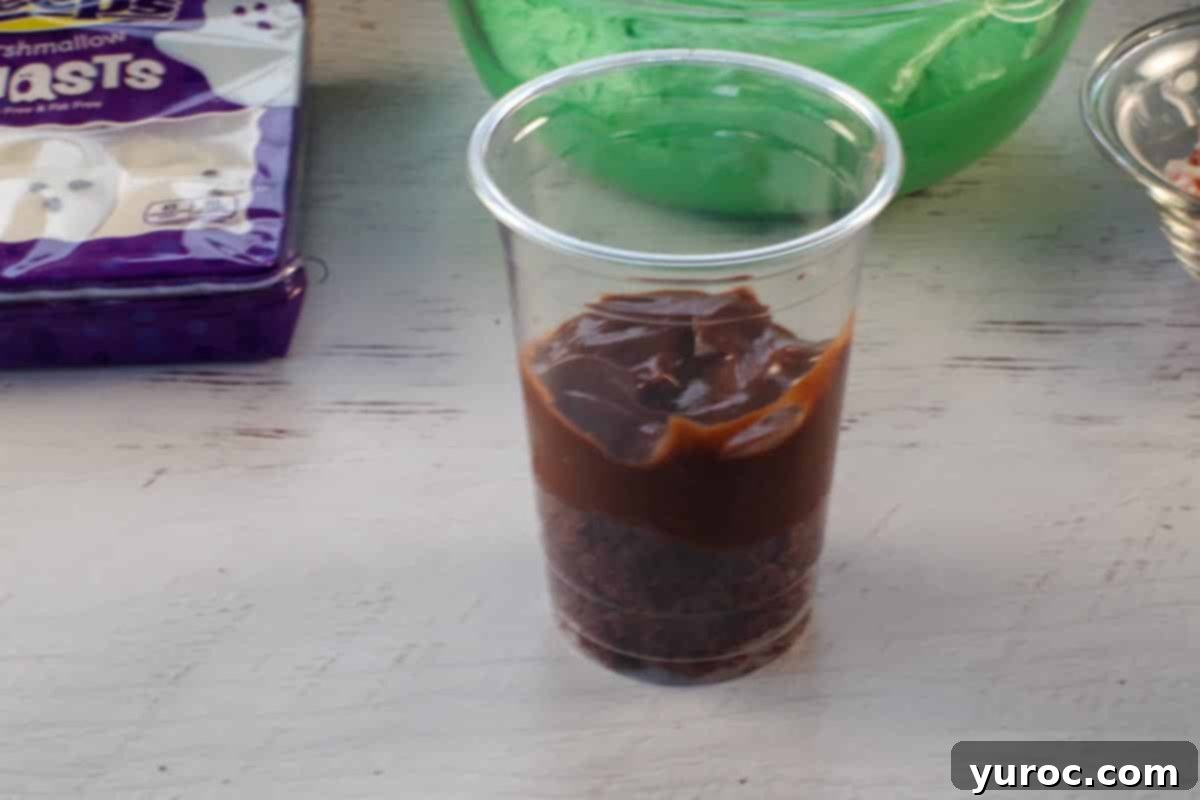
Step 2: Pudding Layer. Next, spoon a generous layer of prepared chocolate pudding into each cup, spreading it gently over the crumbled cake. Aim for an even layer that visually separates the cake.
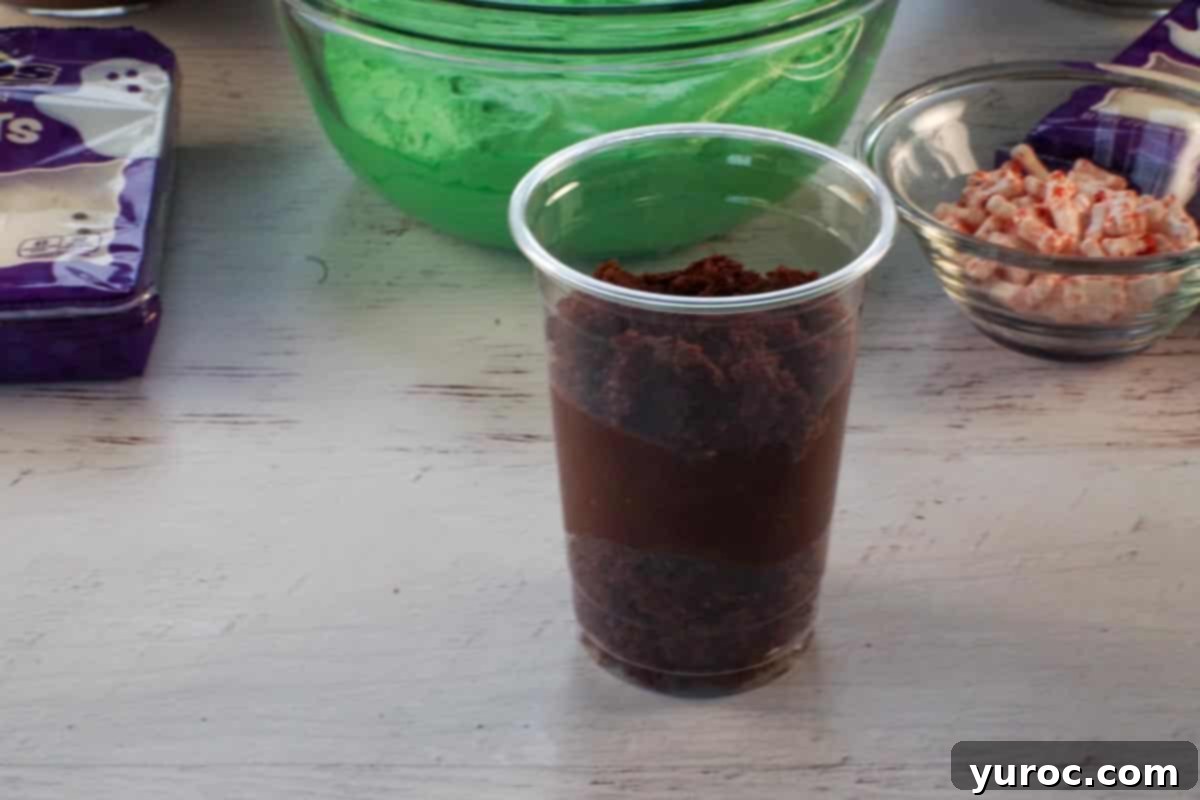
Step 3: Second Cake Layer. Add another layer of crumbled cake on top of the pudding. This creates more texture and depth to your dessert, resembling a freshly dug grave site.
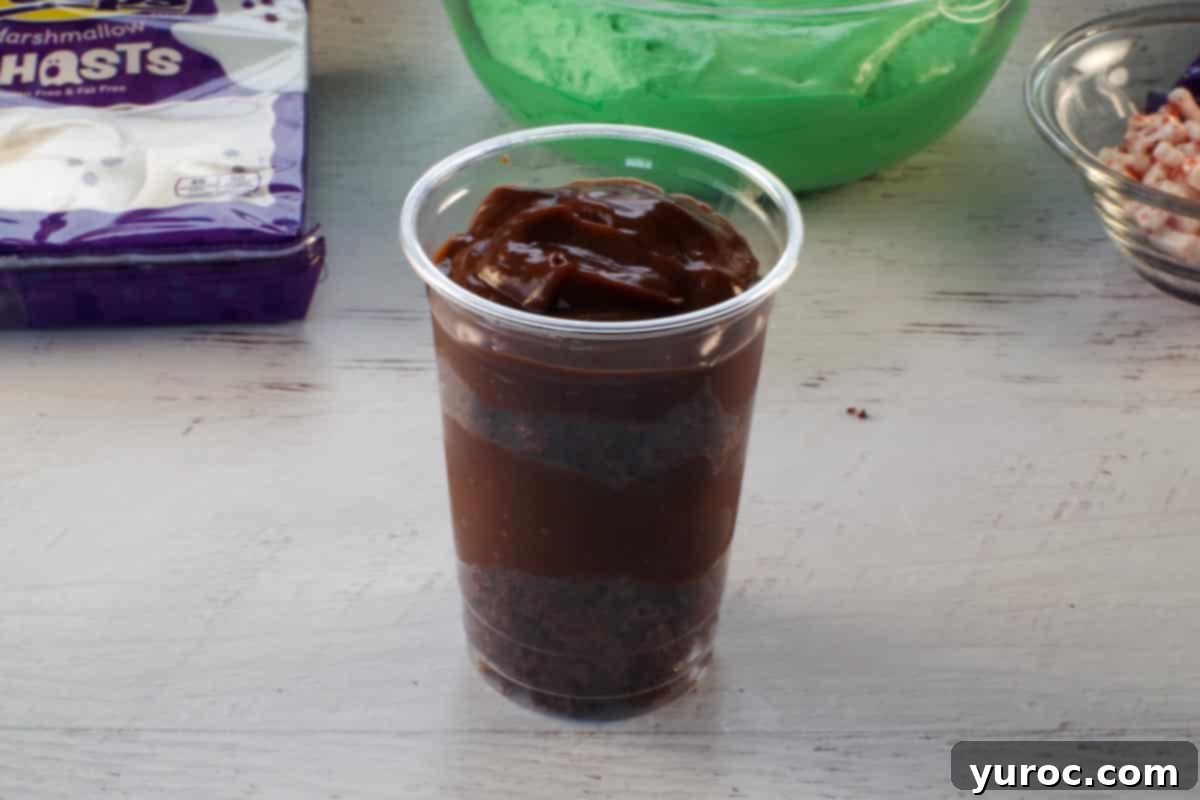
Step 4: Final Pudding Layer. Follow with a final, generous layer of chocolate pudding. Smooth out the top as much as possible, as this will be the canvas for your spooky decorations.
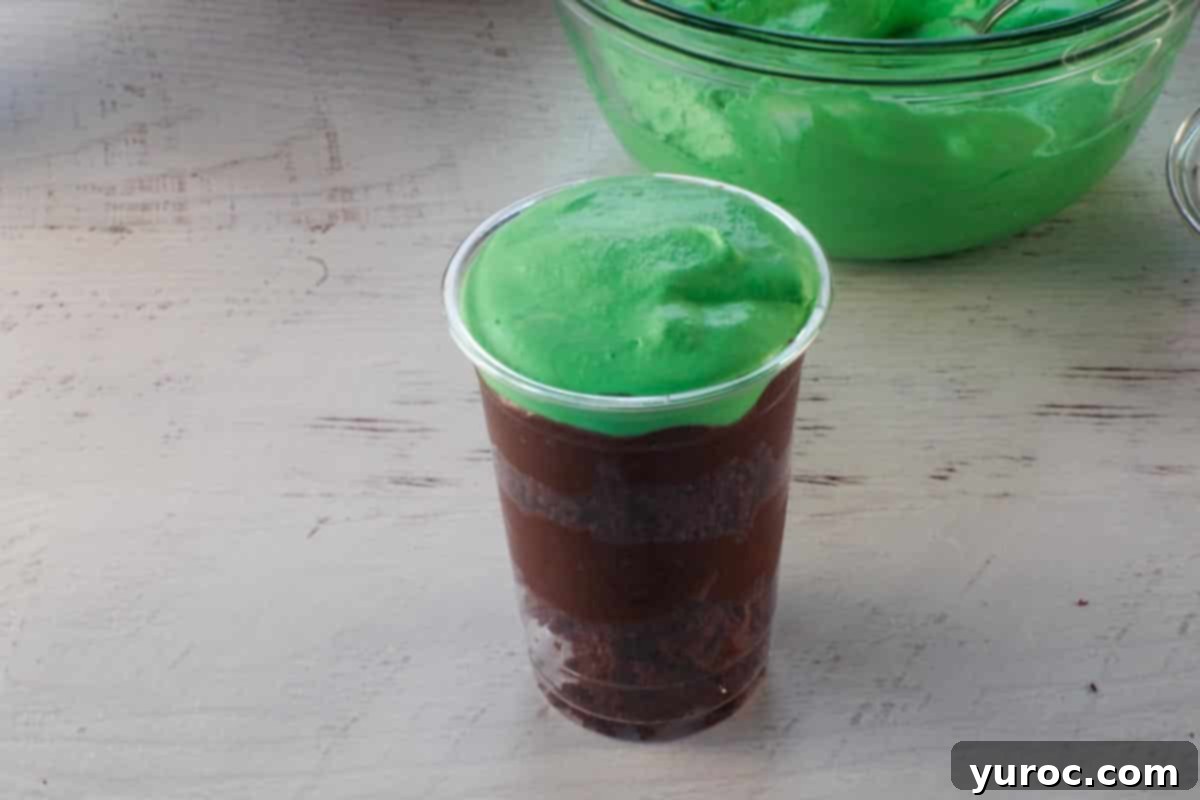
Step 5: Green Whipped Cream. Carefully add a dollop or swirl of your green whipped cream to each cup, creating a fluffy, colorful cloud for your ghost to float on.
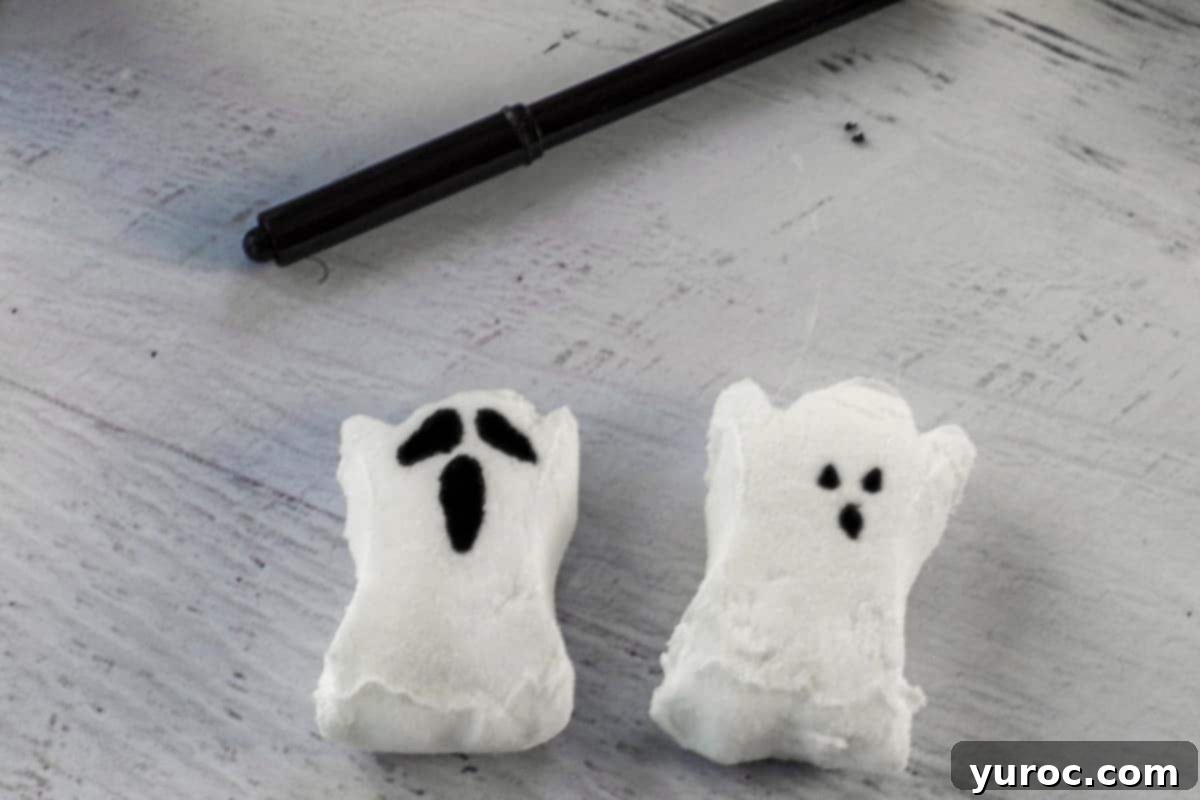
Step 6: Spooky Ghost Face. Using your edible black marker, draw a scary or funny ghost (ghoul) face on each Ghost Peep. Be creative! Give them big eyes, jagged mouths, or classic “Ooooh!” expressions.
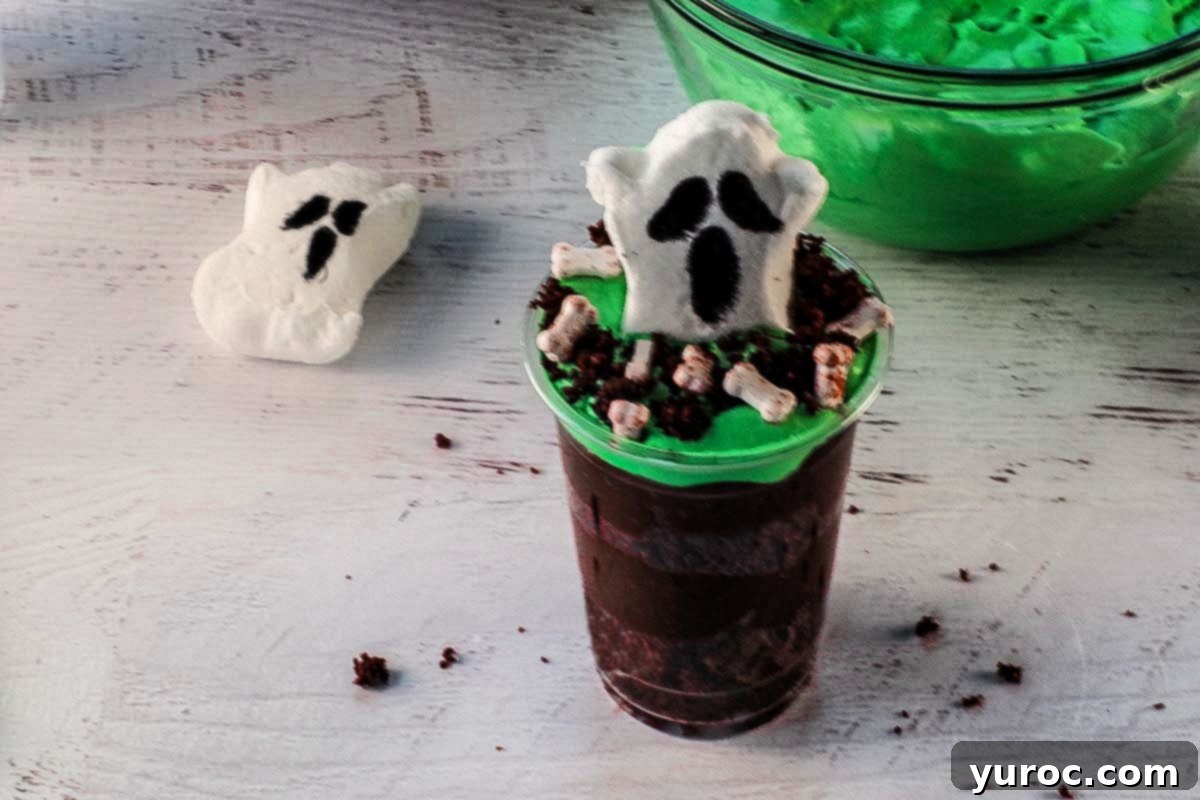
Step 7: Assemble & Decorate. Gently place one decorated Ghost Peep in the middle of each cup, resting on the green whipped cream. Sprinkle a little more crumbled cake around the base of the peep to enhance the “dirt” effect. Finally, artfully arrange a few candy bloody bones around the ghost, completing your miniature graveyard scene.
Hint: To help the ghost peep stand securely and avoid it getting lost in the layers, gently dig a small hole in the whipped cream before inserting it. Just be careful not to push it too far down, or it might get covered!
📖 Creative Variations & Easy Substitutions
This No-Bake Boo Halloween Dessert Cups recipe is incredibly versatile. Feel free to get creative with these variations and substitutions to match your taste or what you have on hand:
- Cake Options: While chocolate cake is classic, you can experiment! Use vanilla, red velvet, or even spice cake for different flavors. Instead of cake, consider using crushed Oreo cookies (especially the dark ones for extra “dirt” realism!), graham cracker crumbs, or crumbled brownies for a richer base.
- “Dirt” Alternatives: For the crumbly “dirt” on top of the green whipped cream, finely crushed Oreo cookies are a popular choice. You could also use chocolate cookie crumbs, brownie crumbles, or even a mix of chocolate and vanilla cookie crumbs for varied texture.
- Pudding Possibilities: Don’t limit yourself to chocolate! Vanilla pudding creates a lighter base, or try seasonal flavors like pumpkin spice pudding. For a more decadent touch, make your own homemade chocolate pudding or a light chocolate mousse. Using pudding snack packs is a brilliant time-saver, eliminating the need to prepare pudding from scratch.
- Whipped Cream Wonders: If you’re short on time, store-bought whipped topping like Cool Whip works perfectly. For a richer topping, you could use a green-colored cream cheese frosting or even a buttercream tinted green.
- Spooky Add-ins & Toppings: The fun doesn’t stop at ghosts and bones! Enhance your Halloween dessert cups with:
- Gummy Worms: “Crawling” out of the dirt.
- Cookie Tombstones: Use Milano cookies or similar, decorate with edible marker, and stick them into the whipped cream.
- Candy Pumpkins: Small candy pumpkins or corn for a harvest touch.
- Halloween Sprinkles: A mix of orange, black, and purple sprinkles for extra festive flair.
- Edible Googly Eyes: Scatter them for a creepy-crawly effect.
- Mini Chocolate Chips: For added chocolatey crunch.
- Pretzel Sticks: Broken into small pieces to look like fallen tree branches.
- Spider Rings: Place a plastic spider ring on the edge of the cup for a playful touch (remove before eating!).
- Color Themes: Instead of green whipped cream, try purple, orange, or even black food coloring to match different Halloween themes (e.g., witch’s brew, pumpkin patch, spooky night).
🌡️ Storing Your Spooky Treats
These Boo Halloween Dessert Cups are fantastic for making ahead, which is a huge plus when planning a Halloween party. To keep them fresh and delicious, store them in an airtight container in the refrigerator for up to 3 days. If you’re only preparing them the night before, simply cover each individual cup securely with plastic wrap to prevent them from drying out or absorbing other odors from the fridge. For best results, add the Ghost Peeps and any delicate candy decorations just before serving to keep them from getting soggy or losing their shape.
👪 Adjusting Serving Size & Presentation Tips
This Halloween pudding cups recipe is designed to yield 12 delightful servings, using standard 10 oz clear plastic cups. However, you can easily adjust the recipe to fit your party size. Most recipe cards (like the one below) allow you to half, double, or even triple the recipe by simply clicking on the serving number and selecting your desired quantity. The ingredient amounts will automatically adjust, taking the guesswork out of scaling.
If you opt for smaller cups, you can get even more servings, making them perfect for bite-sized party samples. For presentation, arrange the cups on a dark platter or a “graveyard” themed tray. You can scatter extra candy bloody bones or even some plastic spiders around the base of the cups for an extra spooky effect. These individual desserts are not only convenient but also add a professional and festive touch to your Halloween spread.
Top Tips for Perfect Boo Dessert Cups
*If you’re struggling to find premade chocolate loaf cakes in your grocery store’s bakery section, and baking from scratch or a box mix isn’t an option, head to the freezer section! Look for a frozen chocolate cake, such as a Deep and Delicious McCains Chocolate Cake. You can either scrape off the frosting (if you want pure cake crumbs) or leave it on (extra frosting is always a welcome addition to these dessert cups for even more moistness!).
For the best visual appeal, you will need 10 oz clear plastic cups. These allow the beautiful layers to shine through. Additionally, an edible black marker is crucial for drawing those expressive ghost faces. I personally prefer using Americolor edible black markers because I’ve found them to be of superior quality, providing crisp lines and rich color. Alternatively, if 10 oz is too large, you can use smaller clear cups, which might result in more servings per batch.
Chill your pudding and whipped cream layers for at least 30 minutes before assembling if they seem too soft. This helps them set and creates cleaner layers. Also, don’t overmix your whipped cream, or it can become grainy.
When crumbling the cake, aim for a mix of fine crumbs and small chunks. This adds to the realistic “dirt” texture and provides varying mouthfeels. For a truly dark “dirt,” you can use extra dark cocoa powder in your cake or pudding, or even finely crush chocolate wafers.
Did your family ❤️ this recipe? Did you know that commenting and ⭐ rating recipes is one of the best ways to support your favorite recipe creators? If you LOVED this recipe, please comment and rate it in the recipe card below or share photos on social media using the hashtag #foodmeanderings or tagging @foodmeanderings! We love seeing your spooky creations!
So, if you’re looking for simple, crowd-pleasing, and incredibly fun graveyard pudding cups for your next Halloween bash, look no further! These Boo Halloween Dessert Cups are a guaranteed hit that will have everyone reaching for more of that spooky sweetness.
🎃 More Spooktacular Halloween Desserts to Explore
If you’ve enjoyed making these Boo Halloween Dessert Cups, you’ll love these other creative and delicious Halloween treats from our collection. Expand your spooky menu and delight your guests with more festive delights!
- Witches Brew Halloween Trifle (with Jello Worms): A Halloween Potluck Dessert
- No Bake Boston Cream Halloween Pie
- Melted Witch Halloween Bark Recipe
- Boo Batter Ice Cream (No Churn)

👻Boo Halloween Dessert Cups Recipe
Print Recipe
Pin
Save RecipeSave Recipe
Rate
Add to Shopping ListGo to Shopping List
Equipment
-
10 oz clear plastic cups
-
edible black marker
Ingredients
- 600 g chocolate cake (2 store-bought loaf cakes)
- 3 -113 g boxes of chocolate instant pudding mix
- ½ litre whipping cream
- 12 ghost peeps (they come 6 per box )
- ½ teaspoon green food coloring
- candy bloody bones
Instructions
-
Crumble and add broken up chocolate cake to the bottom of each cup for the first layer.
-
Evenly spread a layer of prepared chocolate pudding over the cake.
-
Add another layer of crumbled cake on top of the pudding.
-
Finish with a final layer of chocolate pudding, smoothing the top.
-
Gently add a dollop or swirl of green whipped cream on top of the final pudding layer.
-
Using an edible black marker, draw spooky eyes and mouths on your ghost peeps.
-
Place a decorated ghost peep in the middle of each cup. Sprinkle a few more cake crumbs around the ghost to create a “dirt” effect, and arrange candy bloody bones artfully around it.
-
Repeat these layering and decorating steps for the remaining 11 cups. Serve immediately or chill for later enjoyment.
Notes
Nutrition
MORE RECIPES! To see our full recipe menu, click HERE!
