Grandma’s Best Butter Tarts: The Ultimate Guide to Classic Canadian Comfort Food
There’s a special magic that descends upon our home during the holiday season, and for me, it’s intrinsically linked to the aroma of freshly baked Butter Tarts. These delightful, quintessentially Canadian treats are more than just a dessert; they are a staple on our Christmas baking tray, a symbol of comfort, and a cherished family tradition. We eagerly anticipate their presence throughout the festive period, and for good reason!
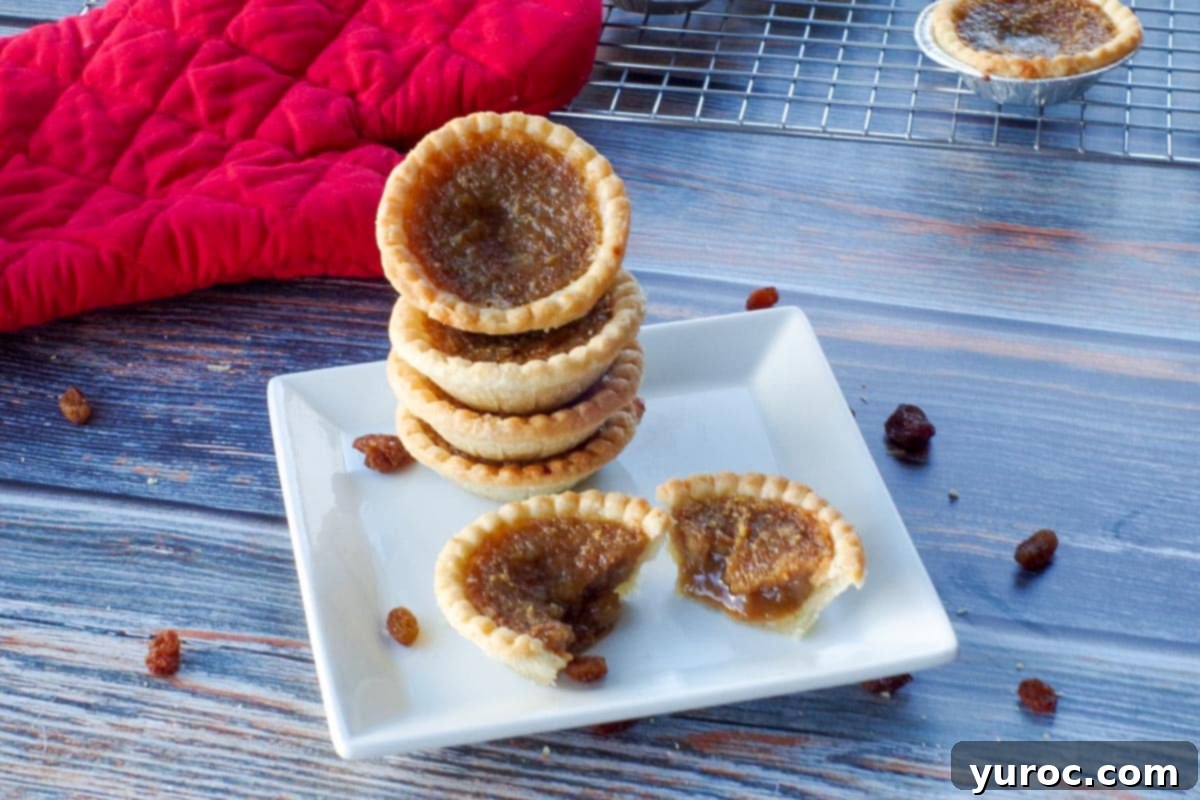
This particular recipe holds a special place in my heart, passed down through generations from my beloved Grandma. It is, without a doubt, the best butter tart recipe you will ever encounter. Why? Because these tarts consistently deliver an unparalleled taste, feature an incredibly easy-to-make filling, and can be whipped up in under 20 minutes. Whether you opt for convenient store-bought tart shells or prefer to craft your own homemade pie crust, the results are always spectacular. Plus, they offer delightful versatility, allowing you to include pecans, raisins, or even enjoy them plain.
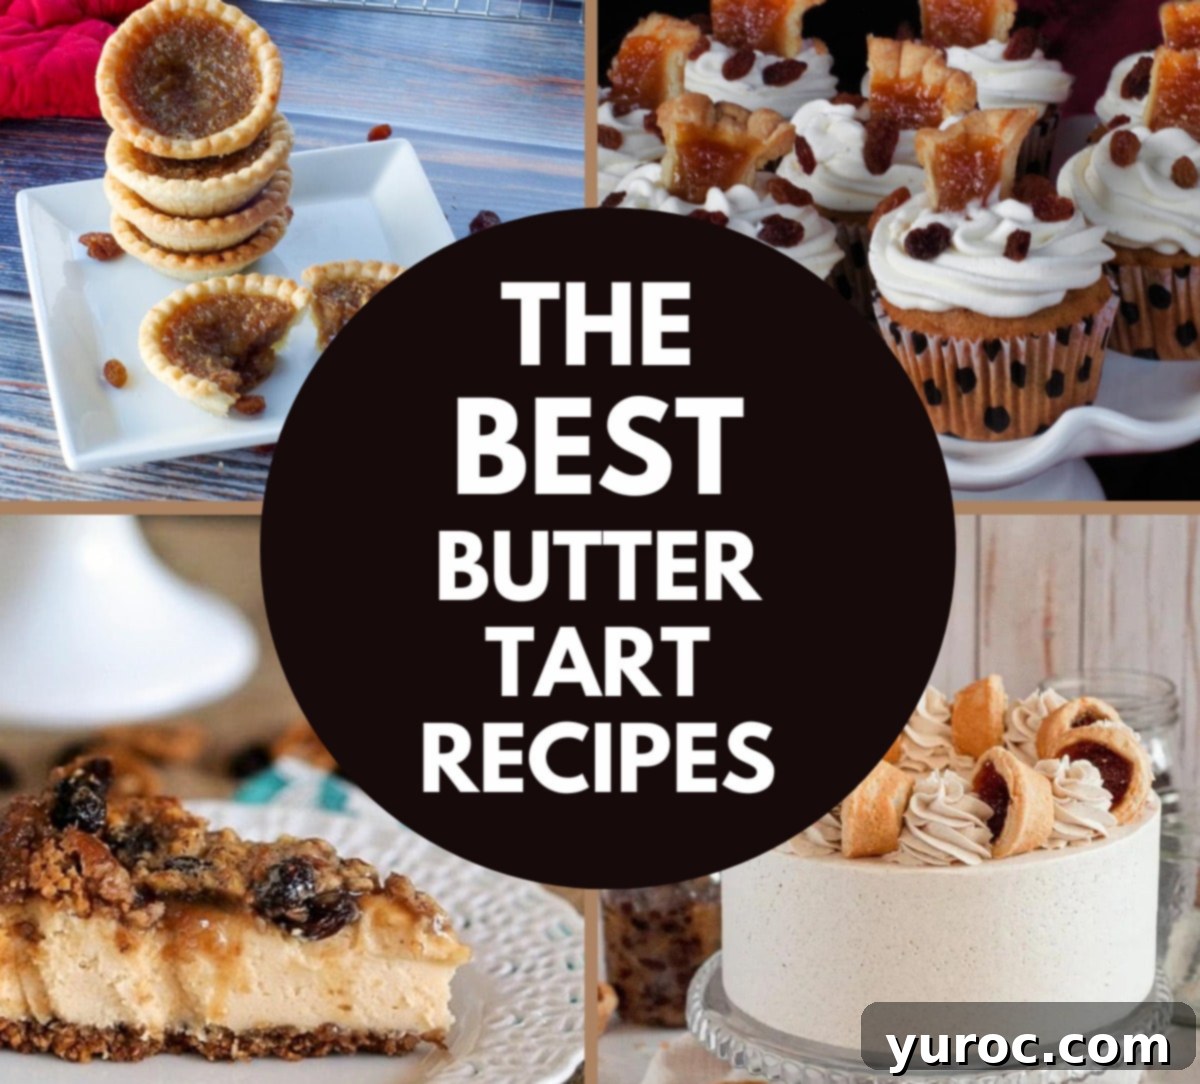
My love for these easy butter tarts runs so deep that they’ve inspired an entire collection of butter tart-flavored creations. From Butter Tart Cookies and Butter Tart Waffles, to decadent Butter Tart Ice Cream, charming Butter Tart Cupcakes, and a magnificent Butter Tart Cake, the essence of this classic Canadian treat truly shines in every form.
🍒Pinterest Review
“Really good and really easy! Thanks!!!!” ⭐⭐⭐⭐⭐
Ally
For me, homemade butter tarts are a cherished annual ritual, reserved exclusively for the Christmas season. It’s a Canadian tradition I hold dear, and frankly, making them any more often would be a delicious but dangerous affair – I simply can’t resist eating too many! While I now limit them to special occasions, I recall a time when my grandma would bake these sweet delights all year round. Lucky me! But alas, those were the glory days, a magical era when calories seemingly had no meaning and indulgence was guilt-free.
I’m always taken aback when I encounter someone who has never experienced the joy of these sweet, gooey tarts. I genuinely can’t fathom life without this iconic Canadian dessert! Their unique flavor profile, combining rich butter, brown sugar, and a hint of tang, encased in a flaky pastry, is something truly unforgettable.
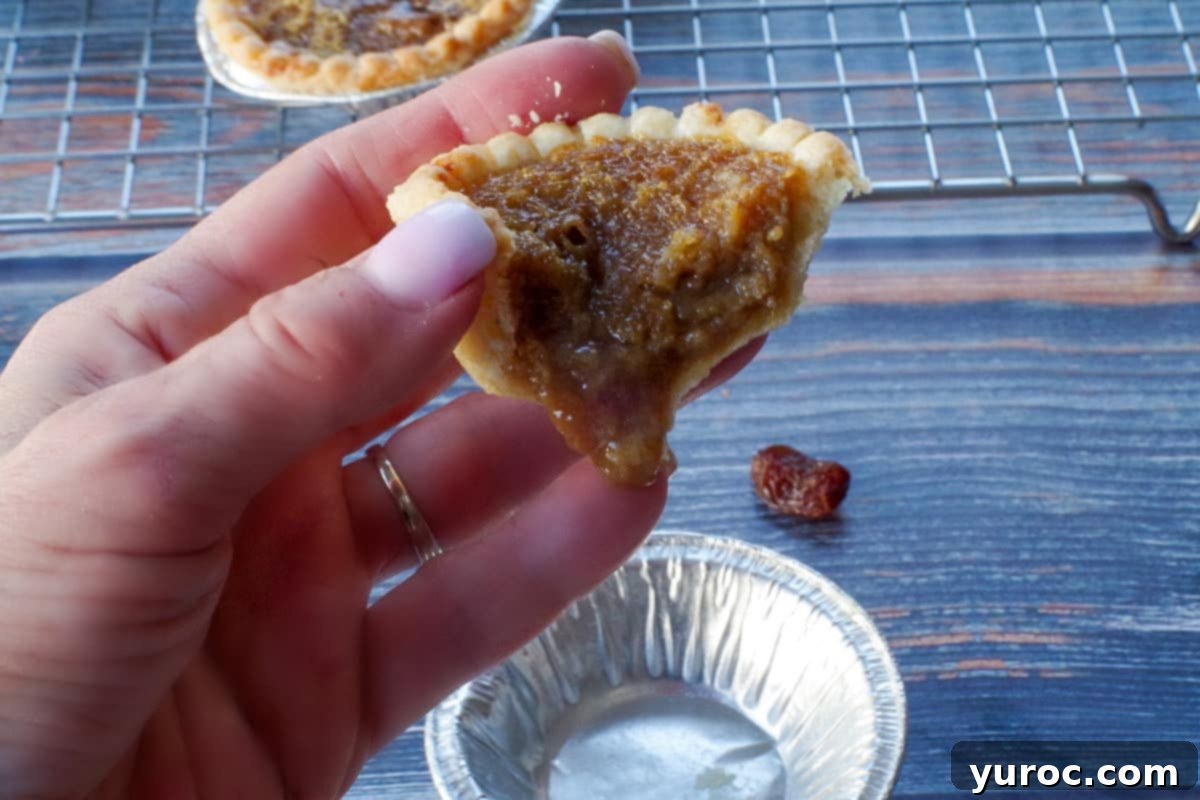
One particular Christmas, nearly 30 years ago, I found myself far from home, spending the holidays apart from my family for the very first time. The longing for home was strong, but making these butter tarts provided immense comfort. It was my inaugural attempt at baking them, and from that moment on, they became an indispensable part of my yearly traditions. Each bite brought a taste of home, a connection to my grandma, and a sense of warmth during a time of distance. These are, without exaggeration, the best butter tarts ever! You can delve deeper into the heartwarming story of Grandma’s Butter Tarts and their comforting power in my article: Comfort and Baked Expectations.
What sets these butter tarts apart is their perfect balance of a rich, sweet, and slightly tangy filling with a wonderfully flaky crust. The filling caramelizes beautifully, creating that signature gooey center that butter tart aficionados adore. This recipe focuses on simplicity without sacrificing flavor, making it accessible for even novice bakers.
🥘 Ingredient Notes for Perfect Butter Tarts
Creating these easy butter tarts begins with understanding the role of each ingredient. Historically, I would pair this simple butter tart filling with my grandma’s incredible No Fail Cold Water Pastry (pie dough). While a homemade crust adds an extra layer of love, I understand that time is often a luxury, especially during the busy Christmas season!
The good news is that even when using high-quality store-bought pastry, these butter tarts are utterly irresistible and will leave you craving more. The magic truly lies in the filling, which transforms humble ingredients into a symphony of flavors and textures. These “Best Ever Butter Tarts” are truly to die for!
While I personally adore raisin butter tarts, I know that not everyone shares my enthusiasm for dried fruit (a sentiment echoed by half of my own family!). This recipe offers easy customization: if you prefer butter tarts without raisins, simply substitute them with chopped pecans for a delicious pecan butter tart experience. Alternatively, you can omit both raisins and nuts entirely for a classic, plain butter tart. To keep everyone happy in my household, I often make a batch with both pecans and raisins, ensuring a delightful variety for all tastes.
This butter tart recipe stands out because it doesn’t rely on corn syrup, using a traditional approach to achieve its signature texture and flavor. For this classic butter tart recipe, you will need the following key ingredients:
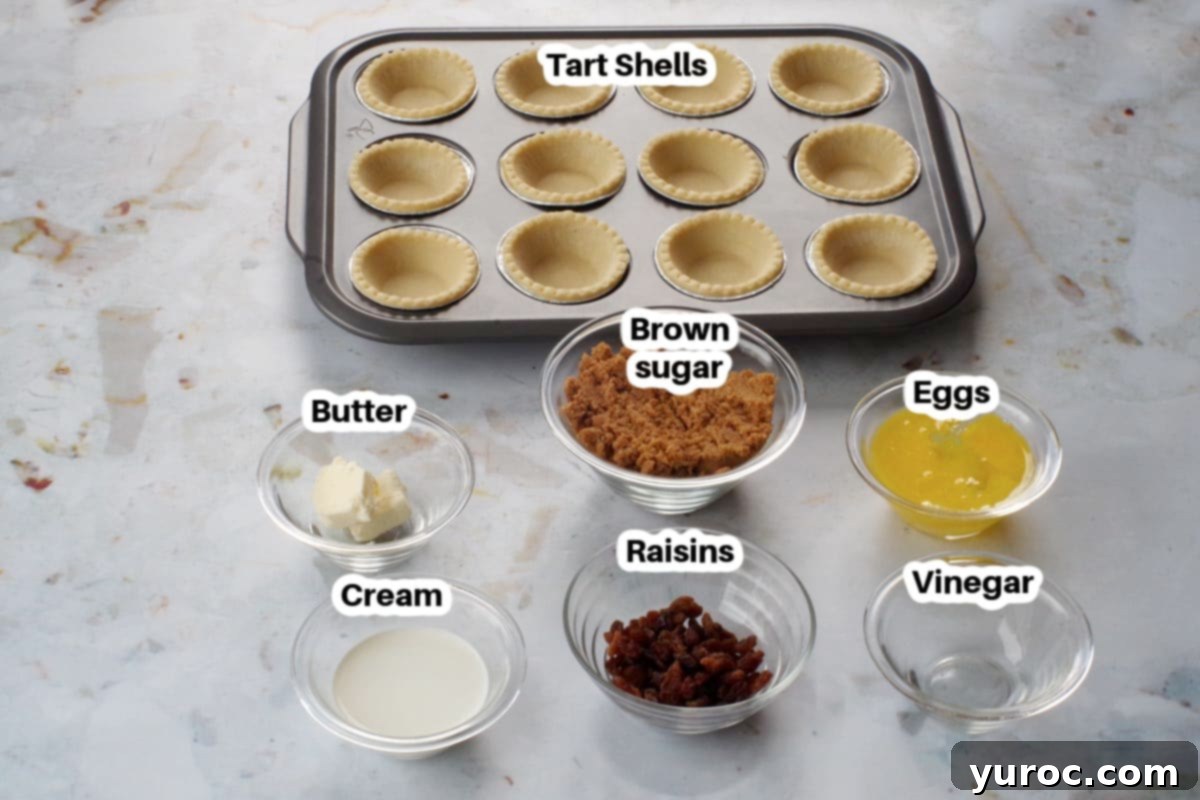
- Butter: This is the star ingredient, providing the rich, luxurious flavor that defines these tarts. I always use unsalted butter to control the overall saltiness.
- Brown Sugar: Essential for its deep, caramel-like sweetness and contribution to the gooey texture of the filling.
- Eggs: Act as a binder and thickener, giving the filling its structure and custardy consistency.
- Cream (Table Cream/Coffee Cream – 18%): Crucial for a smooth, creamy, and velvety filling. Avoid using whipping cream, as it’s too heavy and can result in a different texture.
- White Vinegar: A touch of vinegar is the secret weapon! It helps balance the intense sweetness, adding a subtle tang that prevents the tarts from being cloyingly sweet and enhances the overall flavor profile.
- Raisins (or Chopped Pecans): These add a wonderful textural contrast and flavor. Raisins offer a classic chewiness and sweetness, while pecans lend a nutty crunch and taste reminiscent of pecan pie. Feel free to use one, both, or neither!
- Tart Shells: For convenience, pre-made tart shells (as shown in the photos) are a fantastic option for a quick bake. If you have more time, my No Fail Pie Crust (Cold Water Pastry) recipe or your own favorite homemade pastry recipe can be used to create superior tart shells.
*Refer to the recipe card below for precise ingredient amounts.
📋Variations & Substitutions for Your Canadian Butter Tarts
One of the beauties of this Canadian classic is its adaptability. Here are a few ways you can customize your butter tarts to suit your preferences and what you have on hand:
- Tart Shells: When opting for store-bought convenience, I highly recommend splurging on a reputable brand of flaky pastry shells, such as Tenderflake. In my experience, generic or no-name brands can sometimes be overly salty, which can detract from the delicate sweetness of the butter tart filling. If you’re feeling ambitious, homemade pie crust is always a fantastic choice. These are essentially mini pie crusts, and you can easily cut them into rounds using a cookie cutter or biscuit cutter for a truly fresh and delicious base.
- Brown Sugar: You have the flexibility to use either light or dark brown sugar in this recipe. Dark brown sugar will lend a slightly deeper, more robust molasses flavor and a richer color to your filling, while light brown sugar will result in a milder, sweeter taste. Both work wonderfully, so choose based on your preference.
- Mini Tarts: For bite-sized delights, you can easily transform this recipe into mini tarts using mini tart shells. When making mini butter tarts, remember to adjust the baking time to approximately half of what’s recommended for standard-sized tarts. You’ll simply need a mini muffin pan. This variation yields almost twice as many tarts and is perfect for cookie exchanges, potlucks, or when you want a smaller, guilt-free indulgence.
- Nuts & Fruits: Beyond raisins and pecans, you can experiment with other additions like chopped walnuts, dried cranberries, or even a hint of shredded coconut for different flavor profiles. Just ensure any additions are finely chopped to fit well within the tart shells.
🔪How to Make the Best Canadian Butter Tarts
Making these classic Canadian Butter Tarts is simpler than you might think. Follow these easy steps to achieve that perfect gooey center and flaky crust every time:
Prep: Begin by preheating your oven to 375 degrees F (190 degrees C). This ensures the oven is at the correct temperature for even baking as soon as your tarts are ready.
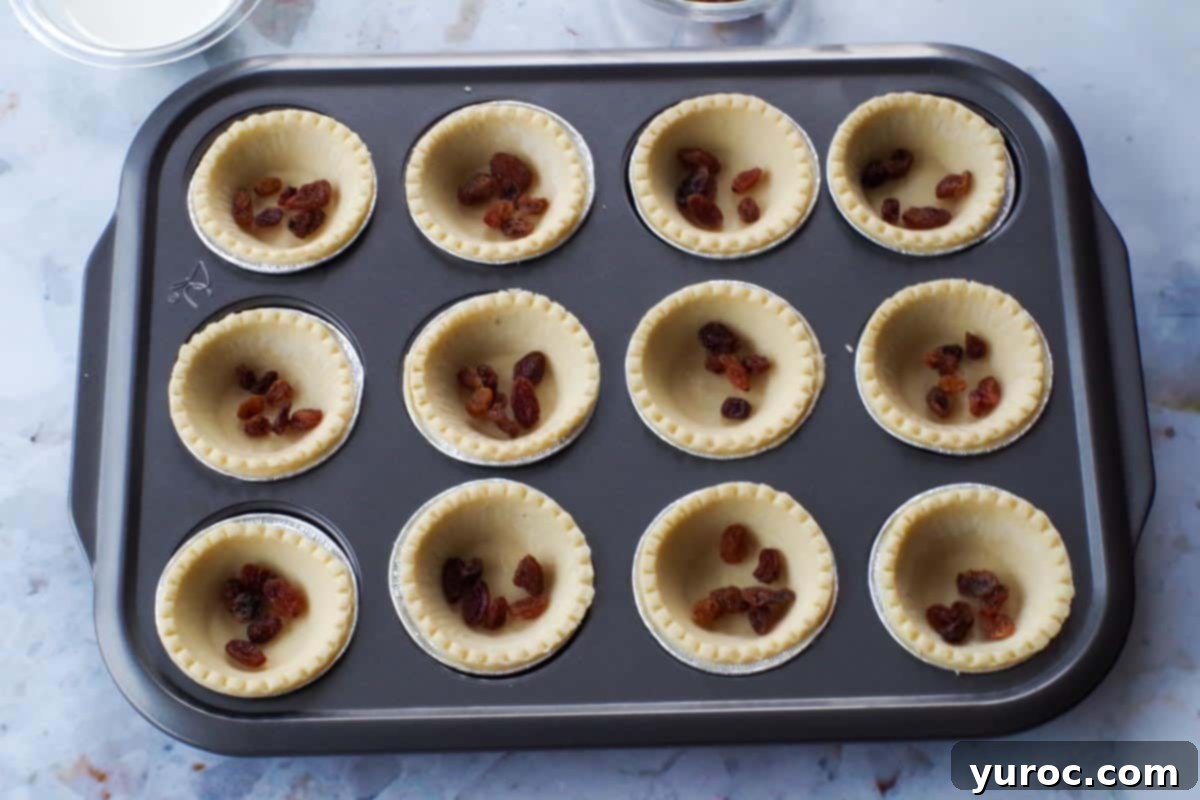
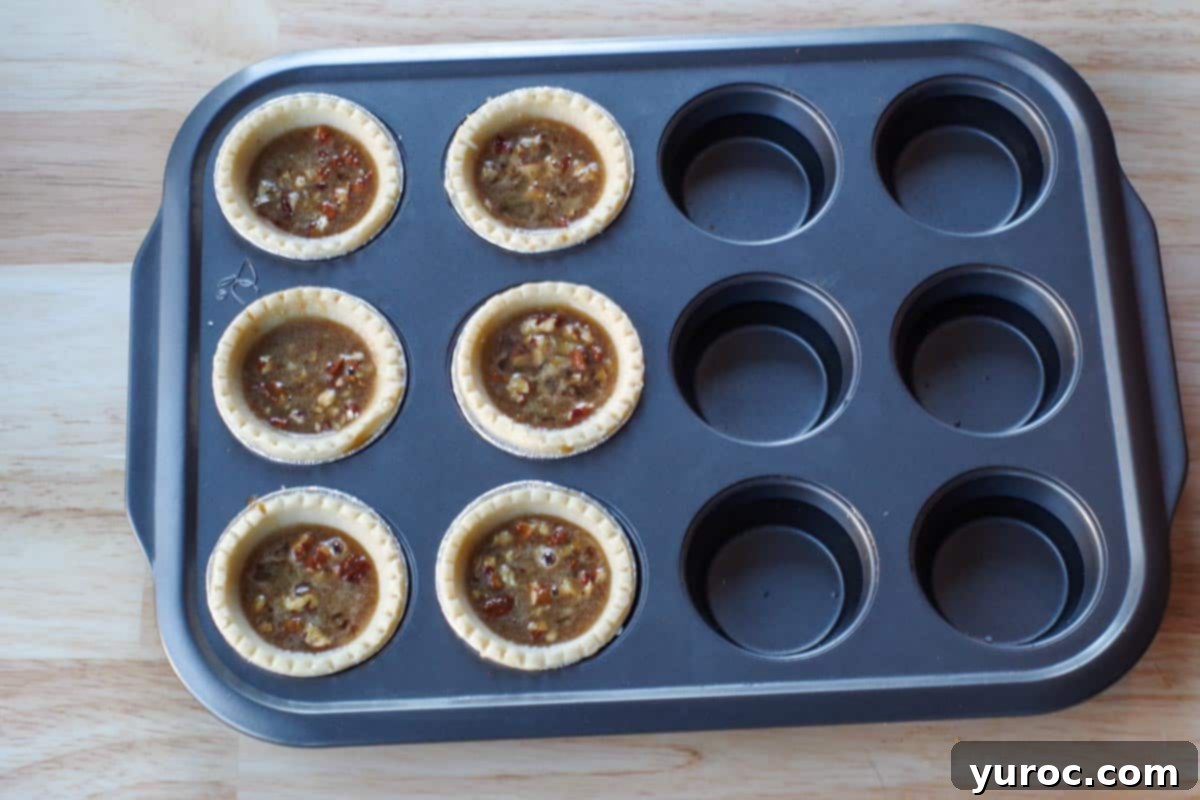
Line your muffin cups with the tart shells. Then, place a small handful of raisins or chopped pecans (or both, if you like!) into the bottom of each unbaked tart shell. This ensures the add-ins are evenly distributed.
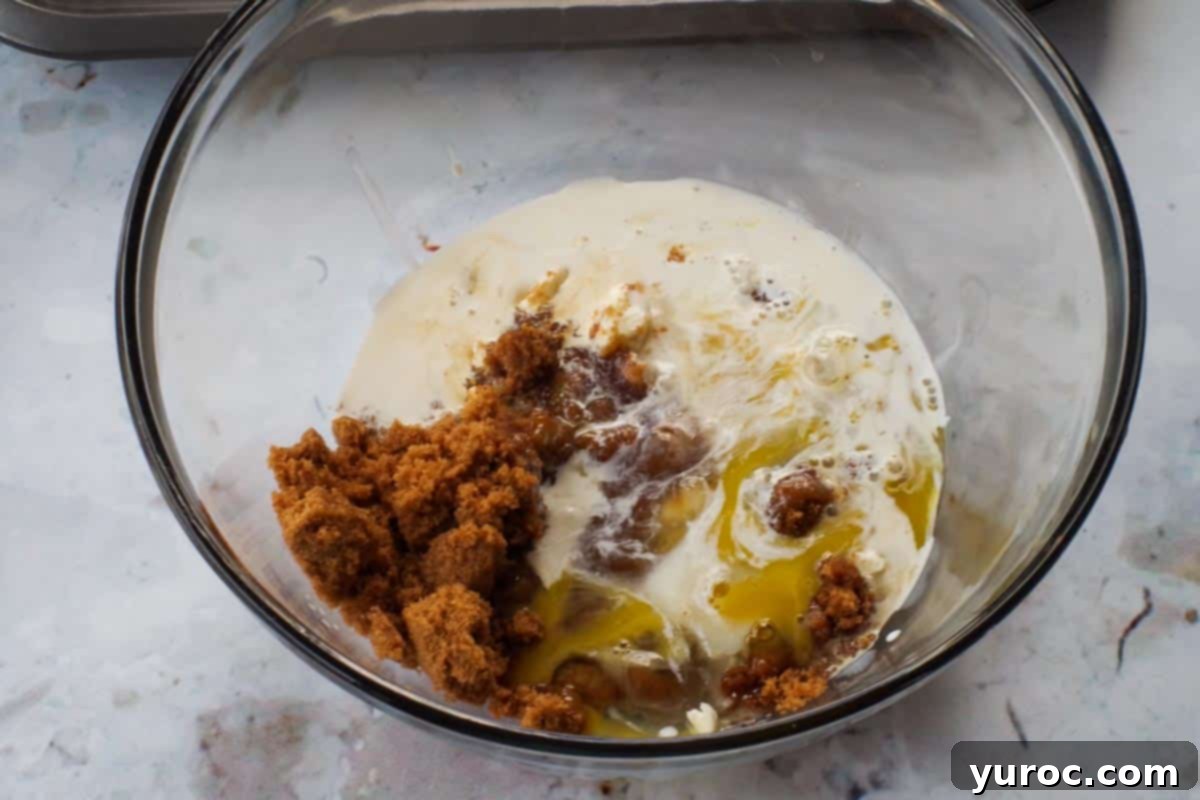
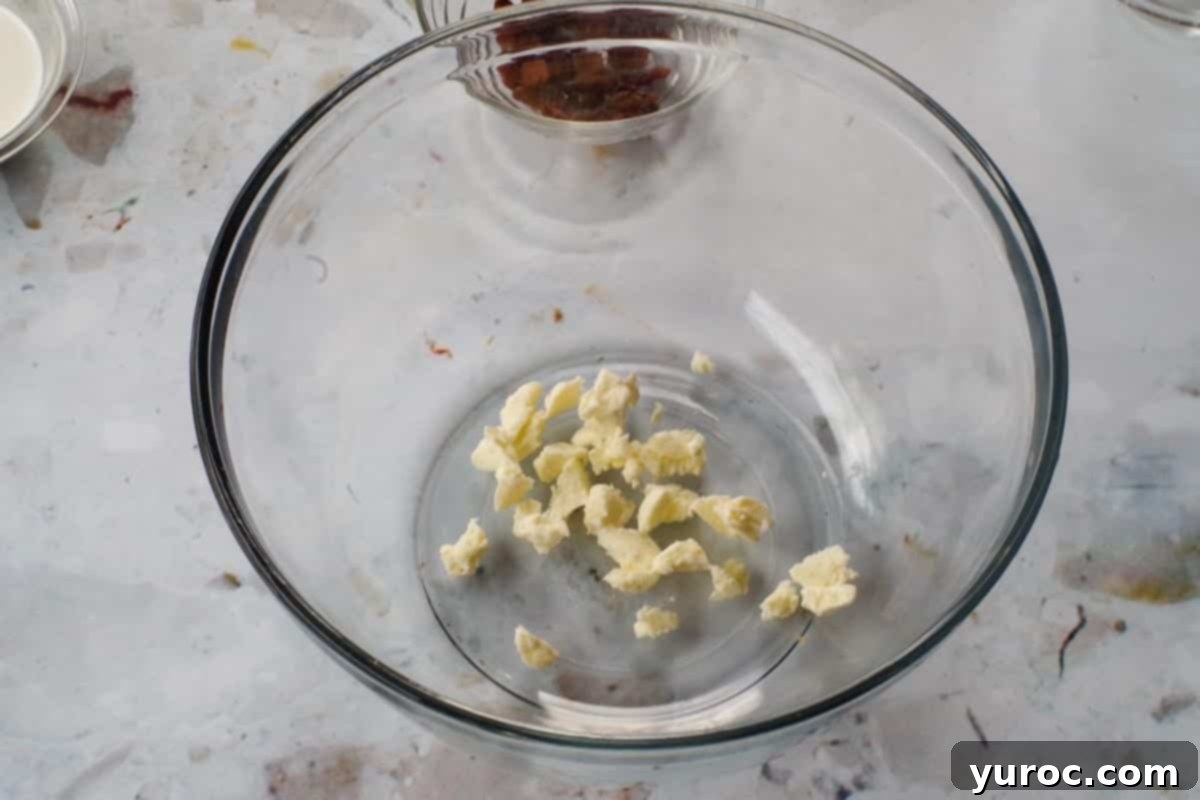
In a medium-sized mixing bowl, add the filling ingredients in the precise order given: first the butter, then the brown sugar, followed by the slightly beaten eggs, and finally the cream. Add the white vinegar last. *It is critical that you follow this order for the best results, as it affects how the ingredients emulsify and the final texture of the filling.
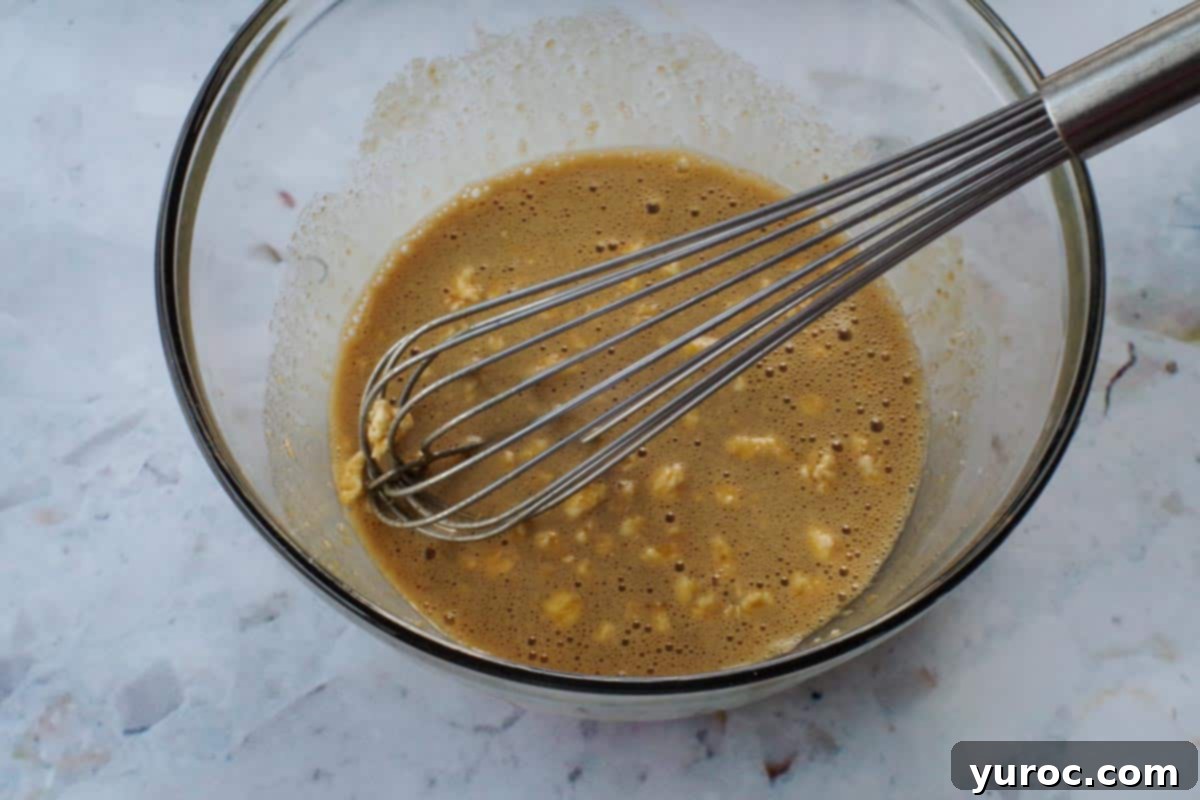
Using a whisk, mix the ingredients until they are thoroughly combined and smooth. Ensure there are no lumps of brown sugar and that the mixture has a uniform consistency. This step is key to achieving that perfectly gooey, rich filling.
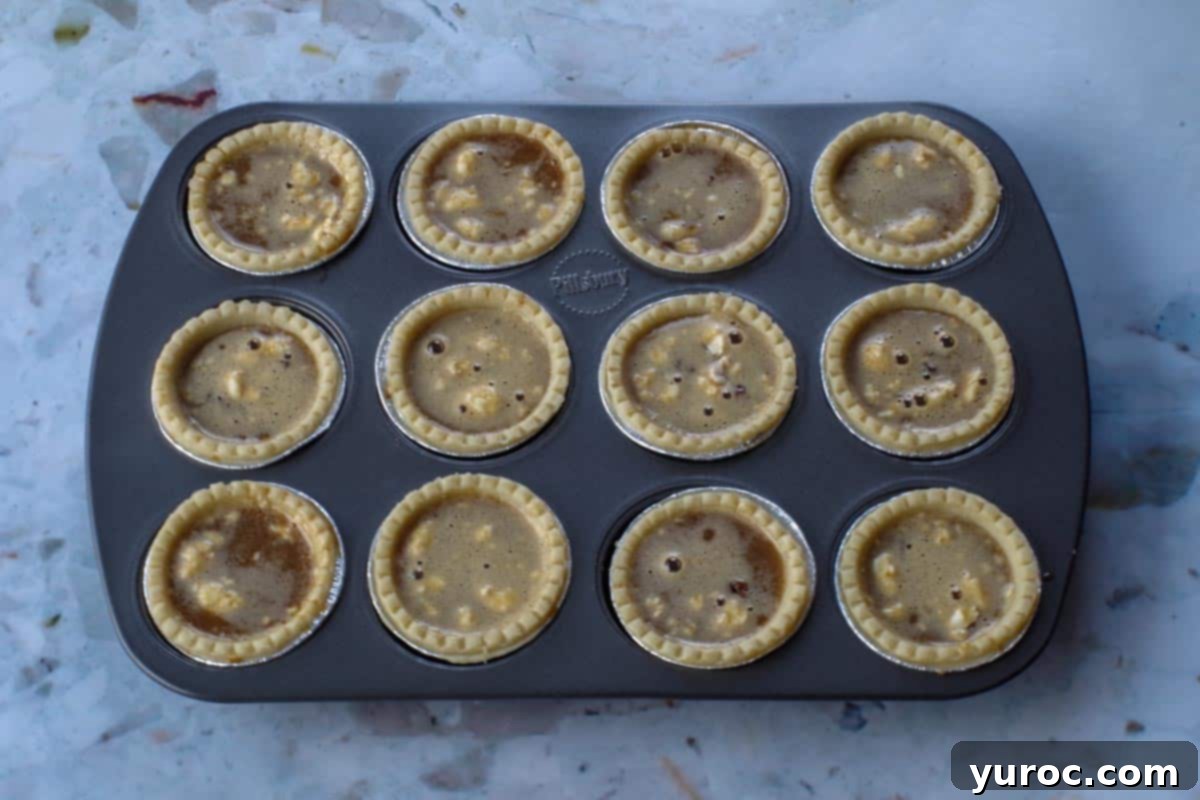
Carefully pour the prepared butter tart filling into each tart shell. Fill them to about ¾ full. Be mindful not to overfill, as the filling will bubble up slightly during baking, and you want to avoid spills.
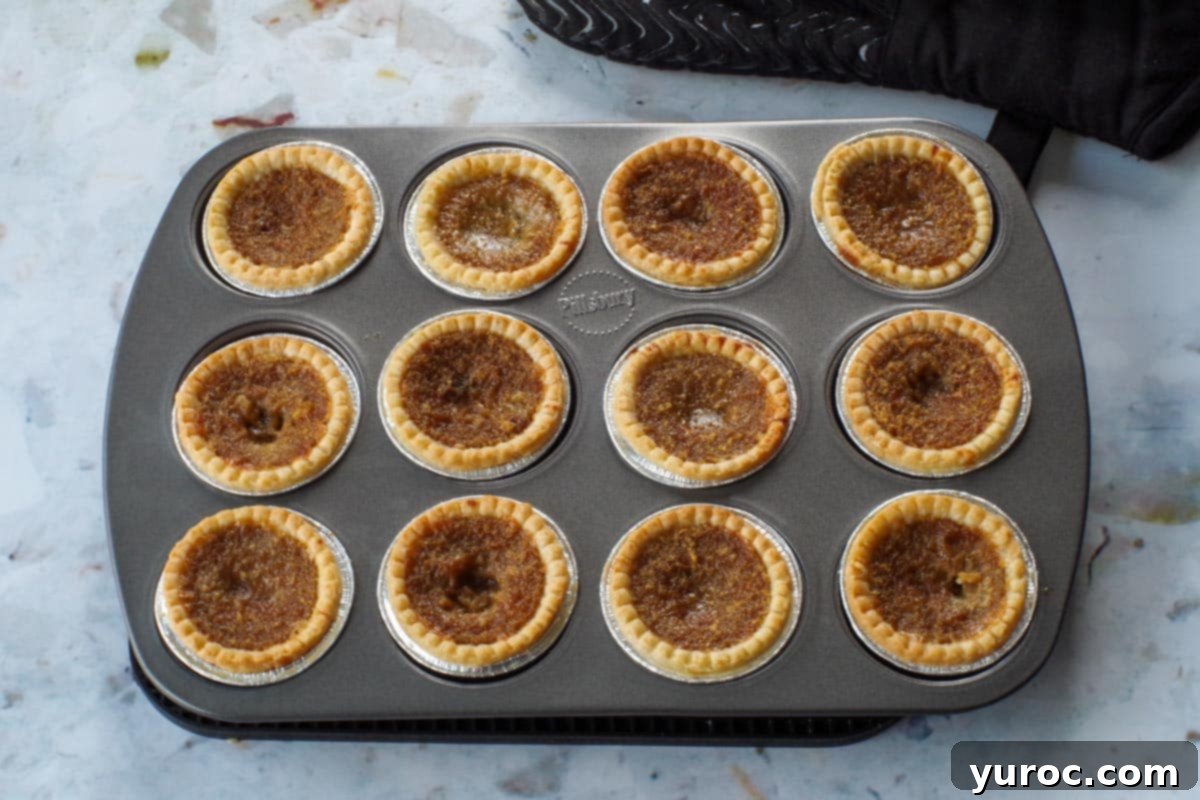
Bake the tarts in your preheated oven for 12-14 minutes. Keep a close eye on them; they are ready when the filling is set (it might still have a slight jiggle in the center) and the tart shells are a beautiful golden brown. Avoid overbaking, as this can lead to a less gooey center.
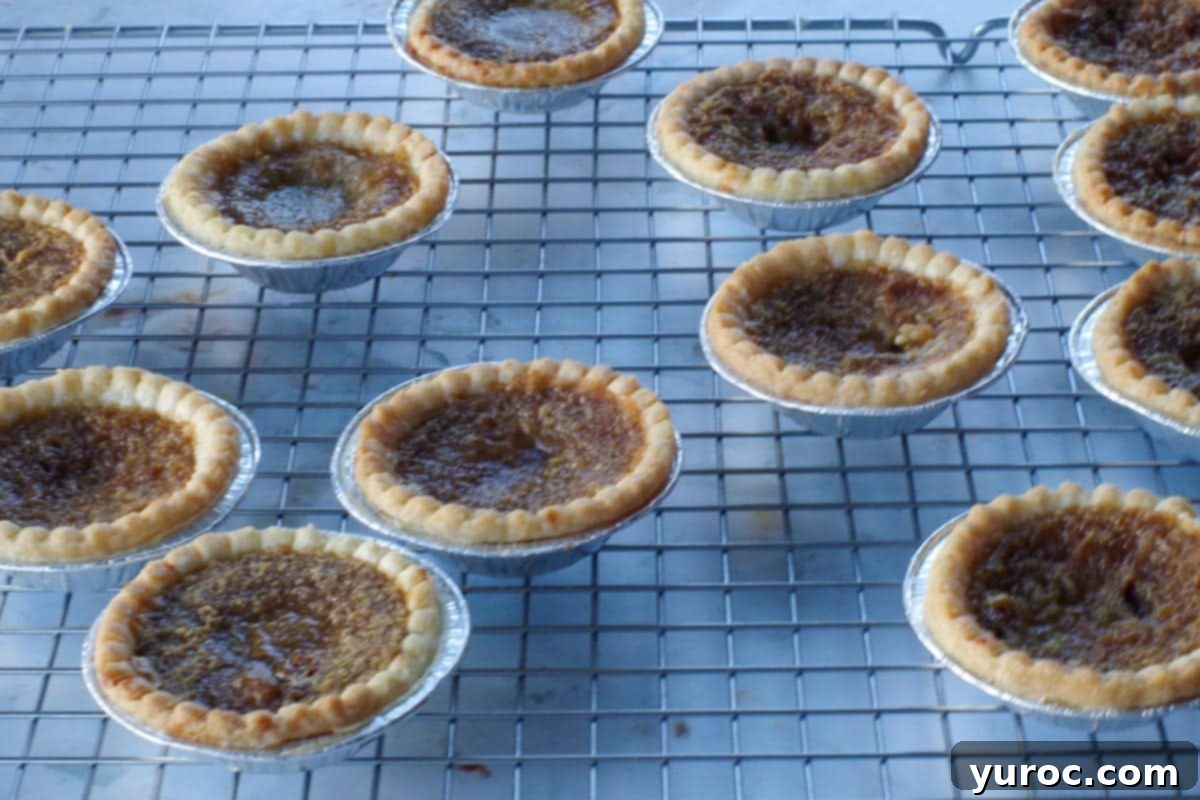
Once baked, carefully remove the muffin tin from the oven. Let the butter tarts cool in the tin for a few minutes before transferring them to a wire rack. Allow them to cool for at least 10 minutes at room temperature before serving. This allows the filling to set further and makes them easier to handle.
*A special note: If you happen to find yourself with leftover butter tart filling – a rare but delightful occurrence – don’t let it go to waste! Use it to make this incredible Butter Tart Ice Cream Recipe! In fact, you might even consider doubling the filling in this recipe just so you’ll have extra for this phenomenal ice cream. Yes, it’s that good!
HINT: To ensure the butter is well incorporated into the filling, cut it into small pieces (you can use a pastry cutter for this) before adding the other ingredients. When pouring the filling into the tart shells, use a ¼ cup measuring cup and continuously whisk the mixture to keep the butter evenly distributed, or use a 4-cup liquid measuring cup and whisk between filling each tart. This will help prevent the butter from sinking to the bottom of the tarts.
💡 Top Tips for Perfect Butter Tarts
Achieving butter tart perfection is all about a few simple tricks:
- Even Baking with Muffin Tins: If you’re baking a smaller batch and don’t have enough tart shells to fill a whole 12-cup muffin tin, simply fill the empty cups with about ⅔ water. This helps to distribute heat evenly and prevents the tin from warping. Remember to rotate the pan halfway through the baking process for consistent results.
- Storing Nuts: To keep your pecans (and other nuts) fresh and prevent them from going rancid, always store them in the fridge. If you don’t plan on using them in the near future, they can be stored in the freezer for even longer preservation. Most nuts will remain fresh for at least 6 months when frozen. Always keep an eye on the expiry date, even when storing properly.
- Achieving Gooey vs. Firm Filling: For a super gooey center, bake for the shorter end of the recommended time (12 minutes) and ensure there’s still a slight jiggle in the middle when you remove them. For a firmer, more set filling, bake for the full 14 minutes or until the center is almost entirely set.
- Preventing Overflow: While tempting to fill to the brim, sticking to the ¾ full recommendation for your tart shells is crucial to prevent the delicious filling from bubbling over and creating a mess in your oven.
👪 Serving Size & Adjustments
This traditional Canadian Butter Tart recipe is designed to yield 12 butter tarts when using homemade shells. However, if you opt for store-bought tart shells, you can often get up to 14 tarts, depending on their size. Customizing the recipe to fit your needs is incredibly simple. You can easily half, double, or even triple the recipe by clicking on the servings number within the interactive recipe card below. Simply select your desired number of servings, and the ingredient amounts will automatically adjust, taking the guesswork out of scaling the recipe.
These tarts are perfect for sharing at holiday gatherings, as a comforting dessert after a meal, or simply as a special treat with your afternoon coffee or tea. Their rich, sweet flavor and delightful texture make them a crowd-pleaser for any occasion.
🌡️Storage & Make-Ahead Tips
Proper storage ensures your delicious butter tarts remain fresh and enjoyable for as long as possible:
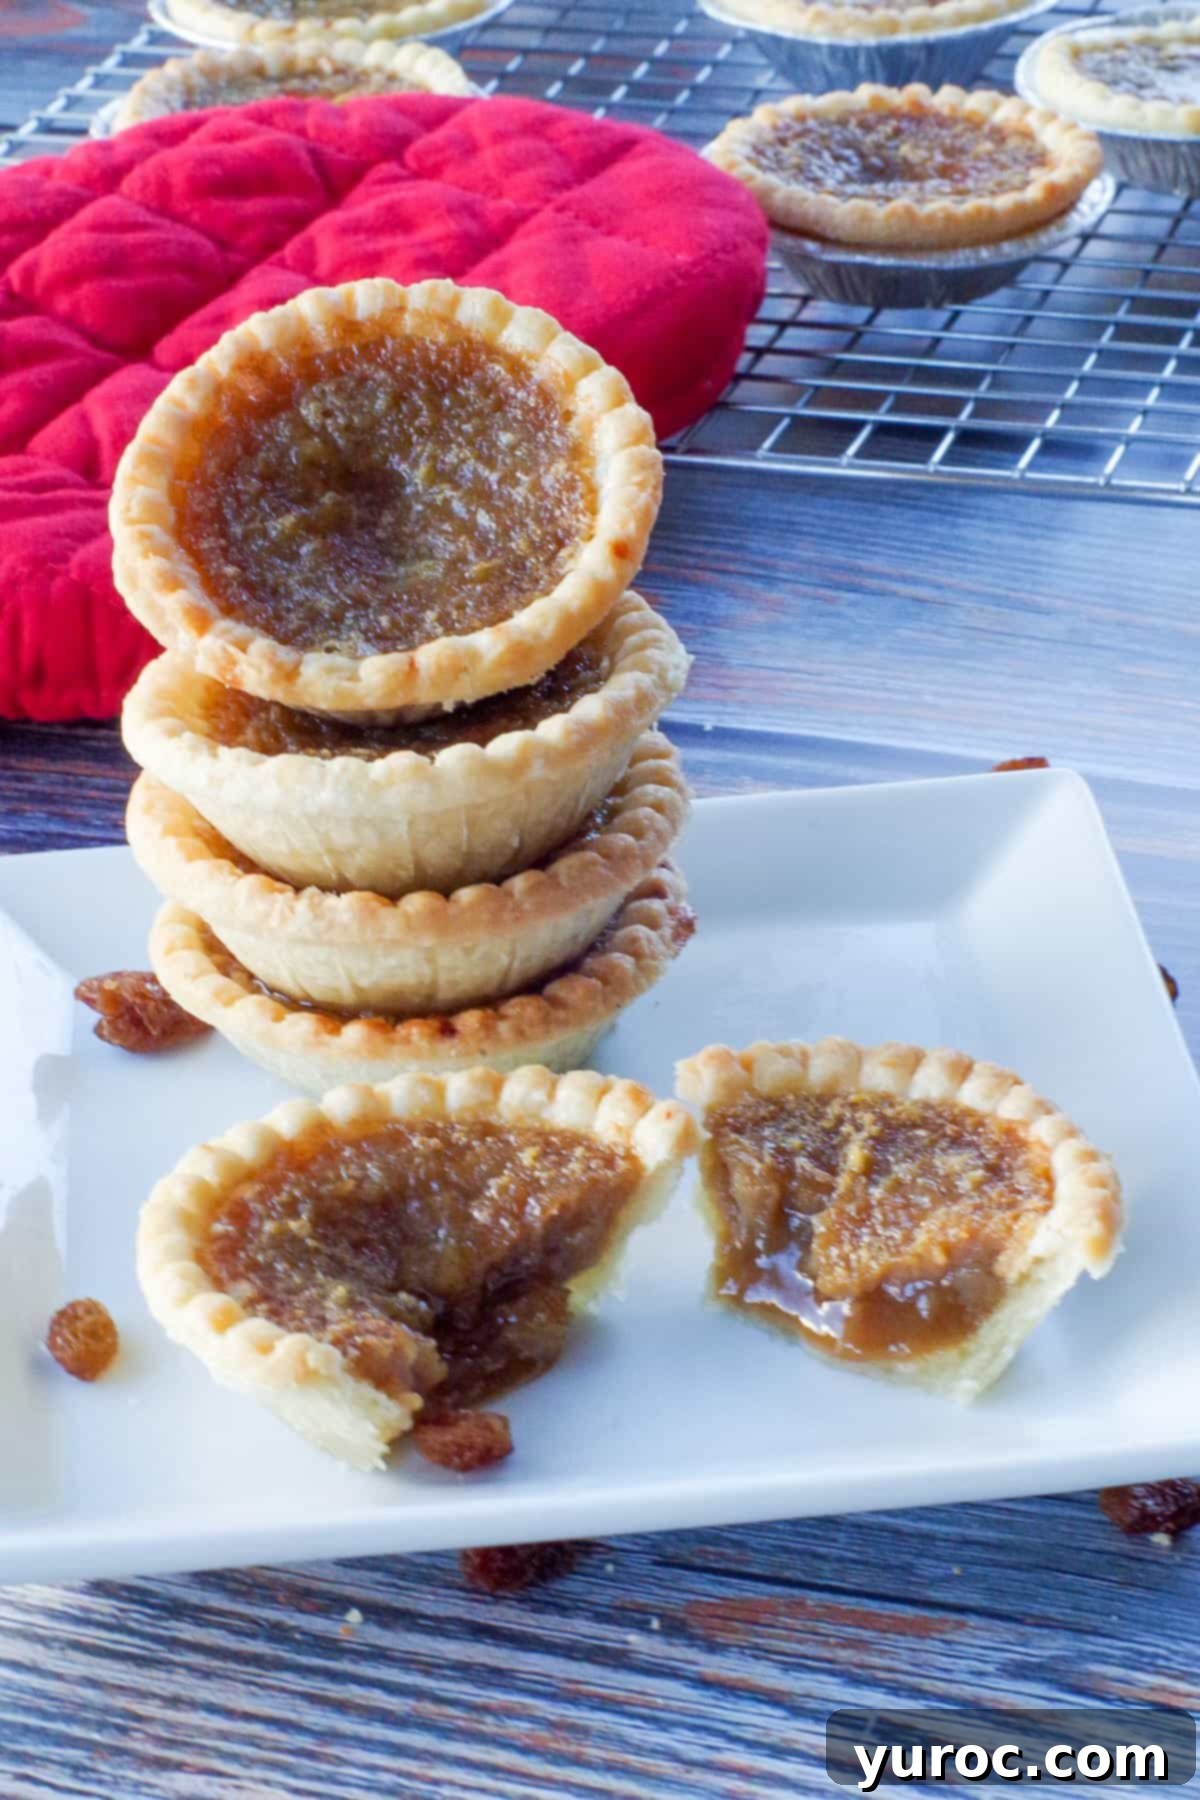
- Refrigeration: These Tenderflake butter tarts (or any butter tarts) can be stored in an airtight container in the refrigerator for up to 5 days. Ensure they are completely cooled before placing them in the container to prevent condensation and sogginess.
- Freezing: This easy recipe freezes exceptionally well, making it perfect for preparing ahead of time for special occasions or for enjoying a sweet treat whenever a craving strikes. They can be frozen for up to 3 months in a sealed airtight container. If you plan to stack them, make sure they are completely cooled and hardened before layering. It’s also a good idea to place a piece of parchment or wax paper between each layer of tarts to prevent sticking and maintain their beautiful appearance. When ready to enjoy, simply thaw them at room temperature or warm them gently in the oven for a “freshly baked” experience.
Making a batch of these butter tarts in advance means you’ll always have a delightful homemade dessert ready to go, perfect for unexpected guests or a spontaneous treat.
So, if you’re on the hunt for a truly authentic Canadian recipe for Butter Tarts, and are seeking THE Best Butter Tart recipe you’ll ever taste, then look no further! Give these Best Ever Butter Tarts a try and experience a piece of Canadian culinary heritage. If you’re looking for more Canadian Desserts to celebrate Canada Day or any occasion, be sure to check out these Canada Day Dessert Ideas!
But what if you suddenly crave butter tarts and don’t have any on hand, or a full batch feels like too much? Don’t despair! Try these delightful Butter Tart Squares! You likely have all the necessary ingredients readily available in your pantry, offering a quicker path to that irresistible butter tart flavor.
For those who are truly enchanted by the unique flavor of butter tarts and wish to explore more butter tart-flavored creations, delve into my comprehensive collection: The Best Butter Tart Recipes! You’ll find a variety of innovative ways to enjoy this beloved Canadian classic.
Did your family❤️this recipe? Did you know that commenting and⭐rating recipes is one of the best ways to support your favorite recipe creators? If you LOVED this recipe, please comment and rate it in the recipe card or share photos on social media using the hashtag #foodmeanderings or tagging @foodmeanderings !

📋 Best Butter Tart Recipe
Print Recipe
Pin
Save RecipeSave Recipe
Rate
Dessert, Snack
Canadian, North American
Vegetarian
12
servings
232
kcal
Terri Gilson
5 minutes
14 minutes
19 minutes
Go to Shopping List
Equipment
-
mixing bowl
-
whisk
-
trivets
-
muffin tin
-
cooling rack
-
spatula
Ingredients
- 2 tablespoon butter
- 1 cup brown sugar
- 2 eggs slightly beaten
- ¼ cup cream
- 1 teaspoon vinegar
- ½ cup raisins (approximately) or substitute finely chopped pecans
- 18 tart shells
Instructions
-
Preheat oven to 375 degrees F/190 degrees C.
-
Place a few raisins or chopped pecans in unbaked tarts shells
-
Mix ingredients in large bowl, in order given (butter, brown sugar, eggs, cream)
Then add vinegar last. *It’s important that you add in order given.
-
Whisk until well combined. * A whisk should be used for this part, although I don’t have that in the photo
-
Pour filling in to tart shell to ⅔ full.
*If you find yourself with leftover butter tart filling, use the leftovers in this Butter Tart Ice Cream Recipe! In fact, you’ll want to double the filling in this recipe just so you’ll have leftovers to make this ice cream 🙂 Yes, it’s that good!
-
Bake for 12-14 minutes or until filling is set and shells are lightly browned.
-
Cool on cooling rack for 10 minutes.
Notes
Nutrition
🎄More Holiday Baking!
