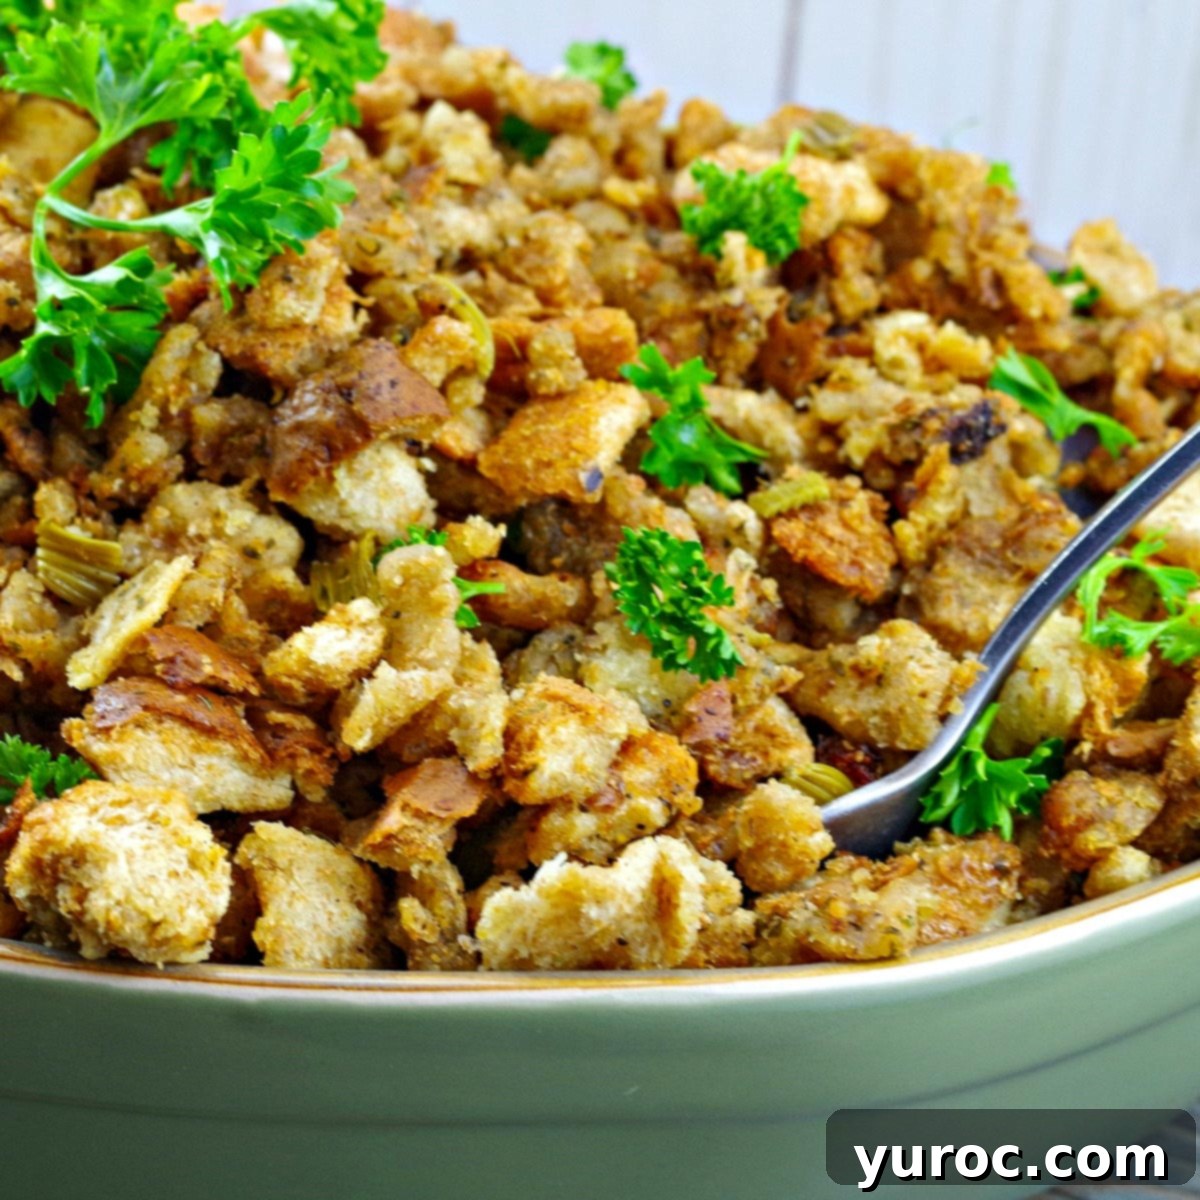
Classic Old Fashioned Turkey Stuffing: A Savory, Traditional Holiday Recipe
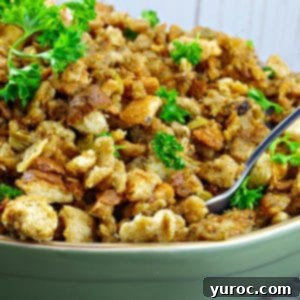
This Old Fashioned Turkey Stuffing recipe brings pure, unadulterated tradition to your holiday table. Forget the overly sweet or complicated versions; this is a genuinely savory delight, crafted without additions like apples, cranberries, or sausage. It’s a straightforward, authentic bread stuffing that lets the simple, classic flavors shine through.
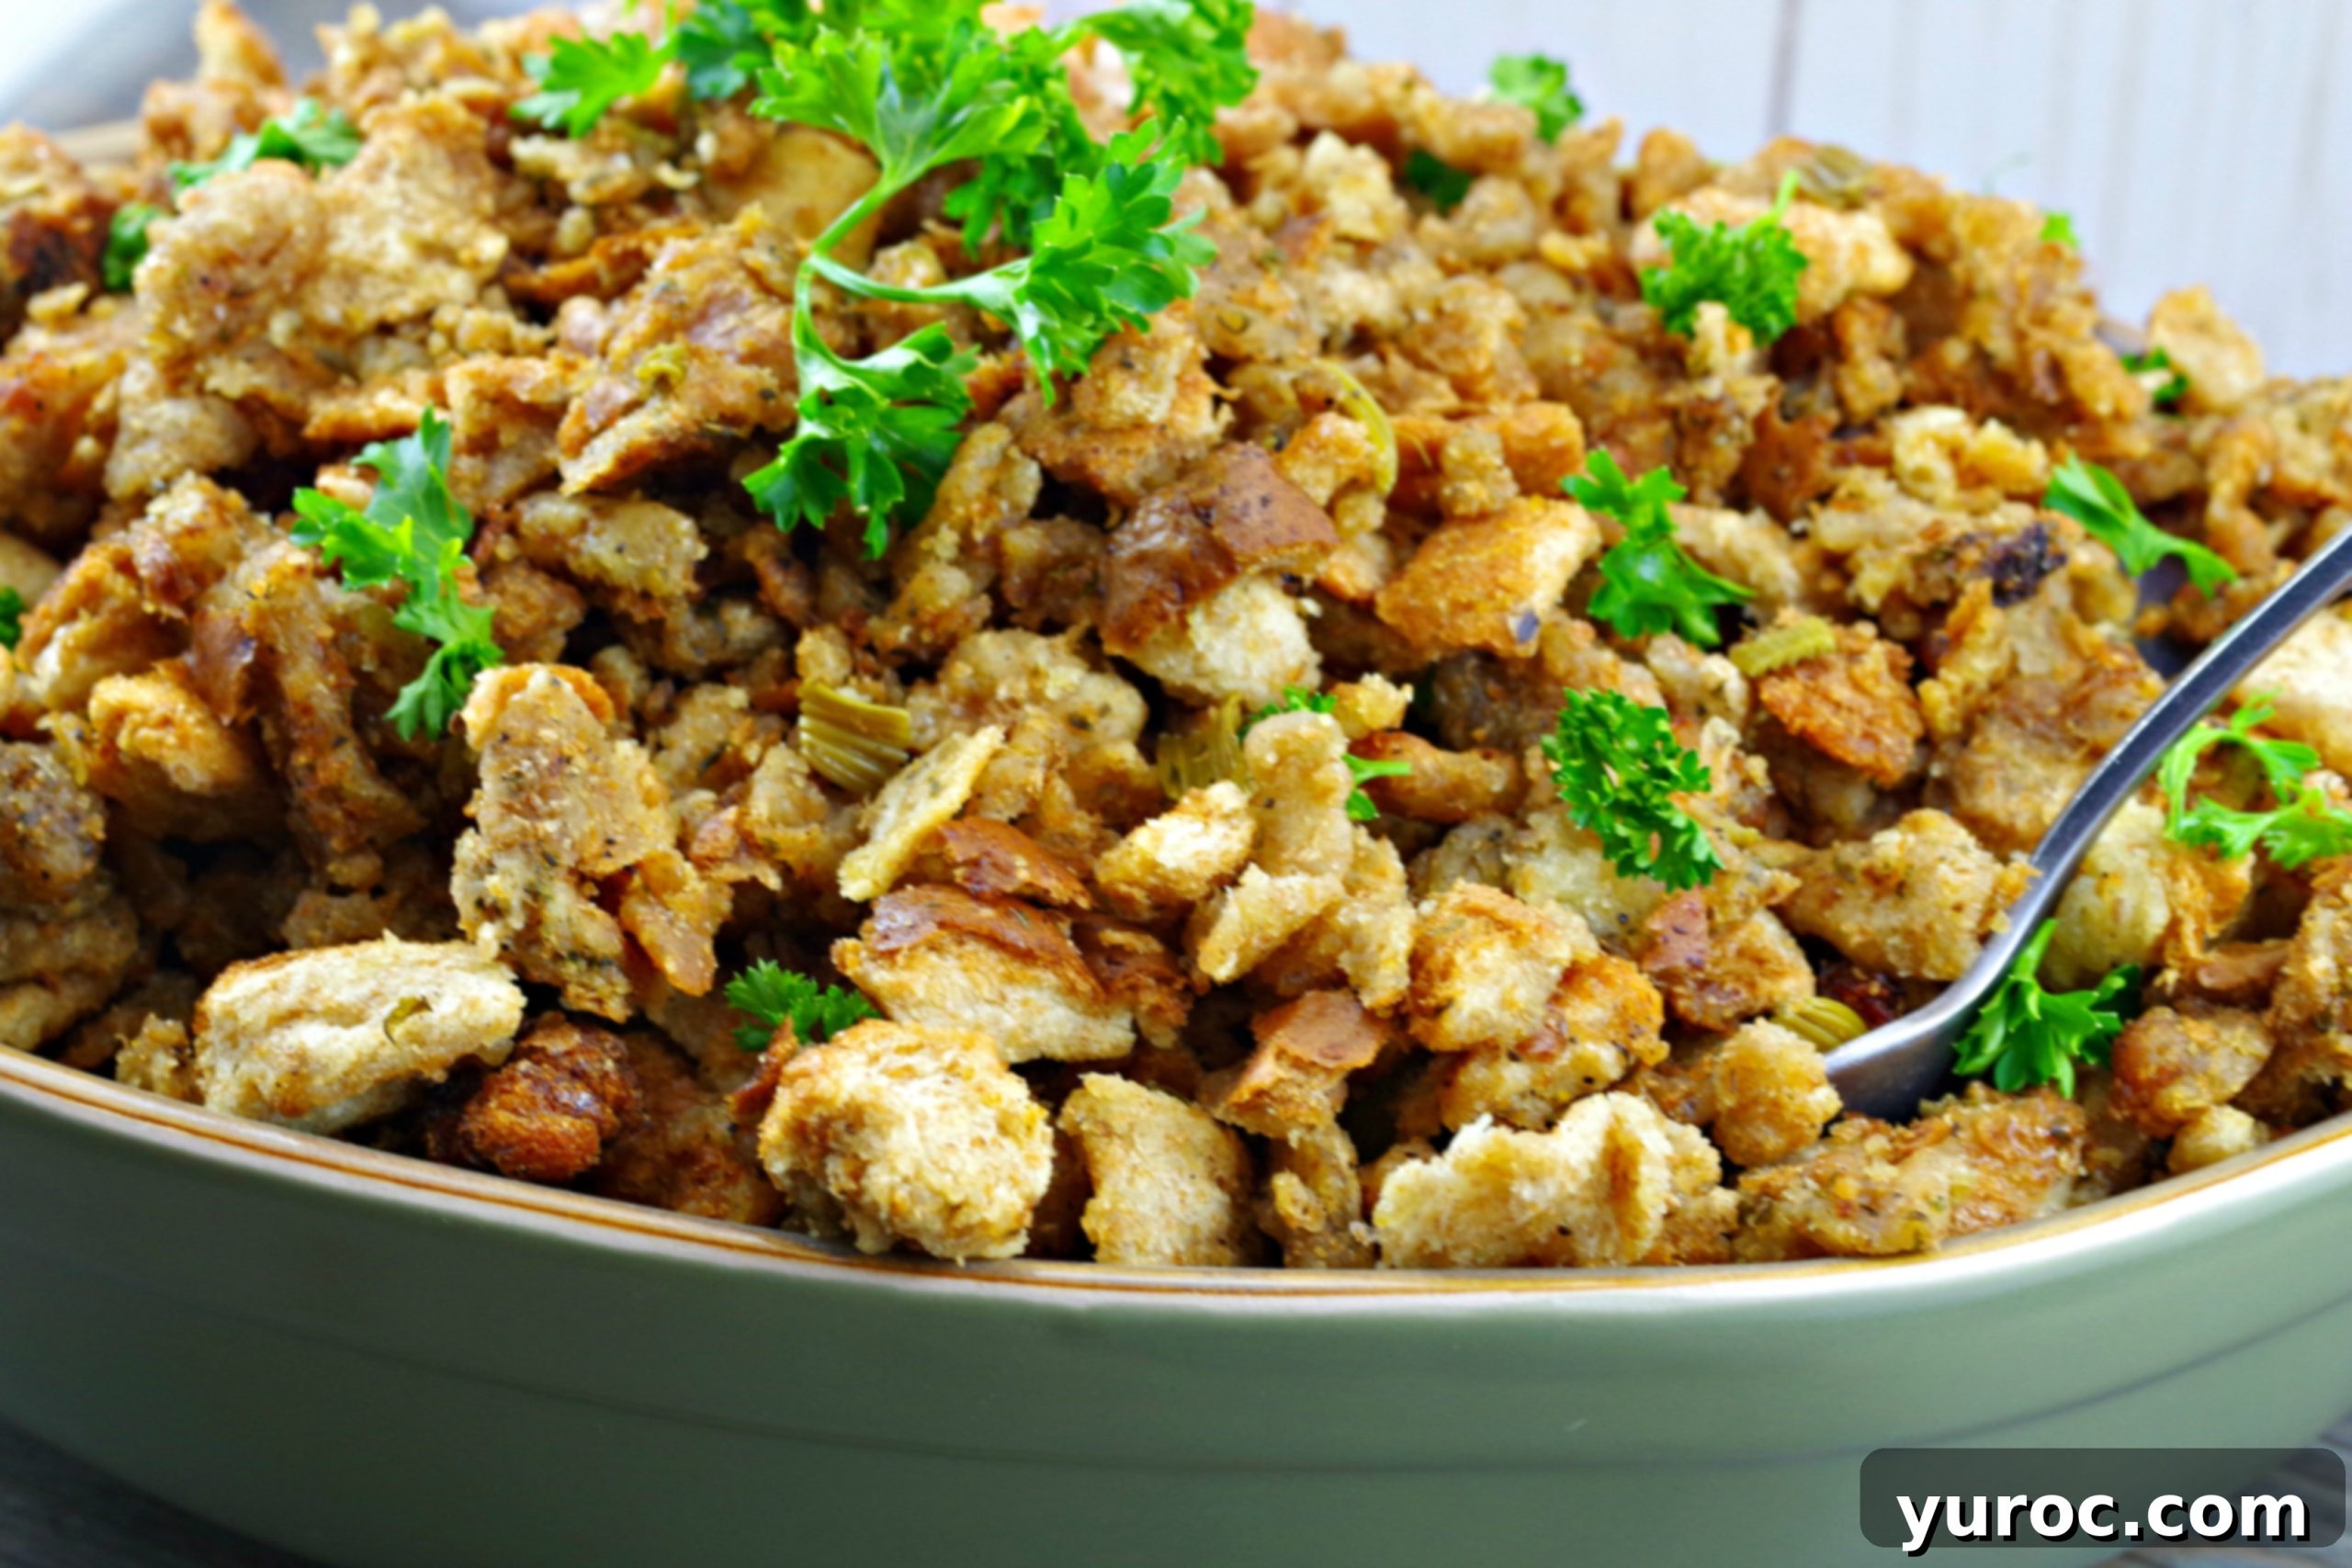
While exceptionally popular during major holidays like Thanksgiving and Christmas, this versatile side dish often graces our Easter feast as well, especially when a succulent turkey is on the menu. Its rich, comforting flavors make it an indispensable companion to any festive bird, truly earning its place as the perfect Thanksgiving side dish.
As Canadian Thanksgiving approached, my mind often drifted back to past celebrations and the cherished memories woven around them. One particular Thanksgiving stands out vividly. Having recently moved to Alberta, it was my first holiday season away from the familiarity of home, and the thought of spending it alone was truly disheartening.
My incredibly thoughtful parents, sensing my low spirits, embarked on a remarkable 15-hour drive, bringing with them not just a massive turkey and a roaster, but also the comforting presence of family. Their mission? To ensure we didn’t have to endure Thanksgiving apart. And because some traditions are simply non-negotiable for a true holiday spread, my Mom meticulously prepared our family’s treasured Old Fashioned Turkey Stuffing to complement that beautifully roasted turkey. However, despite their heroic efforts and the delicious food, there was one crucial item I hadn’t realized I needed for that memorable dinner.
Much like Christmas wouldn’t be complete without delectable Butter Tarts, Thanksgiving, in my world, simply isn’t the same without this authentic old fashioned stuffing. Alongside the star turkey, creamy mashed potatoes drenched in rich gravy, and a slice of homemade Pumpkin Pie crowned with whipped cream, this stuffing forms the bedrock of our traditional holiday meal. Over the years, my Mashed Turnip & Apple Casserole has also become a cherished family favorite, adding another layer of seasonal flavor. Complete the spread with a vibrant cranberry sauce and some fresh veggies (peas are a unanimous hit in our family!), and you have the blueprint for the PERFECT Thanksgiving dinner!
This particular recipe is my Grandma’s Old Fashioned Bread Stuffing, a testament to timeless culinary wisdom. It’s as authentically old-fashioned as you can get, having been passed down through generations within our family. I believe its origins can be traced back to *The Five Roses Cookbook*, a culinary classic well over a century old, ensuring its place in history as a truly traditional staple.
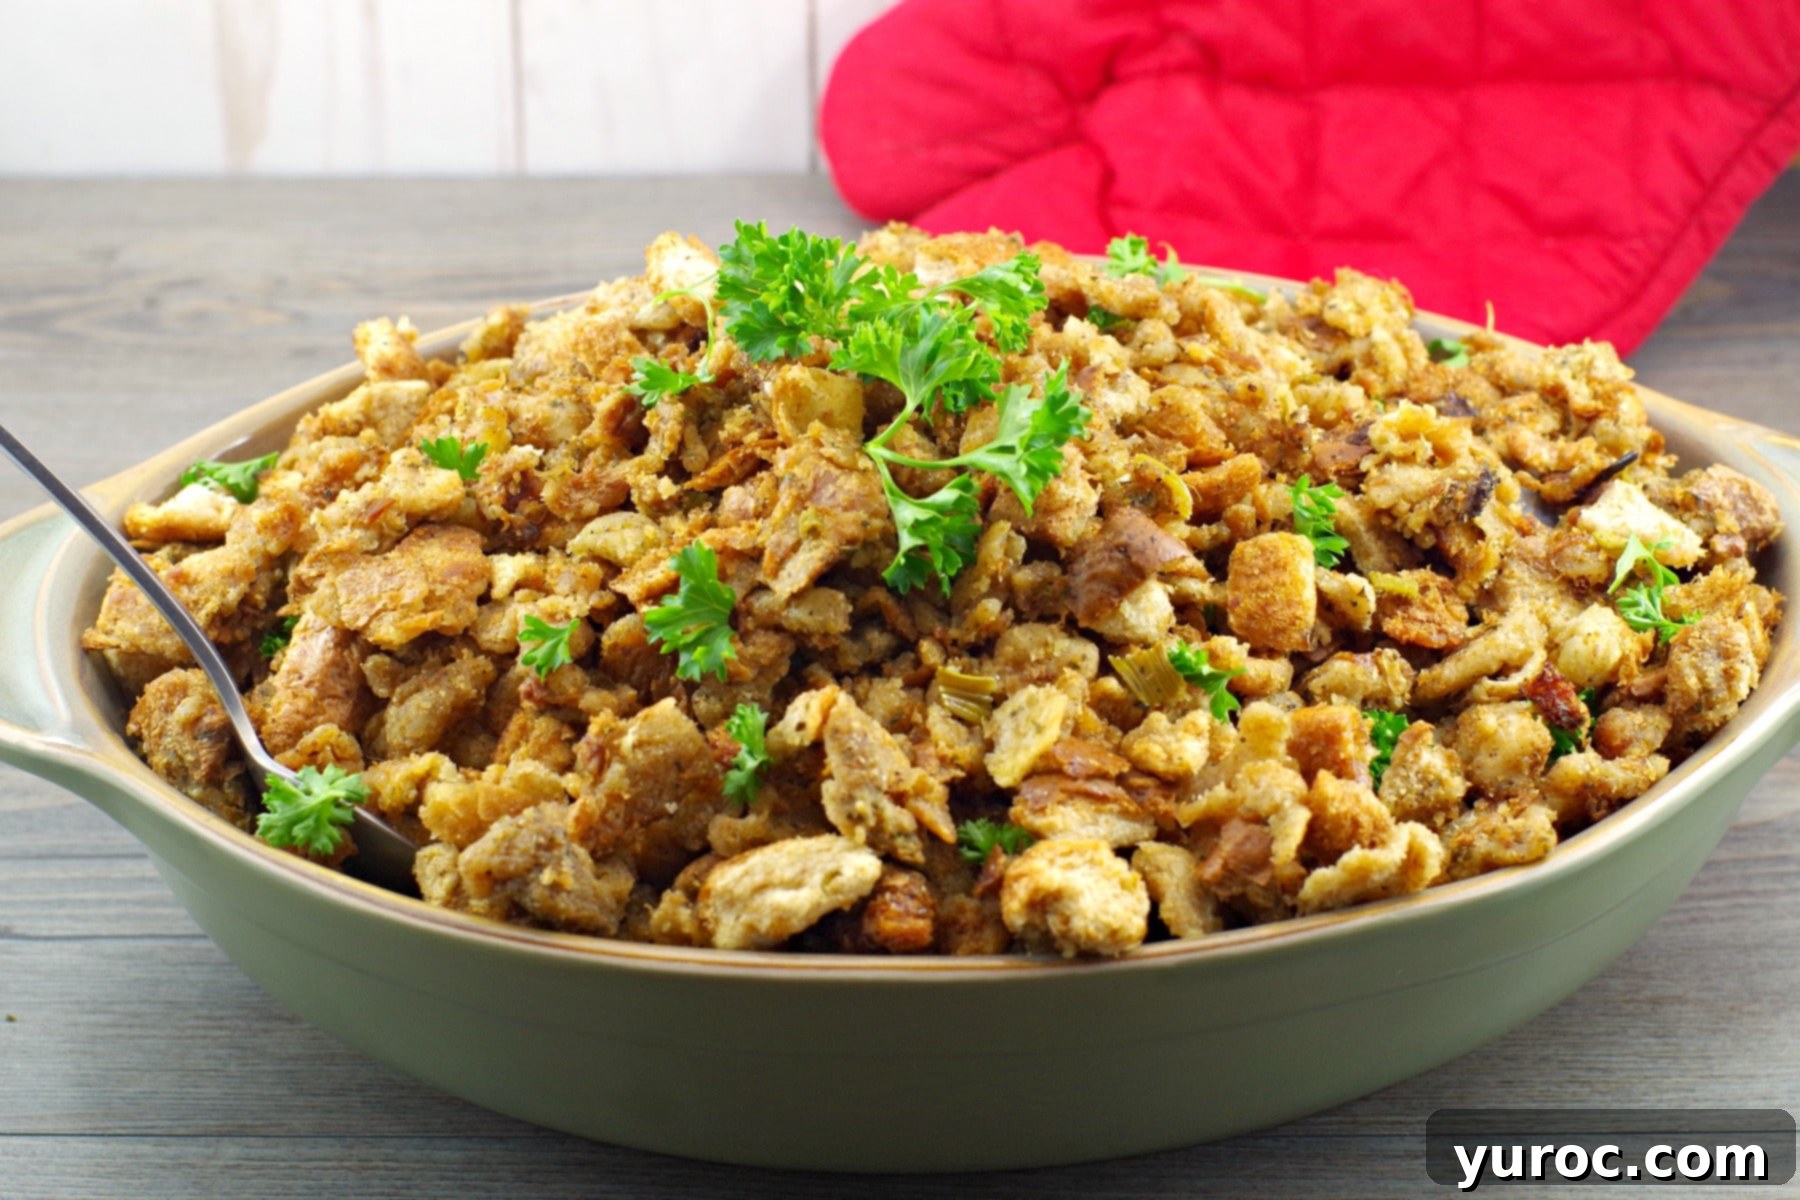
Also affectionately known as Savory Stuffing, this simple yet profoundly flavorful dish embodies the essence of traditional stuffing. Its hallmark is its savory profile, deliberately devoid of sweet ingredients like apples, dried fruit, or sugary additions. You won’t find any sausage or nuts either, making it a pure, unadulterated bread stuffing experience that focuses on the interplay of herbs, butter, and aromatics. This commitment to simplicity ensures its classic taste endures year after year.
🥘 Essential Ingredients for Your Savory Stuffing
Crafting this classic old-fashioned bread stuffing requires a few simple, high-quality ingredients that combine to create its signature comforting flavor:
- Unsalted butter: This is crucial for flavor and moisture. Using unsalted butter gives you full control over the final saltiness of the dish.
- Onion: Finely diced onion provides a foundational aromatic sweetness that balances the savory herbs.
- Stalks of celery: Celery adds a subtle crunch and earthy flavor that is characteristic of traditional stuffing.
- Dried bread: The cornerstone of this recipe! A mix of different bread types (white, rye, brown, French bread) adds complexity to the texture and flavor. Drying the bread is essential for absorption and preventing a soggy stuffing.
- Salt: Enhances all the flavors in the stuffing. Adjust to taste.
- Black pepper: Adds a gentle warmth and spice.
- Poultry seasoning: This blend of herbs (often sage, thyme, rosemary, marjoram) is what gives traditional stuffing its distinctive holiday aroma and taste.
- Parsley (dried): Fresh parsley is great, but dried parsley offers a consistent, robust herby note throughout.
The beauty of this turkey stuffing recipe lies in its remarkable ease and versatility. You can prepare much of it in a single large pot on the stovetop. It can be cooked directly inside your holiday turkey for maximum flavor infusion, or baked separately as a delightful side dish. My preferred method is often a combination: stuffing some into the turkey to soak up those delicious drippings, and baking the rest on the side to achieve a perfect crispy-on-the-outside, moist-on-the-inside texture. Mixing the two together at the end creates an unparalleled blend of textures and depths of flavor that will have everyone reaching for seconds.
📖 Variations & Smart Substitutions
While this recipe champions tradition, there’s always room for minor adjustments to suit your preferences or dietary needs:
- Bread: Don’t feel limited to one type of bread. Experiment with different varieties like stale sourdough, challah, or cornbread for distinct flavor profiles. The key is to ensure it’s dried thoroughly to achieve the right texture.
- Butter: If you only have salted butter on hand, that’s perfectly fine! Just remember to significantly reduce the amount of added salt in the recipe, typically by two-thirds, to avoid over-seasoning.
- Parsley: Fresh herbs can elevate the stuffing’s aroma. If opting for fresh parsley or other fresh herbs like sage or thyme, you’ll generally need to double the quantity compared to dried herbs for a comparable flavor intensity.
- Lighter/Weight Watchers friendly: For a lighter version, consider using a light butter alternative or a plant-based margarine. Pair this with a low-point, Weight Watchers-friendly bread to reduce calories and fat.
- Dairy-free: Easily make this recipe dairy-free by substituting traditional butter with a high-quality vegan margarine or another plant-based butter substitute. Ensure your chosen substitute has a good flavor profile for savory cooking.
🔪 Step-by-Step Instructions for Perfect Stuffing
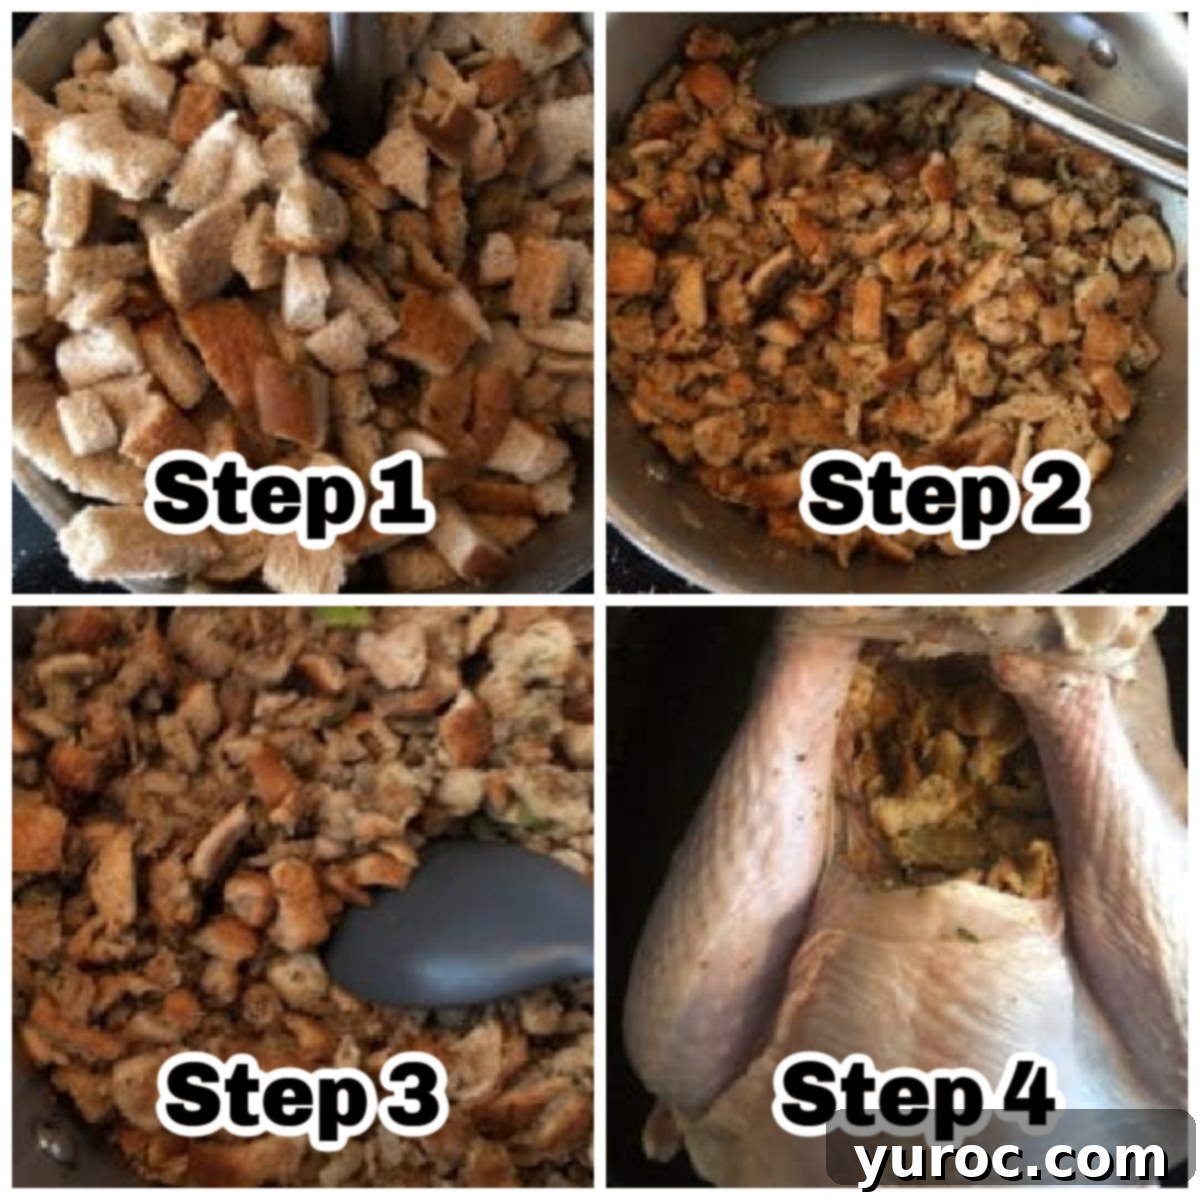
- Prepare the Bread: The foundation of great stuffing is properly dried bread. Lay your bread slices out on cookie sheets overnight to air dry. This step is crucial for the bread to absorb the liquids and flavors without becoming soggy. If you forget or are short on time, you can quickly dry it in the oven (see *NOTES for oven-drying bread tips). Once dried, cut the bread into uniform cubes.
- Sauté Aromatics: In a large pot on the stovetop, melt 1 cup of unsalted butter over medium heat. Add the diced onion and celery, and sauté them until they become wonderfully soft and translucent, usually about 7 minutes. This gentle cooking extracts their sweet flavors, building the base of your stuffing.
- Combine First Half of Bread and Spices: Add about half of your dried bread cubes along with all the salt, black pepper, and poultry seasoning to the pot with the sautéed aromatics and butter. Stir well to coat.
- Cook Down First Batch: Continue heating and stirring continually. The bread will begin to absorb the butter and spices, softening and shrinking in volume by about half. This process deepens the flavor and starts the texture development.
- Add Remaining Ingredients: In a separate bowl, melt the remaining ⅓ cup butter (a quick microwave session works perfectly). Add the rest of the dried bread cubes and the dried parsley to the pot. Pour the melted butter over the top.
- Finish Combining: Stir everything together continuously for another 5-7 minutes until the remaining bread cubes are softened and fully coated with the butter and spices. The mixture should be fragrant and evenly seasoned.
- Stuff the Turkey (Optional): If you plan to stuff a turkey, now is the time. Typically, a 13-15 lb turkey can only hold about a quarter of this recipe’s stuffing. For food safety and even cooking, ensure the stuffing is loosely packed. The remaining stuffing can be baked separately.
⏲️ Baking Perfection: Tips for Stuffed & Separate Stuffing
To bake the remaining stuffing separately:
- Prepare your baking dishes by spraying a couple of 9×13 inch pans (or similar baking dishes) generously with nonstick cooking spray. Evenly spread the remaining stuffing into these prepared pans.
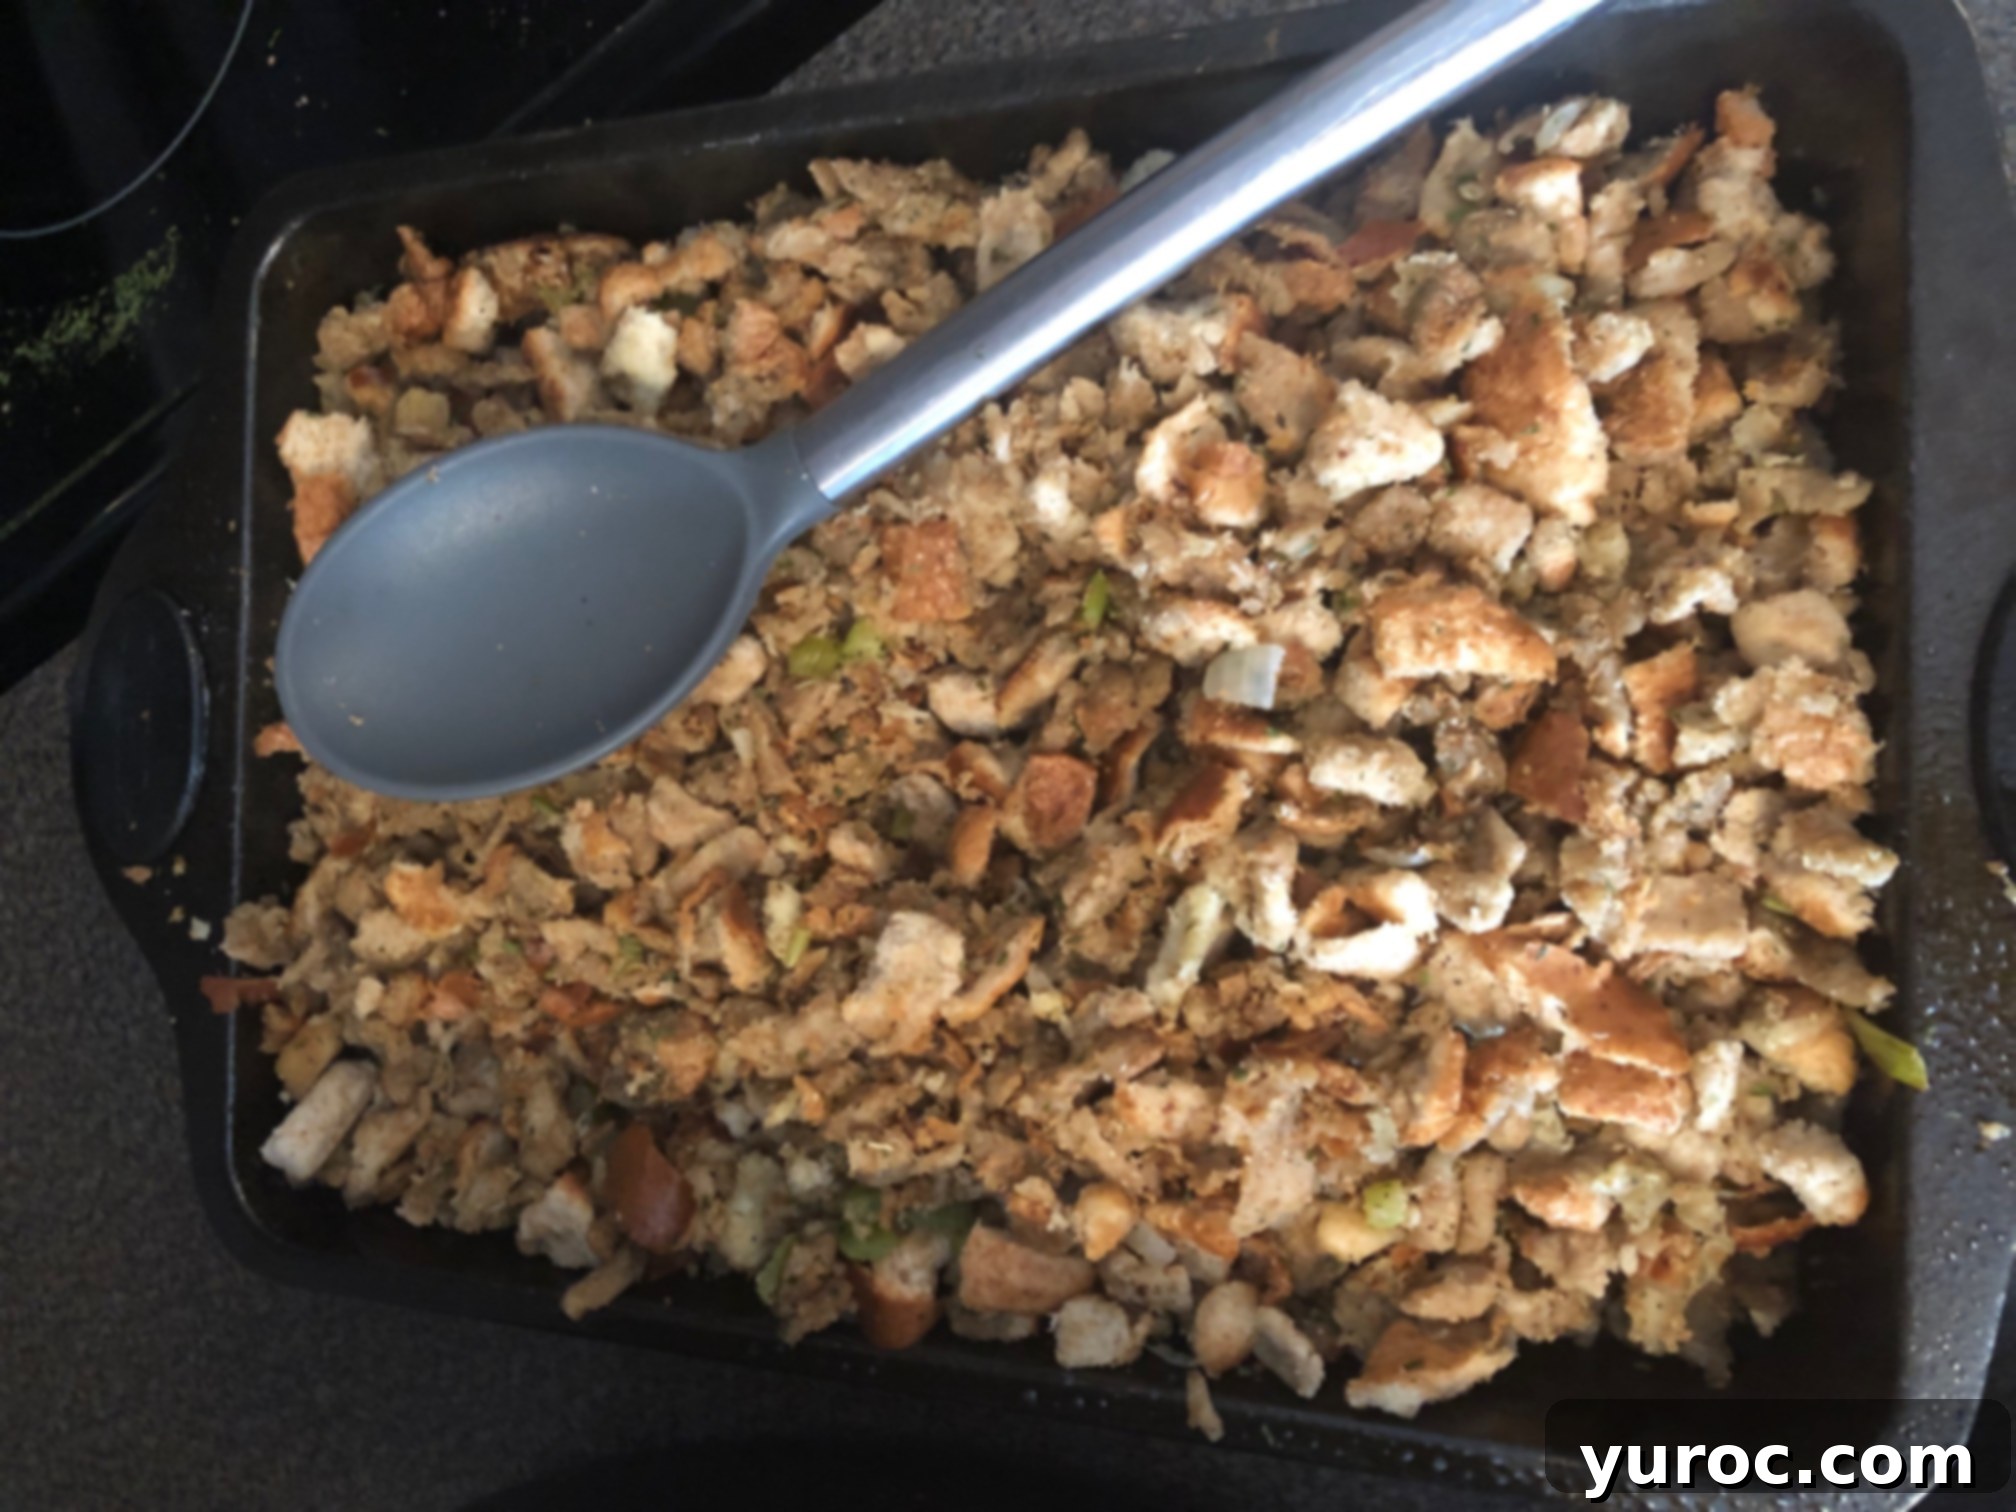
- Begin roasting your turkey in the oven according to your preferred method for a stuffed bird. For a 10-16 lb turkey, I typically cook it for about 25 minutes per pound, which usually amounts to around 5 hours. Important: Do NOT place the separately baked stuffing into the oven at the same time as the turkey’s initial cook. It needs less time and specific moisture.
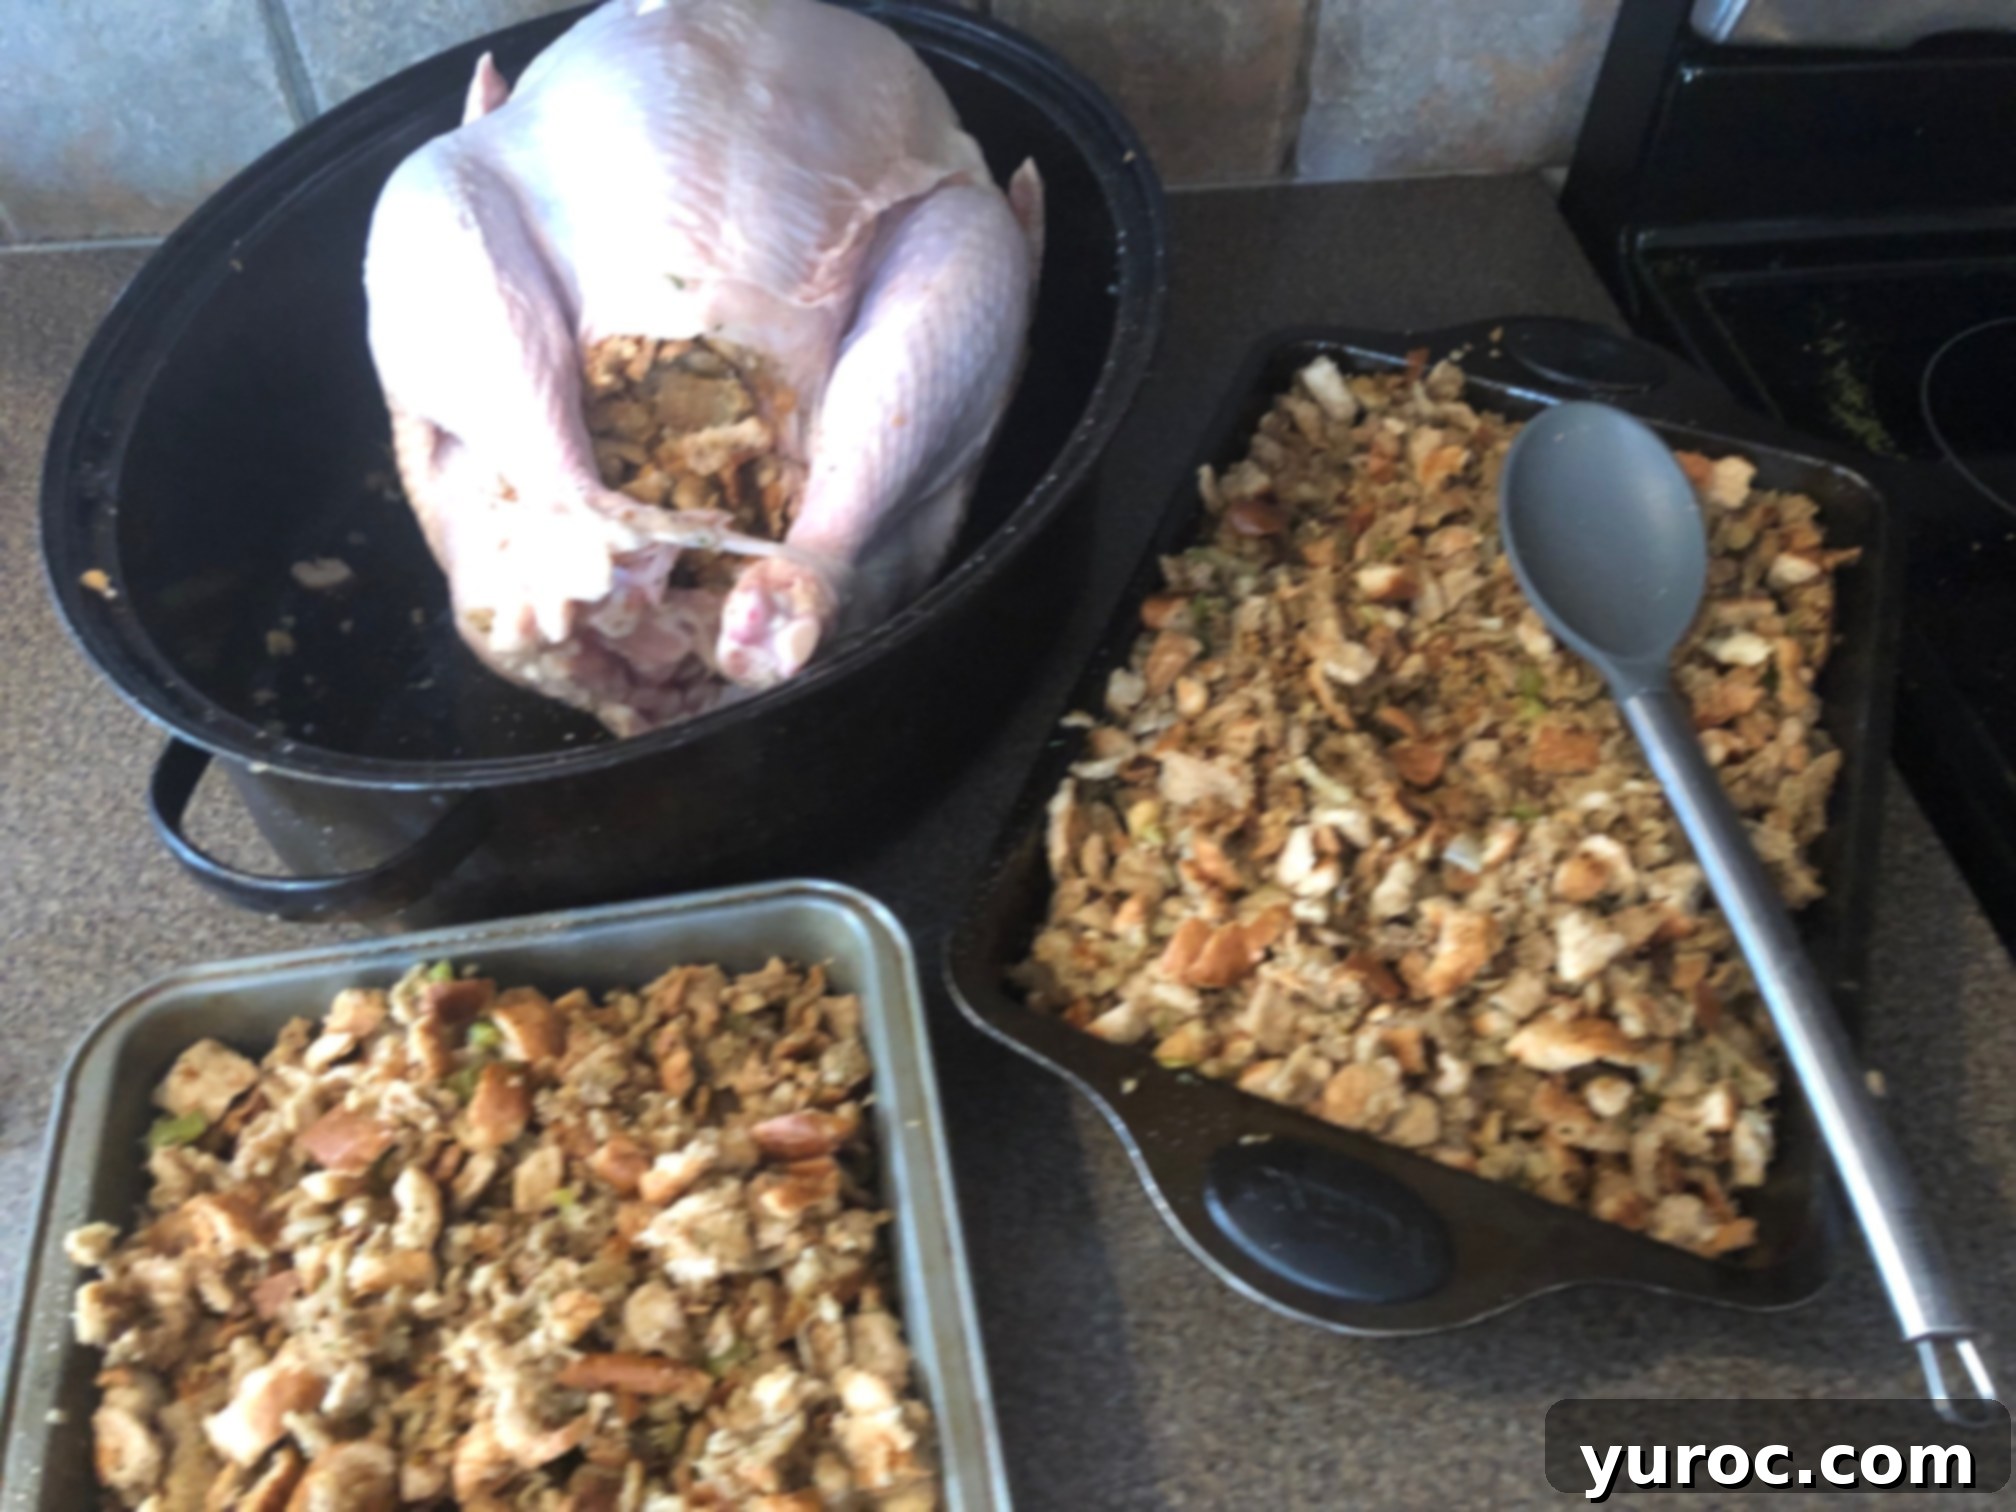
- First Basting & Bake: After your turkey has been cooking for approximately 1.5 hours, it’s time to introduce moisture to your separate stuffing. Use a turkey baster to draw about 3-4 full syringes of savory pan juices from the turkey roasting pan. Squirt these juices generously over the stuffing in your baking dishes. Cover the pans tightly with aluminum foil to seal in the moisture and bake for 15-20 minutes.
- Second Basting & Bake: Remove the stuffing pans from the oven. Baste again with another 2-3 syringes full of turkey drippings. Re-cover tightly with aluminum foil and return to the oven for an additional 15 minutes. This two-stage basting ensures the stuffing stays moist and absorbs delicious turkey flavor.
- Final Check & Hold: Remove the pans of stuffing from the oven. At this point, the separately baked stuffing might appear a little drier than the stuffing from inside the turkey, but do not worry. This is intentional, as it will achieve the perfect balance once combined.
- The Perfect Blend: Once the turkey is fully cooked and rested, carefully remove the stuffing from inside the turkey. Transfer both the turkey-cooked stuffing and the separately baked stuffing into a large mixing bowl. Gently combine them. The moisture from the turkey-cooked stuffing will perfectly rehydrate and blend with the slightly crispier separately baked stuffing, resulting in an ideal texture and moistness that is truly irresistible. I’ve found this method consistently yields the best results, delivering a harmonious stuffing experience every time!
Speaking of that very first Thanksgiving away from home, beyond bringing the turkey and roaster, my parents also had to make an emergency run to buy us a decent carving knife. Given that I’d never actually needed to carve a turkey before and was hardly a seasoned cook at the time, I didn’t even own a proper knife! It just goes to show that besides the indispensable Thanksgiving Stuffing, a good, sharp carving knife is indeed another essential Thanksgiving staple!
🍽 Essential Equipment for Success
To prepare this classic stuffing recipe with ease, you’ll need a few standard kitchen tools:
- A sturdy cutting board for dicing your bread and vegetables.
- A large mixing bowl to combine all your delicious ingredients.
- A durable mixing spoon for stirring.
- A spacious large pot for sautéing your aromatics and mixing the stuffing.
- At least one 9X13 baking dish (or two, depending on how much stuffing you’re making separately) for baking.
- A beautiful casserole dish for elegant serving.
- A turkey baster will prove invaluable for moistening your stuffing with delicious pan juices.
- And, as previously learned, a good carving knife is absolutely essential for the turkey itself (affiliate links included for your convenience)!
💭 Top Tip: Emergency Bread Drying
If you find yourself short on time and haven’t dried your bread overnight, don’t fret! You can quickly dry it in the oven. Simply spread the bread cubes on a baking sheet and bake at a low temperature (around 250°F / 120°C) for 10-15 minutes, or until lightly toasted and dried, stirring occasionally. This ensures your stuffing won’t turn out soggy. For more detailed instructions, check out this post on how to oven dry bread.
👪 Serving & Adjusting Quantities
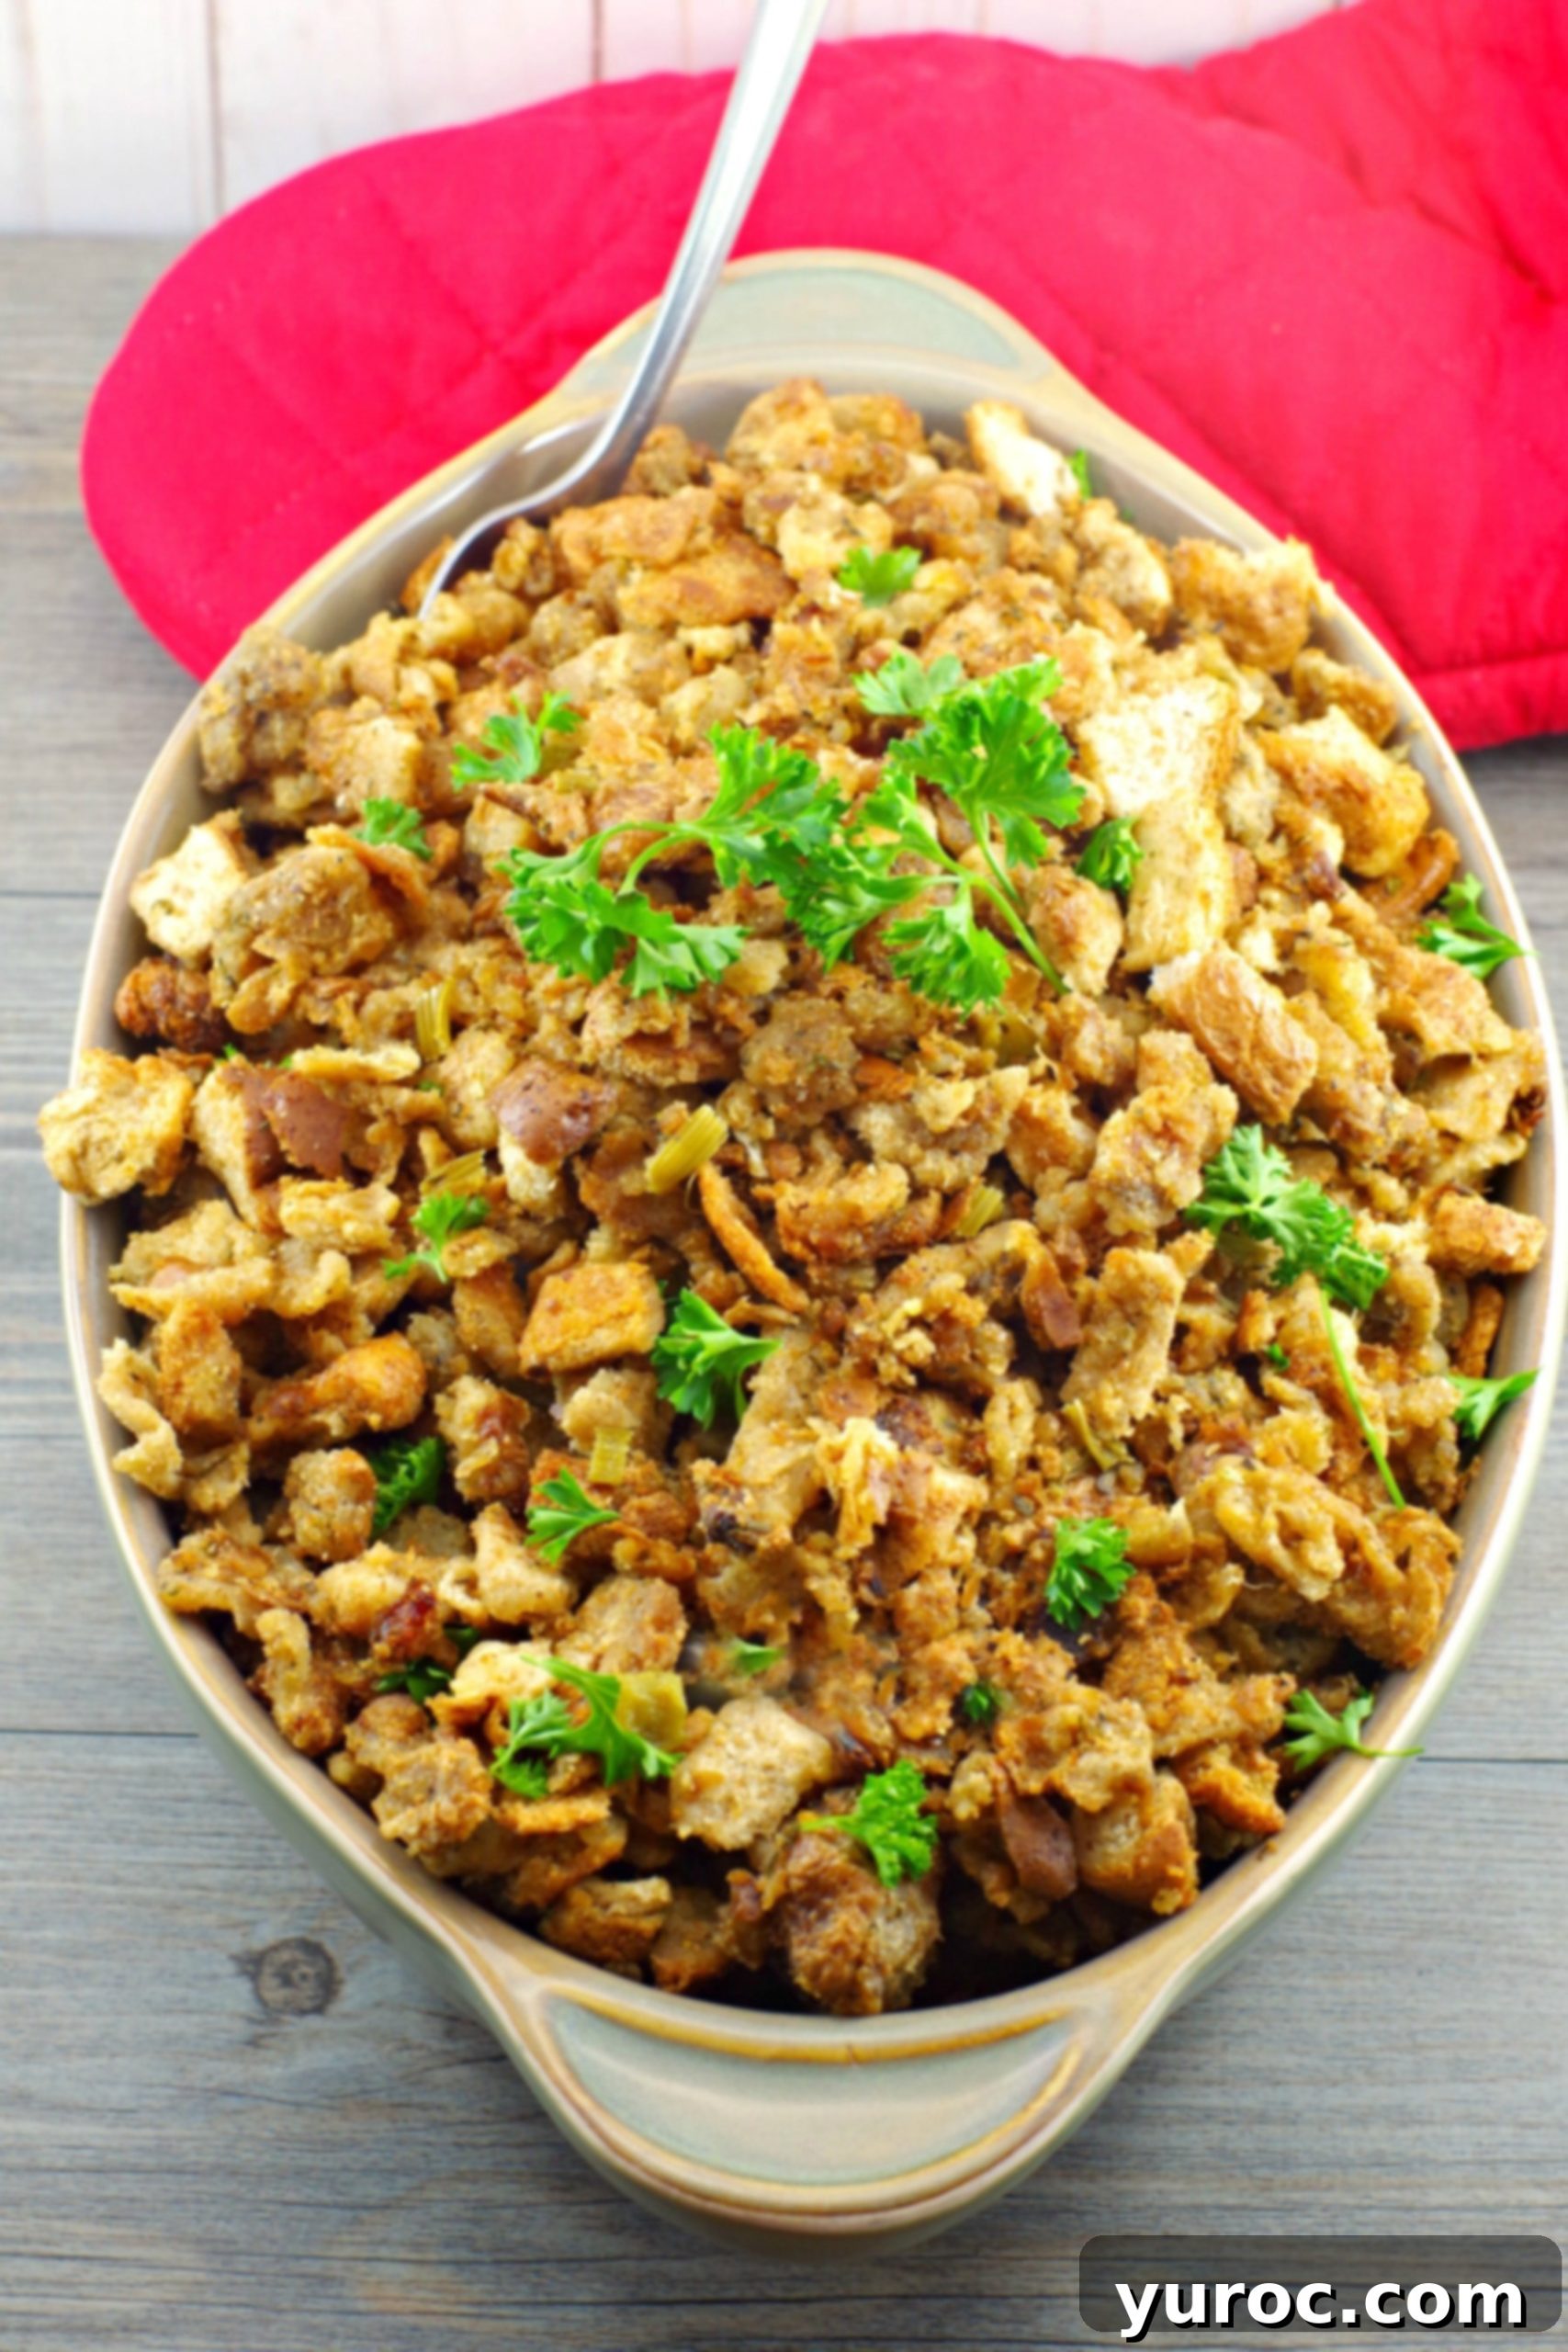
This homemade stuffing recipe is designed to yield approximately 10 generous servings. However, in my family, it’s so wildly popular that I invariably find myself doubling or even tripling the recipe! There are always complaints if there aren’t enough leftovers, a true testament to its irresistible appeal. The good news is, scaling this recipe is incredibly easy. Simply click on the blue number of servings in the recipe card below, select your desired quantity, and all the ingredient measurements will automatically adjust, taking the guesswork out of preparing a larger batch for your hungry crowd.
🌡️ Storage & Leftover Solutions
One of the many benefits of this stuffing recipe is its flexibility in preparation. I often make it the night before our big Thanksgiving meal to save time on the busy holiday itself. The prepared, uncooked stuffing can be stored securely in an airtight container in the refrigerator for a few days without losing any of its quality.
Should you be lucky enough to have leftover stuffing (a rare occurrence in my household!), it stores beautifully. Simply transfer any cooked leftovers into a sealed container and refrigerate for up to 3 days. For longer storage, this stuffing freezes exceptionally well. I typically portion it into Ziplock freezer bags and freeze it for up to 3 months, ensuring a taste of the holidays is always within reach.
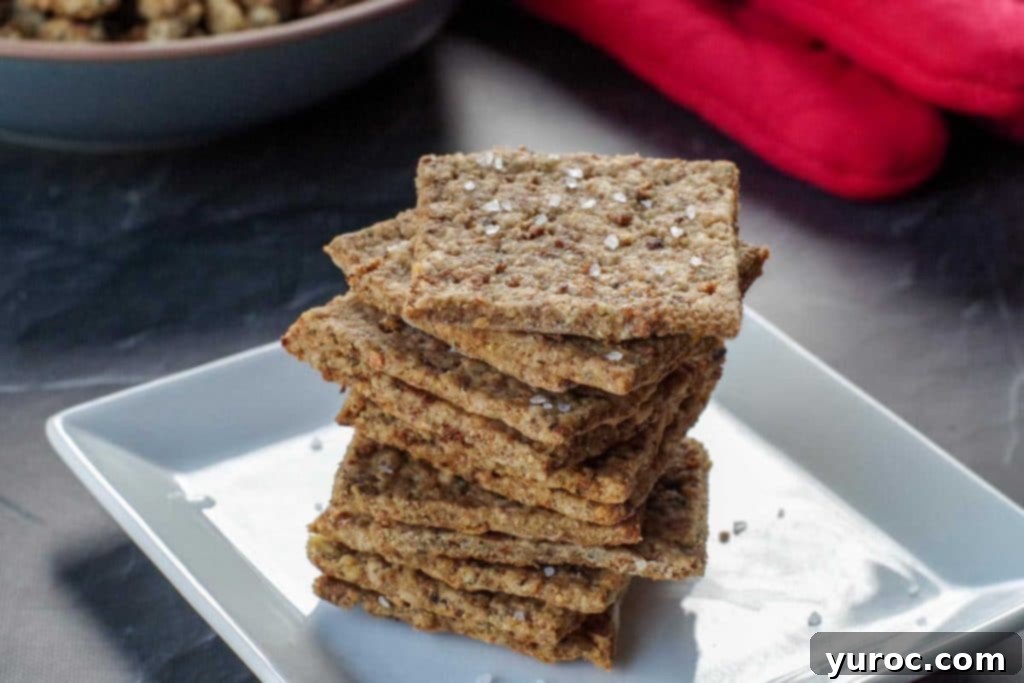
And if you’re looking for a truly creative way to repurpose those delicious leftovers, consider making these unique Leftover Stuffing Crackers! They’re a fantastic snack or accompaniment. If you don’t feel like tackling another cooking project right after a big meal, you can always freeze the cooked stuffing and then transform it into crackers at a later, more convenient date.
🦺 Important Food Safety Guidelines
Ensuring food safety is paramount, especially when preparing holiday meals involving poultry and multiple dishes. Please adhere to these essential guidelines:
- Always use separate utensils for cooked and raw foods to prevent cross-contamination.
- Wash your hands thoroughly with soap and water after handling raw meat.
- Avoid leaving cooked food at room temperature for extended periods. Refrigerate promptly.
- Never leave cooking food unattended, especially on the stovetop or in the oven.
For comprehensive food safety information and best practices, please consult additional guidelines at USDA.gov.
In conclusion, if you are on the hunt for a truly authentic, tried-and-true old fashioned bread stuffing, this recipe is guaranteed to impress. It has gracefully stood the test of time, proving itself generation after generation as not just a good recipe, but truly the best stuffing recipe your family will ever taste. Its savory depth and comforting simplicity make it a beloved classic that will anchor your holiday meals for years to come.
What are your family’s most cherished holiday traditions? Is there a particular dish or ritual you simply cannot imagine Thanksgiving without? Share your stories in the comments!
While you likely have many wonderful traditions of your own, if you’re looking to refresh your holiday routine or simply find some new inspirations, be sure to check out these Thanksgiving Traditions you will want to steal!
Happy Thanksgiving and happy cooking!

📋 Old Fashioned Turkey Stuffing Recipe
Print Recipe
Pin
Save Recipe
Save Recipe
Rate
Side Dish
American, Canadian, North American
Vegetarian
10
servings
230
kcal
Terri Gilson
15
minutes
15
minutes
30
minutes
Prevent your screen from going dark
Add to Shopping List
Go to Shopping List
Ingredients
-
1 ⅓
cup
unsalted butter -
1
medium
onion, diced -
5
sticks
chopped celery -
5
loaves
dried bread (a variety like rye, brown, white, or French bread works best) -
3
teaspoons
salt (adjust to taste if using salted butter) -
2
teaspoons
black pepper -
2
tablespoons
poultry seasoning -
3
tablespoons
dried parsley (or 6 tablespoons fresh, chopped)
Metric
Instructions
-
1. To ensure your stuffing is perfectly textured, allow bread slices to dry overnight on cookie sheets, turning them before bed. This prevents sogginess.
If time is short, refer to our *NOTES section for quick oven-drying methods. As long as the bread isn’t soft, it’s good to go.
-
2. Once dried, cut the bread into uniform cubes.
-
3. In a large pot on the stovetop, melt 1 cup of butter over medium heat. Sauté the diced onion and celery for about 7 minutes, or until they are soft and translucent.
-
4. Add half of the cubed dried bread, salt, black pepper, and poultry seasoning to the butter and vegetable mixture. Stir well to combine.
-
5. Continue heating and stirring constantly until this portion of the bread shrinks in volume by about half, absorbing the flavors.
-
6. Melt the remaining ⅓ cup of butter (you can use a microwave for this). Add the remaining bread and parsley to the pot.
-
7. Pour the melted butter over the newly added bread and stir continuously for about 5-7 minutes until all the bread is softened and thoroughly coated.
-
8. You can now stuff your turkey with this fragrant mixture. Remember, a 13-15 lb turkey can typically hold about ¼ of this recipe’s stuffing. Bake the remainder separately.
-
9. To bake the remaining stuffing separately: Spray two 9×13 inch baking pans with nonstick spray. Evenly spread the leftover stuffing into the pans.
-
10. Bake your turkey according to your usual method (e.g., 25 minutes per lb for a 10-16 lb turkey, approximately 5 hours). Do NOT put the separate stuffing in the oven yet.
-
11. After the turkey has cooked for about 1.5 hours, fill your baster with turkey pan juices (3-4 full syringes) and squirt over the separate stuffing in the pans. Cover tightly with aluminum foil and bake for 20 minutes.
-
12. Remove the foil, baste again with 2-3 syringes of turkey juices. Re-cover tightly and return to the oven for another 20 minutes.
-
13. Remove the pans of stuffing from the oven. Don’t worry if it appears a little dry; it will be perfectly moistened when combined with the turkey-cooked stuffing.
-
14. Once the turkey is done, scoop out its stuffing and mix it with the separately baked stuffing in a large bowl. This combination creates the ultimate moistness and texture.
Notes
Nutrition
Calories:
230
kcal
(12%)
|
Carbohydrates:
3
g
(1%)
|
Protein:
1
g
(2%)
|
Fat:
25
g
(38%)
|
Saturated Fat:
16
g
(100%)
|
Cholesterol:
65
mg
(22%)
|
Sodium:
721
mg
(31%)
|
Potassium:
93
mg
(3%)
|
Fiber:
1
g
(4%)
|
Sugar:
1
g
(1%)
|
Vitamin A:
965
IU
(19%)
|
Vitamin C:
3
mg
(4%)
|
Calcium:
30
mg
(3%)
|
Iron:
1
mg
(6%)
Did you make this recipe?
Please leave a star rating and review below!
🥗 More Savory Thanksgiving Side Dishes
- Easy Green Bean and Mushroom Recipe
- Turnip and Apple Casserole
- Corn Succotash
- Healthy Glazed Carrots (with Brown Sugar)
