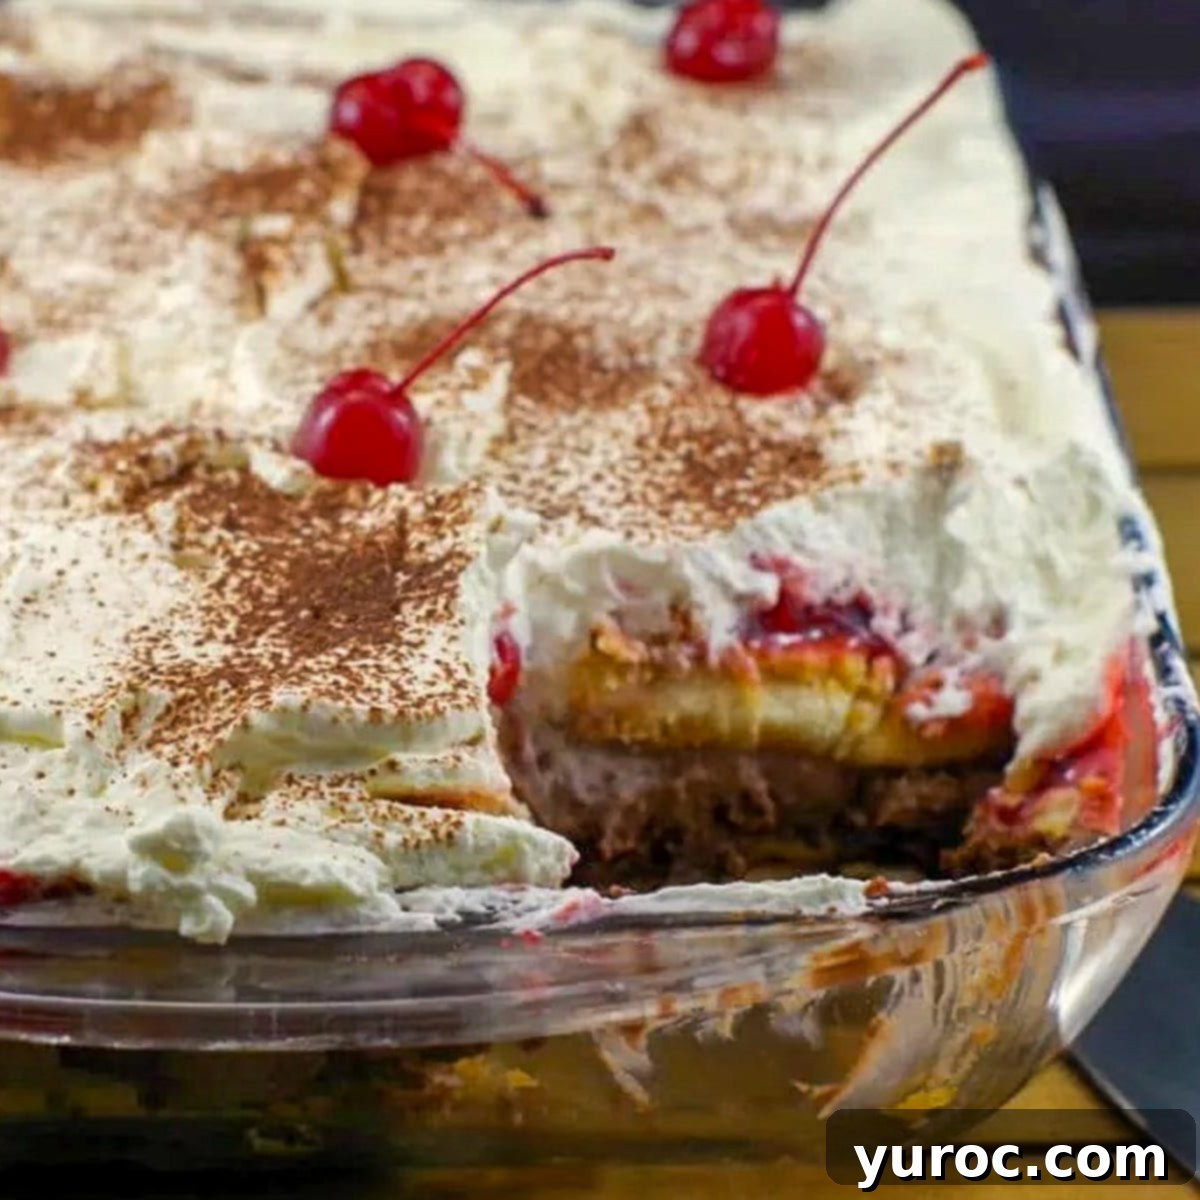
Easy No-Bake Black Forest Tiramisu: The Perfect Potluck & Make-Ahead Dessert
If you’re a fan of rich, decadent desserts that require minimal effort but deliver maximum flavor, then you’ve found your next go-to recipe! This No-Bake Black Forest Tiramisu is a harmonious blend of two beloved classics: the comforting, cherry-chocolate notes of a Black Forest trifle and the creamy, coffee-kissed indulgence of traditional tiramisu. It’s truly a match made in dessert heaven, designed for ease and guaranteed to impress.
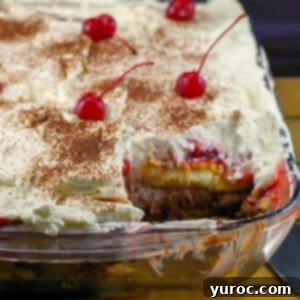
Imagine layers of coffee-soaked ladyfingers, luscious chocolate cake, rich mascarpone-pudding cream, and vibrant cherry pie filling, all crowned with fluffy whipped cream and a dusting of cocoa. The best part? No oven required! This makes it an absolutely ideal treat for those sweltering summer days when you want a homemade taste without heating up your kitchen, or simply for any busy occasion when you need a spectacular dessert that comes together effortlessly.
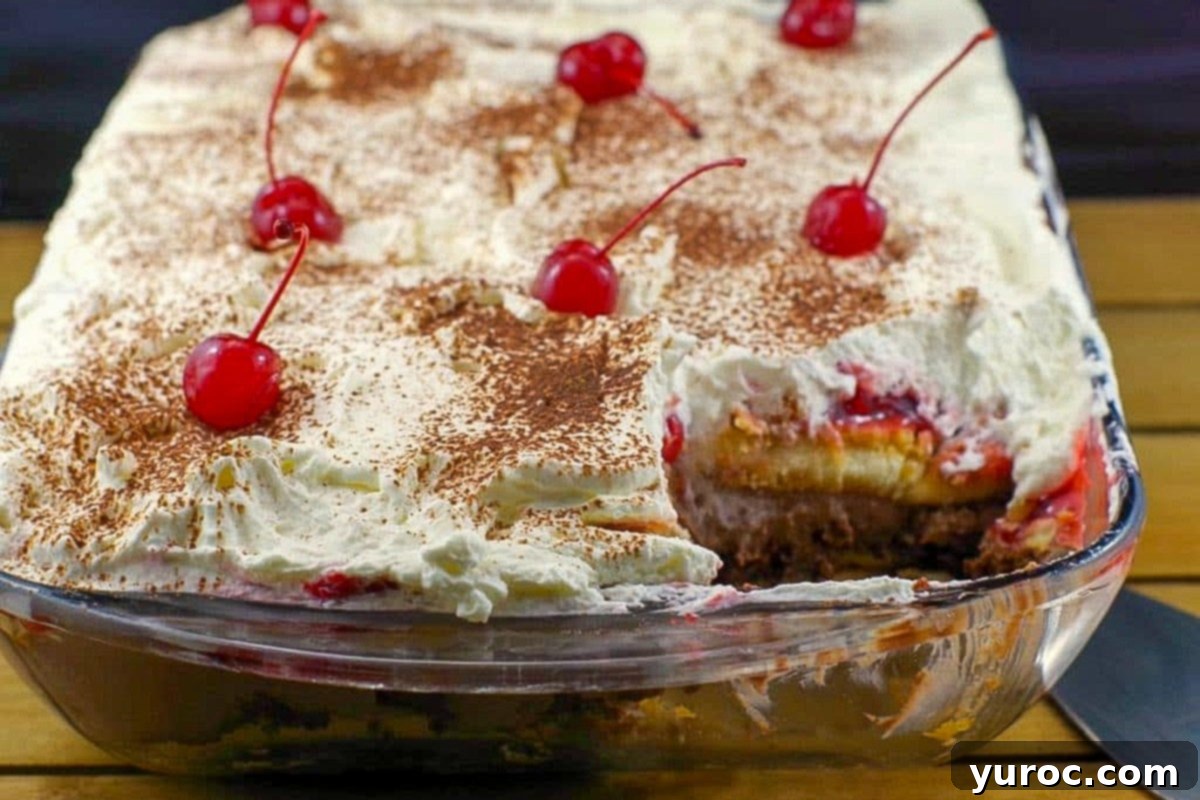
While this recipe shines during summer gatherings, its rich flavors and festive appearance make it equally popular for holiday celebrations, family potlucks, or any special occasion throughout the year. I’ve prepared it for countless Christmas dinners and casual backyard barbecues, and it’s always the first dessert to disappear. It’s quick to assemble, incredibly delicious, and perfect for feeding a crowd. Plus, you can easily customize it to be made with or without alcohol, catering to all your guests. If you’re on the hunt for stress-free, show-stopping potluck desserts, this one is an absolute winner!
🍒 Reader Reviews
“Tried this recipe and the whole family loved it! A perfect blend of flavors and so easy to make.” ⭐⭐⭐⭐⭐
Beyond this fantastic combination, if you adore no-bake layered desserts, be sure to explore my No-Bake Cream Puff Dessert and other easy no-bake potluck dessert ideas for more effortless treats!
🥘 Essential Ingredient Notes
Finding easy, impressive potluck desserts can often be a challenge. But with this No-Bake Black Forest Tiramisu, your search is over! This dessert is not only scrumptious but also incredibly simple to prepare, requiring absolutely no baking. This makes it the perfect solution for potlucks, especially on warm days or when you crave that comforting homemade taste without the hassle of turning on your oven.
Who could resist the delightful combination of fluffy whipped cream, rich chocolate, a hint of Kahlua, juicy cherries, delicate ladyfingers, and creamy chocolate pudding? This recipe cleverly uses store-bought chocolate cake, convenient instant pudding snack packs, and canned cherry pie filling to drastically cut down on prep time. Despite its quick assembly, the resulting flavor is so profound and satisfying, your guests will never guess how fast it was to create!
For this easy chocolate cherry tiramisu, gather these key ingredients:
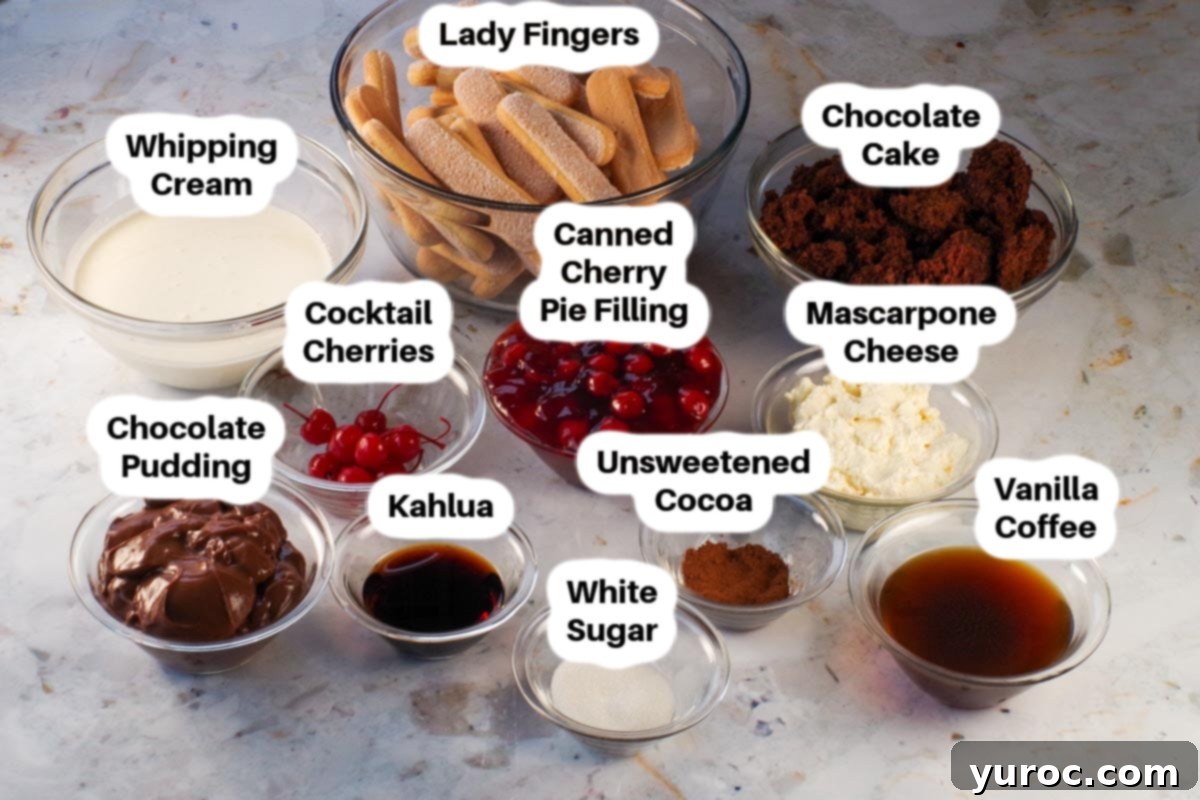
- Chocolate Cake (Pound or Loaf Cake): Whether you opt for a quality store-bought cake or have a favorite homemade recipe, chocolate cake forms a foundational layer, adding delightful richness and moisture. Crumbling it into pieces allows for better absorption of flavors and a lovely texture.
- Instant Chocolate Pudding Snack Packs: These individual pudding cups are a fantastic shortcut, providing instant creamy chocolate flavor without the need to prepare pudding from scratch. They blend seamlessly with the mascarpone for a smooth, rich filling.
- Mascarpone Cheese: The quintessential tiramisu ingredient, mascarpone cheese lends its signature creamy texture and subtle tang, elevating the dessert to an authentic Italian-inspired experience. Ensure it’s cold for best mixing results.
- Ladyfingers: These light, delicate sponge biscuits are crucial for absorbing the coffee-Kahlua mixture, contributing to the classic tiramisu texture. You’ll typically find them in the cookie or baking aisles of your grocery store. If not, they’re readily available online. Feeling ambitious? You can certainly make your own!
- Whipping Cream (Heavy Cream): For a truly decadent topping, use real whipping cream with a fat content of 35-38%. This ensures your whipped cream will achieve stiff peaks and hold its shape beautifully, creating a fluffy cloud atop your tiramisu. Avoid aerosol whipped cream, as it will quickly deflate.
- Cocoa Powder: An unsweetened cocoa powder is perfect for dusting over the finished dessert, providing a beautiful contrast and a hint of bittersweet chocolate flavor that balances the sweetness.
- Maraschino Cherries: These bright red, sweet cocktail cherries with stems add a classic Black Forest touch and a pop of color for garnish. Their sweetness complements the chocolate and coffee flavors.
*Please refer to the complete recipe card below for a full list of ingredients and precise quantities.
📖 Variations & Substitutions
This No-Bake Black Forest Tiramisu recipe is wonderfully adaptable, allowing you to tailor it to your preferences or what you have on hand. Here are some fantastic variations and substitutions to consider:
- Fresh Cherries: While canned cherry pie filling provides convenience and a ready-made layer, you can absolutely use fresh cherries for the garnish, especially when they are in season. Pitted and halved fresh cherries will add a beautiful, bright flavor and elegant presentation.
- Homemade Cherry Pie Filling: For an extra special touch, consider making your own cherry filling from scratch. My homemade cherry filling recipe (the one I use for my Black Forest Cake) is a perfect substitute for canned, offering a richer, more customized cherry flavor.
- Coffee Options: If vanilla-flavored coffee isn’t your preference or isn’t available, regular brewed coffee works just as well. For an enhanced coffee flavor without the alcohol, you can also substitute instant coffee mixed with water, or add 2 teaspoons of pure vanilla extract to regular coffee for a subtle aroma.
- Chocolate Garnish Alternatives: Instead of simply dusting with cocoa powder, try garnishing with elegant dark chocolate shavings or finely chopped chocolate. This adds a delightful textural contrast and an extra layer of chocolatey goodness.
- Whipped Cream Advice: I strongly recommend using liquid whipping cream (35-38% heavy cream) and whipping it yourself for the best texture and stability. Do NOT use whipped cream from a spray can, as it contains stabilizers that cause it to melt and become watery very quickly, ruining the dessert’s presentation and texture. While Cool Whip or Dream Whip can be used as substitutes for convenience, the superior flavor and consistency of freshly whipped cream are undeniable.
- Non-Alcoholic Version: If you prefer to omit alcohol, there are several delicious alternatives. You can substitute Kahlua with another coffee-flavored liqueur like Tia Maria, or even a splash of Irish cream such as Baileys (though this will add a different flavor profile). To make it entirely non-alcoholic, simply leave out the Kahlua and add 4 additional tablespoons of strong brewed coffee. Alternatively, you could use Kahlua-flavored coffee, or even try making your own non-alcoholic Kahlua substitute for a similar taste experience.
🔪 Step-by-Step: How to Make Black Forest Tiramisu
Creating this Black Forest Tiramisu is a fun and straightforward process. Follow these easy steps to assemble your decadent no-bake dessert:
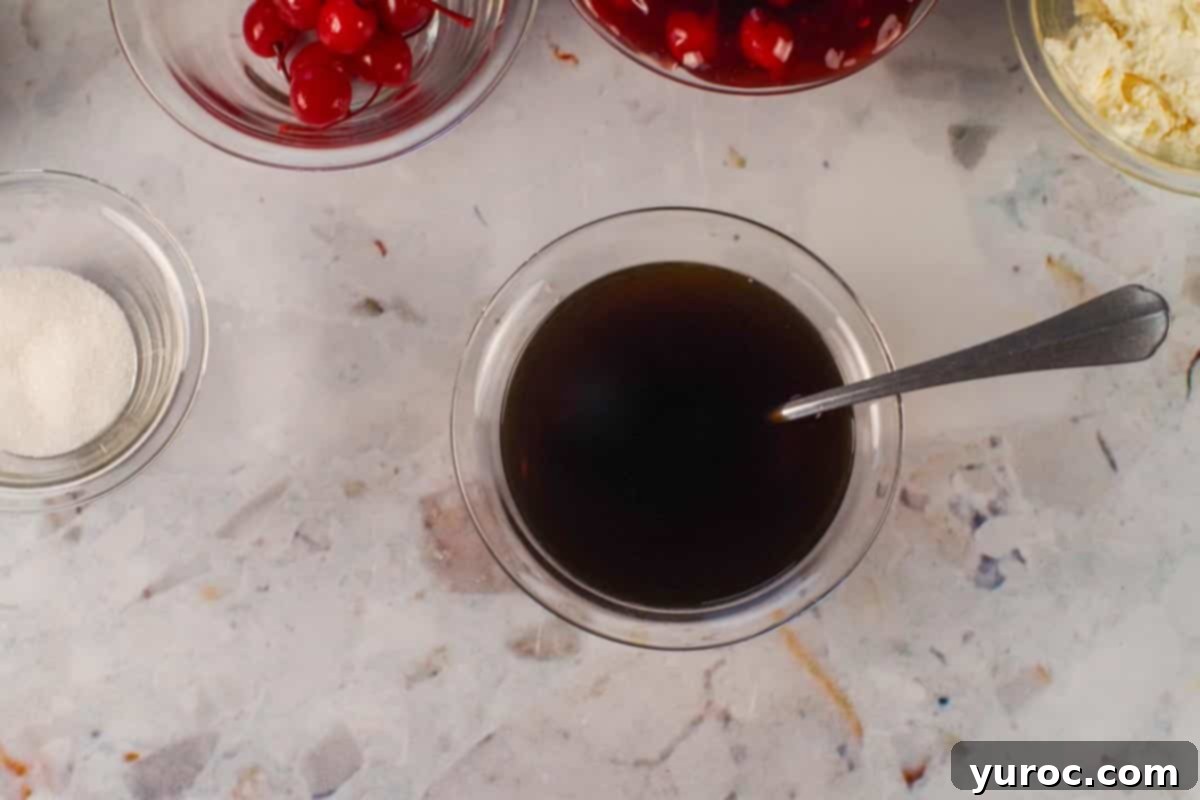
- Step 1: Prepare Coffee Mixture. In a small bowl or measuring cup, combine the cooled, brewed vanilla coffee and Kahlua. Stir well to ensure they are fully integrated. This mixture will give your ladyfingers that essential coffee and liqueur flavor.
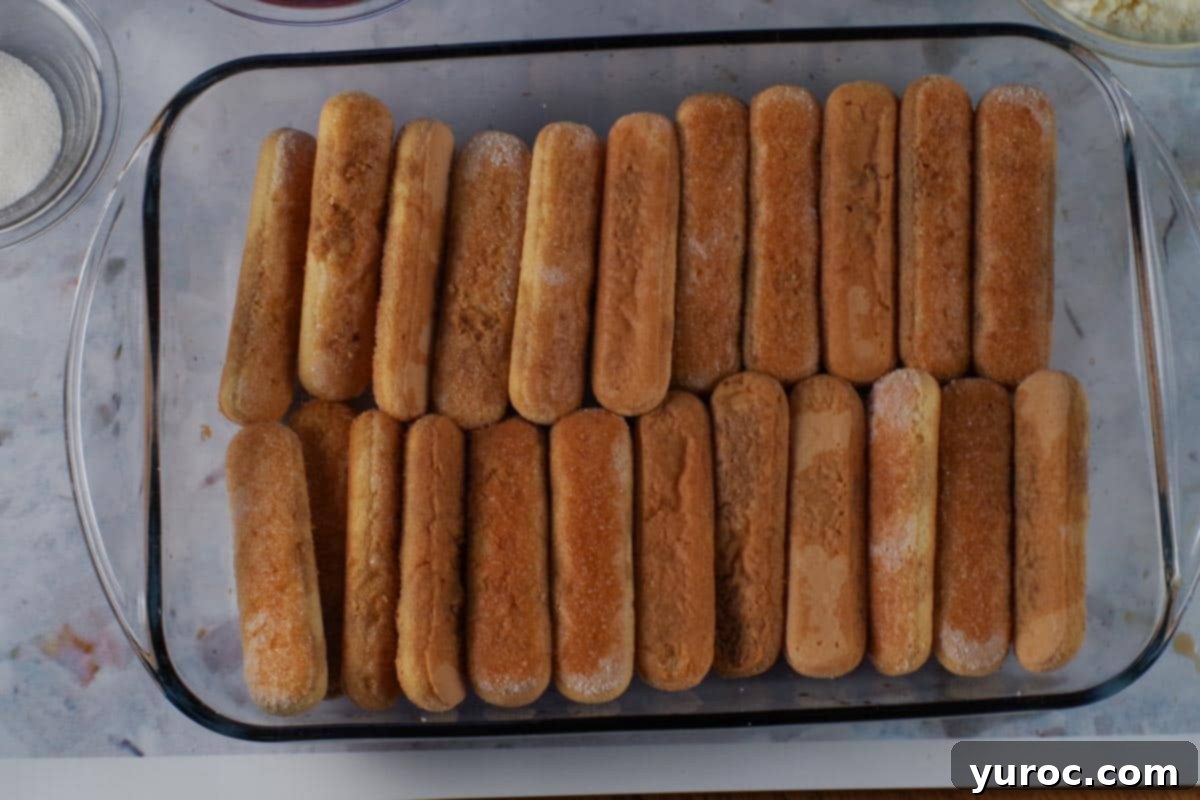
- Step 2: Layer Ladyfingers and Coffee. Arrange half of the ladyfingers (approximately 24 pieces) in a single layer on the bottom of a 9×13 inch baking pan. Evenly drizzle half of the prepared coffee-Kahlua mixture over the ladyfingers. You can also quickly dip each side of the ladyfingers in the bowl, or use a pastry brush for precise application. The goal is to moisten, not saturate.
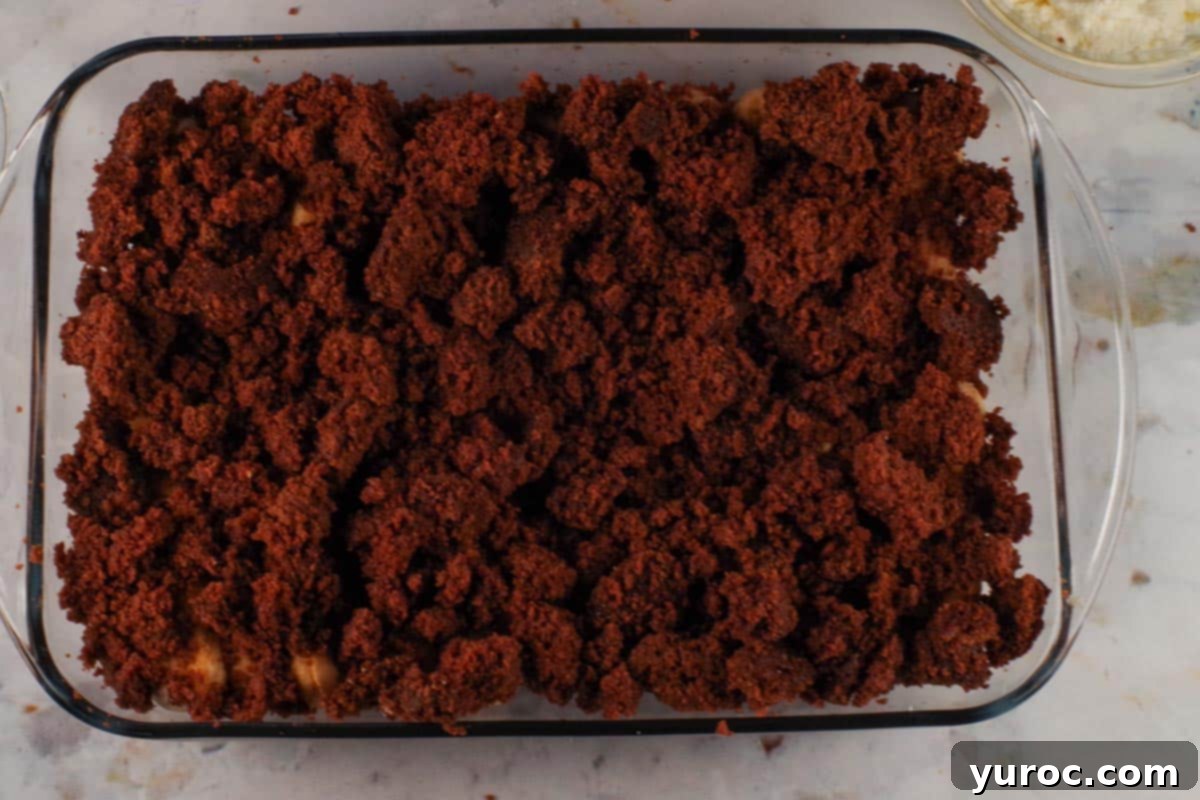
- Step 3: Add Chocolate Cake Layer. If your chocolate cake is not already in pieces, break it up into bite-sized chunks. Evenly distribute these cake pieces over the coffee-soaked ladyfingers. This layer adds a wonderful depth of chocolate flavor and a soft texture.
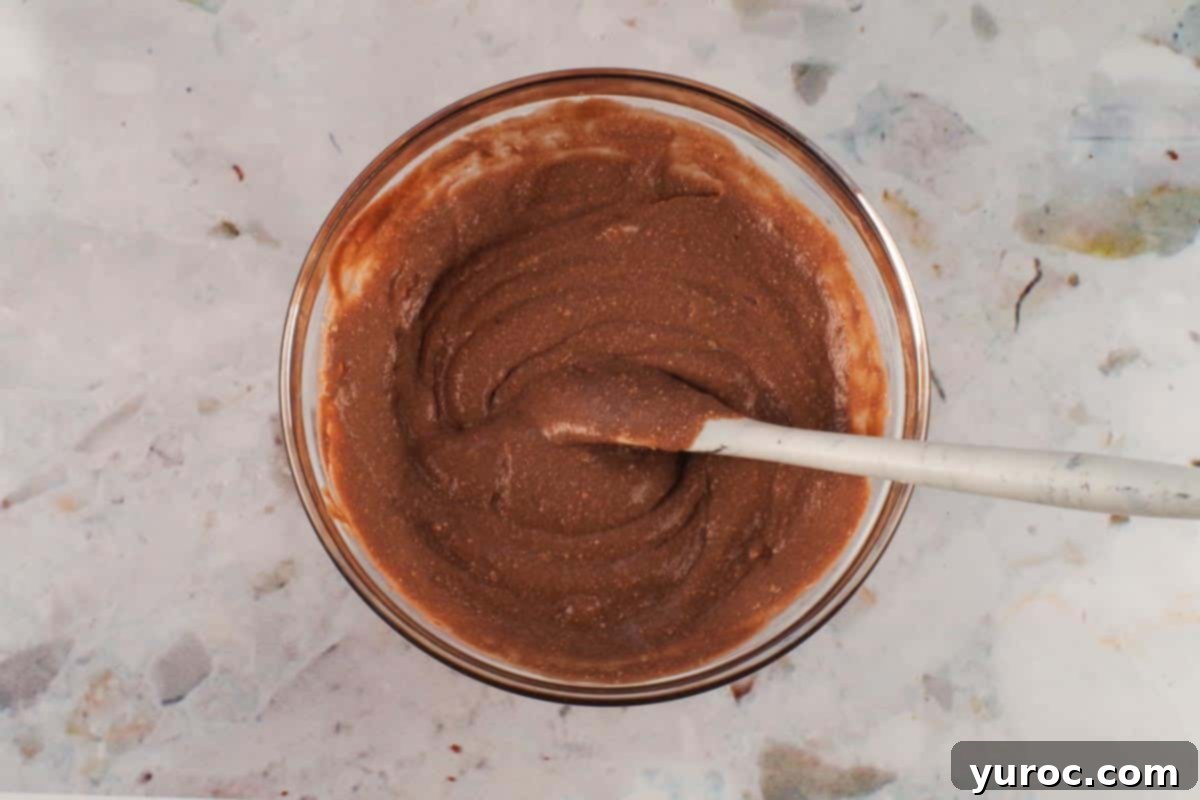
- Step 4: Prepare Mascarpone-Pudding Mixture. In a separate mixing bowl, combine the instant chocolate pudding snack packs with the mascarpone cheese. You can easily mix this by hand with a sturdy spoon or spatula, or use an electric mixer on low speed until smooth and creamy.
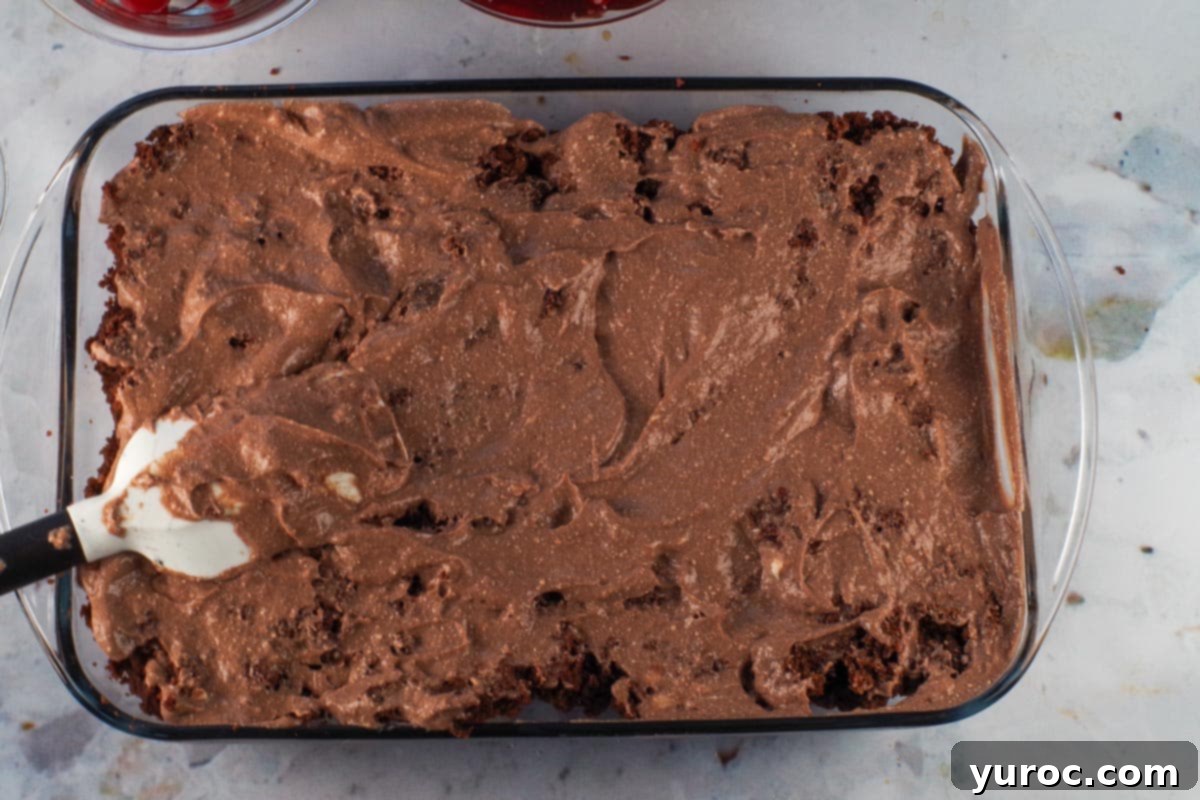
- Step 5: Spread Creamy Layer. Gently spread the creamy mascarpone-pudding mixture evenly over the chocolate cake layer using a rubber spatula. Take care to cover the cake completely, creating a smooth, rich middle layer.
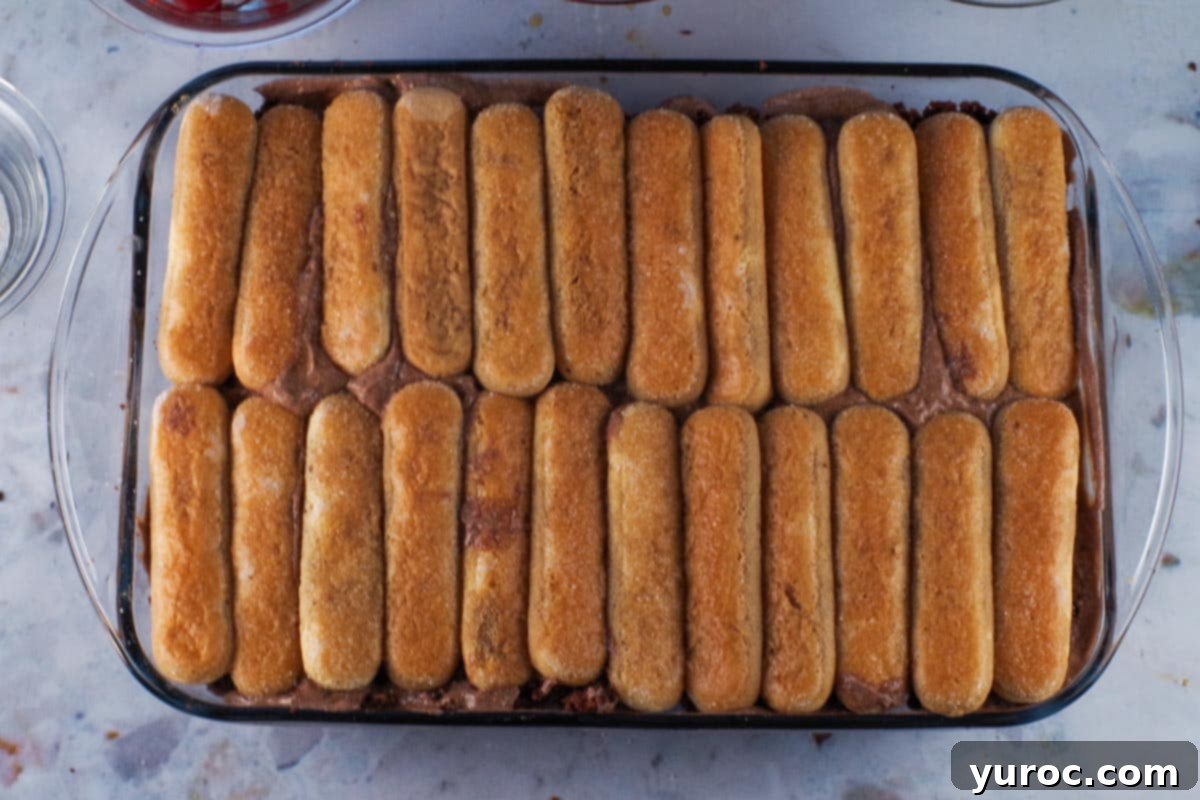
- Step 6: Second Ladyfinger Layer. Place the remaining half of the ladyfingers (another 24 pieces) over the mascarpone-pudding mixture. Drizzle the remaining coffee-Kahlua mixture evenly over these ladyfingers, ensuring they get adequately moistened for that classic tiramisu texture.
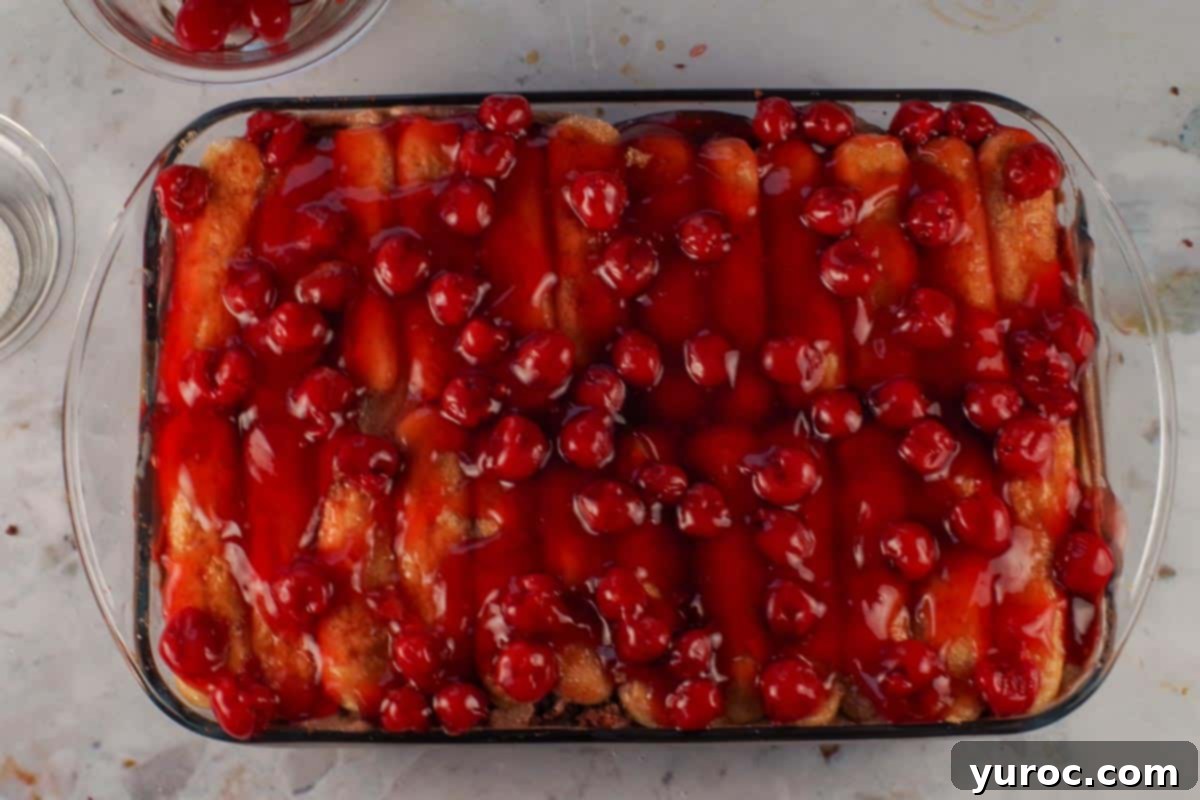
- Step 7: Cherry Pie Filling Layer. Carefully spread the canned cherry pie filling evenly over the top layer of ladyfingers. This vibrant red layer adds the “Black Forest” element, providing a tart and sweet counterpoint to the chocolate and coffee flavors.
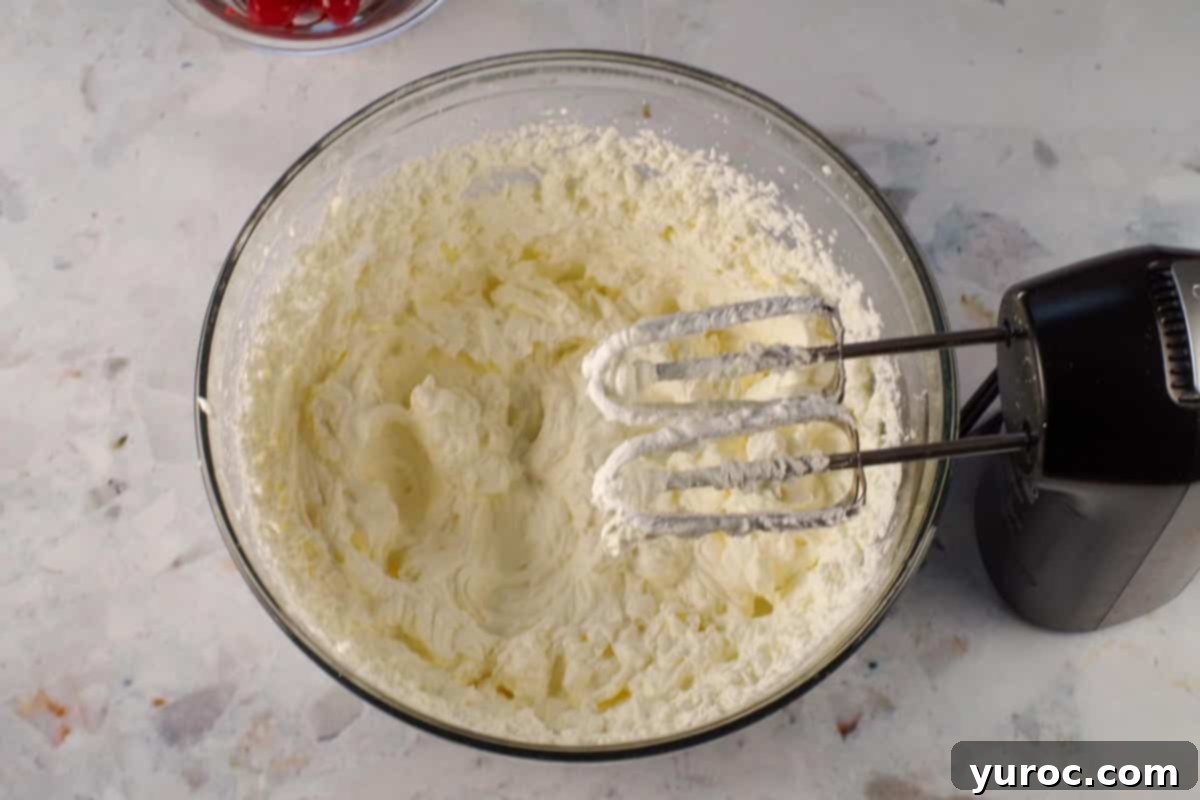
- Step 8: Prepare Whipped Cream. In a large, chilled mixing bowl, beat the cold whipping cream until soft peaks begin to form. Gradually add the white granulated sugar and continue beating until stiff peaks are achieved. The cream should double in volume and hold its shape firmly.
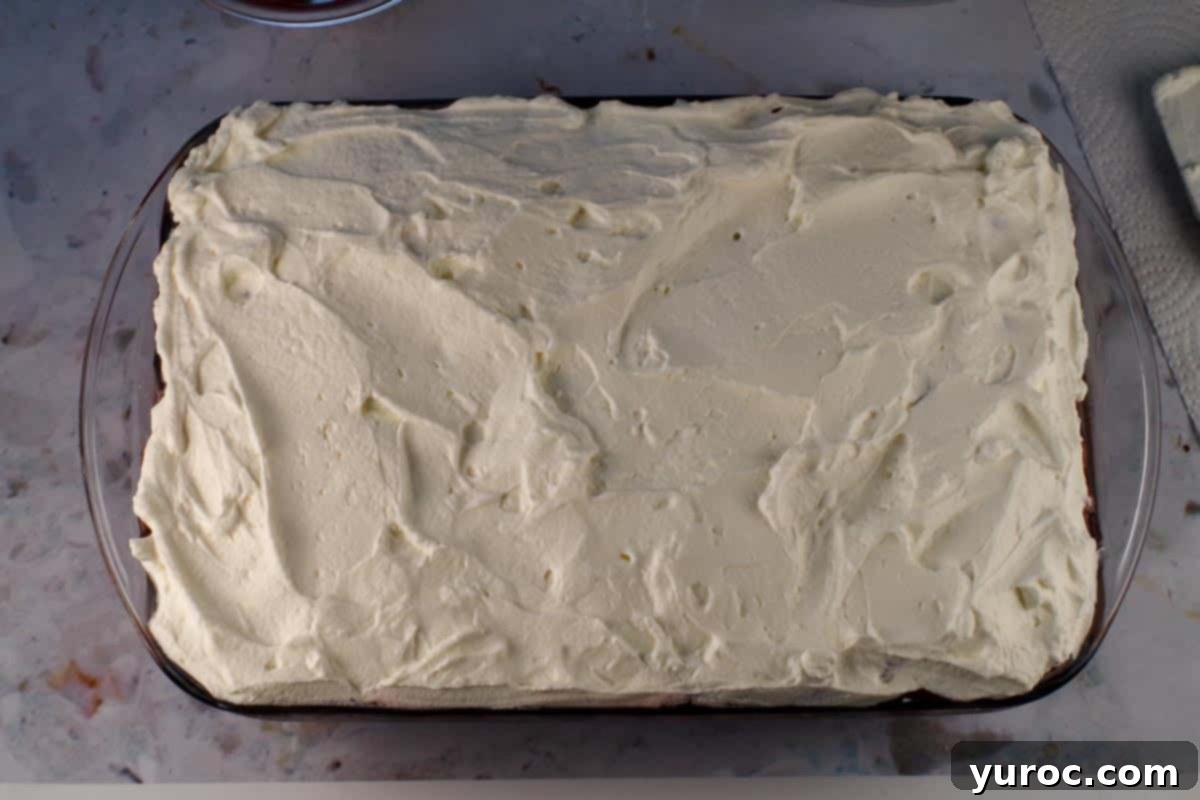
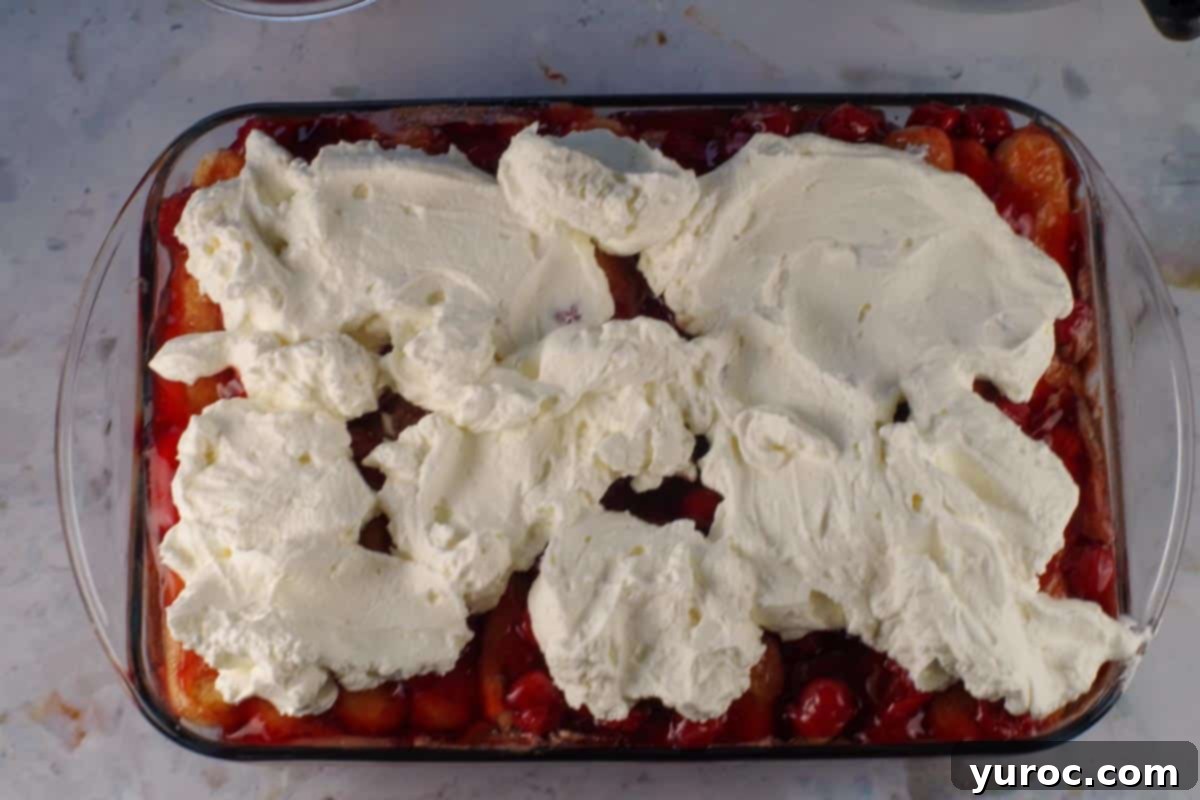
- Step 9: Top with Whipped Cream & Chill. Gently spread the prepared whipped cream evenly over the cherry pie filling layer, creating a smooth, inviting surface. Once complete, cover the dessert with plastic wrap and refrigerate. This dessert is truly at its best when allowed to chill for at least 8 hours, or preferably overnight, to allow all the flavors to meld and the layers to set perfectly.
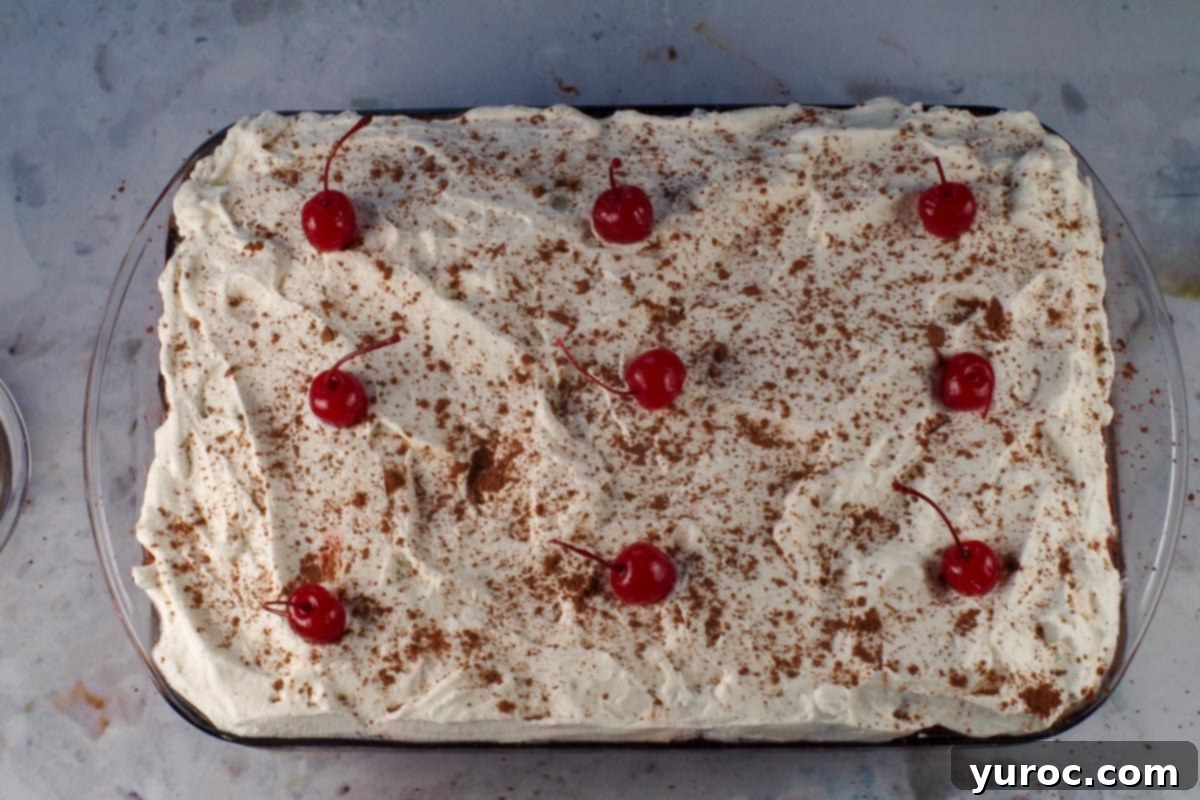
- Step 10: Garnish and Serve. Just before serving, sprinkle a generous amount of unsweetened cocoa powder over the whipped cream layer for a beautiful finish. If desired, artfully arrange maraschino cocktail cherries with stems on top for that classic Black Forest presentation.
Hint: When spreading the creamy layers (like the mascarpone-pudding mixture and whipped cream) to prevent them from mixing with the layers beneath, try dropping large dollops of the filling onto the center of the previous layer. Then, gently spread outward from the middle of each dollop with your spatula. This technique helps maintain distinct, clean layers.
✅ Expert Recipe Tips for Success
Achieving the perfect No-Bake Black Forest Tiramisu is simple with these expert tips:
- Allow Ample Chilling Time: This is arguably the most crucial step! For optimal flavor melding and a firm, sliceable texture, your dessert truly needs to chill in the refrigerator for a minimum of 8 hours, and preferably overnight. Don’t rush it!
- Avoid Oversoaking Ladyfingers: Ladyfingers are meant to be soft and moist, not soggy. Drizzle the coffee-Kahlua mixture evenly and gently. A quick dip on each side or a light brush with a pastry brush is usually sufficient. Too much liquid will result in a mushy dessert.
- Ensure Ingredients are Cold: Always start with very cold whipping cream, mascarpone cheese, and instant pudding. Cold ingredients whip up better, hold their structure longer, and contribute to a smoother, faster assembly process.
- Whip Cream to Stiff Peaks: Beat your whipping cream until it forms firm, stiff peaks that hold their shape. This creates a light, airy topping and ensures the dessert has adequate height and stability. Be careful not to overbeat, or you’ll end up with butter!
- Choose Quality Mascarpone: The quality of your mascarpone cheese can significantly impact the final taste and texture. Opt for a good brand with a rich, creamy consistency for the best, most authentic tiramisu flavor.
- Layer with Care: To keep your layers distinct and visually appealing, avoid dragging your spatula through the previous layer. Instead, drop dollops of filling onto the center of the layer below, then gently spread outward with a rubber spatula until evenly covered.
- Break Cake into Small, Even Pieces: When preparing your chocolate cake layer, ensure the pieces are small and relatively uniform. This allows for even distribution of flavor and makes for easier scooping when serving.
- Dust Cocoa Powder Just Before Serving: For the freshest and most vibrant look, sprinkle the cocoa powder garnish immediately before serving. If applied too early, the cocoa can absorb moisture from the whipped cream and appear damp or clumpy.
- Enhance Your Garnish: Elevate your presentation for special events by adding extra flair. Dark chocolate curls, elegant shaved chocolate, or additional fresh, pitted cherries can create a stunning visual impact.
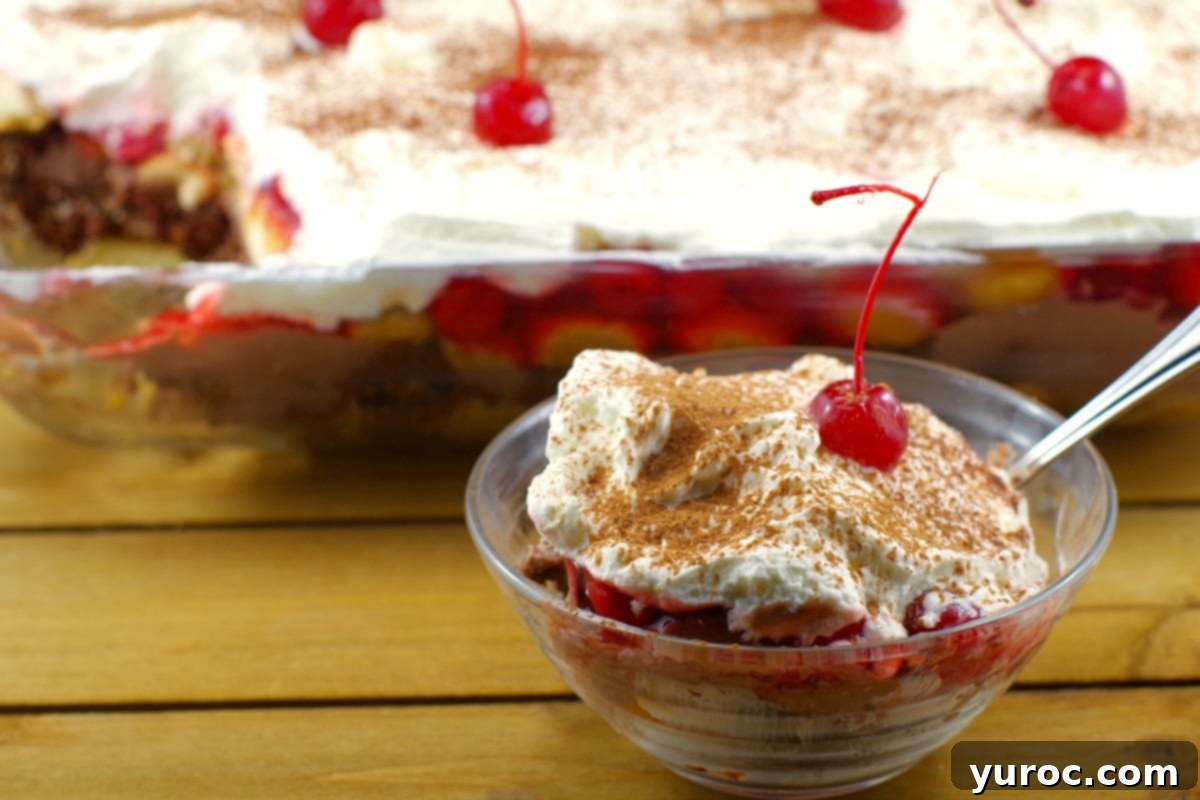
- Serve in Style: Due to its inherently soft and layered, trifle-like consistency, this Black Forest Tiramisu is best served in individual dessert bowls, elegant trifle glasses, or ramekins rather than on flat plates. This allows guests to enjoy all the beautiful layers.
👪 Serving Size & Presentation
This delightful Black Forest Tiramisu recipe is designed to yield 12 generous servings, making it perfect for a family meal or a small gathering. However, its versatility means you can easily adjust the quantity to suit your needs. Most recipe cards (like the one below) allow you to half, double, or even triple the recipe by simply clicking on the serving number. The ingredient quantities will automatically adjust, though you’ll need to ensure you have appropriately sized baking dishes or pans for larger batches.
Given its soft, luxurious, and layered consistency, similar to a trifle, this dessert is best presented and served in individual dessert bowls or charming trifle glasses. This approach not only showcases its beautiful layers but also makes for an elegant and easy serving experience for your guests.
🥗 What to Serve with No-Bake Black Forest Tiramisu
This rich and flavorful Black Forest Tiramisu pairs wonderfully with hearty main courses that can also be prepared in advance, aligning with the ease and convenience of the dessert. I particularly enjoy serving it after a delicious Make-Ahead Lasagna (with no-boil noodles), as both dishes allow for stress-free entertaining. The robust flavors of classic Italian lasagna are a perfect precursor to this sweet Italian-German fusion dessert.
For a more elegant or special occasion, Baked Beef Cannelloni is another excellent choice that complements the richness of the tiramisu beautifully. If you’re hosting a larger crowd or prefer a more casual yet equally satisfying main, consider a savory crockpot creation like this flavorful Slow Cooker Beef on a Bun. The comforting warmth and savory notes of these dishes provide a lovely contrast to the cool, sweet decadence of the tiramisu.
🌡️ Storage & Make-Ahead Tips
Proper storage is key to enjoying your No-Bake Black Forest Tiramisu at its best. Store any leftovers securely in an airtight container in the refrigerator for up to 3 days. This helps to maintain its freshness, prevent it from absorbing other fridge odors, and keep its creamy texture.
Unfortunately, the ingredients in this particular dessert, especially the whipped cream and mascarpone, do not hold up well to freezing. The texture will significantly change upon thawing, becoming watery and grainy, so it’s best to enjoy this dessert fresh from the fridge.
One of the many advantages of this recipe is its excellent make-ahead potential. You can assemble this Italian-inspired dessert up to 2 days in advance, allowing the flavors to truly develop and meld together, resulting in an even more delicious treat. However, for peak flavor and texture, I personally find it best to make it the night before serving. If you’re really pressed for time, it can be made last minute, but for the optimal experience, allowing it to sit for at least 6 hours or, ideally, overnight, makes a world of difference.
❔ Recipe FAQs
Absolutely! A trifle bowl makes for a stunning presentation, beautifully showcasing all the vibrant layers. Simply layer the ingredients in the same order as directed, adjusting the amounts slightly if your bowl is smaller or larger than the standard 9×13 inch pan to ensure even distribution.
It is not recommended to freeze this Black Forest Tiramisu. The delicate textures of the whipped cream, pudding, and mascarpone cheese will break down and become watery and grainy once thawed, significantly compromising the quality of the dessert. This one is best enjoyed fresh from the refrigerator.
Definitely! Creating individual servings is a fantastic idea, especially for parties or elegant gatherings. You can layer the ingredients in charming small dessert cups, mason jars, or even wine glasses. This not only looks adorable but also makes serving a breeze and ensures everyone gets a perfectly portioned treat.
Yes, you can certainly adjust the sweetness to your liking. To make the dessert less sweet, consider reducing the amount of white granulated sugar added to the whipping cream. You could also choose a less sweet chocolate cake for your base layer. The cocoa powder garnish, being unsweetened, also helps to balance the overall sweetness.
And if you truly love tiramisu, be sure to give my other delightful tiramisu-inspired recipes a try! You might enjoy these unique Saskatoon Berry (Juneberry) Dessert Shooters, elegant Raspberry Tiramisu Tarts, or these fun Chocolate Tiramisu Cupcakes!
I’ve personally brought this No-Bake Black Forest Tiramisu to numerous potlucks and barbecues, and without fail, it’s always the star of the dessert table. The combination of easy preparation and crowd-pleasing flavors makes it an absolute favorite. So, if you’re searching for an effortless yet incredibly delicious dessert for your next potluck or family gathering, look no further – you are going to adore this one!
🍰 More Easy Potluck Desserts
Looking for more crowd-pleasing dessert ideas that are perfect for potlucks? Here are some other favorites:
- Death by Chocolate Trifle (with Kahlua)
- Pistachio Pudding Dessert
- Zesty Triple Berry Crisp (with frozen berries)
- Fruit Pizza recipe (with glaze)
Did your family ❤️ this recipe? Did you know that commenting and ⭐ rating recipes is one of the best ways to support your favorite recipe creators? If you LOVED this recipe, please comment and rate it in the recipe card or share photos on social media using the hashtag #foodmeanderings or tagging @foodmeanderings!

📋 Black Forest Tiramisu Recipe (No Bake)
Ingredients
- 300 g chocolate cake loaf or pound cake (store-bought or home-made+
- 5 158 g -containers instant chocolate pudding snack
- 1½ cups mascarpone cheese
- 540 ml -can cherry pie filling
- 48 lady fingers (400 g package)
- 1 ⅓ cup brewed vanilla flavoured coffee cooled, regular coffee and 1 teaspoon vanilla extract can be substituted
- 5 tablespoon Kahlua
- 2 ½ cups real whipping cream (35%)/heavy cream *do NOT use whipped cream in the spray can
- 2 tablespoon white granulated sugar
Garnish
- unsweetened cocoa about 1-2 tsp
- 8-12 Maraschino cocktail cherries (with stems) optional
Instructions
-
Mix cooled brewed coffee and Kahlua together.1 ⅓ cup brewed vanilla flavoured coffee, 5 tablespoon Kahlua
-
Place ½ the lady fingers (24) on the bottom of a 9×13 pan and evenly drizzle ½ the coffee Kahlua mixture over the lady fingers.48 lady fingers
-
Break up cake into pieces and place evenly over soaked biscuits.
-
In a separate bowl, mix pudding with mascarpone cheese. *You can do this by hand or with an electric mixer on low speed. *I simply use a large spoon.1½ cups mascarpone cheese, 5 158 g -containers instant chocolate pudding snack
-
Spread creamy mascarpone pudding mixture over cake with a rubber spatula.
-
Place the other ½ of the lady fingers (24) over the pudding mascarpone mixture. Drizzle the remaining coffee Kahlua mixture over the lady fingers.
-
Spread cherries evenly over lady fingers.540 ml -can cherry pie filling
-
In a large bowl, beat whipping cream to soft peaks, then add white granulated sugar and continue beating to stiff peaks. The whipping cream should double in volume (approximately).2 ½ cups real whipping cream (35%)/heavy cream, 2 tablespoon white granulated sugar
-
Top dessert with whipped cream and spread evenly.
Garnish
-
Sprinkle cocoa over whipped cream. Top with maraschino cherries, if desired.unsweetened cocoa, 8-12 Maraschino cocktail cherries (with stems)
-
*This dessert is best if it sits at least 8 hours or overnight.
Notes
-
- Let it Chill Long Enough: This dessert really needs at least 8 hours (preferably overnight) in the fridge. The chilling time allows the flavors to meld and the layers to fully set, giving you that perfect creamy, sliceable texture.
-
- Don’t Oversoak the Lady Fingers: Drizzle the coffee-Kahlua mixture evenly over the lady fingers – don’t soak them completely. Too much liquid will make the dessert soggy rather than soft and luscious.
-
- Use Cold Ingredients: Make sure your whipping cream, mascarpone, and pudding are cold before you start. Cold ingredients whip better, hold their structure longer, and make assembly quicker and easier.
-
- Whip Cream to Stiff Peaks: Beat your whipping cream until it holds firm, stiff peaks (but don’t overbeat into butter!). This will give the dessert height and stability.
-
- Use Good Quality Mascarpone: High-quality mascarpone cheese makes a noticeable difference. Look for one with a rich, creamy texture for the best results.
-
- Layer Gently: When spreading each layer, drop the filling in dollops and then gently spread outward with a spatula. This prevents the layers from mixing together and keeps the dessert looking neat.
-
- Slice the Cake Into Small Pieces: Cut or break your chocolate cake into small, bite-sized pieces for even layering and easier scooping when serving.
-
- Cocoa Powder Just Before Serving: Dust the cocoa powder garnish right before serving to keep it fresh and vibrant. If sprinkled too early, it can absorb moisture and look muddy.
-
- Customize the Garnish: Add extra flair with dark chocolate curls, shaved chocolate, or fresh cherries if you’re serving at a special event – it makes a big visual impact!
-
- Serve in Bowls: Because of its soft, trifle-like texture, Black Forest Tiramisu is best served in dessert bowls or trifle glasses rather than plates.
-
- Cherry pie filling. You can use a homemade cherry filling (this is the one I use for my Black Forest Cake) instead of canned.
-
- Cherries: You can use fresh cherries for the garnish.
-
- Coffee: You can substitute regular coffee or instant coffee with 2 tsps of vanilla extract.
-
- Chocolate garnish: You can use dark chocolate shavings or chopped chocolate instead of cocoa
-
- Whipped cream – I recommend using real whipping cream (liquid). Do NOT use whipped cream from a spray can, as it will melt and run. You can use Cool Whip or Dream Whip as a substitute, but I do not recommend it.
-
- Non-alcoholic: You can use another coffee-flavored liqueur like Tia Maria or even a splash of Baileys. You can leave the Kahlua out altogether (and add 4 additional tablespoons of coffee), you could use Kahlua flavored coffee, or you can make your ownnon-alcoholic Kahlua.
Nutrition
