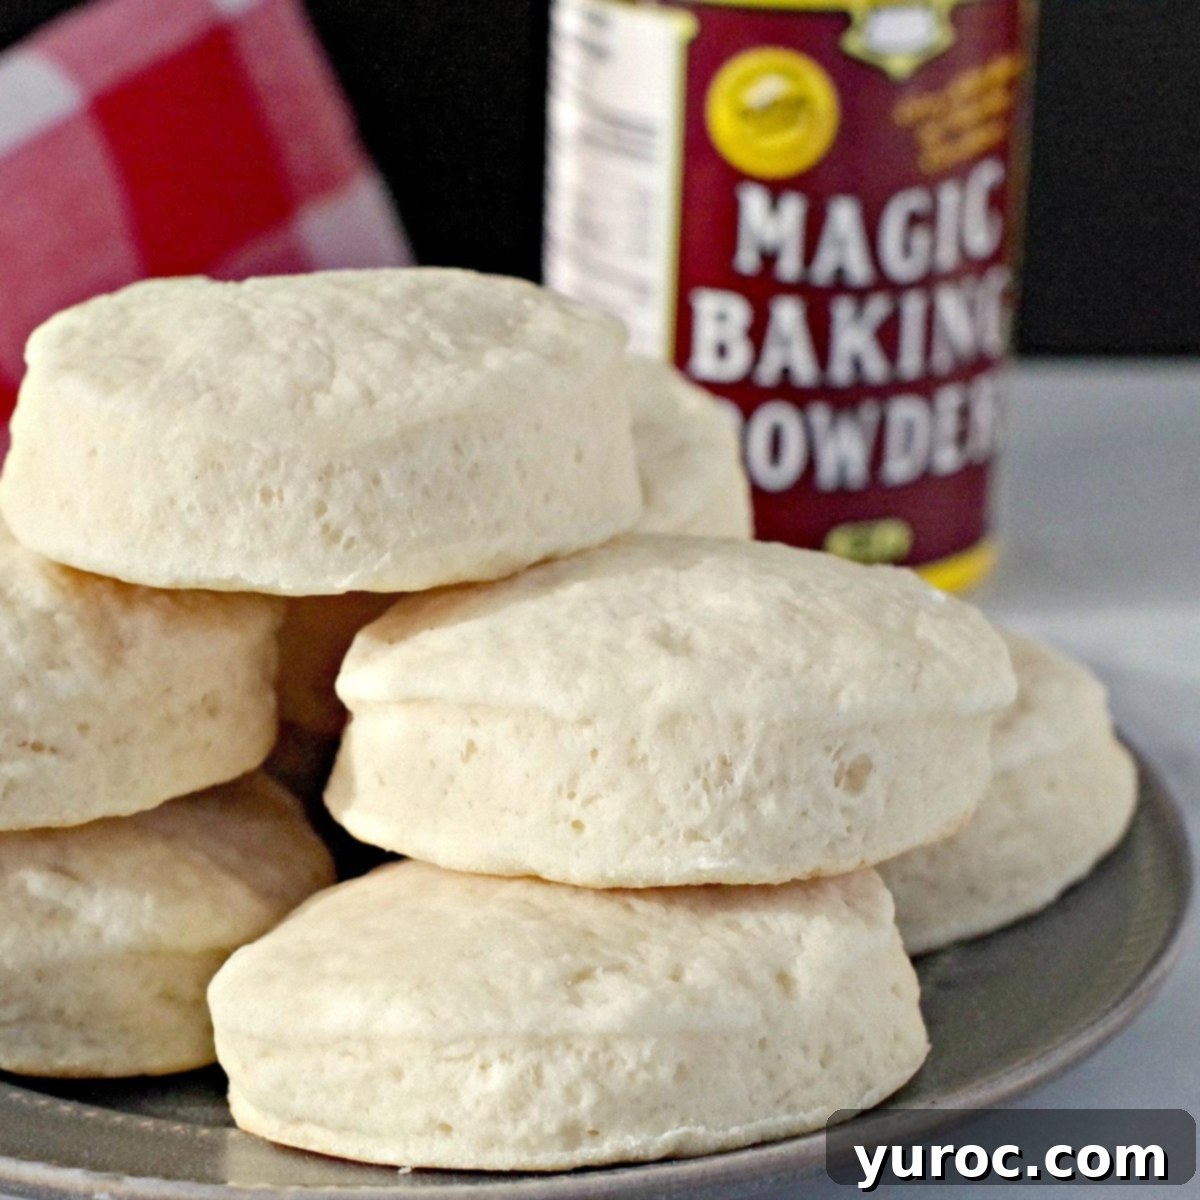
Fluffy Old-Fashioned Baking Powder Biscuits: The Best No-Butter, Easy-to-Make Recipe
Discover the secret to incredibly soft, fluffy, and tender homemade biscuits with this timeless Old-Fashioned Baking Powder Biscuits recipe. Crafted with simple pantry staples, prominently featuring shortening instead of butter, these biscuits rise beautifully and achieve a delicate crumb that will make them an instant family favorite. Prepare to experience the best baking powder biscuits you’ll ever bake, perfect for any meal or occasion!
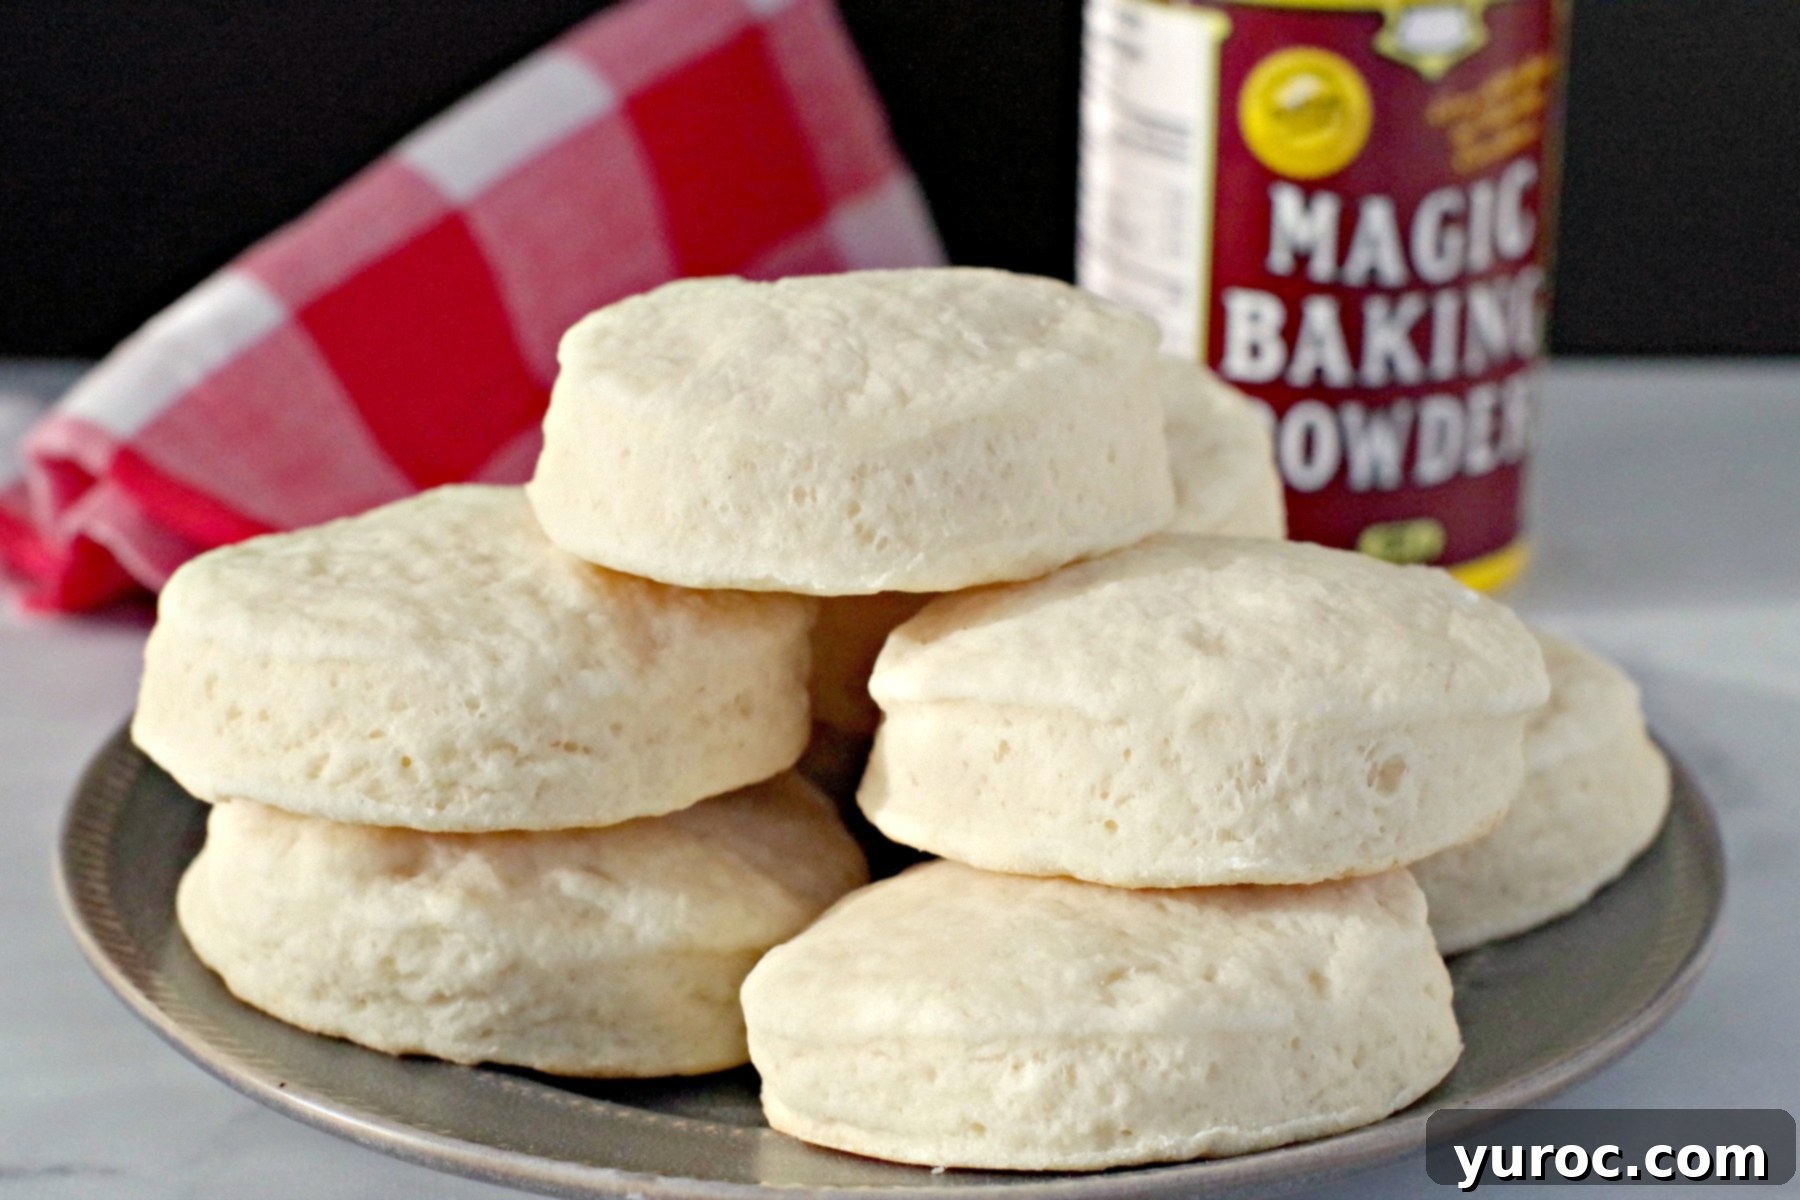
These truly are, without a doubt, the best homemade biscuits I’ve ever had the pleasure of tasting! They possess an irresistible quality that makes them disappear almost as quickly as they emerge from the oven. You’ll find yourself craving them with virtually *everything* imaginable. Their light, airy texture and rich flavor make them an ideal accompaniment to savory dishes like my comforting Beer Cheese Soup Recipe, or simply enjoyed on their own.
For many years, my personal experience with biscuits was largely underwhelming, often leading me to avoid them entirely. That was until my husband’s wonderful Aunt Norma introduced us to her treasured family recipe for these Old-Fashioned Biscuits. From the very first bite, I was completely captivated and couldn’t get enough of their delightful taste and texture! This recipe completely transformed my perception of what a biscuit could be, proving that the right blend of simple ingredients and a time-honored method can create pure culinary magic.
Why You’ll Adore This Easy Biscuit Recipe
- A Tried and True Family Legacy: This isn’t just any biscuit recipe; it’s a culinary heirloom. Passed down through generations, starting with my husband’s beloved Grandma Gilson, this recipe has stood the test of time. Its enduring popularity is a testament to its deliciousness and reliability, promising perfect results every time.
- Remarkably Easy and Quick to Prepare: Don’t let the “old-fashioned” label fool you into thinking these are complicated. This recipe is designed for simplicity, allowing you to whip up a batch of these delectable biscuits with minimal effort and time. It’s perfect for busy mornings or when you need a quick, satisfying side.
- Made with Everyday Pantry Ingredients: You won’t need to hunt for obscure items. All the components for these biscuits are common kitchen staples – flour, shortening, baking powder, milk, and an egg. This makes them convenient to bake whenever the craving strikes, without a special grocery run.
- Unbelievably Light and Fluffy Texture: The hallmark of a truly great biscuit is its light and airy crumb, and this recipe delivers spectacularly. The ingenious combination of baking powder and a touch of cream of tartar works wonders, creating a tender, cloud-like texture that melts in your mouth with every bite.
This recipe is a true testament to the power of enduring family traditions. I am incredibly grateful to Aunt Norma for generously sharing this culinary treasure with me, enabling me to carry on its legacy for future generations. It’s more than just a recipe; it’s a piece of history, originating from my husband’s grandma, Grandma Gilson, and likely even further back to her grandmother. Imagine, nearly a century ago, the same comforting flavors and simple ingredients were used to create these very biscuits!
While countless biscuit recipes exist today, few boast such a rich and continuous history. There’s an undeniable sense of comfort and connection in preparing a dish using the exact same methods and ingredients that generations before you perfected. These biscuits were a staple in Grandma Gilson’s kitchen back in the 1930s and ’40s, and their appeal remains undiminished. It’s a culinary link to the past, much like my Great Great Grandma’s beloved Date Nut Loaf, another cherished recipe that has nourished our family for six generations.
Essential Ingredients for Perfect Old-Fashioned Biscuits
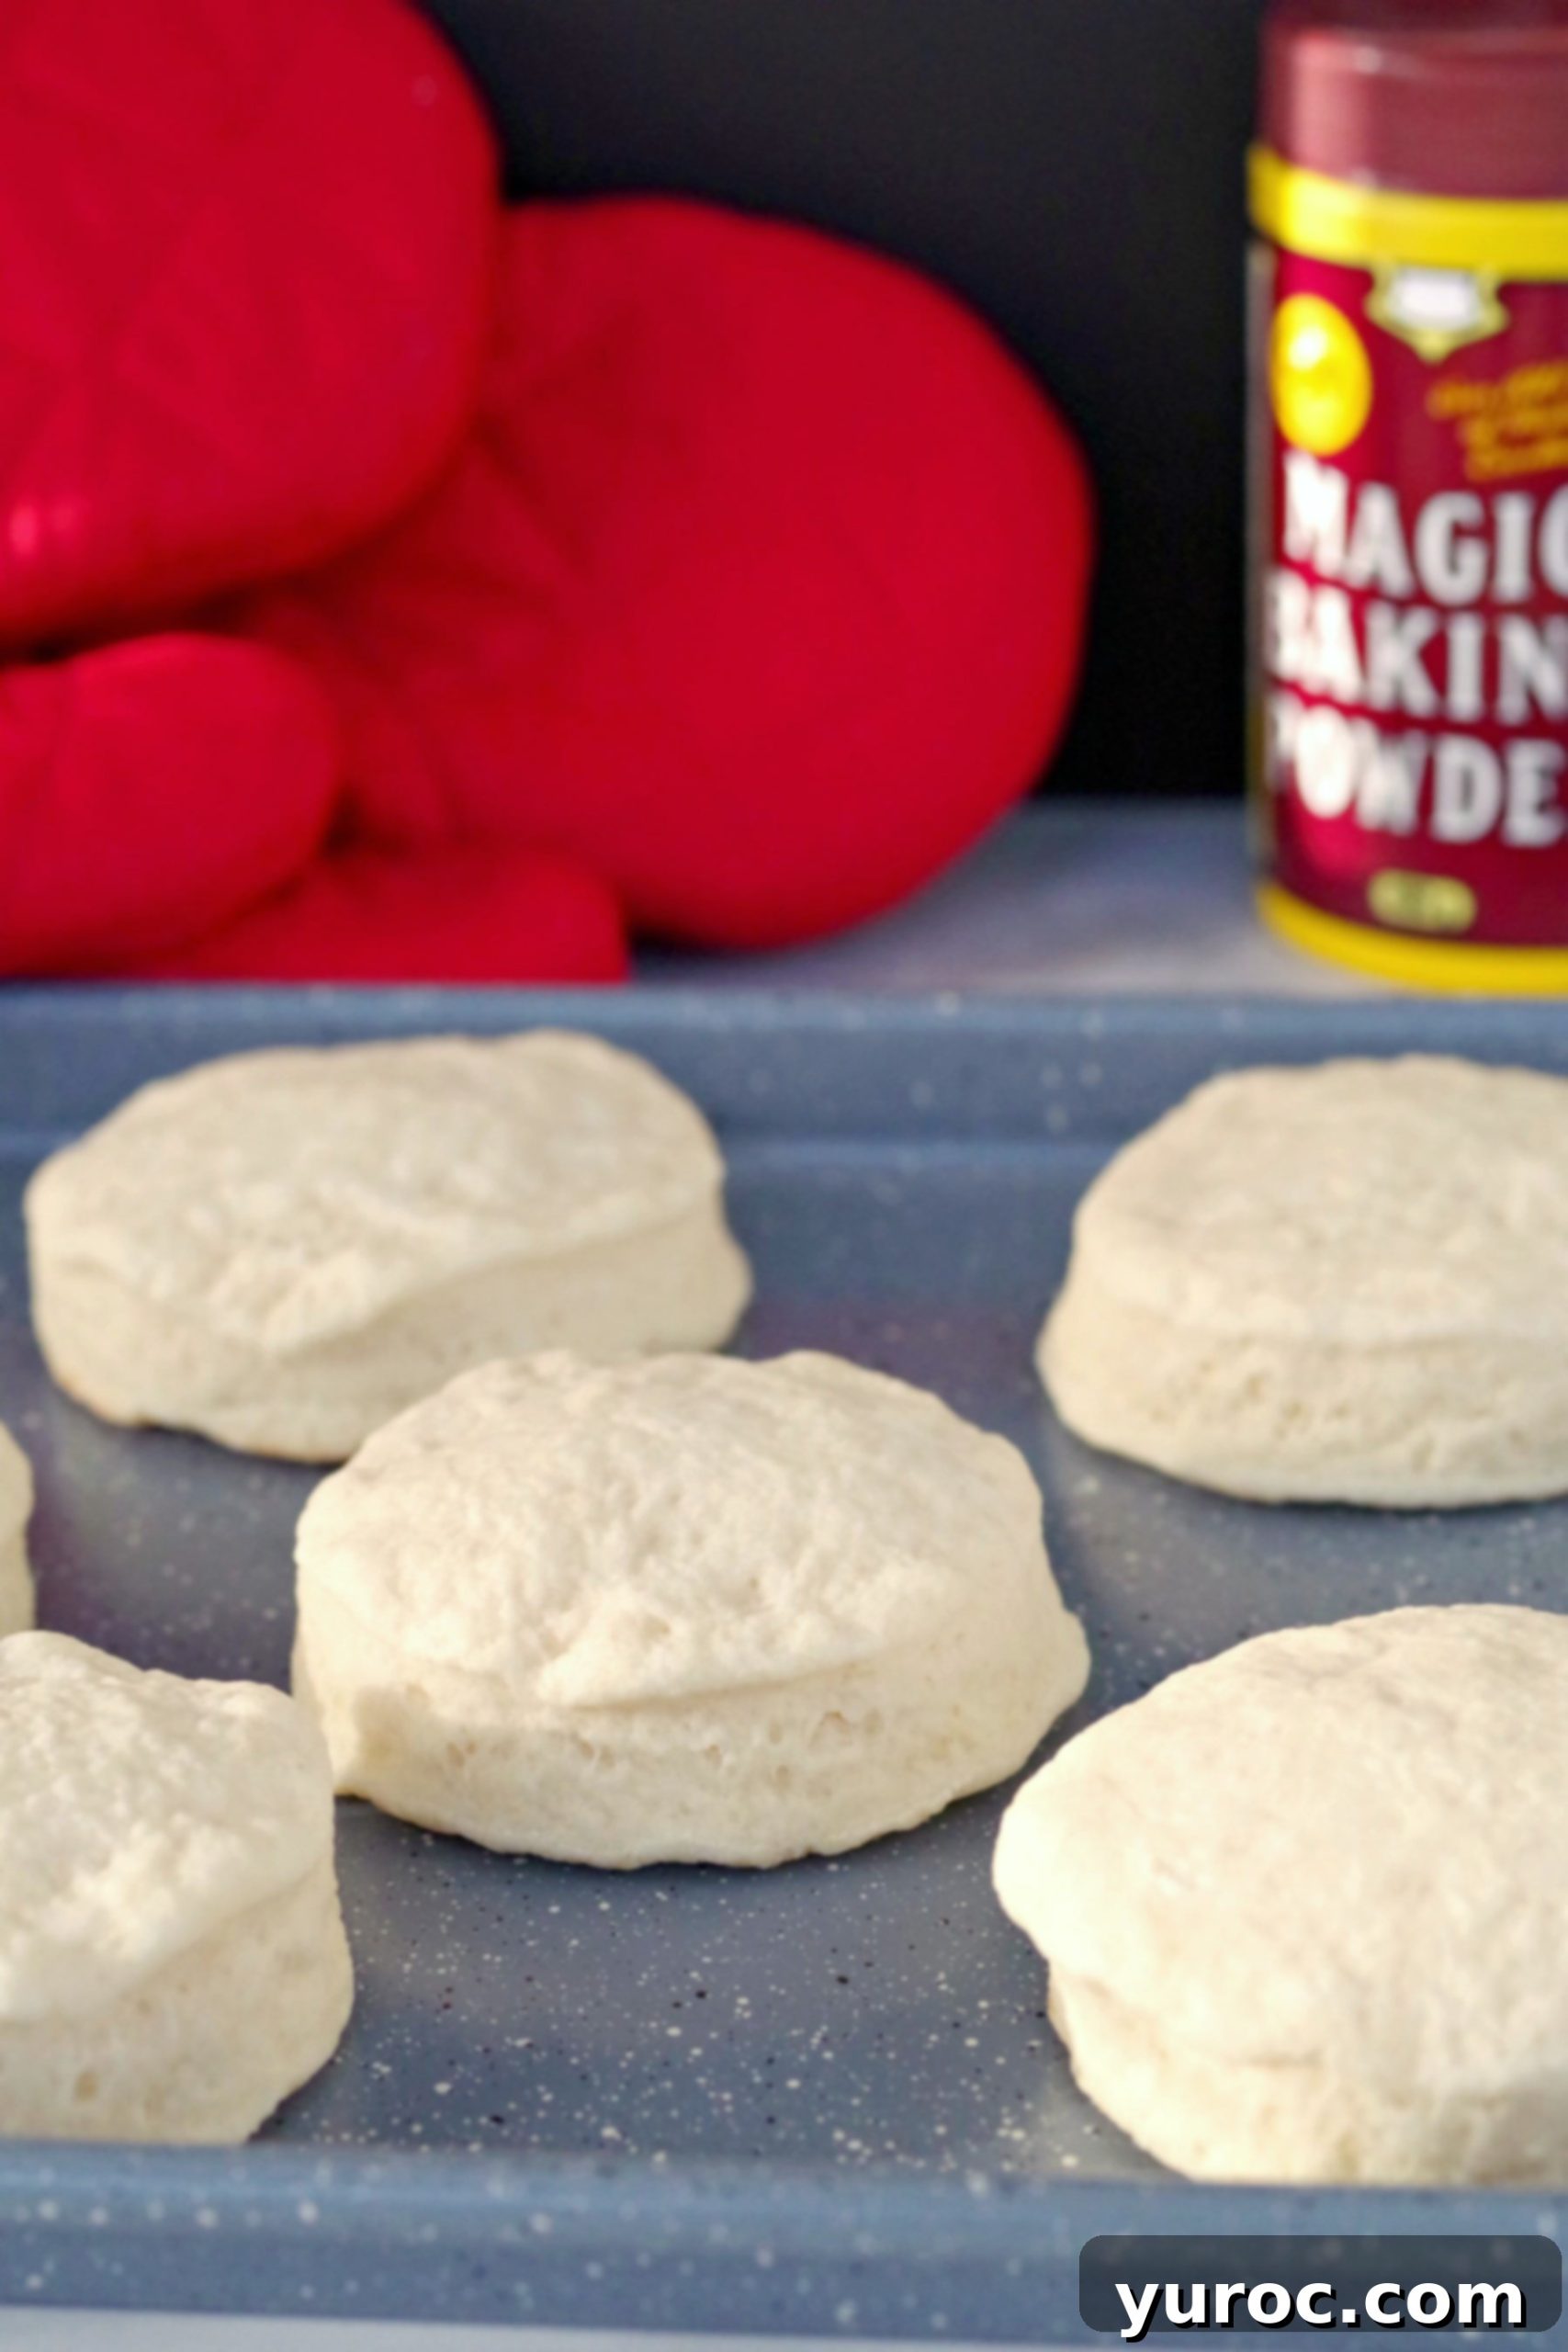
The Magic of Baking Powder
The term “Magic Baking Powder” coined by Kraft Canada perfectly encapsulates the transformative power of this humble ingredient. Before the mid-1800s invention of baking powder, leavening options were largely limited to yeast, which imparts a distinct fermented flavor, or the laborious pearlash. Pearlash, a refined form of potash, required extensive preparation. Today, we often take baking powder for granted, but its introduction revolutionized baking, dramatically cutting down the time and effort needed to produce bread goods. It paved the way for a vast array of new cakes, cookies, and, of course, these delightful biscuits. You can delve deeper into the fascinating history of baking powder here.
For this foolproof recipe, you’ll need a handful of basic ingredients, most of which are likely already stocked in your pantry and refrigerator:
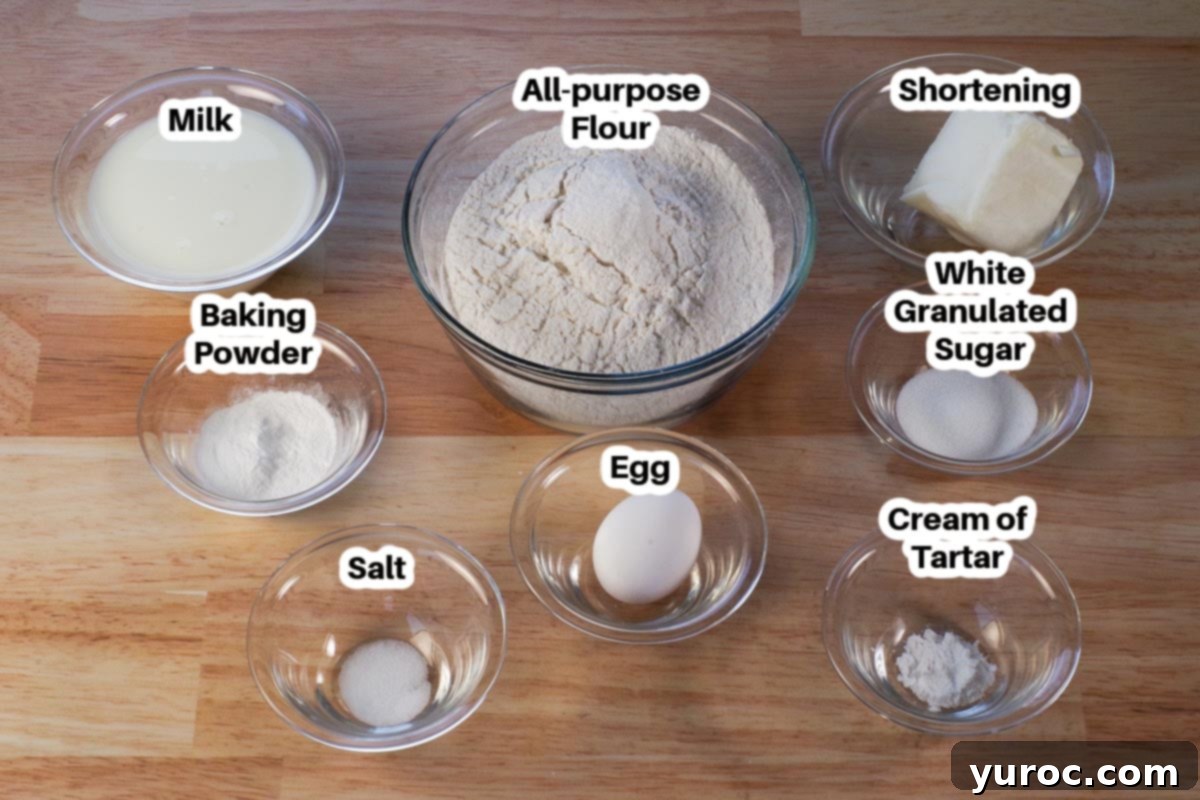
- Baking Powder: This is the primary leavening agent, responsible for those beautiful, airy pockets and the signature fluffy texture of these biscuits.
- All-Purpose Flour: Serving as the foundational structure, all-purpose flour provides just the right amount of protein to create a dough that’s pliable yet sturdy, preventing tearing. While many recipes use self-rising flour, I prefer to use all-purpose and add the leaveners and salt separately, allowing for precise control over the proportions, especially since this recipe calls for a bit more baking powder than typically found in self-rising varieties.
- Cream of Tartar: This ingredient acts as an additional leavener and a crucial stabilizing agent. When combined with baking powder, it enhances the rise and contributes to the biscuits’ tender crumb.
- Salt: A pinch of salt is vital for balancing the flavors and enhancing the overall taste of the biscuits, preventing them from tasting bland.
- White Granulated Sugar: Just a touch of sugar adds a subtle sweetness, beautifully complementing the savory notes and aiding in the golden-brown crust.
- Shortening: This is the secret to the old-fashioned texture! Unlike butter, shortening creates a more tender, flaky, and crumbly biscuit due to its higher melting point and pure fat content, resulting in less moisture and greater separation between layers.
- Egg: The egg acts as a binder, helping to hold all the ingredients together and adding a touch of richness to the dough.
- Milk: Providing essential moisture, milk prevents the biscuits from becoming dry or excessively crumbly. It also plays a key role in developing a softer crumb and a more tender texture.
What Exactly is Cream of Tartar?
This traditional biscuit recipe thoughtfully includes cream of tartar, an ingredient that might seem a bit old-school but is highly effective. Technically, cream of tartar is tartaric acid, a natural byproduct of wine fermentation, appearing as a residue left inside wine barrels. Its most common culinary application is as a leavening agent. When combined with baking soda (though in this recipe it works in conjunction with baking powder), it produces carbon dioxide gas, the very same gas that causes yeast breads to rise. This chemical reaction is key to achieving light, airy baked goods, making it a valuable component in many vintage and modern recipes.
Handy Substitutes for Cream of Tartar
Cream of tartar has always been a staple in my pantry, particularly because I enjoy exploring and recreating many vintage recipes that frequently call for it. While I highly recommend sticking to the recipe as written for the best possible outcome, if you find yourself without cream of tartar, there’s no need to panic. Several simple substitutions can work in a pinch. You can find reliable substitutions for Cream of Tartar here to ensure your biscuits still turn out wonderfully.
Simple Substitutions and Flavorful Variations
While this old-fashioned biscuit recipe is perfect as is, you can easily adapt it to suit your preferences or dietary needs:
- Cream of Tartar: As discussed above, if you’re out, suitable alternatives are available.
- Cheese Biscuits: For a savory twist, simply fold in 1 cup of shredded cheddar cheese (or your favorite cheese) into the dough before rolling it out.
- Milk Options: I typically use 1% milk, but 2% milk works just as well. For an even tangier flavor and potentially a slightly softer crumb, you can substitute with buttermilk.
- Dairy-Free or Lactose-Free: Easily make these biscuits suitable for specific dietary requirements by using your preferred dairy-free or lactose-free milk alternative.
- Shortening Alternative: To truly embrace the methods of past generations, you can use lard instead of shortening. Lard, typically derived from pig fat, offers a similar tenderizing effect to shortening and imparts a distinct, rich flavor. However, note that using lard will make the biscuits non-vegetarian.
Step-by-Step Guide: How to Bake These Incredible Old-Fashioned Biscuits
Follow these straightforward steps to create your own batch of perfectly soft and fluffy old-fashioned biscuits:
First, Prepare the Dough:
PREP: Begin by preheating your oven to 375 degrees F (190 degrees C). Line a standard cookie sheet with parchment paper for easy cleanup and to prevent sticking. If parchment paper isn’t available, simply use an ungreased cookie sheet.
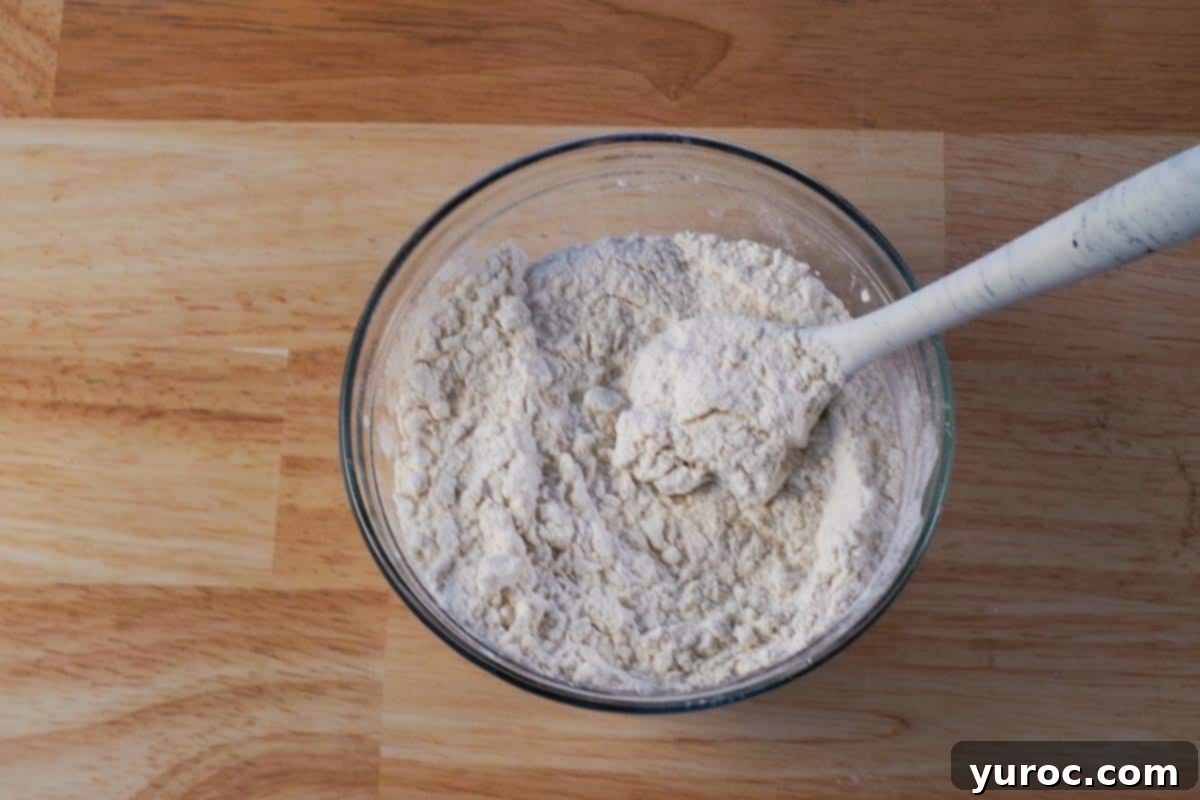
- Step 1: In a spacious mixing bowl, combine the sifted all-purpose flour, cream of tartar, salt, baking powder, and granulated sugar. Whisk these dry ingredients thoroughly to ensure even distribution.
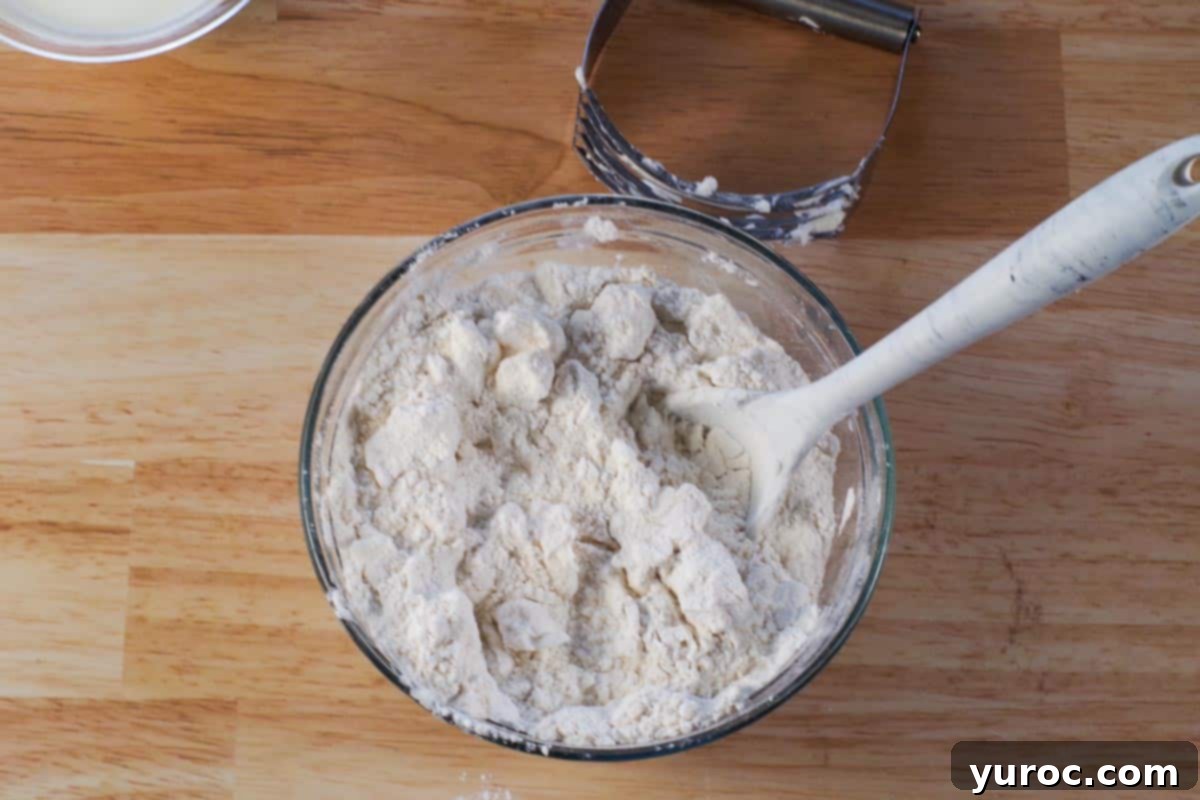
- Step 2: Add the shortening to the dry mixture. Use a pastry cutter to cut the shortening into small, pea-sized pieces and incorporate it into the flour mixture until it resembles coarse crumbs. This step is crucial for achieving a tender, flaky biscuit.
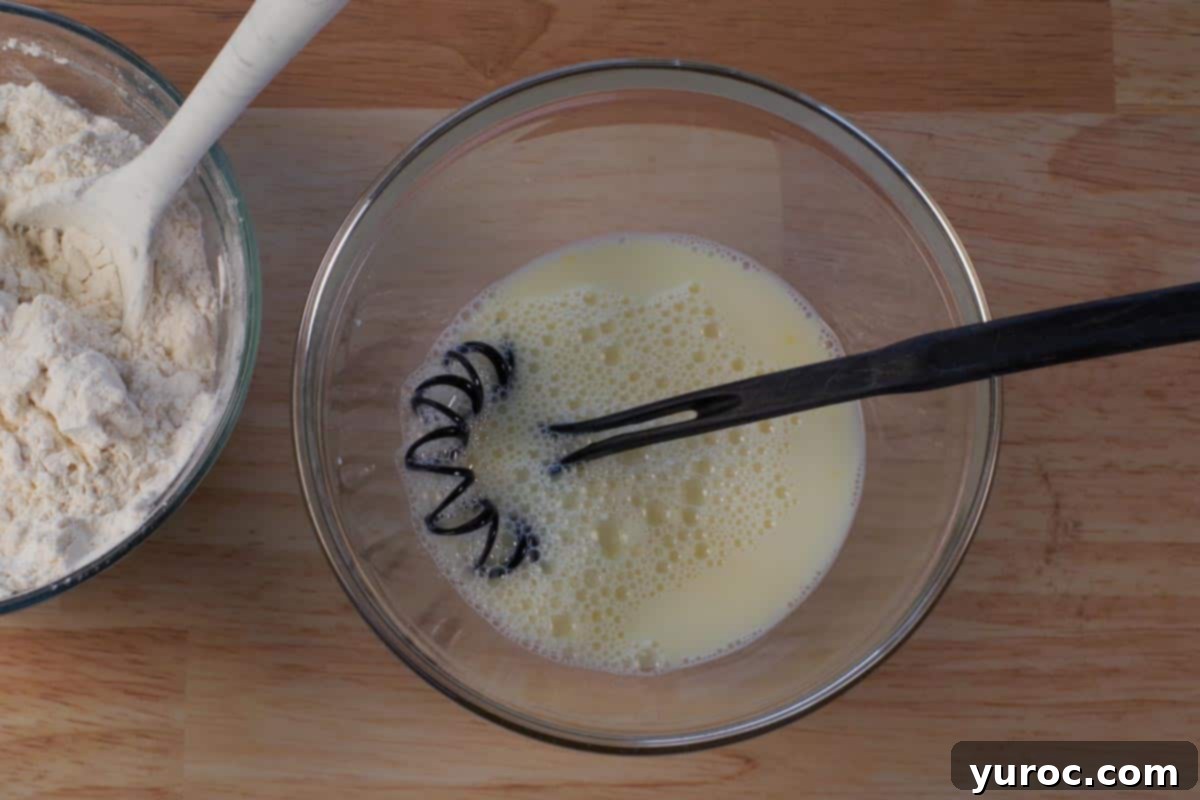
- Step 3: In a separate, smaller bowl, crack the egg and pour in the milk. Whisk these wet ingredients together thoroughly until they are well combined.
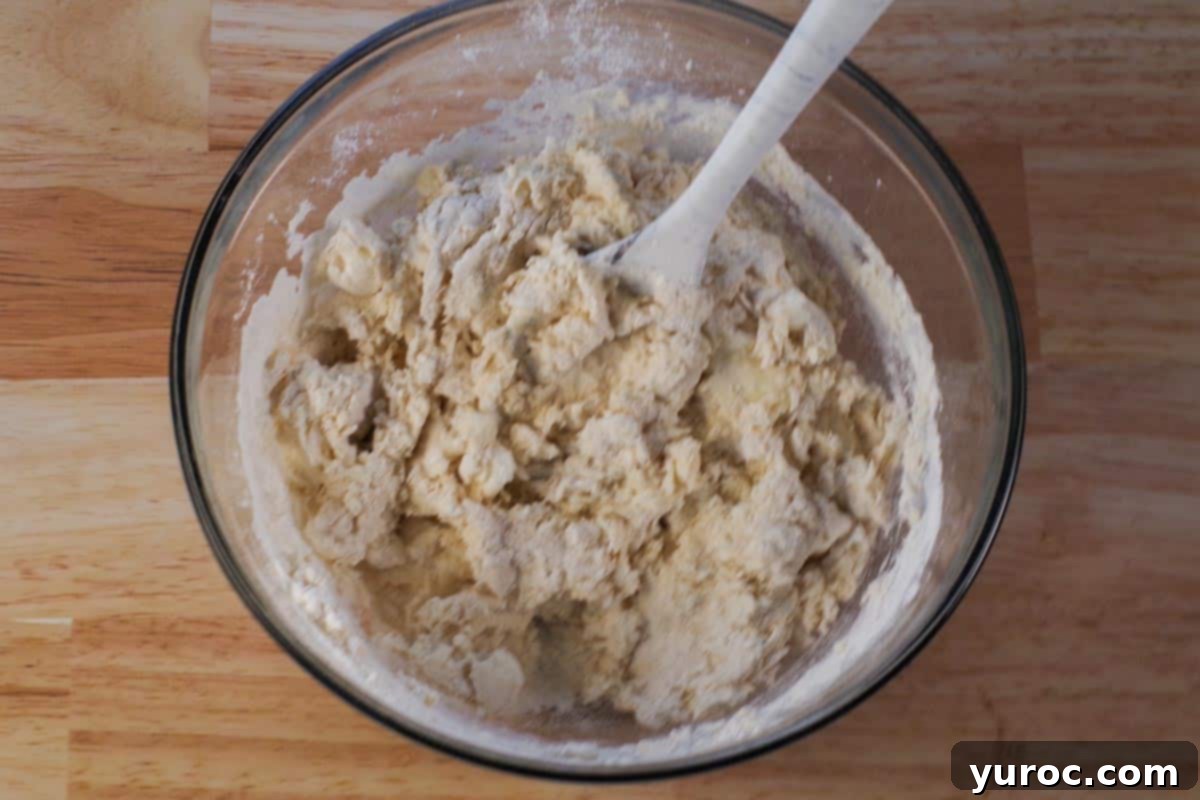
- Step 4: Gradually add the wet egg and milk mixture to the dry ingredients. Mix gently with a spoon or your hands until just combined. Be careful not to overmix at this stage; a slightly shaggy dough is desirable for tender biscuits.
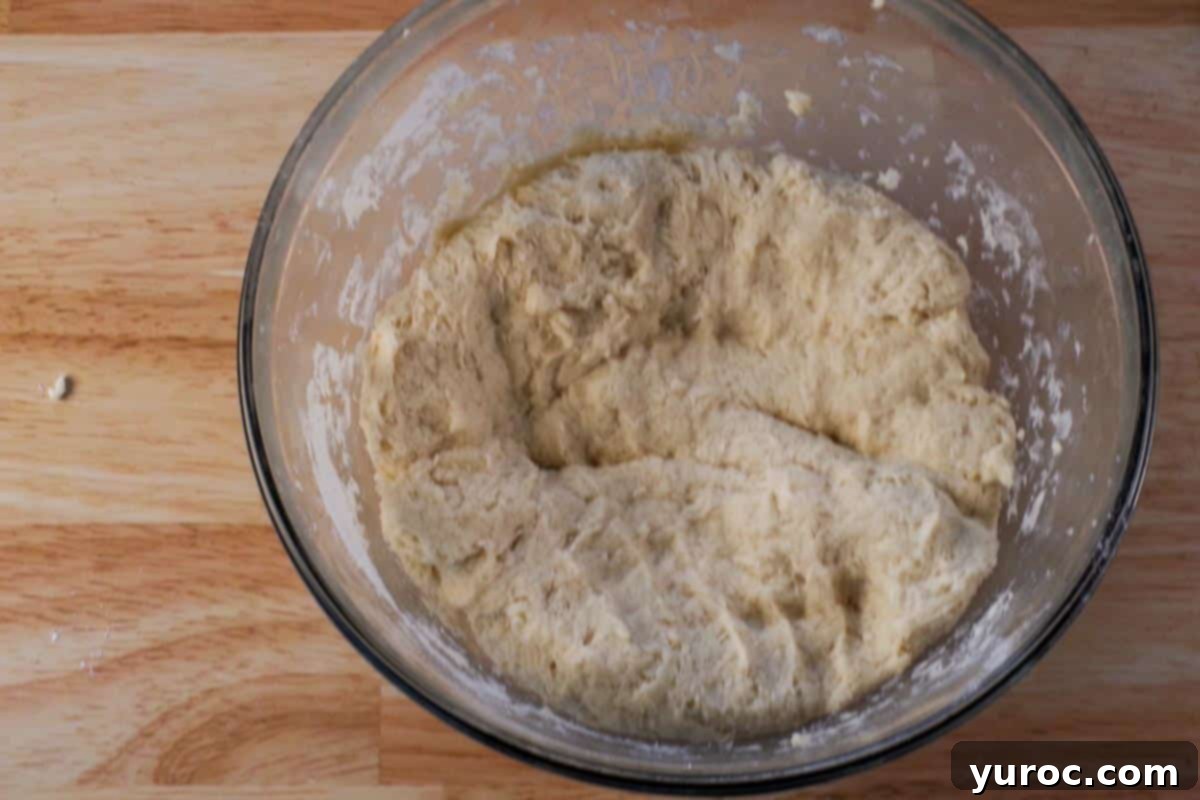
- Step 5: Lightly flour your hands and gently knead the dough in the bowl for exactly 3 minutes. I find setting a timer on the stove helpful for this step. The dough will feel a bit sticky, and that’s perfectly normal and expected at this stage.
Next, Shape and Bake the Biscuits:
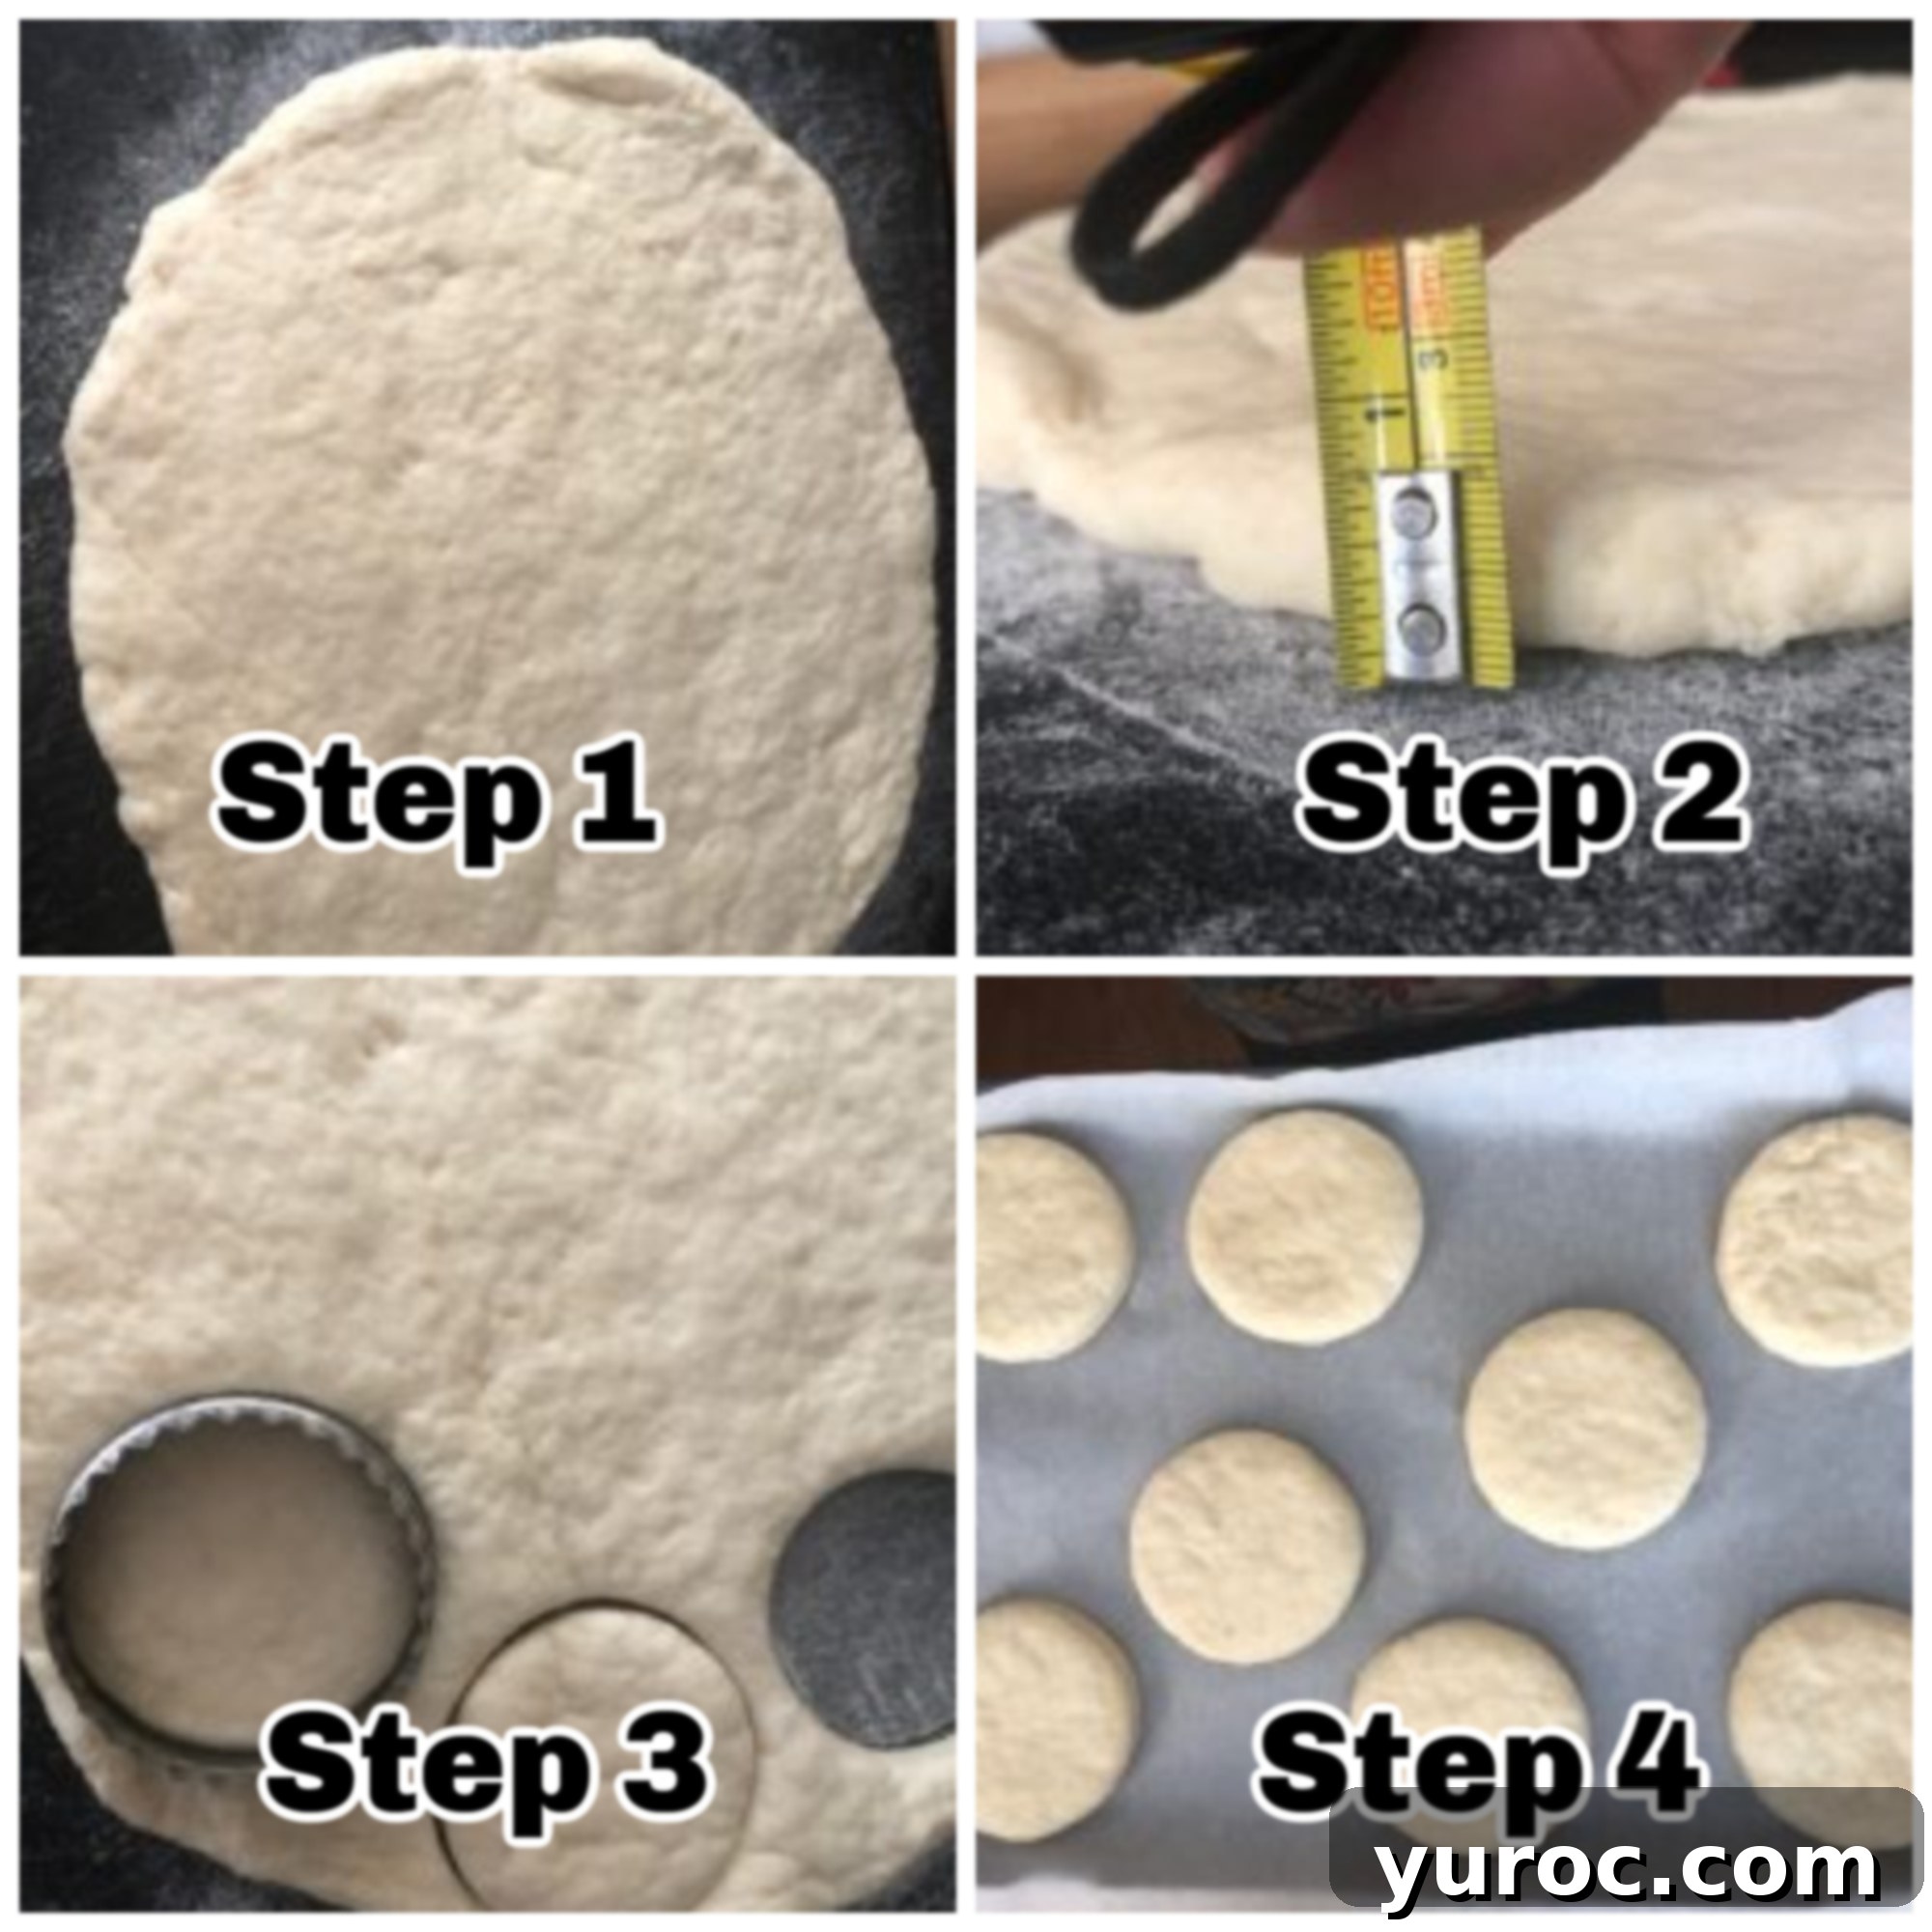
- Once your dough is kneaded, transfer it to a lightly floured work surface or cutting board.
- Using a rolling pin, gently roll out the biscuit dough until it is uniformly ½ inch thick. Avoid pressing too hard.
- Using a 3-inch round biscuit cutter, press straight down through the dough to cut out individual rounds. Avoid twisting the cutter, as this can seal the edges and hinder the biscuits’ rise. If you don’t have a cutter, a drinking mug or glass with a similar diameter works just as well.
- Carefully transfer the cut biscuit rounds to your parchment-covered baking sheet, placing them about an inch apart. Bake in the preheated 375°F (190°C) oven for approximately 12 minutes, or until the tops are lightly golden brown and the bottoms are a rich golden hue.
Pro Tips for Perfectly Fluffy Biscuits Every Time
Achieving the perfect fluffy biscuit is easier than you think with a few simple tricks:
- Keep Ingredients Cold: Ensure your shortening, milk, and egg are thoroughly chilled. Cold fat creates steam as it bakes, resulting in flaky layers.
- Don’t Overmix the Dough: Overworking the dough develops the gluten too much, leading to tough biscuits. Mix just until the ingredients are combined, and knead only for the specified time.
- Cut Straight Down: When using a biscuit cutter, press straight down and lift up. Twisting the cutter can seal the edges of the biscuit, preventing it from rising to its full potential.
- Bake Immediately: Once the biscuits are cut, get them into the preheated oven as quickly as possible. The leavening agents start working once wet ingredients are added, and baking promptly maximizes their lift.
- Perfect Thickness: Rolling the dough to ½ inch thickness is ideal. Too thin, and they won’t rise well; too thick, and they might not cook through evenly.
Delicious Pairings: What to Serve with Old-Fashioned Biscuits
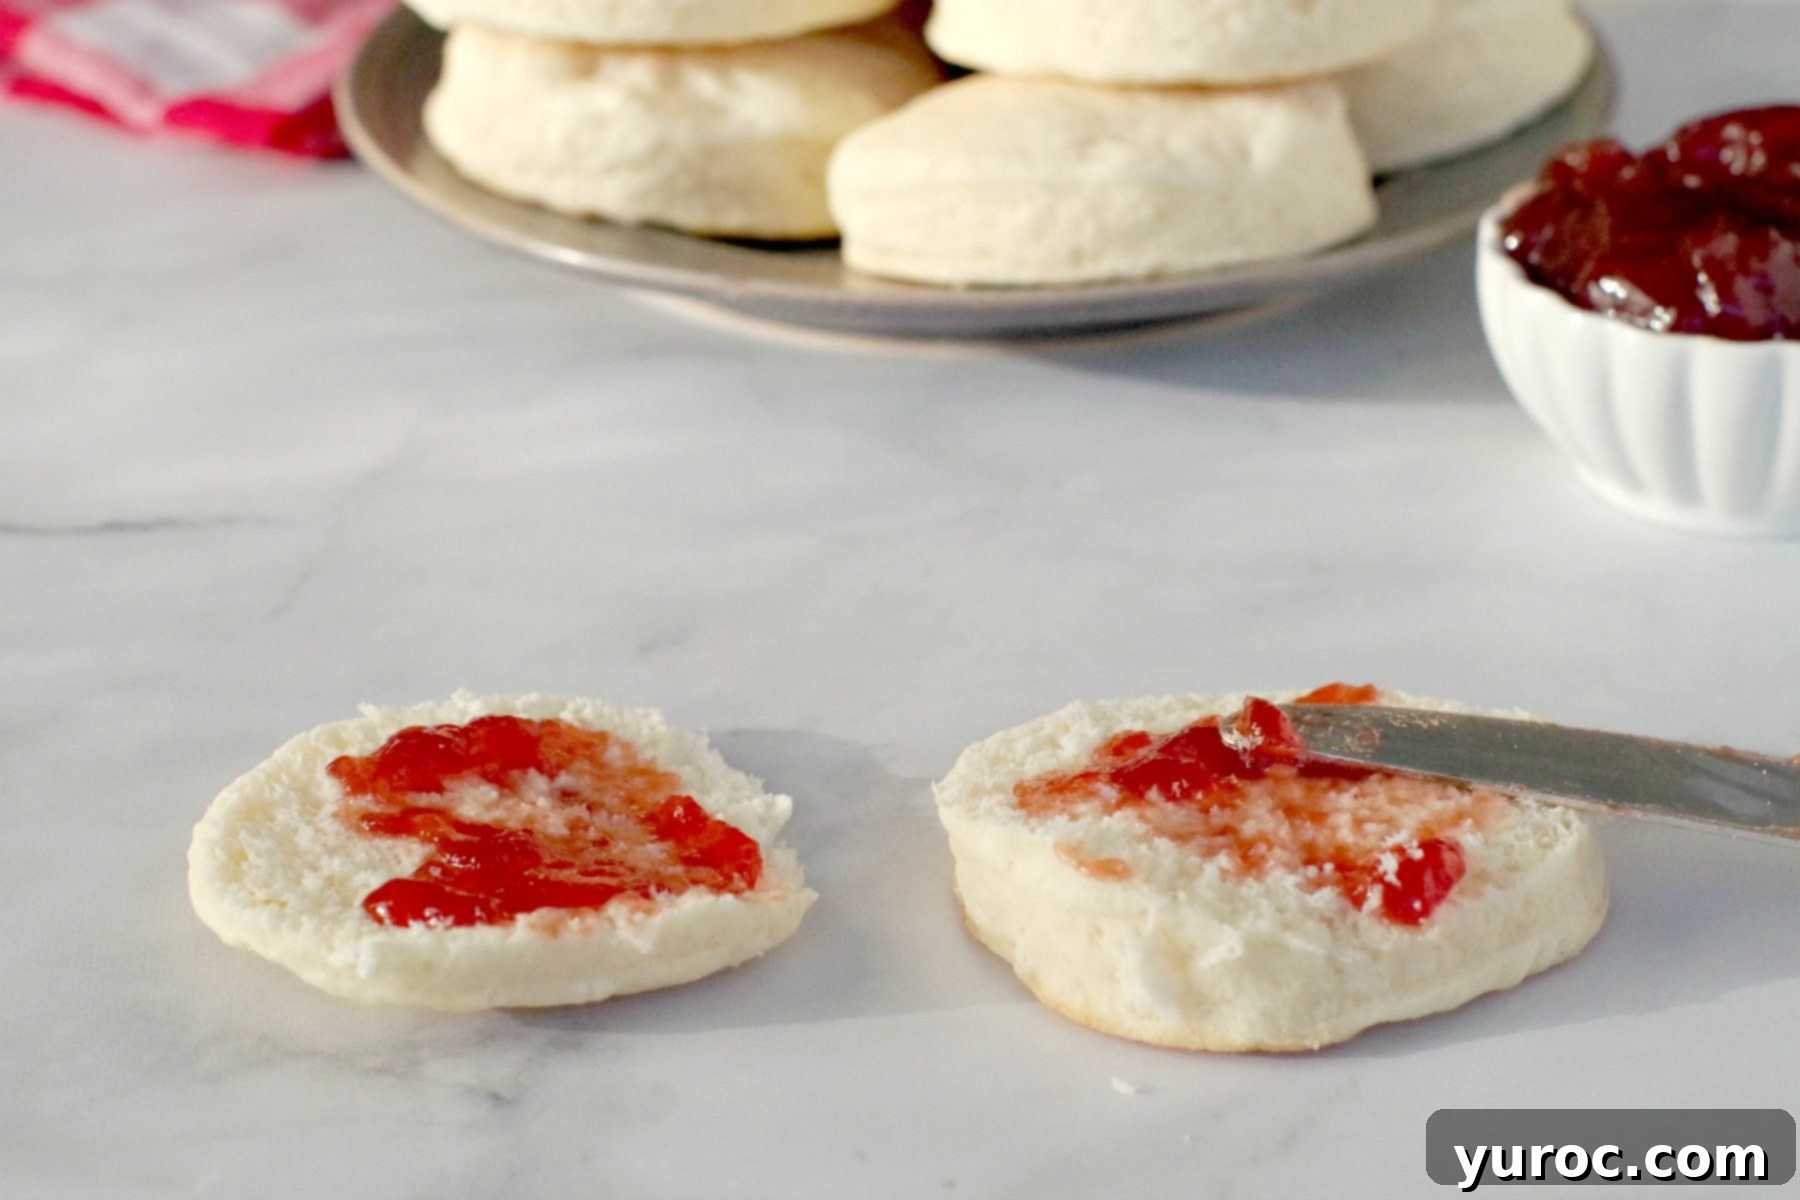
These wonderfully simple and fluffy biscuits are incredibly versatile. They are absolutely delightful enjoyed warm and plain, or generously slathered with your favorite jam, honey, or butter. My daughter even enjoys using them as a unique and tender alternative to bread for her sandwiches! Beyond that, their comforting nature makes them a perfect companion for a wide array of hearty dishes like soups, stews, and chilis. Here are some fantastic recipes that pair beautifully with these homemade delights:
- Stovetop Beef and Pork Chili Recipe
- Easy Hamburger Potato Soup
- Old-fashioned Slow Cooker Whiskey Beef Stew
- Healthy Slow Cooker Chicken Stew
Storage and Freezing Instructions
To keep any leftover biscuits fresh and delicious, store them in an airtight container at room temperature. They will remain soft and enjoyable for up to 4 days. For longer storage, these flaky biscuits freeze exceptionally well. Simply place them in an airtight container or a heavy-duty Ziploc freezer bag, and they will maintain their quality for up to 3 months. To reheat, you can warm them gently in the oven or microwave.
Adjusting the Serving Size
This traditional homemade biscuit recipe yields approximately 16 servings, providing plenty for a family meal or gathering. Should you need more or fewer biscuits, you can conveniently adjust the recipe. By clicking on the serving number in the recipe card below and selecting your desired quantity, the ingredient amounts will automatically recalculate to match, making it easy to scale the recipe up or down as needed.
Frequently Asked Questions About Baking Powder Biscuits
Baking powder is a crucial leavening agent in biscuits. When it reacts with liquid and heat, it produces carbon dioxide gas, which creates tiny air pockets throughout the dough. This process is what causes biscuits to rise, resulting in their characteristic light, fluffy, and tender texture.
Why might my baking powder biscuits turn out tough?
Tough biscuits are often a result of overworking the dough or adding too much flour. When dough is excessively handled or kneaded, it develops the gluten, leading to a chewy, dense texture rather than a light, tender one. Additionally, in very dry climates, you might need to slightly reduce the amount of flour (start by decreasing it by 2 tablespoons) to prevent the dough from becoming too stiff and dry, ensuring a tender biscuit.
There are a couple of common reasons why your biscuits might not have risen as expected. The most frequent culprit is expired or old baking powder; its leavening power diminishes over time, so always check the expiry date. Another factor could be an oven that isn’t hot enough. Biscuits require a hot oven to activate the leavening quickly and create that desirable lift before the dough sets.
Even if you’ve previously considered yourself indifferent to biscuits (much like I once did), I wholeheartedly urge you to give these incredible baking powder biscuits a try. Their unparalleled softness, flakiness, and comforting taste are sure to convert you into a true biscuit enthusiast!
More Comforting Baked Goods and Bread Recipes
If you loved these homemade biscuits, explore more of our cherished family recipes for delicious baked goods and comforting breads:
- Granny Buns (Old-Fashioned Dinner Rolls)
- Italian Bread Machine Breadsticks
- Everything Bagel Cloud Bread Recipe
- Garlic Bread (from Baguette)
Did your family ❤️ this recipe? Did you know that commenting and ⭐rating recipes is one of the best ways to support your favorite recipe creators? If you LOVED this recipe, please comment and rate it in the recipe card below, or share photos on social media using the hashtag #foodmeanderings or tagging @foodmeanderings!

Old-Fashioned Baking Powder Biscuits Recipe
Print Recipe
Pin
Save RecipeSave Recipe
Rate
Add to Shopping ListGo to Shopping List
Equipment
-
Rolling Pin
-
3-inch biscuit cutter
-
pastry cutter
Ingredients
- 3 cups sifted all-purpose flour
- ¾ teaspoon cream of tartar *refer to substitutions in the main content above
- ¾ teaspoon salt
- 4 ½ teaspoons baking powder
- 2 tablespoons white granulated sugar
- ¾ cup shortening
- 1 large egg
- 1 cup milk
Instructions
-
Preheat your oven to 375 degrees F (190 degrees C). Line a large cookie sheet with parchment paper to prevent sticking. If parchment is unavailable, an ungreased cookie sheet will suffice.
-
In a spacious mixing bowl, combine the flour, cream of tartar, salt, baking powder, and sugar. Use a whisk to ensure all dry ingredients are thoroughly mixed. Add the shortening and use a pastry blender to cut it into the dry mixture until it forms coarse, pea-sized crumbs.
-
In a separate bowl, whisk together the egg and milk until well combined.
-
Pour the wet mixture into the dry ingredients. Mix gently until just combined into a shaggy dough, then knead the dough for exactly 3 minutes. Avoid overworking it. (A timer is helpful here!)
-
Transfer the dough to a lightly floured work surface.
-
Using a rolling pin, roll the dough out to a consistent thickness of ½ inch.
-
Cut the dough into rounds using a 3-inch biscuit cutter. Press straight down and lift to avoid twisting, which can hinder the rise.
-
Place the cut biscuits onto the prepared parchment-covered baking sheet, leaving a little space between each.
-
Bake for 12 minutes in the preheated oven, or until the tops are lightly golden and the bottoms are a darker golden brown.
-
Allow the biscuits to cool on the baking sheet for 5 minutes before transferring them to a wire rack to cool slightly. Serve warm and enjoy these delicious old-fashioned treats!
Notes
