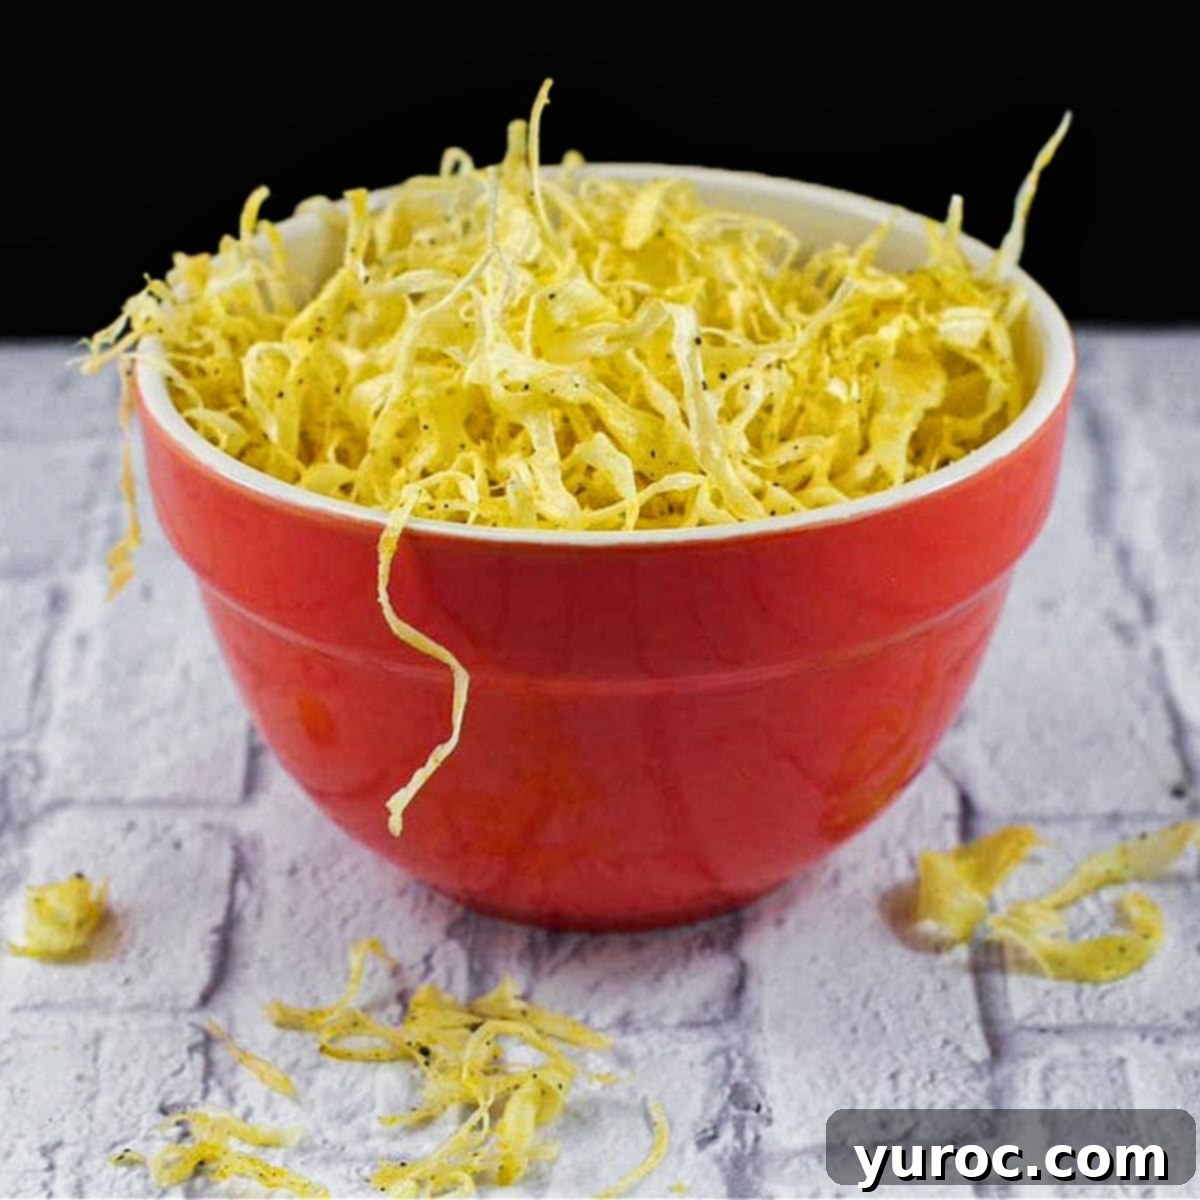
Crispy & Irresistible Parsnip Crisps: Your New Favorite Snack (Deep-Fried or Air-Fried!)
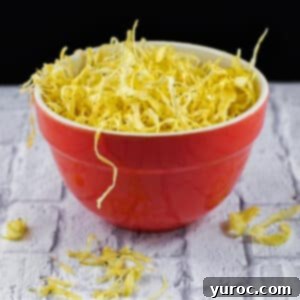
Have you ever found yourself with a bundle of beautiful parsnips and wondered, “What delightful creation can I make with these?” For many, parsnips might conjure up images of boiled, bland side dishes from childhood. But allow me to introduce you to a culinary revelation that will change your perception of this humble root vegetable forever: **Parsnip Crisps**. These thinly sliced, perfectly seasoned parsnip ribbons transform into an utterly satisfying and addictive snack that might just rival your favorite potato chips.
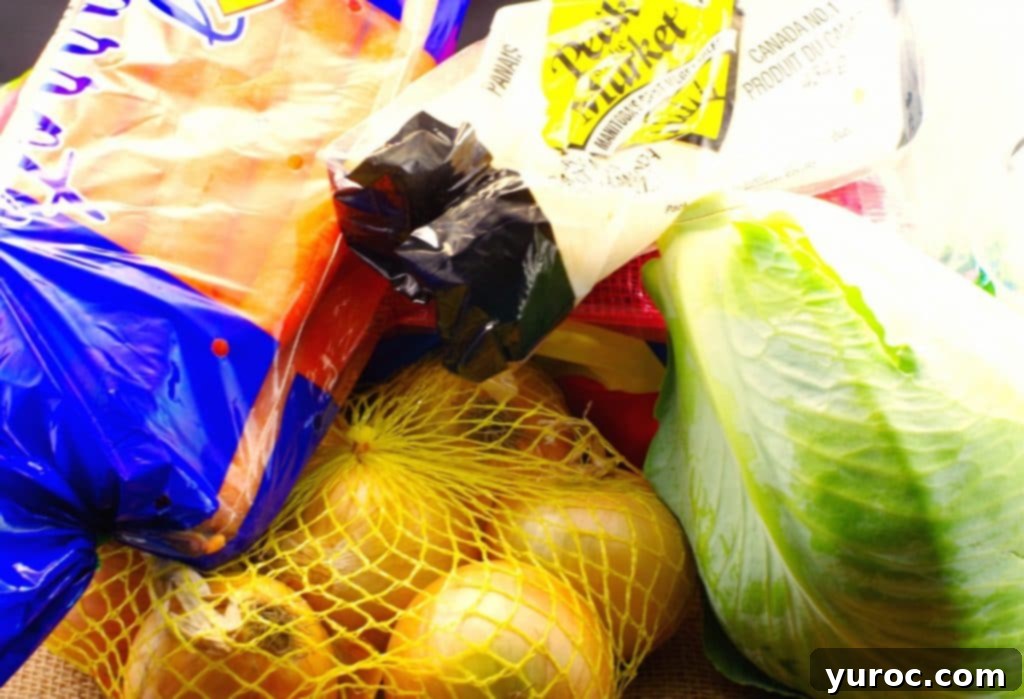
My journey to parsnip crisp enlightenment began, somewhat unexpectedly, through my kids’ school Farm to School Fundraiser. For two consecutive years, I received a generous veggie bundle featuring parsnips, prompting me to explore creative parsnip recipes. Having stumbled upon these incredible crisps last year and being genuinely surprised by their satisfying texture and flavor, making them again this year felt like a delightful duty—especially to share this amazing discovery with you!
The true seal of approval came from my 12-year-old son, who, after his first bite, exclaimed, “These parsnip chips are the best chips ever – make them all the time!” Coming from a discerning pre-teen, that’s high praise. These golden-fried parsnip ribbons are particularly popular during the fall and winter months when this versatile root vegetable is at its peak, offering its best sweet, earthy flavor.
I must confess, my enthusiasm for parsnips is a relatively new development. In my younger years, the mere sight of my mom boiling parsnips was enough to make me gag. Like many, I had only experienced them in their boiled form, which often results in a watery, somewhat bitter, and unappealing texture. However, everything changed the moment I tasted deep-fried parsnips. **Deep-frying parsnips is an absolute game-changer!** It transforms their natural sweetness, caramelizes the sugars, and creates an unbelievably crisp texture that will make you forget all about their humble origins.
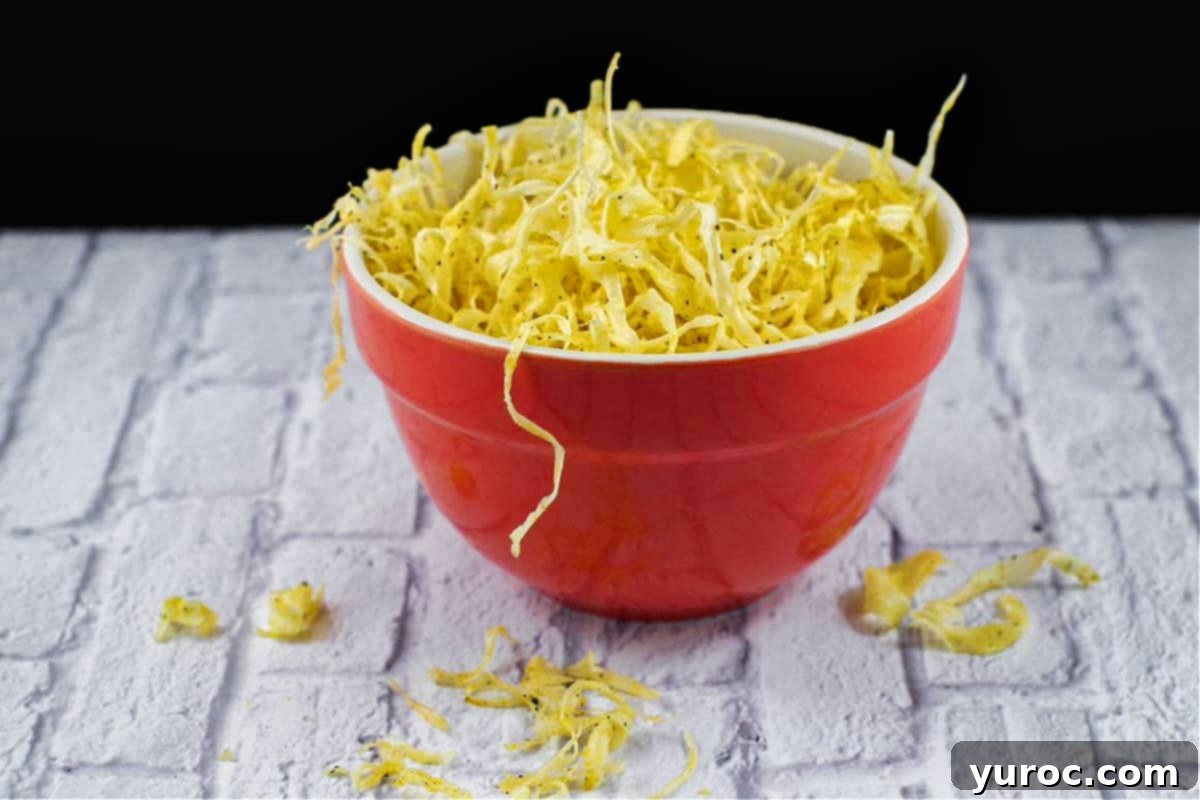
Versatile Ways to Enjoy Your Crispy Parsnip Ribbons
Once you’ve mastered these delightful parsnip crisps, you’ll discover a world of culinary possibilities. Their unique flavor and satisfying crunch make them incredibly versatile beyond just a standalone snack:
- Elevate Your Salads: Sprinkle them generously over your favorite green salad. They provide a fantastic textural contrast and a subtle sweetness that complements fresh vegetables and vinaigrettes beautifully, serving as an exceptional and more unique alternative to traditional croutons.
- Soup Topper Extraordinaire: Add a handful to warm bowls of soup, especially creamy vegetable soups or hearty stews. The crisps will maintain their crunch for a delightful contrast against the liquid, adding both flavor and visual appeal.
- A Gourmet Side or Sandwich Inclusion: Serve them alongside sandwiches, burgers, or wraps, just as you would potato chips, for a sophisticated and flavorful upgrade. For an extra layer of crunch and flavor, try tucking a few crisps directly into your sandwich – the unexpected texture is surprisingly good!
- Pure Snack Perfection: Of course, you can simply eat them straight up, by the handful! Be warned, they are highly addictive and tend to disappear quickly.
I vividly remember a lunch at a restaurant in Calgary a few years back where a small pile of these deep-fried parsnip chips arrived atop my salad. It was a revelation that completely redefined my understanding of parsnips and sparked an instant “food love” affair. It’s a culinary experience I highly recommend you replicate at home; these parsnip crisps are truly a fantastic salad topper!
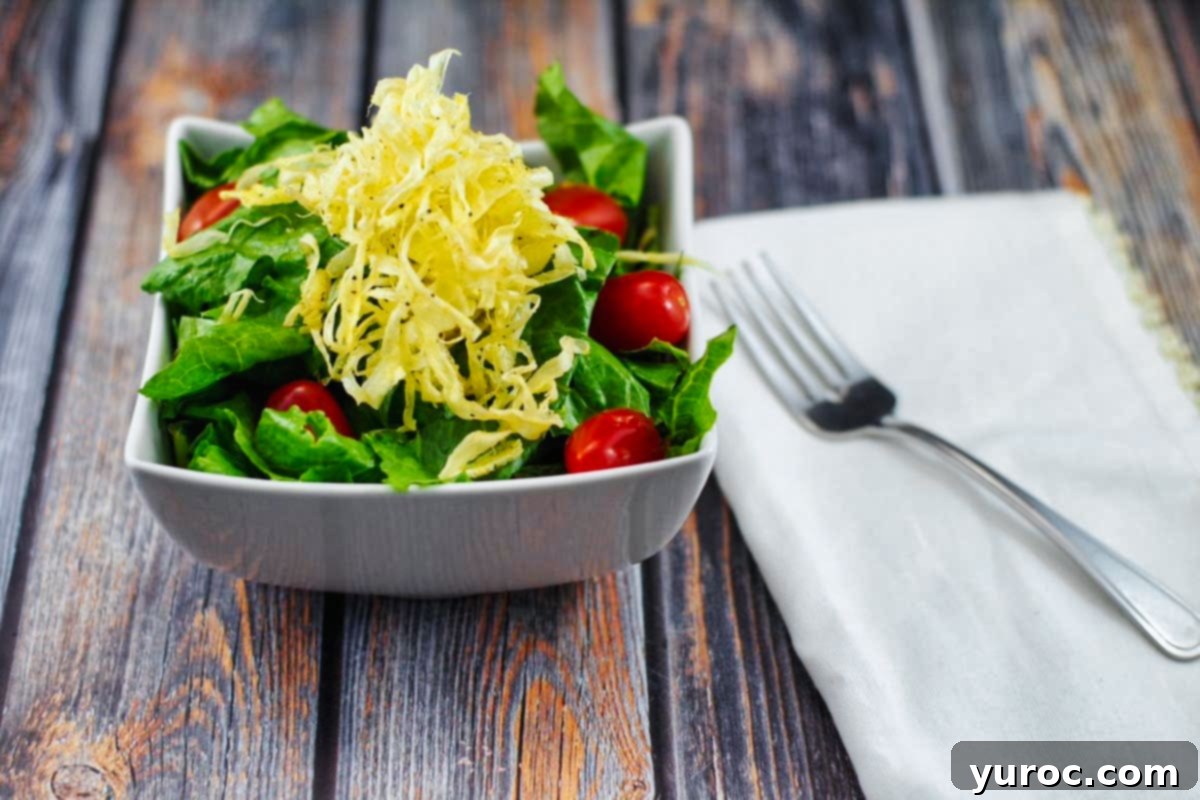
There’s a universally acknowledged truth that deep-frying tends to make almost anything taste better, and I’m certainly a proponent of this philosophy! Deep-fried vegetables, in particular, are a no-brainer for me. And since these fried parsnips offer a relatively wholesome spin on deep-fried snacks, they perfectly align with my kind of indulgence. The secret ingredient that truly elevates these crisps is the addition of lemon pepper (of which I am a huge fan!), combined with a touch of salt. This seasoning blend provides a wonderful tangy kick that perfectly balances the parsnips’ natural sweetness, creating a complex flavor profile that ensures you won’t even miss those ordinary potato chips.
Essential Ingredients for Perfect Parsnip Crisps
Crafting these delicious fried parsnip crisps requires just a few simple, high-quality ingredients. The beauty lies in the simplicity, allowing the parsnip’s natural flavor to shine through:
- Large Parsnips: The star of our show! When selecting parsnips, opt for larger ones. Their broader surface makes it significantly easier to shave them into long, even ribbons with a vegetable peeler. Look for firm, smooth parsnips without soft spots or excessive rootlets. Freshness is key to both flavor and texture.
- Olive Oil or Vegetable Oil: For deep-frying, you’ll need an oil with a high smoke point. Olive oil can work, but for a more neutral flavor and higher smoke point, vegetable oils like canola, sunflower, or peanut oil are excellent choices. You’ll need enough oil to submerge the parsnip ribbons, typically around 4-6 cups depending on your fryer or pot size.
- Lemon Pepper: This seasoning blend is a total game-changer for these crisps. It adds a bright, zesty tang and a subtle peppery kick that perfectly complements the parsnips’ sweetness, creating an irresistible flavor.
- Salt: A sprinkle of fine sea salt or kosher salt immediately after frying is crucial. It enhances all the flavors and adds that essential savory balance to the sweetness and tanginess.
Recommended Equipment for Crispy Results
While these parsnip crisps can be made using a heavy-bottomed pot on the stovetop, for safety, convenience, and consistent results, I highly recommend using a dedicated deep fryer. They make the process much more controlled and less stressful:
- Deep Fryer: If you don’t already own one, a deep fryer (affiliate link) is an excellent investment for recipes like this. It maintains a consistent oil temperature, reducing the risk of uneven cooking and ensuring perfectly crispy results. More importantly, it offers a much safer way to handle hot oil compared to an open pot on the stove. Modern deep fryers are also surprisingly affordable.
- Vegetable Peeler: An absolute essential for creating the thin, delicate parsnip ribbons. A swivel peeler or a Y-peeler both work well.
- Wire Skimmer or Slotted Spoon: Necessary for safely adding and removing the parsnip ribbons from the hot oil.
- Deep-Fry Thermometer: Crucial for monitoring and maintaining the oil’s temperature. Accurate temperature control prevents soggy, greasy crisps (if too low) or burnt crisps (if too high).
- Paper Towels: For draining excess oil from the freshly fried crisps.
Step-by-Step Guide to Perfect Deep-Fried Parsnip Crisps
Making these deep-fried parsnip crisps is a straightforward process, especially with a deep fryer for safety and precision:
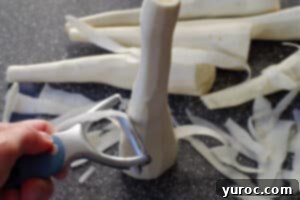
- Prepare the Parsnips: Begin by thoroughly peeling the skin from your large parsnips. Once peeled, use a sturdy vegetable peeler to shave long, thin strips or ribbons from the parsnips. Rotate the parsnip as you go to utilize all sides and get as many uniform ribbons as possible. The thinner and more consistent the ribbons, the crispier your results will be. (If you’re unsure about the technique, a video demonstration is linked below in the Notes section).
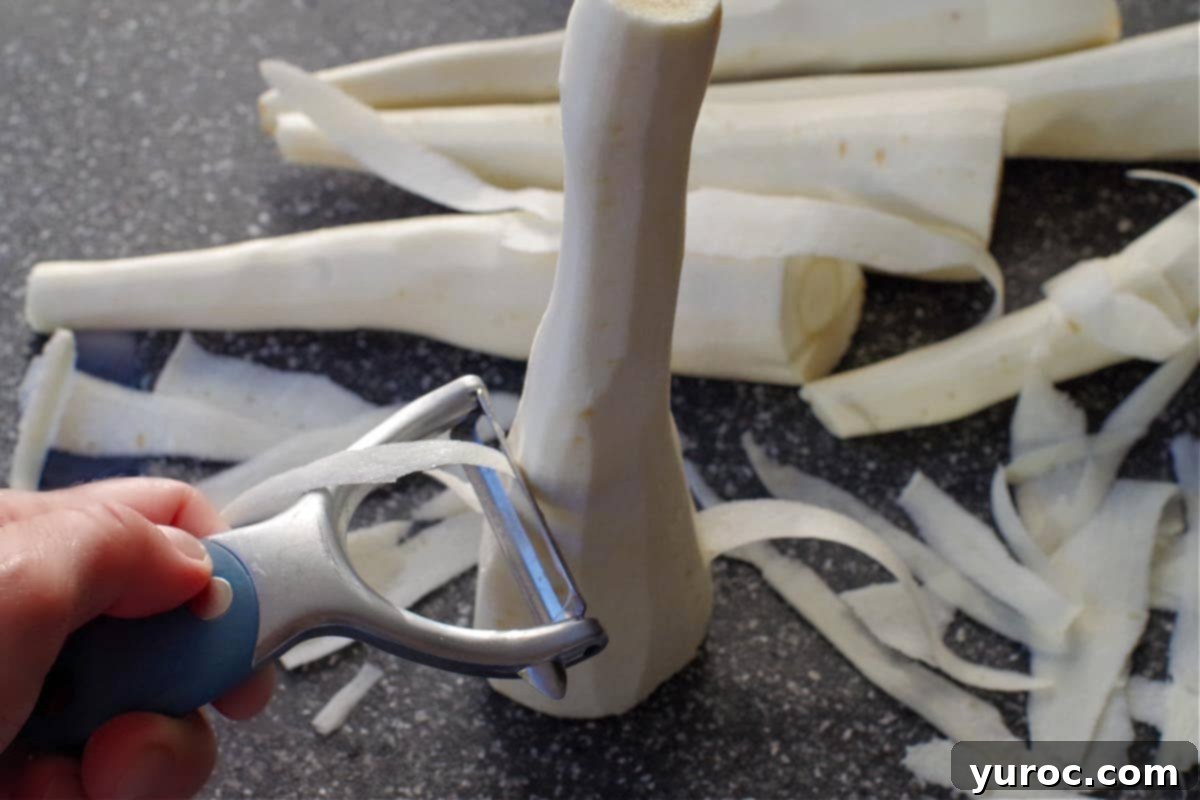
How to Ribbon Parsnips (Visual Guide)
Achieving perfectly thin parsnip ribbons is key to crispy crisps. I simply use a vegetable peeler for this task. If you’re new to this technique or want to ensure you’re doing it correctly, watch this helpful video: How to ribbon vegetables with a vegetable peeler. Just remember that parsnips are denser than vegetables like zucchini, so your ribbons might not be as long or perfectly uniform, but they’ll still be delicious!
- Heat the Oil: Pour your chosen oil into a deep fryer or a heavy, medium-sized pot. Heat the oil gradually until it reaches an ideal temperature of 365 degrees Fahrenheit (approximately 185 degrees Celsius) on a deep-fry thermometer. Maintaining this temperature is critical for achieving optimal crispness without burning.
- Fry the Parsnip Ribbons: Carefully add the parsnip ribbons to the hot oil in small handfuls. Avoid overcrowding the fryer or pot, as this will drop the oil temperature and result in soggy crisps. Gently turn the ribbons with a wire skimmer or slotted spoon to ensure even cooking. Fry them until they turn a pale golden color and become visibly crisp, which typically takes about 2 minutes per batch. They cook very quickly!
- Drain and Season: Once golden and crispy, quickly transfer the parsnip crisps from the oil to a plate lined with several layers of paper towels. This will absorb any excess oil. Immediately after draining, while the crisps are still hot, sprinkle them generously with lemon pepper and a little extra salt, if desired. The heat helps the seasoning adhere perfectly.
* No Deep Fryer Method: Frying Parsnips on the Stovetop
While a deep fryer offers the safest and most consistent results, you can still make these parsnip crisps using a deep pot on your stovetop. However, **I strongly advise extreme caution with this method.** Hot oil can be dangerous, so proceed at your own risk and always prioritize safety:
- Choose the Right Pot: Use a deep, heavy-bottomed pot with a flat base. The fat (oil) should be deep enough to allow the parsnip crisps to float freely and not stick to the bottom.
- Heat the Oil Carefully: Heat the oil in your pot to 375 degrees F (190 degrees C). Use a deep-fry thermometer to monitor the temperature accurately. As a simple test, fry a single parsnip ribbon for a minute or two; it should turn golden and crisp. Adjust heat as needed.
- Immerse Gently: Using a long-handled slotted spoon (which can be lightly greased by dipping it into the hot fat first to prevent sticking), gently immerse small batches of parsnip ribbons into the hot oil. Again, do not overcrowd the pot.
- Fry to Perfection: Deep fry each batch for approximately 2 minutes, turning occasionally, until they are pale gold and crisp.
- Drain and Season: Remove the crisps with the slotted spoon and transfer them immediately to a plate lined with paper towels to drain excess oil. Gently pat them dry to remove any remaining oil.
- Season Immediately: While still warm, sprinkle generously with lemon pepper and salt to taste.
Air Fryer Parsnip Crisps: A Healthier Alternative
For those looking for a less oily option, you can also make delicious parsnip crisps in an air fryer (affiliate link)! To achieve uniform crispiness in an air fryer, I highly recommend using a mandoline slicer (affiliate link) to get your parsnip ribbons to a consistent thickness. Be aware that parsnips can have a somewhat woody core, making them a little more challenging to slice thinly and evenly compared to other vegetables. After slicing, you will need to spray the ribbons quite generously with oil (a non-propellant spray like avocado oil or canola oil works best, as aerosol sprays can damage air fryer coatings). Air fry them at 350 degrees F (175 degrees C) for about 15 minutes, but this time can vary significantly based on the thickness of your ribbons and your specific air fryer model. It’s crucial to check them frequently to prevent the smaller, thinner crisps from burning, and remember to stop and shake the basket halfway through to ensure even cooking and crisping. While not quite the same as deep-fried, they are still a delicious and satisfyingly crunchy treat!
Top Tip: Don’t Waste a Single Parsnip Piece!
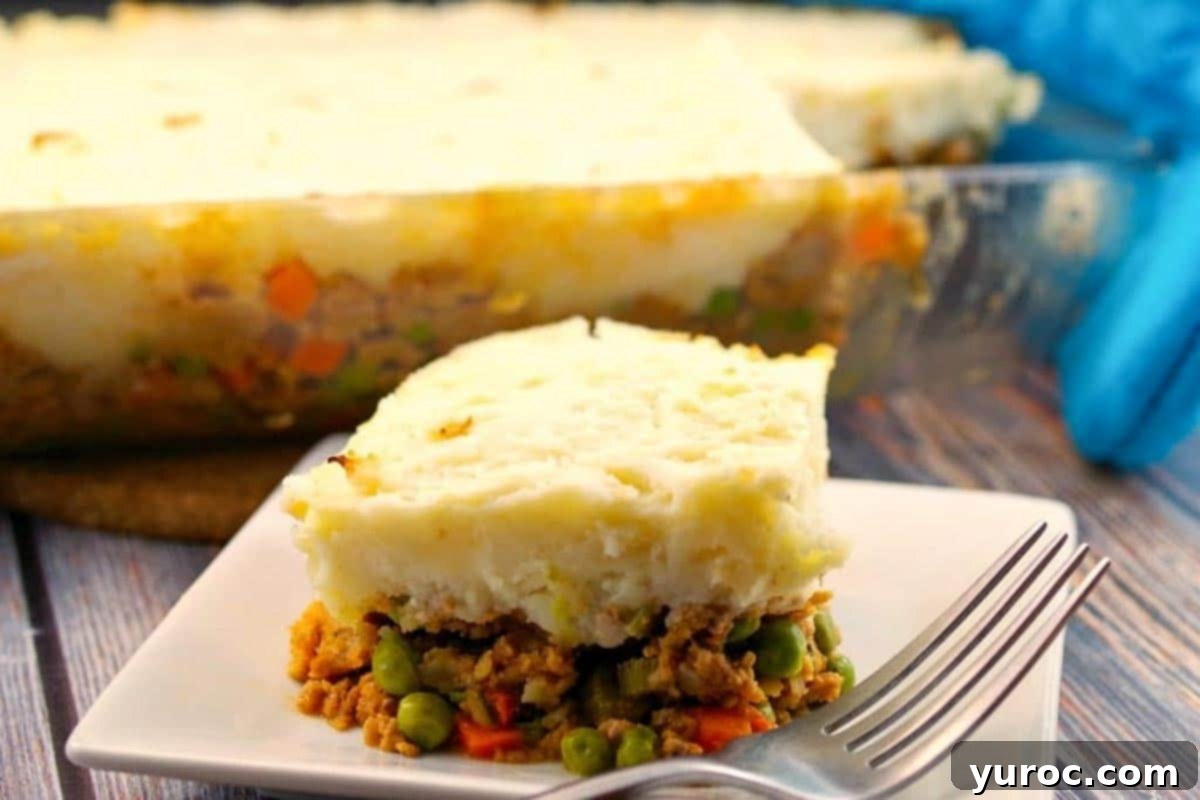
When you’re shaving those beautiful parsnip ribbons, you’ll inevitably be left with smaller pieces or the core that’s too difficult to ribbon. Don’t throw them away! These leftover parsnip bits are packed with flavor and can be repurposed in countless ways. My favorite solution is to grate the remainder of the parsnip and incorporate it into dishes like my Ground Turkey Shepherd’s Pie, where it adds an extra layer of earthy sweetness and nutrition. You can even freeze the grated parsnip in a Ziploc freezer bag for future use in soups, stews, or baked goods! It’s a fantastic way to minimize food waste and maximize flavor.
Storage Tips for Parsnip Crisps
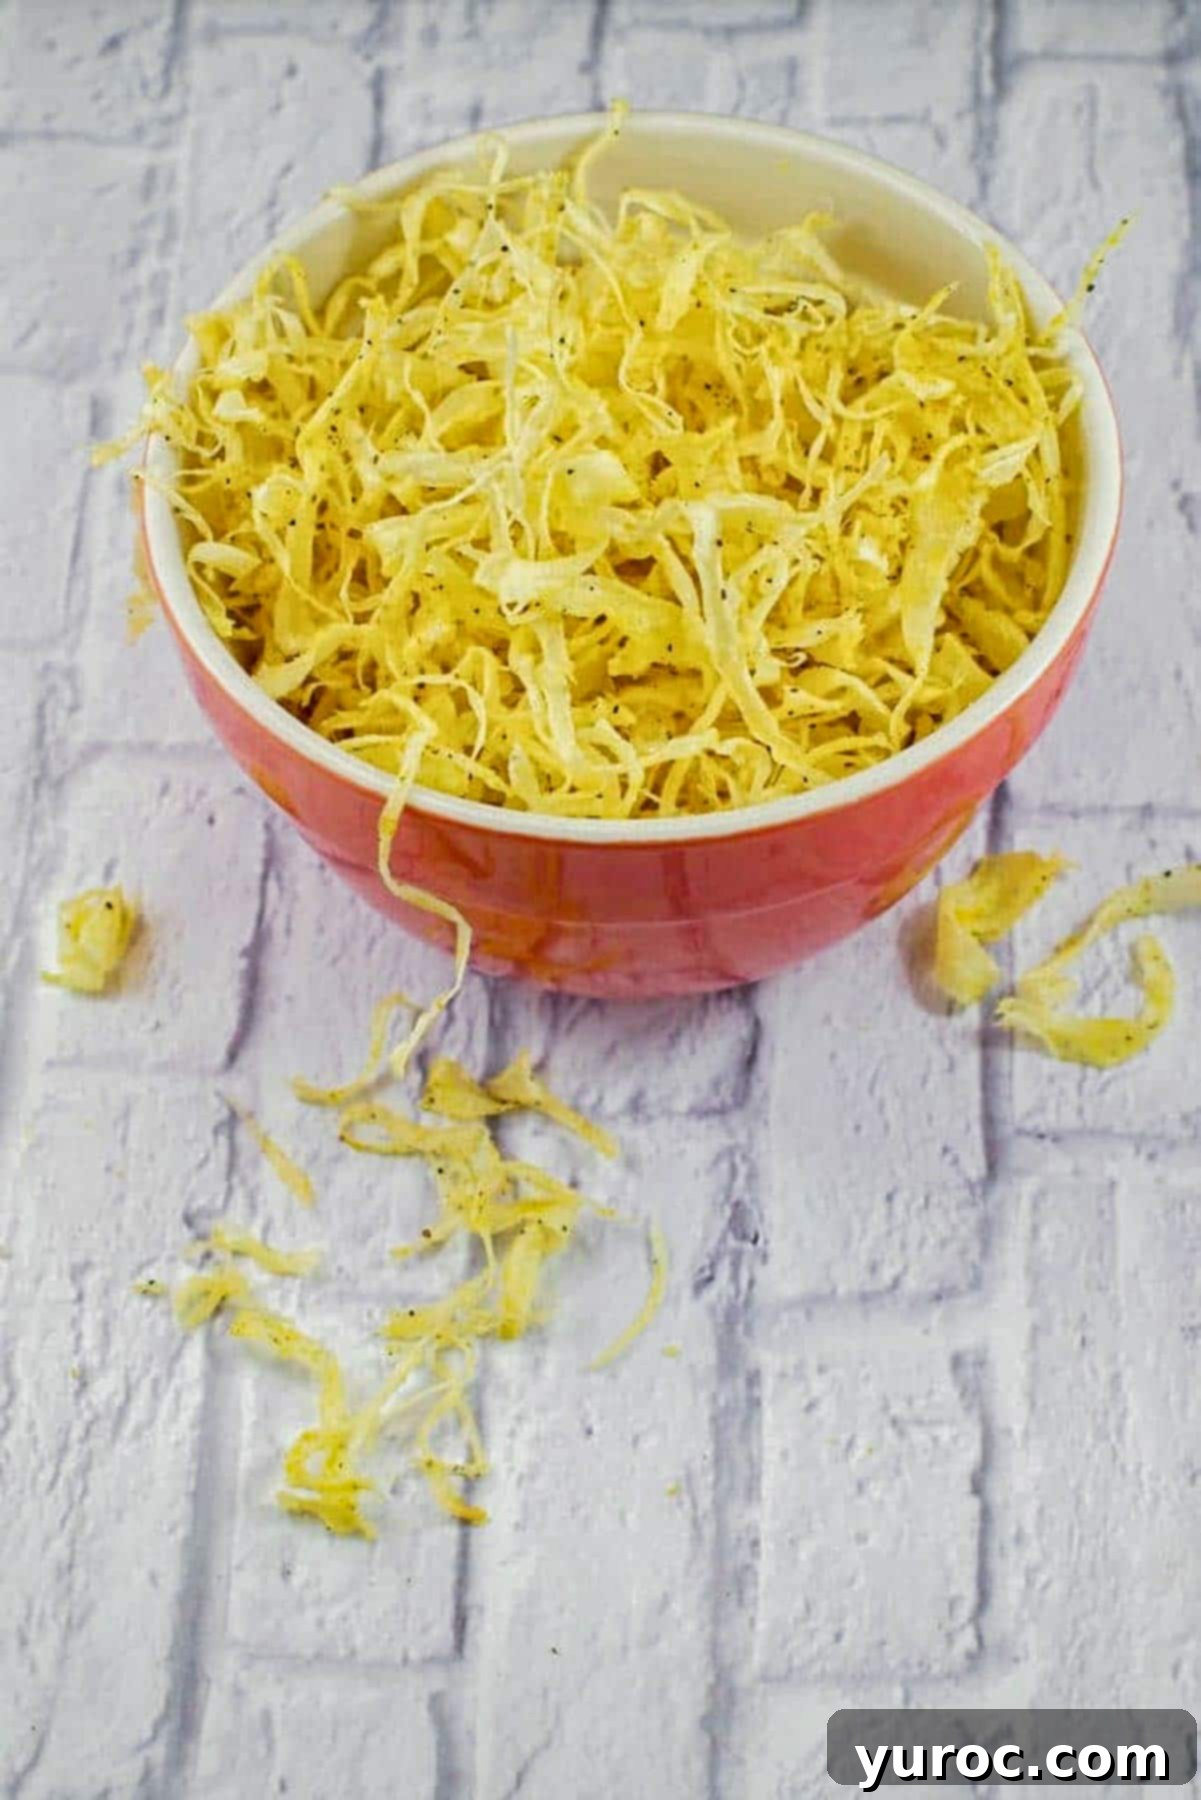
To keep your parsnip crisps at their best, store them in an airtight container at room temperature. They will retain their delightful crispiness for up to a week. While they are undoubtedly best enjoyed fresh, having a batch on hand for quick snacking or last-minute salad toppings is incredibly convenient.
Adjusting the Serving Size
This recipe is designed to generously serve 4 people as a snack or side dish. If you’re cooking for a smaller or larger crowd, you can easily adjust the recipe. Many interactive recipe cards (like the one below) allow you to simply click on the serving size (often highlighted in blue) and select your desired number of servings. The ingredient quantities will then automatically adjust to match, making meal prep a breeze.
Your Feedback Matters!
We’d love to hear about your experience with this parsnip crisp recipe! If you’ve tried making them, please take a moment to **RATE THE RECIPE below!** Your feedback and star ratings are incredibly helpful to other home cooks looking for new and delicious ideas.
Don’t forget to SUBSCRIBE to our newsletter to get your FREE E-cookbook and stay updated with our latest recipes! You can also **FOLLOW ME** on FACEBOOK, TWITTER, INSTAGRAM, and PINTEREST for daily inspiration and recipe ideas!

📋 Deep-Fried Parsnip Crisps Recipe
Print Recipe
Pin
Save RecipeSave Recipe
Rate
Add to Shopping ListGo to Shopping List
Ingredients
- 6 large parsnips Peeled and ribboned into thin strips
- 6 cups olive oil or high smoke point vegetable oil (such as canola, sunflower, or peanut oil) for frying
- ½ teaspoon lemon pepper seasoning
- ¼ teaspoon fine sea salt or kosher salt , plus more to taste
Instructions
-
Peel the skin from the parsnips thoroughly. Using a vegetable peeler, carefully shave long, very thin strips or “ribbons” from the parsnips. Turn the parsnip as you peel to create ribbons from all sides, ensuring they are as uniform in thickness as possible for even cooking. (Refer to the video in the NOTES section if you need a visual guide.)

-
If using a deep fryer, fill it with your chosen oil and heat until it registers 365 degrees F (185 degrees C) on a deep-fry thermometer. If using a pot on the stove, ensure the oil is deep enough to submerge the crisps and heat to the same temperature, using a thermometer to monitor closely.
-
Once the oil is at the correct temperature, carefully add the parsnip ribbons in small batches. Avoid overcrowding, as this will lower the oil temperature and prevent even crisping. Gently turn the ribbons with a wire skimmer or slotted spoon. Fry for approximately 2 minutes, or until they turn a light golden color and become wonderfully crisp.
-
Using your skimmer or slotted spoon, transfer the freshly fried crisps to a plate lined with paper towels to drain any excess oil. While they are still hot, immediately sprinkle them with lemon pepper seasoning and a pinch of salt to taste. The heat helps the seasoning adhere perfectly. Serve warm and enjoy your delightful parsnip crisps!
Notes
* No Deep Fryer Method (Use with caution):
You can use a deep, heavy-bottomed pot to fry the parsnip crisps, but I do NOT recommend this due to the inherent dangers of cooking with hot oil on the stovetop. If you choose this method, please proceed with extreme caution and at your own risk.
- Ensure the oil is deep enough to allow the crisps to fully submerge and float freely.
- Heat the oil in a deep pan with a flat bottom to 375 degrees F (190 degrees C). Always use a thermometer. Test the temperature by frying a single parsnip ribbon for a minute or two until golden and crisp.
- Gently immerse the parsnip ribbons into the hot oil using a long-handled slotted spoon that has been lightly greased by dipping it into the hot oil.
- Deep fry for about 2 minutes per batch.
- Remove with a slotted spoon and drain thoroughly on paper towels, then pat dry to remove any excess oil.
- Sprinkle immediately with lemon pepper and salt while hot.
Nutrition
🍽 More Delicious Vegetable Recipes (Perfect for Fundraiser Bundles!)
If you’ve enjoyed discovering the delicious potential of parsnips, you’ll be thrilled to explore more ways to transform your farm-fresh vegetable bundles into incredible meals. Here are some of our favorite recipes that make the most of seasonal produce:
- Lazy Slow Cooker Cabbage Rolls: A comforting classic made easy, perfect for using up cabbage.
- Award-Winning Creamy Carrot Soup: A rich and flavorful soup that highlights the natural sweetness of carrots.
- Healthy Carrot Muffins: A delightful way to enjoy carrots in a wholesome breakfast or snack.
- Loaded Pierogi Soup: A hearty, comforting soup packed with vegetables and savory goodness.
- Skinny Coleslaw Recipe: A lighter take on a classic side, vibrant and crisp for any meal.
- Ground Turkey Shepherd’s Pie: A family-favorite casserole, excellent for incorporating root vegetables.
- Healthy Carrot Bread: A moist and flavorful bread, perfect for using up an abundance of carrots.
