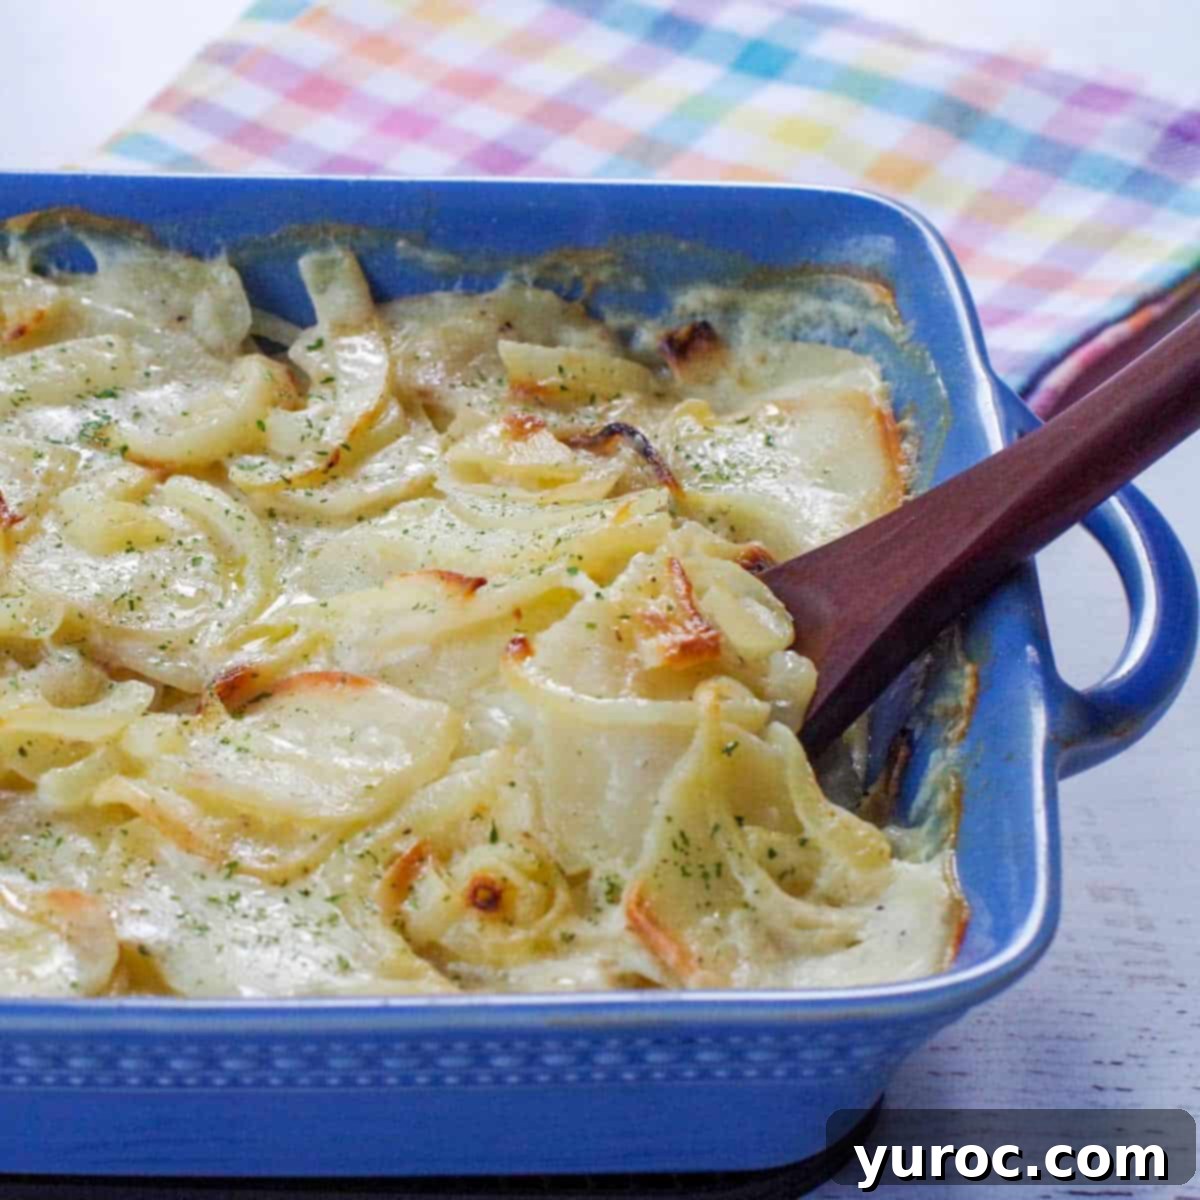
Classic Old Fashioned Scalloped Potatoes Without Cheese: A Timeless Comfort Food Recipe
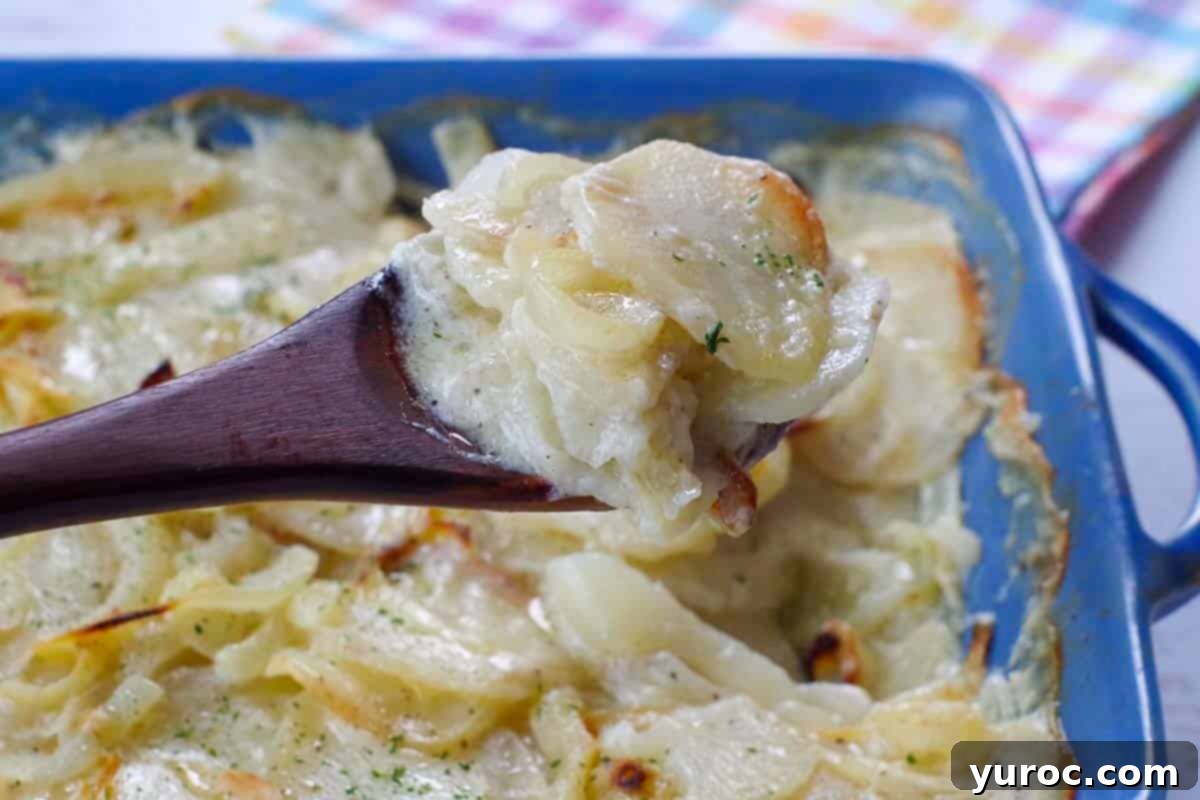
Delight in the nostalgic flavors of these creamy and utterly delicious Old Fashioned Scalloped Potatoes, prepared precisely the way my Mom and Grandma perfected them – without a trace of cheese. This cherished recipe, featuring tender layers of thinly sliced potatoes and savory onions, is a quintessential comfort food that has graced family tables for generations, bringing warmth and satisfaction to every gathering.
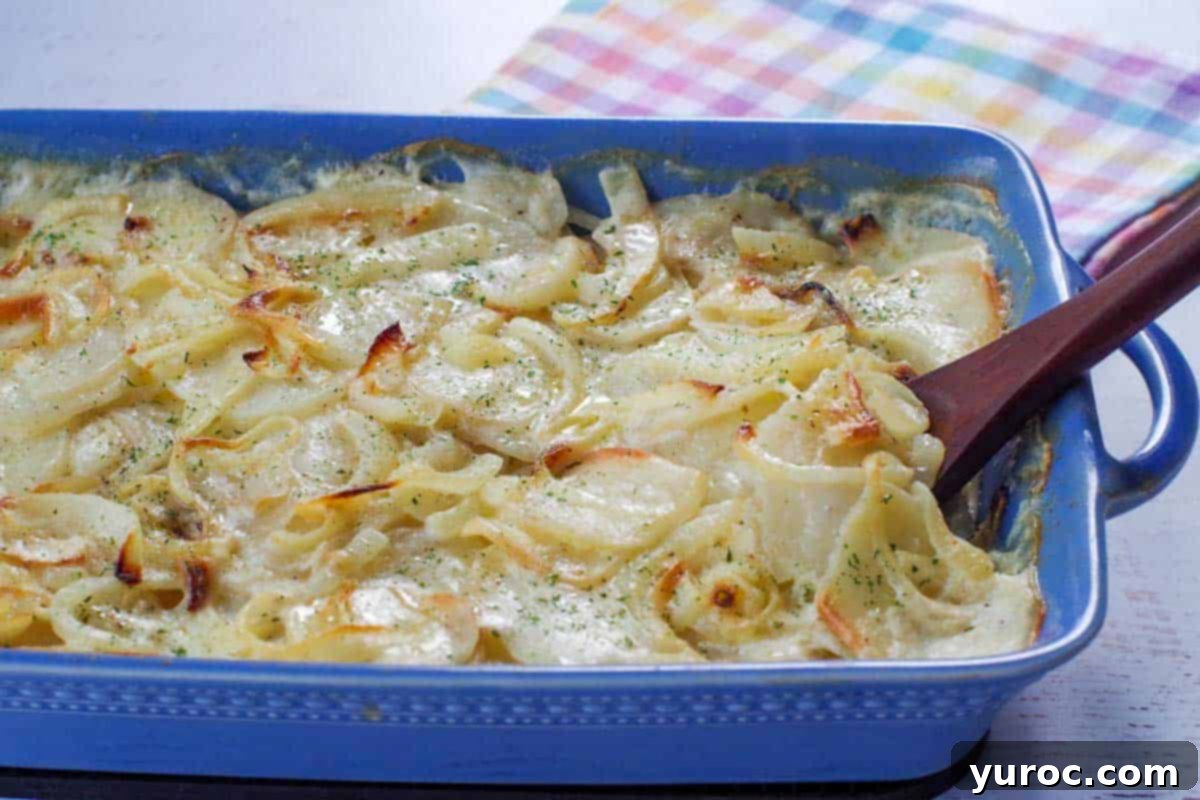
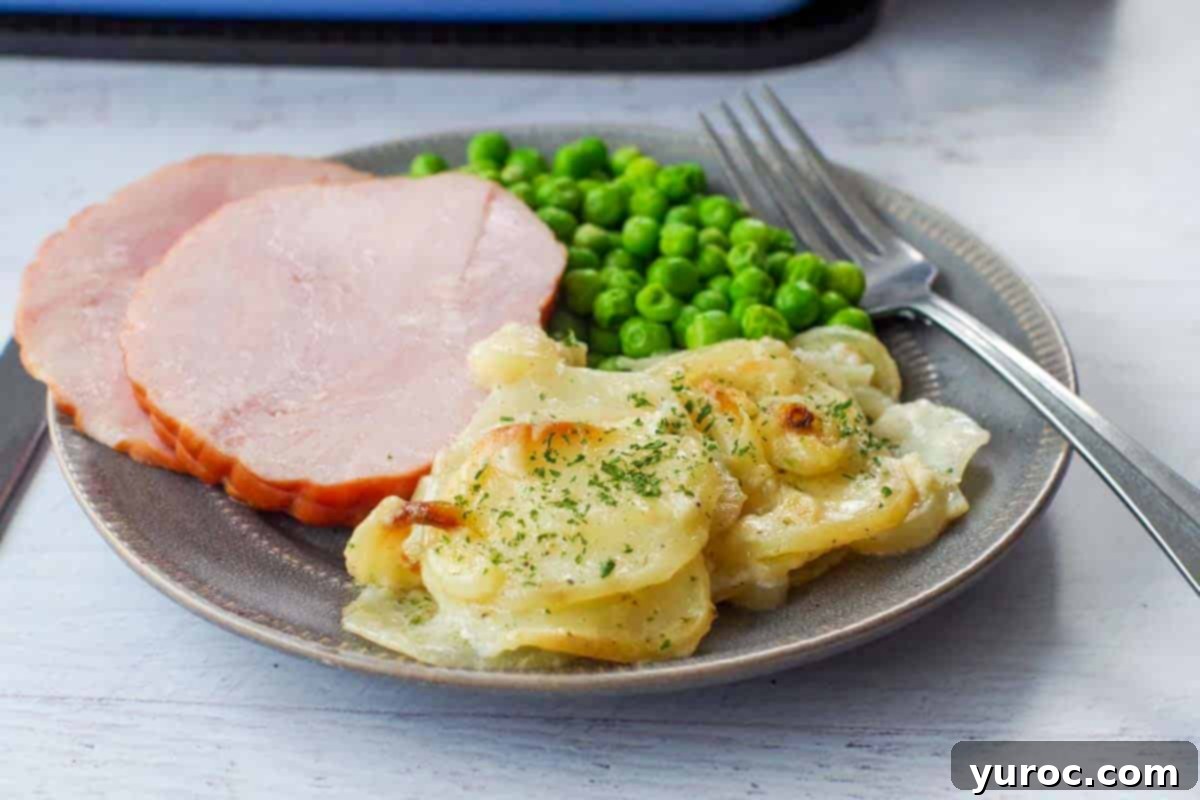
These traditional scalloped potatoes are an exceptional side dish, particularly beloved for holiday meals like Easter dinner, Thanksgiving, or Christmas. Their hearty, satisfying nature also makes them perfect for any special occasion or a cozy weeknight dinner throughout the year. This versatile potato casserole pairs wonderfully with a wide array of main courses, including a succulent Picnic Ham Recipe, offering a rich and comforting accompaniment that elevates any meal.
Reader Review
“Oh my gosh. … This reminded me of my mom’s recipe …. I never made it myself until now -thank you so much for the recipe!!” ⭐⭐⭐⭐⭐
If you’re a fan of layered potato casseroles, be sure to explore my Potato and Ground Beef Casserole (with spinach) for another delicious and hearty option!
Ingredient Notes for Perfect Scalloped Potatoes
Crafting these delectable scalloped potatoes requires only a few simple, wholesome ingredients. Here’s what you’ll need, along with some insightful notes to ensure your dish turns out perfectly creamy and flavorful:
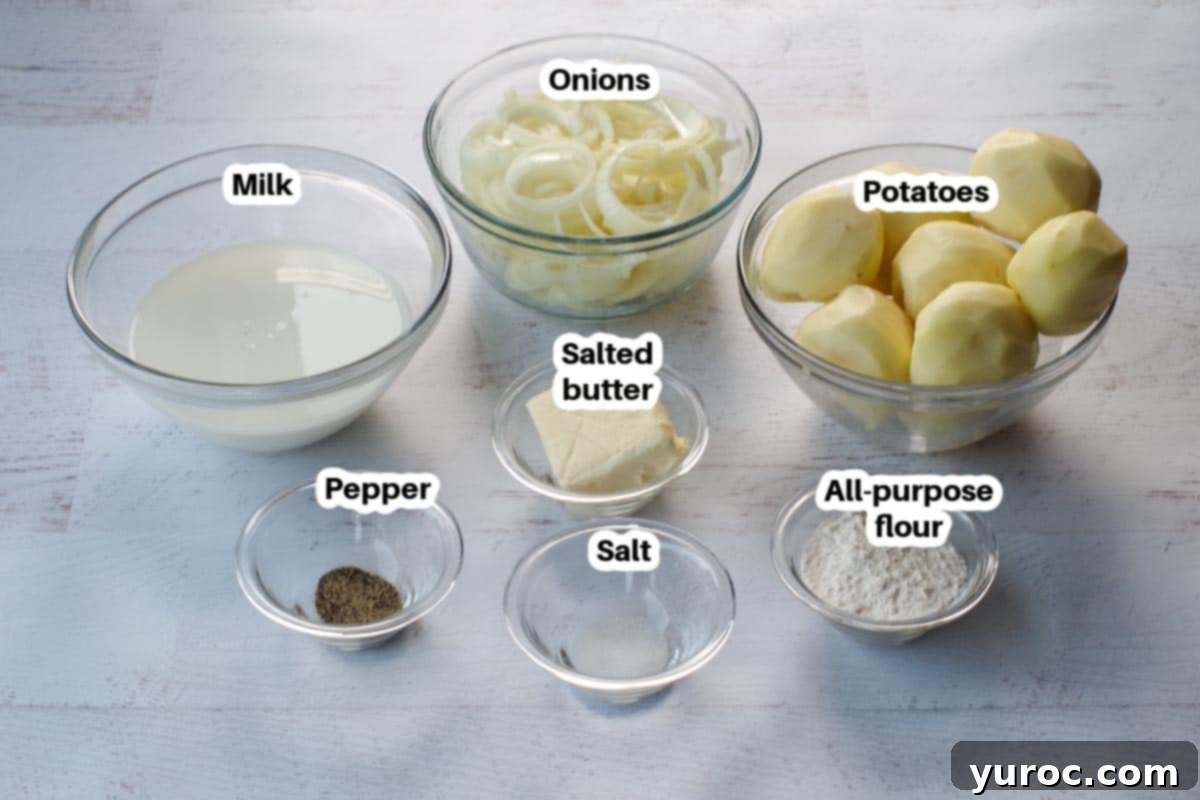
- Potatoes: For this classic casserole, I highly recommend using red potatoes. Their firm texture allows them to maintain their shape beautifully during baking, preventing them from becoming mushy, which is crucial for a scalloped potato dish. While they might take a little longer to cook compared to other varieties, their superior flavor and structural integrity are well worth the wait.
- Butter: I always opt for salted butter in this recipe. The potatoes absorb a good amount of seasoning, and the extra salt from the butter contributes significantly to the overall rich taste, just as my Mom intended. If you only have unsalted butter, you’ll need to slightly increase the amount of salt added to the layers.
- Scalded Milk: The choice of milk is key for achieving the right creamy consistency. I use 2% milk. Avoid skim or 1% milk, as they simply won’t provide enough fat to thicken the sauce properly. Scalding the milk, though considered an old-fashioned technique, is not just about tradition; it acts as a phenomenal flavor carrier, infusing the entire dish with a deeper, richer taste. It also gently warms the ingredients, which can subtly reduce overall baking time.
- Onions: Yellow onions are my go-to for their balanced flavor that sweetens beautifully when baked. The way you prepare the onions is important for the aesthetic and texture of the dish: slicing them into thin rounds and then cutting those rounds in half ensures they distribute evenly and meld seamlessly with the potato layers, rather than overpowering them.
- All-Purpose Flour: A crucial thickening agent, the flour, when layered directly with the potatoes and butter, helps create that rich, creamy sauce without the need for a separate béchamel. It disperses evenly and absorbs the milk as it bakes.
- Salt and Pepper: These fundamental seasonings are vital for bringing out the best in the potatoes and onions. Proper layering of salt and pepper ensures every bite is seasoned to perfection.
Scalloped Potato Variations & Substitutions
While this classic old-fashioned scalloped potato recipe is perfect as is, you can easily adapt it to suit different tastes or dietary needs. Here are some popular variations and substitutions:
- Butter: If you only have unsalted butter on hand, don’t worry! You’ll simply need to compensate by adding an extra ½ teaspoon of salt into the layers or adjust seasoning to taste when serving to ensure the dish is properly flavored.
- Potatoes: While red potatoes are recommended for their firm texture, Yukon gold potatoes are an excellent alternative. They cook up slightly creamier and have a wonderfully buttery flavor. However, I advise against using russet potatoes, as they tend to become very soft and mealy, which isn’t ideal for the distinct texture of scalloped potatoes.
- Milk: The fat content of the milk is critical for the creamy texture. You absolutely need to use 2% or whole milk for the sauce to thicken properly. Skim or 1% milk lack the necessary fat and will result in a watery, less satisfying dish. For an even richer, more indulgent flavor and texture, consider swapping a portion of the milk with a bit of heavy cream.
- Lactose-Free: To make this dish suitable for those with lactose intolerance, simply use lactose-free butter and milk. The preparation method remains exactly the same, ensuring a delicious outcome without the discomfort.
- Garnish: Elevate the presentation and add a touch of freshness with a simple garnish. Finely chopped fresh or dried parsley is a classic choice. Alternatively, sprinkle on some vibrant paprika for color and a hint of smoky flavor, or opt for fresh thyme for an aromatic touch. For a more adventurous twist, a sprinkle of Everything Bagel Seasoning adds a delightful crunch and savory kick.
- Extra Creamy Scalloped Potatoes: To achieve an exceptionally rich and luscious texture, replace some or all of the 2% milk with heavy cream or whole milk. This will result in an even more decadent side dish, perfect for a luxurious holiday spread.
- Crockpot Variation: If oven space is limited or you prefer a hands-off approach, these scalloped potatoes can be prepared in a slow cooker. Layer all ingredients as instructed in a large crockpot and cook on LOW for 4-5 hours, or until the potatoes are tender. Keep in mind that while delicious, this method will not yield the crispy, golden-brown top that oven baking provides.
How to Make Old Fashioned Scalloped Potatoes (No Cheese)
*Note: Unlike many modern recipes that call for a pre-made cream sauce, this classic approach simplifies the process. By layering the ingredients directly, you’ll achieve a scrumptious, creamy sauce right in the baking dish with minimal fuss. Follow these detailed steps for perfect results!
Preparation is Key: Begin by preheating your oven to 350 degrees F (176 degrees C). Generously spray a 9×13 inch casserole dish with non-stick cooking spray to prevent sticking. Wash your potatoes thoroughly and peel them. For the best consistency and even cooking, aim for uniformly thin slices.
*PRO TIP: If you plan to prep your potatoes a day or two in advance, to prevent them from discoloring, simply store the peeled, sliced potatoes in a container filled with cold water in the refrigerator, ensuring they are completely submerged. This keeps them fresh and prevents oxidation.
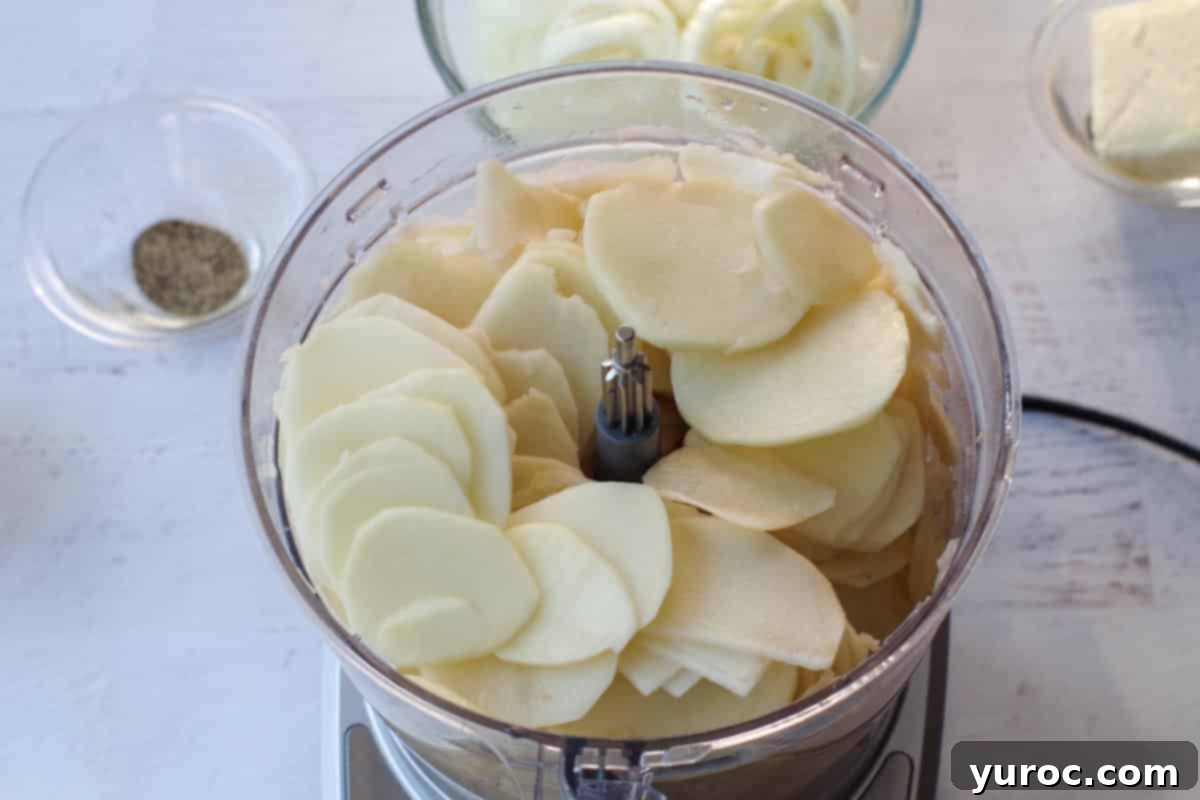
Achieving uniform potato slices is paramount for even cooking. Use the medium slicing setting on a food processor (I use a #5 on my Cuisinart food processor) or a mandoline. While slicing by hand is possible, it will be significantly more time-consuming and challenging to get consistent thickness.
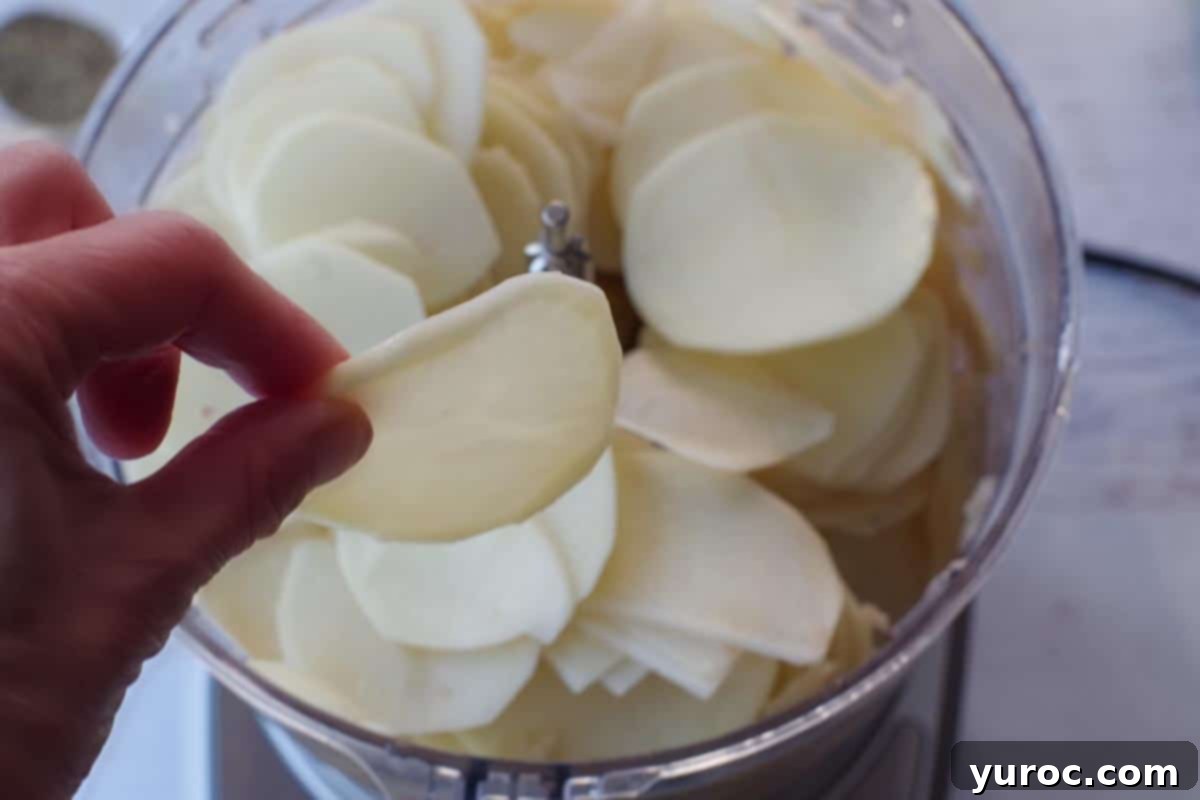
Your potato slices should be approximately ⅛ inch thick, as demonstrated in the photo. This precise thickness ensures they cook through evenly and absorb the creamy sauce beautifully. My Cuisinart food processor’s #5 setting yields this ideal thickness.
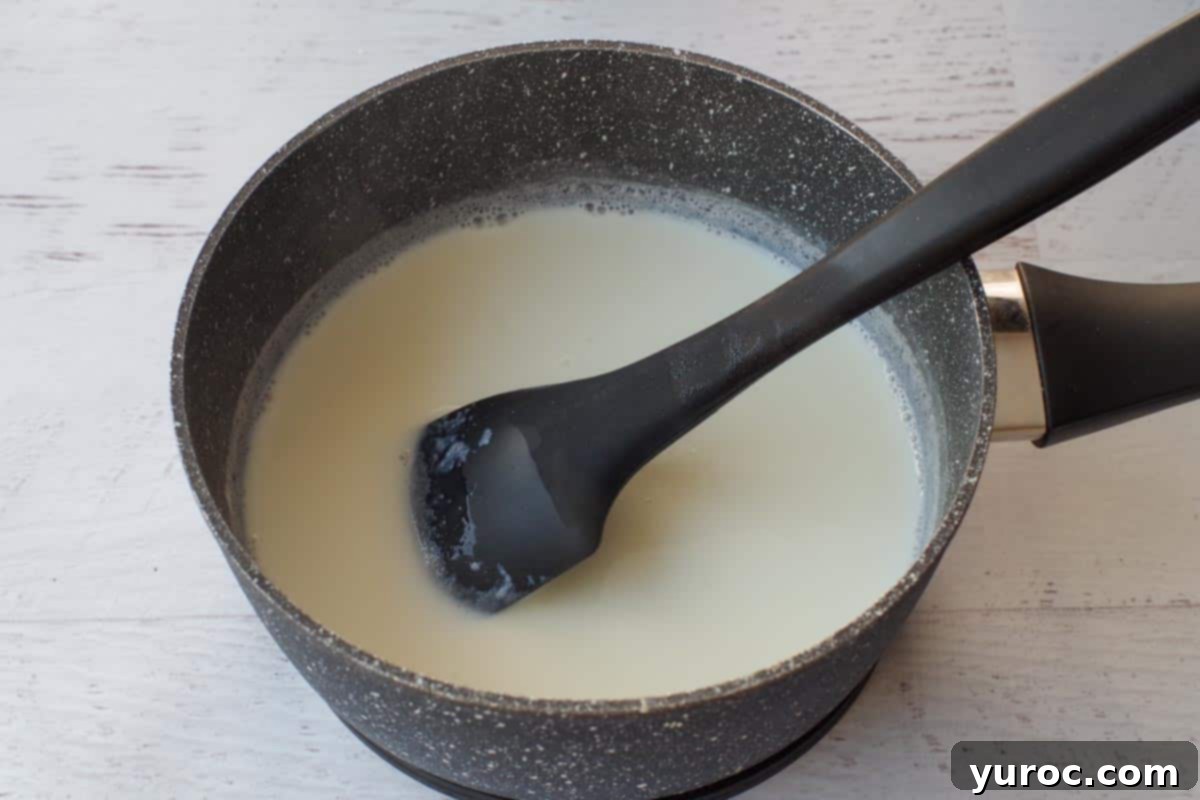
Gently scald the milk over medium heat. This step, while technically optional for modern pasteurized milk, is highly recommended as it enhances flavor and can slightly reduce cooking time. Heat until small bubbles form around the edges but do not let it come to a rolling boil. For a visual guide, refer to the accompanying video on how to scald milk.
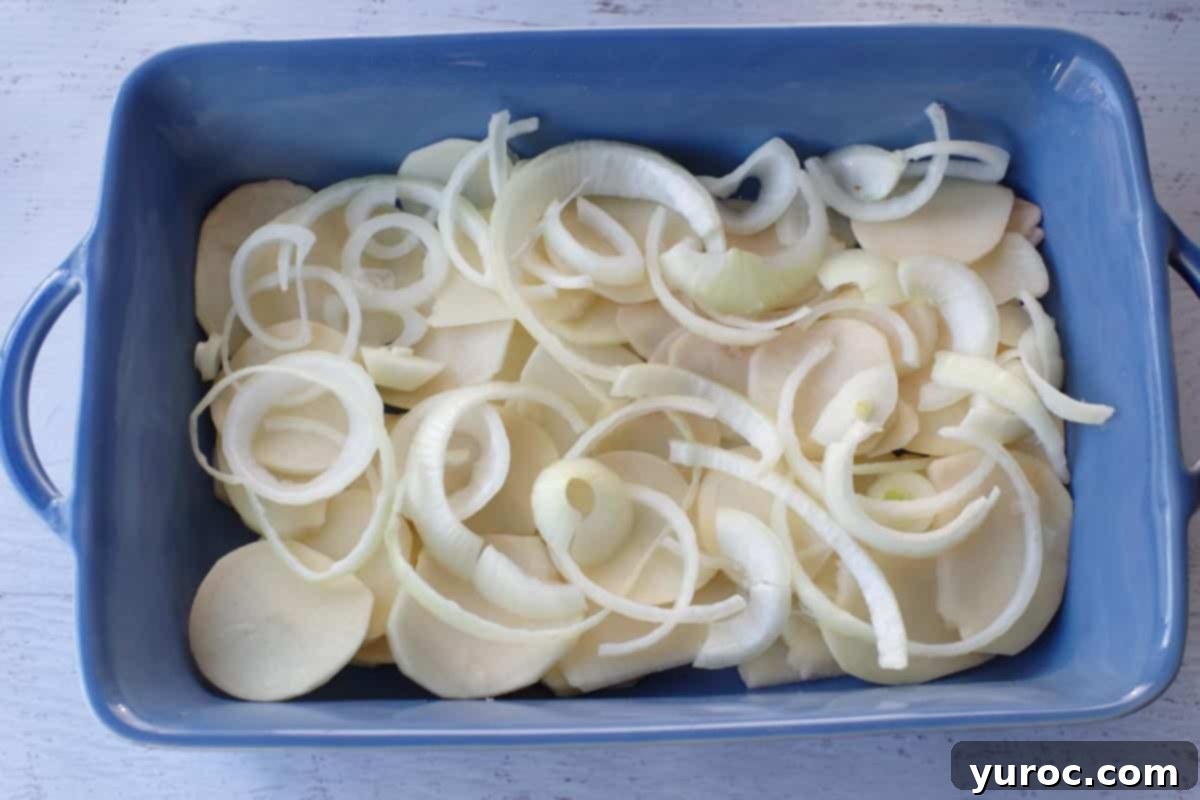
Begin layering. Spread precisely one-third of your thinly sliced potatoes evenly across the bottom of the prepared casserole dish. Follow this with one-third of the sliced onions, distributing them uniformly over the potato layer.
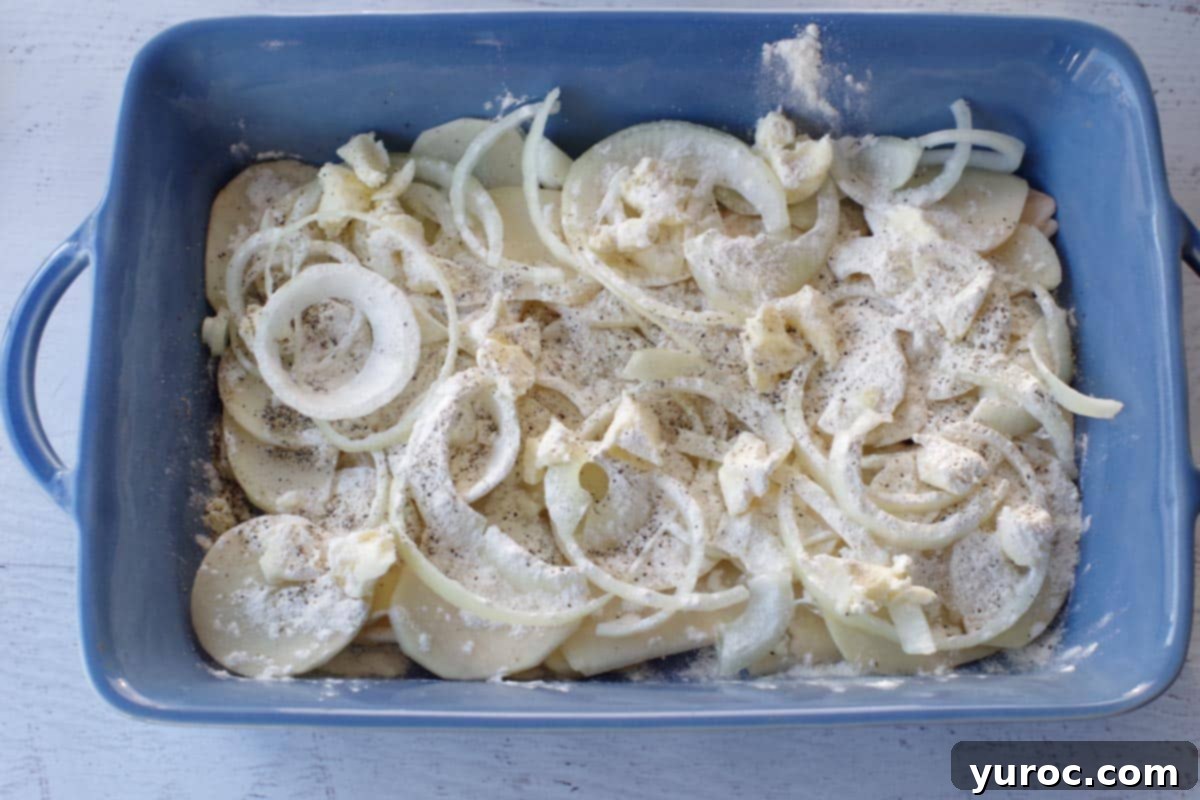
Over the onion layer, dot half of the all-purpose flour across the surface. Then, place one-third of the butter in small pieces over the flour. Finish this layer by evenly sprinkling one-third of the salt and one-third of the freshly ground black pepper.
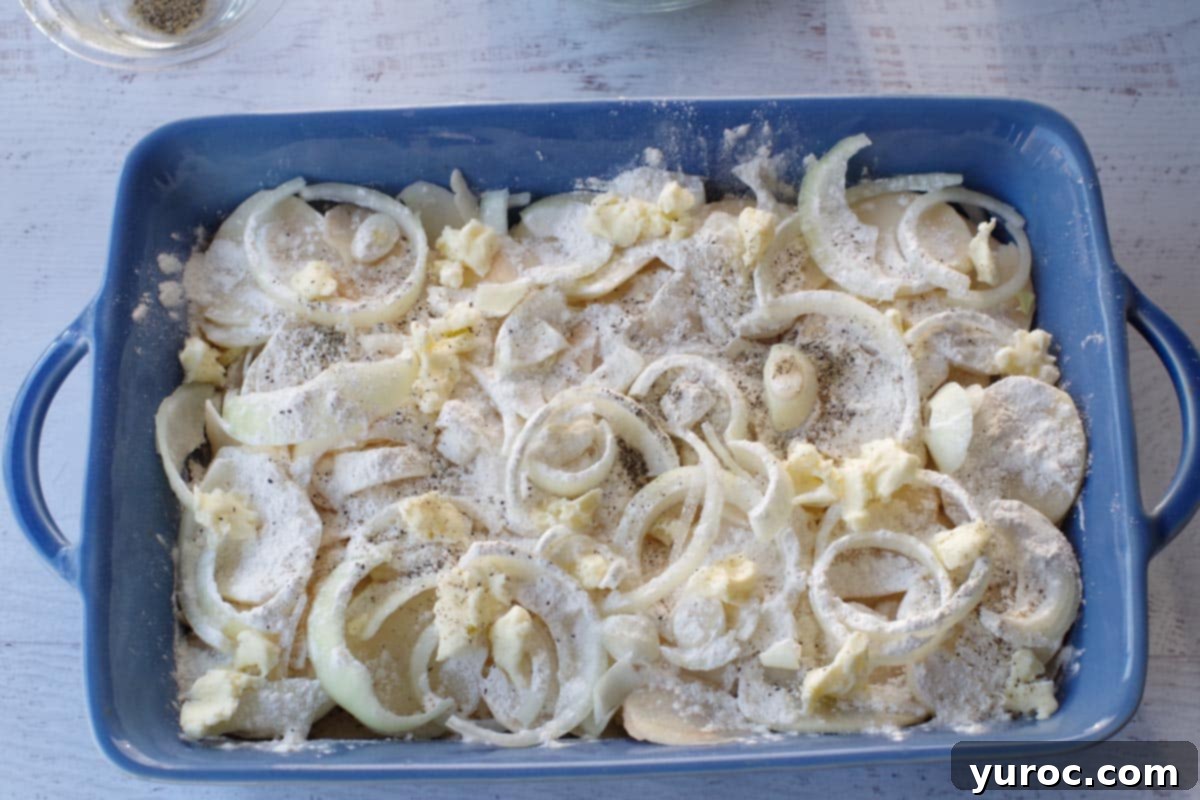
Now, repeat the layering process. Add the next one-third of the potatoes, followed by the next one-third of the onions. Distribute the remaining half of the flour over these layers, then dot with the next one-third of the butter. Sprinkle with the remaining one-third of the salt and pepper.
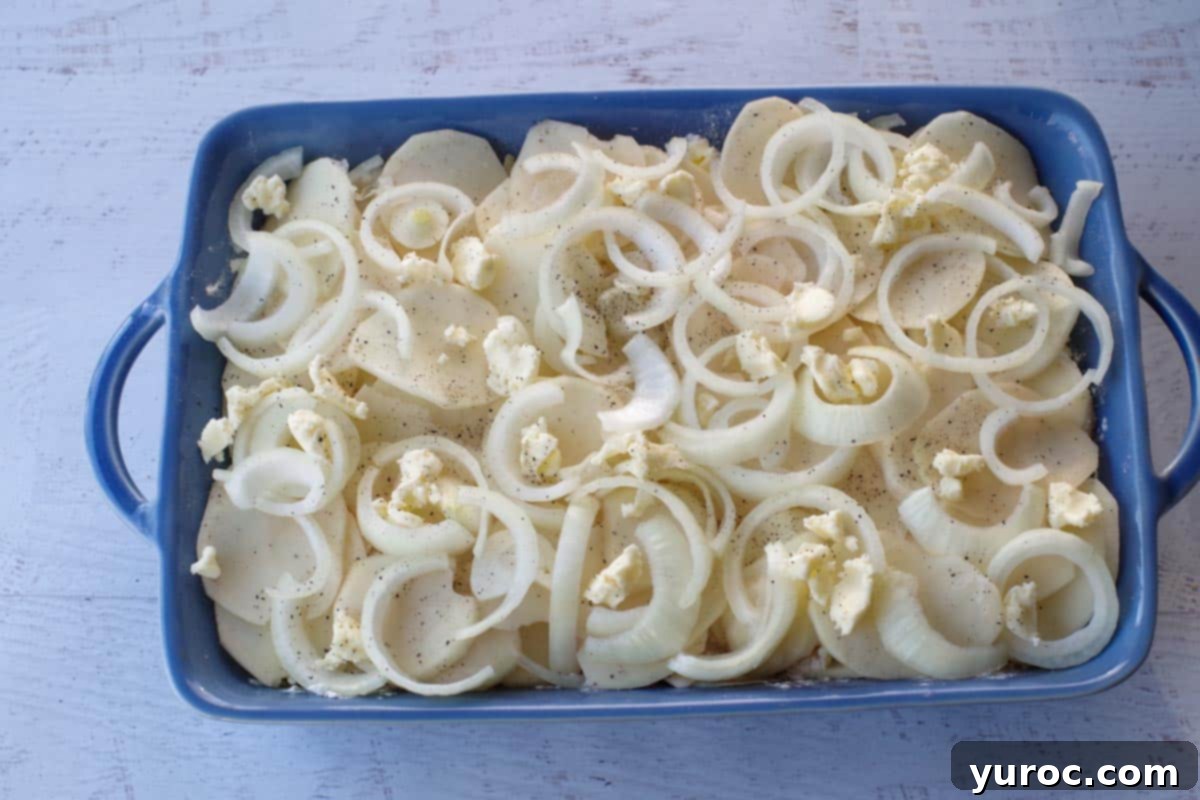
For the final layer, place the remaining potatoes on top. Distribute the last one-third of the butter in small dots over the potatoes, along with the remaining onions, and sprinkle with the final portions of salt and pepper. Finally, carefully pour the previously scalded milk evenly over the entire casserole, ensuring it seeps between all the potato layers for maximum creaminess.
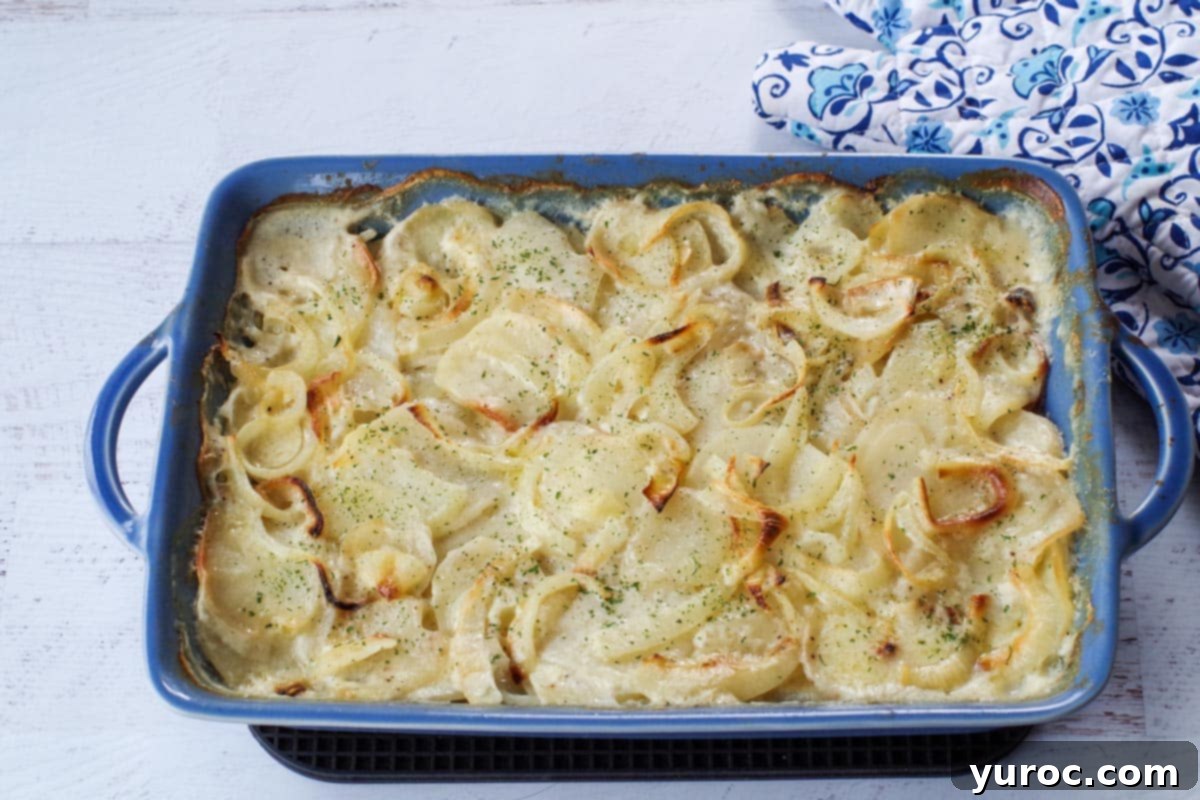
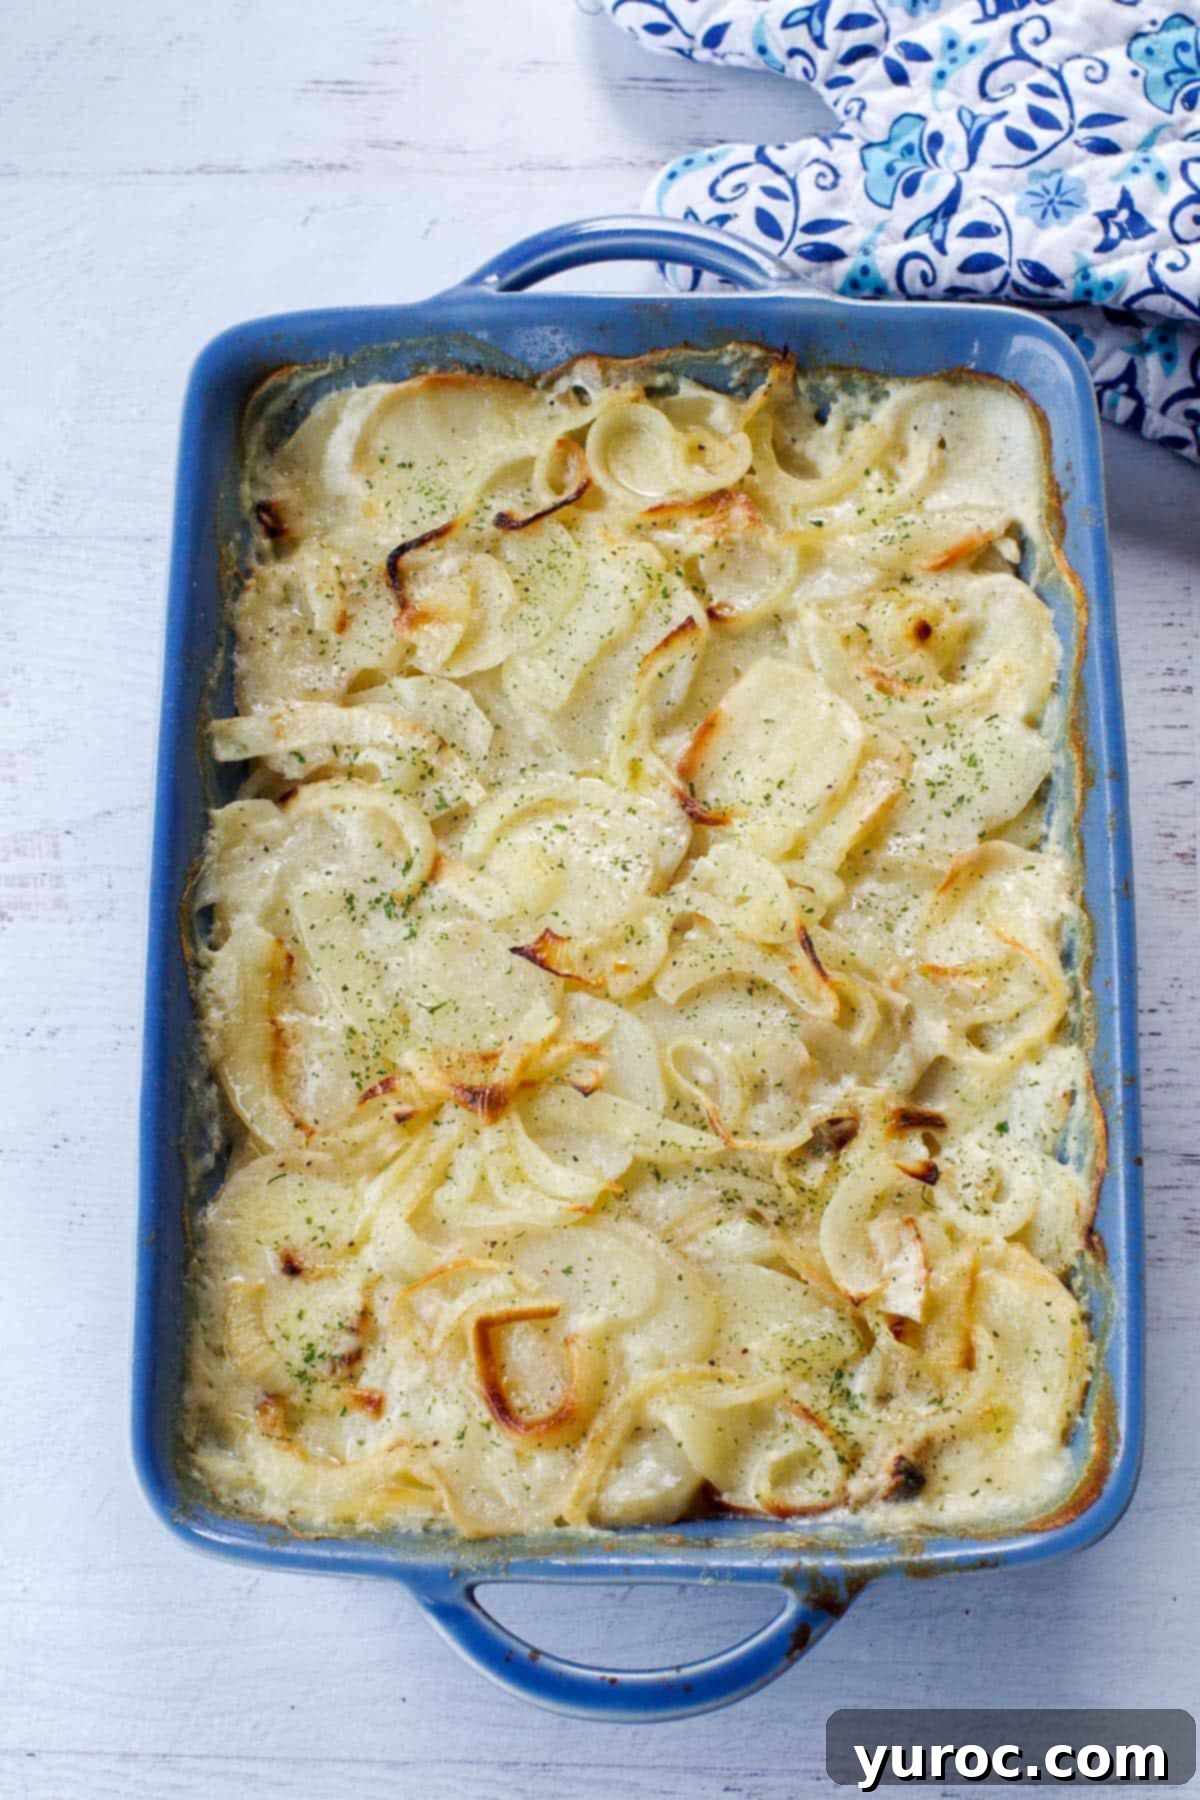
Bake the casserole, uncovered, in the preheated 13×9 inch dish for 60 to 80 minutes. The exact baking time can vary depending on your oven and potato thickness, so check for doneness after an hour. The potatoes are ready when a fork can easily pierce them without resistance, and the top is beautifully golden brown and bubbly.
Once baked, allow the dish to rest for at least 5 minutes before serving. This allows the creamy sauce to set, preventing it from being too runny. Garnish with fresh or dried parsley, thinly sliced green onions, or chives for an appealing finish, if desired.
Helpful Hint: If you notice the top of your scalloped potatoes and onions browning too quickly before the potatoes are fully cooked and tender, simply loosely lay a sheet of aluminum foil over the casserole dish. This will prevent further browning while allowing the potatoes to continue cooking through.
Speedy Cooking Tip : If you’re short on time and want to expedite the cooking process, seal the casserole pan tightly with aluminum foil before baking. This traps steam and helps the potatoes cook faster. Remove the foil after approximately 45 minutes to allow the top to brown. For an extra golden-brown crust at the very end, you may briefly turn your oven to broil (500 degrees F/260 degrees C) for 1-2 minutes, but watch it very closely to prevent burning.
Recipe Video
If you’re unsure about the technique of scalding milk, this helpful How to scald milk video demonstrates the process clearly!
Understanding the Art of Scalding Milk in Old Fashioned Recipes
The practice of scalding milk is a traditional step found in many old-fashioned recipes, including this one for scalloped potatoes. While it might seem like an unnecessary extra step in modern kitchens, it carries historical significance and offers tangible benefits to your cooking.
In generations past, before the widespread availability of pasteurized milk, scalding milk served a critical health and safety purpose. Heating the milk to just below boiling point helped to kill off harmful bacteria and enzymes, making unpasteurized milk safer for consumption and preventing recipes from curdling. My Grandma, who lived on a farm and used fresh, unpasteurized milk from her cows, always scalded her milk for this very reason. My Mom, however, living in a time of readily available pasteurized milk, often skipped this step without issue, highlighting how practices evolved with technology.
Even with today’s pasteurized milk, scalding still offers several advantages in recipes like scalloped potatoes. Firstly, it acts as an excellent flavor carrier. The gentle heating process helps to release and meld the flavors, ensuring the milk contributes fully to the richness of the final dish. Secondly, it helps to warm up the ingredients before the main baking process. This slight pre-warming can contribute to a more even bake and potentially reduce the overall cooking time of the casserole. Lastly, in some delicate recipes (though less critical for scalloped potatoes), scalding can help prevent curdling when combining milk with acidic ingredients. You can delve deeper into whether you truly need to scald milk and its various benefits HERE.
Expert Tips for the Best Scalloped Potatoes
Achieving the perfect, creamy, and tender old-fashioned scalloped potatoes is simple with these expert tips:
- Choose the Right Potatoes: For a classic texture that holds its shape, red potatoes are ideal. They offer a firm bite and excellent flavor. Yukon Golds are a fantastic alternative, providing a creamier, more buttery result. Avoid russet potatoes unless a very soft, almost mashed, consistency is your preference, as they tend to fall apart easily.
- Ensure Uniform Slices: Consistency is key for even cooking. Aim for potato slices that are about ⅛ inch thick. A mandoline slicer or a food processor with a slicing blade is your best friend here, ensuring every slice cooks at the same rate and absorbs the sauce uniformly. This prevents some potatoes from being raw while others are overcooked.
- Prevent Potato Discoloration: If you’re preparing your potatoes ahead of time, peeled potatoes can oxidize and turn brown. To avoid this, simply place the sliced or peeled potatoes in a bowl of cold water, ensuring they are fully submerged, and store them in the refrigerator until ready to use.
- Don’t Skip Scalding (for flavor): While not strictly necessary for safety with pasteurized milk, scalding the milk plays a vital role in enhancing the flavor of the dish. It helps to activate and carry the seasonings throughout the casserole, and also gently warms the ingredients, which can help reduce the overall baking time.
- How to Properly Scald Milk: To scald milk, heat it in a saucepan over medium heat, stirring occasionally, until you see small bubbles forming around the edges of the pan. It’s crucial not to let it come to a full boil, as this can alter its flavor and protein structure. Keep a close eye on it!
- Prevent Excessive Browning: If the top of your scalloped potatoes starts to brown too much before the potatoes are completely tender, simply loosely cover the casserole dish with aluminum foil. This will protect the top from burning while allowing the internal layers to continue cooking through.
- Test for Doneness Accurately: The best way to check if your scalloped potatoes are fully cooked is to insert a fork into the thickest part of the potatoes. They should be tender and easily pierced, but not mushy. If there’s still resistance, continue baking until perfectly tender.
- Season in Layers: Distributing your salt, pepper, and butter evenly across each potato and onion layer is essential for a well-seasoned dish. Don’t just sprinkle it on top; ensure every part of the casserole gets its share of flavor.
Troubleshooting Common Scalloped Potato Issues
Even experienced cooks can sometimes encounter challenges. If your scalloped potatoes don’t quite meet your expectations, whether they’re too dry, not cooked through, or lacking flavor, there are usually simple fixes. For comprehensive solutions and tips on how to salvage common scalloped potato mistakes, check out this helpful article.
Main Dishes to Serve with Scalloped Potatoes
These comforting Old Fashioned Scalloped Potatoes are a versatile side that complements a variety of main courses. For a truly memorable special occasion meal, beyond the traditional ham, I highly recommend pairing them with my elegant Baked Cornish Hens in Rosemary Wine Sauce. If you’re planning a more casual weeknight or Sunday dinner, they’re delightful alongside my hearty Old Fashioned Gluten-Free Meatloaf or the flavorful Apple Sage Pork Chops!
To complete your meal with a perfect sweet ending, consider serving my Old Fashioned Lemon Pie (as shown in the image below). Its tangy sweetness provides a refreshing contrast to the rich and savory potatoes.

Storage and Make-Ahead Tips
Proper storage is essential to enjoy your delicious scalloped potatoes for longer, and convenient make-ahead options make meal planning a breeze:
Fridge: Any leftover scalloped potatoes should be stored in an airtight container in the refrigerator. They will remain fresh and delicious for up to 4 days, making them perfect for quick weekday lunches or dinners.
Make in Advance: This recipe is fantastic for preparing ahead of time. You can assemble the entire dish, including layering all ingredients and pouring in the milk, up to 2 days in advance. Cover the unbaked casserole tightly with plastic wrap or aluminum foil and refrigerate until you’re ready to bake. If baking from cold, you may need to add an extra 10-15 minutes to the cooking time to ensure it heats through completely.
Freezer: Yes, these scalloped potatoes freeze beautifully! Once completely cooled after baking, transfer individual portions or the entire dish to a freezer-safe, airtight container. They can be frozen for up to 3 months without significant loss of quality. Thaw overnight in the refrigerator before reheating.
Reheat Leftovers: To reheat, cover the dish with foil and bake in a 350°F (175°C) oven for 20-25 minutes, or until heated through. For smaller portions, you can also reheat them quickly in the microwave in 1-minute intervals, stirring occasionally, until piping hot.
Serving Size Information
This Homemade Scalloped Potatoes recipe yields approximately 10 generous servings, with each serving equating to one-tenth of the entire casserole dish. For your convenience, you can easily adjust the recipe’s yield to suit your needs. Simply click on the serving number in the recipe card below and select the desired number of servings; the ingredient quantities will automatically adjust themselves.
Frequently Asked Questions About Scalloped Potatoes
The primary distinction between Potatoes Au Gratin and classic Scalloped Potatoes lies in the inclusion of cheese. Traditional scalloped potatoes, like this recipe, are prepared without cheese, relying on a creamy milk-based sauce to create their signature comforting flavor. Au gratin potatoes, conversely, always feature a generous layer of grated cheese, often Gruyère or Cheddar, which melts into a bubbly, savory crust.
While technically not essential for safety with pasteurized milk today, scalding milk is highly recommended for this old-fashioned recipe. Historically, it was crucial for sanitizing unpasteurized milk. Currently, it enhances the dish by acting as a flavor carrier, ensuring a richer, more integrated taste. Additionally, it pre-warms the milk, which can help reduce overall baking time and promote a smoother sauce. For more details on the benefits, please refer to our dedicated “Scalding Milk” section above.
Absolutely! Scalloped potatoes are an excellent make-ahead dish. You can fully assemble the casserole, including all layers and the milk, up to 24-48 hours in advance. Simply cover the dish tightly with plastic wrap or aluminum foil and refrigerate it. When you’re ready to bake, remove it from the fridge and allow it to come closer to room temperature for about 30 minutes before baking. If baking directly from cold, you might need to add an extra 10-15 minutes to the suggested cooking time.
Several factors can lead to undercooked, hard scalloped potatoes. The most common reasons include slicing the potatoes too thick, or uneven distribution of the milk, which prevents proper cooking. To remedy this, cover the dish tightly with aluminum foil and return it to the oven for an additional 15-20 minutes. The foil will trap steam, helping the potatoes to tenderize. Ensure your potato slices are consistently about ⅛ inch thick for optimal results.
So, if you’re searching for the ultimate classic side dish to complete your holiday table or simply crave a hearty, nostalgic meal, give these Old Fashioned Scalloped Potatoes without cheese a try! You won’t be disappointed by their creamy texture and timeless appeal.
For more delightful potato recipes, explore my comforting Potatoes Romanoff or my flavorful Chipotle Mashed Potatoes!
More Delicious Side Dishes to Explore
- Spinach Artichoke Casserole Recipe
- Carrot Casserole (with Stove Top Stuffing)
- Easy Green Bean and Mushroom Recipe
- Turnip and Apple Casserole
Did your family ❤️ this recipe? Did you know that commenting and ⭐ rating recipes is one of the best ways to support your favorite recipe creators? If you LOVED this recipe, please comment and rate it in the recipe card below or share photos on social media using the hashtag #foodmeanderings or tagging @foodmeanderings!

📋 Old Fashioned Scalloped Potatoes Without Cheese Recipe
Equipment
- Food Processor
- 9×13 inch Casserole Dish
Ingredients
- 8-10 medium potatoes (red potatoes recommended)
- ½ cup salted butter
- 6 tablespoons all-purpose flour
- 2.5 teaspoons salt
- 1.5 teaspoons pepper
- 4.3 cups scalded 2% or whole milk (do not use 1% or skim)
- 3 yellow onions, sliced in rounds, then cut in half
Instructions
- Prep: Preheat oven to 350°F (176°C) and spray a 9×13 inch casserole dish with non-stick spray. Wash and peel potatoes.
- Slice potatoes on a medium slicing setting in a food processor (e.g., #5 on a Cuisinart) or with a mandoline for uniform ⅛ inch thick slices.
- Scald milk over medium heat until small bubbles form around the edges (see video for guide). This step is optional but recommended for flavor enhancement.
- Spread ⅓ of the sliced potatoes evenly in the prepared casserole dish, then top with ⅓ of the sliced onions.
- Dot half of the flour over the onions, then evenly distribute ⅓ of the butter. Sprinkle with ⅓ of the salt and ⅓ of the pepper.
- Repeat for the next layer: add another ⅓ of the potatoes, then ⅓ of the onions, the remaining half of the flour, another ⅓ of the butter, and another ⅓ of the salt and pepper.
- For the final layer, place the remaining potatoes on top, followed by the remaining butter and onions. Sprinkle with the last portions of salt and pepper.
- Pour the scalded milk evenly over the entire dish, ensuring it seeps between the layers.
- Bake uncovered for 60-80 minutes, or until potatoes are tender when pierced with a fork and the top is golden brown and bubbly.*Hint: If the top browns too quickly, loosely cover the dish with aluminum foil.*Tip for faster cooking: Seal the pan with foil for the first 45 minutes, then remove. If desired, broil for 1-2 minutes at 500°F (260°C) at the end for extra browning.
- Allow the casserole to set for 5 minutes before serving to ensure the sauce thickens.
Garnish
- Garnish with fresh or dried parsley, green onion, or chives, if desired, for an appealing finish.
Notes
-
- Best Potatoes to Use: Red potatoes hold their shape well and add great texture. Yukon Golds work too, offering a creamier result. Avoid russets unless you prefer a softer consistency.
-
- Uniform Slices: To ensure even cooking, slice the potatoes uniformly-about ⅛ inch thick. A mandoline slicer or food processor can save time.
-
- Prevent Browning: If prepping potatoes in advance, submerge them in cold water and store them in the fridge to prevent discoloration.
-
- Don’t skip scalding: Scalding milk acts as a flavor carrier, warming up the ingredients before baking, reducing cooking time, and preventing curdling.
-
- How to Scald Milk: Heat it on medium until small bubbles form around the edges-don’t let it boil! (see Video).
-
- Prevent Dryness: If the top starts browning too much before the potatoes are fully cooked, loosely cover with foil.
-
- Check Doneness: Use a fork to test-potatoes should be tender but not mushy.
