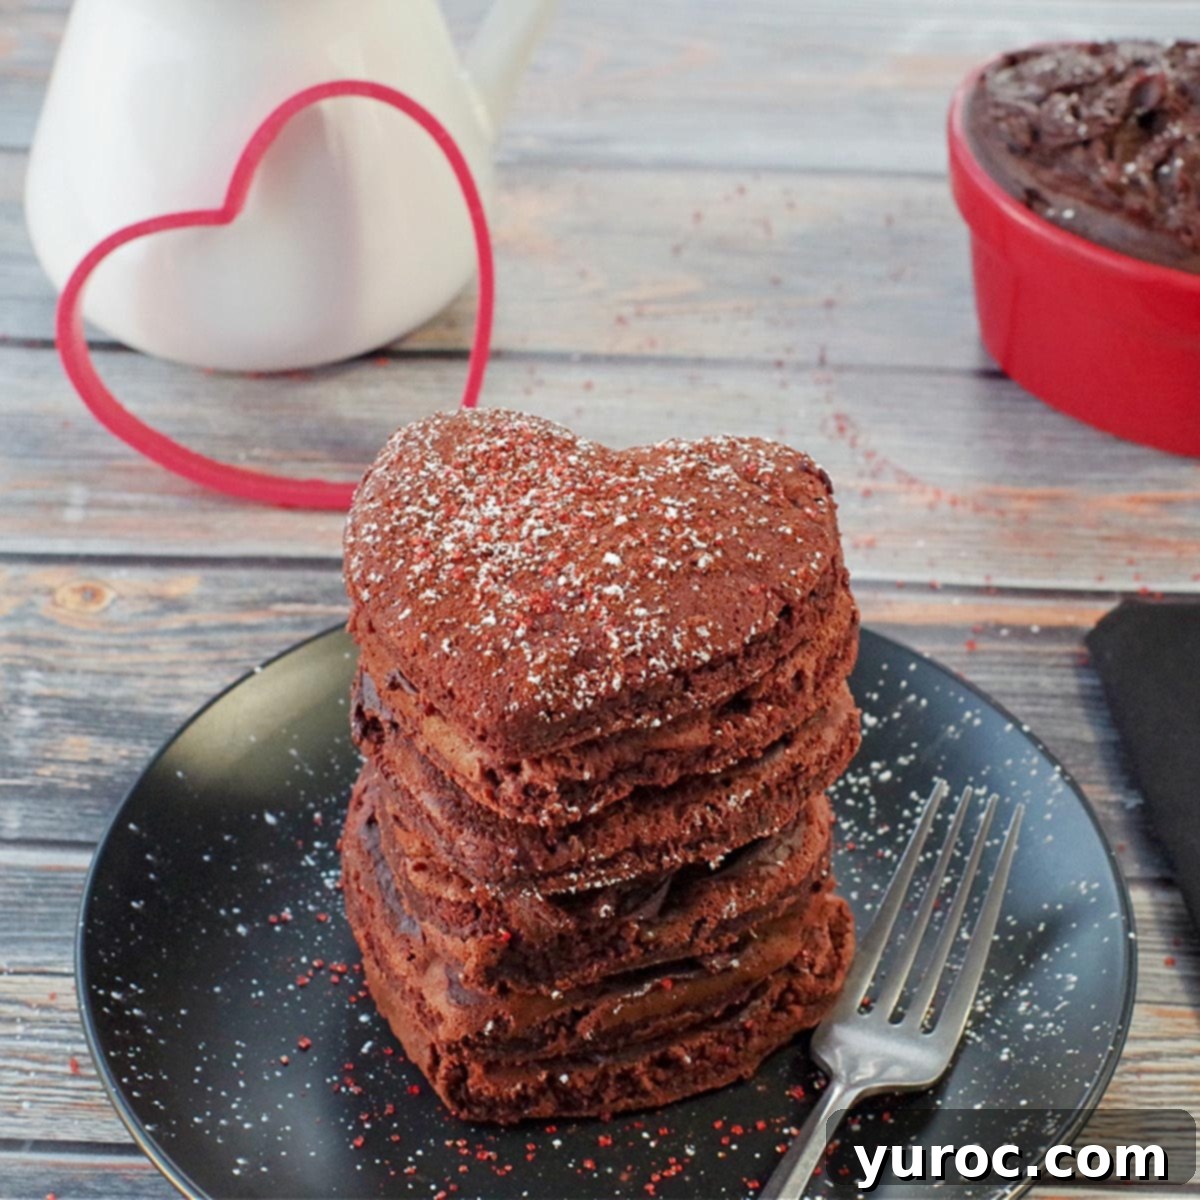
Healthy Red Velvet Pancakes with Sweet Chocolate Cream Cheese Butter (No Artificial Dye!)
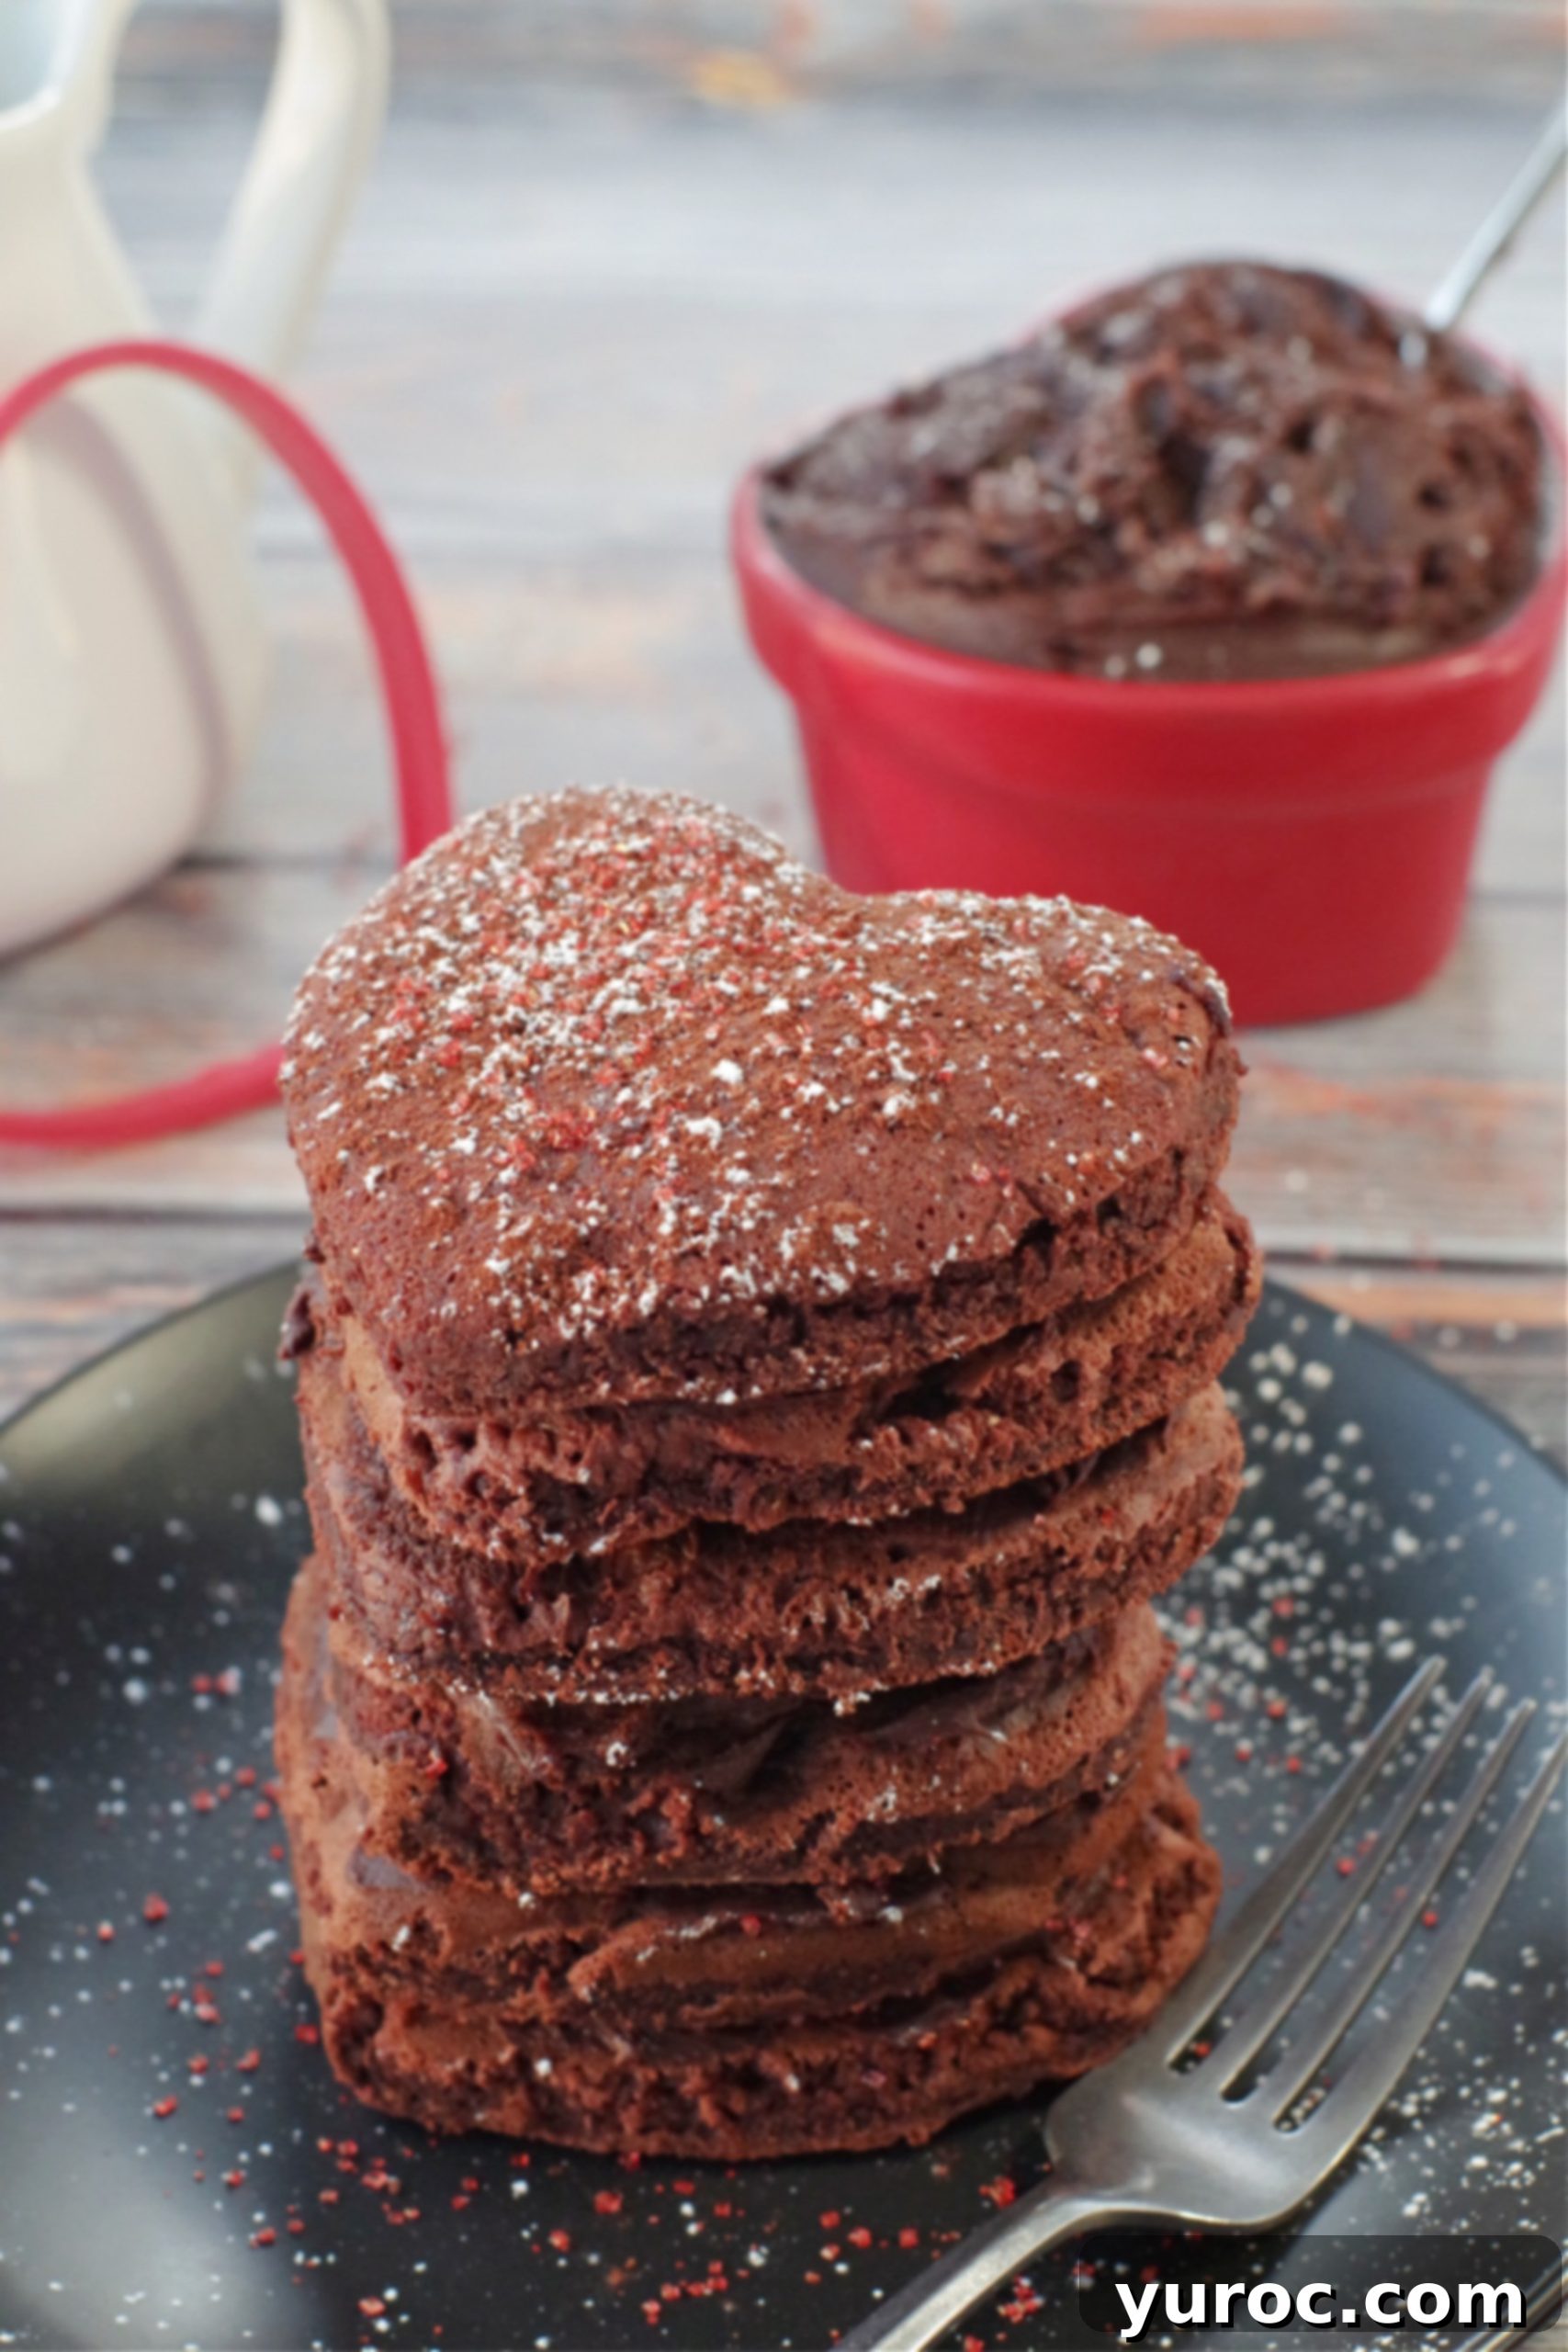
Imagine waking up to a stack of vibrant, fluffy red velvet pancakes, naturally colored and topped with a luscious sweet chocolate cream cheese butter. These aren’t just any pancakes; these are **Healthy Red Velvet Pancakes (with Sweet Chocolate Cream Cheese Butter)**, crafted without a single drop of artificial dye. Instead, we harness the earthy goodness and stunning hue of pureed beets, transforming a classic indulgence into a wholesome breakfast delight.
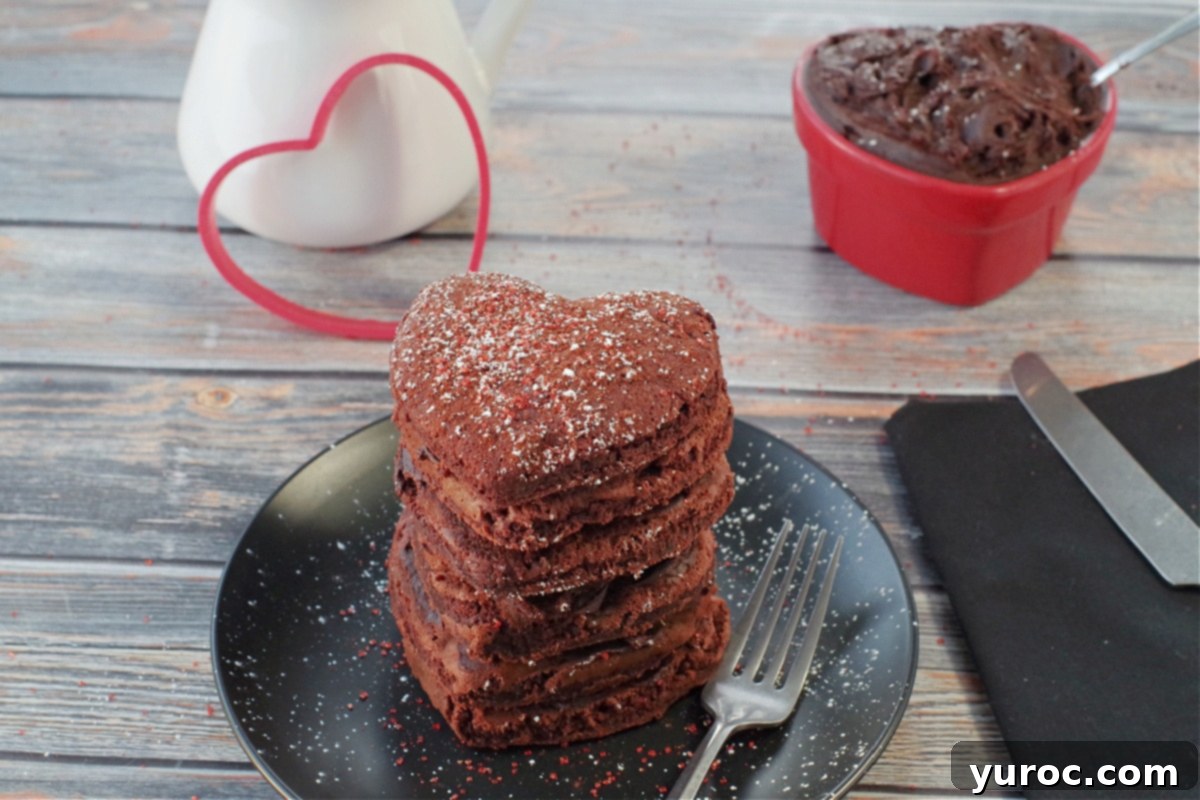
The best part? You won’t be spending hours cooking and peeling fresh beets. This ingenious recipe utilizes **canned beets**, making it incredibly quick, remarkably easy, and packed with natural goodness. It’s a healthy breakfast solution that doesn’t compromise on flavor or visual appeal. My own children absolutely adore this recipe, proving that healthy can indeed be delicious!
Whether you’re looking for a special way to celebrate Valentine’s Day, an anniversary, or simply want to show your loved ones how much you care on any ordinary morning, this heart-shaped breakfast is a surefire winner. Using a cute heart-shaped cookie cutter adds a delightful touch that’s bound to win over even the pickiest eaters. While perfect for special occasions, these pancakes are so delightful and easy to make that they’ve become a year-round staple in my kitchen.
My inspiration for creating this healthier version of red velvet pancakes stems from my deep love for the Loveless Cafe’s Red Velvet Pancake Recipe. Their classic taste encouraged me to develop a recipe that captures that same deliciousness while incorporating healthier, natural ingredients. This recipe is a testament to how you can enjoy your favorite comfort foods with a nutritious twist.
If you’re a fan of healthier pancake recipes that deliver on taste, you absolutely must try my Harvest Grain and Nut Pancakes (an IHOP copycat that tastes just like the original but with added goodness) or my wholesome Pumpkin Pie Sheet Pan Pancakes, perfect for autumn mornings or any time you crave pumpkin spice.
🥘 Ingredient Notes for Perfect Red Velvet Pancakes
The clever use of beets in red velvet recipes has a fascinating history, becoming particularly prevalent during food rationing in the Second World War. Bakers discovered that boiled beet juices not only enhanced the vibrant red color of their cakes but also helped retain moisture, making for a delightfully tender crumb. Beyond their visual appeal and functional properties in baking, beets are a nutritional powerhouse. They are an excellent source of essential nutrients like folate and vitamin B, contributing significant health benefits to any dish they grace.
Our recipe for healthy red velvet pancakes is made entirely from scratch, using a simple yet effective combination of low-fat milk and vinegar as a lighter alternative to traditional buttermilk. This mixture, alongside the leavening power of baking powder, works wonders to create pancakes that are incredibly light and irresistibly fluffy. By choosing wholesome ingredients and opting for natural coloring, these pancakes prove that you don’t need excessive fat or artificial red food coloring to achieve a truly delicious and authentic red velvet experience.
For this delightful recipe, you’ll need the following key ingredients:
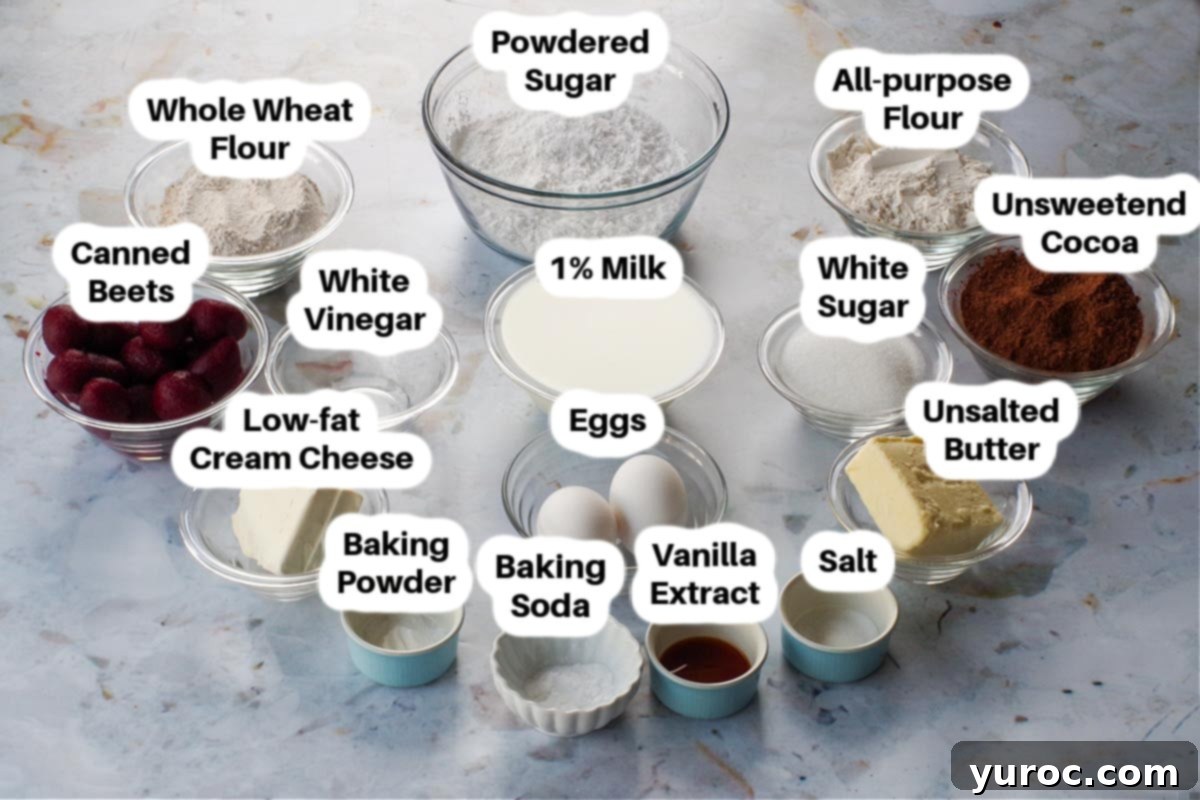
- Whole Wheat Flour and All-Purpose Flour: We use a balanced combination of these two flours. While whole wheat flour adds fiber and nutrients, using it exclusively can sometimes result in a denser pancake. The blend ensures a perfect balance of healthy goodness and a wonderfully light, tender texture.
- Pureed Beets: The secret to our natural red color! For ultimate convenience and to save time, this recipe calls for canned beets. Whether you choose whole or sliced canned beets, it makes no difference, as they will be pureed anyway. This simple trick eliminates the need for cooking and peeling fresh beets, making this recipe accessible for busy mornings. I also incorporate canned beets into my delicious Healthy Red Velvet Cookies.
- Low-Fat Milk (1%) and a Little Vinegar: This dynamic duo creates a fantastic, low-fat buttermilk substitute. The acidity from the vinegar reacts with the baking soda and baking powder, leading to those desirable fluffy pancakes.
- Cream Cheese: Essential for our sweet chocolate cream cheese butter. To keep the topping lighter, I recommend using light or fat-free cream cheese without sacrificing flavor or creaminess.
- Powdered Sugar: Also known as icing sugar or confectioners’ sugar, this finely milled sugar dissolves smoothly into our cream cheese butter, ensuring a silky, lump-free topping.
- Unsalted Butter: Used for the irresistible chocolate cream cheese butter. By using unsalted butter, we maintain full control over the salt content in our recipe, allowing for precise flavor adjustment.
*A complete list of ingredients and precise quantities can be found in the recipe card below.
📖 Variations & Substitutions for Your Red Velvet Pancakes
This recipe is wonderfully adaptable, allowing you to tailor it to your dietary needs or what you have on hand in your pantry:
- Canned Beets Alternatives: If canned beets are not readily available, don’t fret! You can easily use pre-cooked, vacuum-packed beets. Alternatively, for the most natural option, roast fresh beets until tender, then peel and puree them. Just remember to cool the beets completely before pureeing and adding them to the batter; warm beets can affect the consistency of your pancake mixture.
- Milk Options: Feel free to experiment with different types of milk. Skim milk can be used for an even lower-fat option, while 2% or whole milk will result in a slightly richer pancake. The vinegar will still work its magic to create a buttermilk-like effect with any of these choices.
- Sweet Chocolate Cream Cheese Butter Variations: For those looking to reduce calories and fat even further, consider using a pre-made Chocolate Cream Cheese Spread as a topping. You could also swap out the cocoa powder in the butter for a different flavor, like a dash of espresso powder for a mocha twist.
🔪 How to Make Healthy Red Velvet Pancakes from Scratch
Creating these beautiful and delicious red velvet pancakes is a straightforward process. Follow these simple steps for a perfect breakfast:
PREP: Begin by preheating your griddle or frying pan. A good non-stick pan is highly recommended for easy flipping. Set the heat to medium and lightly spray the surface with non-stick cooking spray. It’s crucial not to cook these pancakes over too high a heat, as the sugar content can cause them to burn quickly. Keep a close eye on them!
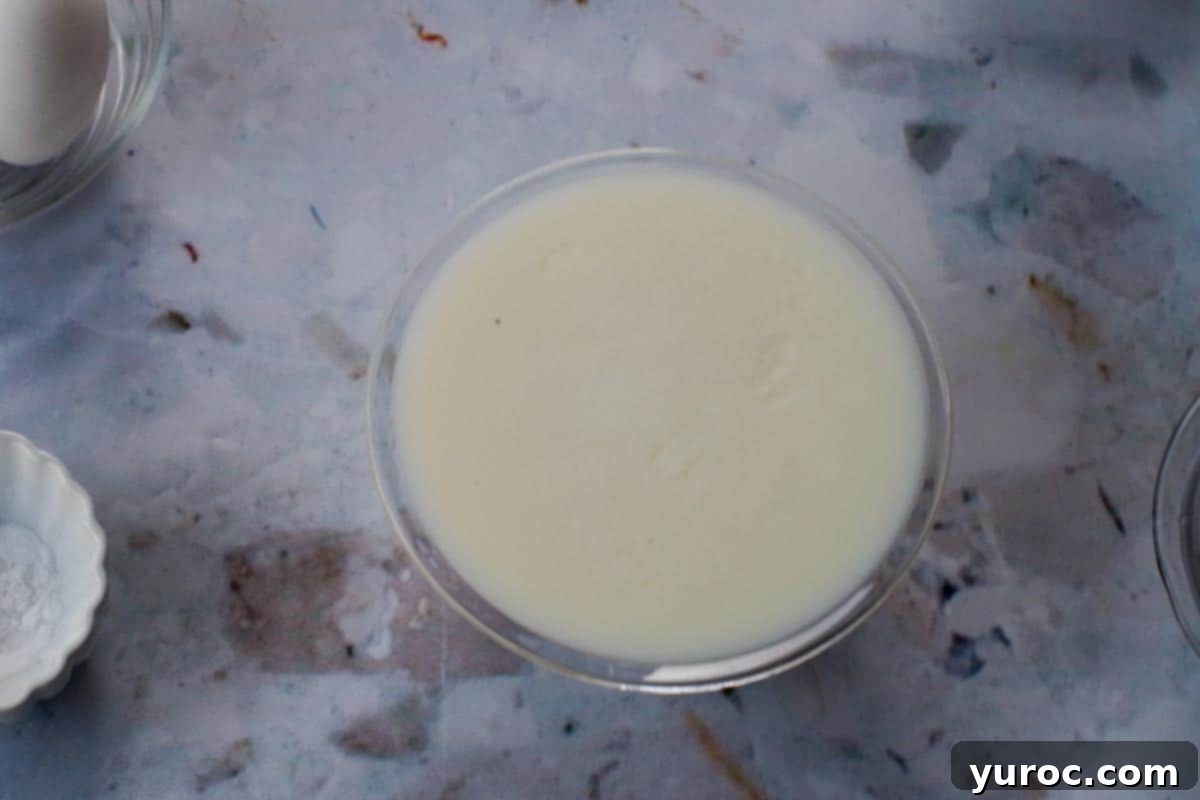
Step 1: In a small bowl, stir the vinegar into the low-fat milk. This creates our homemade buttermilk substitute. Set this mixture aside for a few minutes to allow it to slightly curdle, which will contribute to the pancakes’ fluffy texture.
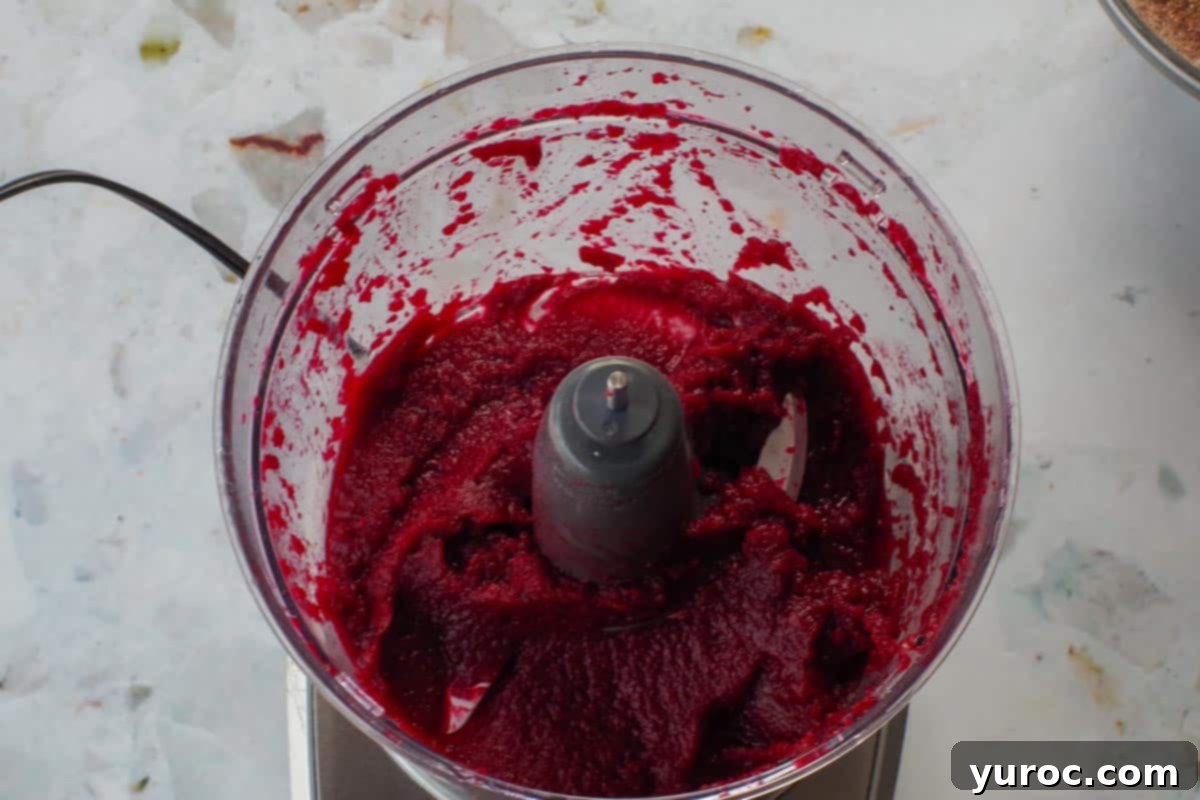
Step 2: Thoroughly drain your canned beets. Then, place them in a food processor and puree until completely smooth. This silky beet puree is what will give our pancakes their beautiful, natural red velvet color. Set the puree aside.
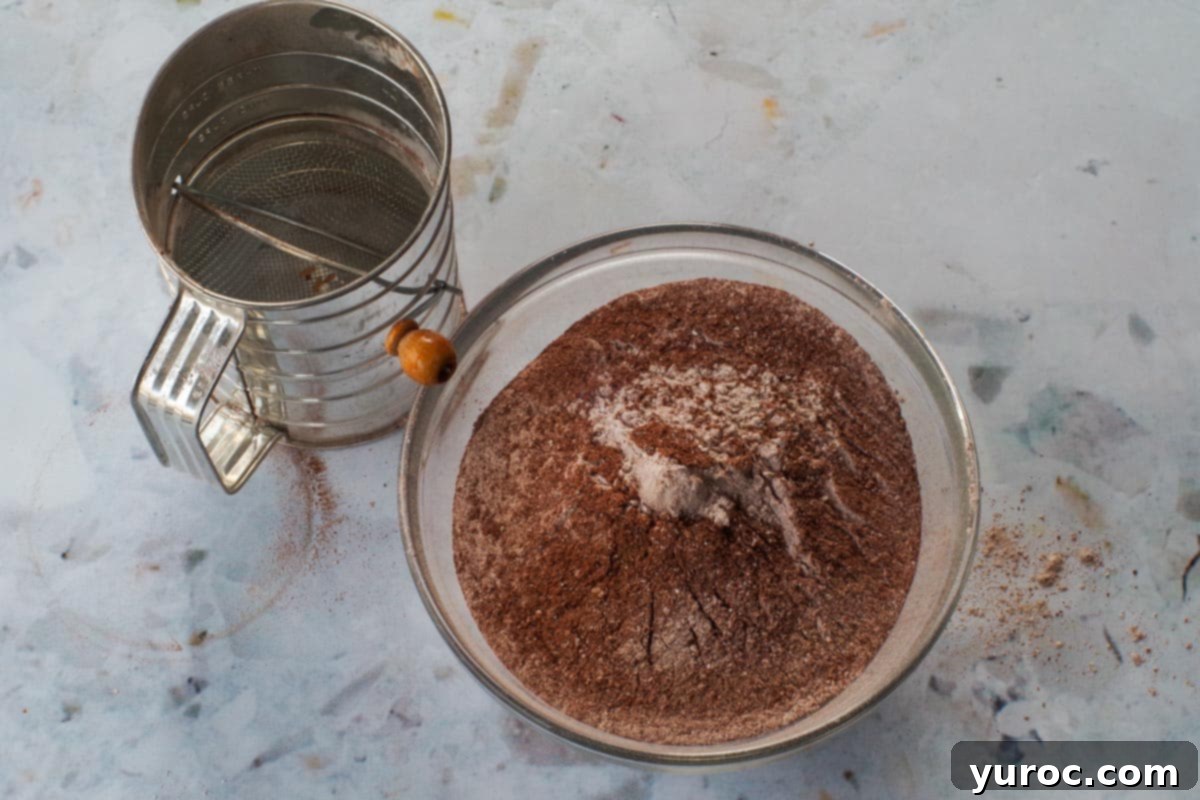
Step 3: In a separate medium-sized bowl, sift together all the dry ingredients for the pancakes: whole wheat flour, all-purpose flour, cocoa, powdered sugar, baking powder, salt, and baking soda. Sifting ensures there are no lumps and helps aerate the mixture for lighter pancakes. Remember to exclude the granulated sugar at this stage.
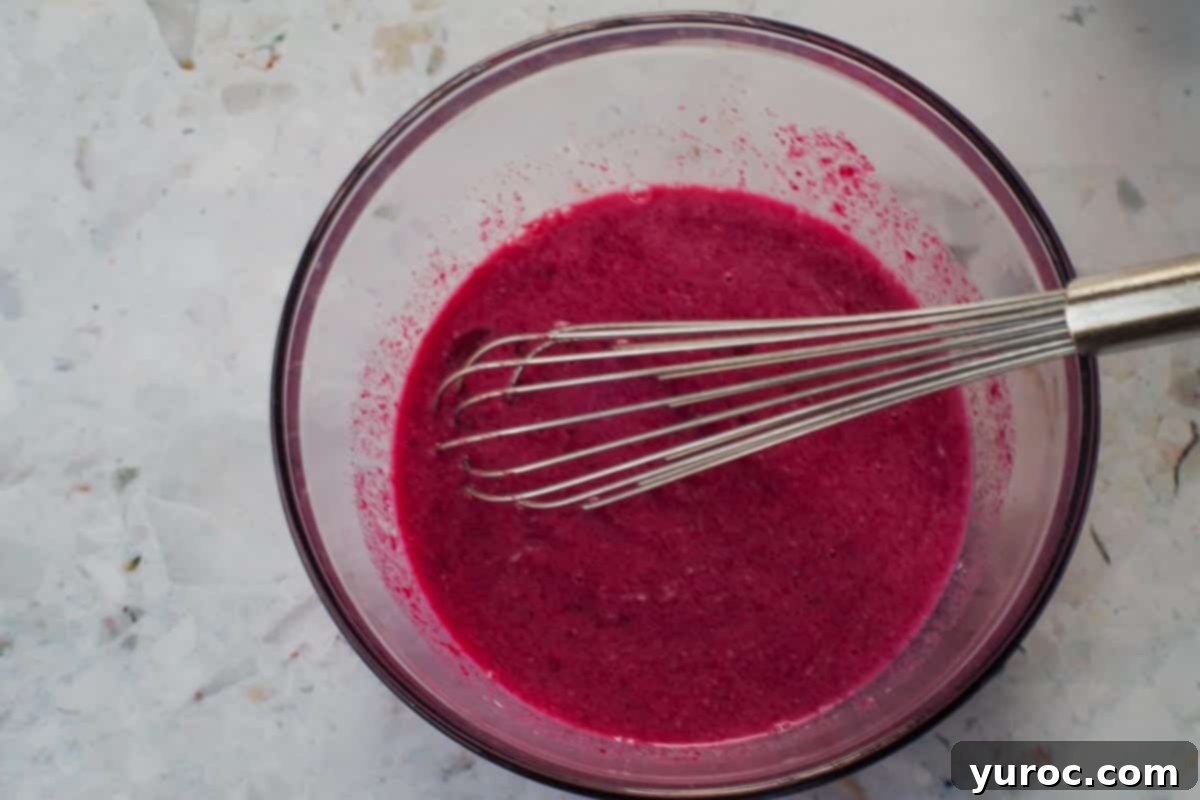
Step 4: In a large mixing bowl, combine the wet ingredients. Whisk together the eggs, the milk-and-vinegar mixture (our buttermilk substitute), granulated sugar, vanilla extract, and the smooth pureed beets. Mix until all components are well incorporated and the color is uniform.
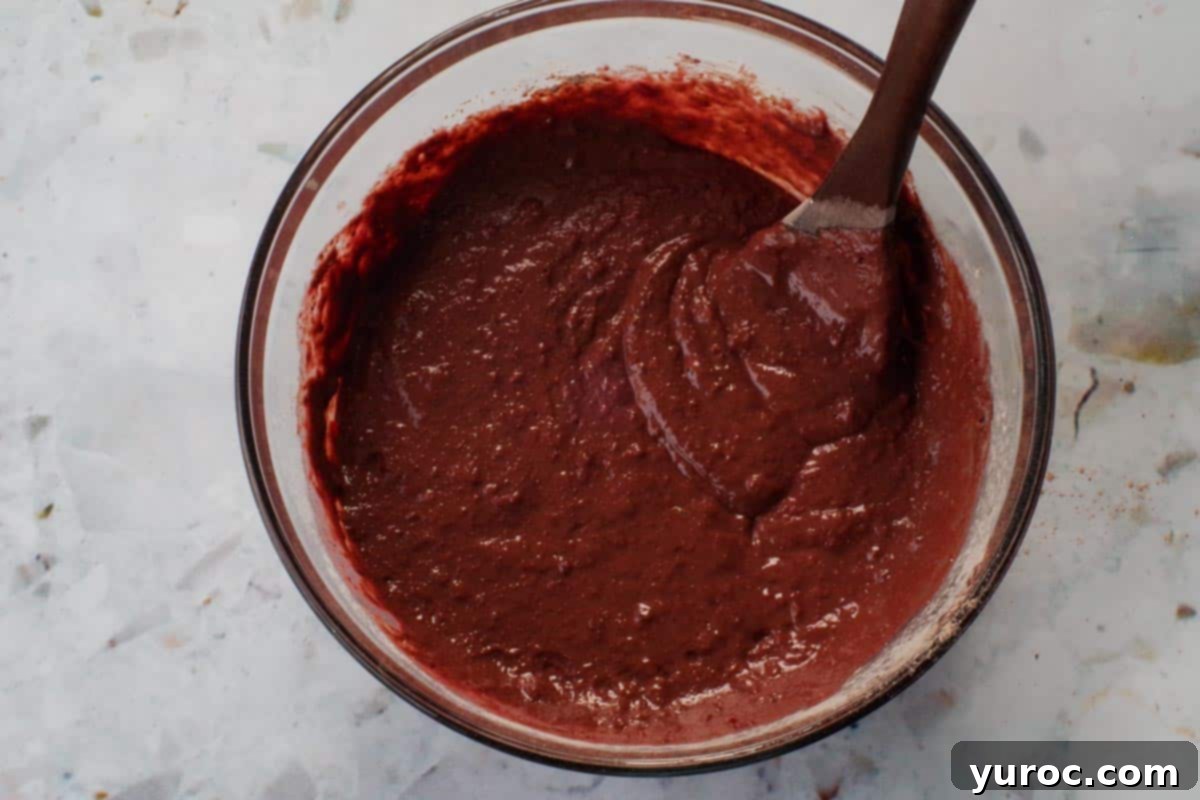
Step 5: Gradually add the sifted dry ingredients to the wet ingredients, incorporating them in thirds. Mix gently until just combined. A few small lumps in the batter are perfectly fine, and even desirable, as over-mixing can lead to tough pancakes. Stop mixing as soon as the flour streaks disappear.
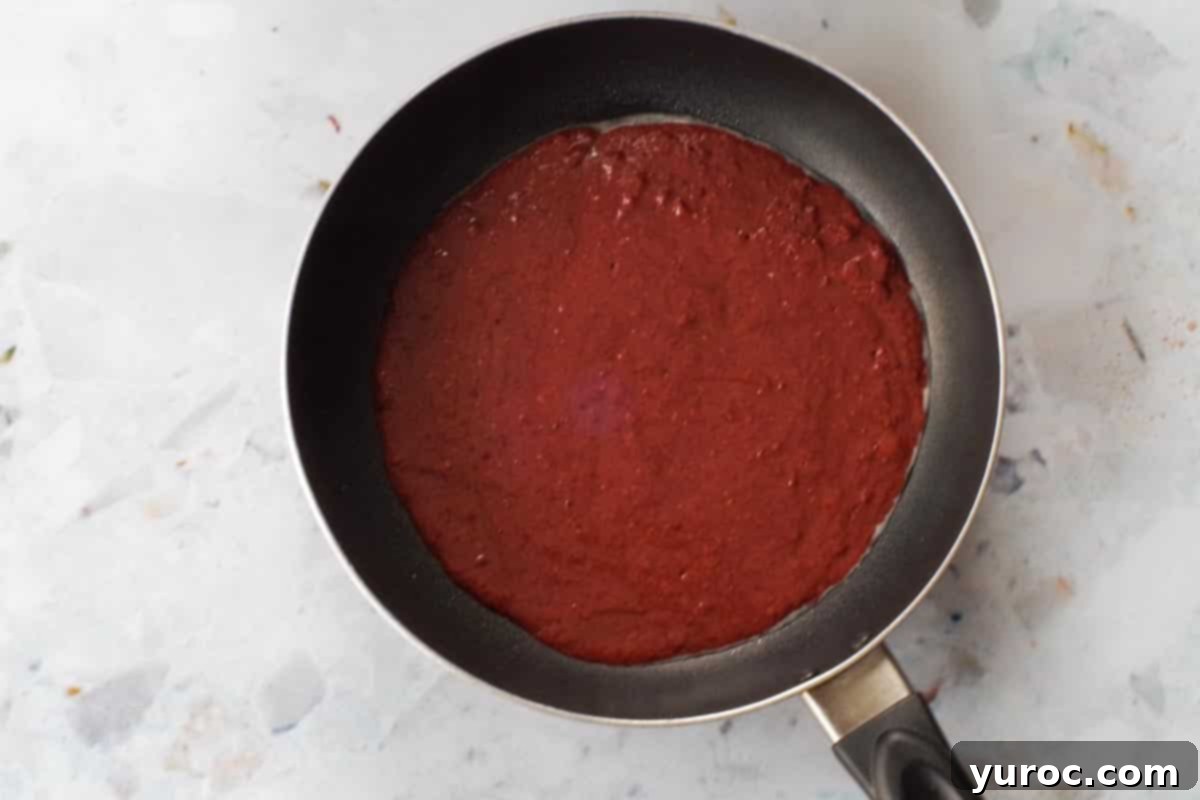
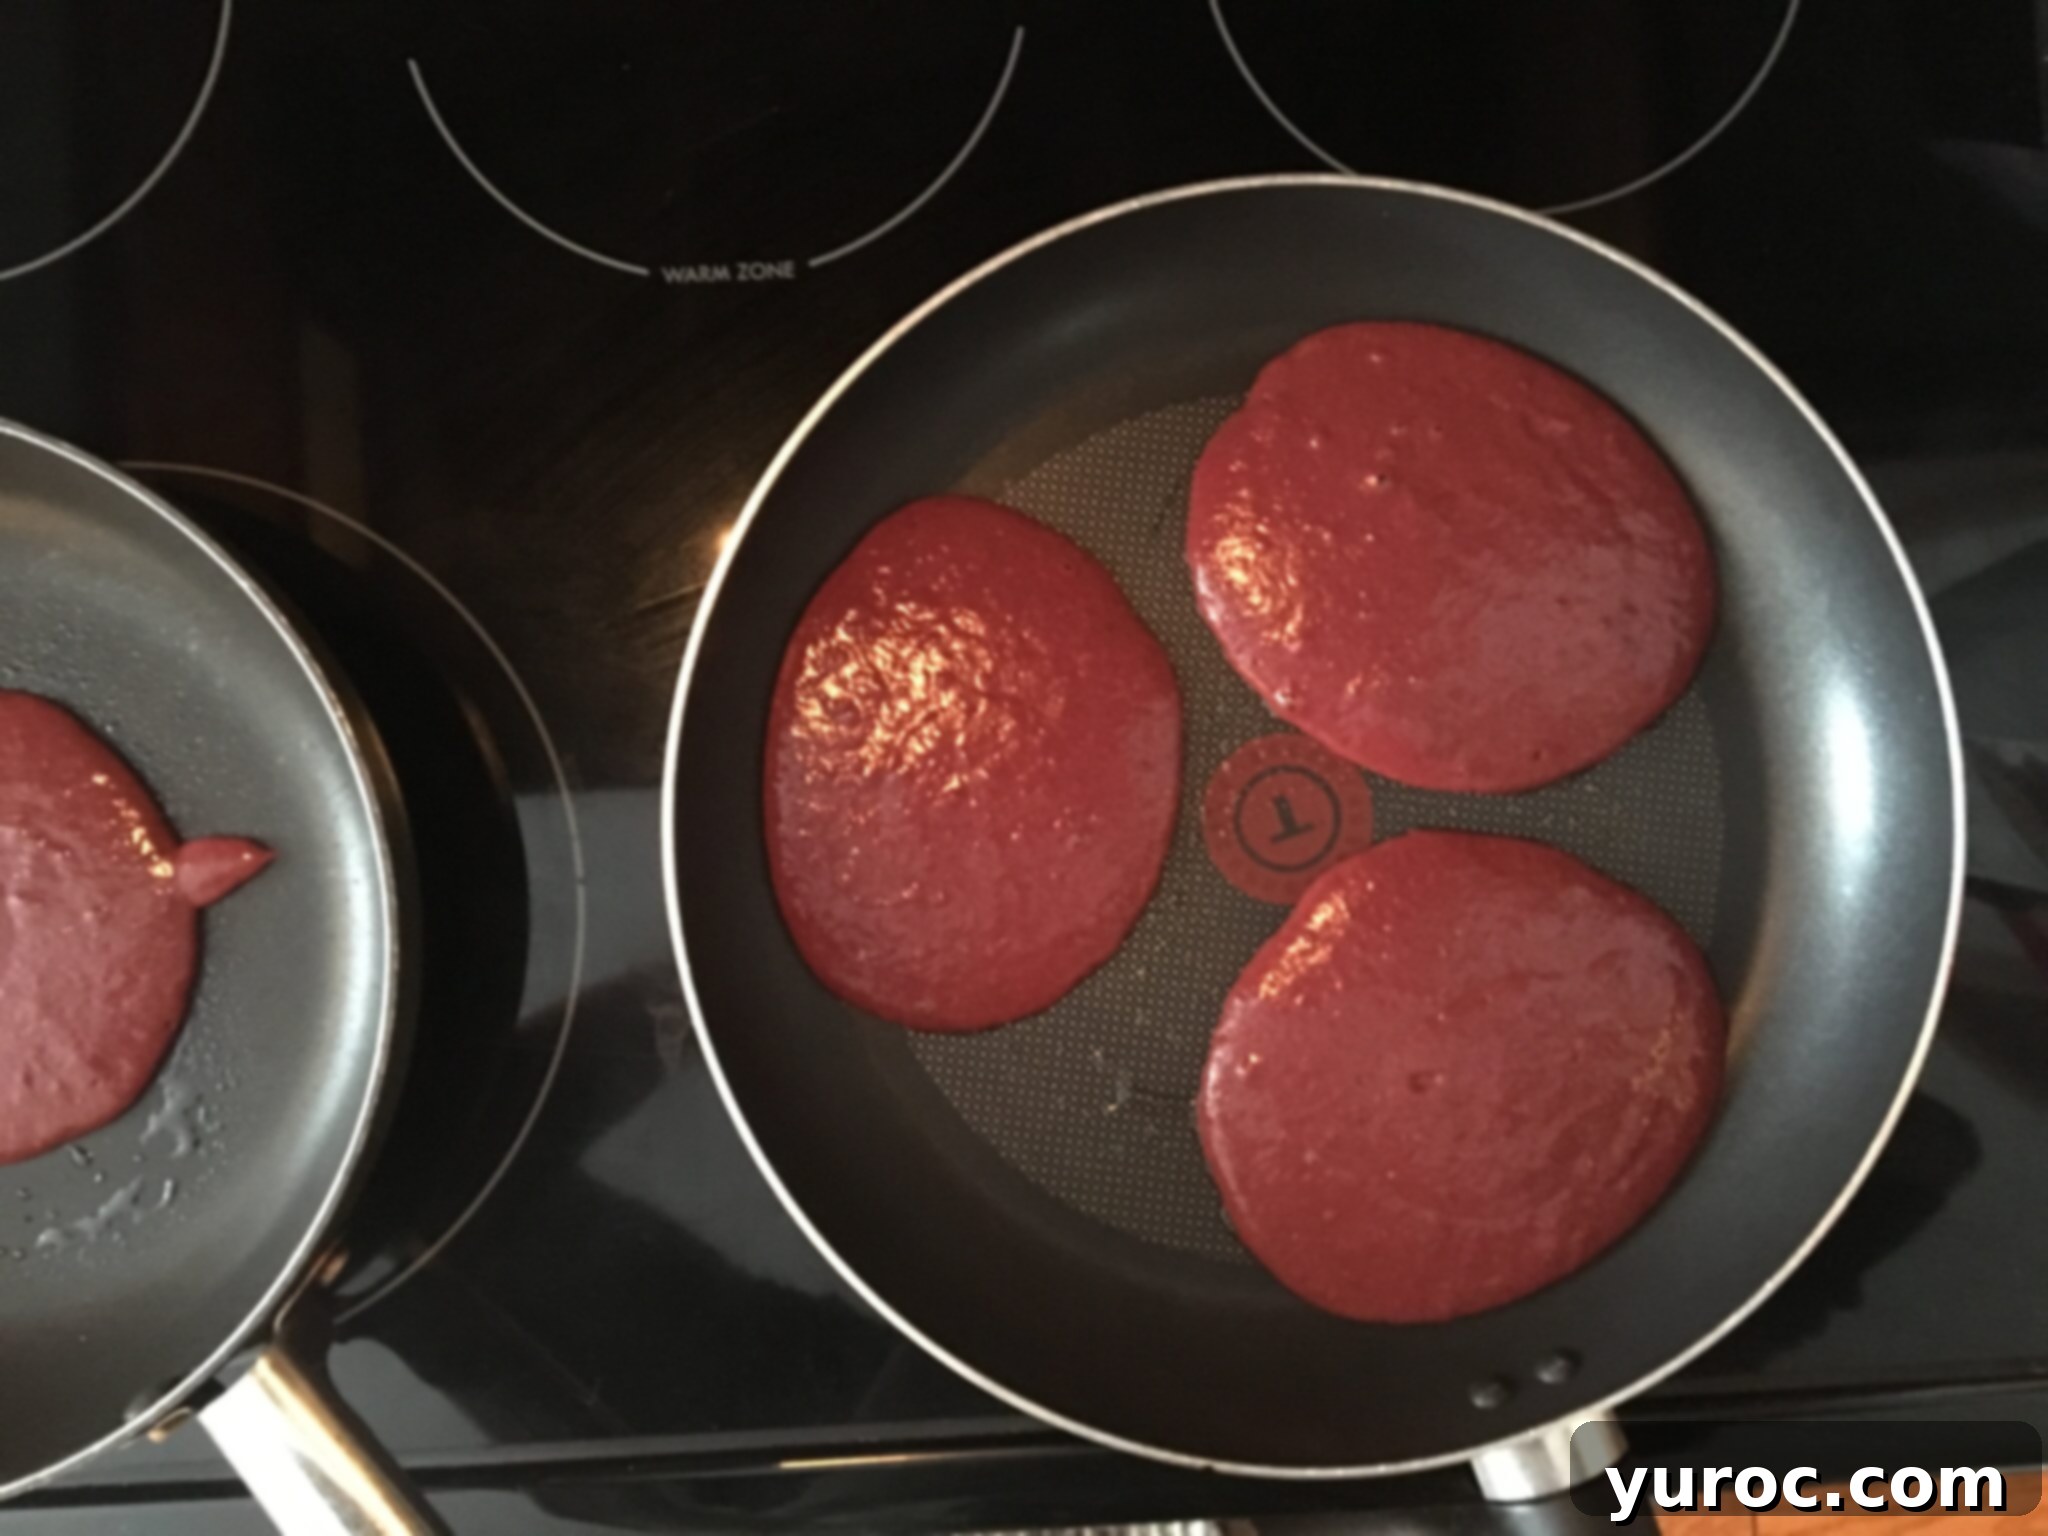
Step 6: Once your frying pan or electric griddle is heated to medium, ladle about ⅓ cup of batter for each pancake onto the nonstick surface. For best results, I typically use an 8-inch frying pan, allowing room for a perfect round pancake. Adjust the amount of batter based on your desired pancake size.
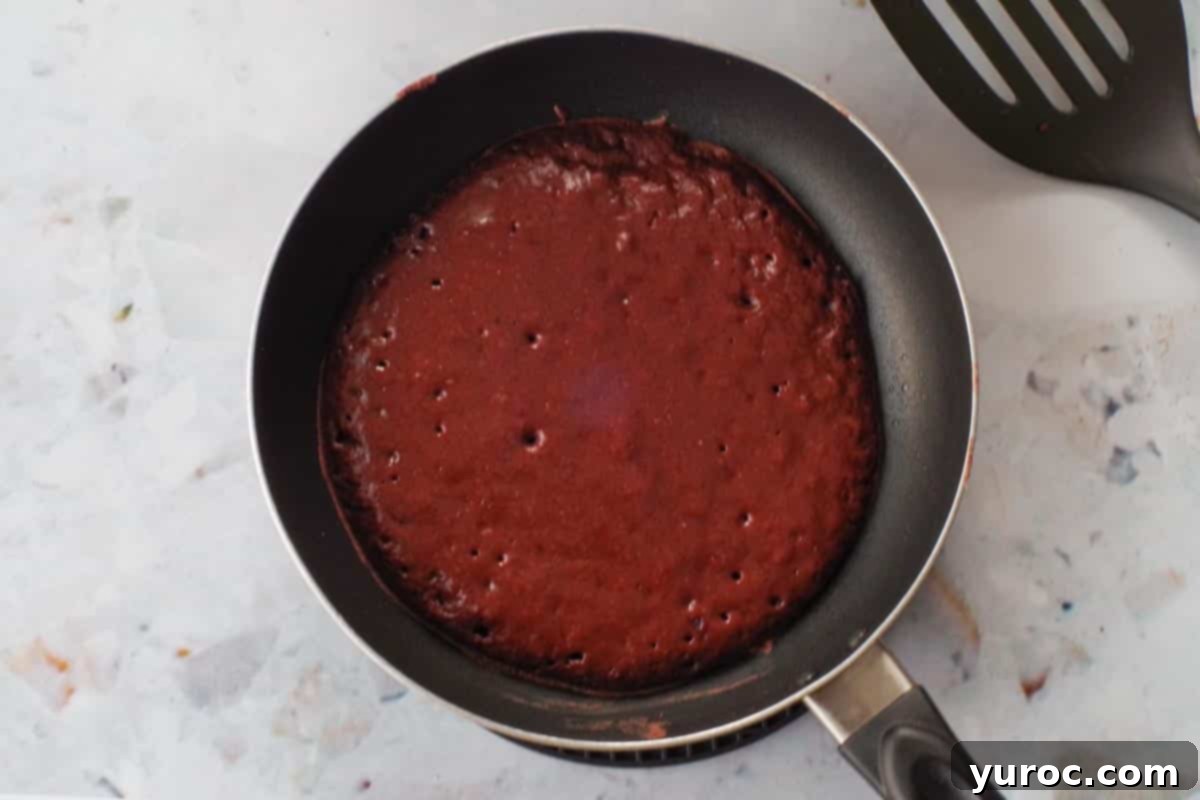
Step 7: Cook the pancakes over medium heat. You’ll know they’re ready to flip when bubbles begin to form and break on the surface of the pancake, and the edges start to look set and slightly browned. This usually takes 2-3 minutes per side. Resist the urge to press down on the pancakes, as this can flatten them.
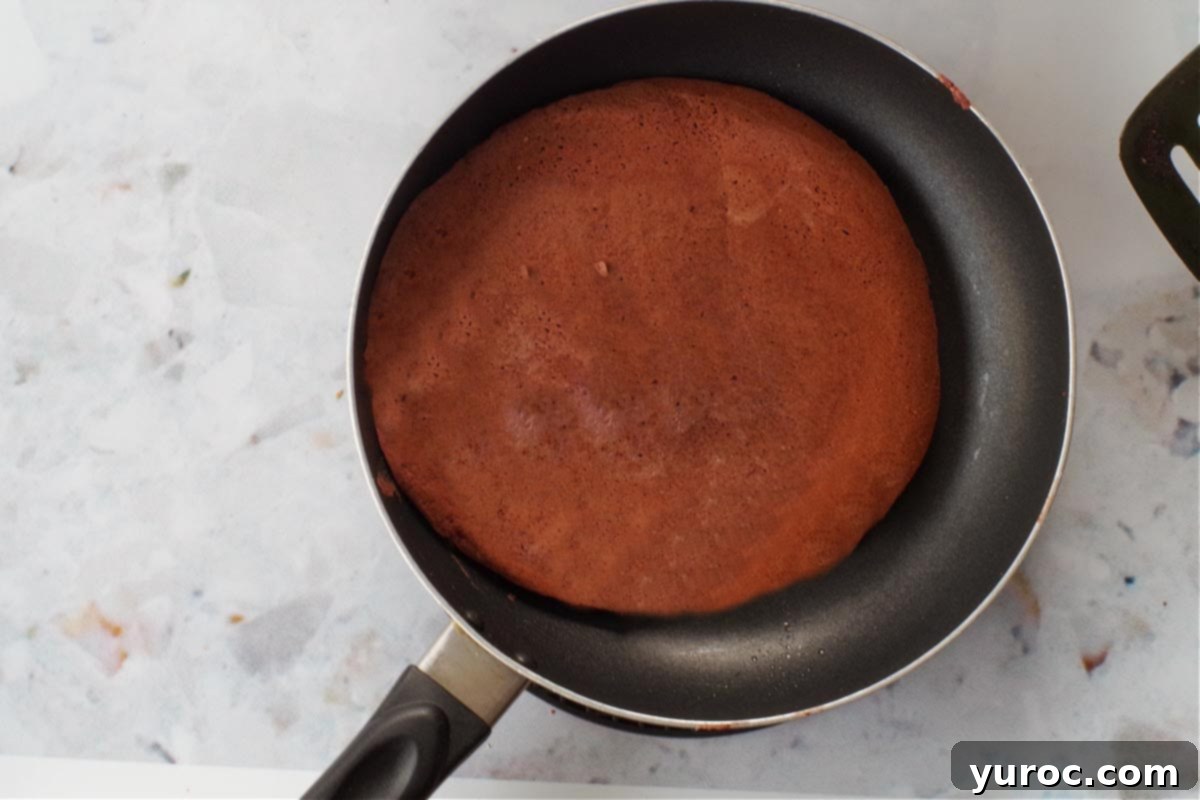
Step 8: Once flipped, continue cooking until the other side is golden brown and the pancake feels soft and pillowy to the touch when gently pressed. This indicates it’s fully cooked through. Remove from the pan and repeat with the remaining batter, ensuring each pancake cooks evenly and beautifully.
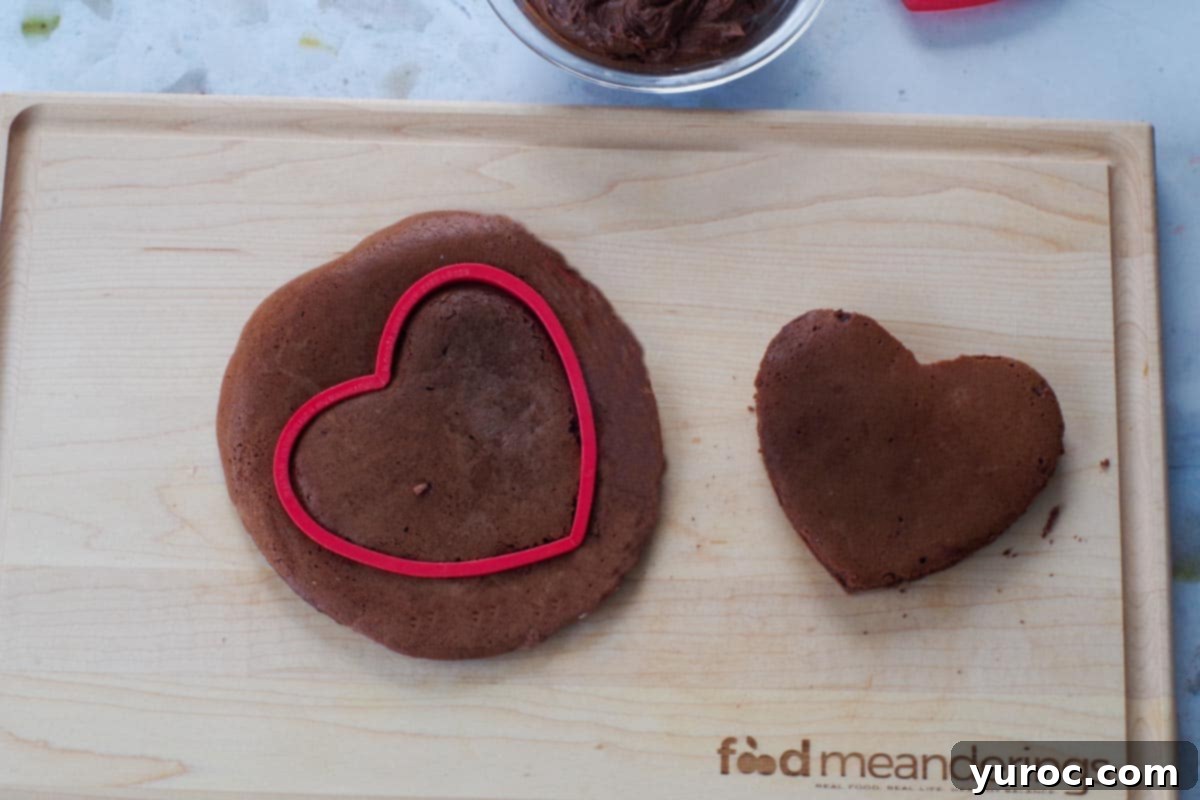
Step 9: For that extra special touch, use a large heart-shaped cookie cutter to cut your cooked pancakes into charming heart shapes. This is especially fun for occasions like Valentine’s Day or any day you want to add a little love to breakfast. Don’t worry about the leftover pancake scraps; they still taste amazing and are perfect for a chef’s treat!
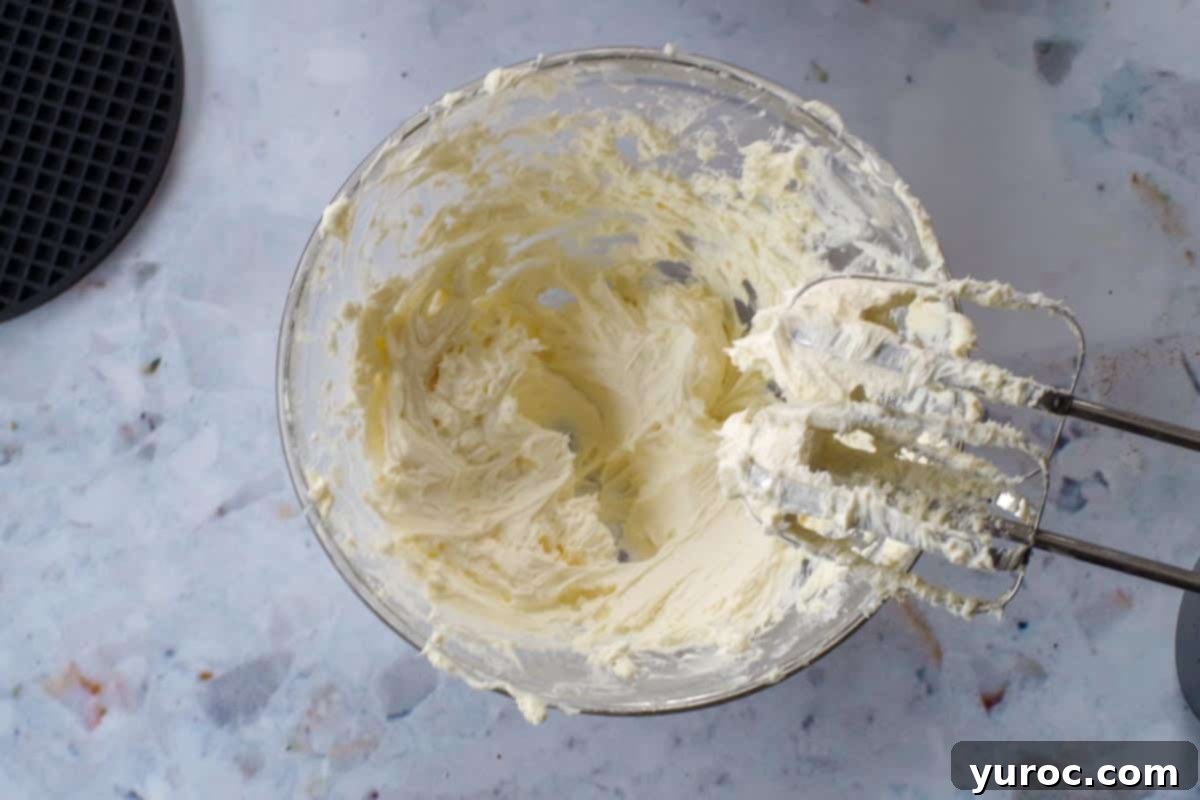
Step 10: Make Sweet Chocolate Cream Cheese Butter: In a medium-sized bowl, use an electric mixer to whip the softened unsalted butter and cream cheese together. Continue whipping for 3-5 minutes, periodically scraping down the sides of the bowl, until the mixture is beautifully smooth and creamy. This aeration creates a light and fluffy texture.
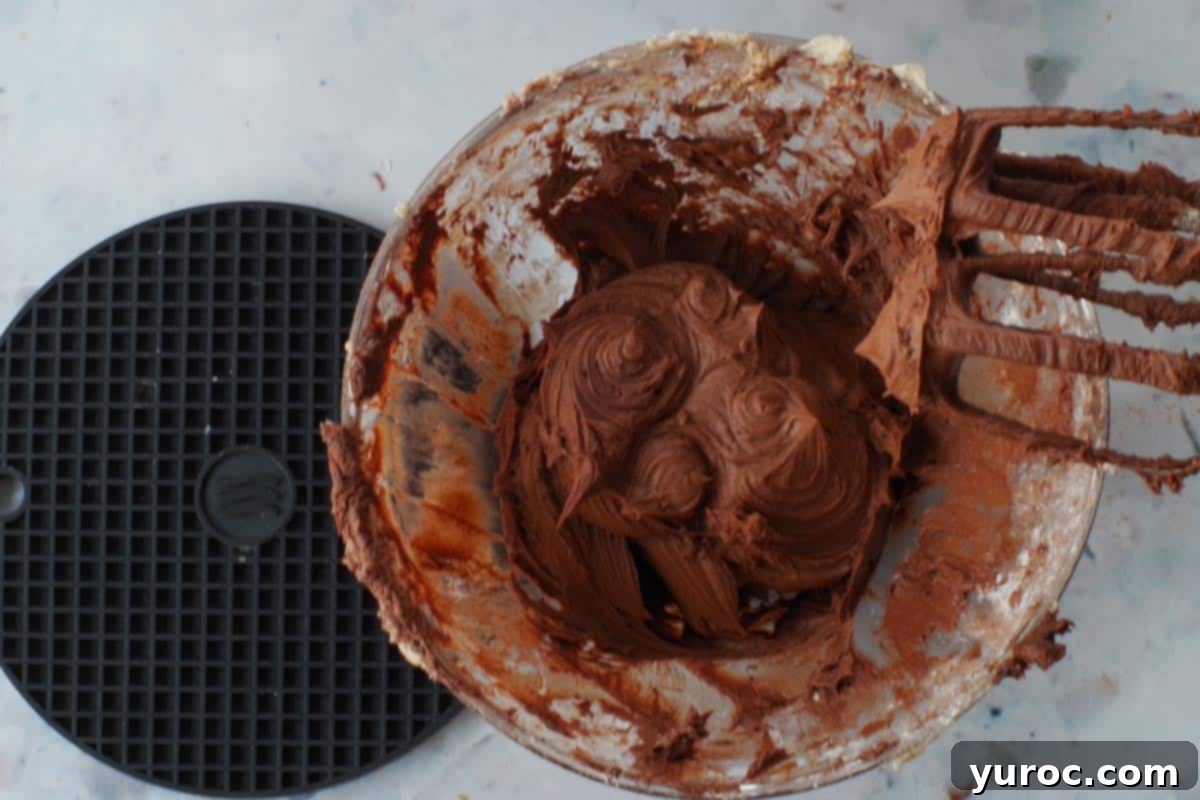
Step 11: Add the vanilla extract. Then, gradually incorporate the powdered sugar and cocoa powder into the cream cheese butter mixture, adding a little at a time. This gradual addition prevents a powdered sugar explosion all over your kitchen counter! Mix until everything is fully blended and smooth, creating a rich, sweet chocolate spread.
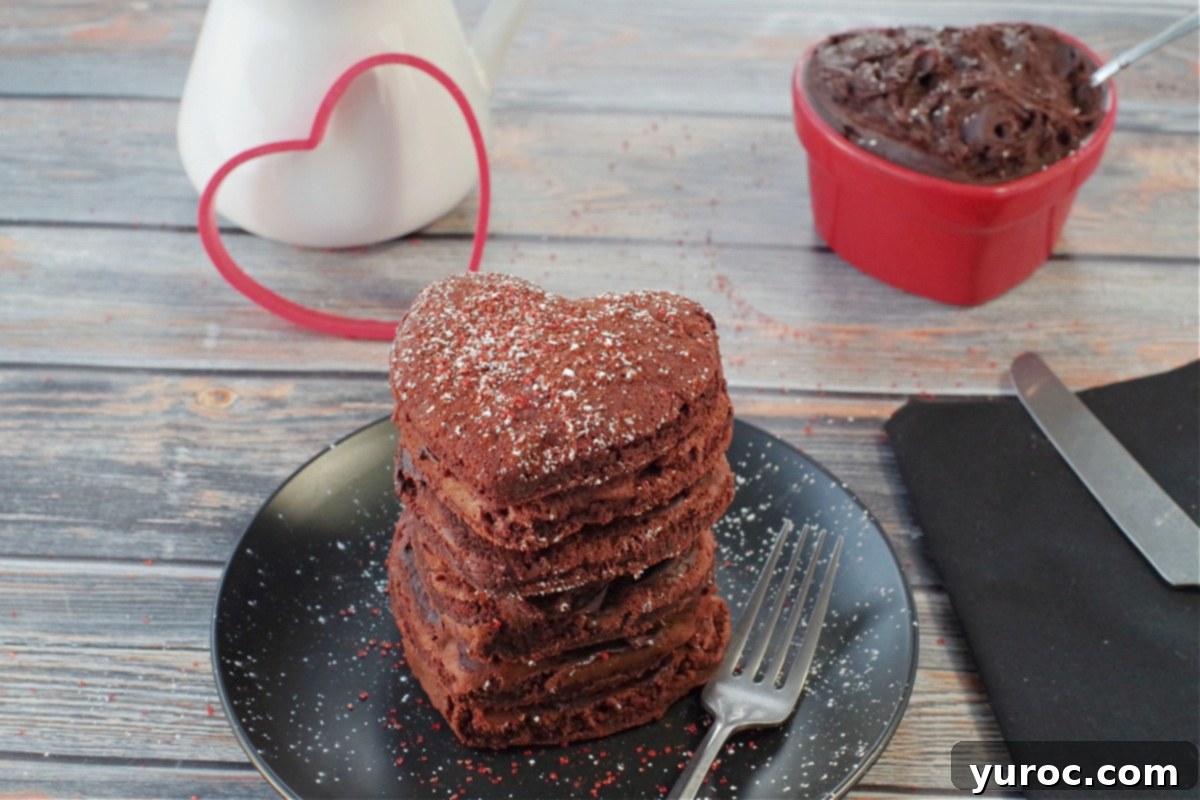
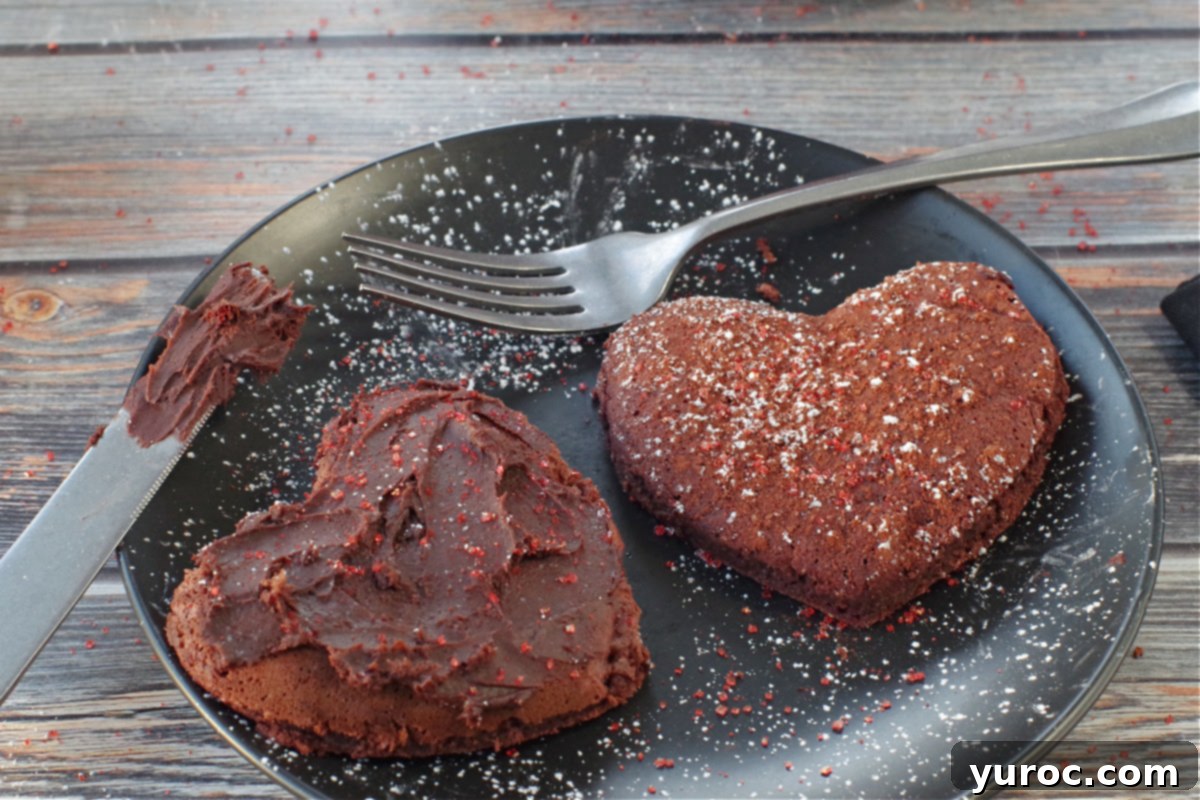
Step 12: Time to assemble! Place one pancake on a plate and generously spread a layer of the decadent Sweet Chocolate Cream Cheese Butter. Continue stacking and spreading with the remaining pancakes, ensuring the cream cheese butter is evenly distributed for a perfect bite every time.
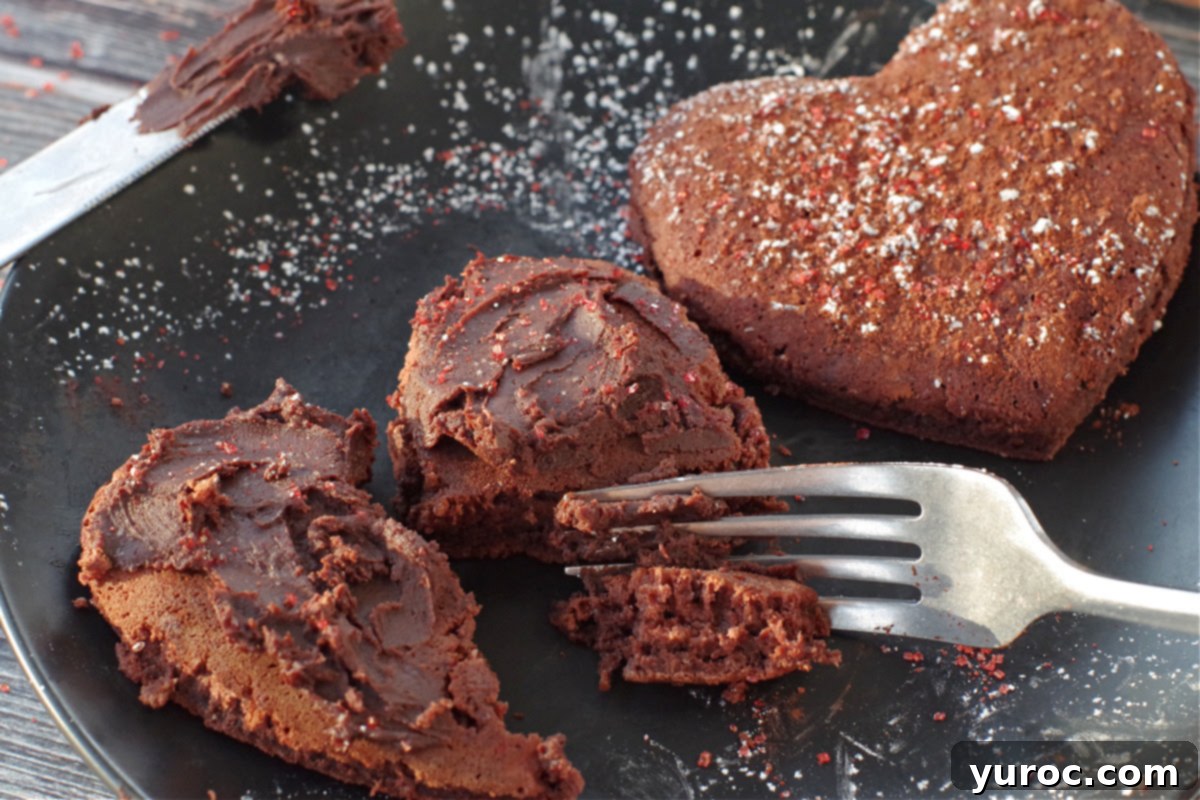
Garnish: For a beautiful finish, sprinkle the top pancake with a dusting of powdered sugar, or a mixture of powdered sugar and cocoa. For an extra festive touch, add some red sparkling sugar, as shown in the photos, to really make them shine!
A smart alternative if you plan on cutting your pancakes into heart shapes is to make the pancakes slightly smaller during cooking. This allows you to cook more at once, maximizing efficiency and ensuring you have plenty of perfectly shaped hearts for everyone to enjoy.
🍳 Expert Tips for Fluffy Red Velvet Pancakes
- Achieving Perfect Pancake Texture: The golden rule for fluffy pancakes is simple: **do not overmix the batter!** Overmixing develops the gluten in the flour, which can lead to tough, chewy pancakes rather than the light, airy texture we’re aiming for. A few small lumps in the batter are not only acceptable but often a sign of a perfectly mixed, tender pancake.
- Allow the Batter to Rest: After mixing, let your pancake batter sit undisturbed for 5-10 minutes. This short resting period is crucial. It gives the baking powder and vinegar ample time to react, producing tiny air bubbles that are essential for light and fluffy pancakes. However, don’t let it rest for too long, as the leavening agents can lose their potency, resulting in flatter pancakes.
- For Extra Fluffy Pancakes: Want your pancakes even fluffier? Incorporate an extra egg into the batter. The added protein and fat will contribute to a richer, more tender crumb and a noticeable boost in volume.
- Keep Pancakes Warm: To ensure all your pancakes are served warm and fresh, place cooked pancakes on a baking sheet and keep them in a low oven, set to about 200°F (93°C), while you finish cooking the remaining batter. This simple trick ensures everyone enjoys hot pancakes simultaneously.
- Ensure Clean Cuts for Heart Shapes: If you’re using cookie cutters for fun shapes, press the cutter straight down through the pancake with a firm, even pressure. Avoid twisting the cutter, as this can distort the shape and create ragged edges. For the sharpest edges, clean the cookie cutter between each use to remove any stuck batter.
- Don’t Skimp on Whipping Time for the Butter: When preparing the Sweet Chocolate Cream Cheese Butter, resist the urge to cut short the whipping time for the butter and cream cheese. Whipping for the recommended 3-5 minutes is what truly aerates the mixture, creating that luscious, light, and spreadable texture that makes this topping so irresistible.
- Make It Ahead: Both components of this breakfast can be prepared in advance. The Sweet Chocolate Cream Cheese Butter can be made up to three days beforehand and stored in an airtight container in the refrigerator. Just remember to bring it to room temperature before serving for effortless spreading. The pancakes themselves can also be cooked up to three days in advance, ready for quick reheating.
🥗 What to Eat with Healthy Red Velvet Pancakes
While you *could* enjoy these fluffy red velvet pancakes on their own, I strongly advise against it! The **Sweet Chocolate Cream Cheese Butter** is not just a topping; it’s the crowning glory of this dish. Its creamy, tangy-sweet profile is remarkably similar to a classic cream cheese frosting, perfectly complementing the rich cocoa and subtle beet notes of the pancakes. It truly elevates the entire experience.
For those mindful of calorie intake or Weight Watchers points, you can lighten up the meal by opting for a delicious Chocolate Cream Cheese Spread instead of the full butter version. Beyond the signature topping, these vibrant pancakes are also exquisitely delicious when adorned with a medley of fresh strawberries, a generous dollop of whipped cream, and a drizzle of pure maple syrup.
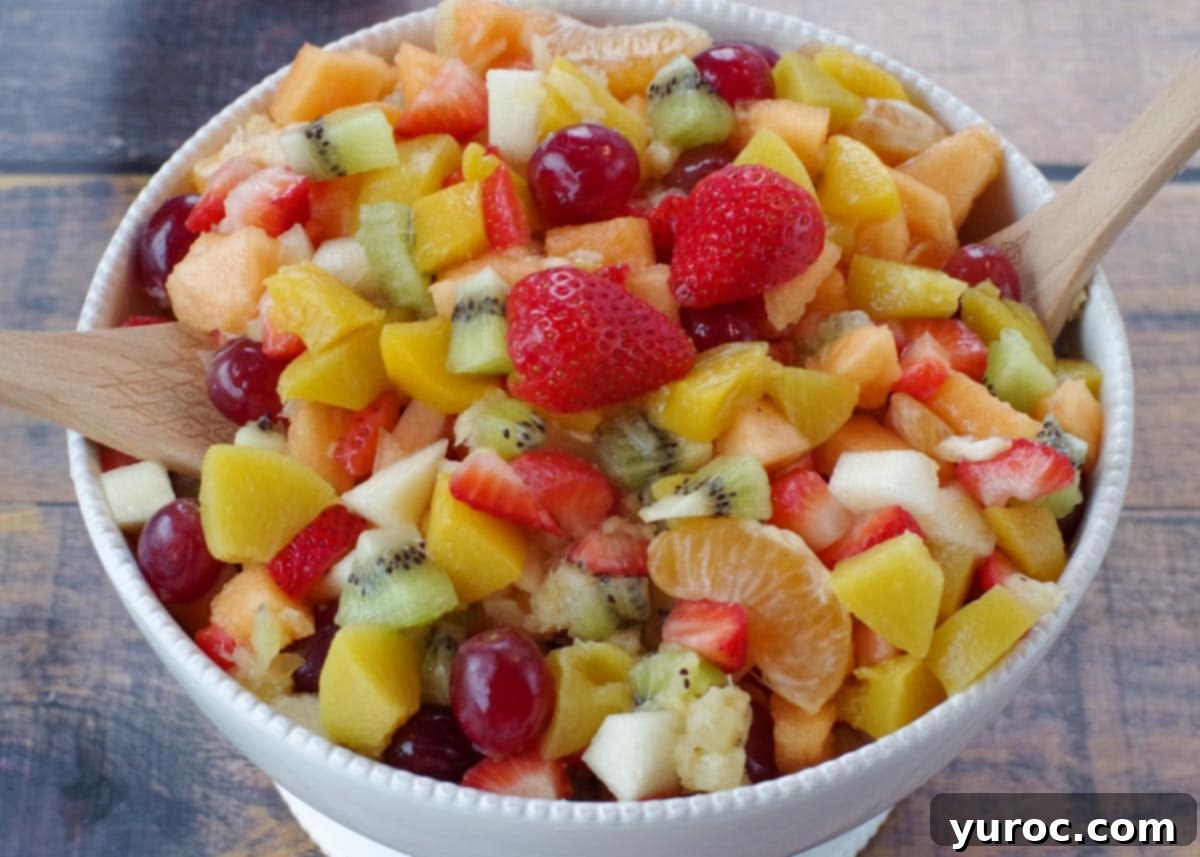
To create a complete and satisfying breakfast or brunch spread, I love serving these healthy red velvet pancakes with savory sides such as turkey bacon, flavorful air fryer turkey sausage, or a refreshing and colorful Old Fashioned Fruit Salad (as pictured), which adds a burst of freshness and extra vitamins.
👪 Serving Size Information
This Healthy Red Velvet Pancake recipe is designed to yield approximately 10 individual pancakes, making it ideal for a family breakfast or a small gathering. However, its versatility allows you to easily adjust the recipe to suit your needs. You can effortlessly halve the ingredient amounts for a smaller batch, or double or even triple them for a larger crowd. Many of my recipes, including this one, feature adjustable servings directly within the recipe card. Simply click on the indicated serving amount, select your desired number of servings, and the ingredient quantities will automatically adjust to guide you perfectly.
🔢 Weight Watchers Points (WW Points)
When calculated without the generous topping of sweet chocolate cream cheese butter, this recipe comes in at approximately 8 Weight Watchers (WW) points per pancake. It’s important to acknowledge that while we’ve made significant strides in making these pancakes healthier with natural ingredients and reduced fat alternatives, they remain a delightful indulgence. They are, however, considerably healthier than many traditional red velvet pancake recipes loaded with artificial dyes and higher fat content!
To further reduce the WW points of the chocolate cream cheese butter, consider utilizing light butter and fat-free cream cheese. Another excellent option is to replace the homemade butter with a lighter Chocolate Cream Cheese Spread, which can significantly lower the overall points per serving without sacrificing that essential chocolatey tang.
Whether you’re planning a grand celebration for the weekend or a quick, loving gesture on Valentine’s Day itself, these red velvet pancakes are perfectly suited. Their quick preparation time means you can whip them up fresh, or for ultimate convenience, you can prepare and freeze them ahead of time. This flexibility makes them a stress-free option for any occasion.
🌡️ Storing and Reheating Your Pancakes
Proper storage ensures you can enjoy these delicious pancakes and their luscious topping for days to come:
REFRIGERATOR: To maintain freshness, store the fluffy red velvet pancakes and the sweet chocolate cream cheese butter in separate, airtight containers in the refrigerator. They will keep beautifully for up to 3 days. This separation prevents the pancakes from absorbing too much moisture from the butter and helps both components retain their optimal texture and flavor.
FREEZING: Both the red velvet pancakes and the sweet chocolate cream cheese butter are excellent candidates for freezing, allowing you to enjoy them for up to 3 months. For the pancakes, first ensure they are completely cool. Then, stack them with parchment paper in between each pancake to prevent sticking, and place them in a zip-top freezer bag. Lay the bag flat in the freezer until solid. The chocolate cream cheese butter can be frozen in a freezer-friendly plastic container.
REHEATING: Reheating pancakes is quick and easy. For individual servings, microwave them for 20-30 seconds until warm. Alternatively, for a slightly crispier edge, reheat them in a toaster oven at 350°F (175°C) for 3-5 minutes. If you have a larger batch to warm up, place them on a baking sheet, cover loosely with foil to retain moisture, and reheat in a conventional oven at 300°F (150°C) for approximately 10 minutes, or until thoroughly warmed through.
❔ Recipe FAQs
For the absolute best results in terms of fluffiness, it’s always recommended to make the pancake batter fresh just before cooking. The leavening agents (baking powder and soda) are most active shortly after being combined with liquids. However, to save time, you can prepare and measure your wet and dry ingredients separately in advance. Store them in airtight containers, and then simply combine them just before you’re ready to cook.
Absolutely! Heart-shaped pancakes freeze just as wonderfully as whole ones. To prevent them from sticking together, lay the cut pancakes flat on a parchment-lined baking sheet and freeze them individually until solid. Once frozen, you can transfer them to a freezer-safe bag, stacking them with parchment paper in between layers if desired, ensuring they remain flat in the freezer. This method makes it easy to grab just a few when a craving strikes!
The visual cues are key! Pancakes are ready to be flipped when you see numerous bubbles forming and popping on the surface of the batter, and the edges begin to look dry and slightly set. After flipping, continue cooking until the second side achieves a beautiful golden-brown color and the pancake feels firm yet pillowy when you gently press it with a spatula. This indicates even cooking throughout.
Yes, a blender can certainly work for pureeing the beets, and a high-speed blender like a Vitamix would be ideal for achieving the smoothest consistency. If you find your blender struggling, you can add a very small amount of water (just a tablespoon or two at a time) to help it process the beets into a perfectly smooth puree. Be cautious not to add too much liquid, as this could affect the pancake batter’s consistency.
Sometimes, breakfast is the only meal you truly get to share with loved ones on a special day. Heart-shaped pancakes offer a wonderfully charming and delicious way to enjoy a memorable breakfast or brunch together. If you’re fortunate enough for the day to fall on a weekend or a day off, you get to savor a leisurely brunch, making the experience even more delightful!
So, whether you’re diligently searching for natural red velvet pancake recipes, brainstorming creative breakfast ideas for Valentine’s Day, seeking inspiring Valentine’s brunch ideas, or simply longing for a special breakfast that will undeniably make your loved one(s) swoon, look no further than these incredible Healthy Red Velvet Pancakes without food coloring! They are guaranteed to be a hit with the entire family, offering a delightful and wholesome start to any day.
And if you’re keen on exploring more healthy red velvet recipes, be sure to check out my Healthy & Natural Red Velvet Cookies – another fantastic way to enjoy this classic flavor with a healthy twist!
🍳 More Healthy Breakfast Recipes!
- Mediterranean Breakfast Burritos (Vegetarian)
- Roasted Red Pepper Egg White Bites Recipe
- Oatmeal Raisin Cookie Overnight Oats
- Healthy Eggs Benedict (WW Friendly)
Did your family ❤️ this recipe? Did you know that commenting and ⭐ rating recipes is one of the best ways to support your favorite recipe creators? If you LOVED this recipe, please comment and rate it in the recipe card below or share photos on social media using the hashtag #foodmeanderings or tagging @foodmeanderings!
📋 Healthy Red Velvet Pancakes Recipe (with Sweet Cream Cheese Butter)
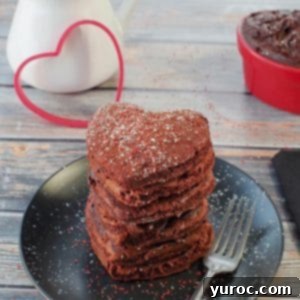
These natural and healthy Red Velvet Pancakes, complete with a delectable Sweet Chocolate Cream Cheese Butter, are made without any artificial dyes or food coloring. Instead, they get their beautiful hue from pureed canned beets, making them a quick, easy, and genuinely healthy breakfast option. While they are perfect to enjoy any time of the year, if you use a heart-shaped cookie cutter, they transform into the ideal Valentine’s Day breakfast or brunch. Plus, they can be made ahead and frozen for ultimate convenience!
Recipe Details:
- Course: Breakfast, Brunch
- Cuisine: American, Southern
- Special Diet: Vegetarian
- Servings: 10 people
- Calories: 387 kcal per serving
- Author: Terri Gilson
Prep & Cook Time:
- Prep Time: 10 minutes
- Cook Time: 20 minutes
- Total Time: 30 minutes
Equipment:
- Food Processor (or blender)
Ingredients:
Pancakes:
- 1 cup all-purpose flour
- 1 cup whole wheat flour
- ½ cup cocoa powder
- 1 cup powdered sugar
- ½ tsp baking powder
- ½ tsp salt
- ½ tsp baking soda
- 1 ½ cups low-fat milk (1%)
- 2 tsp vinegar (white or apple cider)
- 2 large eggs
- ½ cup white granulated sugar
- 1 (398 ml/14 oz) can sliced beets, drained and pureed
- 1 tsp vanilla extract
Sweet Chocolate Cream Cheese Butter:
- ½ cup unsalted butter, softened
- 4 oz light cream cheese (½ of an 8 oz package), softened *or use fat-free cream cheese to further reduce fat and calories
- 1 ¼ cups powdered sugar
- 1 tsp vanilla extract
- ½ cup cocoa powder
Garnish (Optional):
- Cocoa powder
- Powdered sugar
- Red sparkling sugar
- Maple syrup (for serving)
Instructions:
Pancakes:
- Preheat your griddle or non-stick frying pan to medium heat and lightly spray with non-stick cooking spray. Be careful not to use too high heat, as these pancakes can burn easily due to the sugar content.
- In a small bowl, stir the vinegar into the low-fat milk and set aside for a few minutes to create a “buttermilk” effect.
- Drain the canned beets thoroughly, then puree them in a food processor until completely smooth. Set aside.
- In a medium bowl, sift together the all-purpose flour, whole wheat flour, cocoa powder, powdered sugar, baking powder, salt, and baking soda.
- In a large bowl, whisk together the eggs, the milk-and-vinegar mixture, granulated sugar, vanilla extract, and the pureed beets until well combined and smooth.
- Add the dry ingredients to the wet ingredients in three additions, mixing gently after each addition until just combined. A few lumps are fine; do not over-mix.
- Once the frying pan is hot, pour about ¼ cup of batter for each pancake onto the nonstick surface.
- Cook over medium heat. Flip the pancakes when bubbles begin to form and break on the surface and the edges start to look dry.
- Continue cooking on the other side until golden brown and the pancake feels soft and pillowy when lightly touched. Repeat with the remaining batter. If desired, use a heart-shaped cookie cutter to cut pancakes into heart shapes once cooked.
Sweet Chocolate Cream Cheese Butter:
- Using an electric mixer, whip the softened unsalted butter and cream cheese together in a medium bowl for 3-5 minutes until the mixture is smooth and creamy. Scrape down the sides of the bowl to ensure thorough blending.
- Add the vanilla extract. Gradually add the powdered sugar and cocoa powder, mixing a little at a time until fully blended and smooth. (Adding it slowly prevents a mess!)
Assemble:
- Stack one pancake on a plate and spread a generous layer of the Sweet Chocolate Cream Cheese Butter on top. Continue layering pancakes and butter until all pancakes are stacked, dividing the cream cheese butter evenly.
Garnish:
- Sprinkle the top pancake with a dusting of powdered sugar, or a mixture of powdered sugar and cocoa. For a festive touch, add red sparkling sugar. Serve immediately with maple syrup, if desired.
Notes:
Recipe Tips:
- Perfect Pancake Texture: Remember, the secret to light and fluffy pancakes is not to overmix the batter! Overmixing will activate the gluten in the flour, making your pancakes tough. A few small lumps in the batter are perfectly normal and preferred.
- Let the Batter Rest: Allow your pancake batter to rest for 5-10 minutes before cooking. This crucial step gives the baking powder and vinegar time to react and create those essential air bubbles for extra fluffiness. However, don’t let it sit much longer, as the leavening agents can lose their potency.
- Extra Fluffy Pancakes: For an even more indulgent and fluffy pancake, simply add one extra egg to your batter.
- Keep Pancakes Warm: If cooking in batches, place your cooked pancakes on a baking sheet in a warm oven (around 200°F / 93°C) to keep them toasty while you finish the rest. This ensures every pancake is served warm.
- Clean Cuts: When using a heart-shaped cookie cutter, press it straight down without twisting for neat, clean edges. For the best results, wipe the cutter clean between each use.
- Don’t Skimp on Whipping Time: The whipping process for the cream cheese butter is vital for its luscious, airy texture. Ensure you whip the butter and cream cheese for the full recommended time.
- Make It Ahead: Both the Sweet Chocolate Cream Cheese Butter and the pancakes can be prepared up to three days in advance. Store the butter in the fridge and bring to room temperature before spreading. Cooked pancakes can be refrigerated or frozen (see below) and reheated.
🌡️ STORING
REFRIGERATOR: Store these fluffy red velvet pancakes and the sweet chocolate cream cheese butter in separate sealed containers in the fridge for up to 3 days.
FREEZING: Both the red velvet pancakes and chocolate sweet cream cheese butter will freeze exceptionally well for up to 3 months. To freeze pancakes, ensure they are completely cool, then stack them with parchment paper in a zip-top freezer bag. The chocolate cream cheese butter can be frozen in an airtight, freezer-friendly plastic container.
Nutrition:
Serving: 1 pancake
Calories: 387 kcal (19%) | Carbohydrates: 63g (21%) | Protein: 7g (14%) | Fat: 14g (22%) | Saturated Fat: 8g (50%) | Cholesterol: 66mg (22%) | Sodium: 346mg (15%) | Potassium: 302mg (9%) | Fiber: 4g (17%) | Sugar: 39g (43%) | Vitamin A: 430IU (9%) | Calcium: 95mg (10%) | Iron: 2.4mg (13%)
