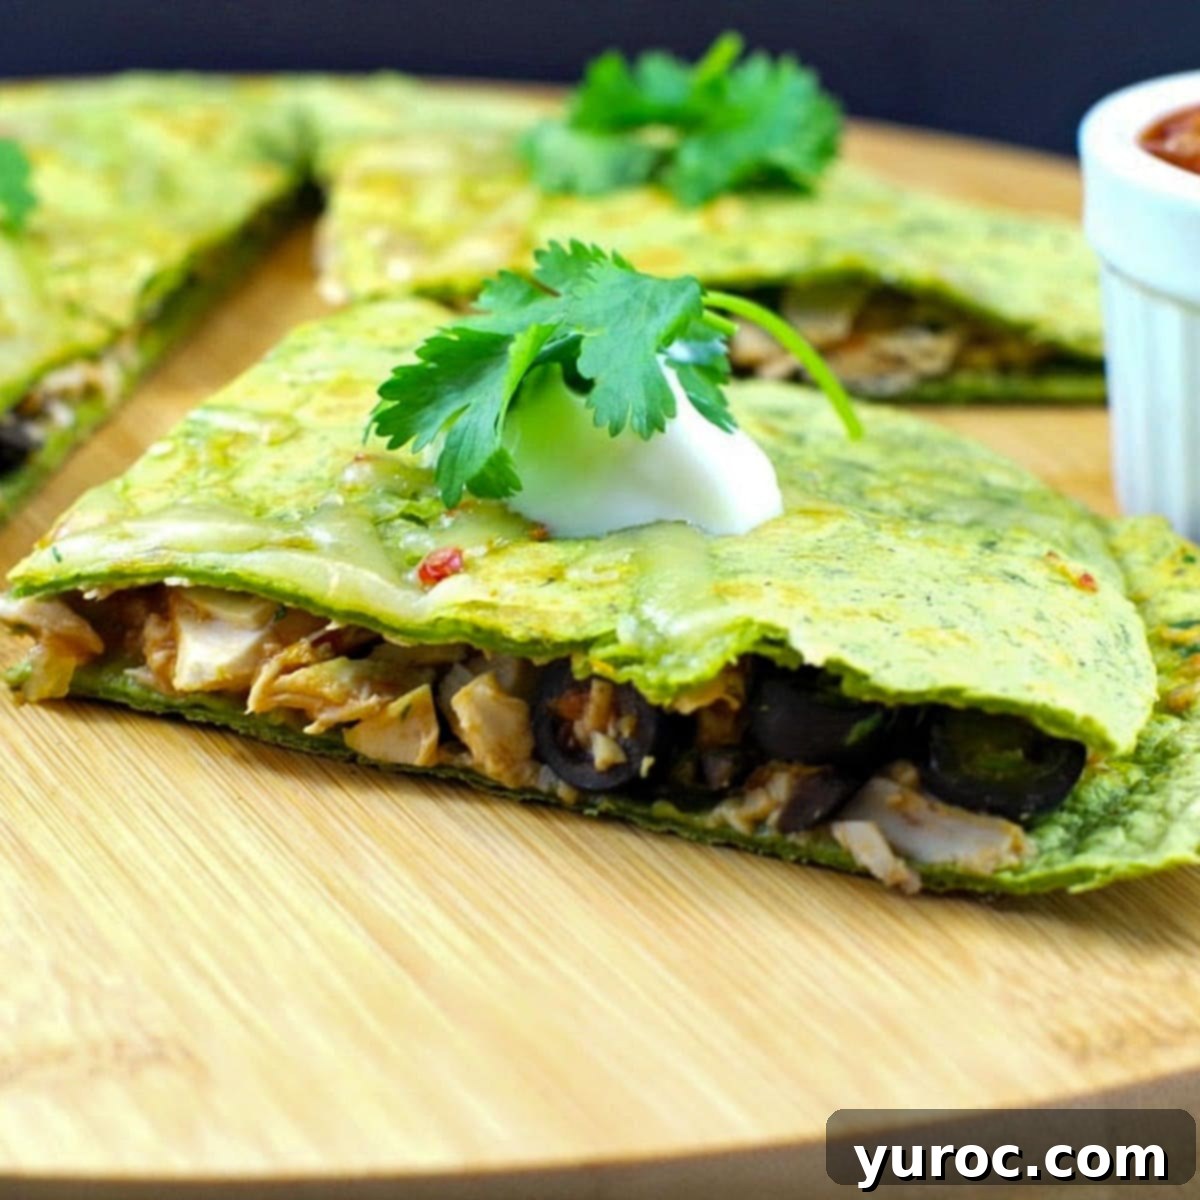
Effortless Rotisserie Chicken Quesadillas: Your Ultimate 20-Minute Weeknight Meal and Make-Ahead Solution
Transform your dinner routine with these incredibly **Easy Chicken Quesadillas featuring delicious Rotisserie Chicken**! Crafted to be ready in just 20 minutes, they’re the perfect answer for busy weeknights when you arrive home tired and hungry. Beyond their speed, these quesadillas are also an excellent make-ahead option that freezes beautifully, offering a convenient solution for future meals. Imagine having a wholesome, flavorful meal ready to go with minimal effort!
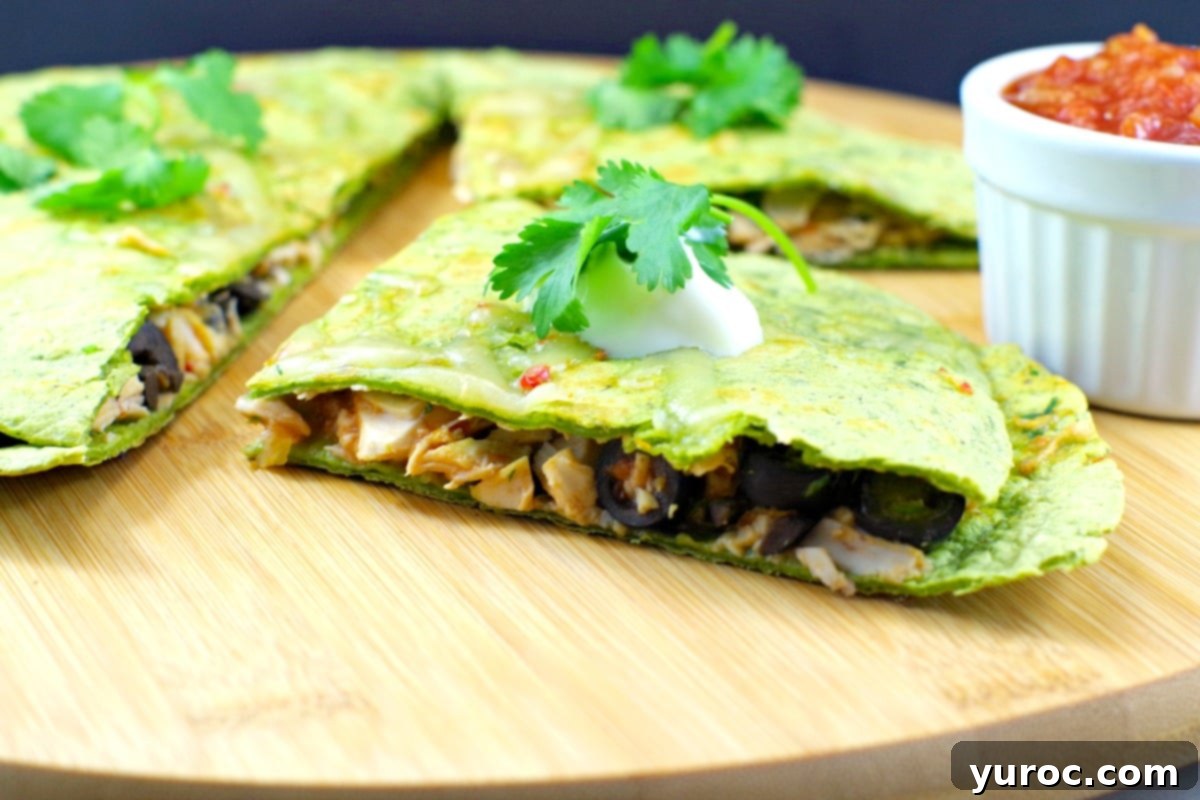
This rotisserie chicken quesadilla recipe is truly versatile, making it ideal for any time of the year. Whether you need a quick lunch at home, a satisfying dinner, or a convenient packed meal for work or school, these quesadillas fit the bill. They reheat swiftly in the microwave, air fryer, or a skillet, ensuring a warm and cheesy bite whenever hunger strikes. This recipe was born out of a desire to minimize food waste and maximize flavor, brilliantly utilizing leftover rotisserie chicken. For an exciting flavor pairing, try serving them alongside a vibrant Quick Cucumber Kimchi, which adds a delightful tangy crunch to balance the rich quesadillas.
These aren’t just any chicken quesadillas; they’re the best easy, kid-friendly, 20-minute meal designed to make the most of your chicken leftovers. You’ll only need a handful of common ingredients and a few minutes of active preparation. In today’s fast-paced world, finding a delicious, quick, and easy meal that satisfies all ages is a true blessing, and this recipe delivers precisely that. It’s perfect for busy parents, students, or anyone looking for a no-fuss yet incredibly tasty dish.
If you’re a fan of simple and delicious rotisserie chicken recipes, you’ll definitely want to explore other convenient options like my No Cook Shredded Buffalo Chicken Sandwich, which shares the same ethos of quick preparation and maximum flavor.
Essential Ingredients for Perfect Chicken Quesadillas
Creating these easy chicken quesadillas requires just a few key components. Here’s what you’ll need, along with some helpful tips for each:
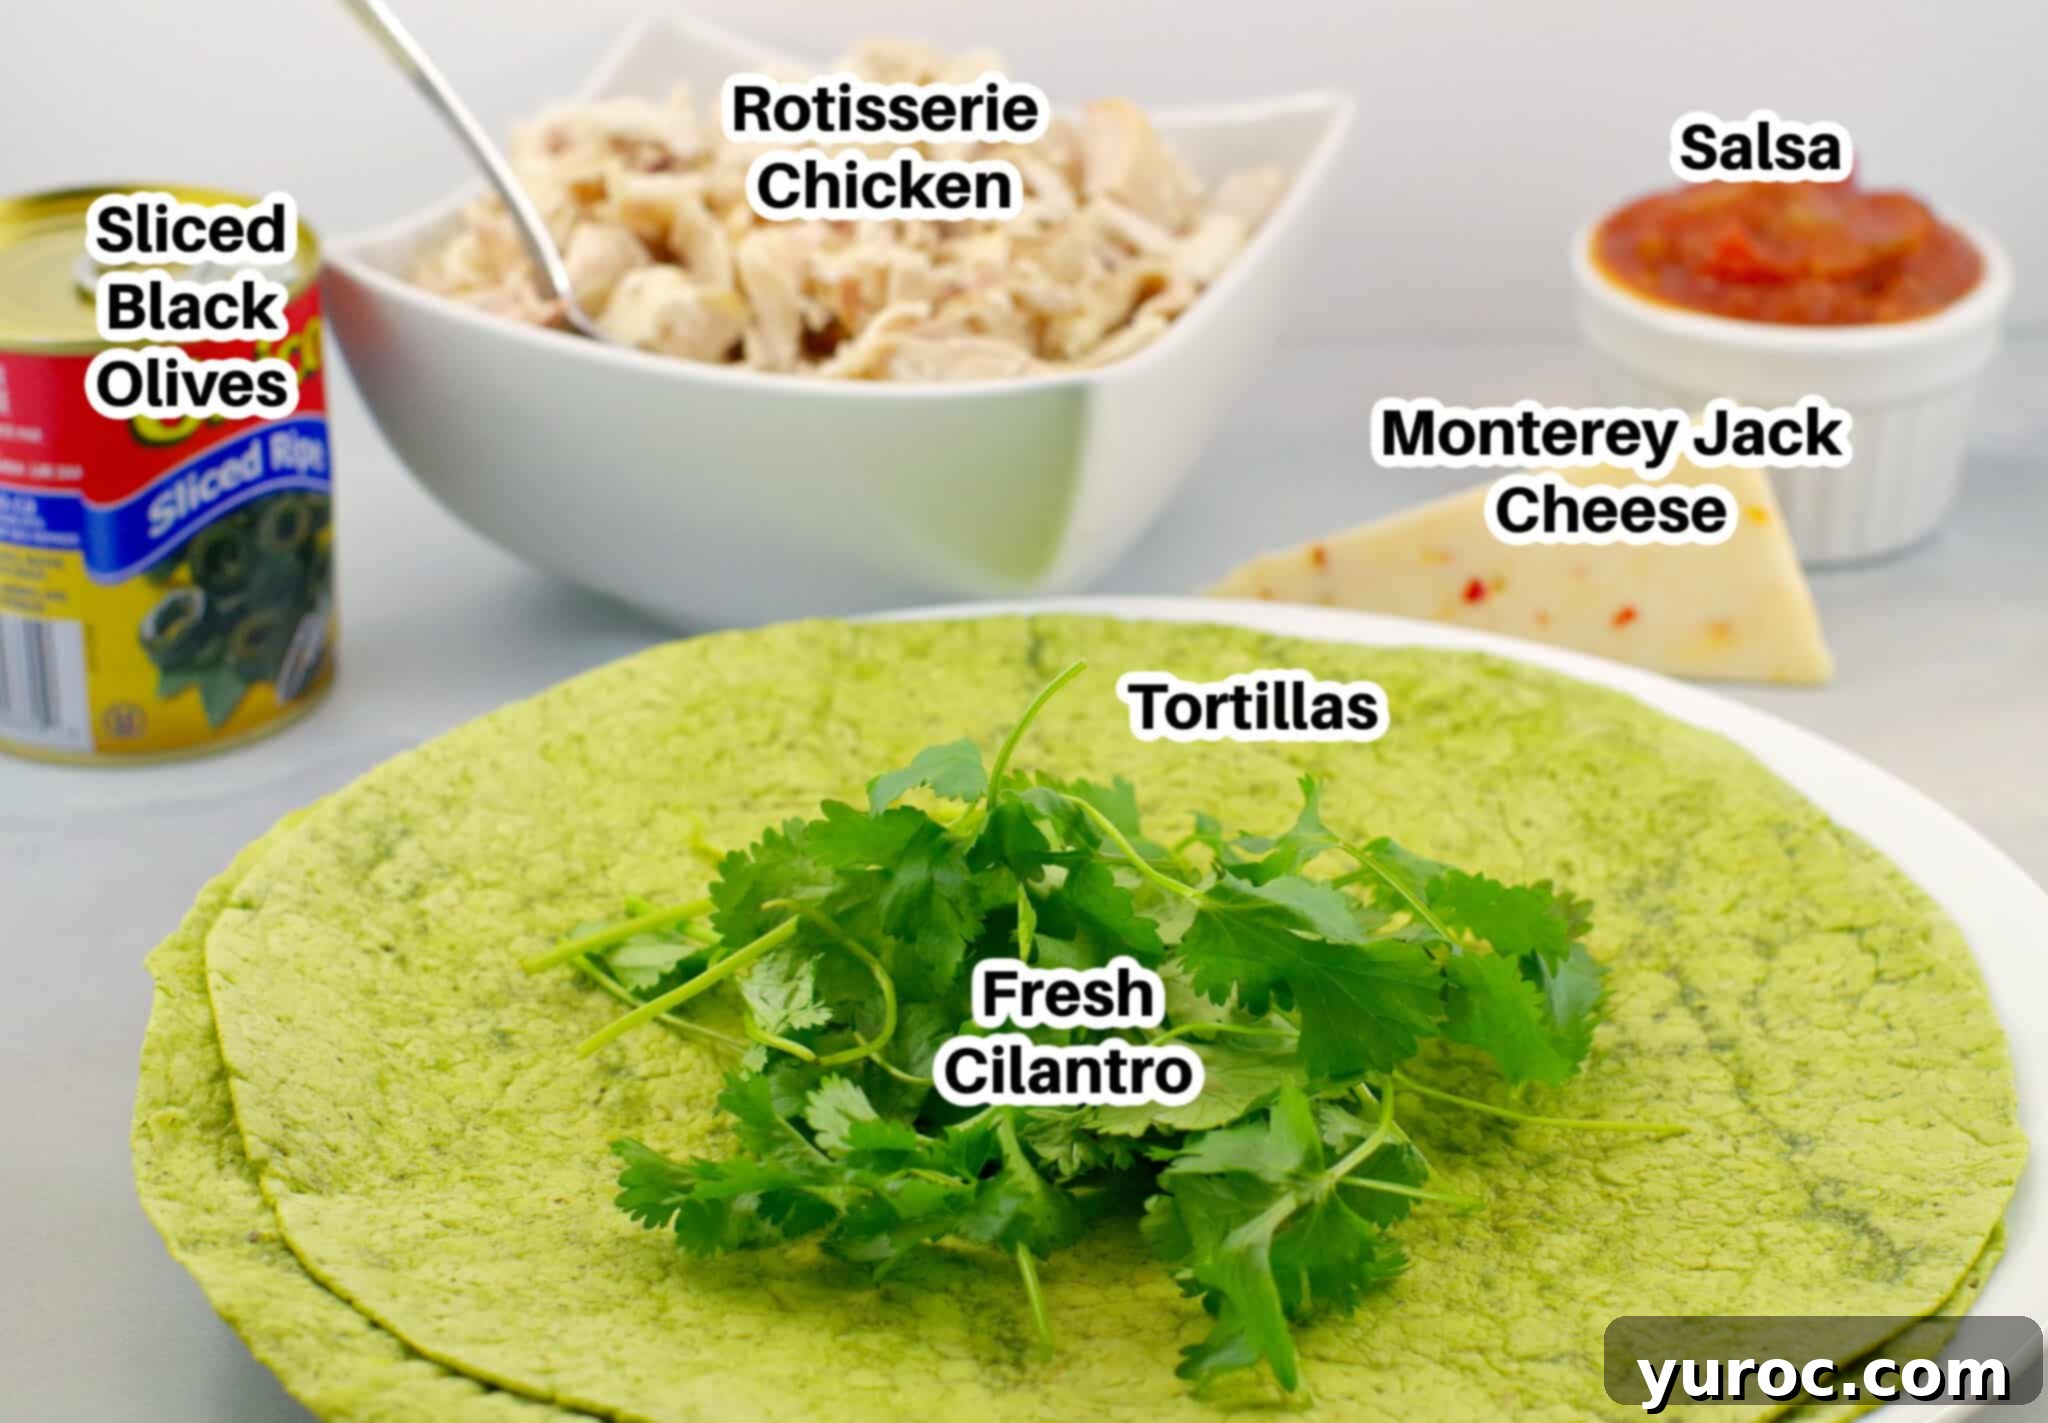
- Rotisserie Chicken: The star of this quick meal! Using a store-bought rotisserie chicken is the ultimate shortcut, as it comes pre-cooked and often perfectly seasoned, saving you valuable prep time. If you prefer, you can certainly cook your own chicken breast or thighs, or even use any leftover cooked chicken you have on hand. Just ensure it’s shredded or diced for easy incorporation into the filling.
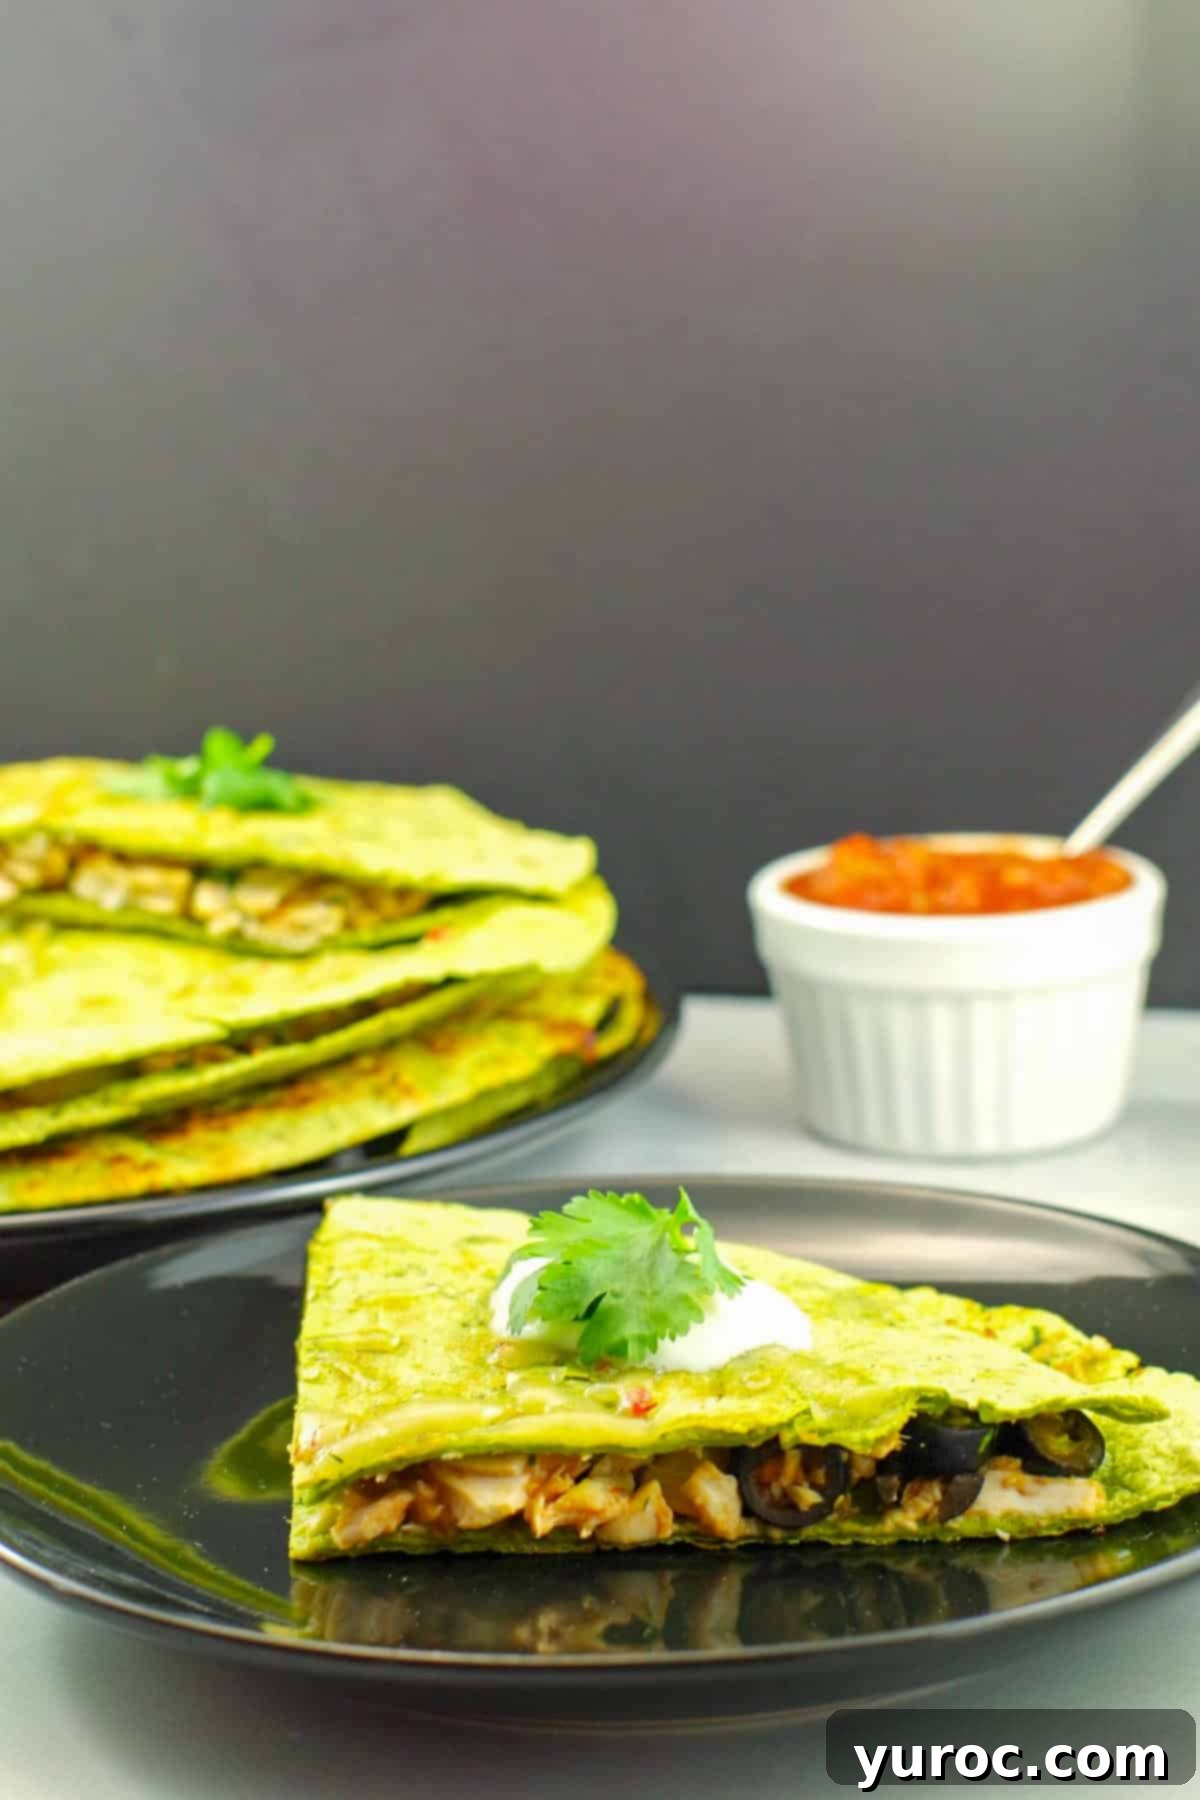
- Tortillas: For substantial quesadillas, you’ll want large 10-inch tortillas. The beauty of this recipe is its adaptability—feel free to use any kind you prefer. While spinach tortillas offer a unique color and subtle flavor, and whole wheat options add extra fiber (as shown in some photos), classic plain white flour tortillas work wonderfully. You could also experiment with sun-dried tomato, corn, or gluten-free varieties to suit dietary needs or flavor preferences. The choice of tortilla can significantly impact the overall taste and texture.
- Monterey Jack Cheese: This cheese is renowned for its excellent melting properties and mild, creamy flavor, which makes it perfect for quesadillas. I particularly enjoy using Monterey Jack with jalapeños for an extra kick, as seen in the main photos. However, don’t hesitate to use whatever melty cheese you have available. Regular Monterey Jack, sharp cheddar, or a Mexican cheese blend are all fantastic substitutes. For those aiming for a lower fat option, reduced-fat cheddar works just as well without compromising on the cheesy goodness.
- Black Olives: Sliced black olives add a distinct savory depth and a touch of brininess that complements the other flavors beautifully. For maximum convenience, I highly recommend buying small cans of pre-sliced black olives. This eliminates the need for pitting and chopping, making your preparation even faster. If you’re not an olive fan, you can omit them or replace them with another savory element.
- Cilantro: Fresh cilantro is absolutely crucial for an authentic, bright, and herbaceous flavor that truly elevates these quesadillas. Dried cilantro simply doesn’t capture the same essence, so fresh is best. If you’re among those who aren’t keen on cilantro (due to the genetic predisposition that makes it taste like soap), don’t worry! You can easily skip it, or substitute with fresh parsley or even a bit of fresh basil for a different but equally delicious aromatic touch.
*Please refer to the detailed recipe card below for the full list of ingredients and precise quantities.
Creative Variations & Dietary Substitutions
This chicken quesadilla recipe is incredibly flexible, allowing you to easily adapt it to suit various tastes and dietary requirements. Don’t be afraid to get creative and make it your own!
- Gluten-Free: Simply swap out traditional flour tortillas for your favorite gluten-free tortillas. Many brands now offer excellent gluten-free options made from corn, rice, or almond flour that crisp up beautifully.
- Lactose-Free: For those with lactose sensitivities, lactose-free cheese is a fantastic solution. My daughter, who follows a lactose-free diet, highly recommends using the pre-shredded lactose-free Nacho cheese blend. She finds it melts wonderfully and tastes great, plus it’s incredibly convenient and stores well. While I generally advocate for shredding your own cheese to avoid anti-caking agents, this specific lactose-free blend is a worthy exception for its quality and ease of use.
- Spice It Up with Cheese: If you love heat, consider using a spicy habanero or pepper jack cheese instead of, or in addition to, Monterey Jack. The extra punch of chili peppers will infuse a delightful warmth into every bite.
- Homemade or Store-Bought Salsa: While a good quality store-bought salsa is perfectly fine for convenience, preparing a fresh homemade Pico de Gallo will add an unparalleled burst of fresh flavor. The vibrant tomatoes, onions, jalapeños, and cilantro in Pico de Gallo can truly elevate your quesadillas.
- Add More Vegetables: Boost the nutritional value and texture by incorporating finely diced bell peppers (any color!), corn kernels (fresh, frozen, or canned), black beans (rinsed and drained), or caramelized onions into the filling. Just ensure any added veggies are pre-cooked or thoroughly drained to prevent making the quesadillas soggy.
- Different Protein Options: While rotisserie chicken is fantastic, you can also use cooked ground turkey, shredded pork, or even a plant-based crumble for a vegetarian version.
- Additional Spices: Enhance the Mexican-inspired flavors with a pinch of cumin, chili powder, or smoked paprika in your chicken mixture.
Step-by-Step Guide: Crafting Delicious Rotisserie Chicken Quesadillas
Follow these simple steps to create perfectly golden and cheesy chicken quesadillas in no time:
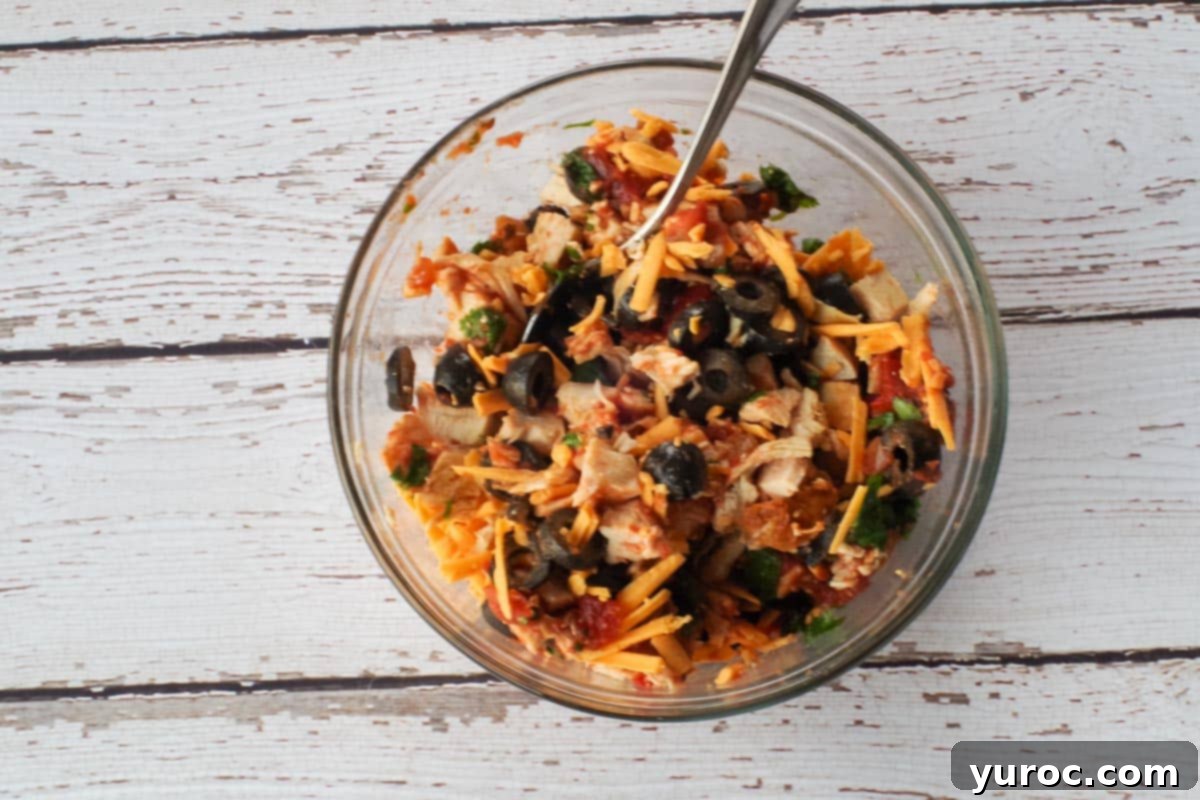
- Step 1: Prepare the Filling. In a medium-sized mixing bowl, combine all the filling ingredients: the shredded rotisserie chicken, sliced black olives, salsa, Monterey Jack cheese (or your chosen cheese), and fresh chopped cilantro. Mix everything thoroughly until well combined. Remember to reserve about ¼ cup of the cheese; this will be used later as a delightful topping for that extra cheesy crust.
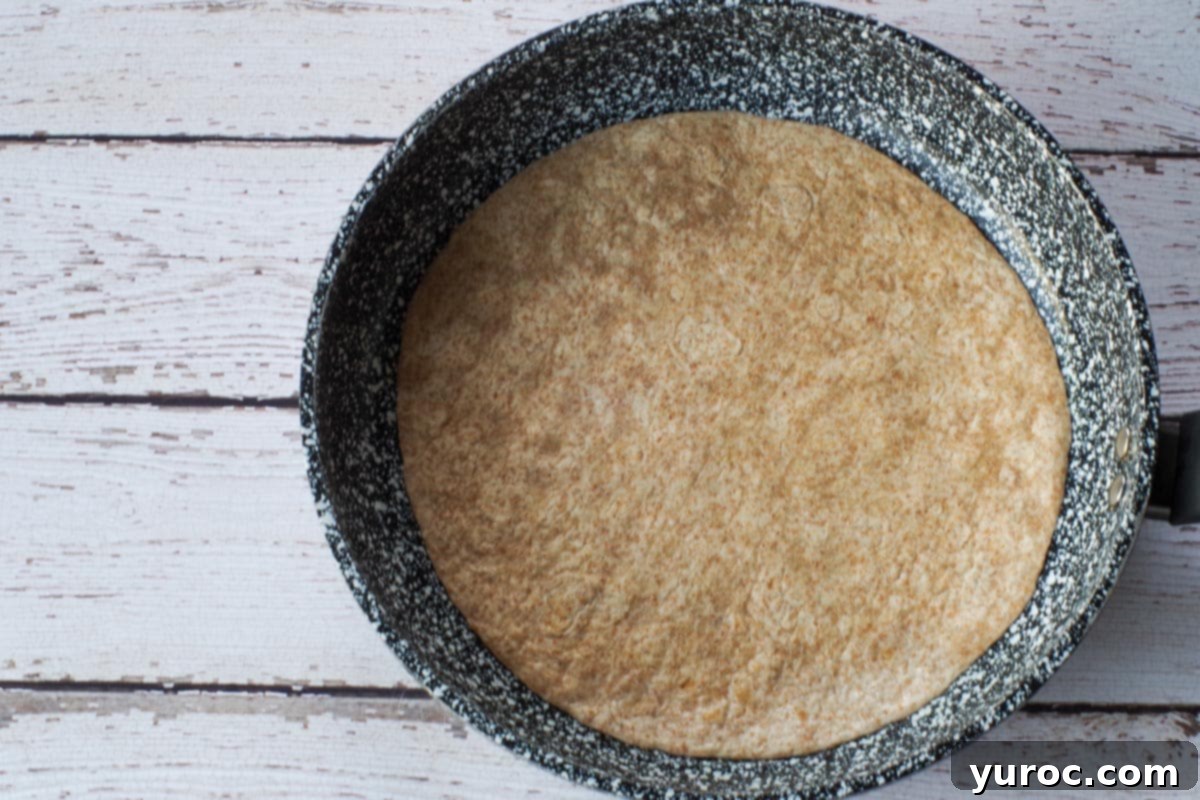
- Step 2: Heat the Pans and Tortillas. Place two 12-inch frying pans or skillets on the stove and heat them to a medium setting. Spray each pan lightly with non-stick cooking spray or a thin layer of oil. This will help the tortillas crisp up beautifully without sticking. Carefully place one tortilla in each heated pan. Lightly brown one side of each tortilla for about 30 seconds to 1 minute, then flip them over.
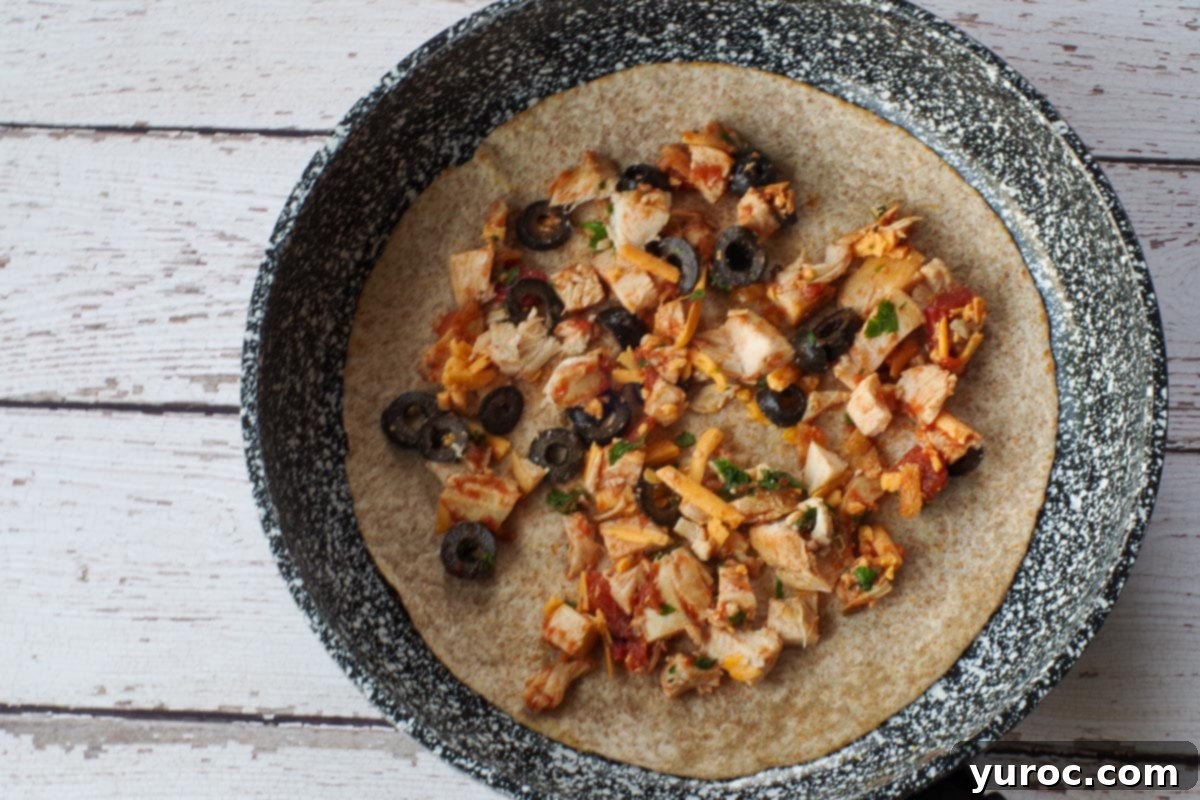
- Step 3: Add the Filling. On one of the tortillas that has just been flipped (now browned side up), generously spread half of the chicken and cheese filling mixture evenly over one half of the tortilla. You’ll fold the other half over later. Don’t worry if a little filling escapes; simply nudge it back into place.
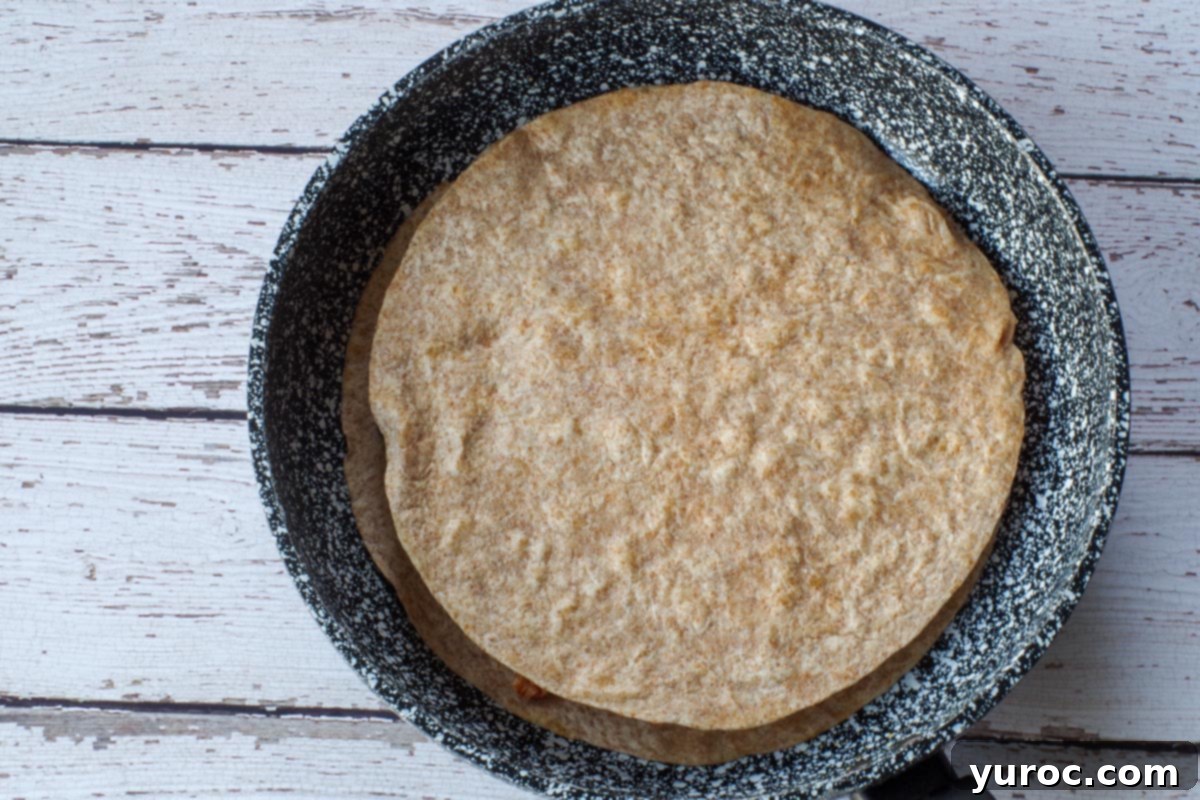
- Step 4: Assemble the Quesadilla. Take the second tortilla from the other pan (where it’s also been lightly browned) and place it directly on top of the filling, with the browned side facing down. This creates a double-layered quesadilla, ensuring maximum crispiness and stability. Gently press down on the top tortilla to help the filling meld together.
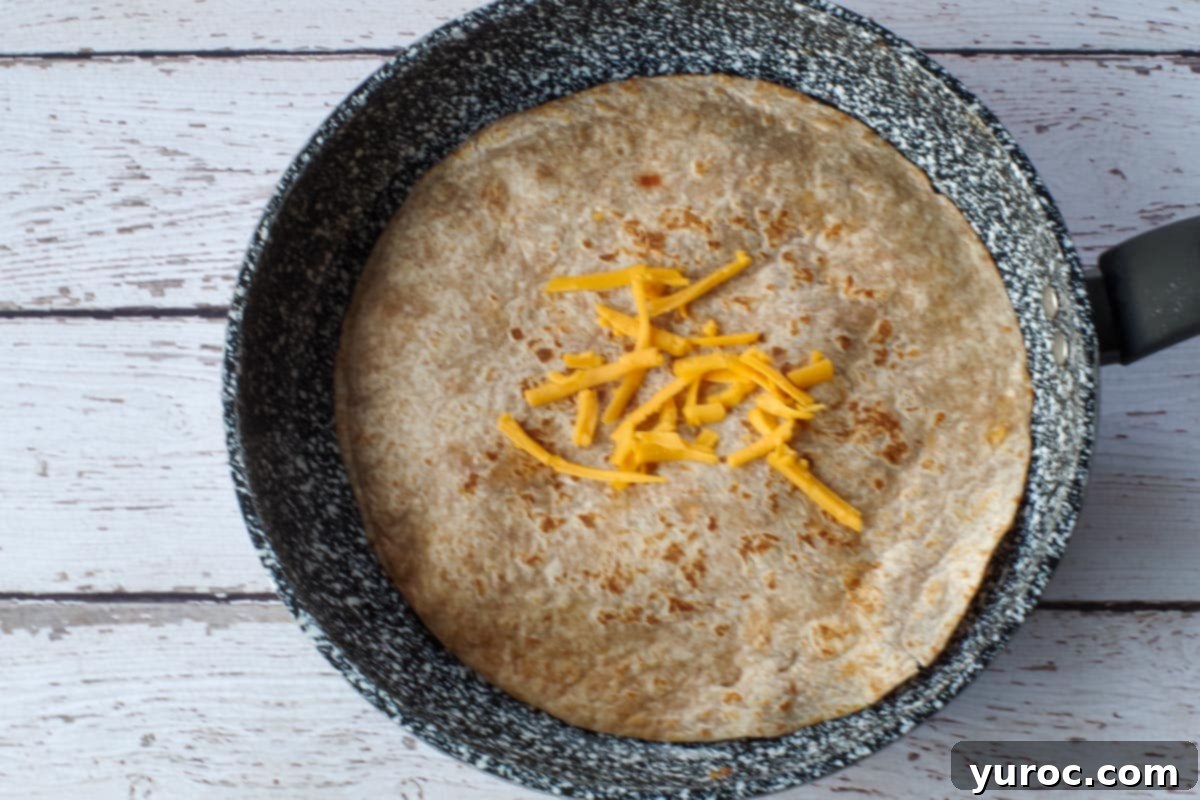
- Step 5: Cook to Golden Perfection. Sprinkle about ⅓ of the remaining reserved cheese evenly over the top tortilla. Reduce the heat to medium-low, then cover the pan with a lid. Cook for approximately 3 minutes, or until the cheese inside is melted and the bottom tortilla is golden brown and crispy. The lid helps to trap heat, ensuring the cheese melts beautifully. Gently flip the quesadilla using a spatula and cook on the other side for another 2-3 minutes until both sides are golden and crispy and the filling is heated through. Repeat this process for any remaining quesadillas. Serve warm with your favorite salsa and sour cream. *If any finished quesadillas cool down while you’re preparing others, a quick 30-second pop in the microwave before serving will warm them right up.
Expert Tips for the Best Chicken Quesadillas
- Leverage Rotisserie Chicken for Maximum Convenience and Flavor: The primary advantage of rotisserie chicken is its pre-cooked and often well-seasoned nature. This not only dramatically cuts down on your meal preparation time but also injects a rich, savory flavor into your quesadillas that’s hard to beat. It’s the ultimate hack for a quick, delicious dinner.
- Achieve Crisp Tortillas: The key to a perfect quesadilla is a crispy exterior. Cook your tortillas on medium heat, allowing them to brown slowly and develop that coveted crunch without burning. Crucially, avoid overfilling your quesadillas, as too much filling can steam the tortillas from the inside, leading to a soggy texture. Similarly, be mindful of using excessively wet salsa within the filling; if your salsa is very liquidy, consider draining some of the excess moisture first.
- Shred Your Own Cheese for Superior Melt: While pre-shredded cheese is convenient, it often contains anti-caking agents like cellulose. These agents can prevent the cheese from melting smoothly and becoming as gooey as freshly shredded cheese. For the best melt quality and texture, take a few extra minutes to shred your own block of cheese. You’ll notice a significant difference!
- Utilize Two Frying Pans for Efficiency: If you’re feeding a crowd or simply want to speed up the cooking process, using two frying pans simultaneously is a game-changer. You can brown tortillas and assemble quesadillas in parallel, cutting your cooking time in half and getting dinner on the table much faster.
- Allow Quesadillas to Rest Before Slicing: Once your quesadillas are cooked to golden perfection, resist the urge to slice into them immediately. Letting them sit for 1-2 minutes after removing them from the heat allows the hot cheese and other filling ingredients to set. This step helps prevent the filling from oozing out, resulting in cleaner slices and a more enjoyable eating experience.
- Stack and Store with Parchment Paper for Freezing or Refrigerating: For excellent meal prep or leftover storage, ensure you place a sheet of parchment paper between individual quesadilla pieces when stacking them for refrigeration or freezing. This simple trick prevents them from sticking together, making it much easier to separate and reheat them later, whether from frozen or thawed.
- Don’t Skip Fresh Cilantro (Unless You Dislike It): Fresh cilantro brings an unparalleled brightness and authentic, vibrant flavor to these quesadillas that dried herbs simply cannot replicate. Its herbaceous notes cut through the richness of the cheese and chicken beautifully. Of course, if you’re one of those individuals for whom cilantro tastes like soap, then by all means, omit it or substitute with fresh parsley or green onions.
Delectable Sides to Complement Your Chicken Quesadillas
Chicken Quesadillas are hearty and satisfying on their own, but they truly shine when paired with complementary sides. For a fresh and light contrast, they pair exceptionally well with vibrant salads, such as a refreshing Strawberry Spinach Pecan Salad, which offers a delightful mix of sweet, savory, and crunchy textures. Alternatively, for a more substantial meal, consider serving them alongside hearty rice dishes like my flavorful Easy Spanish Rice (with brown rice), as pictured, which adds a wonderful depth of flavor and satisfying texture.
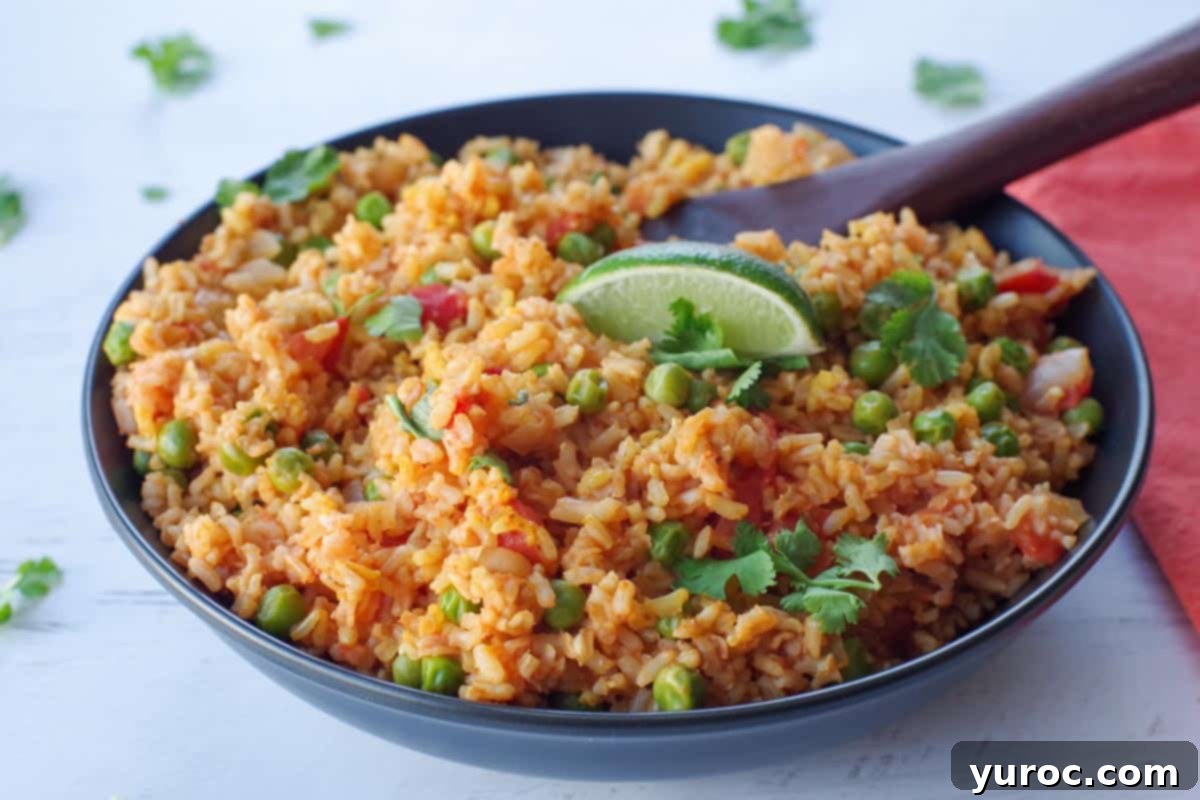
If you’re planning a festive spread, perhaps for a Cinco de Mayo celebration or simply a Mexican-themed dinner party, I highly recommend expanding your menu. Begin with a creamy, irresistible Chile Con Queso as an appetizer to kick things off. To conclude your culinary journey on a sweet note, a light and zesty Lime Coconut Tres Leches Cake makes for an exquisite dessert that perfectly balances the savory flavors of the main course. Other great options include fresh guacamole, a simple corn salad, or even a side of refried beans.
Weight Watchers Friendly: Smart Choices for Your Quesadillas
For those mindful of their nutritional intake, this chicken quesadilla recipe is surprisingly Weight Watchers friendly, typically coming in at just 4 WW points per serving. You can further reduce the points and enhance its health profile by making a few smart substitutions. Opt for lean cooked chicken breast instead of rotisserie chicken (though store-bought rotisserie chicken can still be a good choice if you remove the skin), use low-fat cheddar cheese or a similar reduced-fat variety, and choose low-point tortillas like those offered by Joseph’s brand. These small changes allow you to enjoy a delicious, satisfying meal without derailing your wellness goals.
Frequently Asked Questions About Chicken Quesadillas
Absolutely! These chicken quesadillas are perfect for meal prepping. You can assemble and cook them completely ahead of time. Once cooled, store them in an airtight container in the refrigerator for up to 4 days. For longer storage, they freeze exceptionally well for up to 3 months. When reheating, a skillet, oven, or air fryer will help restore their crispy texture, making them feel freshly made.
To achieve the best texture – a crispy exterior and melted, hot interior – reheating in a skillet over medium heat is ideal. Cook for a few minutes per side until heated through and golden. An air fryer is another excellent option: reheat at 350°F (175°C) for 3-5 minutes. Alternatively, you can bake them in the oven at 375°F (190°C) for about 10 minutes, flipping halfway through. Microwaving is quicker but often results in a softer tortilla.
Preventing sogginess is key to a great quesadilla! First, avoid overfilling with wet ingredients. If using a very liquidy salsa, drain or blot it before mixing into the filling. Cook the quesadillas on medium heat to allow the tortillas to crisp up properly rather than steam. When storing or freezing, always place parchment paper between stacked quesadilla pieces to absorb any moisture and prevent them from sticking together. This ensures they maintain their individual crispness upon reheating.
Yes, definitely! Adding more vegetables is a fantastic way to boost flavor, texture, and nutrition. Finely diced bell peppers (red, green, or yellow), corn kernels, sautéed red onions, or sliced jalapeños (for heat) are all great additions. Just remember to either pre-cook any harder vegetables like bell peppers or ensure they are very finely diced so they soften within the quick cooking time. Also, always drain any canned vegetables thoroughly to avoid introducing excess moisture that could make the quesadillas soggy.
Absolutely! To make these quesadillas vegetarian, simply substitute the rotisserie chicken with a plant-based protein. Cooked black beans, refried beans, sautéed mushrooms, seasoned tofu crumbles, or a store-bought plant-based ground meat alternative would all work wonderfully. You can also add extra vegetables like bell peppers, corn, and zucchini to create a hearty and flavorful meat-free filling.
No problem at all! While two pans speed up the process, you can easily make these quesadillas one at a time using a single frying pan. Just follow the steps, cooking one quesadilla to completion before starting the next. If you find the finished quesadillas cooling down too much, you can keep them warm in a low oven (around 200°F/95°C) on a baking sheet until you’re ready to serve them all.
So, whether you’re seeking a simple, speedy dinner or a reliable make-ahead meal, you’ll absolutely adore these incredibly easy and delicious chicken quesadillas!
Discover More Mexican-Inspired Culinary Delights
If you’ve enjoyed the flavors of these Rotisserie Chicken Quesadillas, you’re in for a treat! Explore a variety of other Mexican-inspired recipes that are perfect for weeknights, entertaining, or simply satisfying your cravings for vibrant and delicious cuisine. From hearty mains to refreshing salads, there’s something here for every palate.
- Crock Pot Pork Pineapple Carnitas
- Healthy Mexican Street Corn Pasta Salad
- Healthy Air Fryer Steak Tacos
- Mediterranean Breakfast Burritos (Vegetarian)
Did your family love this recipe? Your feedback means the world to us! Don’t forget that commenting and ⭐rating recipes is one of the best ways to support your favorite recipe creators. If you LOVED this Rotisserie Chicken Quesadilla recipe, please take a moment to leave a comment and rate it in the recipe card below. You can also share your culinary creations by posting photos on social media using the hashtag #foodmeanderings or tagging @foodmeanderings! We’d love to see your delicious results!

Easy Rotisserie Chicken Quesadillas Recipe
Equipment
- large skillet
Ingredients
- 2 cups rotisserie chicken (skin removed), diced or shredded * You can also use cooked chicken breasts or any leftover cooked chicken.
- 200 ml can sliced black olives * drained
- ⅔ cup salsa * your preferred mild or medium salsa, drained if very watery
- 1 cup spicy habanero or Monterey Jack with jalapeño cheese ** or use regular Monterey Jack, medium cheddar, or low-fat cheddar cheese
- 3 tablespoons fresh cilantro, chopped * Adjust to your preference; 2 tablespoons can be used if you prefer less.
- 6 10-inch tortillas * Use your favorite type: plain flour, whole wheat, spinach, sun-dried tomato, or gluten-free for dietary needs.
Garnish (optional):
- salsa
- sour cream
- fresh cilantro sprigs
Instructions
- In a medium mixing bowl, combine the shredded rotisserie chicken, sliced black olives, salsa, cheese, and fresh cilantro. Mix thoroughly until all ingredients are well incorporated. Set aside ¼ cup of the cheese for topping later.
- Heat two 12-inch frying pans (or one if preferred, cooking quesadillas sequentially) to medium heat on the stove. Lightly spray each pan with non-stick cooking spray or a thin layer of oil.
- Place one tortilla in each heated pan and lightly brown one side for 30 seconds to 1 minute, then flip. On one of the flipped tortillas, spread half of the filling mixture evenly over one half. Take the second tortilla from the other pan (browned side down) and place it on top of the filling, gently pressing down. Reduce the heat to medium-low, cover with a lid, and cook for approximately 3 minutes, allowing the cheese to melt and the bottom tortilla to crisp.
- *If a little filling spills out during cooking, don’t worry – simply push it back into place with a spatula. Gently flip the quesadilla. Sprinkle about ⅓ of the remaining reserved cheese on top of the newly flipped side, then replace the lid and cook for another 2 minutes, or until the cheese is melted and both sides are golden and crispy.
- Repeat the process for the remaining quesadillas. If using two pans, this will be much faster. Once cooked, cut each quesadilla into 4 pieces. Garnish with additional salsa, sour cream, and fresh cilantro sprigs if desired, and serve warm immediately.
Notes
-
- Maximize Convenience with Rotisserie Chicken – It’s already cooked and seasoned, saving you valuable prep time and adding robust flavor.
-
- For Crispy Tortillas – Cook on medium heat and avoid overfilling or using overly wet salsa to prevent steaming.
-
- Shred Your Own Cheese – Pre-shredded cheese contains anti-caking agents that can affect its melting quality; fresh-shredded melts much better.
-
- Speed Up Cooking with Two Frying Pans – Using two pans at once allows you to prepare multiple quesadillas simultaneously, cutting down on total cook time.
-
- Rest Before Slicing – Let quesadillas sit for 1-2 minutes after cooking. This helps the filling set, making for cleaner slices and less mess.
-
- Use Parchment Paper for Stacking – When freezing or refrigerating, place parchment paper between quesadilla pieces to prevent sticking. Reheat from frozen or thawed for best results.
-
- Fresh Cilantro is Key – Unless you dislike it, don’t skip fresh cilantro. It adds a bright, authentic flavor that dried herbs cannot match.
For longer preservation, they can be frozen for up to 3 months. Ensure they are placed in a sealed container or a heavy-duty Ziploc freezer bag to prevent freezer burn.
