Effortless No-Bake Cream Puff Dessert: A Layered Cake Dream!
Imagine the delightful flavor of classic cream puffs, but without the intricate baking and delicate choux pastry. This **Easy No-Bake Cream Puff Dessert** brings that dream to life, offering a truly sensational sweet treat that’s incredibly simple to prepare. It features luscious layers of buttery pastry, achieved using readily available croissants, and a rich, creamy filling crafted from vanilla pudding and decadent cream cheese. Crowned with airy whipped cream and a scattering of miniature cream puffs, this dessert is an absolute showstopper. The ultimate advantage? It requires absolutely no baking, making it a stress-free option for any occasion.
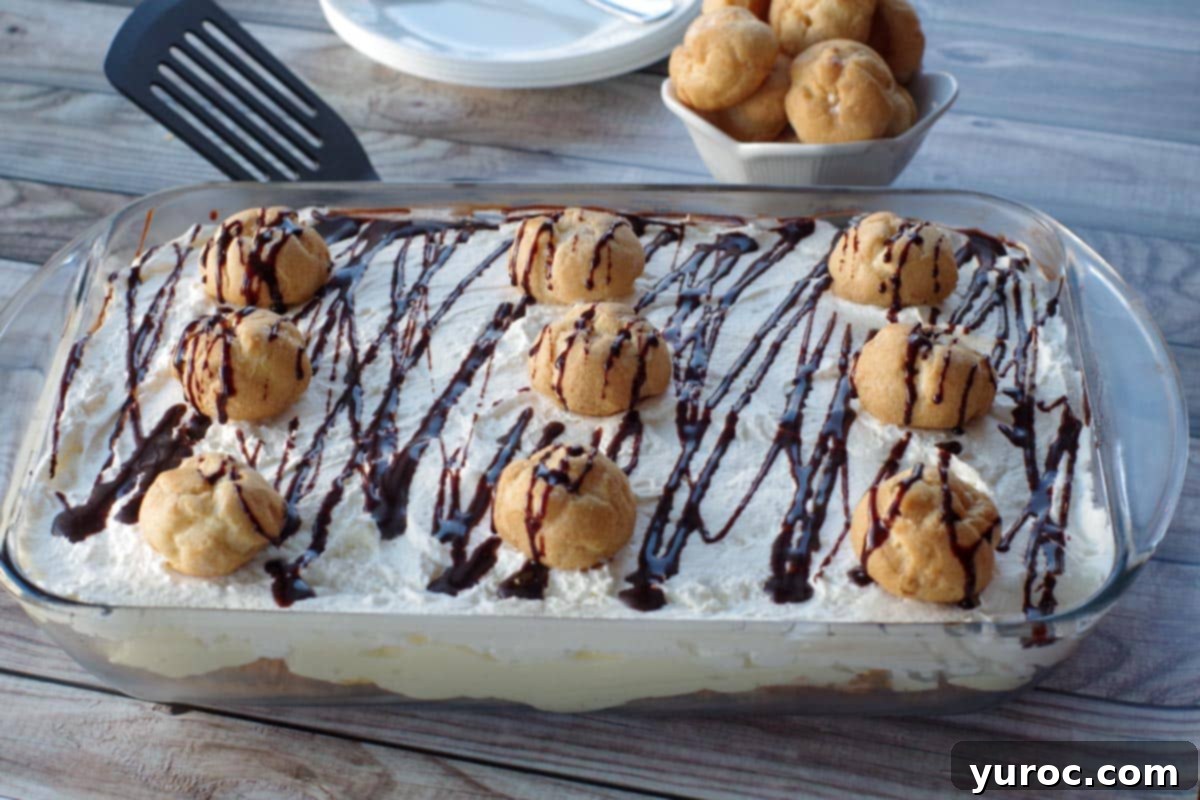
This “Cream Puff Cake” successfully captures all the beloved flavors and textures of traditional cream puffs within a convenient, layered dessert format, completely bypassing the intimidating process of baking choux pastry. It’s a fun, decadent, and remarkably easy dessert that’s perfect for a wide range of gatherings. Whether you’re hosting a game day, contributing to a potluck, firing up the grill for a BBQ, or simply find yourself craving the exquisite taste of cream puffs, this recipe is your go-to solution. Its inspiration draws from my popular Cheater Eclairs and it pairs wonderfully with savory main dishes like my Beef on a Bun, creating a balanced and satisfying meal experience.
My love affair with cream puffs began years ago at a delightful daycare Christmas party for my children. From that moment, I was hooked! Since then, buying them has always been a cherished special treat. This no-bake layered dessert makes enjoying those iconic flavors easier than ever before.
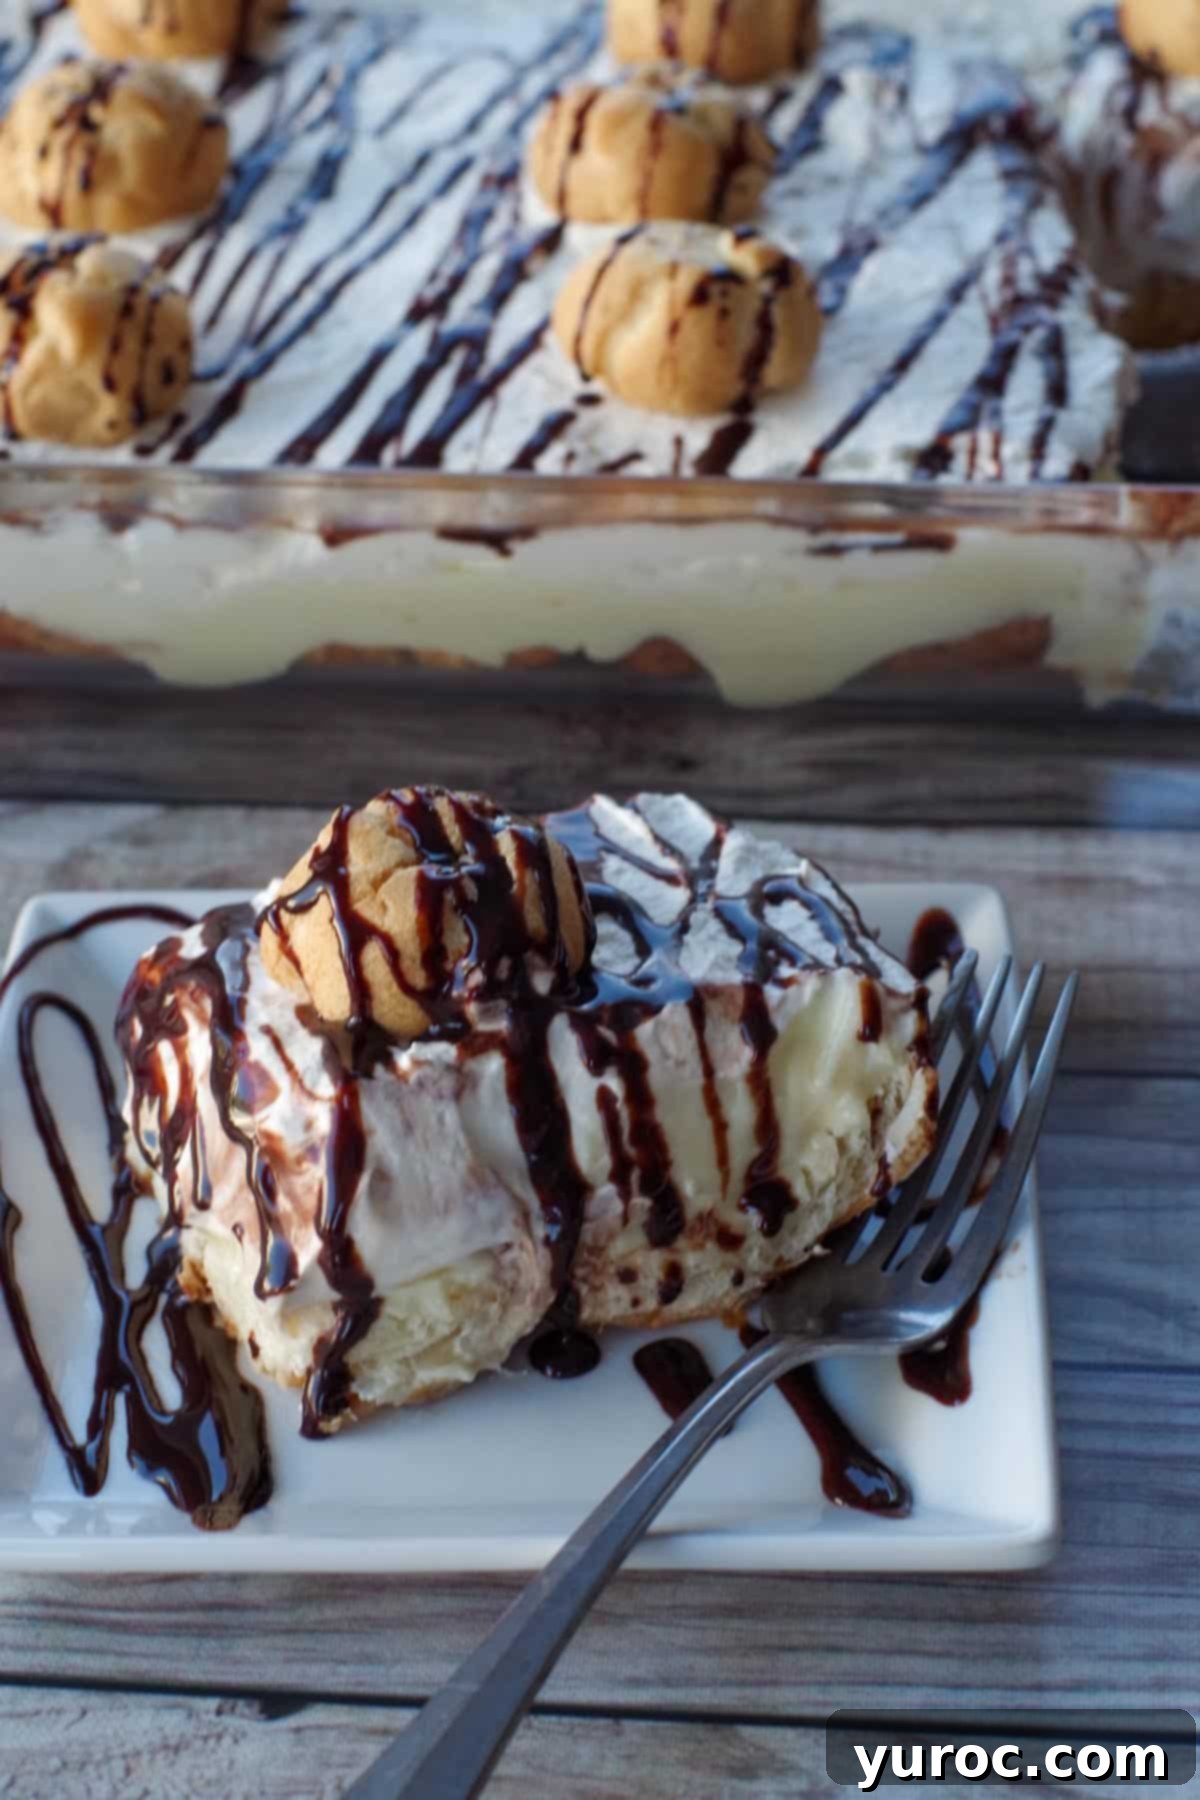
If you’re a fan of effortlessly elegant no-bake layered desserts, then you’ll also adore my Chocolate Raspberry Icebox Cake. Both recipes offer maximum flavor with minimal effort, making them perfect for busy cooks who still want to impress.
🥘 Ingredient Notes for This Easy Cream Puff Cake
Many traditional cream puff cake recipes involve the time-consuming and often tricky process of baking a choux pastry layer from scratch. This can be a source of unnecessary stress and effort for home bakers. My recipe cleverly bypasses this challenge by utilizing store-bought croissants as the foundation. These croissants provide a wonderfully flaky, buttery texture that expertly mimics the crispy base of a traditional choux pastry, serving as the perfect “cream puff crust.” The rich, creamy filling, made with a blend of instant vanilla pudding, softened cream cheese, and luscious whipping cream, perfectly emulates the classic pastry cream filling found in authentic cream puffs.
To create this irresistible no-bake cream puff dessert, you’ll need just a few simple and accessible ingredients:
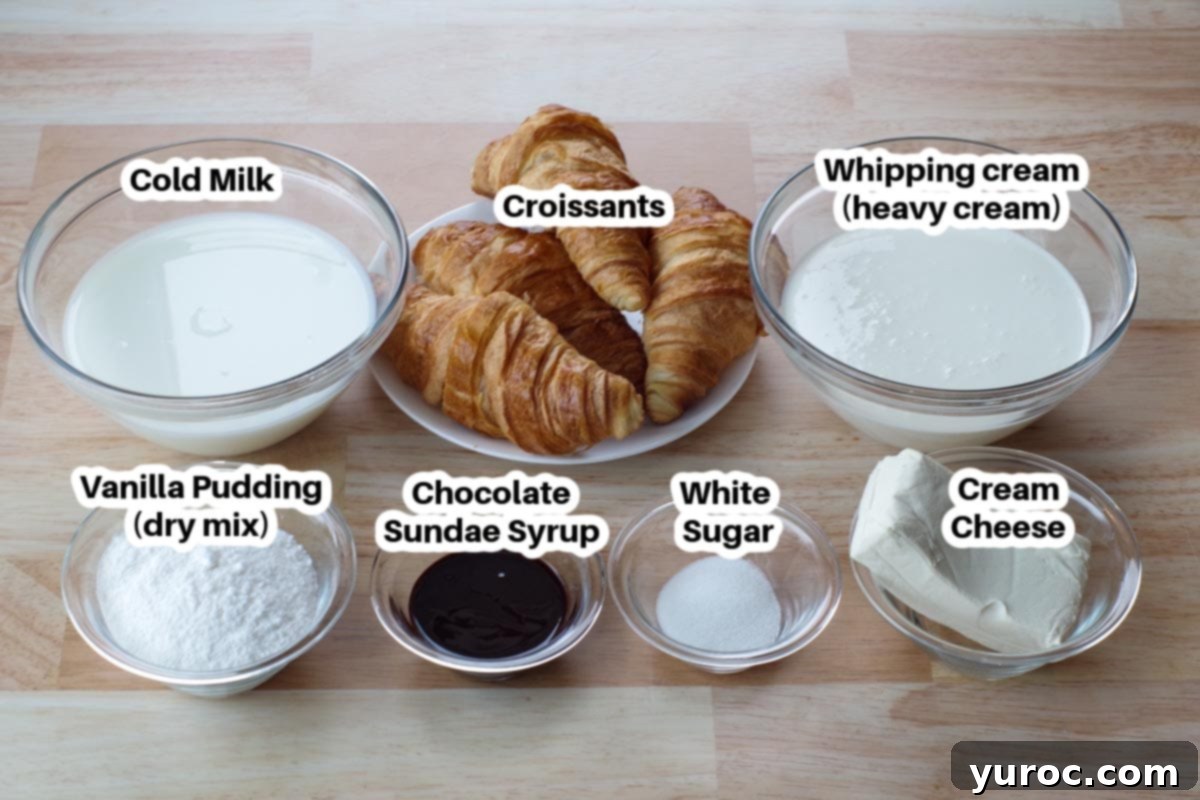
- Croissants: For this recipe, it’s best to use large, good-quality croissants. You can easily purchase them from your local bakery or grocery store. For an even better texture, consider using day-old croissants as they absorb the filling more effectively, resulting in a less soggy and more authentic cream puff consistency.
- Vanilla Instant Pudding Mix: You’ll need two 3.4-ounce packages of instant vanilla pudding mix. The “instant” aspect is key for quick preparation. If you prefer, you can also use pre-made vanilla pudding snack packs, in which case you can omit the milk specified in the recipe.
- Cream Cheese: An 8-ounce block of full-fat cream cheese, softened to room temperature, is essential for a smooth and rich filling. Make sure it’s properly softened to avoid lumps.
- Whipping Cream (Heavy Cream): Crucial for achieving that light and airy whipped topping. Ensure you use heavy whipping cream with a fat content of 33-36% for the best results when whipping to stiff peaks.
- Cold Milk: Used to prepare the instant pudding. The coldness helps the pudding set quickly and properly. The type of milk (1%, 2%, or whole) can vary, but if using skim milk, reduce the quantity slightly to prevent a runny filling.
- Granulated Sugar: Just a touch of white granulated sugar is added to the whipping cream to sweeten it perfectly.
*Refer to the full recipe card below for precise quantities and any additional details on these simple ingredients.
📖 Creative Variations & Easy Substitutions
One of the joys of this No-Bake Cream Puff Dessert is its versatility. You can easily adapt it to suit your taste preferences or what you have on hand. Here are some fantastic ideas to get you started:
- Whipped Cream Alternatives: If you’re short on time or prefer a ready-made option, you can absolutely use store-bought Cool Whip or another type of whipped topping instead of making fresh whipped cream. This substitution will slightly alter the texture but still deliver a delicious result.
- Milk Options: Feel free to use any type of milk you have on hand – 1%, 2%, or whole milk will all work well. For those opting for skim milk, use slightly less (around 3 cups) to ensure your pudding filling thickens adequately.
- Chocolate Drizzle Creativity: The chocolate syrup drizzle adds a wonderful finishing touch. You can experiment with different chocolate sauces, such as a rich homemade chocolate ganache for an extra decadent touch, or a warm, gooey hot fudge sauce. For a quick alternative, melt chocolate chips (be sure to melt them at 50% power in the microwave to prevent seizing) and drizzle them over the dessert.
- Flavor Twists and Additions: This dessert is a fantastic canvas for additional flavors.
- Fresh Berries: Introduce a layer of fresh raspberries, sliced strawberries, or blueberries between the pudding and whipped cream for a burst of fruity freshness and color.
- Nut Butter Swirl: Swirl a tablespoon or two of creamy peanut butter or hazelnut spread (like Nutella) into the pudding filling for an indulgent nutty or chocolate-hazelnut twist.
- Almond Extract: A small dash (about ¼ to ½ teaspoon) of almond extract added to the pudding or whipped cream can elevate the overall flavor profile with a subtle, sophisticated note.
- Coffee Kick: For coffee lovers, dissolve a teaspoon of instant espresso powder in a tablespoon of hot water and mix it into the pudding for a mocha-inspired dessert.
- Different Pudding Flavors: While vanilla is classic, feel free to experiment with other instant pudding flavors like chocolate, banana, or butterscotch for a completely different taste experience.
🔪 Step-by-Step: Crafting Your Easy No-Bake Cream Puff Dessert
Creating this stunning layered dessert is surprisingly straightforward. Follow these simple steps for a perfect result every time:
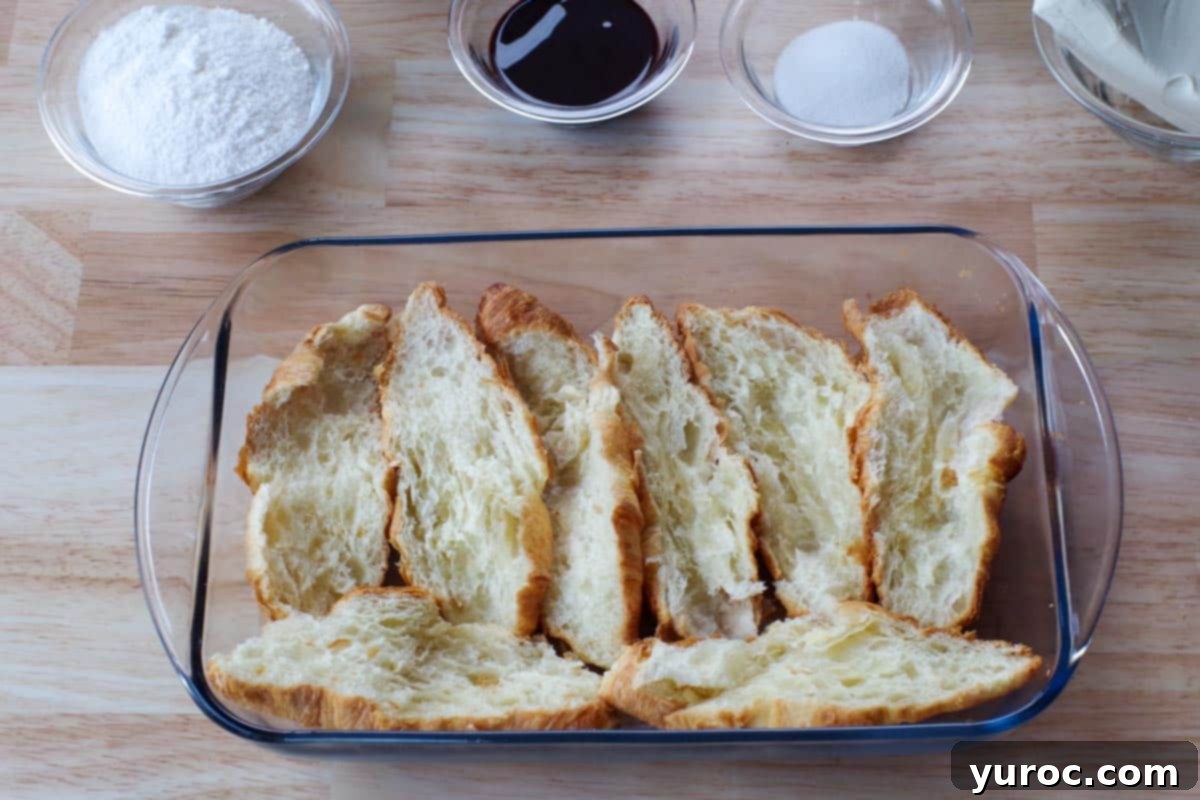
Begin by preparing your croissant base. Carefully cut each large croissant in half horizontally. Then, arrange these croissant halves to form a single layer on the bottom of a 9×13-inch baking pan. Make sure the soft, cut side of the croissants faces upwards. This layer will serve as your delectable, flaky cream puff crust, absorbing the creamy goodness above.
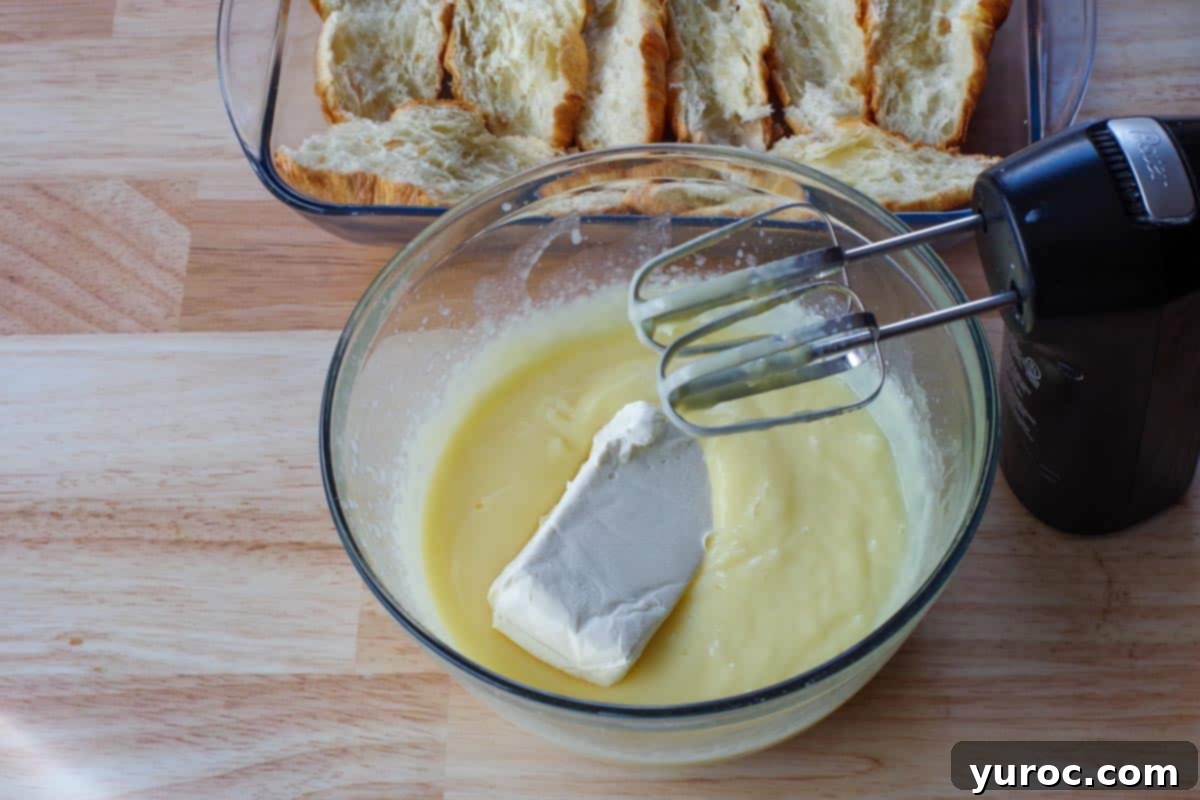
Next, prepare the creamy pudding filling. In a large mixing bowl, or the bowl of your electric stand mixer, combine the cold milk and both packages of instant vanilla pudding mix. Beat on low speed for approximately 2 minutes, or until the mixture just begins to thicken. Once the pudding has started to set, add the softened cream cheese to the bowl. Ensure your cream cheese is at room temperature to prevent lumps and achieve a silky-smooth consistency.
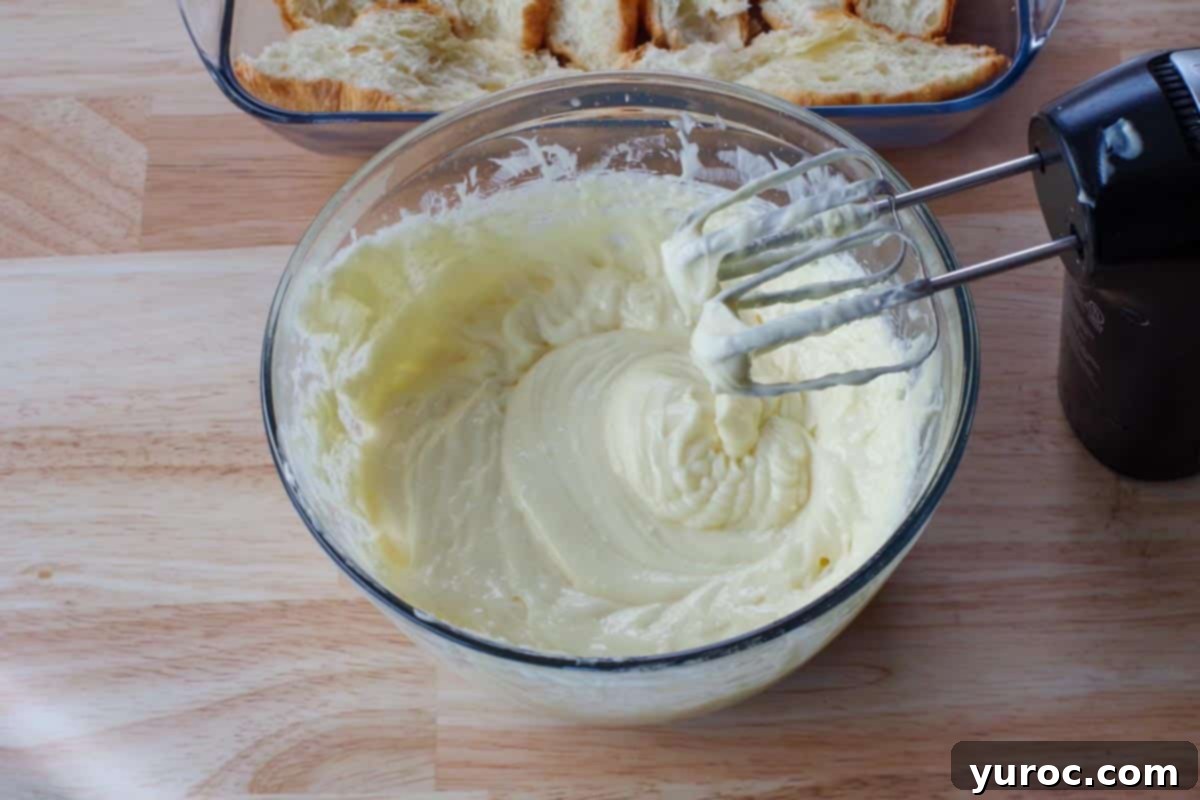
Continue beating the cream cheese and pudding mixture together until it is completely smooth and free of any lumps. The resulting texture should be wonderfully creamy and consistent. This step is crucial for the luxurious mouthfeel of your dessert.
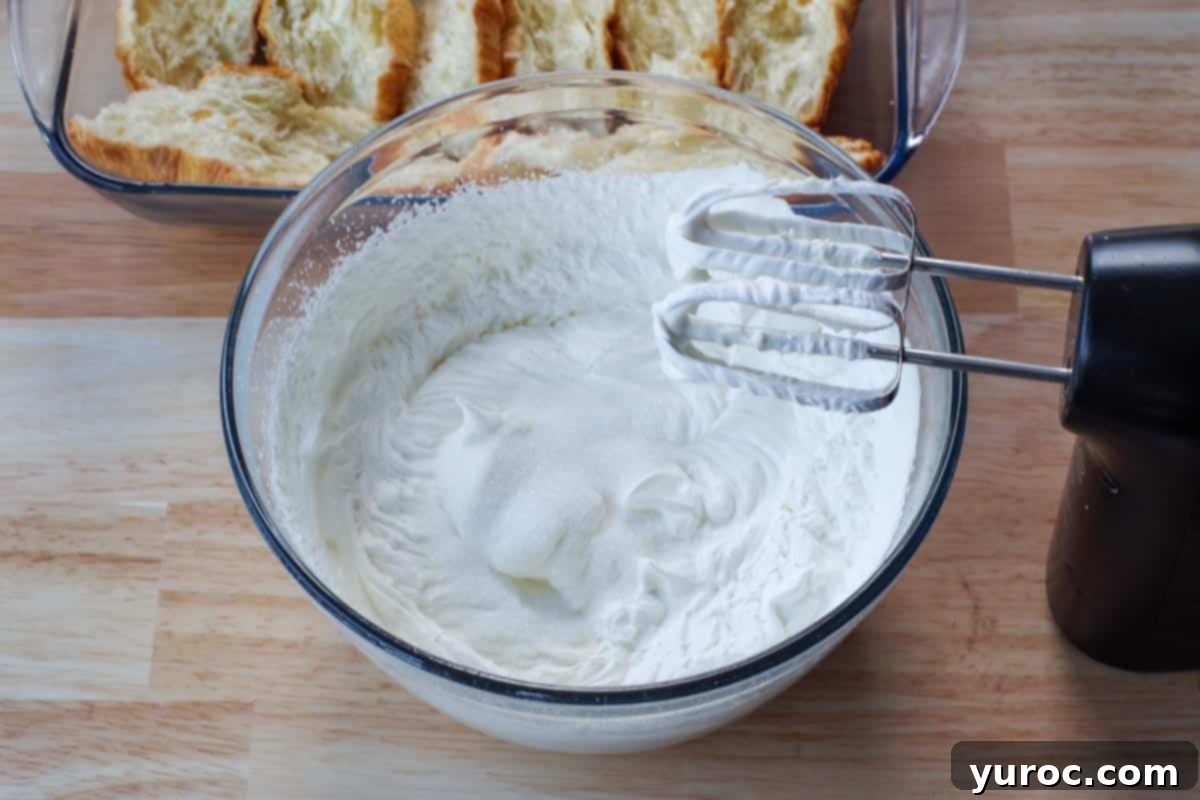
In a separate, clean mixing bowl, prepare your whipped cream topping. Pour in the cold heavy whipping cream. Beat the cream on medium-high speed until soft peaks begin to form. At this point, gradually add the granulated sugar, continuing to beat until fully incorporated and the mixture reaches the desired consistency.
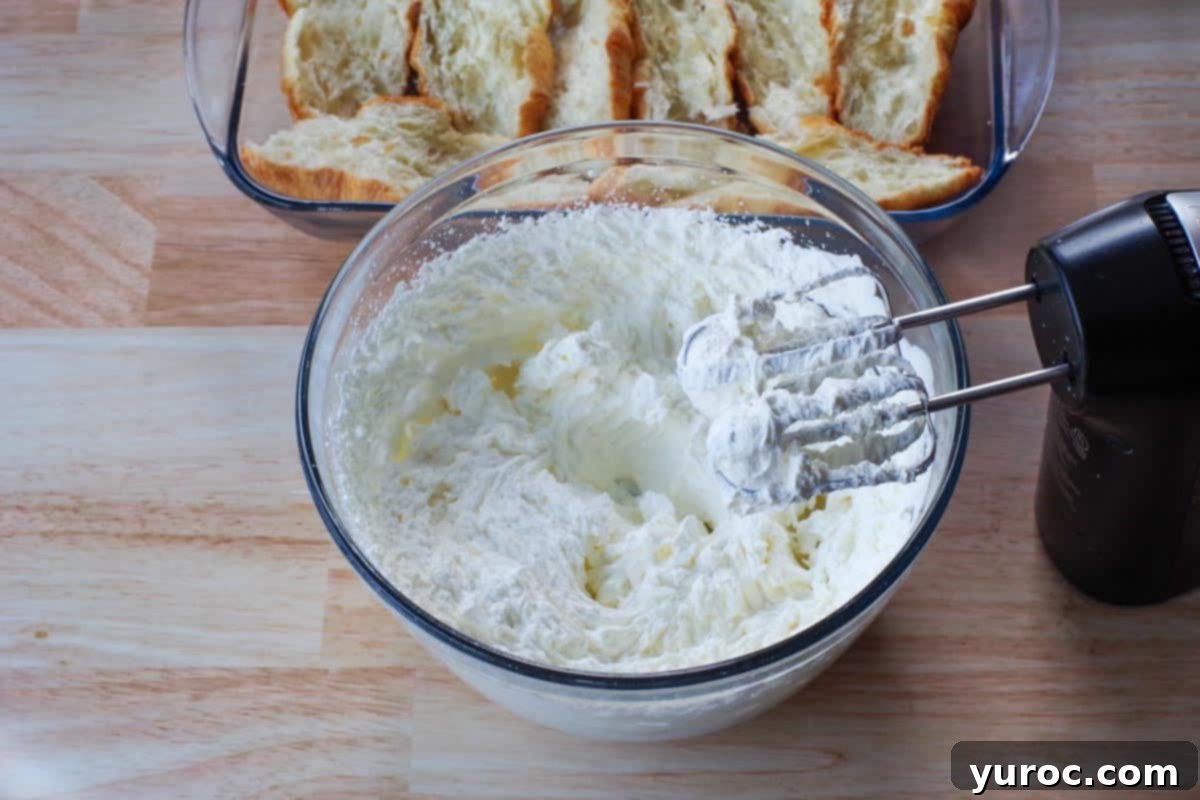
Continue beating the whipping cream until it forms stiff peaks. This can be achieved using a wire whisk attachment on a stand mixer or regular beaters on a hand mixer. Stiff peaks mean the cream holds its shape firmly when the beaters are lifted. Be careful not to overbeat, as it can turn into butter.
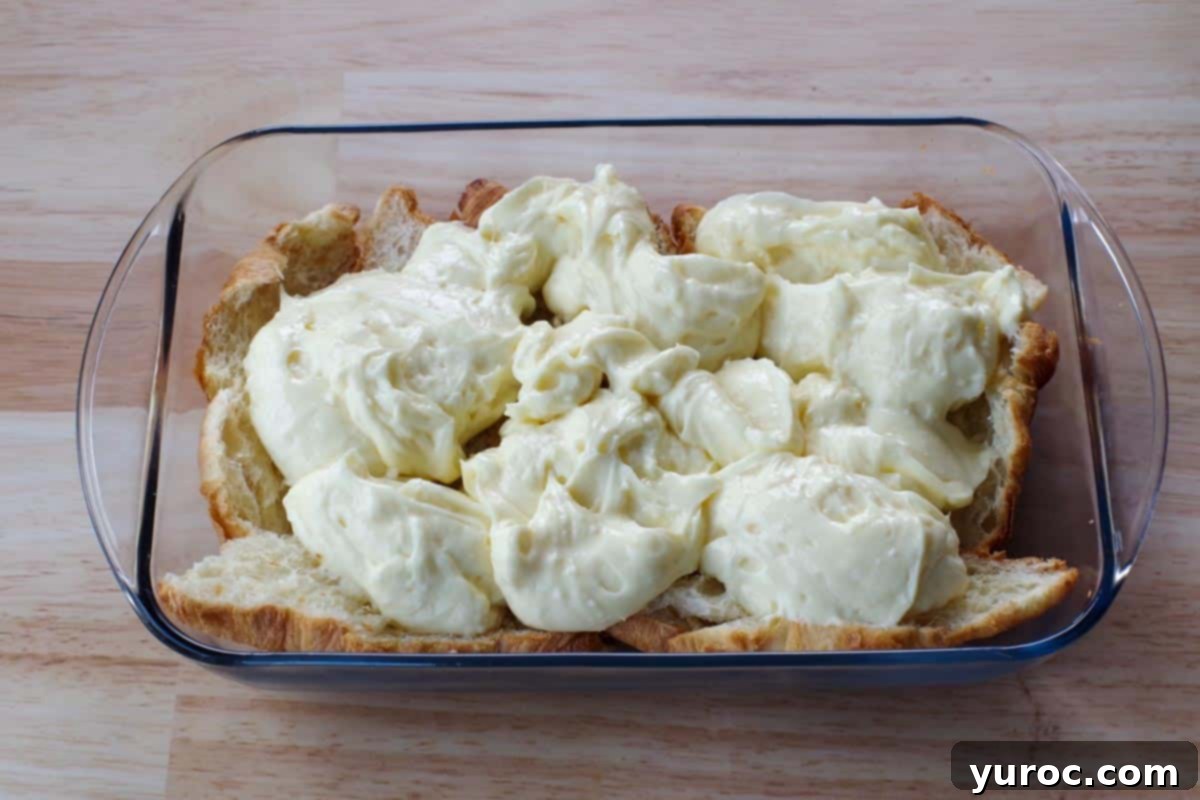
Now, it’s time to layer your dessert. Gently drop large spoonfuls of the creamy pudding mixture over the croissant base in the baking pan. This method, rather than pouring, is important as it helps prevent any loose croissant crumbs from mixing into the smooth pudding layer, ensuring clean and distinct layers.
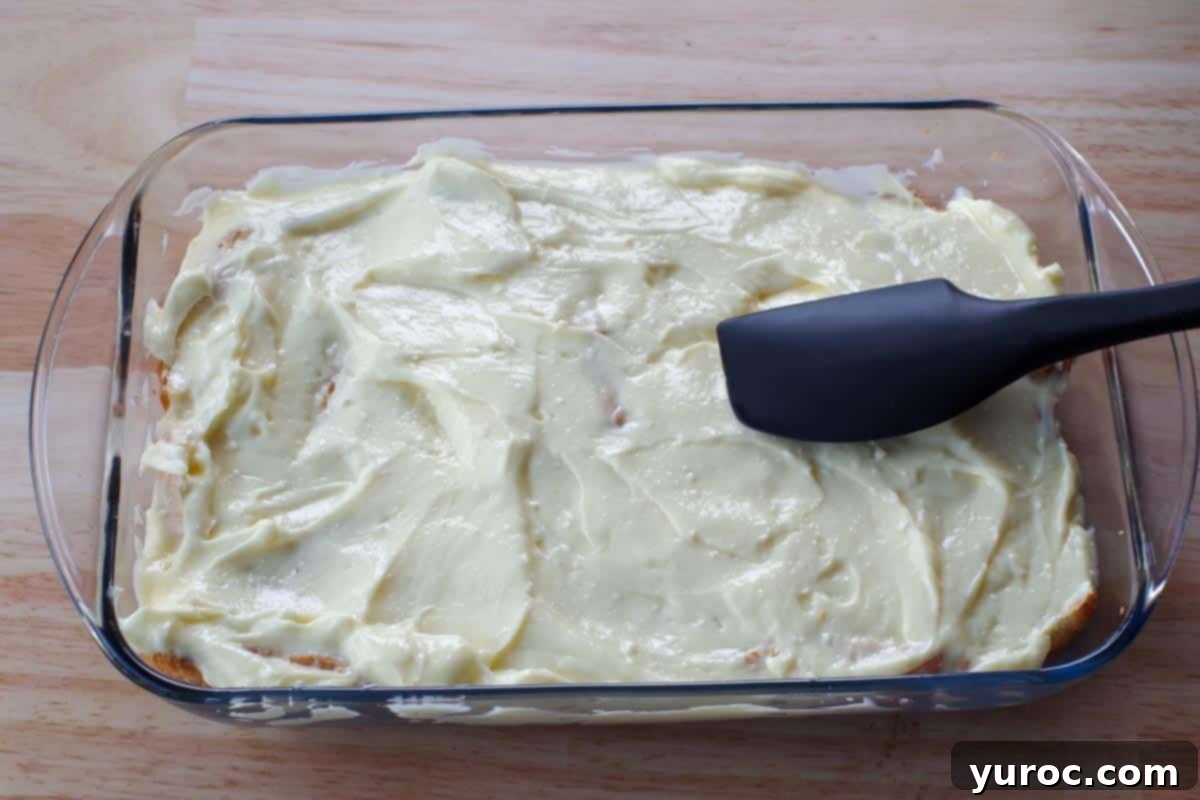
Using a spatula or the back of a spoon, carefully spread the pudding layer evenly over the entire surface of the croissant halves. Take your time to create a smooth and uniform layer, ensuring every part of the croissant base is covered with the rich vanilla-cream cheese mixture.
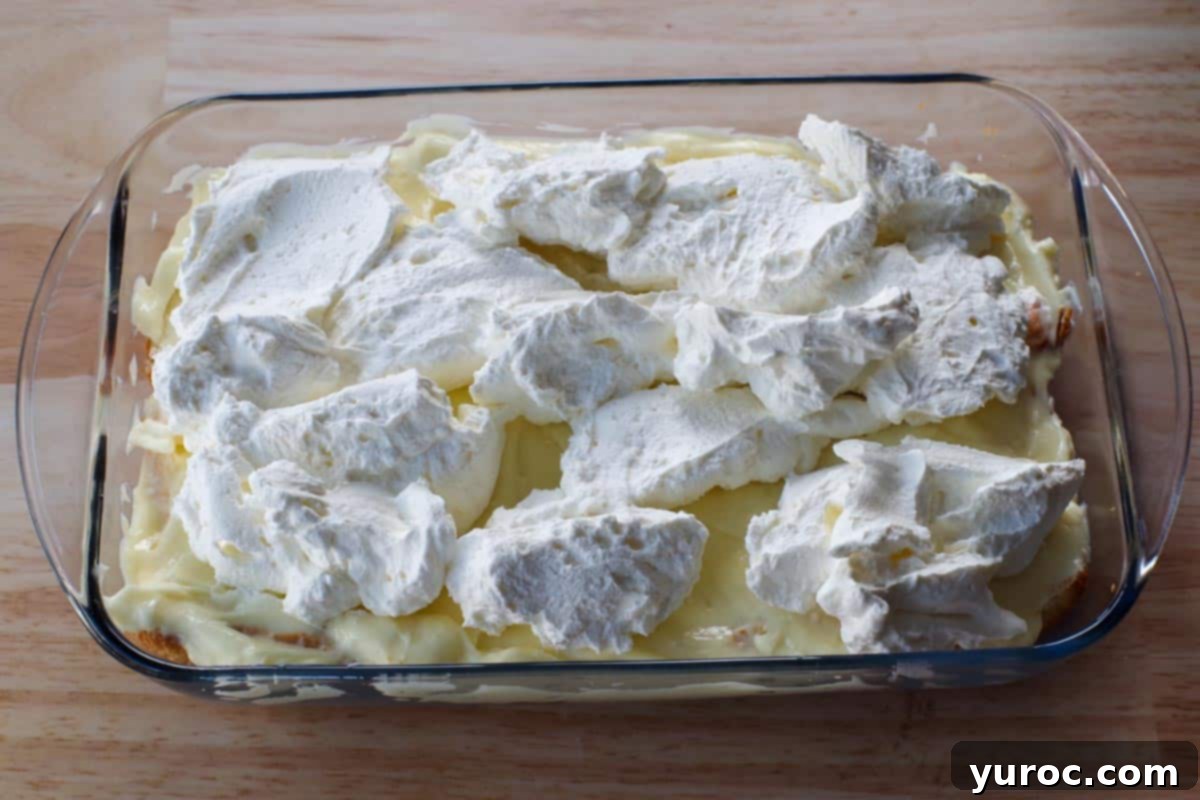
Once the pudding layer is smooth, it’s time for the final creamy layer. Just like with the pudding, gently drop spoonfuls of the prepared whipped cream over the top of the pudding mixture. This careful approach helps maintain the integrity of the layers.
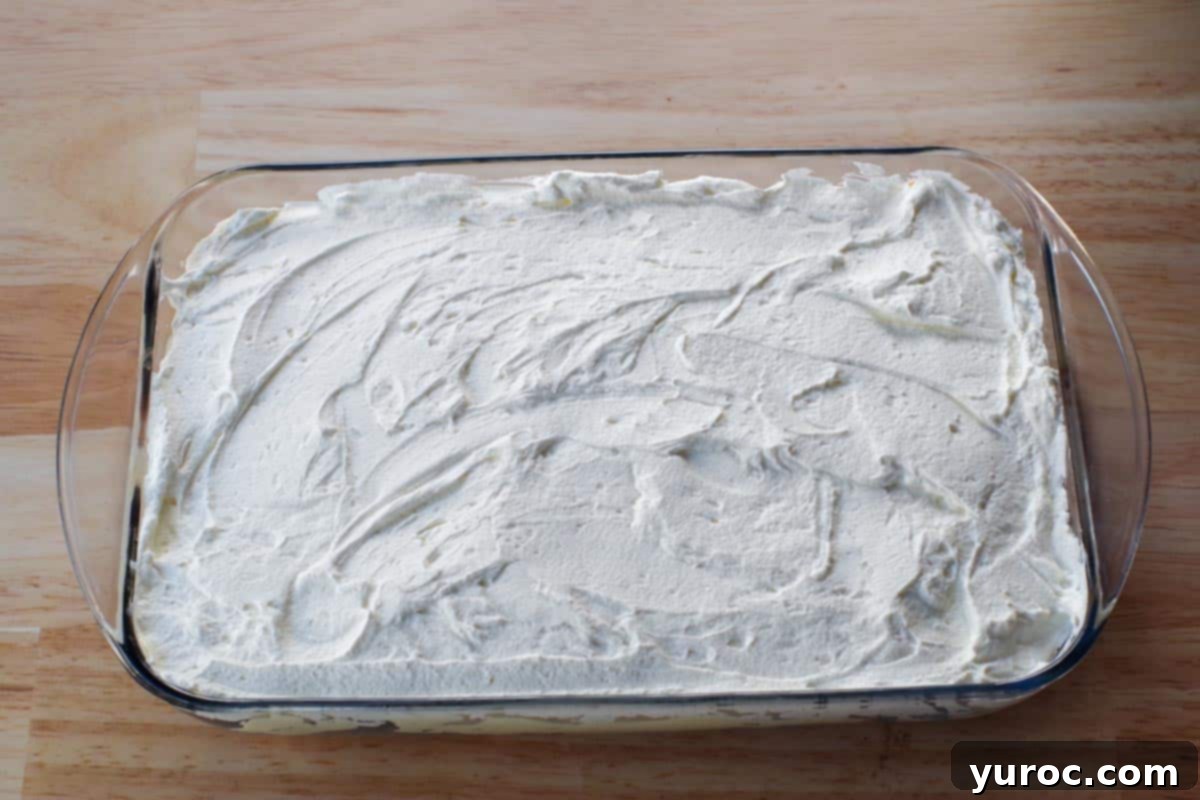
Carefully spread the whipped cream evenly across the entire surface of the pudding layer, creating a smooth and appealing top. Once again, a spatula is your best friend for achieving a perfectly level and attractive finish.
Cover the dessert tightly with plastic wrap or a secure lid and refrigerate it for a minimum of 8 hours, or ideally, overnight (up to 24 hours). This chilling step is absolutely crucial and should not be skipped! The prolonged refrigeration allows the croissants ample time to soften and absorb the moisture from the creamy filling, transforming them into that signature, tender “cream puff” texture. Without this step, your crust will remain crisp and won’t achieve the desired consistency.
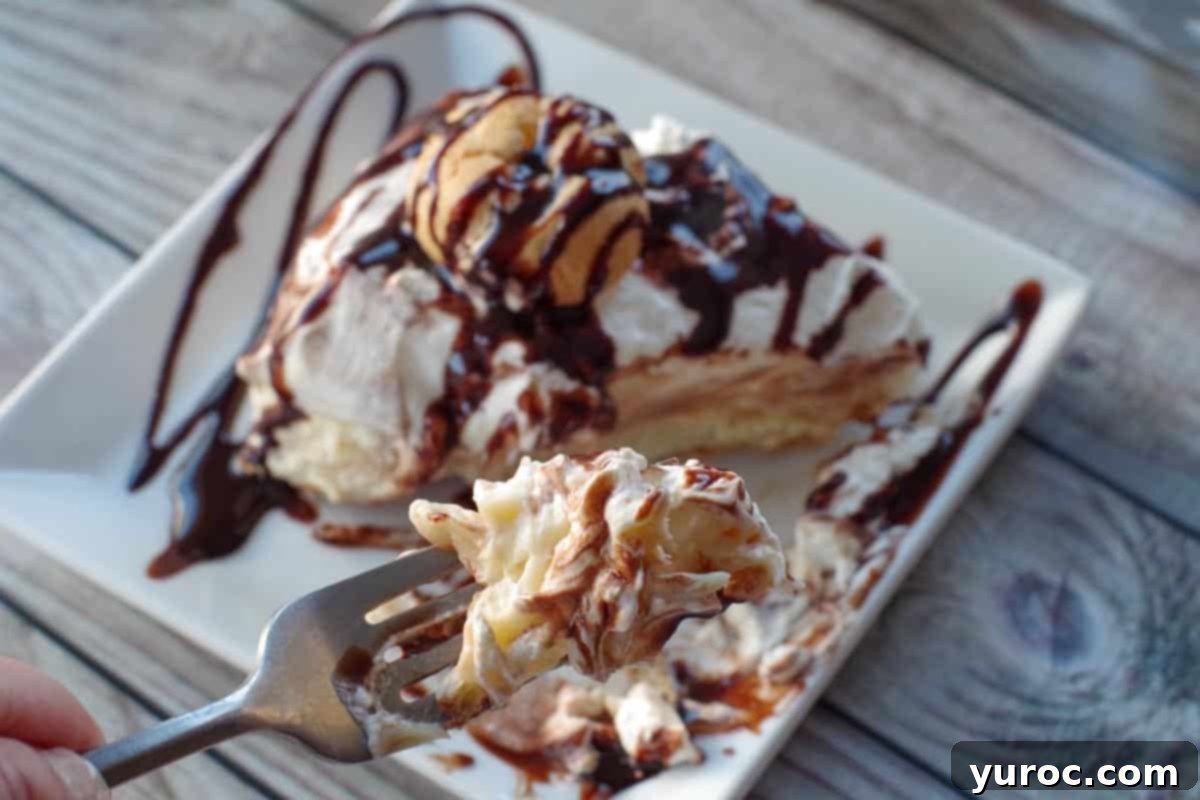
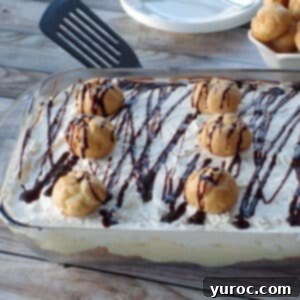
Just before you’re ready to serve, enhance the dessert’s visual appeal and flavor by adding individual miniature cream puffs as a garnish and drizzling generously with chocolate syrup. You can either drizzle the entire pan or add chocolate over each individual piece as you serve them. For an added touch of freshness, consider serving this decadent dessert alongside fresh fruit or a vibrant fruit salad.
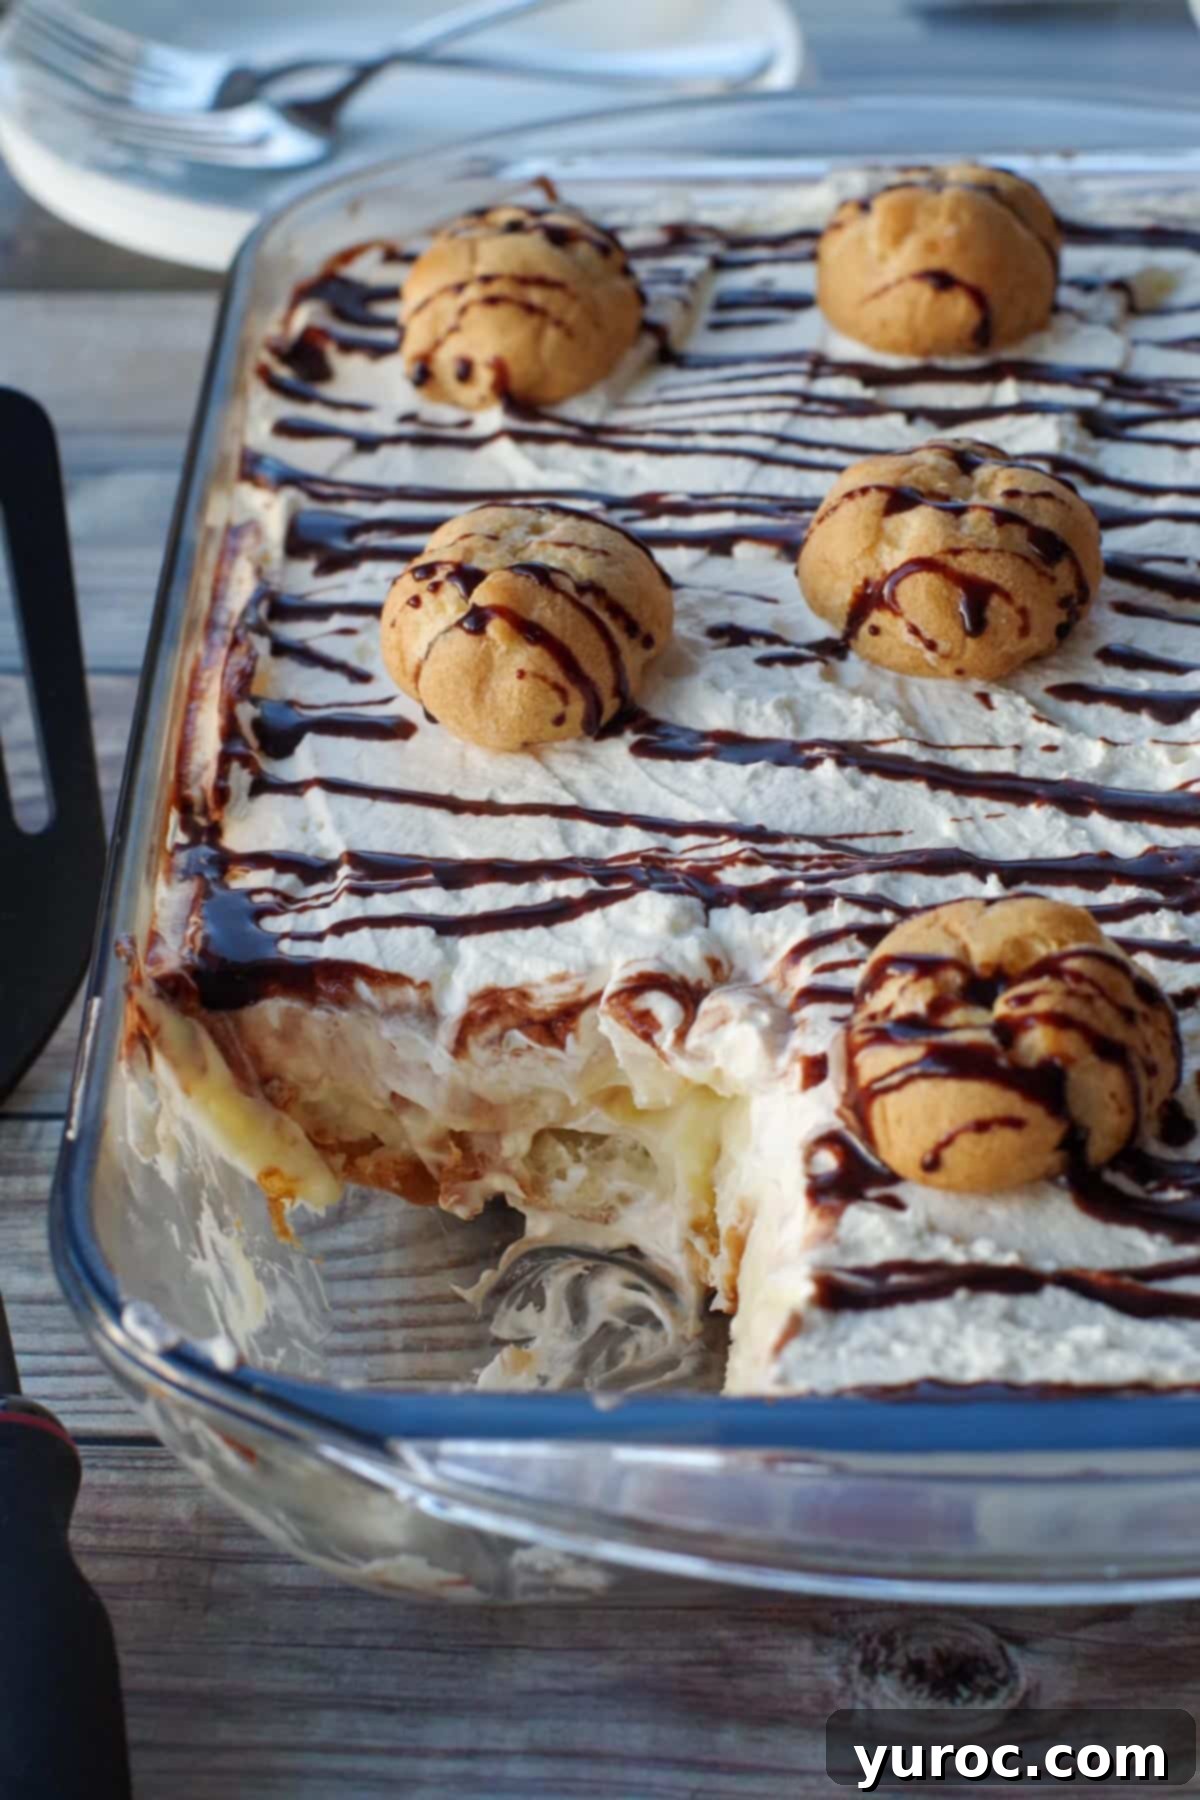
Hint: For a neat and attractive chocolate drizzle, simply apply chocolate syrup directly from the bottle using a quick back-and-forth motion. Alternatively, for more precision, you can transfer melted chocolate or syrup into a ziplock bag, snip off a tiny corner, and pipe it artfully over the dessert.
🥗 What to Serve with This Easy Cream Puff Dessert
This delightful layered cream puff cake is a versatile dessert that fits perfectly into a variety of social events. It’s an ideal choice for game days, lively parties, casual BBQs, or festive potlucks. Its rich sweetness complements a wide array of savory main courses beautifully. Consider serving it after a hearty meal like my Slow Cooker Pulled Pork on a Bun, a comforting Stovetop Chili, or tender Slow Cooker Beer Ribs. The contrast between the savory main and the sweet, creamy dessert will be a hit with your guests.
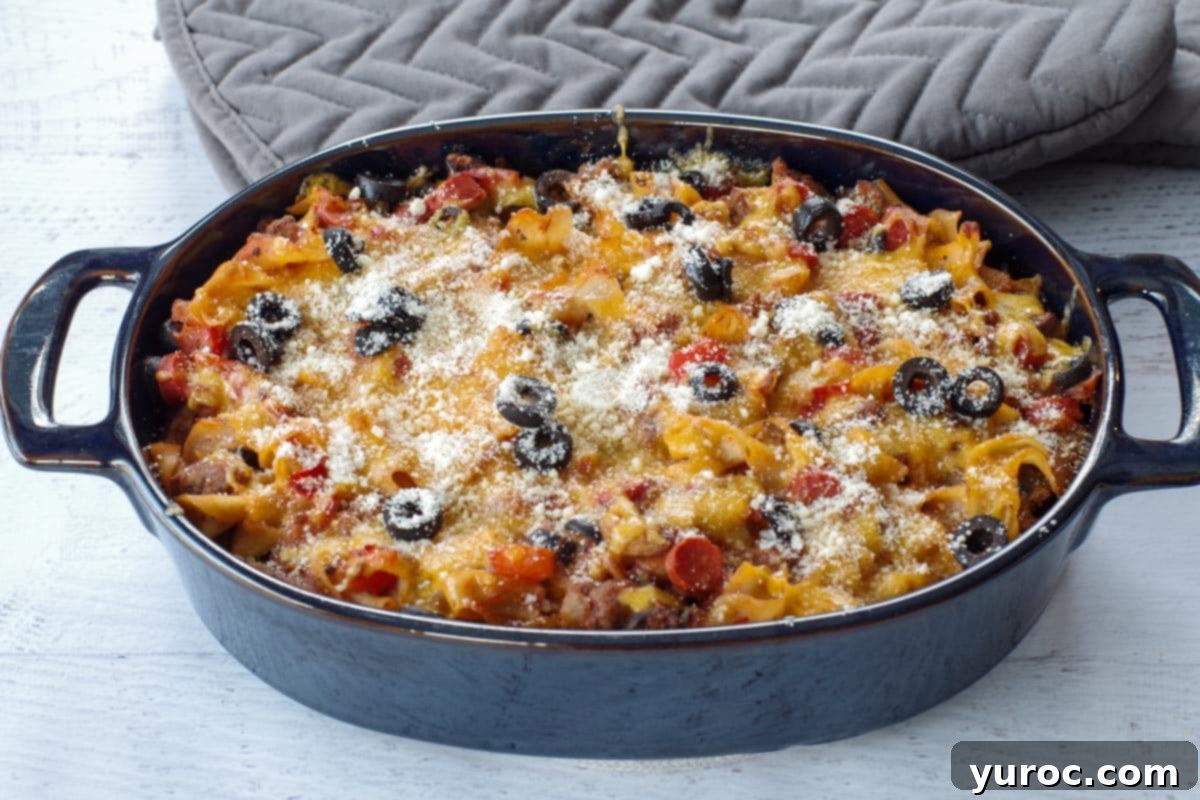
If you’re looking for a slightly lighter main course to precede this indulgent dessert, my Healthy Pizza Casserole Recipe (pictured above) makes an excellent choice. Its wholesome ingredients and flavorful profile provide a satisfying meal without being overly heavy, leaving plenty of room for this irresistible cream puff delight.
Expert Recipe Tips for a Perfect No-Bake Cream Puff Dessert
Achieving a show-stopping No-Bake Cream Puff Dessert is simple with these expert tips:
- Leverage Day-Old Croissants for Superior Texture: For the absolute best results, I highly recommend using croissants that are at least a day old. These slightly stale croissants have a better ability to absorb the rich, creamy filling without becoming overly soggy. This process is key to achieving that tender, slightly chewy texture reminiscent of a baked choux pastry. If your croissants are fresh, simply leave the package lid open overnight to let them air out a bit.
- Ensure a Silky Smooth Filling by Beating Thoroughly: To guarantee a velvety, lump-free pudding and cream cheese layer, ensure your cream cheese is completely softened to room temperature before you begin. Beat it vigorously and thoroughly into the prepared instant pudding mixture until it’s perfectly smooth and uniform. Any lumps will detract from the luxurious mouthfeel of the dessert.
- Consider Stabilizing Whipped Cream for Extended Freshness (Optional): If you plan to prepare this magnificent dessert more than 24 hours in advance, or if you live in a warm, humid climate, you might want to stabilize your whipped cream. A simple addition of 1 tablespoon of piping gel or 1 teaspoon of cornstarch (mixed with a tablespoon of cold milk before adding to the cream) can help the whipped cream hold its beautiful shape and texture for a longer period.
- Layer the Pudding Gently to Maintain Clean Lines: When you’re adding the pudding mixture to the croissant base, resist the urge to pour it directly. Instead, carefully drop it onto the croissants in large spoonfuls. This technique helps to prevent any loose crumbs from the croissants from migrating into and marring the smooth, pristine pudding layer, ensuring your dessert looks as appealing as it tastes.
- The Overnight Refrigeration Step is Non-Negotiable! This is arguably the most crucial step in the entire recipe. Allowing the dessert to chill in the refrigerator for at least 8 hours—and ideally for a full 24 hours—is essential. This extended chilling period gives the croissant base ample time to absorb the moisture from the pudding and whipped cream, transforming into the tender, melt-in-your-mouth texture that mimics traditional cream puffs. Skipping this step will result in a harder, less satisfying base.
- Garnish Just Before Serving for Optimal Presentation: For the freshest and most appealing presentation, wait until just before you plan to serve the dessert to add your garnishes, such as individual cream puffs and a drizzle of chocolate syrup. Adding them too early can lead to the toppings becoming soggy or the chocolate smudging, detracting from the dessert’s visual charm.
- Use a Hot Knife for Pristine Slices: When it’s time to cut and serve your layered cream puff dessert, particularly if you’re serving guests, run your knife under hot water for a few seconds and wipe it clean between each cut. A warm, clean knife will glide through the layers effortlessly, yielding beautifully defined, clean slices every time.
🌡️ Storage Guidelines for Your No-Bake Cream Puff Dessert
Proper storage is key to enjoying your delicious No-Bake Cream Puff Dessert for as long as possible. Leftovers should always be stored in the refrigerator in an airtight container. This will help maintain its freshness, creamy texture, and prevent it from absorbing any odors from other foods in your fridge. When stored correctly, this dessert will remain wonderfully tasty for 4-5 days.
If you’re simply preparing the dessert overnight for serving the next day, covering it tightly with plastic wrap is sufficient. However, for longer storage of leftovers, a rigid airtight container is preferable to prevent it from getting squished or drying out.
It’s important to note that the ingredients used in this no-bake cream puff dessert, particularly the whipped cream and pudding layers, do not stand up well to freezing. Freezing and thawing will significantly alter the texture, making it watery and grainy, so it is not recommended.
🔢 Weight Watchers Friendly Options
While this No-Bake Cream Puff Cake is undeniably indulgent, it’s quite adaptable for those following Weight Watchers or looking to reduce calories and sugar. With a few simple swaps, you can make this delightful dessert a bit friendlier to your dietary goals without sacrificing too much flavor.
To lighten up this recipe, you can incorporate the following:
- Sugar-Free Vanilla Pudding: Opt for sugar-free instant vanilla pudding mix instead of the regular variety. This significantly cuts down on the sugar content.
- Sugar-Free Chocolate Syrup: Use a sugar-free chocolate sundae syrup for the drizzle to reduce added sugars.
- Light or Fat-Free Cream Cheese: Choose light or fat-free cream cheese, ensuring it’s still softened to room temperature for a smooth blend.
- Fat-Free/Sugar-Free Cool Whip: Instead of fresh whipped cream, use a fat-free and sugar-free whipped topping like Cool Whip. This is a convenient way to lower both fat and sugar.
By making these mindful substitutions, you can still enjoy the wonderful taste and texture of a cream puff cake, making it a more accessible treat for a wider range of dietary preferences.
❔ Frequently Asked Questions About This No-Bake Cream Puff Dessert
While you don’t *have* to, croissants are highly recommended for this recipe. They excel at mimicking the flaky, buttery texture of traditional choux pastry, which is typically used for cream puffs, but without the hassle of baking from scratch. If croissants are absolutely unavailable, you could experiment with store-bought puff pastry (which would require baking first) or even slices of brioche, but please note that the final texture and taste will likely vary considerably from the intended “cream puff” experience.
Absolutely, and in fact, it’s encouraged! This no-bake dessert tastes best when made at least 8 hours in advance, but ideally, 24 hours ahead. The extended resting time in the refrigerator is crucial. It allows the croissant base sufficient time to soften and fully meld with the creamy layers, developing that distinct tender, moist “cream puff” texture that makes this dessert so special. Plan accordingly for optimal flavor and consistency!
For a straightforward and attractive drizzle, the easiest method is to use a store-bought chocolate syrup bottle and move your hand quickly back and forth over the dessert. This creates appealing zig-zag lines. If you desire more control or intricate designs, you can melt some chocolate (chocolate chips or baking chocolate) and transfer it into a zip-top bag. Snip a tiny corner off the bag, and you can then pipe the chocolate exactly where you want it.
Several factors can affect pudding setting. Ensure you used *instant* pudding mix, not cook-and-serve. Also, make sure your milk was very cold. If using skim milk, you might need slightly less milk as it has lower fat content. Finally, beat the mixture for the full 2 minutes as instructed to activate the gelling agents.
Yes! While vanilla is a classic choice for a cream puff taste, you can absolutely experiment with other instant pudding flavors. Chocolate, banana, or butterscotch would all offer a delicious twist to this layered dessert. Just ensure they are instant pudding mixes for the no-bake method.
If you’re on the hunt for an effortless dessert recipe, or simply a fantastic no-bake option that promises to be a crowd-pleaser, then you simply must try this yummy, easy Cream Puff Cake! It delivers all the beloved flavors of a traditional cream puff, beautifully layered into one simple, impressive dessert. It’s truly one of my family’s all-time favorite sweet treats. For more fantastic ideas, be sure to explore my collection of No-Bake Potluck Desserts – perfect for your next gathering!
🍮 More Delightful Dessert Recipes to Explore
Looking for more sweet inspirations? Whether it’s for summer gatherings or any time you need a delicious treat, here are some other fantastic dessert recipes:
- Refreshing Fruit Pizza Recipe (with a Sweet Glaze)
- Homemade Butter Tart Ice Cream (No-Churn Method!)
- Elegant Chocolate Genoise Sponge Cake (with Summer Berries)
- Comforting Zucchini Crisp Recipe (Made with Shredded Zucchini)
Did your family ❤️ this recipe? Did you know that commenting and ⭐ rating recipes is one of the best ways to support your favorite recipe creators? If you LOVED this recipe, please comment and rate it in the recipe card below or share photos on social media using the hashtag #foodmeanderings or tagging @foodmeanderings! Your feedback means the world!

📋 Easy No-Bake Cream Puff Dessert Recipe
Equipment
- Hand Mixer
- Stand Mixer (Optional, for larger batches or convenience)
- Spatula
- Large Mixing Bowl
- 9×13 inch Baking Dish
Ingredients
- 4 large croissants (preferably day-old)
- 8 oz cream cheese, softened
- 3 ½ cups cold milk (1%, 2%, or whole)
- 6.8 ounces instant vanilla pudding mix (2 -3.4 ounce packages)
- 3 cups whipping cream (heavy cream, 33-36% fat)
- 2 tablespoons white granulated sugar
Garnish (Optional)
- Chocolate sundae syrup
- mini cream puffs (for topping, optional)
Instructions
Heads up! This dessert requires a minimum of 8 hours (ideally 24 hours) of refrigeration before serving to achieve the perfect texture.
- Carefully slice each large croissant in half horizontally. Arrange these halves, with the soft, cut side facing upwards, to form a single layer on the bottom of a 9×13-inch baking pan. This will create your dessert’s base.4 large croissants
- In a spacious mixing bowl, combine the cold milk and the instant pudding mixes. Beat on low speed for 2 minutes, or until the mixture begins to thicken. Subsequently, add the softened cream cheese to the bowl.3 ½ cups cold milk, 6.8 ounces instant vanilla pudding mix, 8 oz cream cheese, softened
- Continue beating the cream cheese and pudding mixture until it is entirely smooth and lump-free, creating a uniform, creamy filling.
- In a separate, clean mixing bowl, beat the whipping cream until soft peaks form. Then, gradually add the granulated sugar and continue beating.3 cups whipping cream, 2 tablespoons white granulated sugar
- Continue beating the whipped cream until it reaches stiff peaks, holding its shape firmly. Be careful not to overbeat.
- Gently drop large spoonfuls of the prepared pudding mixture over the croissant base. This method helps prevent croissant crumbs from mixing into your smooth pudding layer.
- Using a spatula, carefully spread the pudding layer evenly across the entire surface of the croissants.
- Once the pudding layer is smooth, drop spoonfuls of whipped cream over the pudding mixture.
- Spread the whipped cream evenly over the pudding layer to create a smooth and attractive top surface.
- Cover the baking dish tightly with plastic wrap or a lid and refrigerate for a minimum of 8 hours, or ideally, overnight (up to 24 hours). *This step is crucial, as the croissant base needs ample time to soften and fully absorb the moisture from the creamy layers!*
- Just before serving, garnish the dessert with mini cream puffs and a generous drizzle of chocolate sundae syrup. You can add more cream puffs to your preference for an extra indulgent touch.Chocolate sundae syrup, mini cream puffs
Notes
-
- Use Day-Old Croissants for Best Texture: For superior results, opt for day-old croissants. Their slightly firmer texture allows them to absorb the creamy filling more effectively, creating a tender, less soggy base that perfectly mimics a traditional cream puff. If you’re buying fresh, simply leave the package open overnight.
-
- Beat Pudding and Cream Cheese Until Completely Smooth: To ensure a perfectly smooth and velvety filling, it’s vital that your cream cheese is softened to room temperature before combining. Beat it thoroughly with the pudding mixture until there are absolutely no lumps, creating a uniform and luxurious texture.
-
- Stabilize Whipped Cream (Optional for Longer Storage): If you plan to prepare this dessert well in advance (more than 24 hours before serving), consider stabilizing your homemade whipped cream. Mixing in 1 tablespoon of piping gel or 1 teaspoon of cornstarch (dissolved in a small amount of cold milk) can help it maintain its light and airy texture for longer periods, preventing it from weeping or deflating.
-
- Layer the Pudding Gently: To maintain distinct and clean layers in your dessert, drop the pudding mixture onto the croissant base in large spoonfuls rather than pouring it. This method prevents loose croissant crumbs from getting incorporated into the smooth filling, ensuring a beautiful presentation.
-
- Refrigerate Overnight – This Step is Essential! Do not skip the chilling step! Allowing the dessert to refrigerate for at least 8 hours, and ideally 24 hours, is paramount. This extended chilling time allows the croissants to thoroughly soften and absorb the moisture from the creamy layers, creating the signature tender texture of a true “cream puff.”
-
- Add Toppings Just Before Serving for Freshness: For the best appearance and texture, wait until just before you’re ready to serve to garnish the dessert with additional cream puffs and chocolate syrup. This prevents the toppings from becoming soggy or the chocolate from smudging, ensuring a fresh and enticing look.
-
- Use a Hot Knife for Clean Slices: To achieve perfectly clean and beautiful slices, especially when serving guests, run your knife under hot water and wipe it clean between each cut. A warm blade will slice through the creamy layers without dragging or making a mess.