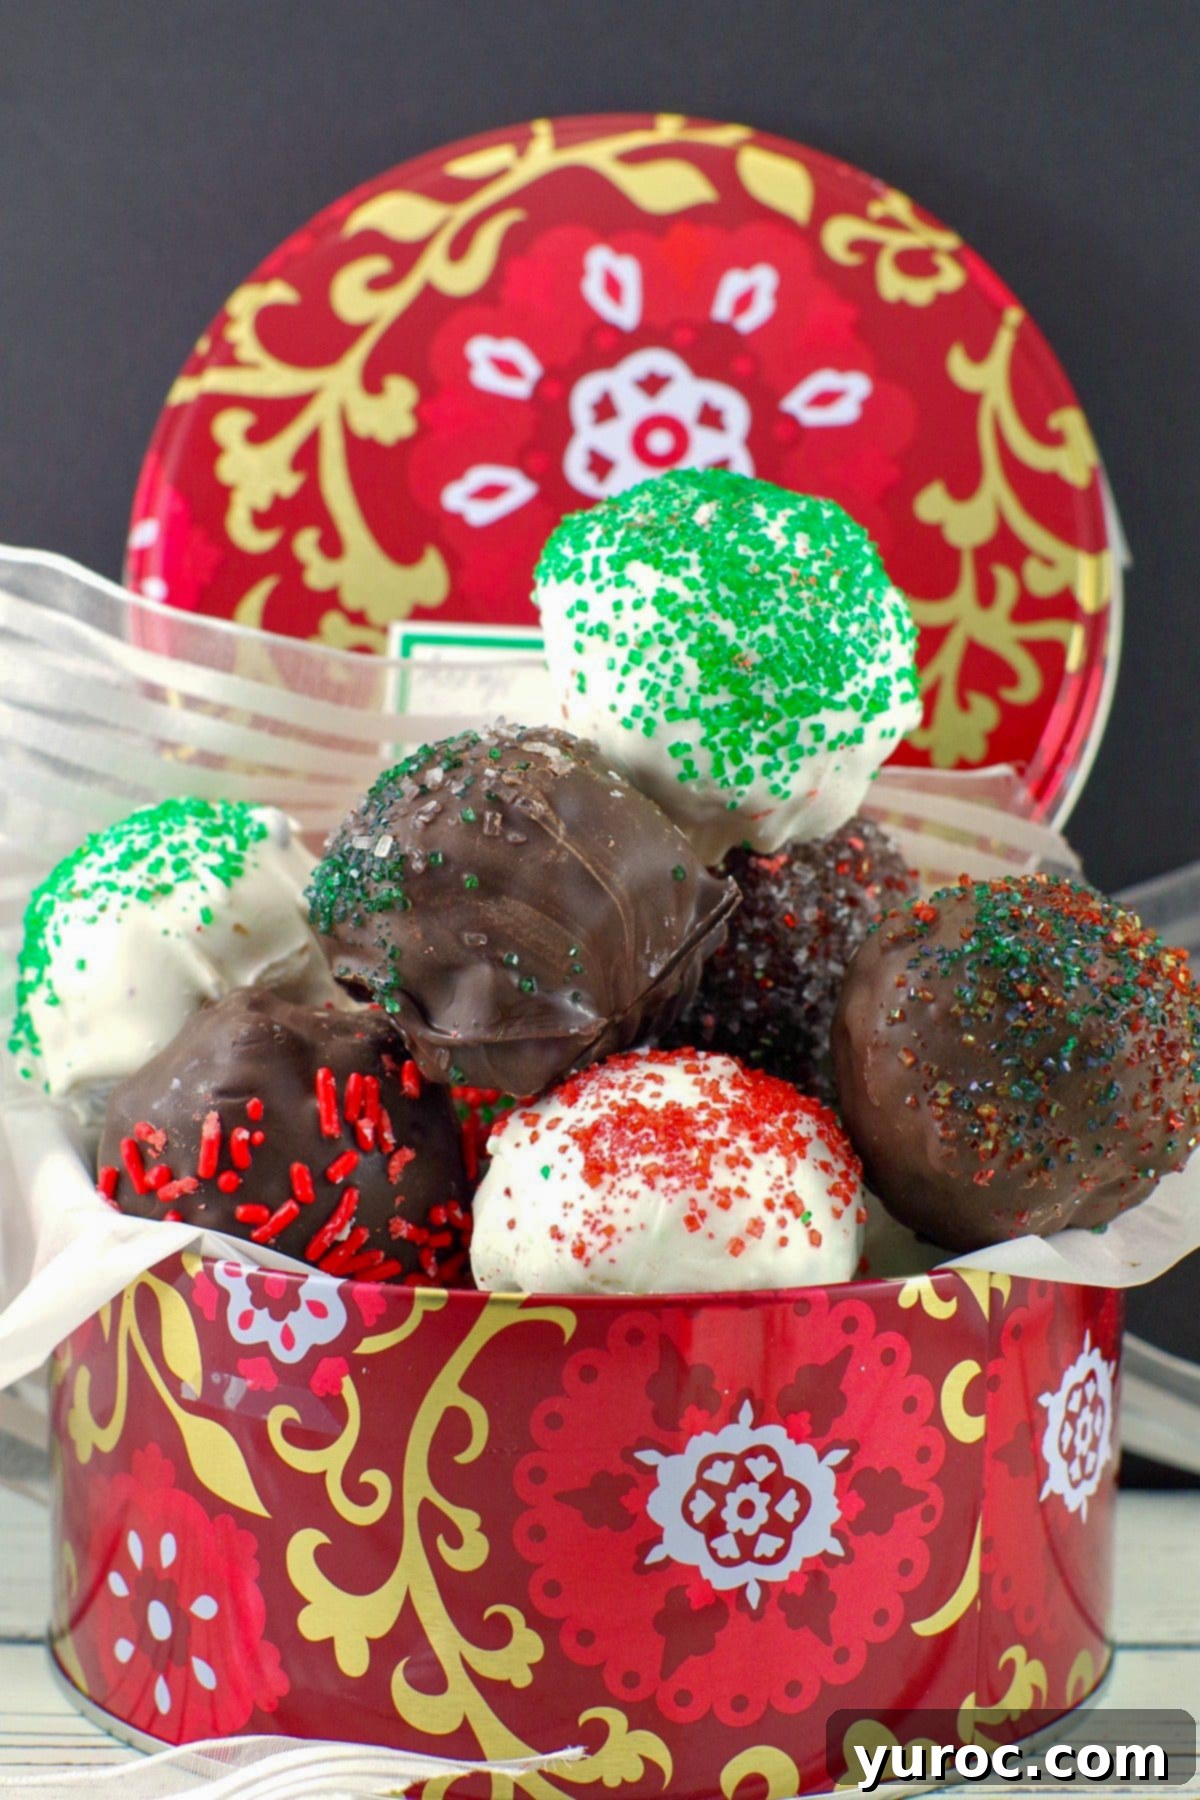
Festive Red Velvet Brownie Balls: Your Ultimate Easy Holiday Treat
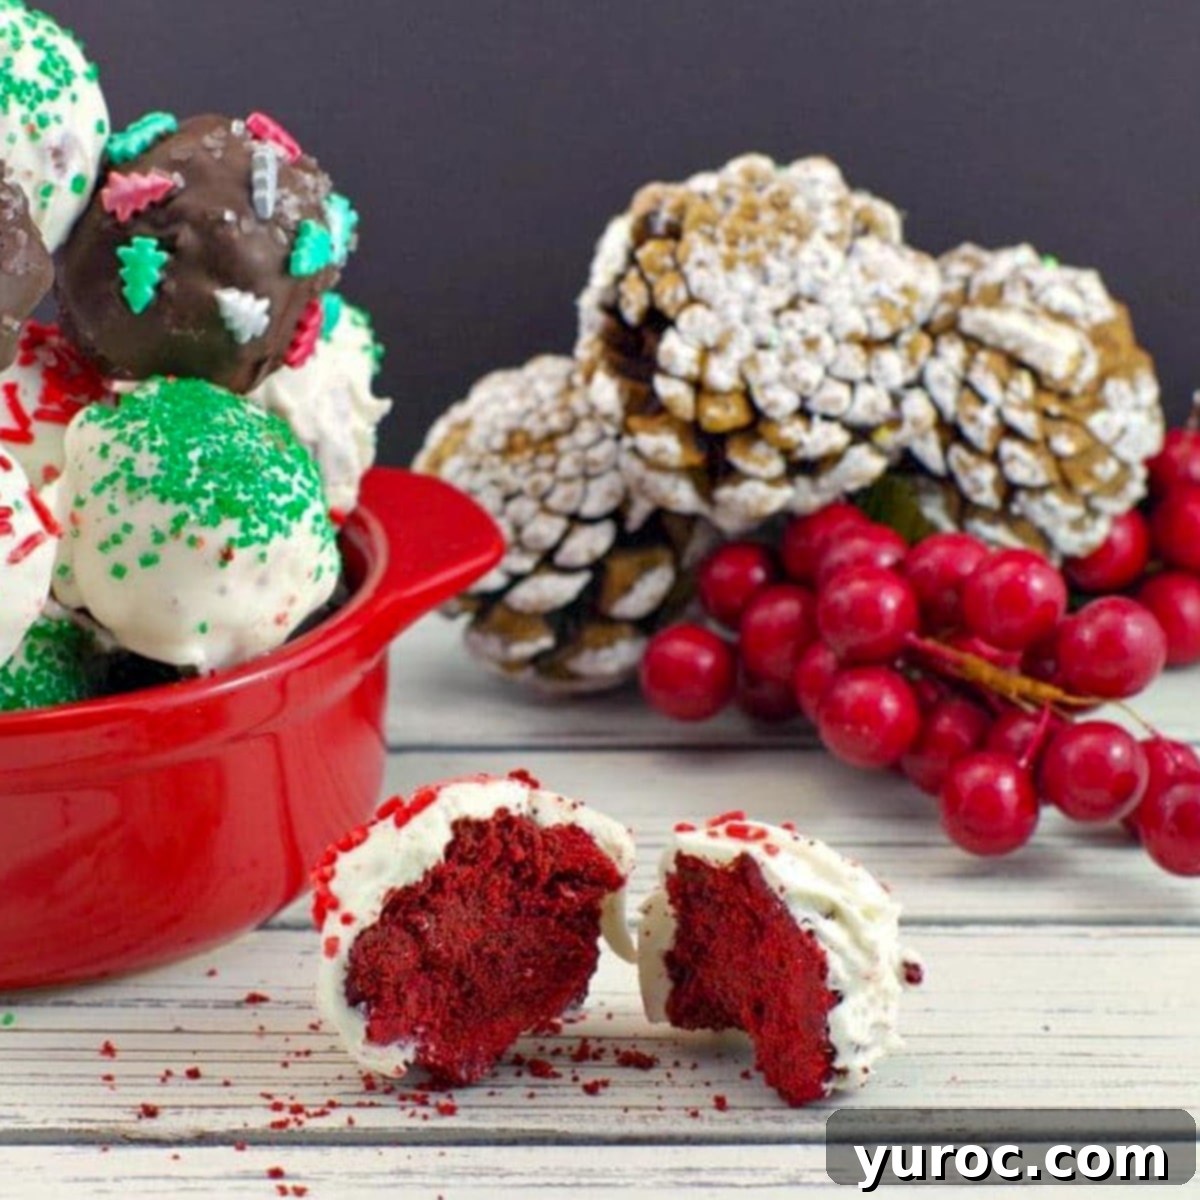
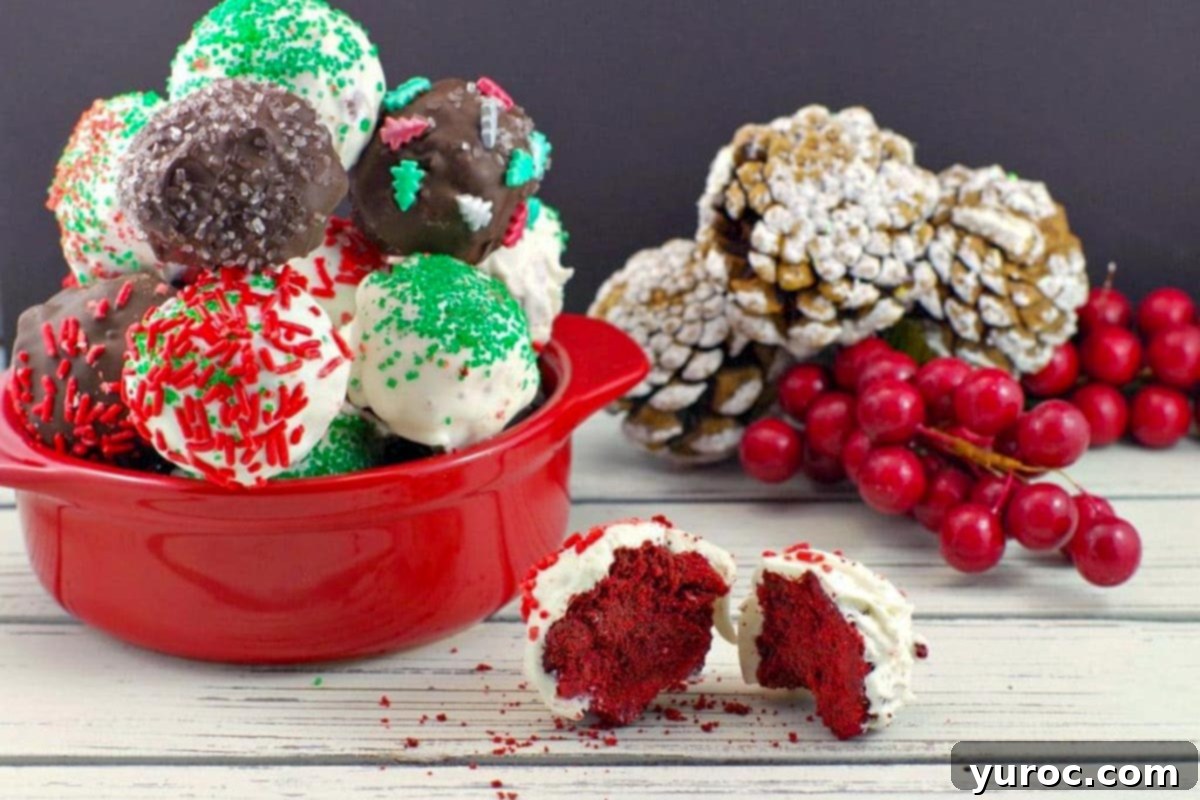
Sometimes, the most delightful culinary creations emerge from unexpected moments – a happy accident in the kitchen, a recipe gone “wrong” that turns out to be utterly right. This is precisely the charming origin story of our festive and irresistibly delicious Christmas Red Velvet Brownie Balls. These vibrant, bite-sized delights are more than just a dessert; they’re a celebration of the holiday spirit, offering a rich, chocolatey red velvet flavor enrobed in a smooth candy shell and adorned with sparkling festive sprinkles. Whether you’re an experienced baker looking for a fun new project or a beginner seeking an easy yet impressive holiday treat, these brownie balls are destined to become a cherished addition to your annual holiday baking tray.
Universally loved and incredibly popular, especially during the bustling holiday season, these Red Velvet Brownie Balls are the ideal candidate for sharing. They shine brightly on any Christmas cookie platter, make fantastic edible gifts, and are always a crowd-pleaser at festive gatherings. Their eye-catching red hue, combined with the sweet and slightly tangy red velvet flavor, perfectly captures the magic of Christmas.
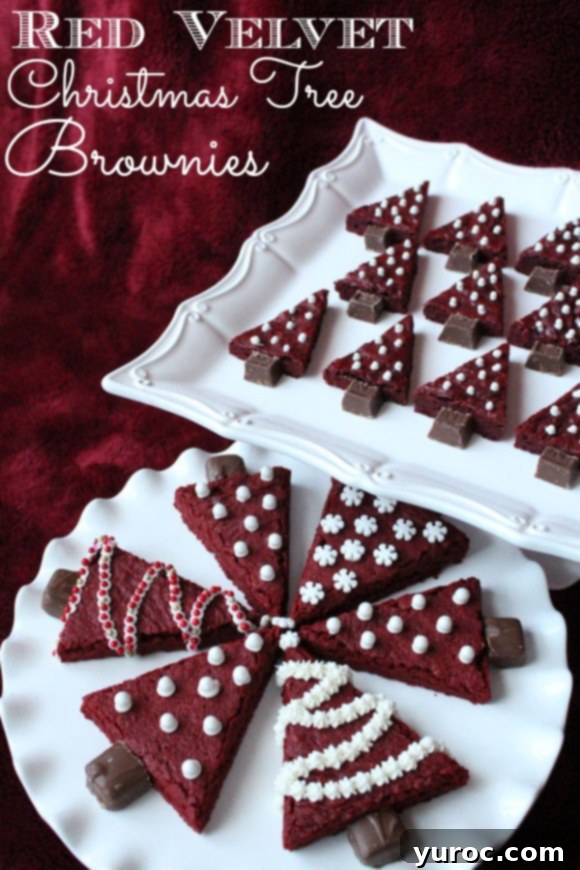
But let’s dive into the fascinating tale of how these festive treats came to be. Their inception wasn’t a planned culinary endeavor, but rather a creative rescue mission! A few years ago, I stumbled upon a picture of adorable Red Velvet Brownie Christmas Trees and was instantly smitten. I absolutely had to try making them!
Photo courtesy of Catch my Party.com
Alas, fate had other plans. What was meant to be cute Christmas trees quickly veered into a full-blown baking disaster. Even as an experienced baker, I’m certainly not immune to kitchen mishaps. These things tend to happen when I’m juggling too many tasks, feeling hurried, or simply overwhelmed. The brownies, instead of holding their tree shape, crumbled and refused to cooperate, leaving me with a tray of delicious but aesthetically challenged red velvet crumbs.
However, true to the spirit of resourceful baking, I wasn’t about to let those perfectly good flavors go to waste. With a dash of improvisation and a sprinkle of holiday magic, I transformed the “failed” Christmas trees into these delightful brownie balls. And just like that, a new Christmas tradition was born! Now, the holidays simply wouldn’t be complete without these little red velvet bites. The ironic part? I still haven’t figured out why the original trees didn’t turn out, and honestly, I no longer care. The joy these brownie balls bring far outweighs any past baking frustrations.
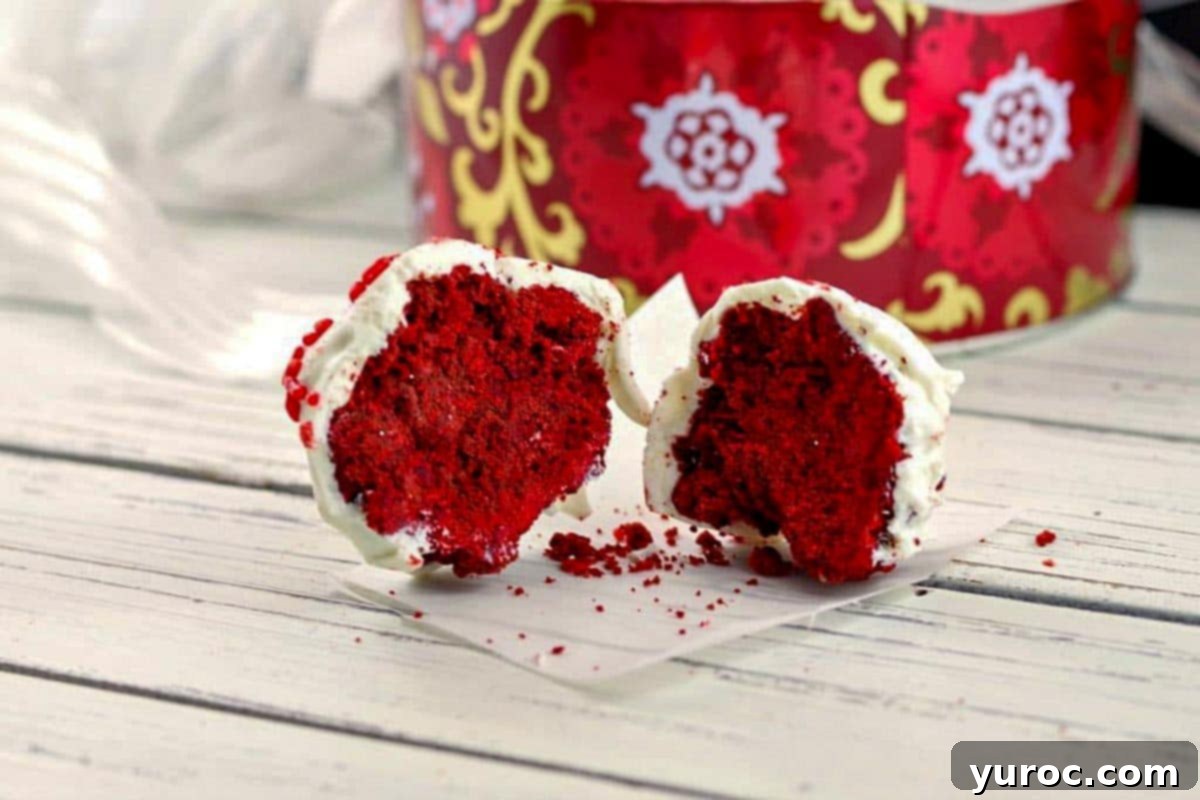
What makes these Red Velvet Brownie Balls truly special is their versatility and ease. You can choose to make the red velvet brownies completely from scratch, following our detailed recipe below for that authentic homemade goodness, or you can opt for the convenience of a store-bought red velvet brownie mix. Either way, the result is a rich, moist brownie center enveloped in a crisp, sweet candy coating. This adaptability makes them perfect for busy holiday schedules, allowing you to customize the effort level without compromising on taste or festive appeal.
🥘 Essential Ingredients for Your Red Velvet Brownie Balls
To create these enchanting Christmas brownie bites, you’ll need a selection of both pantry staples and a few special holiday additions. Here’s a breakdown of the key ingredients:
- Salted Butter: Provides richness and moisture to the brownie base.
- Eggs: Act as a binder and contribute to the brownie’s texture.
- White Granulated Sugar: Sweetens the brownies and helps create that classic chewy texture.
- Vanilla Extract: Enhances the overall flavor profile, complementing the chocolate and red velvet notes.
- Cocoa Powder: Essential for the rich chocolate flavor that underlies the red velvet. For a deeper flavor, use a good quality unsweetened cocoa.
- Semi-Sweet Chocolate Chips: Adds pockets of melted chocolate goodness within the brownies.
- Red Food Coloring: Crucial for achieving that iconic vibrant red velvet hue. I highly recommend using a “no-taste red” gel food coloring like Wilton brand or Americolor super red to ensure intense color without altering the flavor.
- All-Purpose Flour: The structural backbone of our brownies.
- Chocolate Frosting: This is the magic ingredient that binds the brownie crumbs into perfect balls. A store-bought whipped chocolate frosting (like Betty Crocker) works wonderfully for convenience, or you can use a homemade chocolate frosting for an extra touch. Adjust the amount as needed to achieve the right consistency.
- Candy Melts: These create the smooth, colorful outer shell. White and chocolate are classic choices, but feel free to explore other festive colors. Wilton brand candy melts are a reliable option.
- Vegetable Shortening: A small amount is added to the candy melts to help thin them slightly, making them easier to dip and ensuring a smoother, less clumpy coating.
- Sparkling Sugar/Sprinkles: For that essential festive sparkle and decorative finish.
*For precise quantities, please refer to the detailed recipe card below.
📖 Creative Variations & Customization Ideas
One of the best aspects of these Red Velvet Brownie Balls is how easily they can be customized to suit your taste, theme, or the ingredients you have on hand. Don’t be afraid to get creative!
- Brownie Base Options: You have complete flexibility here. Bake your own homemade red velvet brownies using the recipe provided for a truly from-scratch experience. Alternatively, save time by using a good quality red velvet brownie mix (following package instructions). If you’re really short on time, you might even find pre-made red velvet brownies at a bakery or grocery store, though the texture might vary slightly.
- Candy Melt Colors: While classic white and chocolate candy melts offer a beautiful contrast to the red velvet, feel free to use any color that matches your holiday decor or personal preference. Green, red, or even gold candy melts could add a unique flair.
- Sprinkles, Sparkling Sugar, and Sanding Sugar: The sky’s the limit when it comes to decoration! Choose any color, shape, or type of sprinkles you desire. Edible glitter can also add a touch of glamour.
- Brownie Pops: For a fun, handheld treat, simply insert lollipop sticks into the formed brownie balls before chilling and dipping them. These are especially popular with kids and make for delightful party favors.
- Chocolate Chip Choices: Experiment with different types of chocolate chips in your brownie batter. Dark chocolate chips will add a more intense cocoa flavor, while milk chocolate chips will result in a sweeter, creamier profile.
- Flavor Enhancements: Add a touch of peppermint extract to the brownie batter or the frosting for a festive mint-chocolate twist. A hint of almond extract or orange zest can also elevate the flavor.
- Nutty Crunch: Incorporate finely chopped pecans or walnuts into the brownie batter or sprinkle them on top of the coated balls before they set for added texture.
🍽 Essential Equipment
You won’t need a pantry full of specialized gadgets to make these brownie balls. Here’s what will be helpful:
- 9×13 Inch Baking Pan: A standard size for baking the brownies. Ensure it’s greased or lined for easy removal.
- Large Mixing Bowls: For combining ingredients.
- Whisk and Spatula: Basic mixing tools.
- Food Processor (Optional, but Recommended): This is incredibly helpful for quickly processing the cooled brownies into fine crumbs, making the mixing and forming process much easier and faster. If you don’t have one, you can crumble the brownies by hand, ensuring they are very fine.
- Cookie Scoop (Optional): A 1.5-inch cookie scoop can help create uniformly sized brownie balls, ensuring consistent baking and presentation.
- Parchment Paper or Wax Paper: Essential for lining baking sheets, preventing sticking when chilling the balls and after dipping them in candy melts.
- Baking Sheets: For chilling the formed brownie balls and for placing them on after coating.
- Saucepan or Microwave-Safe Bowl: For melting the candy melts.
- Fork or Dipping Tools: For dipping the brownie balls into the melted candy melts. A regular fork works, or you can use specialized dipping tools for a cleaner finish.
👪 Serving Size & Adjustments
This Red Velvet Christmas Brownie Balls recipe yields approximately 24 delightful brownie bites, making it perfect for a small gathering or a generous holiday treat tray. However, if you’re planning a larger celebration or simply want to have more on hand, the recipe is easily scalable. You can half, double, or even triple the recipe by clicking on the blue servings number in the recipe card below. This convenient feature will automatically adjust all the ingredient quantities proportionally, taking the guesswork out of larger-batch baking. Just remember that doubling or tripling the recipe might require additional baking pans and potentially more time for assembly and chilling.
🌡️ Storage & Make-Ahead Tips
These festive brownie bites are excellent for making ahead, which is a huge bonus during the busy holiday season. Once fully prepared and coated, store your Christmas Brownie Balls in an airtight container. They will keep beautifully in the refrigerator for up to 5 days. For longer storage, these brownie balls freeze exceptionally well. Place them in a single layer in an airtight freezer bag or container, separating layers with parchment paper to prevent sticking. They can be frozen for up to 2 months. When you’re ready to enjoy them, simply thaw them in the refrigerator for a few hours or at room temperature until softened. Their delicious flavor and texture will remain perfectly intact, making them a stress-free addition to your holiday planning.
🎥 Helpful Video Tutorial
Mastering the art of coating your brownie balls in candy melts can take a little practice. To help you achieve a smooth, even finish, we’ve linked to a helpful video tutorial. This visual guide demonstrates effective techniques for dipping and coating, ensuring your brownie balls look as good as they taste!
Video – How to coat a brownie ball in candy melts
🦺 Important Food Safety Guidelines
As with any recipe, especially those involving eggs and dairy, proper food safety practices are crucial to ensure a safe and enjoyable experience for everyone. Please keep the following guidelines in mind:
- Always avoid using the same utensils or cutting boards on cooked food that have previously touched raw egg or brownie batter. Cross-contamination can lead to foodborne illness.
- Thoroughly wash your hands with soap and warm water after handling raw eggs or any raw ingredients.
- Do not leave prepared food, especially those containing dairy or eggs, sitting out at room temperature for extended periods. Promptly refrigerate or freeze as directed.
- If you are using a gas stove, always ensure you have good ventilation in your kitchen to prevent the buildup of harmful fumes.
- Never leave cooking food unattended. Stay in the kitchen while brownies are baking.
- For more comprehensive food safety information, please refer to guidelines provided by USDA.gov.
KEEPING IT REAL: Now, let’s talk about appearances. As you can plainly see from the photos, these brownie balls are not striving for flawless, symmetrical perfection. They have their own charming lumps and bumps, a testament to their homemade nature. I honestly considered baking a fresh batch of “better,” “nicer,” and “rounder” ones just for these photos. But then, a more honest thought prevailed.
If I presented only picture-perfect spheres, you might feel disappointed if yours didn’t turn out quite the same. And chances are, they probably won’t be perfectly round, because that’s simply the nature of baking with brownies. Brownie crumb is inherently coarser than cake, which means it doesn’t always form into as smooth a ball. This is just how they naturally look.
Sure, I could have spent an excessive amount of time meticulously shaping and smoothing each one for the camera, but life is far too short for that kind of perfectionism! And more importantly, these “imperfect” little bites still taste absolutely amazing! So, here they are, in all their real, gloriously lumpy, and delightfully bumpy authenticity.
They are not Pinterest perfect. They are real-world perfect.
So, why not add these genuinely cute, incredibly tasty, and perfectly bite-sized Red Velvet Brownie Balls to your holiday baking repertoire this year? Whether you make them entirely from scratch or choose the quicker route with a red velvet brownie mix (which I would have done if my store wasn’t out of stock!), they’re a guaranteed hit. While the homemade version often boasts a richer flavor – isn’t that always the case? – the convenience of a mix certainly doesn’t detract from their festive appeal. Embrace the joy of homemade treats, imperfections and all, and create lasting holiday memories.
Wishing you happy holidays, Merry Christmas, and a Happy New Year filled with delicious moments!
If you enjoyed this recipe and our “real-world” approach, please PIN IT and help us KEEP IT REAL!
⭐ Comments & Reviews
Did you know that leaving comments and rating recipes is one of the best ways to show support for your favorite recipe creators? If you loved making and tasting this recipe, please take a moment to leave a comment and rate it in the recipe card below. We’d also be thrilled if you shared photos of your creations on social media using the hashtag #foodmeanderings or by tagging @foodmeanderings! Your feedback and shares truly make a difference.

📋 Red Velvet Christmas Brownie Balls Recipe
Print Recipe
Pin
Save RecipeSave Recipe
Rate
Add to Shopping ListGo to Shopping List
Equipment
-
9X13 pan
Ingredients
For the Red Velvet Brownies (from scratch) OR: Substitute with ‘Red Velvet Brownie Mix’
- 1 cup salted butter
- 3 large eggs
- 1 ¾ cups sugar
- 2 teaspoon vanilla extract
- ½ cup cocoa powder
- ½ cup semi-sweet chocolate chips
- 1 ½ tablespoon red food coloring use no- taste red- I buy Wilton brand at Michaels Arts & Crafts or Americolor super red
- 1 ½ cups all-purpose flour
- OR: SUBSTITUTE ‘RED VELVET BROWNIE MIX’ FOR THE ABOVE INGREDIENTS
For Brownie Bites Assembly:
- 1 cup chocolate frosting I use store-bought Betty Crocker whipped chocolate icing
- 1-2 12 oz/340g -packages of candy melts- color of your choice. I use white and chocolate * I use Wilton brand
- 4 teaspoon vegetable shortening
For Garnish:
- sprinkles/sparkling sugar of your choice
Instructions
Part 1: Baking the Red Velvet Brownies (OR: Substitute ‘Red Velvet Brownie Mix’)
-
Prepare the Pan and Oven: Preheat your oven to 350°F (175°C). Lightly grease and flour, or spray a 9×13 inch baking pan with non-stick cooking spray, ensuring good coverage to prevent sticking.
-
Melt Butter and Whisk Eggs: Melt the salted butter in a small saucepan over medium heat until just liquid. Pour the melted butter into a large mixing bowl. In a separate medium mixing bowl, whisk the 3 large eggs until they are light and frothy.
-
Combine Wet Ingredients: Add the white granulated sugar, vanilla extract, and cocoa powder to the melted butter in the large bowl. Stir well with a spatula until thoroughly combined and smooth.
-
Add Chocolate and Color: Melt the semi-sweet chocolate chips in a separate small saucepan over low heat or in the microwave in short bursts, stirring frequently, until smooth. Add the melted chocolate to the sugar and butter mixture and mix well. Next, gently fold in the whisked eggs, followed by the all-purpose flour. Finally, incorporate the red food coloring, mixing until the batter achieves a consistent, vibrant red hue. Pour the brownie batter evenly into your prepared 9×13 inch pan. If using a box red velvet brownie mix, prepare and bake according to the package directions, skipping these brownie steps.
-
Bake and Cool: Bake the brownies in the preheated oven at 350°F (175°C) for approximately 40 minutes. The brownies are done when the middle is set and a toothpick inserted comes out with moist crumbs, and the edges have slightly pulled away from the pan. Avoid overbaking to keep them moist. Allow the brownies to cool completely in the pan on a wire rack. Once cooled, remove them from the pan and break them into smaller pieces.
Part 2: Brownie Balls Assembly & Decoration
-
Crumble the Brownies: Place the cooled brownie pieces into your food processor and pulse until they form fine, even crumbs. If you don’t have a food processor, you can crumble them by hand, ensuring the crumbs are as fine as possible.
-
Mix with Frosting & Form Balls: In a large bowl, combine the brownie crumbs with 1 cup of chocolate frosting. Mix thoroughly until the mixture is well combined and sticky enough to form balls. Now, using slightly wet hands (this is a key tip to prevent sticking!), roll the mixture into approximately 1.5-inch diameter balls. Firmly compress each ball to ensure it holds its shape. If the mixture seems too dry, add more frosting, 1 teaspoon at a time, until you reach the desired consistency. Place the formed brownie balls onto a cookie sheet lined with parchment paper and refrigerate for about 10 minutes to firm up slightly.
-
Melt the Candy Melts: While the brownie balls are chilling, prepare your candy melts. Melt the candy melts on low heat in a pot on the stovetop, stirring frequently, or in a microwave-safe bowl on 50% power (setting ‘5’ on most microwaves), stirring every 30 seconds. Add the vegetable shortening to the candy melts as they melt; this helps thin them and creates a smoother coating. Heat the candy melts again as needed if they start to thicken. Crucial Tip: Be extremely careful not to get any water near the melted candy melts, as this will cause them to seize and become unusable. Also, avoid overheating.
-
Dip and Coat: Once the candy melts are smooth and fluid, retrieve your chilled brownie balls. Using a fork or specialized dipping tools, carefully dip each brownie ball into the melted candy. Ensure it’s fully coated, then gently tap off any excess coating. For a visual guide, refer to the video linked in the notes section: “How to coat a brownie ball in candy melts.” Place the coated brownie balls back onto a baking sheet lined with wax paper or parchment paper.
-
Garnish and Set: Immediately after dipping each ball, while the candy coating is still wet, sprinkle on your chosen festive sprinkles, sparkling sugar, or other decorations. This ensures they adhere beautifully. If you want them to harden quickly, refrigerate the decorated brownie balls for a few minutes until the coating is firm. Otherwise, they will set at room temperature.
Notes
🎥 VIDEO TUTORIAL
Watch this video for detailed visual instructions: How to coat a brownie ball in candy melts
Time-Saving Tip: If you opt to use a box red velvet brownie mix instead of making them from scratch, you can reduce the overall preparation time by approximately 20 minutes.
Nutrition Facts
📋 Red Velvet Christmas Brownie Balls Recipe
Amount Per Serving
Calories 254
Calories from Fat 108
% Daily Value*
Fat 12g18%
Saturated Fat 7g44%
Cholesterol 48mg16%
Sodium 106mg5%
Potassium 75mg2%
Carbohydrates 34g11%
Fiber 1g4%
Sugar 25g28%
Protein 2g4%
Vitamin A 320IU6%
Calcium 11mg1%
Iron 1mg6%
* Percent Daily Values are based on a 2000 calorie diet.
Calories from Fat 108
Nutrition
🎄 More Festive Christmas & Holiday Tray Ideas
If you’re looking to expand your holiday baking repertoire beyond these delectable Red Velvet Brownie Balls, we have plenty of other irresistible recipes perfect for your Christmas cookie tray, gifting, or simply enjoying with family and friends. Explore these additional festive treats that are sure to add sparkle and sweetness to your celebrations:
- Microwave Sugar Cookie Fudge Recipe
- Lime Christmas Squares
- Gingerbread Yule Log Cookies
- Whipped Shortbread Cookies (with cornstarch)
