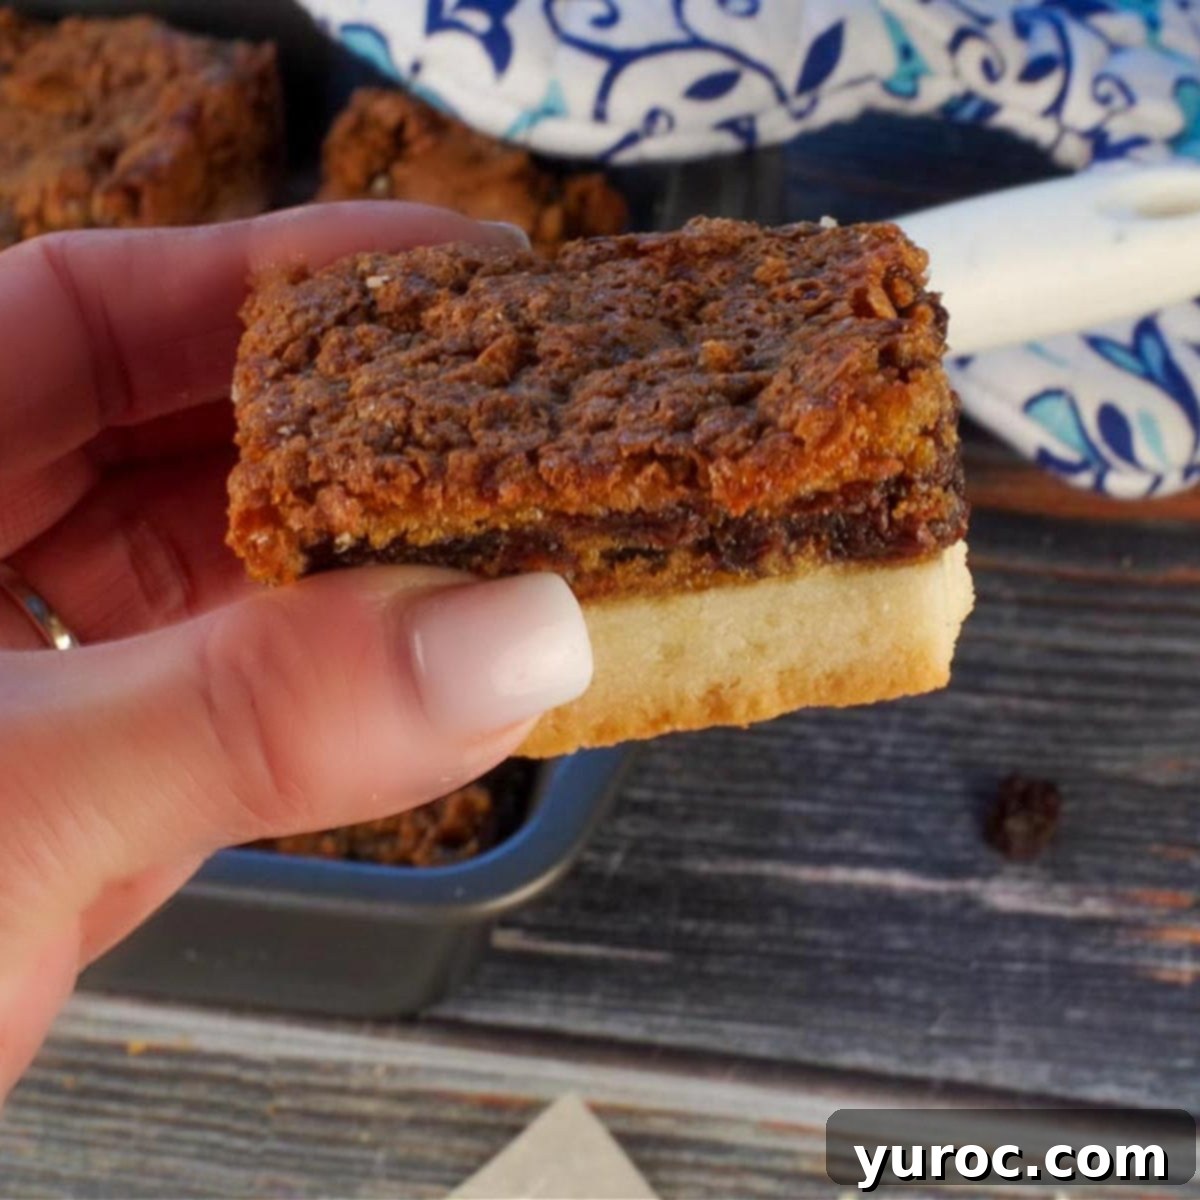
The Ultimate Butter Tart Squares: Easy Homemade Canadian Dessert Bars with Gooey Filling
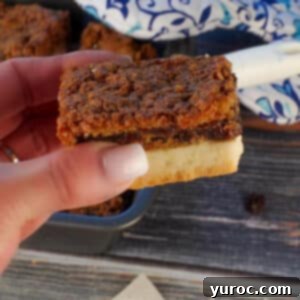
Prepare to fall in love with these irresistible **Butter Tart Squares**, also affectionately known as Butter Tart Slices or Butter Tart Bars. Imagine the classic, beloved Canadian butter tart transformed into a convenient, delicious square—it’s everything you adore about the traditional pastry, but quicker and significantly easier to make! Featuring a delightful, buttery shortbread crust topped with an exquisitely gooey, sweet butter tart filling, these bars are a perfect addition to any baking platter. They serve as an exceptional dessert or a satisfying snack, embodying comfort and indulgence in every bite.
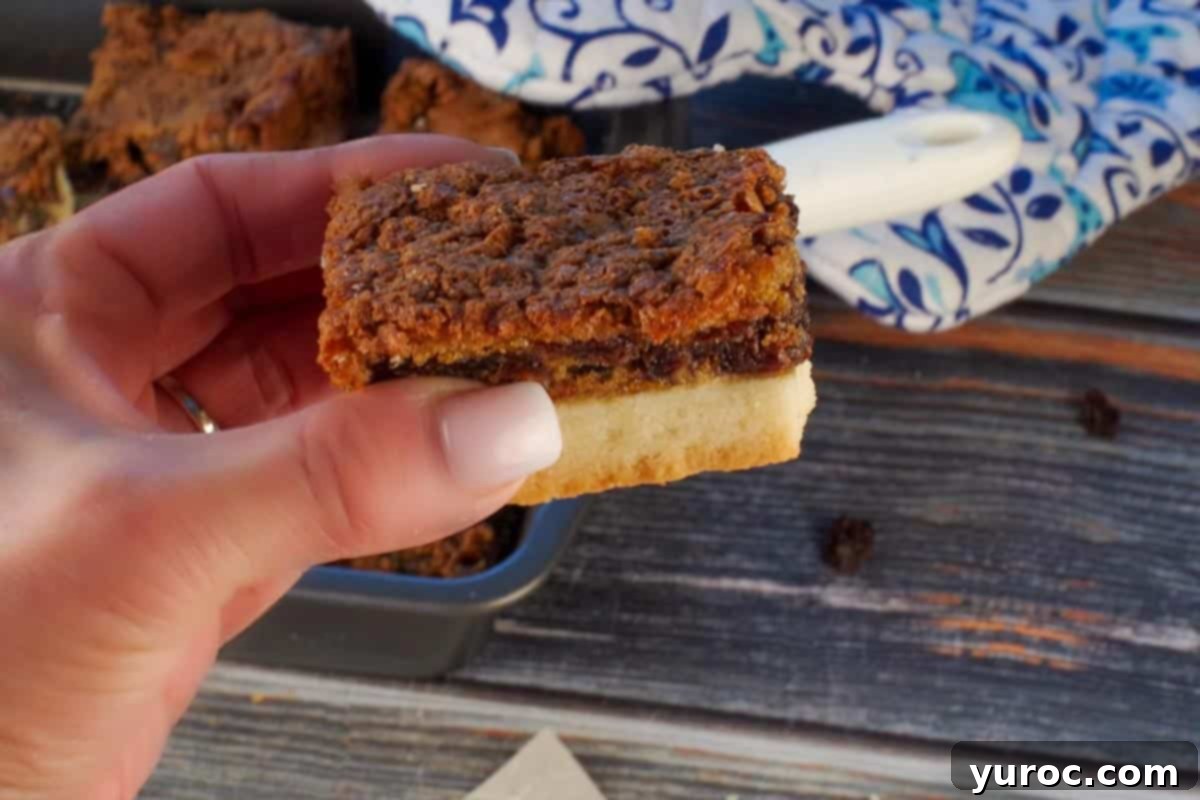
Butter tart squares hold a special place in Canadian culinary traditions, particularly gaining immense popularity during the Christmas holiday season. Their rich flavor and comforting texture make them an excellent choice for festive baking platters, potlucks, or simply to savor with a warm cup of coffee, tea, or a cold glass of milk. If you’re a devoted fan of butter tarts, you’ll be thrilled to explore more of my butter tart inspired creations, including my decadent Butter Tart Bundt Cake, adorable Butter Tart Thumbprint Cookies, charming Butter Tart Cupcakes, refreshing No-Churn Butter Tart Ice Cream, and the unique Butter Tart Waffles (Canadian Waffles). Each recipe offers a delightful twist on this iconic flavor, ensuring you can enjoy the essence of butter tarts in countless ways.
Beyond these Canadian delights, if you have a soft spot for easy-to-make dessert bars, don’t miss out on my Chocoholic Chocolate Squares for a rich, fudgy treat. And for those who appreciate traditional, comforting flavors, my classic Date Slice (Matrimonial Cake) is sure to become a new favorite. This specific butter tart bar recipe is a cherished family heirloom, passed down from my Auntie Sue. I grew up enjoying these exact bars, and I’m incredibly excited to finally share this treasured recipe with you. It truly is, in my humble opinion, THE BEST Butter Tart Slice you’ll ever taste!
Essential Ingredient Notes for Perfect Butter Tart Squares
Crafting the perfect Butter Tart Slice requires a few key ingredients. Here’s a detailed look at what you’ll need and some helpful tips for selecting and using them:
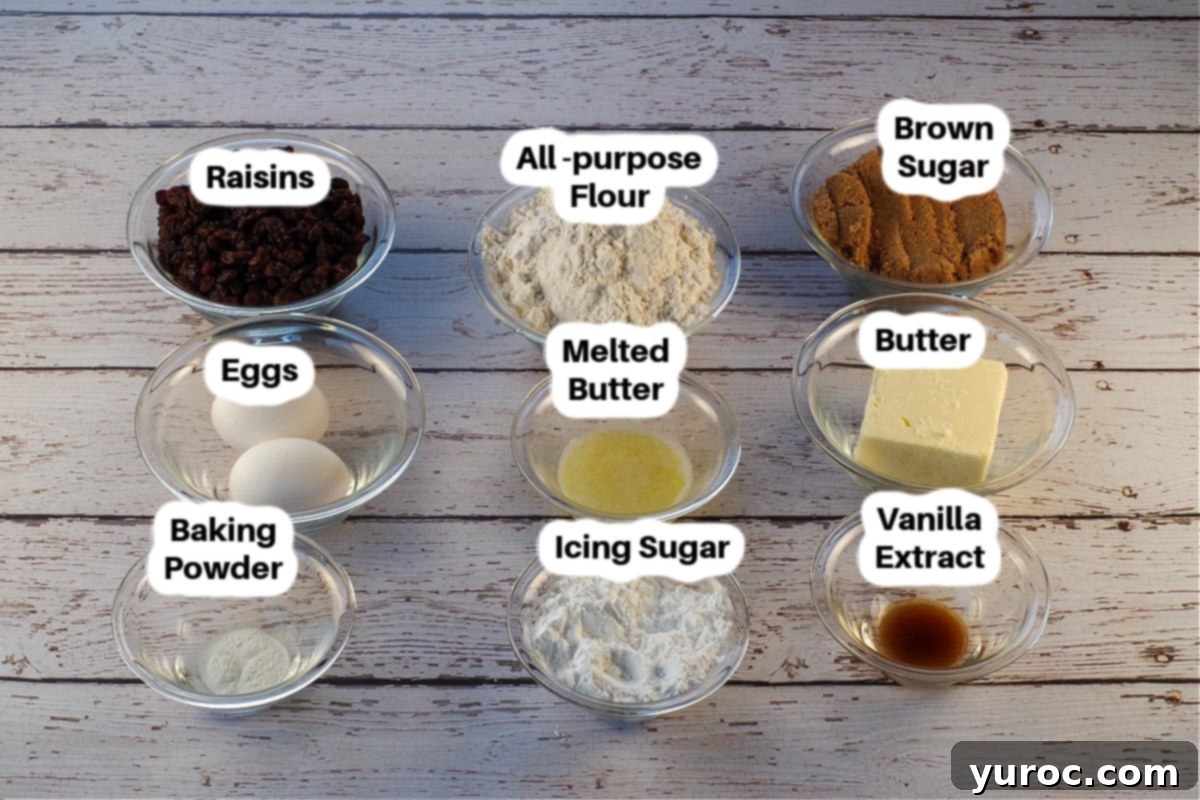
- Brown Sugar: This is the secret to the butter tart’s signature rich, caramel-like flavor and its wonderfully gooey texture. You can choose between light or dark brown sugar. While both work beautifully, dark brown sugar, with its higher molasses content, will impart a deeper, more pronounced caramel note and a slightly darker color to your bars. Light brown sugar will result in a milder flavor and a lighter hue. For this particular batch, I opted for dark brown sugar to enhance that classic deep butter tart taste.
- Butter: For most of my baking, I prefer using unsalted butter. This allows me complete control over the salt content in the recipe, ensuring the flavors are perfectly balanced. While this particular recipe has no added salt beyond what might be in salted butter, using unsalted still offers a pure butter flavor that shines through. Ensure your butter is softened to room temperature for both the crust and the filling; this promotes better emulsification and a smoother consistency.
- Icing Sugar: In Canada, “icing sugar” is the common term for what is elsewhere known as “powdered sugar” or “confectioners’ sugar.” Its fine, powdery texture is essential for creating a smooth, tender shortbread crust that melts in your mouth. Using granulated sugar instead would significantly alter the crust’s texture, making it gritty.
- Eggs: Eggs act as a binder and contribute to the richness and structure of the gooey filling. Like butter, ensure your eggs are at room temperature. This helps them incorporate more smoothly into the other ingredients, creating a more uniform filling texture.
- All-Purpose Flour: This provides the necessary structure for both the shortbread crust and helps to thicken the filling slightly. Measure your flour correctly by spooning it into a measuring cup and leveling it off with a knife, rather than scooping directly from the bag, which can lead to over-measurement.
- Baking Powder: A small amount of baking powder in the filling helps to give it a slight lift and contributes to its characteristic light, airy yet gooey texture. It prevents the filling from becoming too dense.
- Vanilla Extract: A touch of pure vanilla extract enhances all the sweet, buttery flavors in the filling, adding a fragrant and comforting aroma that is essential for a truly authentic butter tart taste.
- Raisins (Optional, but traditional): Raisins are a classic addition to butter tarts, providing bursts of fruity sweetness and a chewy texture. If you’re not a fan, don’t worry—there are plenty of delicious alternatives!
Please refer to the complete recipe card below for a full list of all ingredients and precise quantities.
Versatile Variations & Easy Substitutions
While the classic Butter Tart Slice is divine, it’s also incredibly adaptable to your personal preferences. Here are some popular variations and substitutions to make these bars truly your own:
- Butter Choices: As mentioned, unsalted butter is preferred for precise flavor control. However, if you only have salted butter on hand, you can certainly use it. Just be aware that it will subtly cut down on the overall sweetness of the bars, which some people actually prefer for a more balanced profile. There’s no need to adjust other ingredients if you make this switch.
- Raisins or Pecans – Your Choice: The traditional butter tart often features raisins, which add a lovely chewy texture and fruity sweetness. But if you’re firmly in the “no raisins” camp, or simply prefer nuts, pecans are a fantastic alternative. Roughly chopped pecans add a delightful crunch and a rich, nutty flavor that complements the gooey filling perfectly. You can also experiment with other additions like chopped walnuts, chocolate chips for a chocolatey twist, or even shredded coconut for a tropical hint. Feel free to mix and match or use a combination of your favorites!
- Add a Splash of Alcohol: For an adult twist, a teaspoon of rum extract, brandy, or even a good quality bourbon can be added to the filling. These spirits enhance the caramel notes and add a sophisticated depth of flavor, making them even more indulgent for holiday gatherings.
- Maple Syrup Boost: While brown sugar provides the primary sweetness, a tablespoon or two of pure maple syrup in the filling can deepen its Canadian roots and add an extra layer of rich, nuanced sweetness.
Step-by-Step Guide: How to Make Irresistible Butter Tart Slices
Making these Butter Tart Slices is a straightforward process, broken down into simple steps for both the crust and the filling. Follow along to create this delicious Canadian treat in your own kitchen:
PREP: Begin by preheating your oven to 350 degrees F (176 degrees C). This ensures your oven is at the correct temperature when your pan is ready to go in. Generously spray a 9×9 inch (or 8×8 inch for thicker bars) baking pan with non-stick cooking spray, or line it with parchment paper, leaving an overhang on two sides for easy removal later. This crucial step prevents the sticky filling from adhering to the pan.
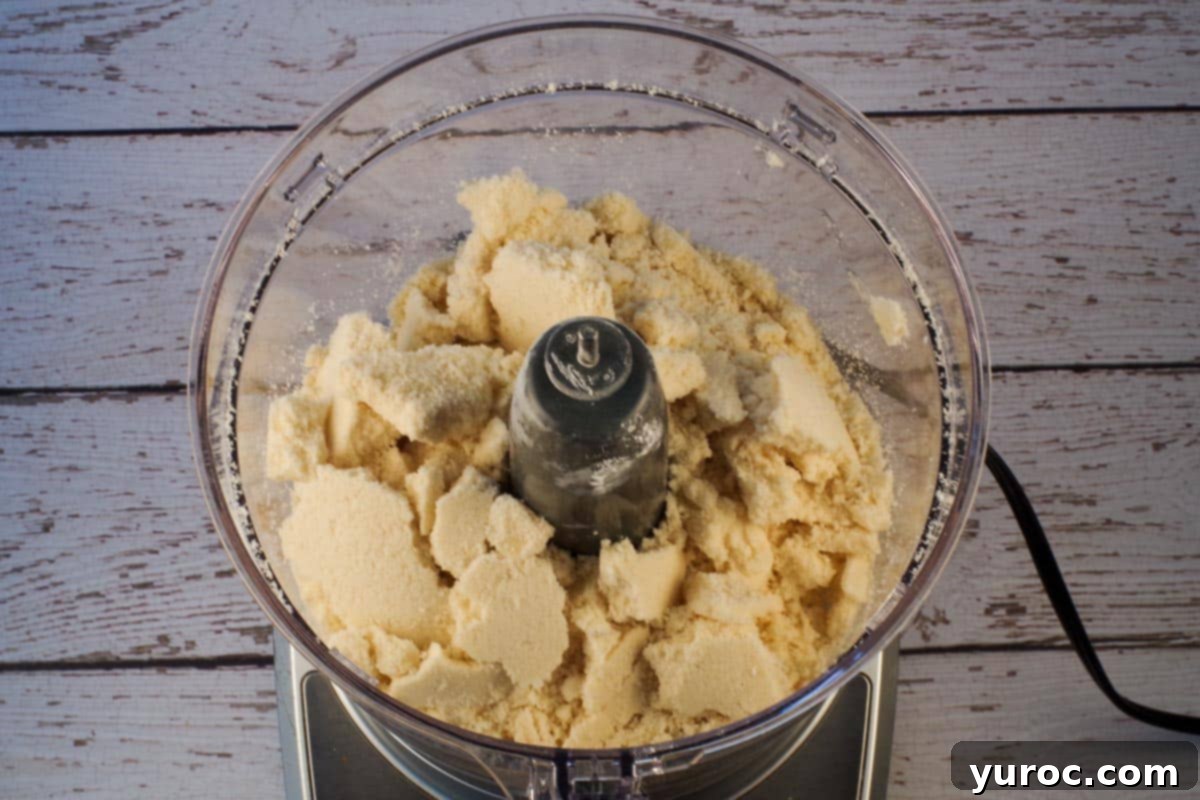
- Step 1: Prepare the Shortbread Base: Combine all the base ingredients (softened butter, icing sugar, and all-purpose flour) in a food processor. Pulse until the mixture comes together and forms a soft dough that clings to itself. If you don’t have a food processor, you can use a pastry cutter or your fingertips to work the butter into the dry ingredients until it resembles coarse crumbs and then press it to form a dough.
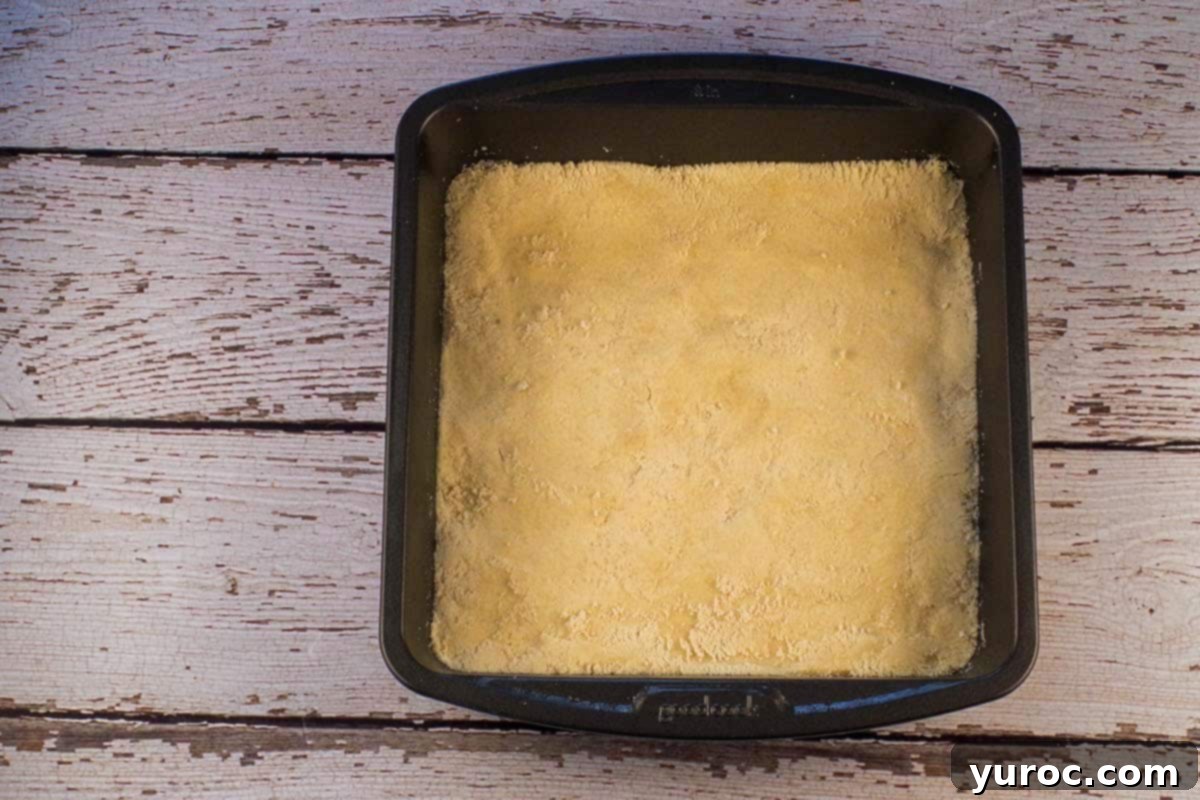
- Step 2: Press the Crust into the Pan: Carefully press the shortbread crust mixture evenly into the bottom of your prepared pan. You can use your fingers or the back of a flat spatula to ensure a compact and uniform layer. A smooth, even crust will bake more consistently.
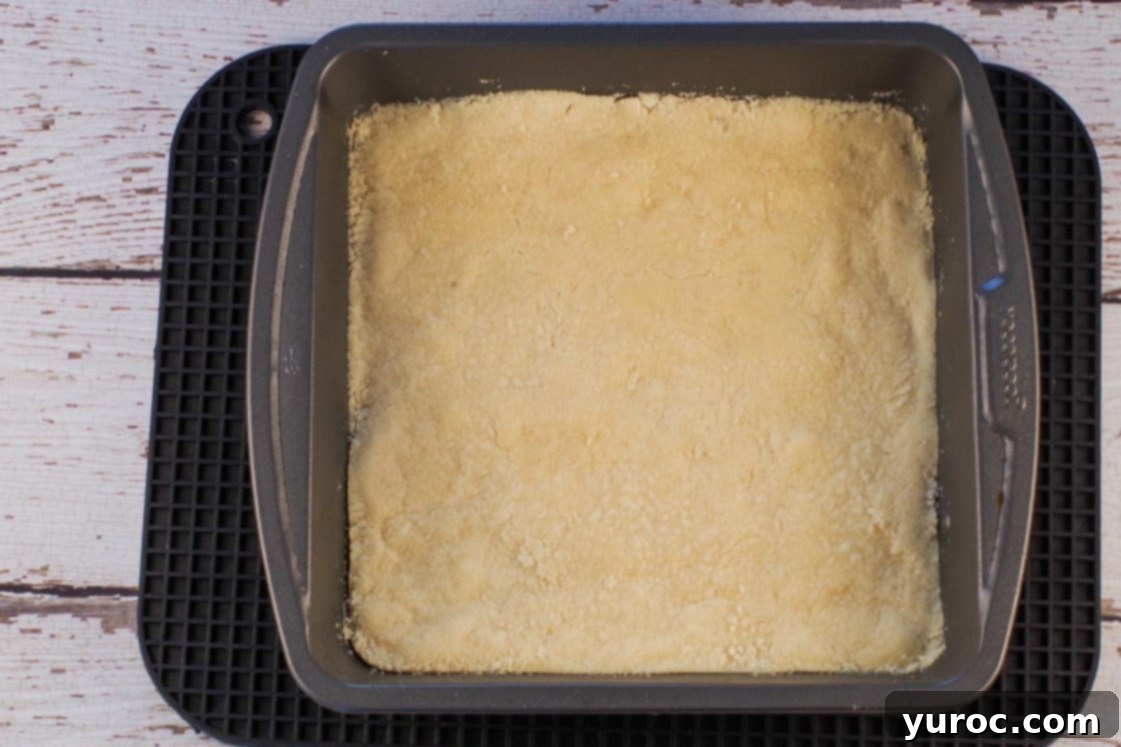
- Step 3: Pre-bake the Crust: Place the pan with the pressed crust into your preheated oven and bake for exactly 10 minutes. This pre-baking step helps to set the crust, creating a sturdy foundation for the gooey filling and preventing it from becoming soggy.
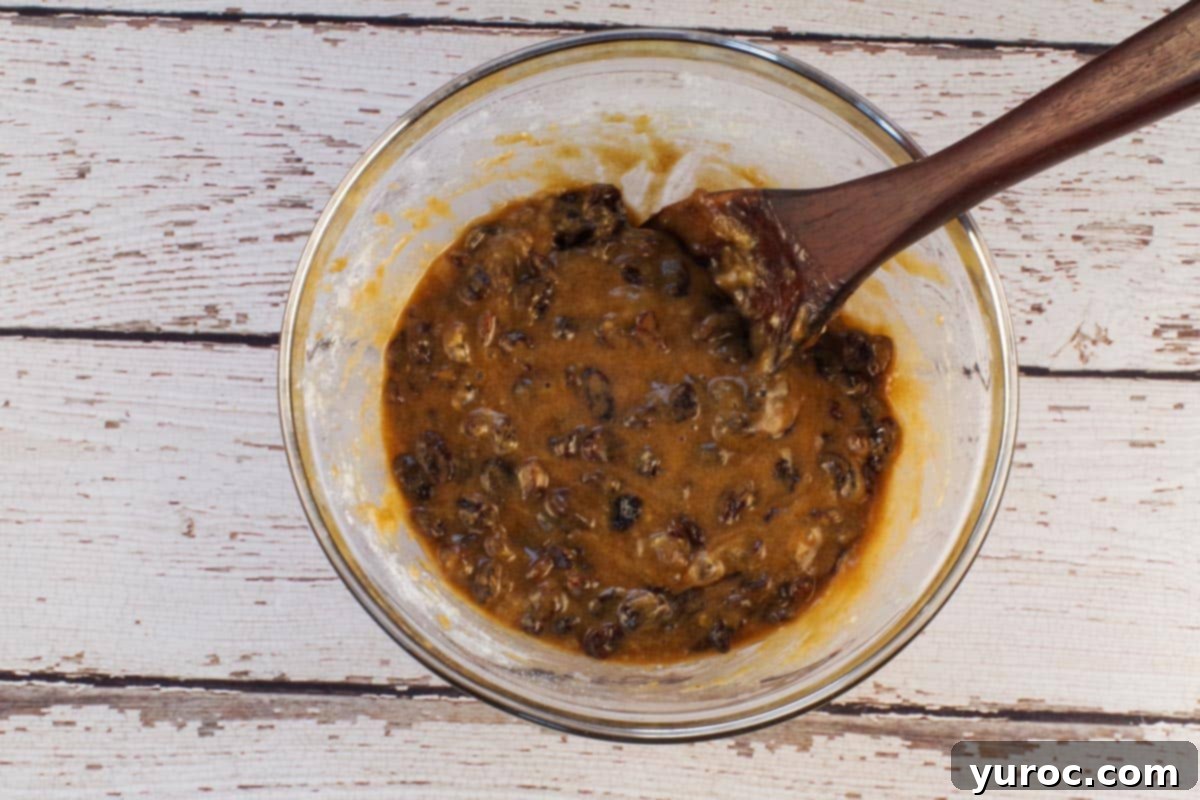
- Step 4: Prepare the Gooey Topping/Filling: While the crust is baking, whisk together all the topping ingredients (eggs, brown sugar, baking powder, flour, melted butter, vanilla extract, and raisins or pecans) in a large mixing bowl. It’s important to only mix until just combined; overmixing can incorporate too much air, which can affect the final gooey texture. The mixture should be thick and syrupy.
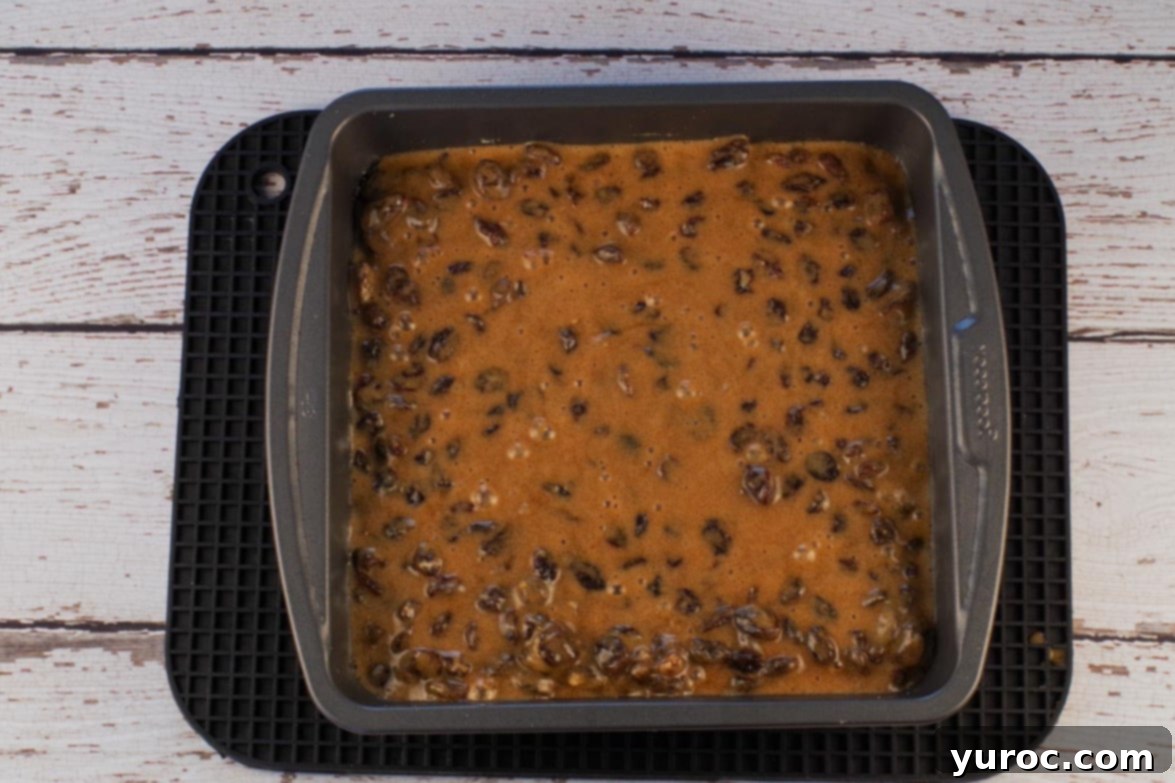
- Step 5: Add the Filling to the Base: Once the crust is lightly baked, carefully pour and spread the prepared butter tart filling evenly over the warm shortbread base. Use a spatula to gently spread it to all corners of the pan.
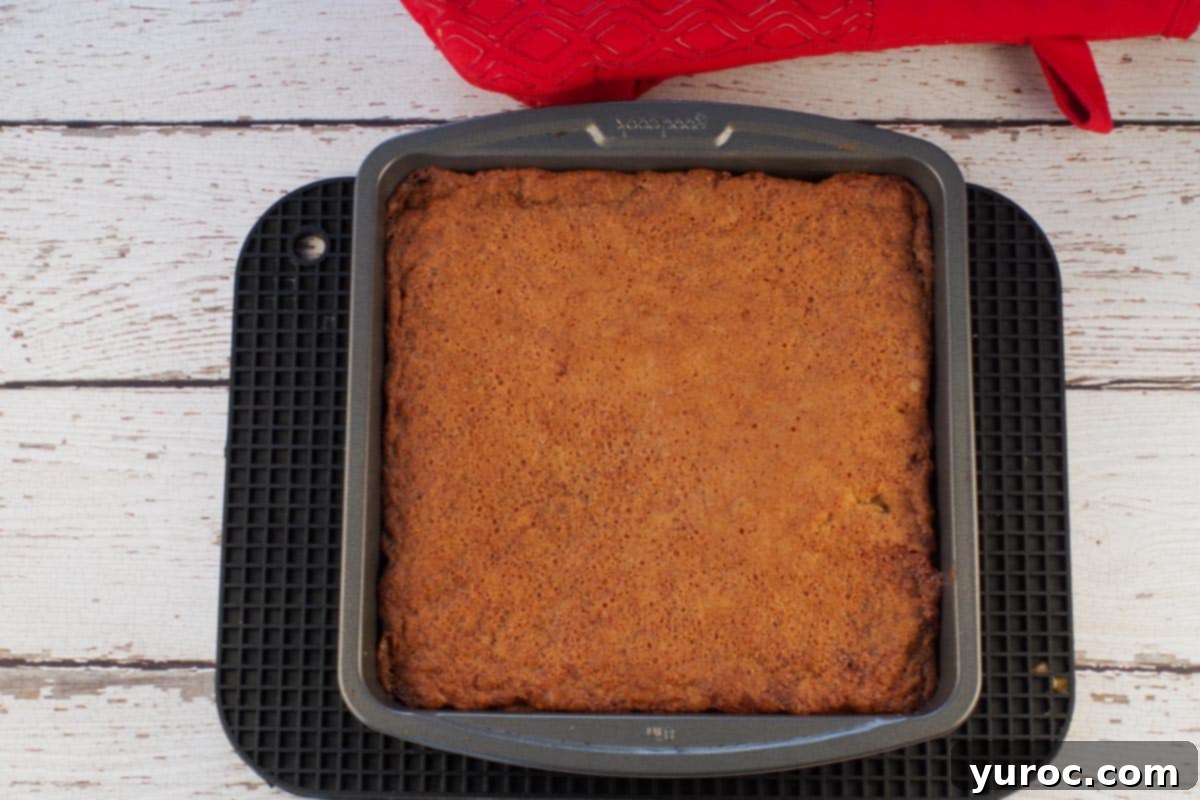
- Step 6: Bake to Perfection: Return the pan to the oven and bake for an additional 25-30 minutes. You’ll know it’s done when the edges are set and slightly golden, but the middle is still slightly jiggly or “almost firm.” The filling will continue to set as it cools. For my oven, 28 minutes was the perfect baking time to achieve that ideal gooey consistency.
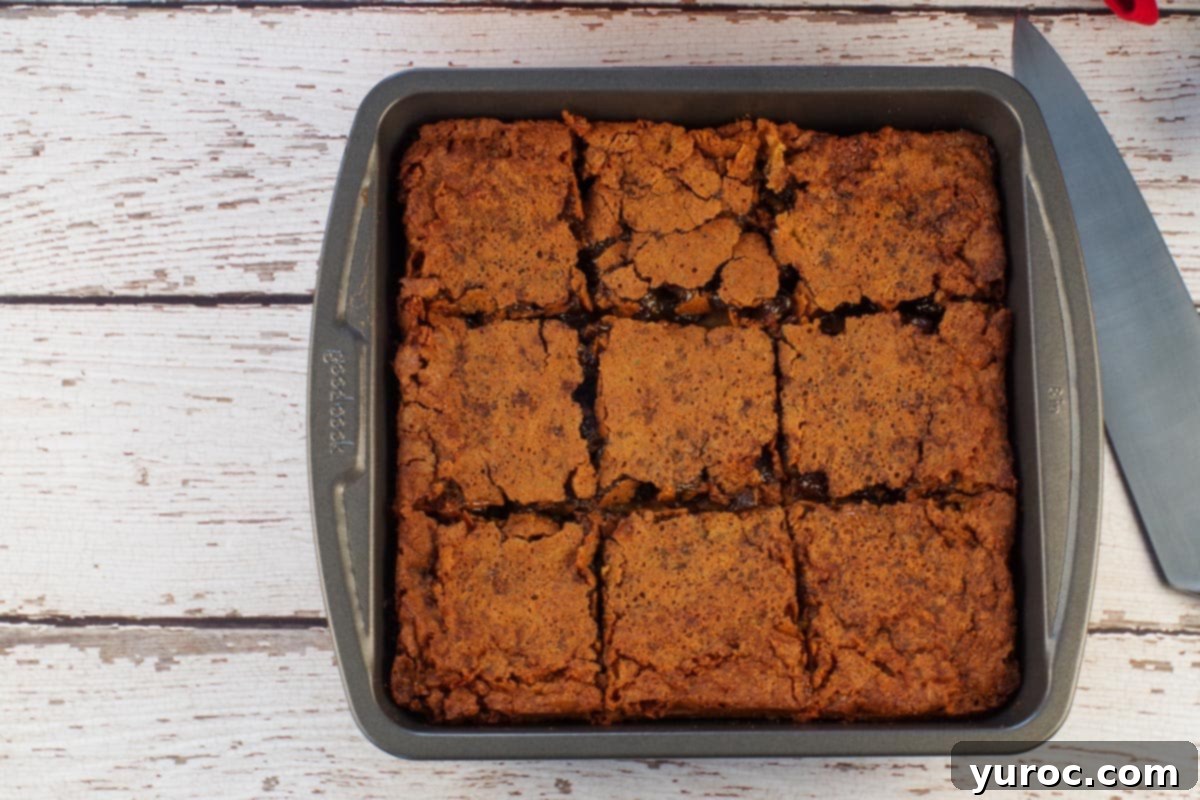
- Step 7: Cool, Slice, and Serve: Allow the butter tart squares to cool in the pan for at least 10 minutes. This cooling period is crucial for the filling to fully set, making it easier to cut. Once cooled slightly, use a butter knife or a thin spatula to loosen the edges around the perimeter of the pan. Then, carefully slice the entire pan into 9 generous servings. For a super clean presentation, once you’ve removed the squares from the pan (a pie lifter is fantastic for this!), you might wish to trim the very edges of each individual piece to make them look extra neat and professional. Enjoy your homemade Canadian delicacy!
Storage Solutions for Your Butter Tart Bars
Proper storage ensures your delicious Butter Tart Bars remain fresh and enjoyable for as long as possible:
Once completely cooled, store these butter tart bars in an airtight container. They will keep beautifully in the refrigerator for up to 5 days. The cool environment helps maintain the integrity of the gooey filling and prevents the shortbread crust from becoming stale.
For longer storage, these bars are excellent for freezing! Simply place them in a single layer on a baking sheet to flash freeze until solid. Once frozen, transfer them to an airtight freezer-safe container or a heavy-duty freezer bag, separating layers with parchment paper to prevent sticking. They can be stored in the freezer for up to 3 months. When you’re ready to enjoy them, simply thaw them in the refrigerator or at room temperature, or gently warm them in the microwave for a few seconds for an extra gooey treat.
Adjusting the Serving Size to Fit Your Needs
This recipe is designed to yield 9 generous servings of delightful Butter Tart Squares. However, its versatility means you can easily adjust the yield to suit any occasion, whether you’re baking for a small family gathering or a larger crowd. You have the flexibility to half, double, or even triple the recipe. Simply click on the serving number in the recipe card below and select your desired quantity. The ingredient amounts will automatically adjust, making it effortless to scale the recipe up or down without manual calculations.
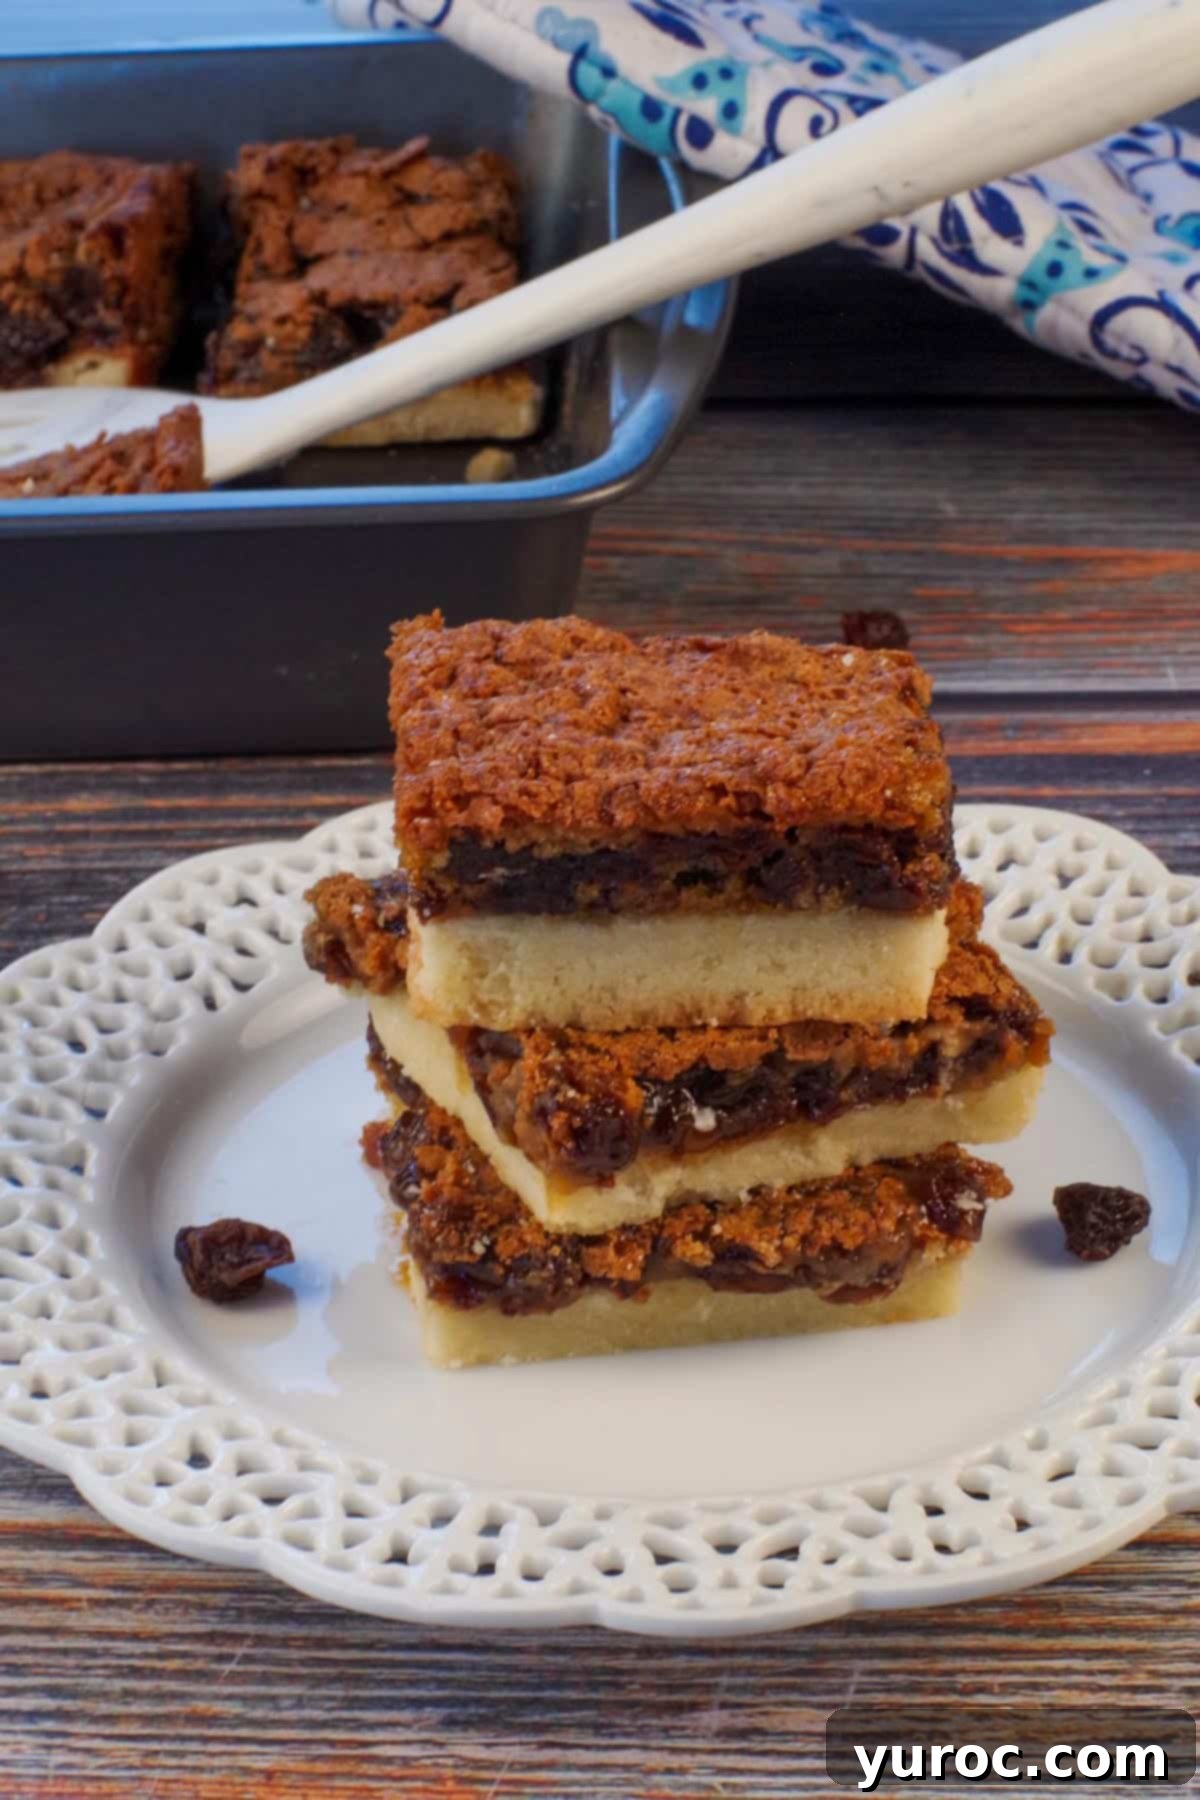
Top Tips for Butter Tart Perfection
Achieving the perfect Butter Tart Square is easier than you think with these expert tips:
- Spray Your Pan VERY GENEROUSLY: This is arguably the most crucial tip! The butter tart filling is incredibly high in sugar, which caramelizes and hardens as it bakes. If your baking pan is not thoroughly coated with non-stick spray (or if you don’t use a high-quality product like Wilton Cake Release), you will face a significant challenge trying to loosen and remove the squares from the sides of the pan without them breaking apart. Don’t be shy with the spray!
- Ensure Room Temperature Ingredients: For both the shortbread crust and the gooey filling, make sure your butter and eggs are softened to room temperature. This is vital for proper emulsion and incorporation. Cold ingredients don’t mix as smoothly, leading to a lumpy batter or filling and a less uniform texture in the final product. Room temperature ingredients blend effortlessly, resulting in a perfectly smooth crust and a wonderfully consistent, gooey filling.
- Use a Spatula to Flatten the Base/Crust: After adding the shortbread mixture to the pan, use a flat utensil, like the bottom of a glass or a rubber spatula, to press it down evenly. This helps create a compact, uniform shortbread base. An even base ensures consistent baking and a much neater final appearance.
- Don’t Overmix the Filling: When combining your filling ingredients, mix them just until they are fully incorporated. Overmixing can develop the gluten in the small amount of flour, leading to a tougher texture, or incorporate too much air, which can make the filling less dense and gooey. A gently mixed filling retains that luscious, classic butter tart gooiness.
- Loosen the Squares from the Sides of the Pan Before Cutting: Once the bars have cooled for at least 10 minutes, take a butter knife or a thin, flexible spatula and carefully run it around all the edges of the pan. This preemptive loosening step will prevent the hardened, sticky filling from gripping the pan as you attempt to cut and remove the squares, minimizing breakage.
- Employ a Pie Lifter for Clean Removal: For the cleanest, most intact squares, especially when removing them from the pan, a pie lifter or a wide, sturdy spatula is your best friend. Its broad surface provides excellent support, allowing you to lift each square out in one piece without damaging its delicate structure.
Perfect Pairings: What to Serve with Butter Tart Squares
These delightful Butter Tart Squares are incredibly versatile and pair wonderfully with a variety of beverages and other desserts, making them perfect for any occasion. For a simple indulgence, enjoy them with a comforting cup of freshly brewed coffee, a soothing mug of hot tea, a festive glass of eggnog during the holidays, or simply a tall, cold glass of milk for a classic combination.
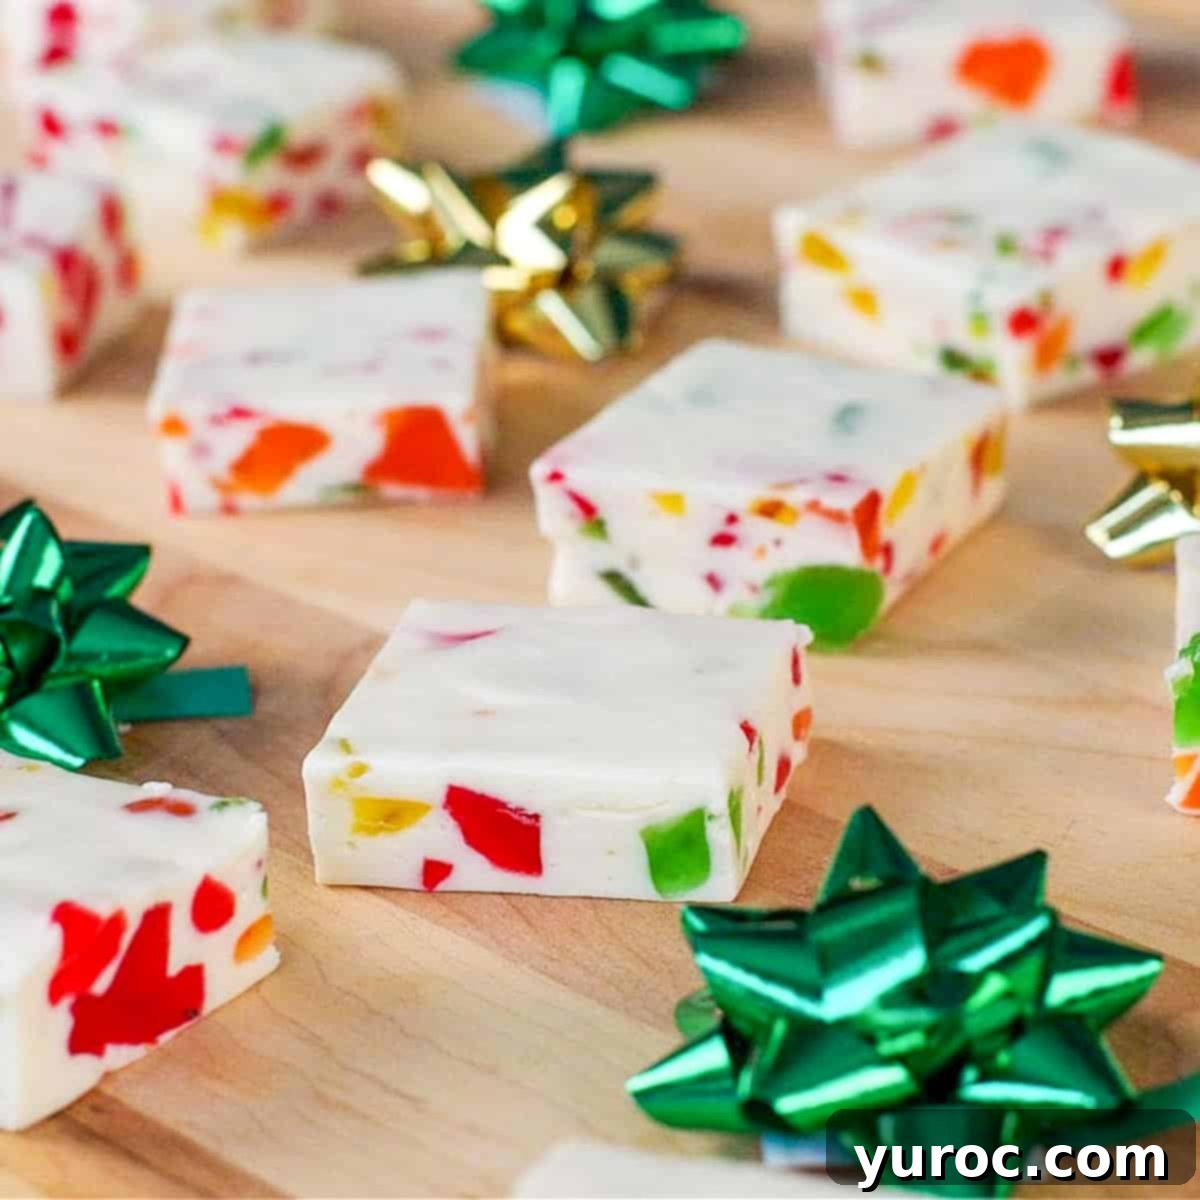
If you’re aiming to create the ultimate holiday baking tray to impress your guests, these butter tart squares are a must-have centerpiece. Arrange them alongside an assortment of other festive treats for a truly spectacular spread. Consider pairing them with my incredibly tender Whipped Shortbread Cookies (made with cornstarch), the chewy and colorful Christmas Nougat (as shown in the image below, a perfect textural contrast), delightful Almond Pinwheel Cookies, sweet and spiced Eggnog Cookies (complete with frosting), and rich Chocolate Gingerbread Bark. This curated selection will offer a variety of flavors and textures, ensuring there’s something for everyone to enjoy on your festive dessert platter!
Frequently Asked Questions About Butter Tart Squares
No food processor? No problem! You can easily make the shortbread crust using a pastry cutter, two knives, or even your clean fingertips. The key is to cut the cold butter into the flour and icing sugar until the mixture resembles coarse crumbs, similar to pie crust dough. Once it reaches this consistency, you can gather and press it together with your hands to form a cohesive dough before pressing it into the pan. This method works just as well, it just requires a little more elbow grease!
While both Butter Tart Slices and Pecan Pie Bars feature a sweet, gooey filling and a delightful crust, they are distinctly different Canadian and American desserts, respectively. Butter Tart Slices typically boast a very specific rich, caramel-like filling often complemented by raisins or pecans, all nestled on a tender, crumbly shortbread base. Pecan pie bars, on the other hand, usually feature a more robust, heavily pecan-centric filling that is denser and often relies on corn syrup, usually baked into a traditional flaky pie crust. The flavor profile and texture of the filling and crust are unique to each.
For perfectly neat butter tart squares, patience is key! First, allow the bars to cool completely – at least 10 minutes, but ideally closer to 30-60 minutes – before attempting to cut them. The filling needs ample time to set. Use a very sharp, thin knife. For the cleanest cuts, wipe the blade clean with a damp cloth after each slice. If you want a truly professional look, you can also trim the slightly uneven edges off the perimeter pieces, leaving you with perfectly squared inner bars.
Several factors can contribute to a runny filling. The most common is underbaking; ensure you bake the bars until the center is *almost* firm but still exhibits a slight jiggly movement when gently shaken. It will firm up considerably as it cools. Another reason could be overmixing the eggs, which can incorporate too much air and affect the filling’s structure, or an incorrect ratio of sugar to other wet ingredients. Ensure your oven temperature is accurate and that all ingredients are measured precisely as per the recipe card.
Absolutely! This recipe is easily scalable. To double it, you’ll need a larger baking pan, such as a 9×13 inch pan. For tripling, you might need an even larger pan or two smaller pans. When increasing the recipe, keep a close eye on the baking time; while it won’t necessarily double, it will likely require additional time in the oven. Start checking for doneness a few minutes before the original recipe’s maximum bake time, and continue baking until the center is almost firm.
Whether you’re a long-time lover of traditional butter tarts or simply seeking a quick and effortless way to enjoy their exquisite flavor, these easy butter tart squares are guaranteed to become a new favorite. They offer all the gooey, sweet indulgence of their classic counterparts, but in a convenient, bar-form package that’s perfect for sharing (or not!). And if you truly can’t get enough of that unique butter tart taste, be sure to explore my comprehensive collection of The Best Butter Tart Recipes for even more delectable variations.
Discover More Delicious Squares and Bars
Craving more delightful dessert bars and squares? Here are some other fantastic recipes to try that are sure to satisfy any sweet tooth:
- Rhubarb Squares
- Lime Christmas Squares
- Healthy Zucchini Bars
- Mocha Eggnog Cheesecake Bars
Did your family ❤️ this recipe? Did you know that commenting and ⭐ rating recipes is one of the best ways to support your favorite recipe creators? If you LOVED this recipe, please comment and rate it in the recipe card below, or share photos on social media using the hashtag #foodmeanderings or tagging @foodmeanderings!

📋Butter Tart Slice Recipe
Print Recipe
Pin
Save Recipe
Save Recipe
Rate
Dessert, Snack
Canadian
Vegetarian
9
servings
394
kcal
Terri Gilson
15 minutes
30 minutes
45 minutes
Go to Shopping List
Equipment
-
9×9 square pan
Ingredients
Base
-
½
cup
butter
(softened- room temperature) -
½
cup
icing sugar
-
1 ¼
cups
all-purpose flour
Filling/Topping:
-
2
eggs -
1
cup
brown sugar -
¾
tsp
baking powder -
¼
cup
flour
-
2
tablespoon
butter
(measured BEFORE melting) -
½
tsp
vanilla extract -
1 ½
cups
raisins
Metric
Instructions
-
Preheat oven to 350 degrees F (176 degrees C). Generously spray a 9×9 or 8×8 inch pan with non-stick cooking spray.
-
Mix base ingredients together in a food processor until they cling together to form a dough.½ cup butter,
½ cup icing sugar,
1 ¼ cups all-purpose flour -
Press the crust mixture firmly into the prepared pan to form an even layer.
-
Bake the shortbread crust for 10 minutes in the preheated oven.
-
While the crust is baking, whisk topping ingredients together in a medium bowl until just combined.2 eggs,
1 cup brown sugar,
¾ teaspoon baking powder,
¼ cup flour,
2 tablespoon butter,
1 ½ cups raisins,
½ teaspoon vanilla extract -
Carefully spread the prepared filling evenly over the partially baked shortbread base.
-
Bake for another 25-30 minutes, or until the middle of the filling is almost firm but still slightly jiggly. (For my oven, 28 minutes was perfect!)
-
Allow the bars to cool in the pan for at least 10 minutes before loosening the edges with a knife or spatula and slicing into 9 servings.
Notes
Variations & Substitutions:
- Butter – You can use salted butter; it will subtly cut the sweetness a little, which some people prefer.
- Raisins – If you’re not a fan of raisins, simply use pecans instead for a delightful nutty crunch!
- Other Add-ins: Experiment with chocolate chips, chopped walnuts, or shredded coconut in the filling.
- Flavor Boost: Add 1 tsp of rum extract or a splash of brandy to the filling for a deeper, more complex flavor.
Recipe Tips:
-
- Spray your pan VERY GENEROUSLY. Make sure you spray your baking pan very generously with non-stick spray (or use Wilton Cake Release). The butter tart filling is very sticky and will harden against the sides of the pan. If you don’t spray it thoroughly, you will have a tough time loosening the square from the sides of the pan.
-
- Room temperature ingredients. Make sure your eggs and butter are softened to room temperature to ensure the ingredients will incorporate into a smooth crust and filling.
-
- Use a spatula to flatten base/crust. Using a flat utensil will help evenly flatten the shortbread base, ensuring uniform baking.
-
- Don’t overmix. Mix your filling ingredients just until combined, as overmixing can affect the texture of the gooey filling.
- Loosen the squares from the sides of the pan. Before attempting to remove the bars from the pan, use a spatula or butter knife to loosen all the edges; this prevents sticking and breaking.
- Use a pie lifter. A pie lifter or wide spatula will ensure you get the squares out in one piece, perfectly intact!
Nutrition
Serving:
1
slice
|
Calories:
394
kcal
(20%)
|
Carbohydrates:
66
g
(22%)
|
Protein:
4
g
(8%)
|
Fat:
14
g
(22%)
|
Saturated Fat:
8
g
(50%)
|
Polyunsaturated Fat:
1
g
|
Monounsaturated Fat:
4
g
|
Trans Fat:
1
g
|
Cholesterol:
70
mg
(23%)
|
Sodium:
164
mg
(7%)
|
Potassium:
272
mg
(8%)
|
Fiber:
2
g
(8%)
|
Sugar:
30
g
(33%)
|
Vitamin A:
446
IU
(9%)
|
Vitamin C:
1
mg
(1%)
|
Calcium:
59
mg
(6%)
|
Iron:
2
mg
(11%)
Did you make this recipe?
Please leave a star rating and review below!
