The Ultimate Fluffy Vanilla Birthday Cake: A Secret Ingredient Recipe for Homemade Perfection
Every birthday deserves a show-stopping cake, and for a truly memorable celebration, nothing beats a homemade vanilla birthday cake that’s light, fluffy, and bursting with flavor. While the exact location of the legendary Mermaid Bakery might be a mystery to many, their reputation for crafting exceptional vanilla birthday cakes has certainly inspired this incredible recipe. This isn’t just any vanilla cake; it’s a scratch-made masterpiece designed to achieve the beloved delicate texture and irresistible taste often associated with a premium box mix, but elevated to an entirely new level of homemade deliciousness. And the secret to this extraordinary upgrade lies in a special ingredient that transforms a good cake into an unforgettable one. Prepare to discover the magic behind the perfect vanilla butter cake, complete with decorating tips and a recipe that will make you the star of any birthday bash.

Crafting the Perfect Vanilla Butter Cake: A Birthday Tradition
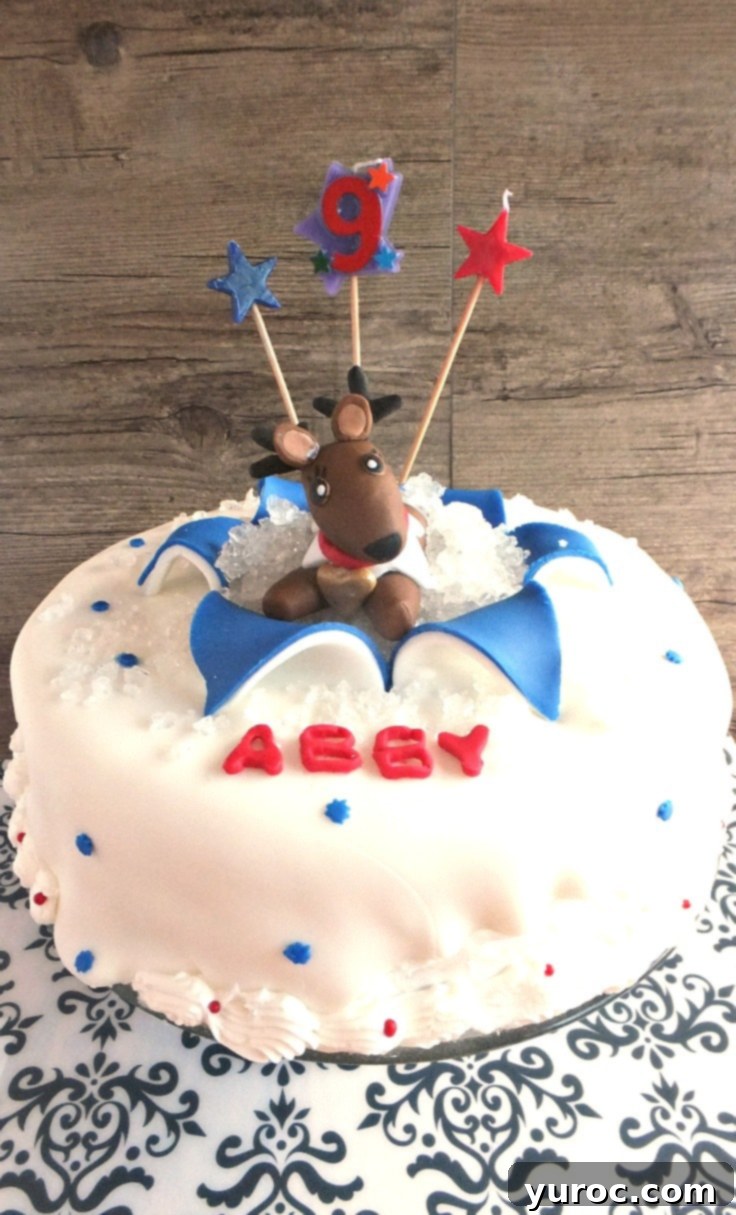
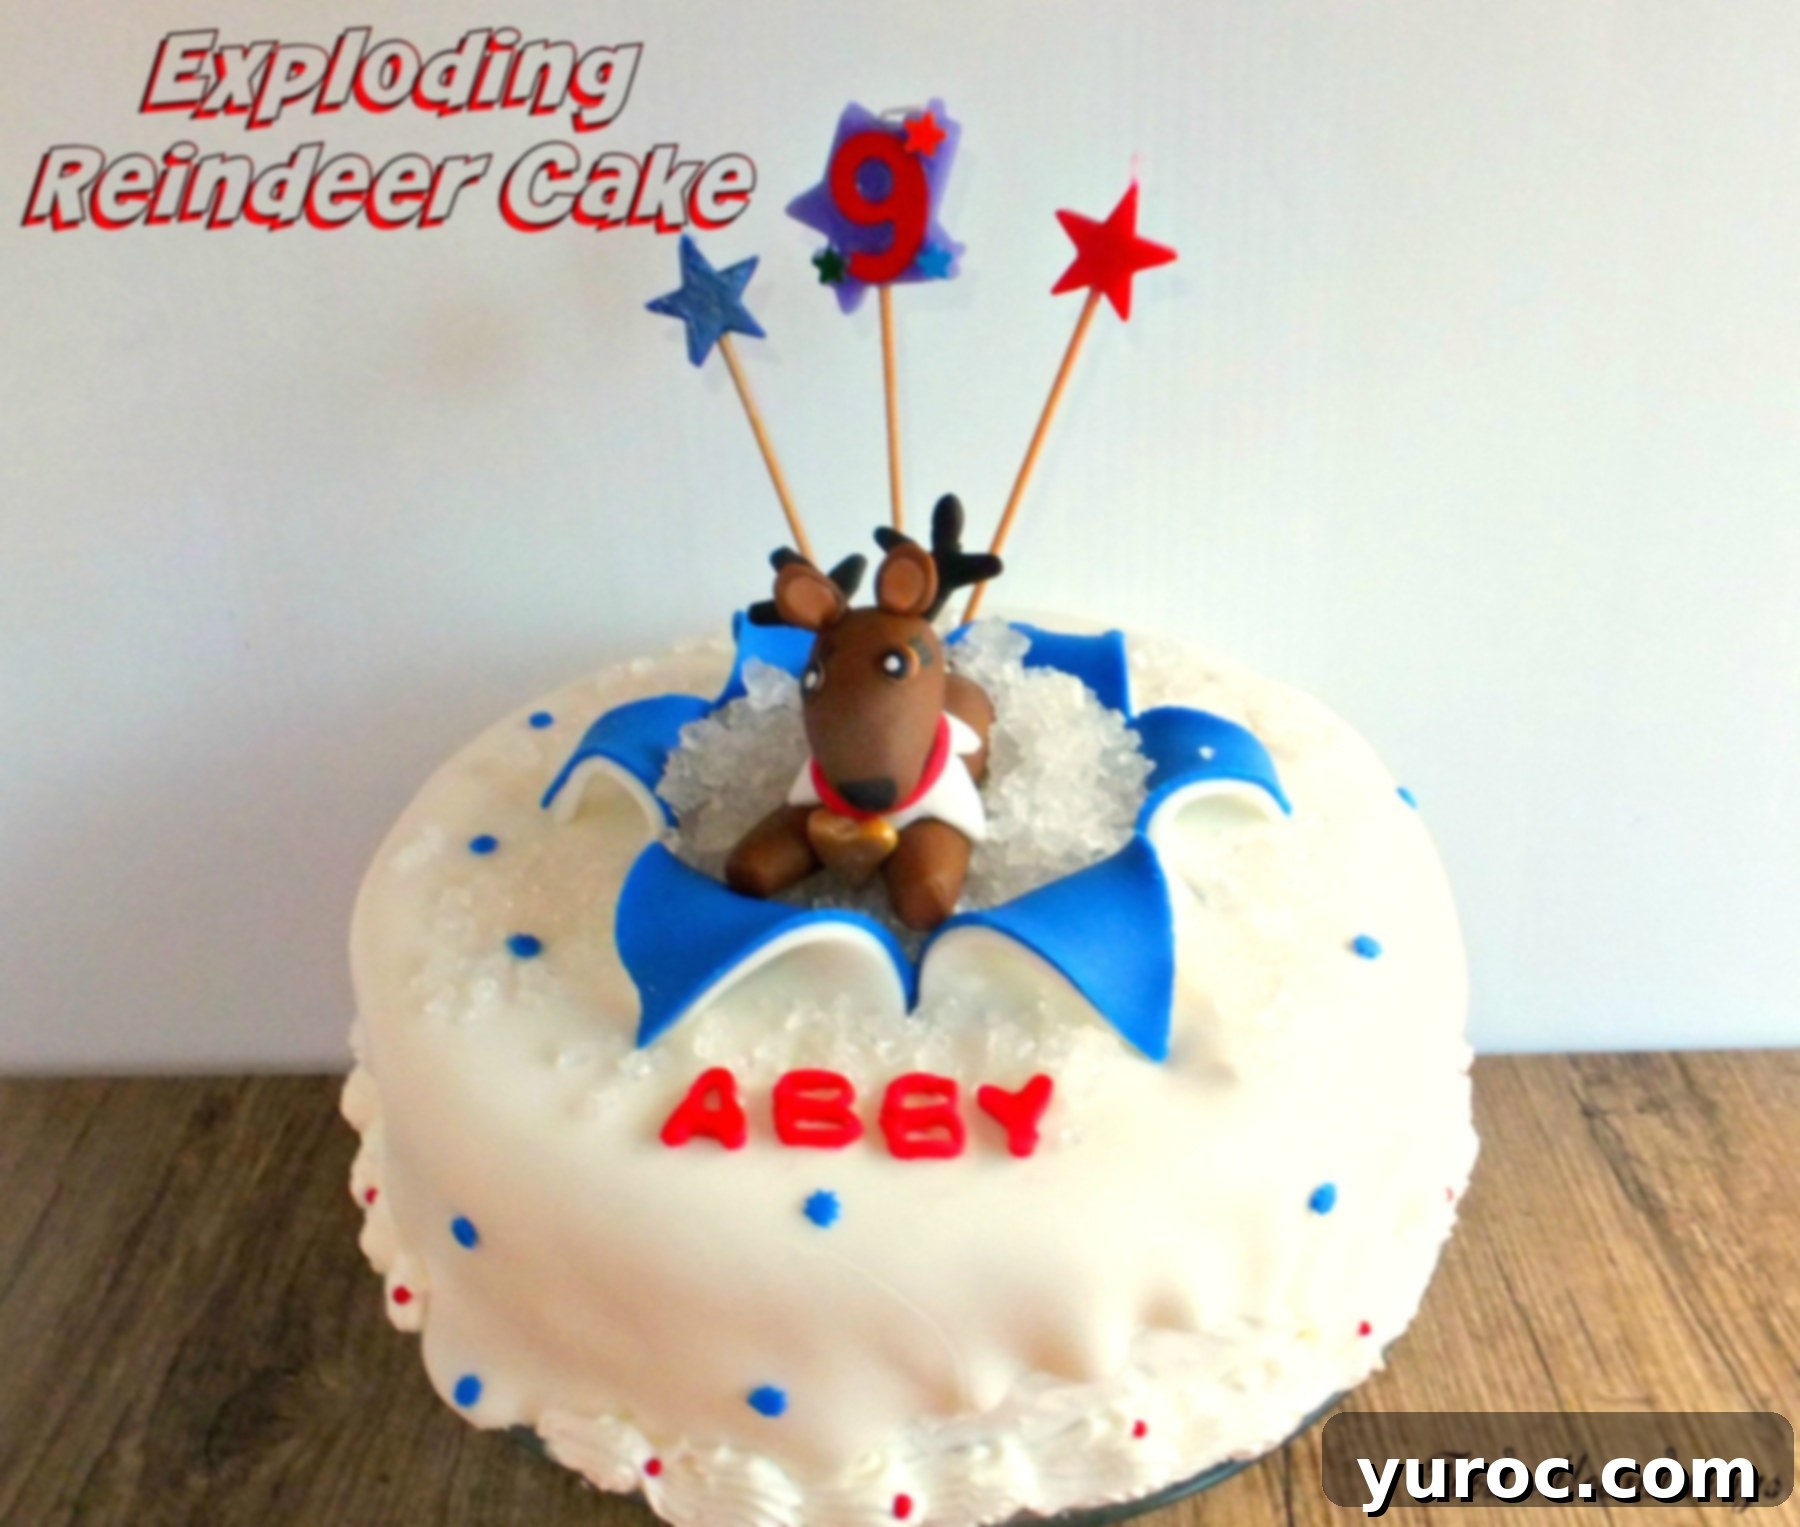
This past weekend, we celebrated my daughter’s 9th birthday, and the centerpiece of our celebration was this exquisite Vanilla Butter Cake. It’s a recipe that draws inspiration from the renowned Mermaid Bakery, promising a cake that’s both light and moist. This delightful cake was perfectly paired with our favorite Whipped Cream Buttercream Frosting, a combination that provides a rich yet airy sweetness, and adorned with charming fondant accents to match our unique theme. If you’re searching for birthday cake ideas that truly stand out, offering both incredible flavor and a delightful texture, your quest ends here. This cake is not merely a dessert; it’s an experience, delivering that desirable light texture often found in store-bought cakes but with the superior taste of a lovingly homemade creation.
The Secret Ingredient Revealed: The Power of Emulsions
The true magic behind this cake’s enhanced flavor and exquisite texture can be attributed to a simple yet often overlooked “secret ingredient”: Creme Bouquet emulsion. For those who haven’t yet explored the world of baking emulsions, I wholeheartedly recommend venturing into them. Unlike traditional extracts, which are alcohol-based and tend to bake out during the cooking process, emulsions are water-based, with the flavor suspended in a natural stabilizer. This means the flavor in an emulsion is more concentrated and significantly more resilient to high baking temperatures, resulting in a more profound and lasting taste in your finished baked goods.
When you use an emulsion, you’ll notice a remarkable depth of flavor that extracts simply cannot deliver, especially in baked items where the delicate nuances can easily dissipate. Creme Bouquet emulsion, in particular, offers a harmonious blend of vanilla, almond, and citrus notes, imparting a sophisticated and unique aroma that truly elevates any vanilla cake. It’s this complex flavor profile that sets this cake apart, giving it that special, bakery-quality taste.
CK Products Artificial Crè…Shop on Amazon
Beyond Creme Bouquet, another one of my absolute favorites is “Princess Cake and Cookie Emulsion.” This versatile emulsion is fantastic in a variety of desserts, particularly in sugar cookies and buttercreams, where its regal blend of vanilla, citrus, and floral notes shines. Experimenting with different emulsions can truly open up a new world of flavor possibilities in your baking, offering a depth and intensity that traditional extracts often lack.
Lorann Oils Princess Cake a…Shop on Amazon
I also love to incorporate emulsions into my frostings for an extra layer of flavor complexity. A small amount can significantly enhance the taste, offering a delightful surprise with every bite. The Creme Bouquet emulsion, for instance, pairs exceptionally well with this particular whipped cream buttercream frosting recipe, creating a harmonious flavor profile. It also complements rich chocolate cakes beautifully, such as an Old Fashioned Sour Cream Chocolate Fudge Cake (a recipe I might share in a future post, or feel free to message me for it!), or indeed any chocolate cake that could benefit from an added hint of sophisticated sweetness.
A Festive “Christmas in July” Birthday Celebration
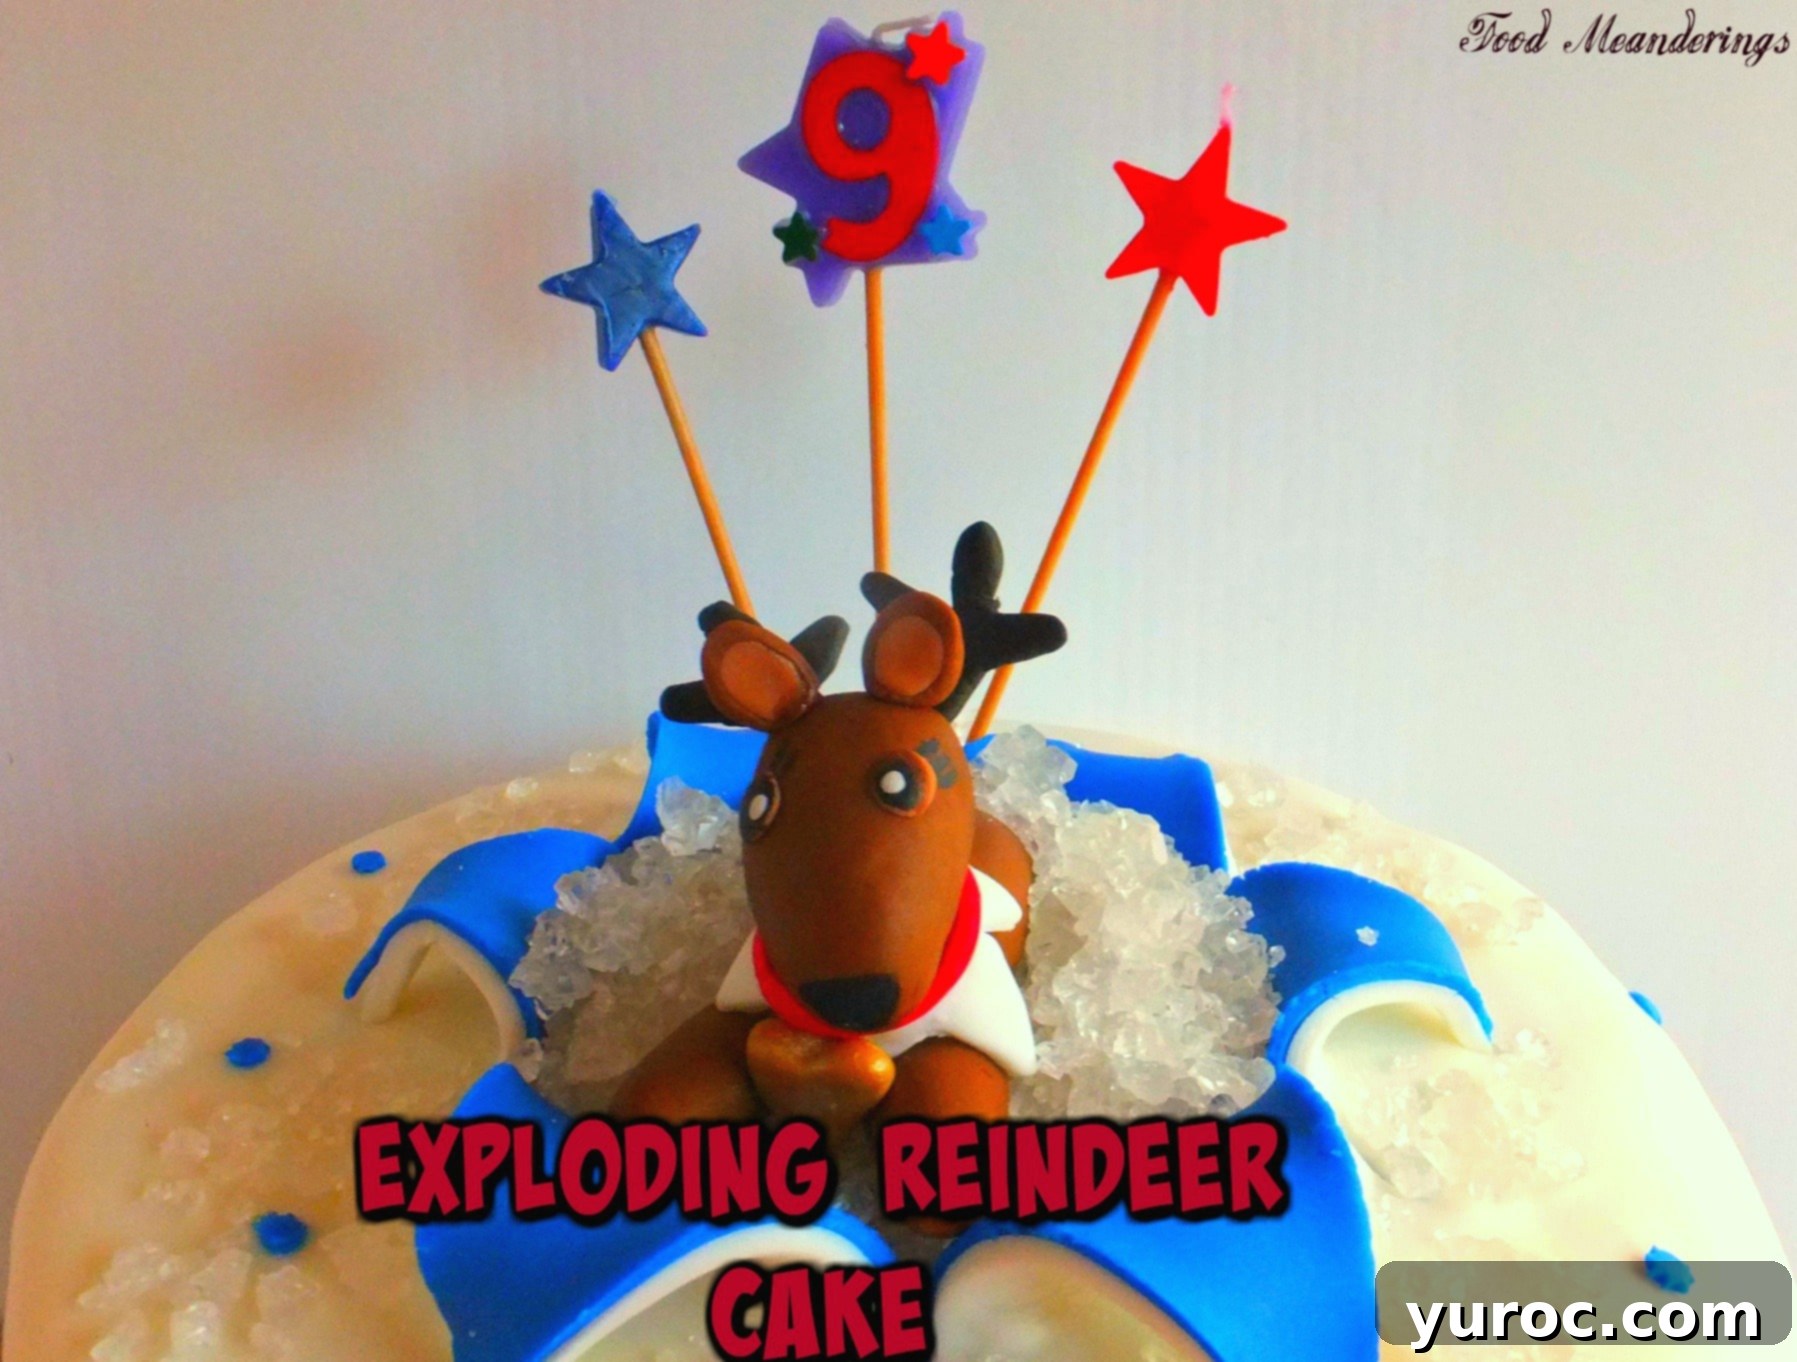
For her 9th birthday, my daughter had a wonderfully whimsical request: a “Christmas in July” theme! The inspiration behind this unique idea was her beloved elf pet, “Drummer,” whom she wanted to see immortalized atop her birthday cake. It brings me immense joy to witness her unwavering embrace of the magic of Christmas, a special innocence that I know, all too well, is fleeting. The end of grade 3 often marks the beginning of the end of this cherished era, and I’m determined to savor every moment. Creating our little “Drummers” out of fondant was a truly amazing bonding experience for us, a sweet memory we’ll both treasure long after the cake is gone. This theme added a truly personal and joyful touch to her special day.
Mastering Edible Fondant Figures for Cake Decorating
Creating edible figures like our “Drummers” for cakes can seem daunting, but it’s a wonderfully creative and rewarding process. For these figures, we used a combination of fondant and a powdered additive called Gum-Tex (also known as Tylose powder or CMC powder). Gum-Tex is a crucial ingredient when you want your fondant figures to dry faster and hold their shape better, preventing them from sagging or losing definition. For one standard package of brown fondant (like those found in a Wilton box of four fondant colors), I typically use about 1 tablespoon of Gum-Tex. This ratio provides a good balance, making the fondant more pliable for sculpting initially, yet firming up nicely once dry.
Alternatively, you could use gumpaste directly, or mix it 50/50 with fondant. Gumpaste dries much faster than pure fondant, making it excellent for intricate, delicate decorations that need to set quickly. However, gumpaste often comes in white or natural colors, meaning you would need to color it yourself, which adds an extra step. Furthermore, gumpaste can sometimes dry *too* fast for my working pace, especially when I’m shaping larger or more complex figures, leading to cracks or stiffness before I’m finished. For sculpted figures, I find the fondant-Gum-Tex mixture offers the best control and flexibility for amateur decorators.
Wilton Fondant Gum-Tex Powd…Shop on Amazon
TERRI’S CAKE DECORATING TIP: To prevent fondant from sticking to your hands and your work surface, always use a thin layer of shortening. Apply it lightly to your hands and to a non-stick surface, such as a silicone mat. This simple trick ensures smooth handling and prevents tearing, making your decorating process much easier and more enjoyable.
The Eye-Catching “Exploding Cake” Technique
One of the most visually stunning elements of this birthday cake was the ‘cake explosion’ technique. This popular decorating method creates a dynamic, unwrapping effect that reveals the beautiful cake underneath in a dramatic fashion. There are numerous tutorials available online that can guide you through this process, but a crucial detail often overlooked is the use of wax paper or parchment paper. It is absolutely essential to place a layer of wax paper or parchment paper *under* the first layer of fondant before applying the “exploding” elements. Without this critical barrier, your fondant will adhere directly to the underlying icing or crumb coat, and the “explosion” effect will not work as intended; instead of peeling away cleanly, it will stick and tear, ruining the desired look. This technique is perfect for adding a ‘wow’ factor to any celebration cake, making it truly unforgettable.

TERRI’S ESSENTIAL BAKING TIP: Achieving flawless cakes that release easily from the pan is crucial for perfect presentation. I swear by Wilton Cake Release for this purpose. Before pouring your batter, ensure you shake the bottle well and apply it generously to your cake pans, coating all interior surfaces. This product creates a non-stick barrier that guarantees your cakes will slide out perfectly, looking pristine and ready for decorating, every single time. Say goodbye to stuck-on cakes and hello to bakery-worthy results!
Bake the Best Homemade Vanilla Cake Today!
If you’re on the hunt for a truly outstanding vanilla birthday cake recipe, one that perfectly balances the heartwarming essence of homemade baking with a delightfully light and airy texture reminiscent of a professional bakery, then this recipe is an absolute must-try. It’s designed to be straightforward yet yields spectacular results, making it ideal for both seasoned bakers and enthusiastic beginners. Imagine the smiles and joy this beautiful and delicious cake will bring to your next celebration. Give this recipe a whirl and prepare to impress everyone with your baking prowess!
Enjoy the process, and most importantly, enjoy the delicious outcome! Happy baking!


Vanilla Butter Cake
Print Recipe
Pin
Save RecipeSave Recipe
Rate
Add to Shopping ListGo to Shopping List
Ingredients
- 1 cup unsalted butter 2 sticks, softened
- 2 cups white granulated sugar
- 4 large eggs at room temperature
- 1 tablespoon white vinegar at room temperature
- 1 cup milk at room temperature (add vinegar to cup and top with milk)
- 1 teaspoon Creme bouquet or 1 teaspoon Vanilla
- 2 ¾ cups unbleached all-purpose flour
- 2 ¼ teaspoons baking powder
- ¾ teaspoon salt
Instructions
-
Preheat oven to 350 degrees F (175 degrees C). Position the oven rack into the center of the oven for even baking.
-
Thoroughly grease and flour your chosen cake pans. This recipe works well for a 9×13 inch pan, three 8-inch round pans, two 9-inch round pans, or one 10-inch round pan. For best results, consider using Wilton Cake Release for a truly flawless finish.
-
In a large mixing bowl, cream together the softened unsalted butter and white granulated sugar until the mixture is light, fluffy, and pale in color, which typically takes about 3 minutes of beating with an electric mixer. Incorporate the large eggs one at a time, ensuring each egg is fully beaten into the mixture before adding the next. This step is crucial for incorporating air and creating a light texture.
-
To create a homemade buttermilk substitute, add the white vinegar to your 1 cup measuring cup, then fill the remainder of the cup with milk until it reaches the 1-cup mark. Allow it to sit for 5 minutes, then stir in the Creme Bouquet emulsion (or vanilla extract).
-
In a separate medium bowl, whisk together the unbleached all-purpose flour, baking powder, and salt until they are thoroughly combined. This ensures even distribution of the leavening agents.
-
Gradually add the dry flour mixture to the wet butter/sugar/egg mixture in two parts. Alternate adding the dry ingredients with the milk mixture, beginning and ending with the dry ingredients. Beat well after each addition, but be careful not to overmix, as this can develop the gluten too much and result in a dense cake. Mix until just combined.
-
Evenly divide the cake batter among your prepared pans. Bake for 20 to 25 minutes, or until a cake tester (like a toothpick or thin skewer) inserted into the center of the cake comes out clean. Baking times may vary depending on your oven and pan size.
-
Allow the cakes to cool in their pans for about 10 minutes before carefully inverting them onto a wire rack. Let them cool completely on the wire rack before frosting and decorating. This prevents the cake from breaking and ensures the frosting adheres properly.
Notes
Nutrition

