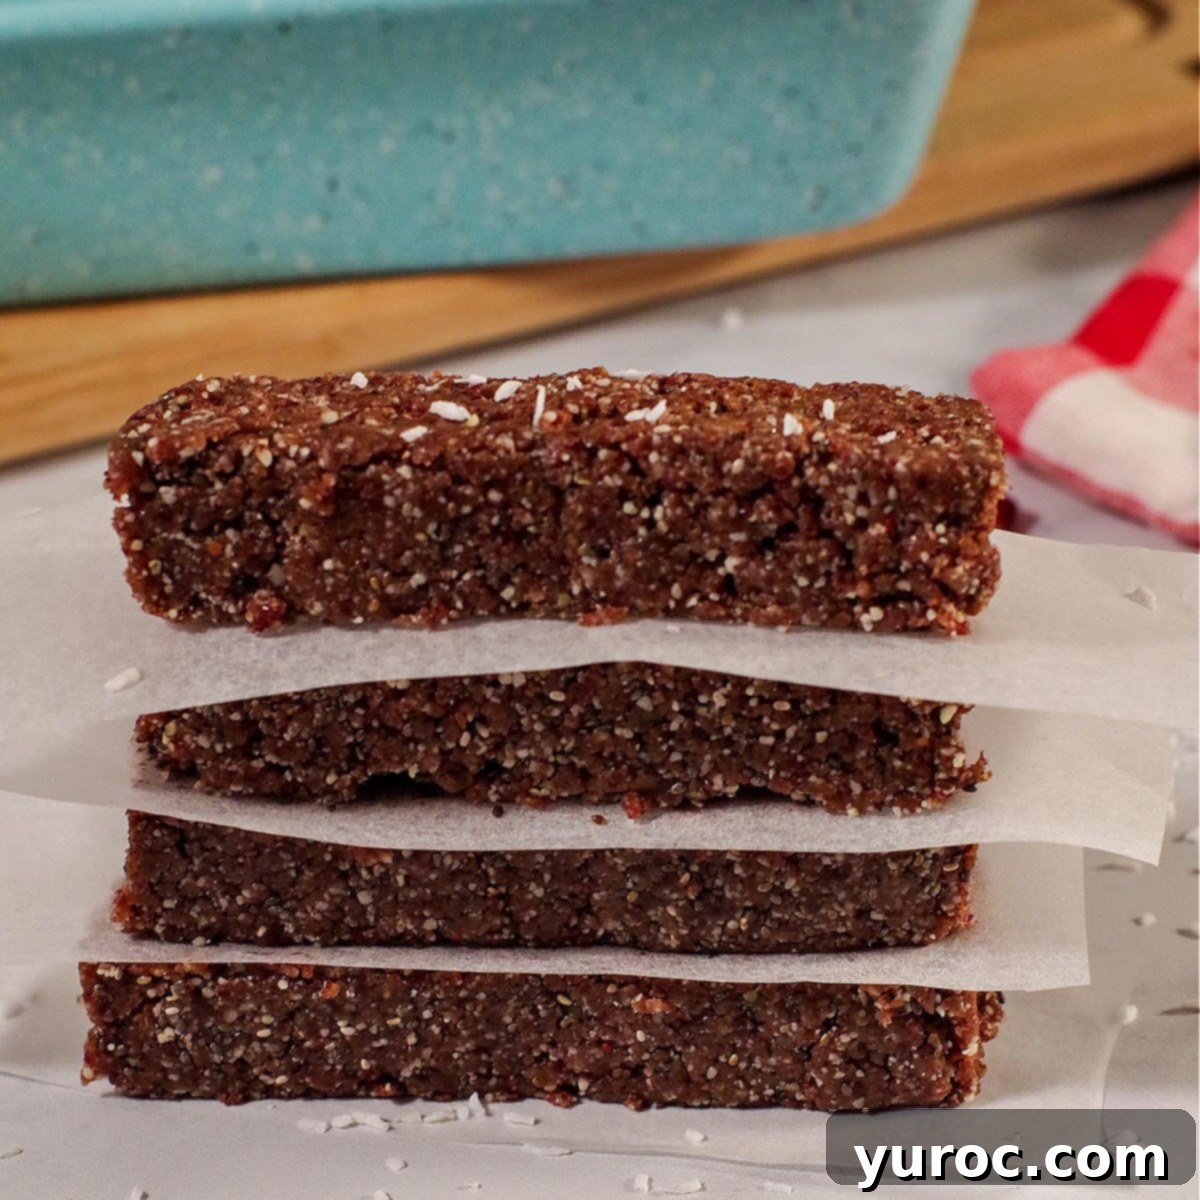
Irresistible No-Bake Healthy Energy Bars: Vegan, Gluten-Free, and Packed with Flavor
Discover the ultimate homemade snack with these incredible No-Bake Healthy Energy Bars! Crafted from wholesome dried fruits and nutrient-rich nuts, these bars are a fantastic alternative to oat-based recipes, making them naturally vegan, gluten-free, and dairy-free. Forget complicated baking processes; these energy bars are incredibly simple to prepare, making them an ideal choice for a grab-and-go breakfast, a quick addition to your lunchbox, or a satisfying post-workout healthy snack or even a guilt-free dessert.
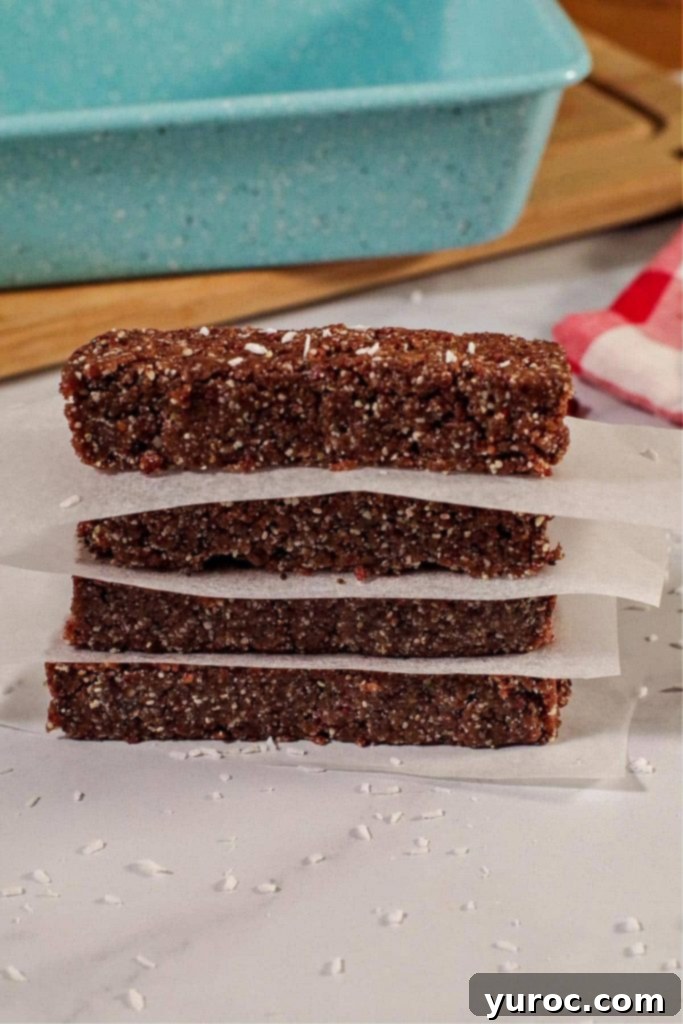
Perfect for busy families, these delicious homemade energy bars have become a favorite in my household, especially with my teenagers. They are constantly reaching for one as a convenient quick breakfast before school or a nourishing snack to refuel after a long day. These bars offer a superior, healthier alternative to commercially produced granola bars or sugar-laden candy bars. Each bite is dense, satisfyingly chewy, and bursting with natural flavor. Made exclusively with natural ingredients, these bars boast an impressive nutritional profile, providing 6 grams of protein and 5 grams of fiber per serving, helping you feel full and energized. This particular recipe for date energy bars was inspired by my popular Healthy Fruit and Oat Bars, and subsequently led to the creation of my equally popular Almond Butter Granola Bars (no bake). For those following Weight Watchers, these bars are also a fantastic option, coming in at just 5 WW points per bar.
Why Choose Homemade Energy Bars?
In a world full of processed snacks, making your own energy bars gives you complete control over the ingredients. You can avoid artificial flavors, excessive sugars, and unknown additives often found in store-bought options. These homemade healthy energy bars are not just a snack; they are a commitment to better health, providing sustained energy without the sugar crash. Their no-bake nature means no oven time, making them a quick and easy solution for meal prep and healthy eating. Whether you’re an athlete, a busy parent, or simply seeking a wholesome treat, these bars offer a perfect blend of convenience, taste, and nutrition.
🥘 Wholesome Ingredients for Your Healthy Energy Bars
The beauty of these natural energy bars lies in their simplicity and the purity of their ingredients. You’ll only need six healthy and straightforward items, all free from added sugars, to create these delicious and nutritious treats. Each ingredient plays a vital role in both the flavor and the nutritional value of the bars, ensuring a wholesome and satisfying experience.
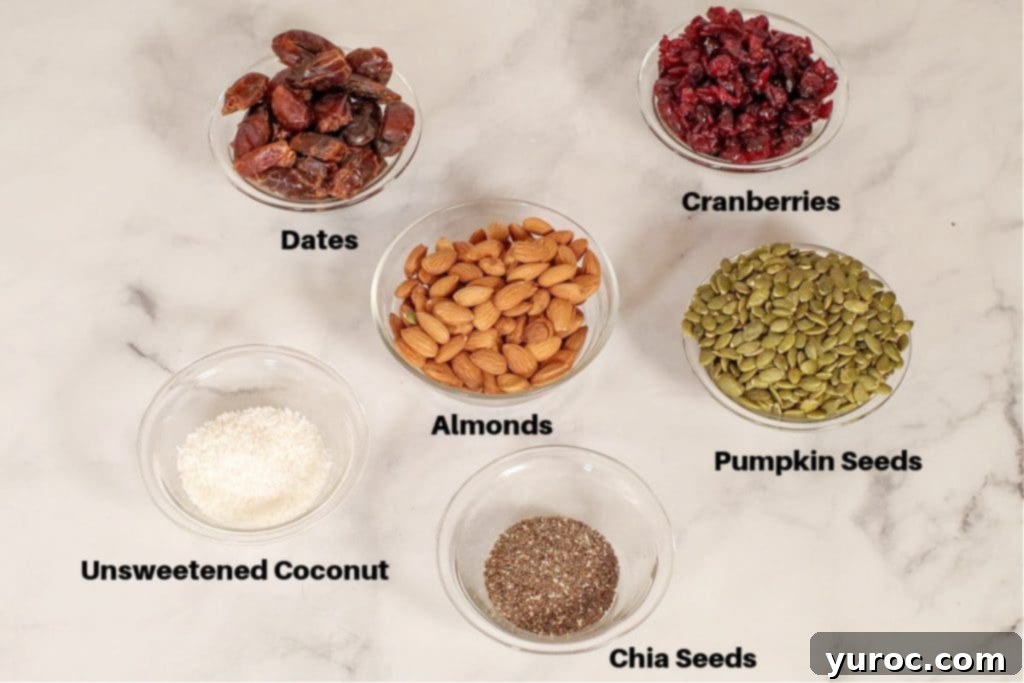
- Dates: Essential for their natural sweetness and binding properties, dates are the star of these energy bars. They provide a wonderful caramel-like flavor and a sticky texture that holds everything together. Always opt for pitted dates to save prep time. While any variety works well, Medjool dates tend to be softer and more succulent, making them ideal for blending.
- Dried Cranberries: These add a delightful pop of color and a perfect balance of sweet and tart to the bars. I prefer using Craisins, as their unique flavor profile brightens the overall taste and adds a pleasant chewiness. Cranberries are also known for their antioxidant benefits.
- Raw Almonds: A fantastic source of healthy fats, protein, and fiber, raw, unsalted almonds contribute to the bars’ satisfying crunch and nutritional density. When ground, they form a buttery base that enhances the texture and flavor.
- Pumpkin Seeds: Also known as pepitas, unsalted and shelled pumpkin seeds are packed with magnesium, zinc, and healthy fats. They add a delicate nutty flavor and a complementary texture, making these bars even more wholesome.
- Unsweetened Flaked Coconut: This ingredient brings a tropical aroma and a lovely textural contrast. Using unsweetened coconut is key to avoiding unnecessary added sugars, allowing the natural sweetness of the dates and cranberries to shine. You can use fine, medium, or coarse shredded coconut based on your preference for texture.
- Chia Seeds: These tiny powerhouses are rich in omega-3 fatty acids, fiber, and protein. Chia seeds absorb moisture, acting as an excellent binder and contributing to the bars’ overall structure and nutritional value. Both white and black chia seeds work equally well; black chia seeds are often more readily available and economical.
*Refer to the comprehensive recipe card below for precise ingredient quantities and further details.
📖 Creative Substitutions & Flavorful Variations
One of the best aspects of this healthy energy bar recipe is its flexibility. Feel free to experiment with different ingredients to suit your taste preferences or to utilize what you have on hand. Here are some ideas to inspire your creativity:
- Dried Fruit Options: Instead of cranberries, you can easily substitute other dried fruits like chopped dried apricots, dried cherries, golden raisins, or even finely chopped prunes. Each fruit will lend its unique flavor profile, allowing you to create a variety of energy bars.
- Date Varieties: While any pitted dates work, using specific types like soft Medjool dates can result in an even chewier and more succulent bar due to their higher moisture content. Deglet Noor dates are also an excellent choice.
- Seed Swaps: If chia seeds aren’t available, flax seeds (ground or whole) make a fantastic substitute, offering similar binding properties and a boost of omega-3s. For pumpkin seeds, sunflower seeds are a great alternative, providing a similar nutty flavor and texture. Hemp seeds can also be incorporated for added protein and healthy fats.
- Adding Extra Flavor: Elevate your energy bars with a pinch of warming spices like cinnamon, nutmeg, or a dash of allspice. A splash of pure vanilla extract or almond extract can also add a unique aromatic twist that complements the fruit and nuts beautifully. For a citrusy zing, consider adding a teaspoon of orange or lemon zest.
- Nut Butter Boost: If your mixture seems a bit dry or you desire an extra creamy texture, a tablespoon or two of your favorite nut butter (almond butter, peanut butter, or cashew butter) can be added during processing to enhance stickiness and richness.
- Chocolate Indulgence: For a treat, gently fold in some mini chocolate chips or cacao nibs after the main mixture is processed, ensuring they are evenly distributed without melting.
🔪 Effortless Preparation: How to Make Healthy Energy Bars
Making your own energy bars is surprisingly simple and significantly more cost-effective and healthier than purchasing store-bought versions. With just a few steps, you’ll have a batch of wholesome snacks ready to enjoy.
Prep Work: Begin by lining a standard 9×5 inch loaf pan with plastic wrap. Ensure the plastic wrap hangs over the sides, creating “handles” that will make it incredibly easy to lift the finished bars out of the pan once they’ve set. A lightly greased pan can also work, but plastic wrap simplifies removal and cleanup.
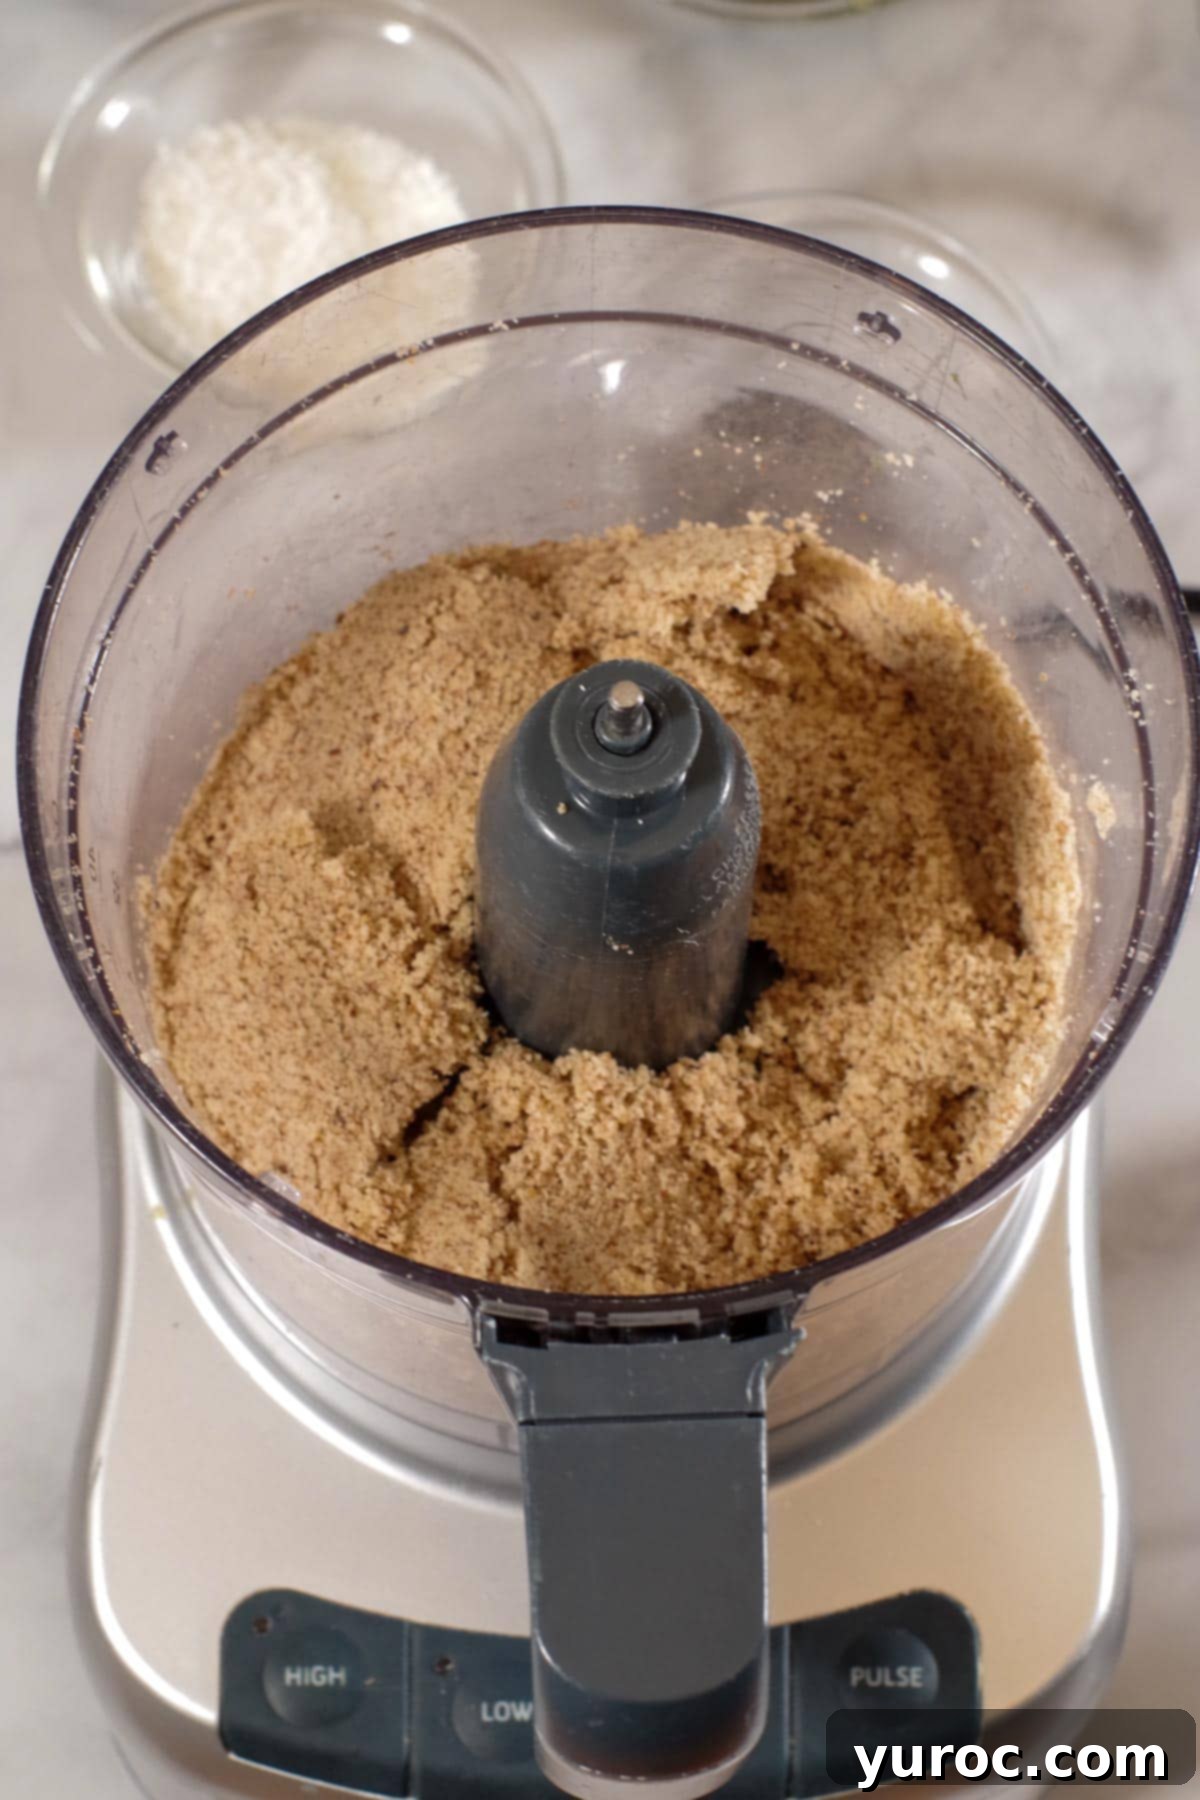
- Step 1: Grind Almonds. Place the raw almonds into the bowl of a food processor. Process them on high speed, periodically stopping to scrape down the sides of the bowl. Continue processing for about 5-6 minutes, or until the almonds break down into a coarse flour and then begin to release their natural oils, starting to cling together and form a “butter.” This step is crucial for creating the binding base of your bars.
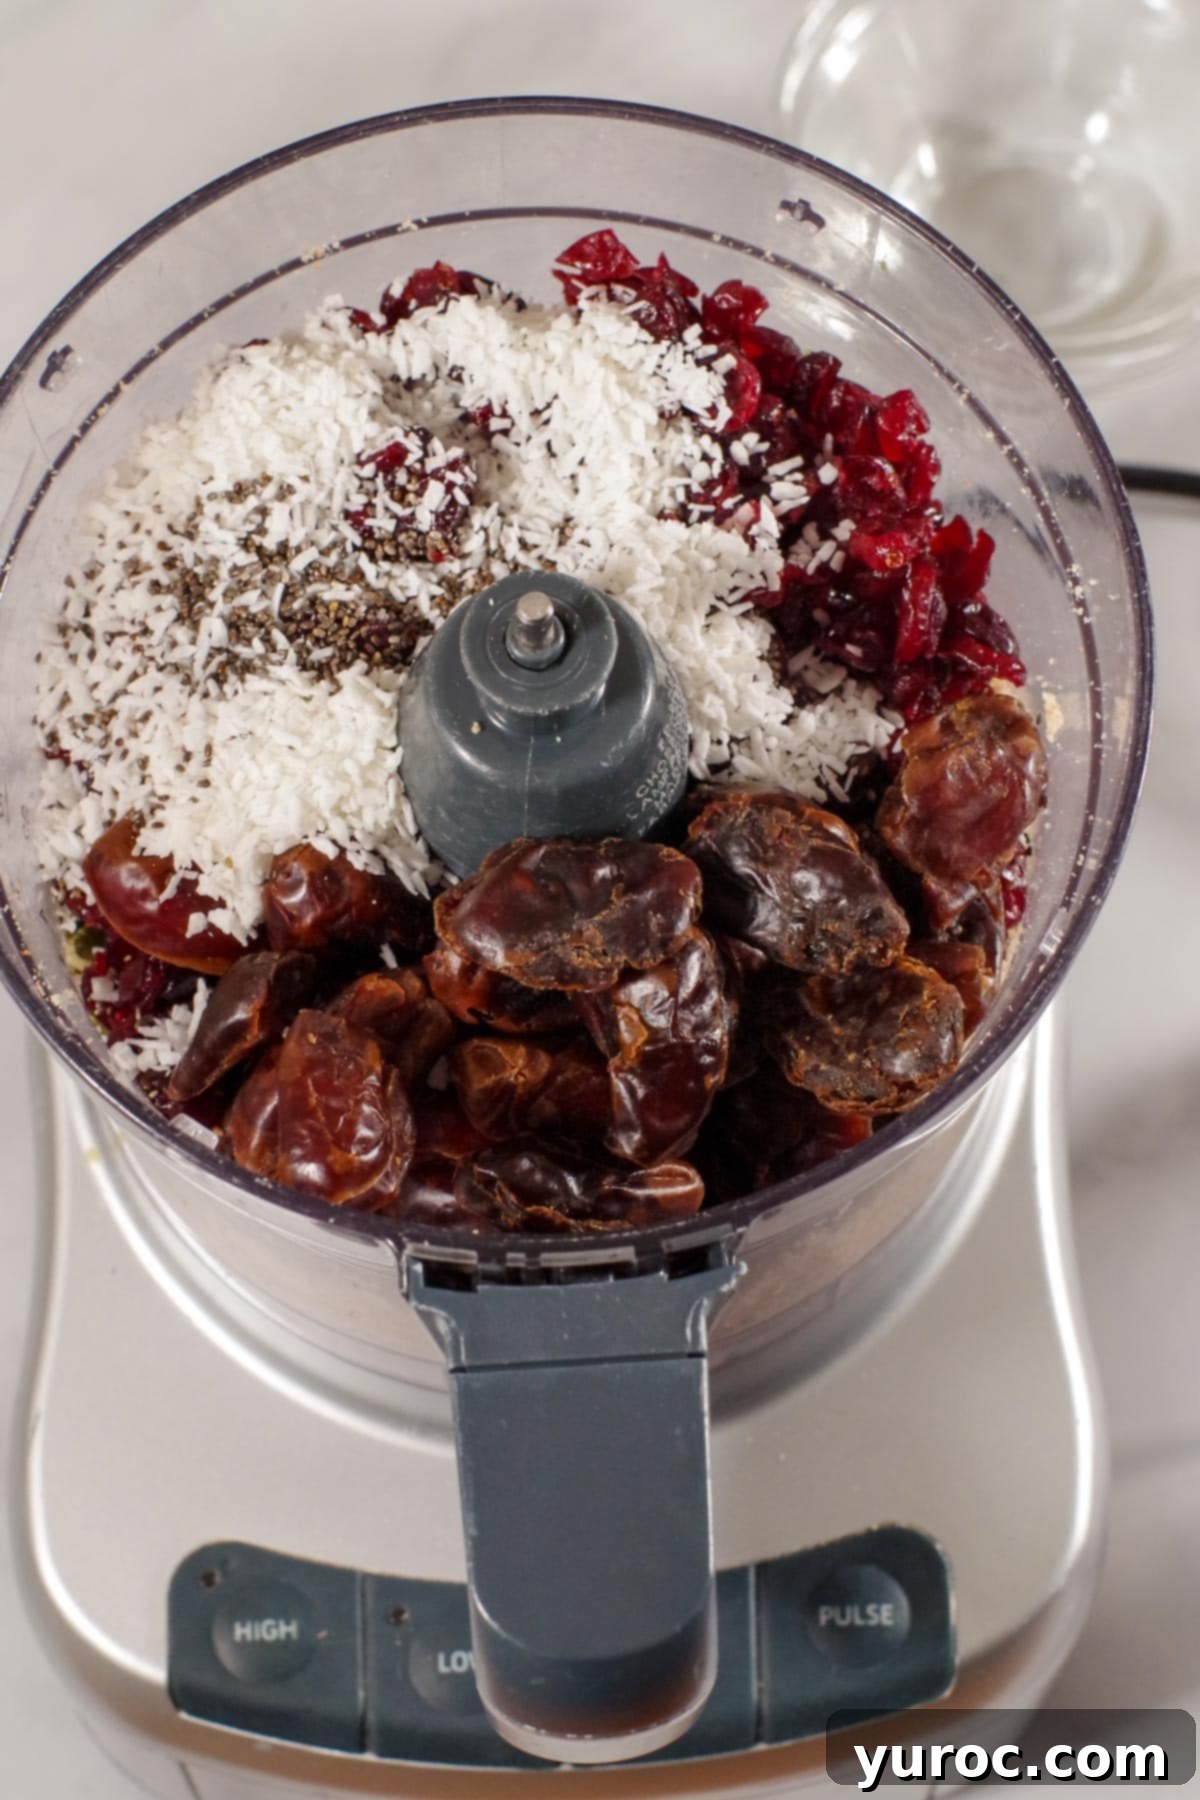
- Step 2: Add Remaining Ingredients. Once the almonds have reached the desired consistency, add the pumpkin seeds, dried cranberries, unsweetened flaked coconut, and chia seeds to the food processor. Lastly, add the pitted dates.
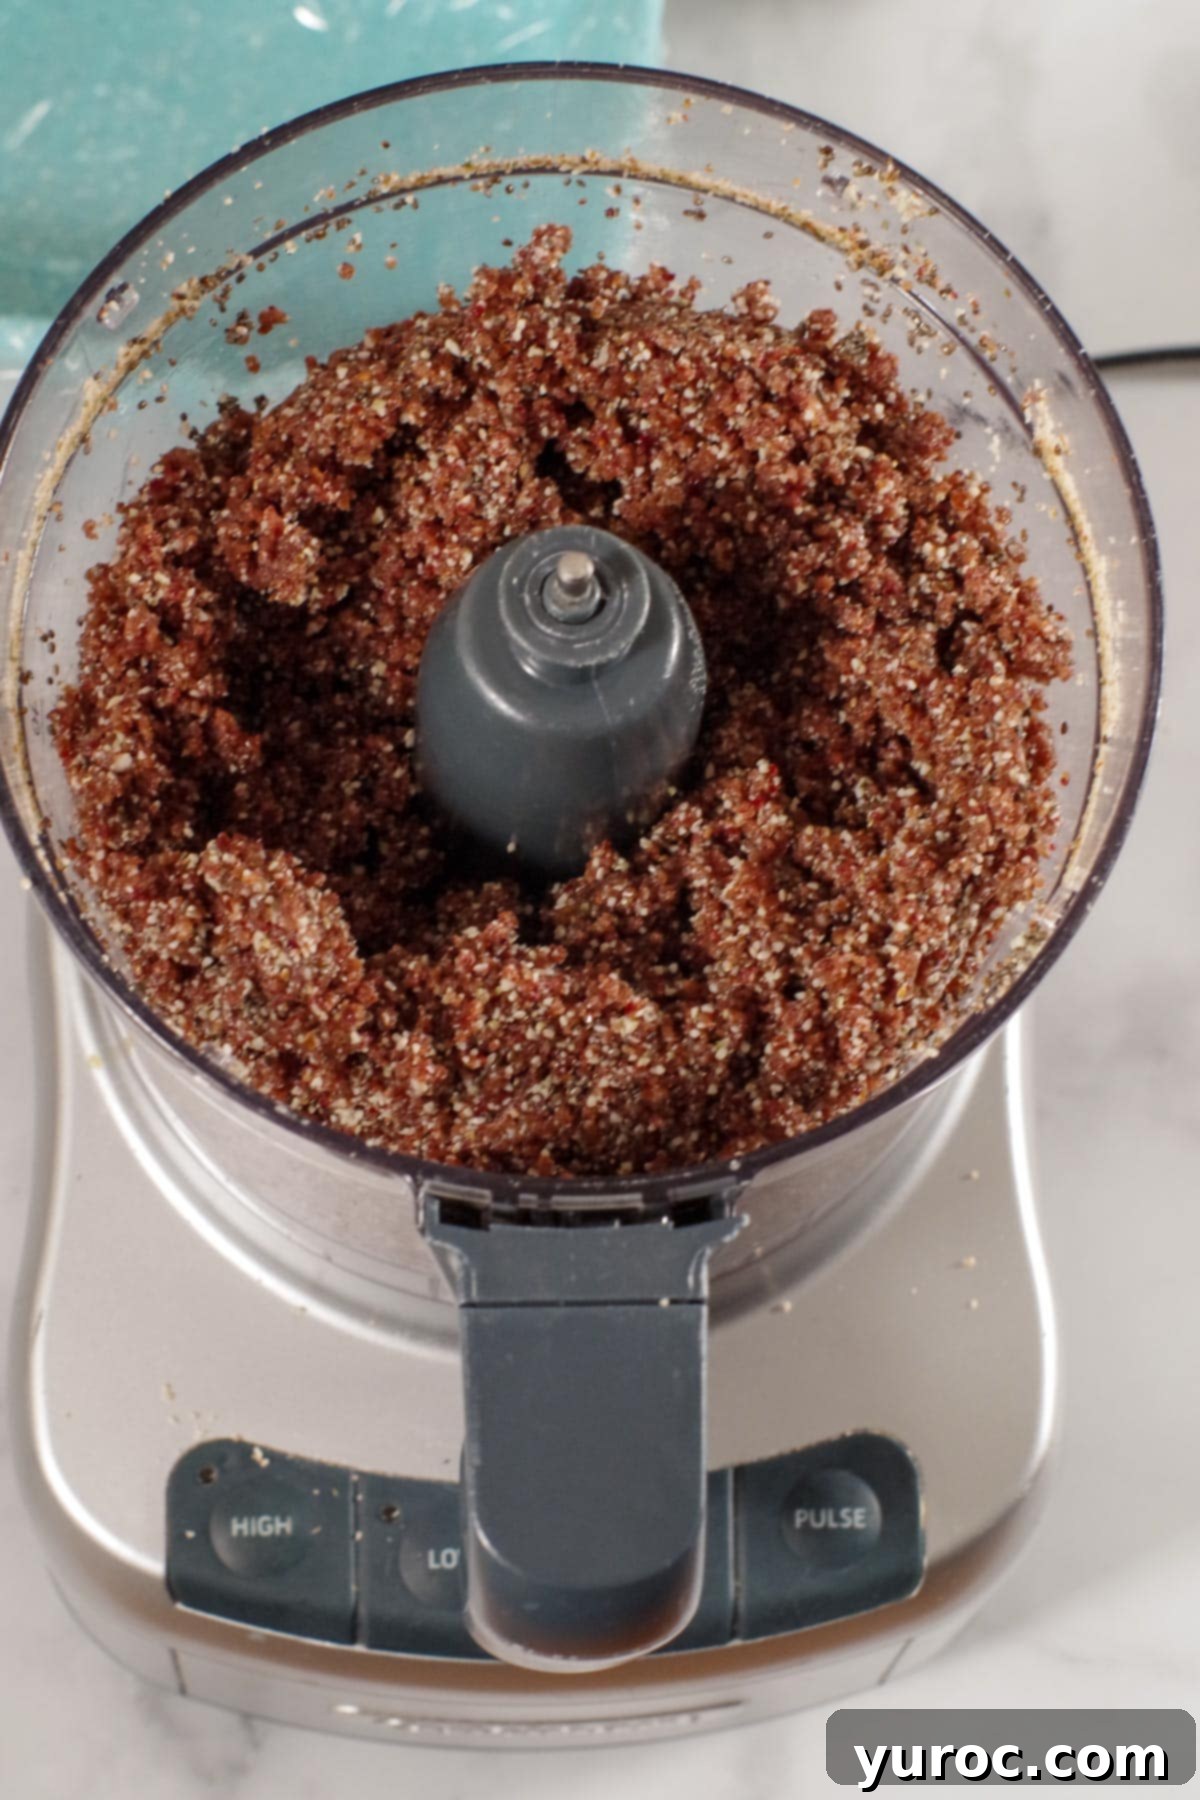
- Step 3: Process Until Combined. Continue processing all the ingredients together for approximately 5 more minutes. During this time, the dates will break down and bind with the nuts and seeds, creating a cohesive, sticky mixture. The consistency should resemble a coarse dough that easily holds together when pressed between your fingers.
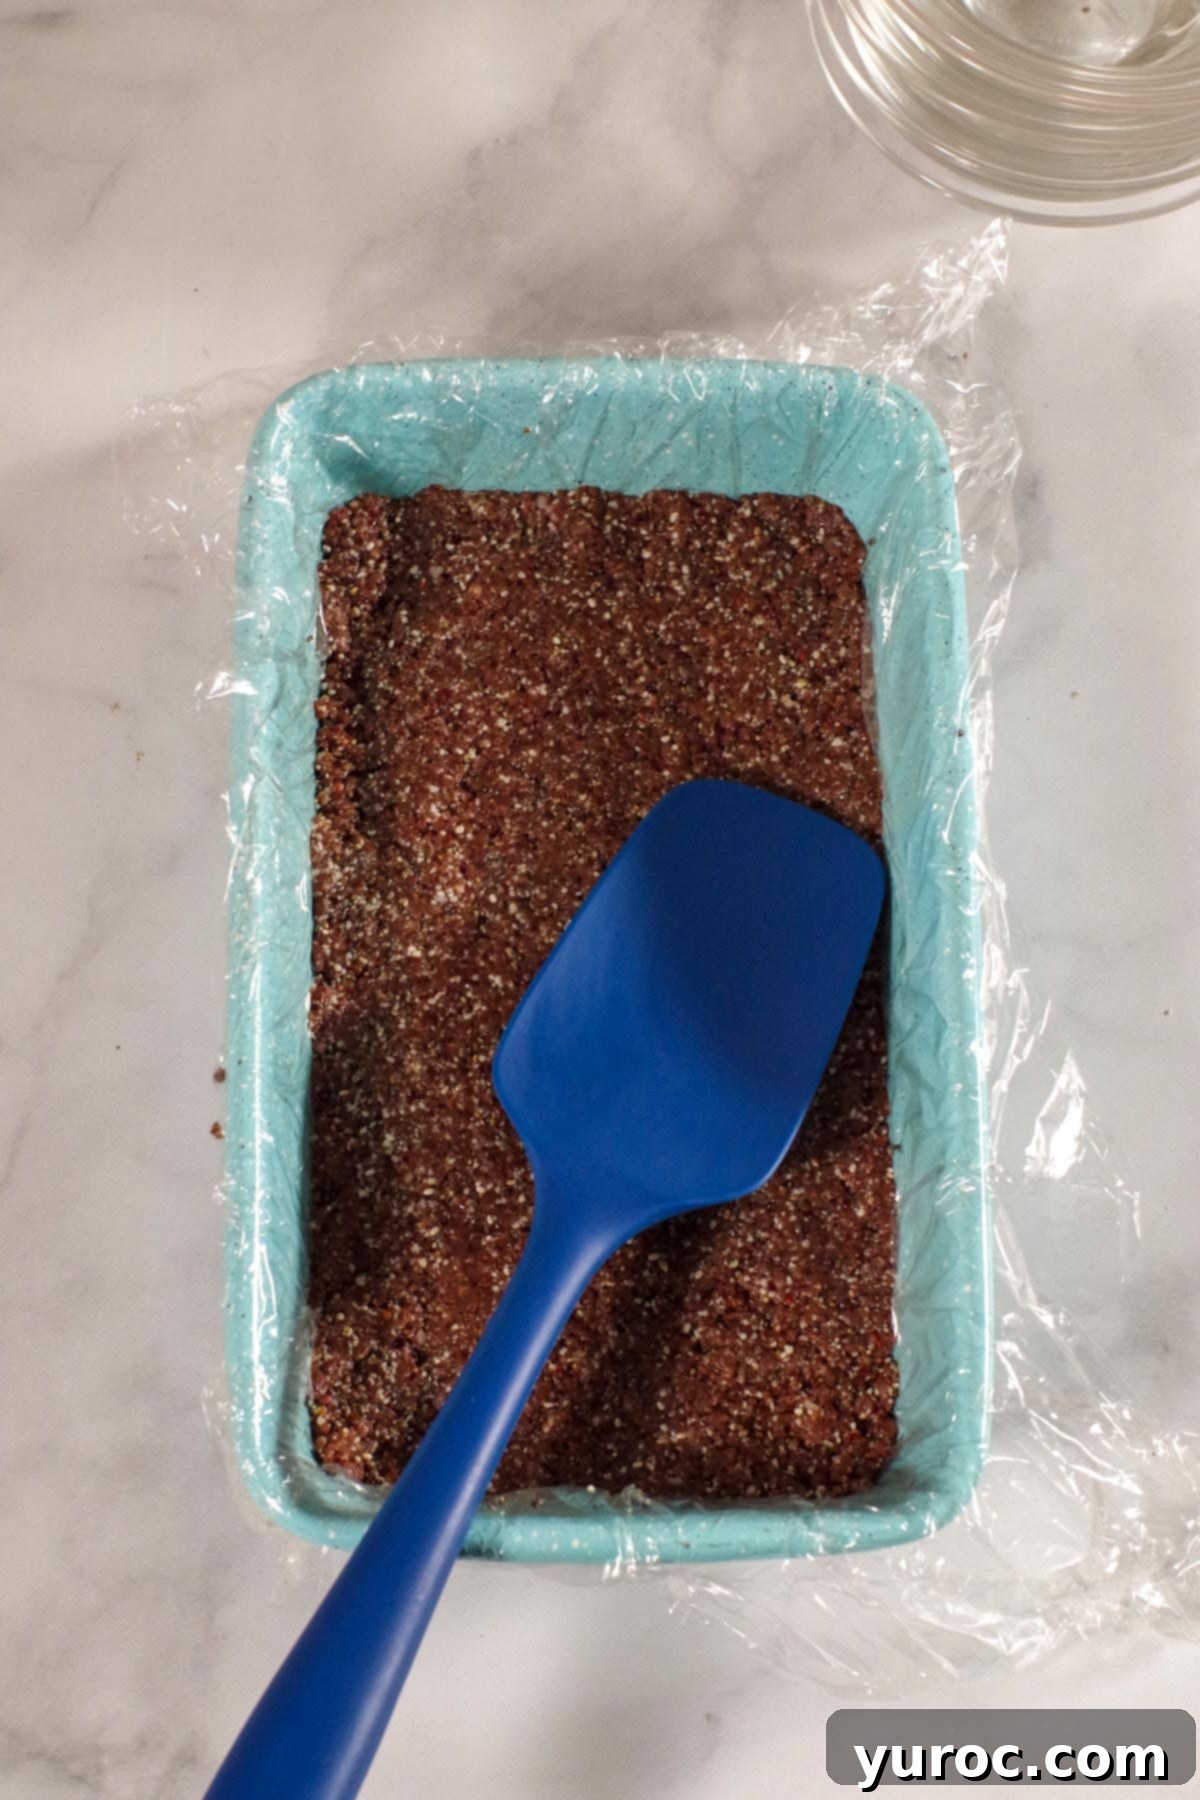
- Step 4: Press and Chill. Transfer the energy bar mixture into the prepared loaf pan. Using the back of a spoon, a spatula, or even your hands (lightly moistened or oiled to prevent sticking), press the mixture down very firmly and evenly into the pan. This compression is crucial for the bars to hold their shape and not crumble. Once pressed, place the pan in the refrigerator for at least 1 hour to allow the bars to firm up completely.
Recipe Success Tips for Perfect Energy Bars
Achieving perfectly structured and delicious energy bars is easy with a few key tips:
- Checking for Optimal Stickiness: After processing all the ingredients, it’s essential to test the mixture. Pinch a small amount between your thumb and forefinger. It should stick together easily and hold its shape. If the mixture appears too dry and crumbly, it likely means your dates were a bit dry or you need more liquid. Add a tablespoon of warm water or a teaspoon of nut butter at a time, processing briefly after each addition, until the desired sticky consistency is achieved.
- Greasing Hands and Tools: To prevent the sticky mixture from clinging to your hands or spatula while pressing it into the pan, lightly grease them with a neutral cooking oil (like avocado or coconut oil). Alternatively, wetting your hands slightly with water can also help create a non-stick surface, making the pressing process much smoother and less messy.
- Firmly Pressing the Mixture: This is a critical step to ensure your bars hold together. Don’t just spread the mixture; press it down with considerable force and even pressure into the loaf pan. Use the flat bottom of a glass, a rolling pin, or your palms to really compact the mixture. The denser the mixture, the less likely your bars will crumble when cut or handled.
- Allow Sufficient Setting Time: Patience is key! Make sure to refrigerate your energy bars for a minimum of one hour. This chilling time allows the fats to solidify and the ingredients to bind properly, resulting in firm, stable bars that are easy to slice and enjoy. For best results and extra firmness, you can even leave them in the fridge for 2-3 hours, or pop them in the freezer for about 30 minutes.
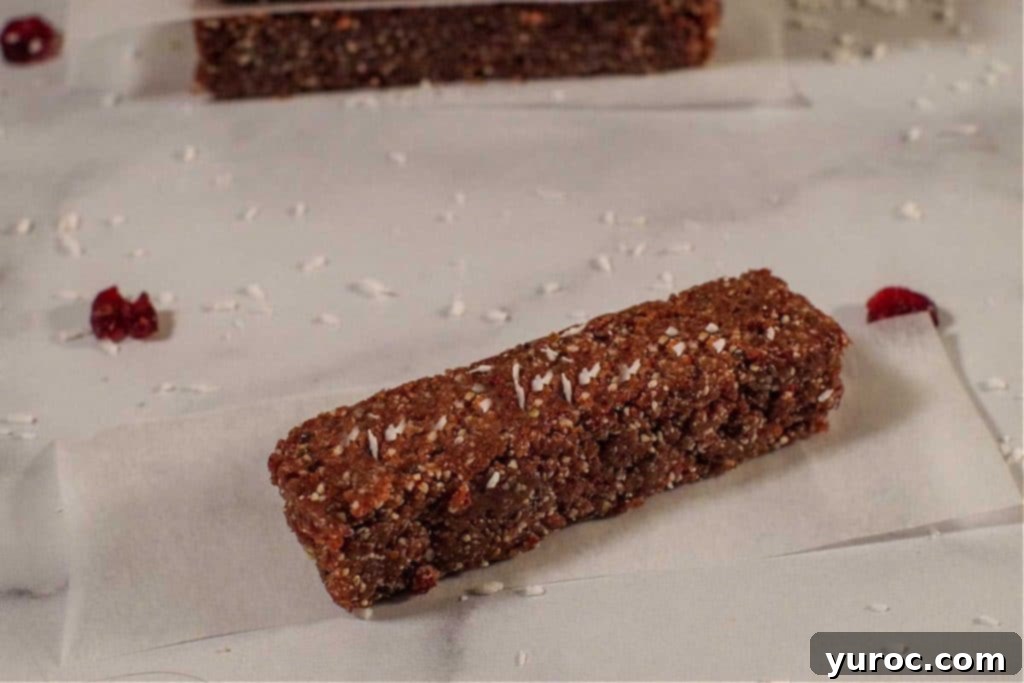
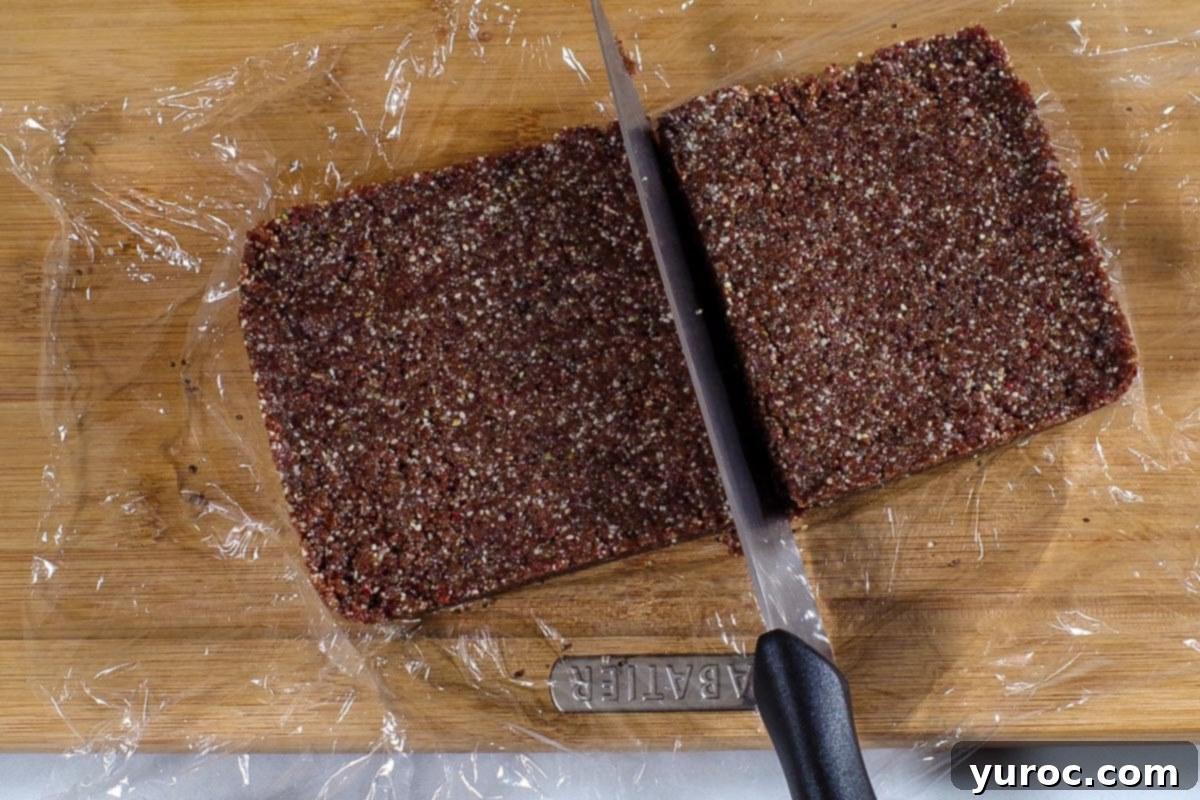
- Clean Slicing Techniques: To prevent the bars from crumbling and to achieve clean, neat cuts, always slice them while they are cold, directly from the refrigerator. For an even smoother cut, lightly oil your sharp knife blade before slicing. Wipe the knife clean between cuts, especially if the blade starts to get sticky, to ensure precise portions.
🔢 Weight Watchers Friendly: Nutrition & WW Points
For those tracking their intake, these No-Bake Energy Bars are an excellent choice. Made entirely without artificial sweeteners, they align perfectly with a healthy eating plan. On my specific Weight Watchers plan, each bar is a satisfying and wholesome 5 WW points, making them a smart and delicious snack option.
🌡️ Optimal Storage for Freshness
Proper storage ensures your healthy energy bars stay fresh, chewy, and delicious for longer:
Refrigerator Storage: Store the bars in an airtight container in the fridge for up to 2 weeks. If you plan to stack multiple layers of bars, place a piece of parchment paper between each layer to prevent them from sticking together. This method maintains their firm texture and prevents them from softening too much.
Freezer Storage: These health bars freeze exceptionally well! For longer preservation, wrap individual bars in plastic wrap or parchment paper, then place them in a sealed freezer-safe container or a Ziplock freezer bag. They can be stored in the freezer for up to 4 months. Simply take one out to thaw at room temperature for a few minutes or enjoy it straight from the freezer for a colder, chewier treat.
👪 Yield and Serving Adjustments
This recipe for homemade energy bars is designed to yield 10 substantial bars, perfect for a satisfying snack. However, you can easily customize the serving size to suit your needs. For smaller, bite-sized energy bites or if you prefer more servings, simply cut the bars into smaller portions. If you need to prepare a larger batch for parties, meal prep, or a larger family, you can effortlessly double or triple the recipe. To do this, simply click on the serving number in the recipe card below and adjust it to your desired quantity; the ingredient amounts will automatically update. Remember that for larger batches, you will likely need an additional loaf pan or a larger baking dish to accommodate the increased volume.
❔ Frequently Asked Questions About Energy Bars
While a high-powered blender might work, a food processor is generally recommended for this recipe. Its wider base and S-blade are better suited for evenly processing and combining sticky, dense ingredients like dates, nuts, and dried fruit into a cohesive mixture without overheating the motor. A blender might struggle to achieve the right consistency and could leave chunks or over-process certain ingredients.
There are a couple of common reasons for this. Firstly, your dates might be too dry. If they feel firm, try soaking them in warm water for 10-15 minutes, then draining thoroughly before adding them to the food processor. Secondly, you might not have processed the mixture long enough. The dates need time to break down and release their natural sugars, which act as the binding agent. Continue processing, scraping down the sides as needed, until the mixture forms a ball or easily holds together when pinched. If it’s still too dry, add a teaspoon of warm water or a small amount of nut butter (like almond or peanut butter) at a time, processing after each addition.
Absolutely! While a loaf pan helps create uniform bars, you have several other options. You can press the mixture into any small baking dish (like an 8×8 inch square pan for thinner bars) lined with parchment paper. Alternatively, use a silicone granola bar mold for perfectly shaped individual bars, or simply roll the mixture into small, bite-sized energy balls by hand. Just ensure whatever method you choose, the mixture is pressed firmly to prevent crumbling.
Yes, you can certainly boost the protein content! Incorporate 1-2 tablespoons of your favorite protein powder (vanilla or unflavored works best) into the food processor along with the other dry ingredients. Be aware that protein powder can absorb moisture, so you might need to adjust the consistency by adding a small amount of water or almond milk, a teaspoon at a time, until the mixture binds well again.
These energy bars are an excellent and wholesome snack for children due to their natural ingredients and lack of refined sugars. They provide sustained energy and essential nutrients. However, always be mindful of any nut allergies. If allergies are a concern, you can use a seed-only version, substituting almonds with sunflower seeds or other safe alternatives.
Because these bars contain fresh ingredients and no preservatives, they are best stored in the refrigerator. At room temperature, they might soften and lose their shape, especially in warmer climates, and their freshness will diminish more quickly. For optimal taste and texture, always keep them chilled in an airtight container.
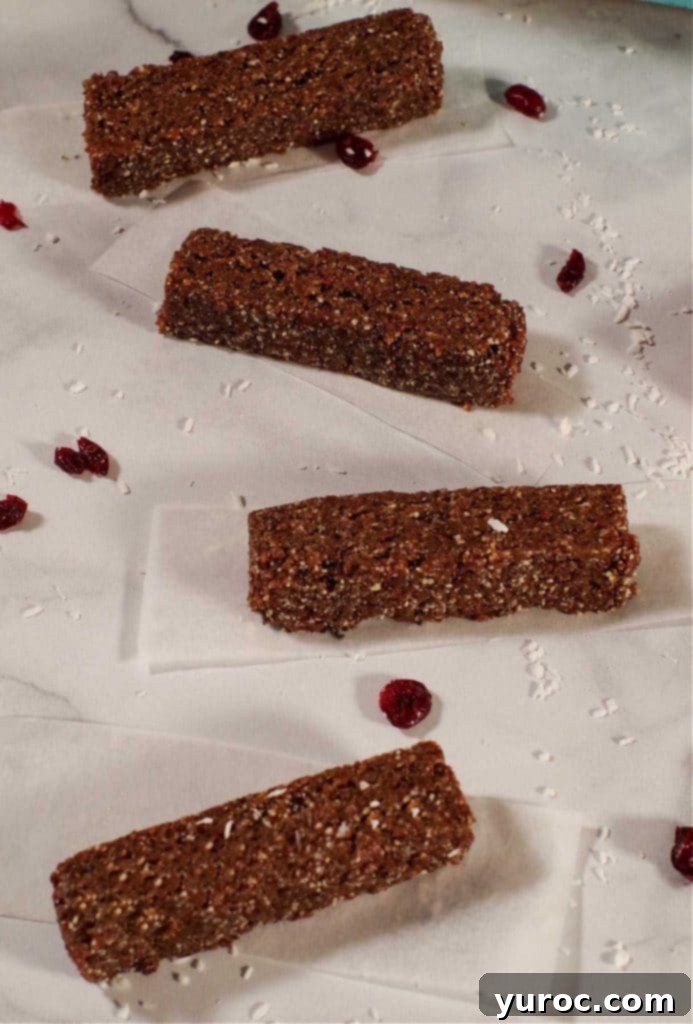
In summary, these Homemade Healthy Energy Bars are more than just a snack; they’re a perfect fusion of convenience, nutrition, and deliciousness. Their simple preparation, wholesome ingredients, and versatile nature make them an ideal addition to any healthy lifestyle. Give them a try – your taste buds and your body will thank you!
📋 More Wholesome & Healthy Snacks You’ll Love
If you enjoyed making and eating these energy bars, you’re in for a treat! Here are more delicious and healthy snack ideas from my kitchen that you might love:
- No Bake Healthy Rocky Road Bars
- Healthy Apricot Sunflower Rice Krispie Treats
- Chocolate Cereal Clusters
- Chocolate Cherry Energy Balls
Did your family ❤️ this recipe? We’d love to hear from you! Commenting and ⭐ rating recipes is one of the best ways to support your favorite recipe creators. If you LOVED this healthy energy bar recipe, please take a moment to leave a comment and rate it in the recipe card below. Don’t forget to share your photos on social media using the hashtag #foodmeanderings or by tagging @foodmeanderings! Your feedback means the world to us!

📋 Healthy Homemade Energy Bars Recipe
Equipment
- loaf pan
- food processor
Ingredients
- 1 cup whole raw almonds
- 1 cup raw pumpkin seeds (pepitas) unsalted, shelled
- 1 cup pitted dates
- 1 cup dried cranberries
- ¼ cup unsweetened coconut flakes
- 2 tablespoon chia seeds
Instructions
- Line a 9X5 loaf pan with plastic wrap, ensuring extra overhang on the sides for easy lifting.
- Place whole raw almonds in a food processor. Process for 5-6 minutes, scraping down the sides as needed, until they form a coarse, sticky butter.
- Add pumpkin seeds, dried cranberries, unsweetened coconut, and chia seeds to the food processor, followed by the pitted dates.
- Process all ingredients together for about 5 more minutes, until the mixture is well combined and forms a sticky, cohesive dough that holds together when pressed.
- Transfer the mixture to the prepared loaf pan. Press down very firmly and evenly with a spatula or your hands. Refrigerate for at least 1 hour until completely firm.
- Once firm, lift the block of energy bars from the pan using the plastic wrap overhang. Place on a cutting board and slice into 10 even bars using a sharp, lightly oiled knife.
Notes
- Test for Stickiness: After processing, pinch a small amount of the mixture between your fingers to ensure it holds together. If it’s too dry, add a tablespoon of warm water or nut butter gradually until desired consistency is reached.
- Greasing Hands/Tools: To make pressing the mixture easier and prevent sticking, lightly grease your hands or spatula with a neutral oil, or simply dampen your hands with a little water.
- Firmly Press Mixture into Pan: It’s crucial to compress the mixture thoroughly when pressing it into the pan. This step is vital to ensure the bars hold together and do not crumble. Use a solid object or your palms for even pressure.
- Ensure Proper Setting: Make sure you leave these energy bars in the fridge for at least an hour (or up to two hours for extra firmness) to fully set before attempting to cut them.
- Prevent Bars from Crumbling: Use a very sharp knife and cut these bars while they are still cold, immediately after removing them from the fridge. For a cleaner cut, you can lightly oil the knife blade to prevent sticking and wipe it clean between slices.
-
- Dried Fruit Alternatives: Feel free to use other chopped dried fruits such as dried apricots, dried cherries, or golden raisins instead of cranberries to vary the flavor.
- Dates: Medjool dates or any other type of pitted date will work perfectly in this recipe.
- Chia Seed Substitutions: Flax seeds (ground or whole) can be used in place of chia seeds for similar nutritional and binding benefits.
- Pumpkin Seed Alternatives: Sunflower seeds make an excellent substitute for pumpkin seeds, offering a comparable texture and nutty taste.
- Enhanced Flavor: For an extra layer of taste, consider adding a pinch of cinnamon, nutmeg, or a splash of vanilla extract during processing. Lemon or orange zest can also provide a bright, fresh twist.
