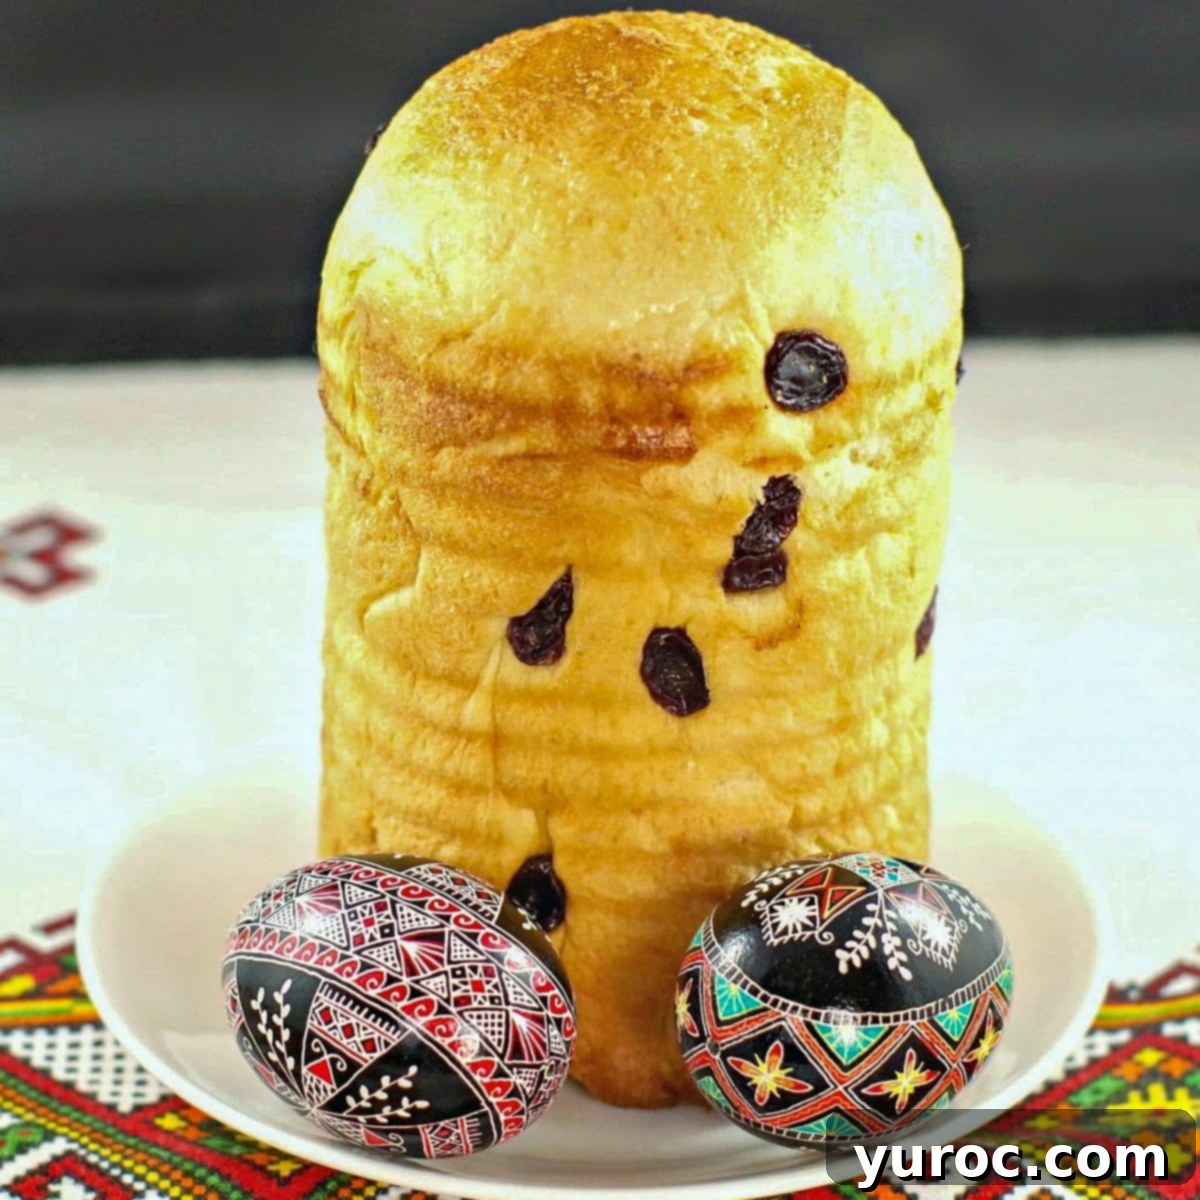
Effortless Bread Machine Ukrainian Babka: Your Guide to Traditional Easter Bread Made Simple
Discover the joy of baking a truly authentic and delicious **Ukrainian Babka** with remarkably less effort! This incredible recipe leverages your bread machine to simplify the traditional Ukrainian Easter Babka process, transforming what can often be a labor-intensive endeavor into a relaxing and rewarding experience. Perfect for your Easter celebrations, this tender, slightly sweet, light, buttery, and cakelike bread will quickly become a cherished family tradition.
For many, Easter evokes vivid memories of childhood, perhaps second only to the unadulterated excitement of Halloween. The thrill of searching for chocolate eggs hidden throughout the living room was undeniable. However, for me, the true highlight, the culinary anticipation that outshone even chocolate, was always the bread. Specifically, the exquisitely tender, mildly sweet, and incredibly light Ukrainian Babka Easter Bread. Its rich, buttery flavor and delicate, cakelike texture were an annual delight, a taste that signaled the arrival of spring and family gatherings.
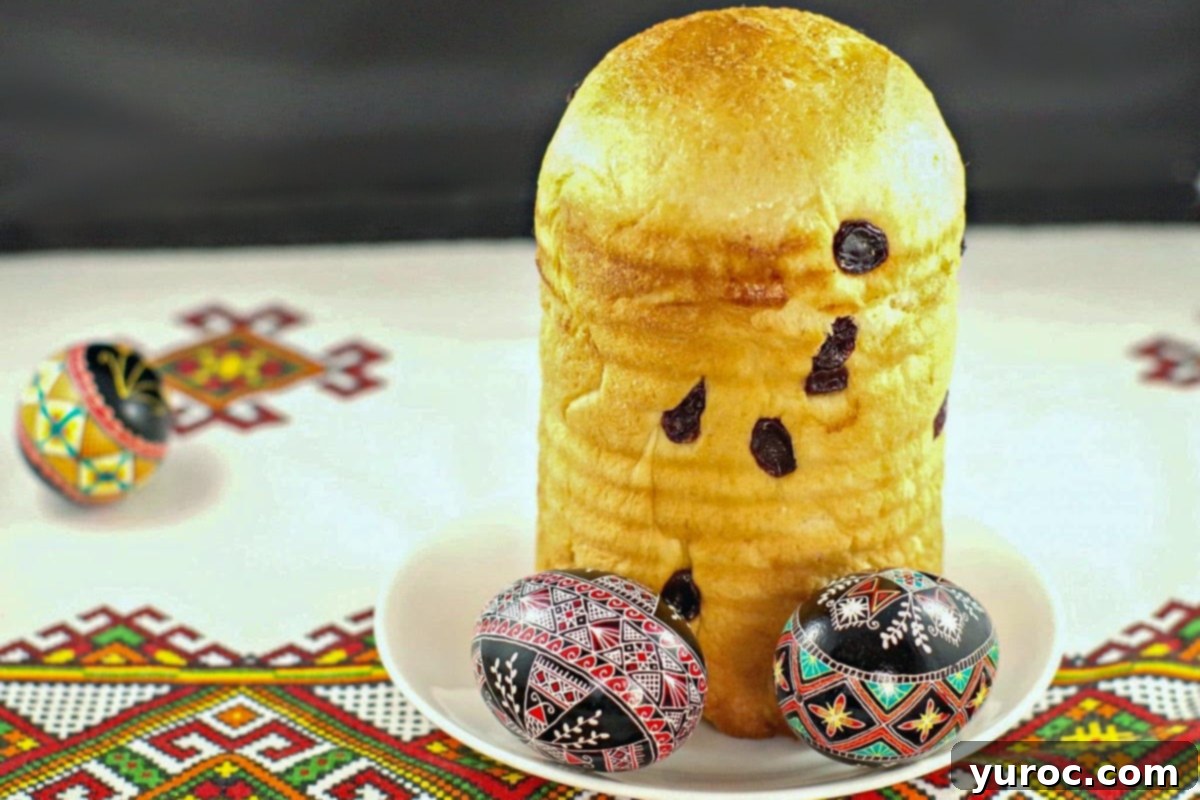
While preserving every wonderful element of this **traditional Ukrainian Babka recipe**, we’ve made it significantly easier by using your bread machine for the dough. This ingenious method allows you to achieve the authentic taste and texture without the extensive kneading, making it an ideal Easter bread machine Babka recipe. Though incredibly popular during the Easter season, this delightful sweet bread is a welcome addition to any celebration, pairing beautifully with a myriad of festive dishes, especially other Ukrainian Easter recipes.
🍒Reader Review
“Hi! I have cooked this bread in my machine several times, and my Polish mother-in-law approved! It seems to be just fine on the regular basic bread with a medium crust cycle on my old West Bend!
Thank you for sharing this recipe!” ⭐⭐⭐⭐⭐
If you’re a devoted fan of Ukrainian Easter bread, you’ll also want to explore my recipe for **Bread Machine Easter Paska bread**, another beloved staple, as well as my delightful **Ukrainian Easter Dove Tutorial**! Each offers a unique and traditional touch to your holiday spread.
It’s true that bread isn’t typically the food children eagerly anticipate, especially when competing with the allure of chocolate. But this bread was different. This was Ukrainian Easter Babka bread – a cherished and indispensable Easter tradition. It held a magical quality, a promise of warmth and delight that only surfaces once a year.
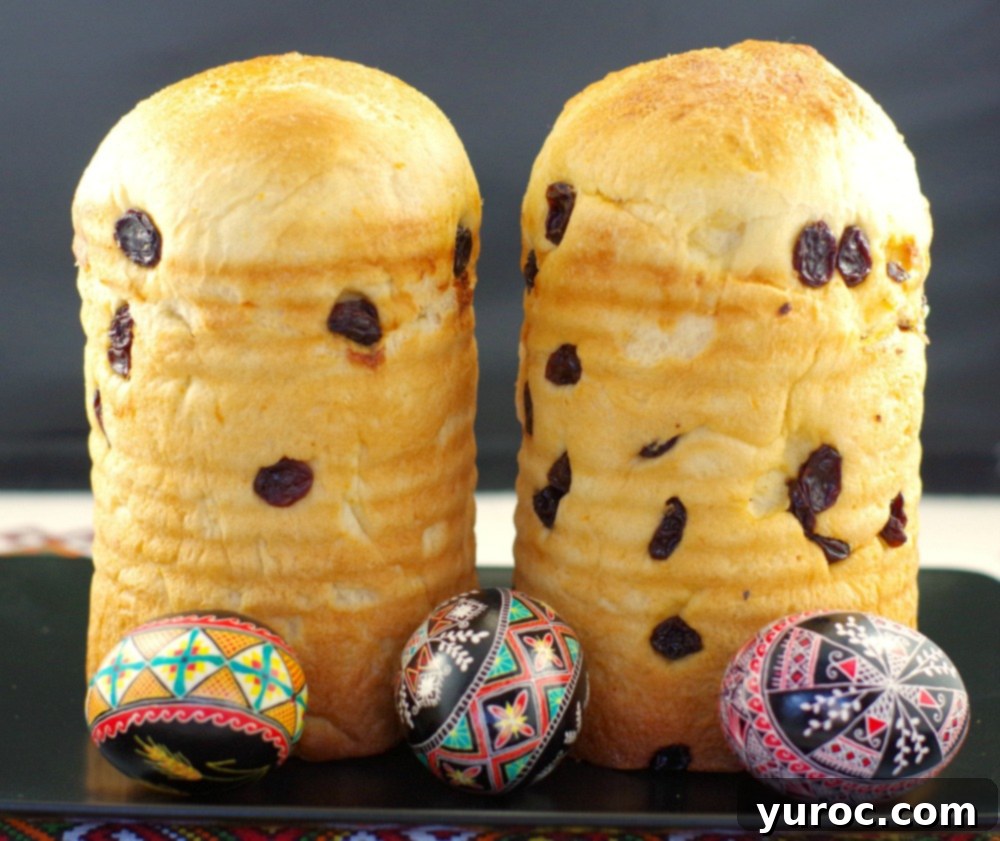
Indeed, to outshine the immediate gratification of Easter chocolate, this truly had to be a special bread. The kind of special that only makes its grand appearance once annually, embedding itself in every fervent food thought in anticipation of the festive event it graced. It was *this* Ukrainian Easter bread that would send me reeling with a profound gastronomical satisfaction, a joy only such a deeply revered food could evoke. It would lure me back to the table again and again, where I’d slice off hunk after glorious, flaky hunk, generously slathering it with semi-solid butter, its delicate crumbs barely clinging to the rich spread. The Easter chocolate, for now, rode shotgun, patiently awaiting its turn.
And only after the celebration had finally wound down, leaving me delightfully sated (and perhaps a little rounder around the middle) for another year, would I then turn to my Easter chocolate for a comforting, yet secondary, indulgence. The memory of the sweet, aromatic Babka would linger, a warm and comforting presence until the next spring.
🍞Why Bread is Important to Ukrainians: A Cultural Cornerstone
Bread is not merely food; it is a profound cultural symbol in Ukraine.
To Ukrainians, bread holds immense significance, often regarded as one of the holiest and most respected foods. Its importance extends far beyond sustenance, deeply woven into the fabric of daily life, traditions, and spirituality. Ukrainian Easter bread, known as Babka or Paska, is not only a culinary highlight but also a central element of religious observance. It is meticulously prepared, often adorned with symbolic dough decorations, and brought to church on Easter Sunday to be blessed, signifying resurrection and new life.
Beyond religious holidays, bread serves as a powerful symbol of hospitality and respect. Honored guests entering a Ukrainian home are traditionally greeted with “Khlib i Sil” (bread and salt), a gesture that signifies warmth, friendship, and the wish for abundance. This ritual embodies a deep respect for both the guest and the land that provides the bread.
Ukrainians celebrate almost every major holiday and special occasion, such as weddings, anniversaries, and harvest festivals, with intricately prepared breads. During a traditional Ukrainian wedding, for instance, you’ll marvel at the magnificent “Korovai,” towering, elaborately decorated breads that symbolize prosperity, fertility, and family unity. Each element, from the braids to the doves and flowers crafted from dough, carries a special meaning, making bread a living testament to Ukrainian heritage and values.
🥘 Essential Ingredient Notes for Your Ukrainian Babka
Crafting this exquisite Ukrainian Easter Babka requires a few key ingredients. Here’s what you’ll need and some helpful tips:
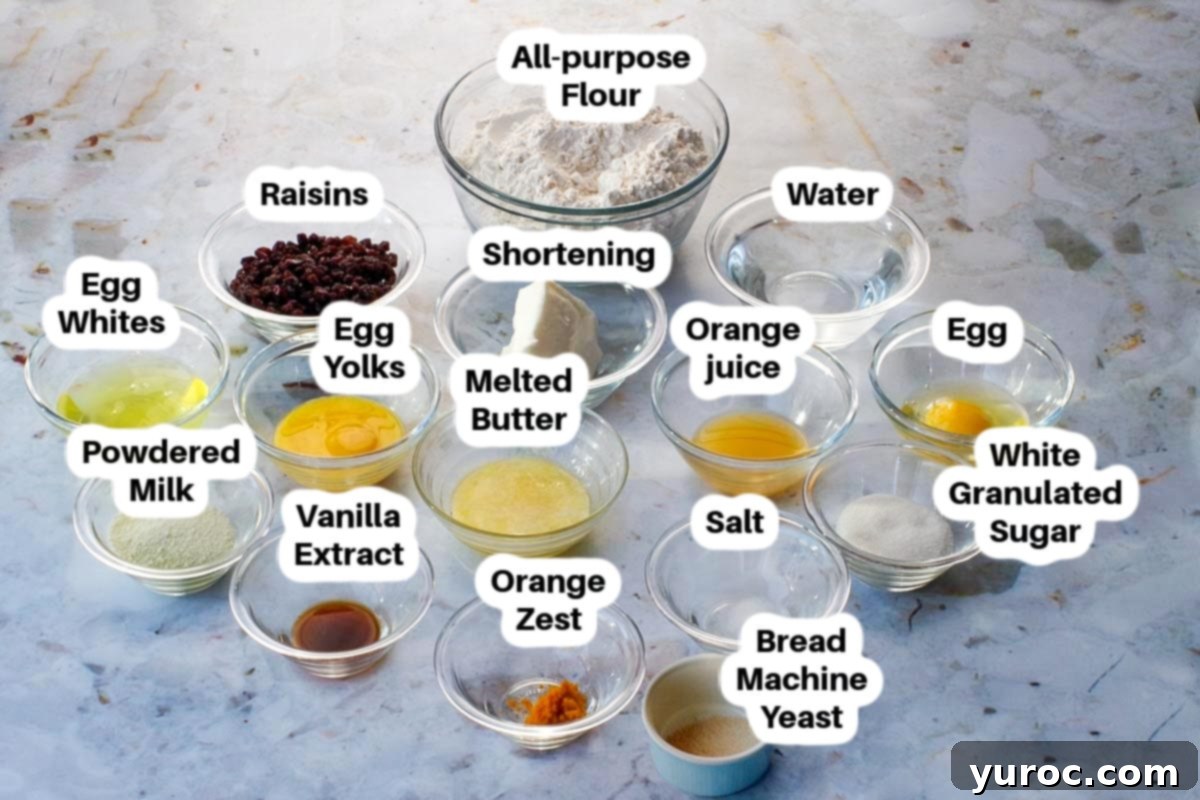
- Butter. For this recipe, I always opt for unsalted butter. This choice gives you complete control over the salt content in your final product, as the amount of salt can vary significantly between different brands of salted butter. Ensure your butter is melted and cooled slightly before adding.
- Powdered Milk. I use powdered skim milk in this recipe. It helps to tenderize the crumb and enrich the flavor of the bread without adding extra liquid, contributing to that desirable soft, cakelike texture.
- Orange Juice and Orange Zest. Freshly squeezed orange juice is highly recommended here, especially since you’ll be zesting an orange anyway. The fresh juice and zest infuse the Babka with a vibrant, aromatic citrus note that is wonderfully traditional and brightens the overall flavor profile.
- All-Purpose Flour. For optimal results, Canadian all-purpose flour is an excellent choice due to its slightly higher protein content compared to some other varieties. This higher protein contributes to better gluten development, which is crucial for the structure and rise of this sweet bread. If your local all-purpose flour has less than 9 grams of protein (or 9%) per serving, consider substituting a portion or all of it with bread flour (typically 11g/11% protein). Using flour with lower protein levels can result in less volume and a denser, tighter crumb, which we want to avoid for a light and airy Babka.
- Bread Machine Yeast. This is a critical ingredient for successful bread machine baking. Always ensure you are using yeast specifically designed for bread machines, or instant yeast, and double-check its expiration date. Old or inactive yeast will prevent your dough from rising properly, leading to a dense loaf.
- Raisins. You can use any type of raisins you prefer – regular dark raisins, sultanas, or golden raisins all work beautifully. They add a lovely burst of sweetness and textural contrast to the bread. However, if raisins aren’t to your liking, feel free to omit them entirely; the Babka will still be delicious.
*Please see the comprehensive recipe card below for a full list of ingredients and precise quantities.
📖 Creative Variations & Substitutions for Your Babka
While this Ukrainian Babka recipe is perfect as is, you can easily customize it to suit your preferences or dietary needs. Here are some ideas to inspire you:
- Raisins – As mentioned, you have flexibility with raisins. Regular, sultana, or golden raisins are all excellent choices, each offering a slightly different sweetness and texture. However, if you or your family aren’t fans of raisins, simply leave them out. You could also try other dried fruits like chopped dried apricots, cranberries, or candied citrus peel for a different twist.
- Gluten-Free Option: To make this Babka gluten-free, replace the all-purpose flour with approximately 3 and ⅔ cups of a good quality gluten-free flour blend, specifically designed for yeast breads. You might need to adjust the liquid slightly as gluten-free flours absorb liquids differently. Look for blends containing xanthan gum for better structure.
- Orange Flavor Alternative – The orange juice and zest provide a signature bright flavor. If you prefer, you can substitute fresh lemon juice and lemon zest for a equally delightful, zesty alternative. While lemon works well, I personally find the subtle sweetness and warmth of orange to be exceptionally complementary to the rich, buttery Babka.
- Nutty Additions: For added crunch and flavor, consider folding in ½ cup of finely chopped toasted almonds, walnuts, or pecans along with the raisins during the “add fruit/ingredients” cycle of your bread machine.
- Enhanced Sweetness: If you desire a sweeter Babka, you can slightly increase the sugar content by 1-2 tablespoons. Alternatively, consider adding a simple powdered sugar glaze after the bread has cooled completely. Mix powdered sugar with a little milk or orange juice until a pourable consistency is reached.
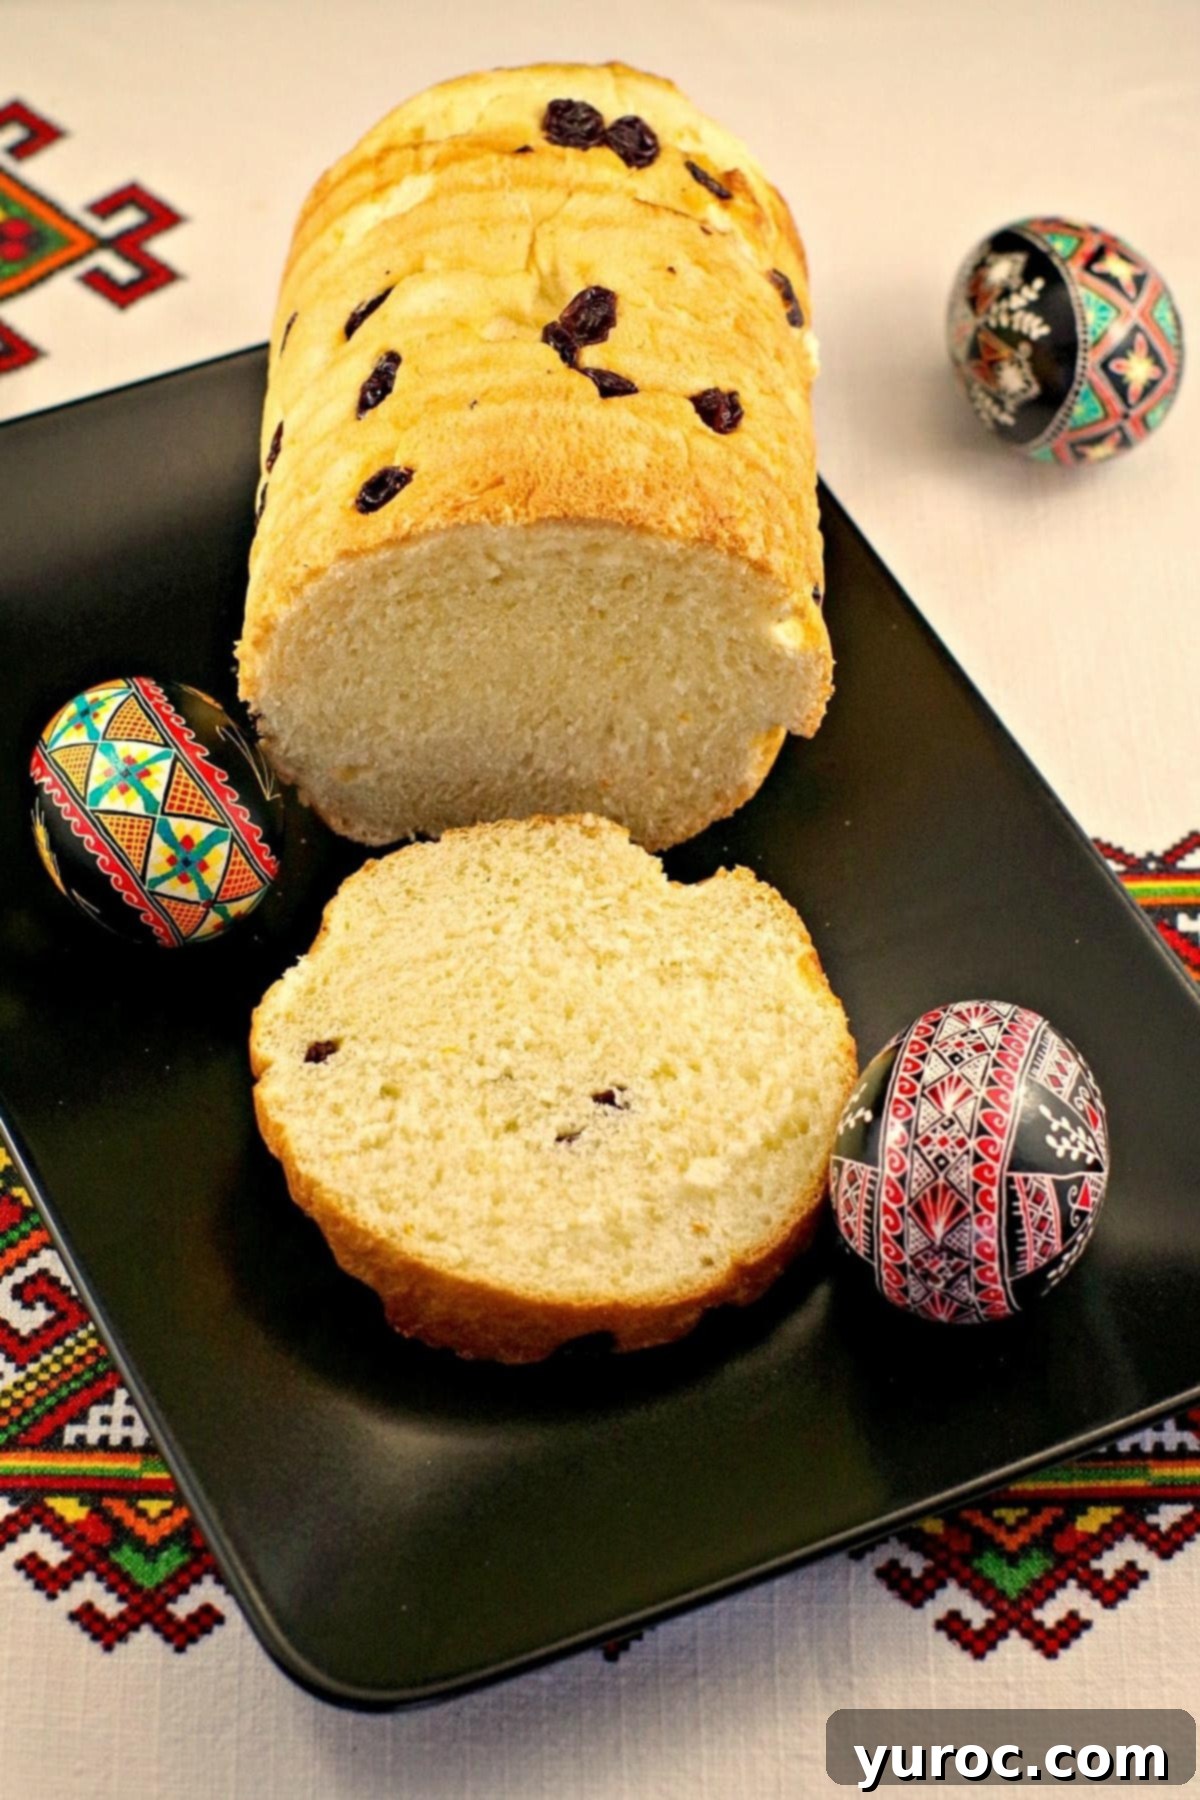
Today, I proudly carry on the tradition, baking this traditional Ukrainian bread for my own family. Yet, unlike those who find deep solace in the arduous art of homemade bread-making, I must confess I preferred it when my Baba (grandmother) made Babka for me. There’s a certain magic in receiving a treasured dish from the hands of someone you love, especially when it involves such a significant effort.
While I adore baking and cherish the outcome, I can certainly do without the intensive manual labor often associated with traditional breadmaking. My wrists, quite frankly, are not as robust as they once were – it’s truly a factor! This personal challenge is precisely why I wholeheartedly embrace the bread machine for making this traditional Easter bread. It allows me to honor my heritage and share the exquisite flavors of homemade Babka without the physical strain, ensuring that this delicious tradition continues effortlessly.
🔪 Step-by-Step: Making Ukrainian Easter Babka in Your Bread Machine
Follow these simple steps to create a beautiful and delicious Ukrainian Babka using your bread machine:
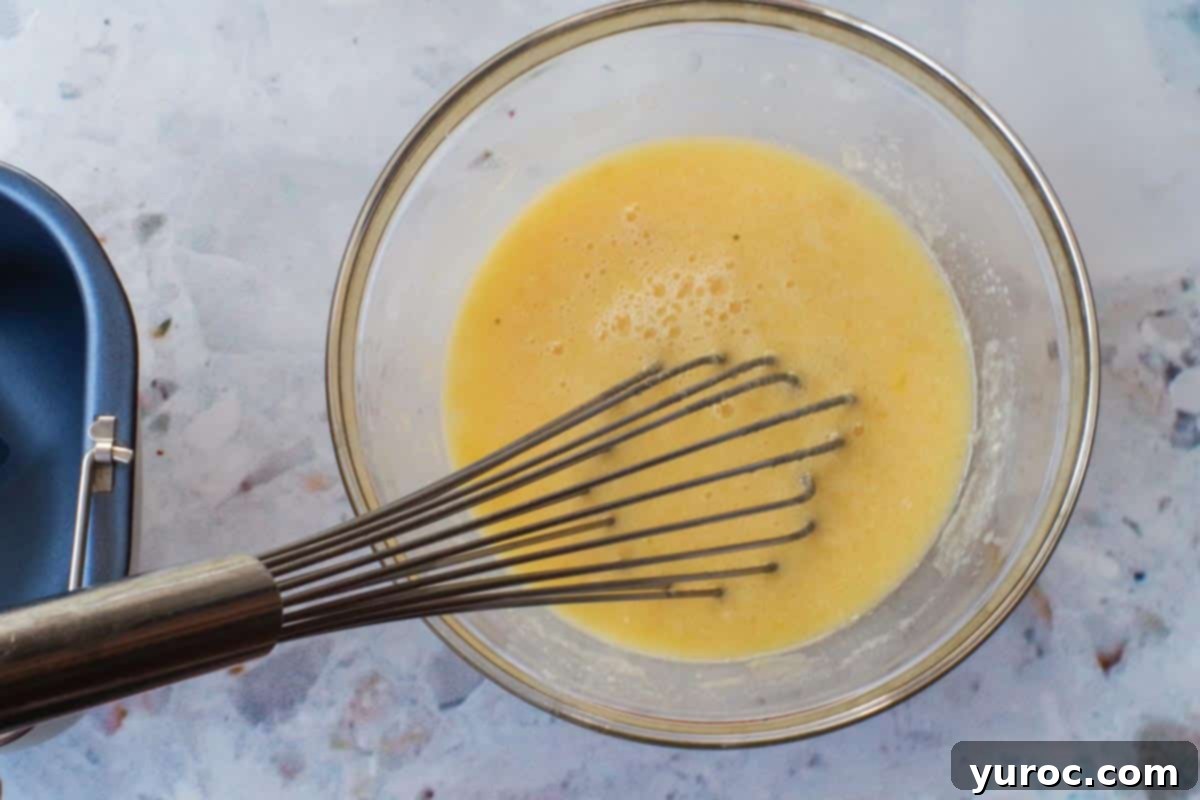
- Step 1: Prepare Liquid Ingredients. In a large bowl, whisk together the egg, egg yolks, melted butter (cooled to lukewarm), granulated sugar, salt, powdered milk, orange juice, orange zest, and vanilla extract. Add 1 cup of warm water, remembering to subtract 1 tablespoon from the total volume. Ensure the water is lukewarm to properly activate the yeast without shocking it.
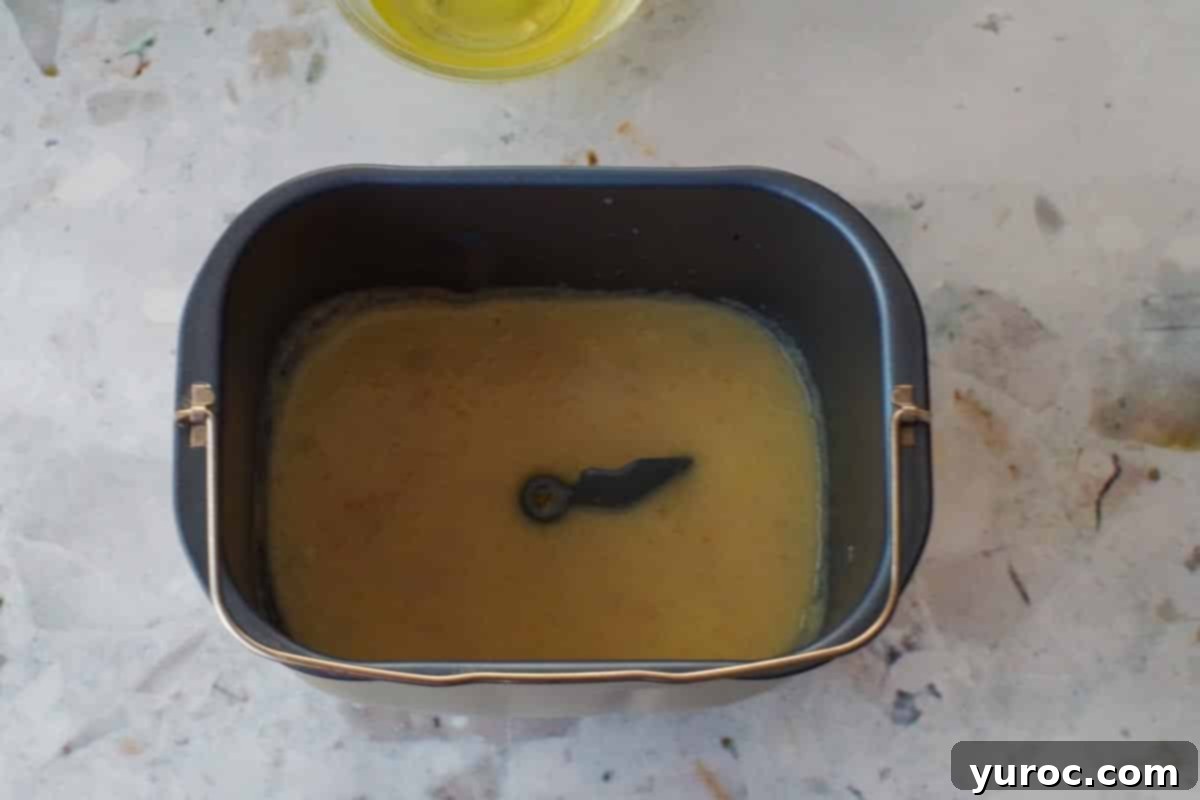
- Step 2: Add to Bread Pan. Carefully pour this well-combined liquid mixture into the loaf pan of your bread machine. If your loaf pan is removable, it’s best to take it out of the machine before pouring to prevent any accidental spills inside the bread maker.
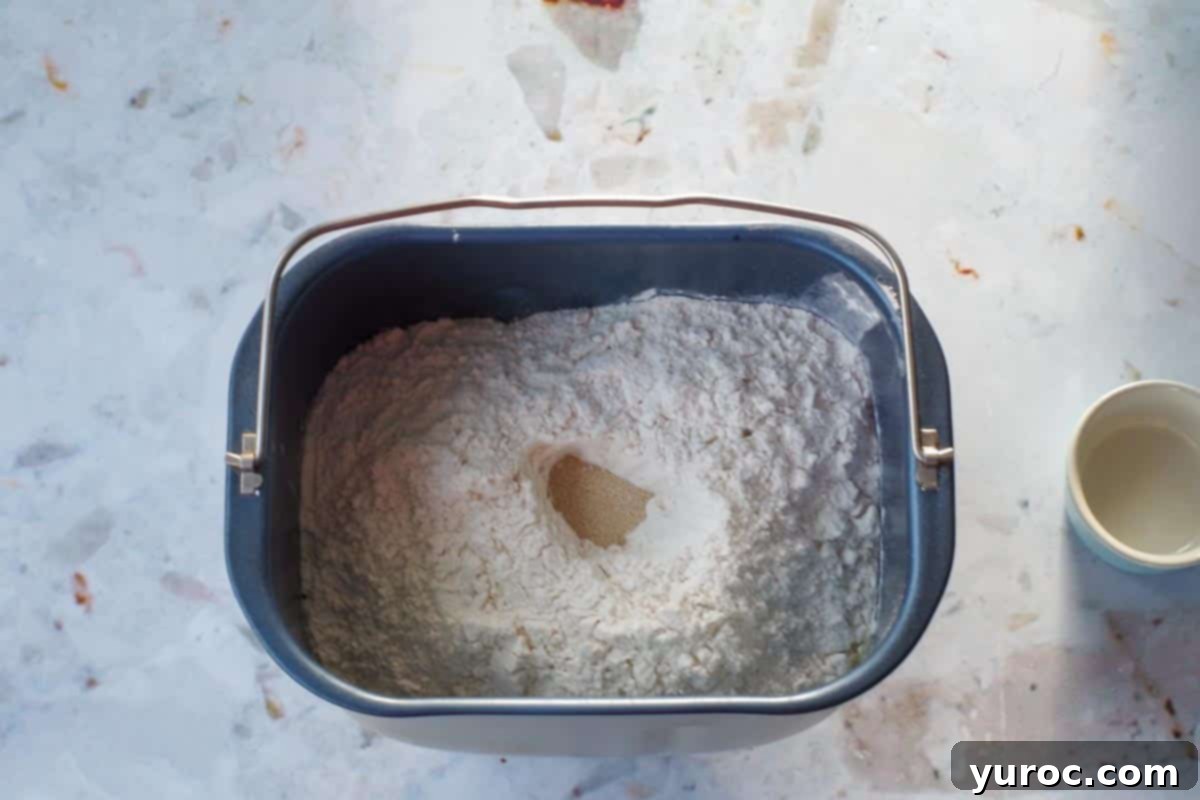
- Step 3: Add Dry Ingredients. Add the all-purpose flour directly on top of the liquid ingredients in the loaf pan. Then, use your finger to create a small crater or well in the center of the flour, making sure it doesn’t reach the liquid below. Pour the bread machine yeast into this crater. It’s crucial that the yeast touches only the flour and not the liquid at this stage to prevent premature activation. Once done, place the bread pan back securely into the bread machine.
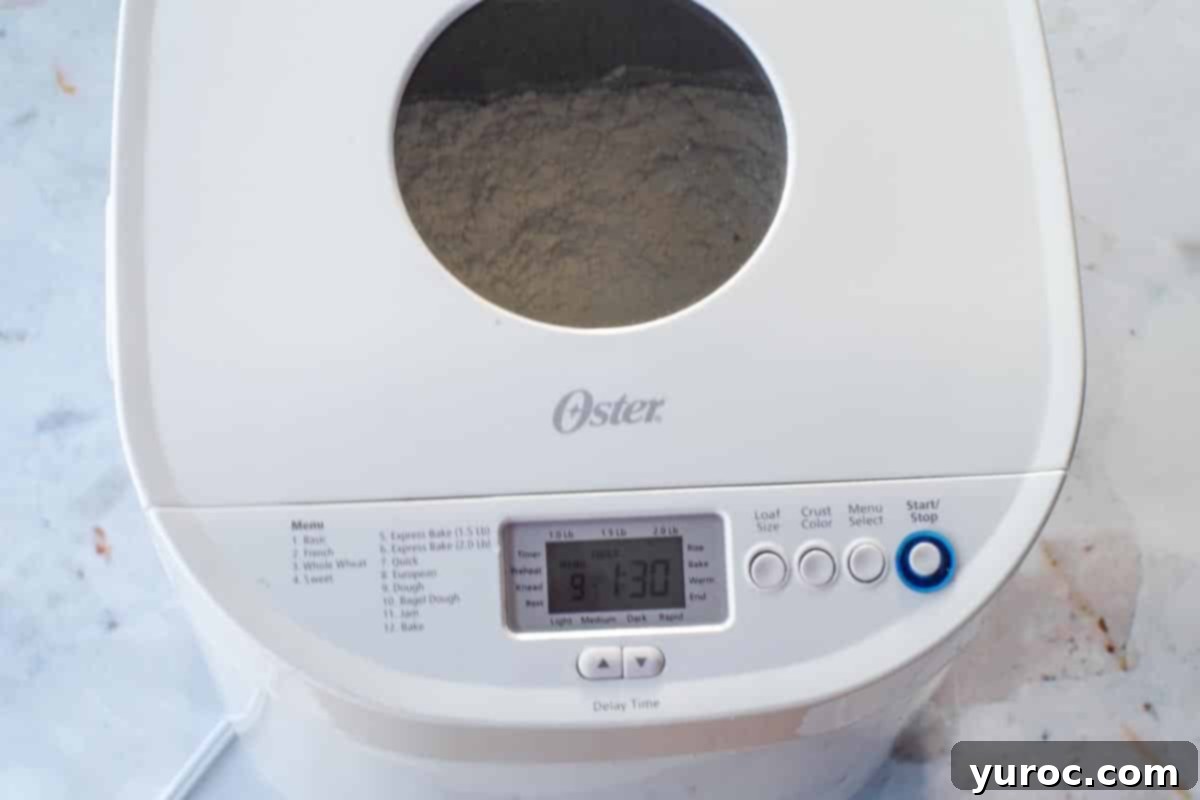
- Step 4: Start Dough Cycle & Add Raisins. Select the “Dough” cycle on your bread machine. Most machines will beep to signal when it’s time to add fruits or ingredients. When you hear this ‘add fruit/ingredients’ signal, carefully add the raisins to the mixing dough. If your machine doesn’t have this specific signal, add the raisins after the second kneading cycle is complete. Alternatively, if you prefer your Babka without raisins, you can simply skip this step.
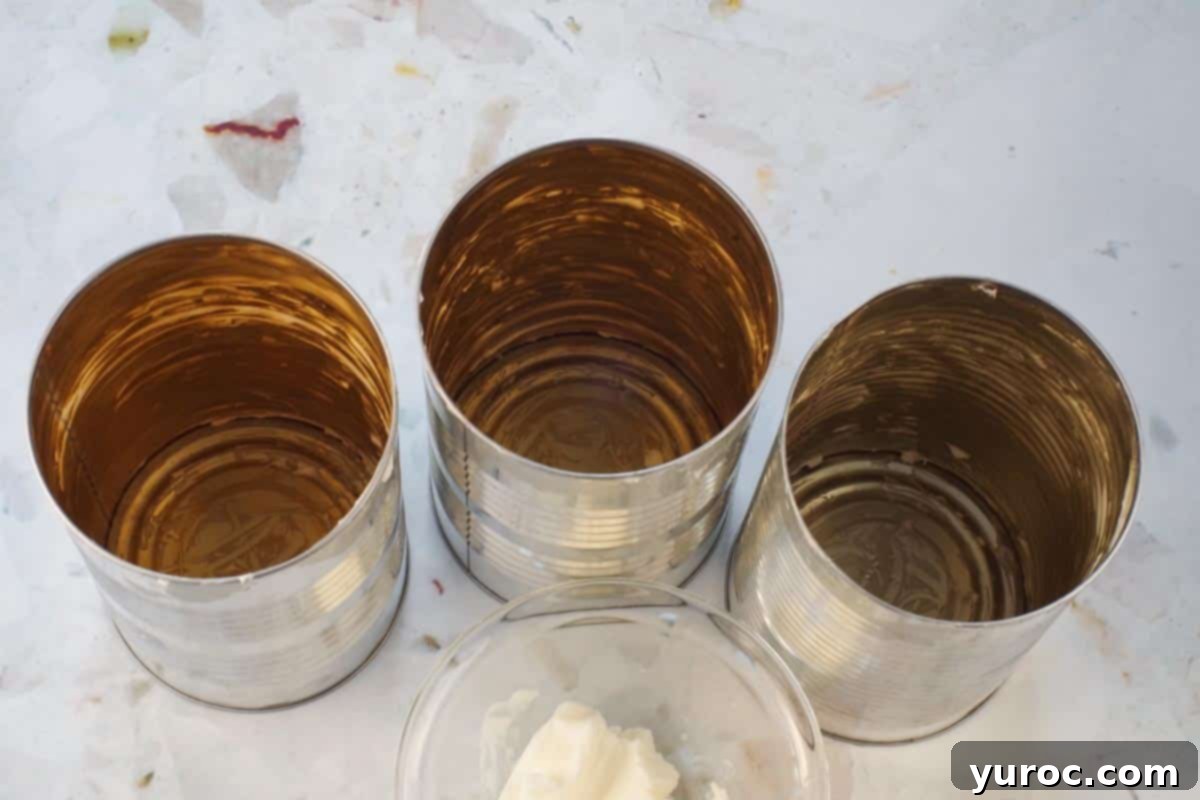
- Step 5: Prepare Baking Tins. While the dough is being kneaded and rising in the bread machine, prepare your baking containers. You will need three juice tins (I find 48 oz / 1.36 L tomato juice tins work perfectly). Generously grease the insides of each tin with shortening. Ensure complete coverage to prevent sticking and ensure easy removal of the finished loaves.
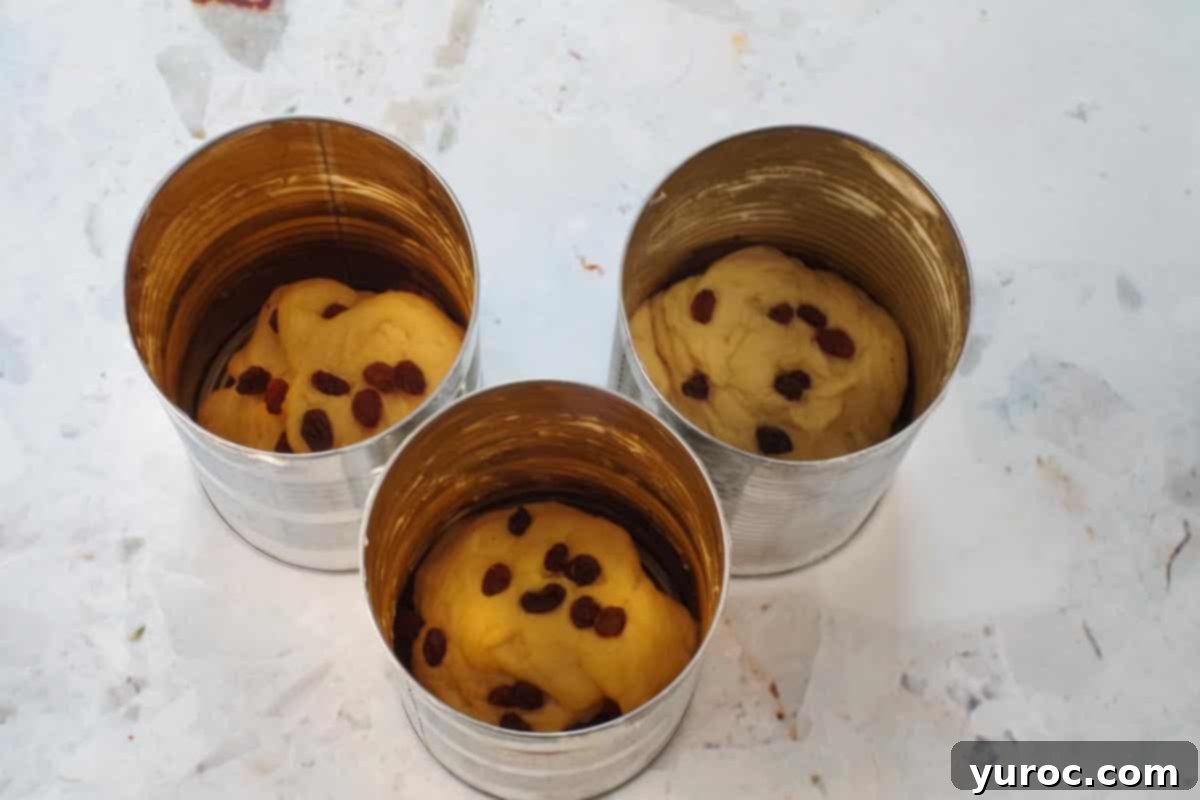
- Step 6: Shape and Second Rise. Once the bread machine’s dough cycle is complete, carefully remove the soft, elastic dough. Gently divide the dough into three equal portions and shape each into a smooth ball. Place one dough ball into each of the three prepared juice tins. Now, let the dough rise in a warm spot until it has doubled in bulk, which typically takes about 45 minutes to 1 hour. This second rise is crucial for the Babka’s light texture.
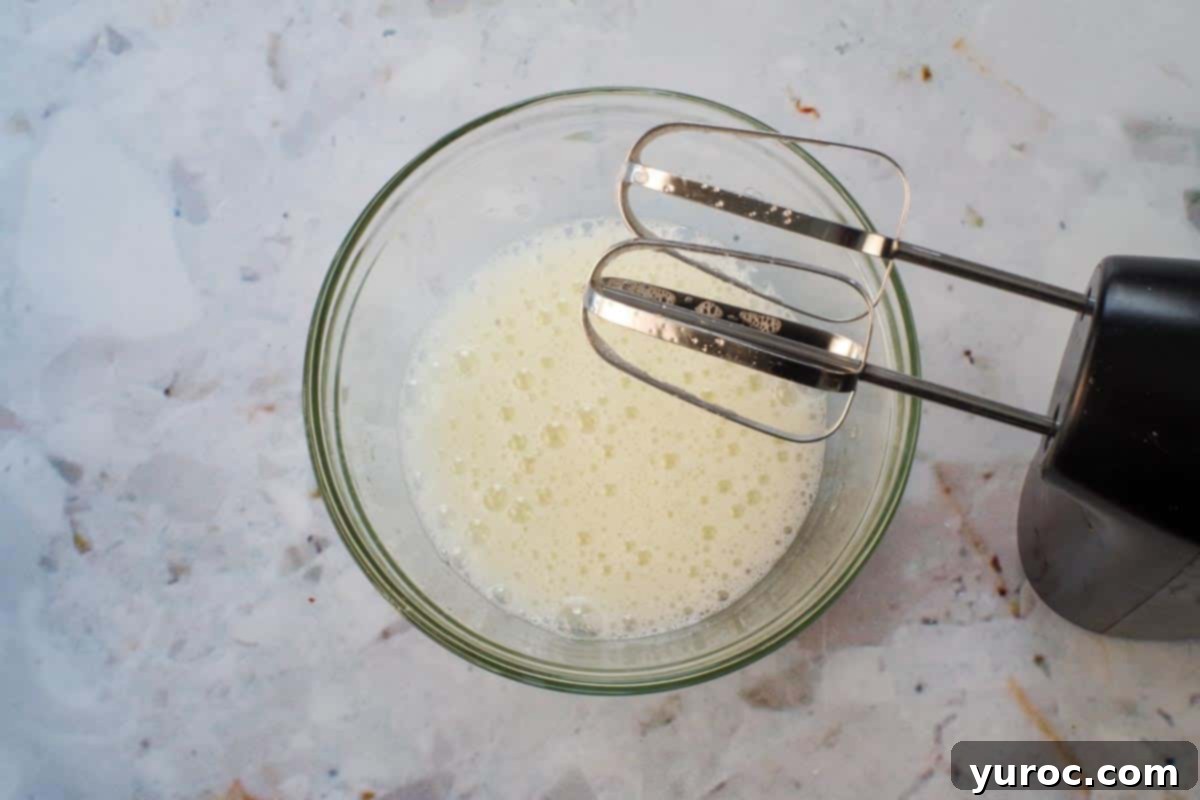
- Step 7: Prepare Egg Wash. While the dough is completing its second rise, beat the remaining egg whites in a separate bowl until they are light and foamy. This foamy egg wash will give your baked Babka a beautiful golden-brown and slightly shiny crust.
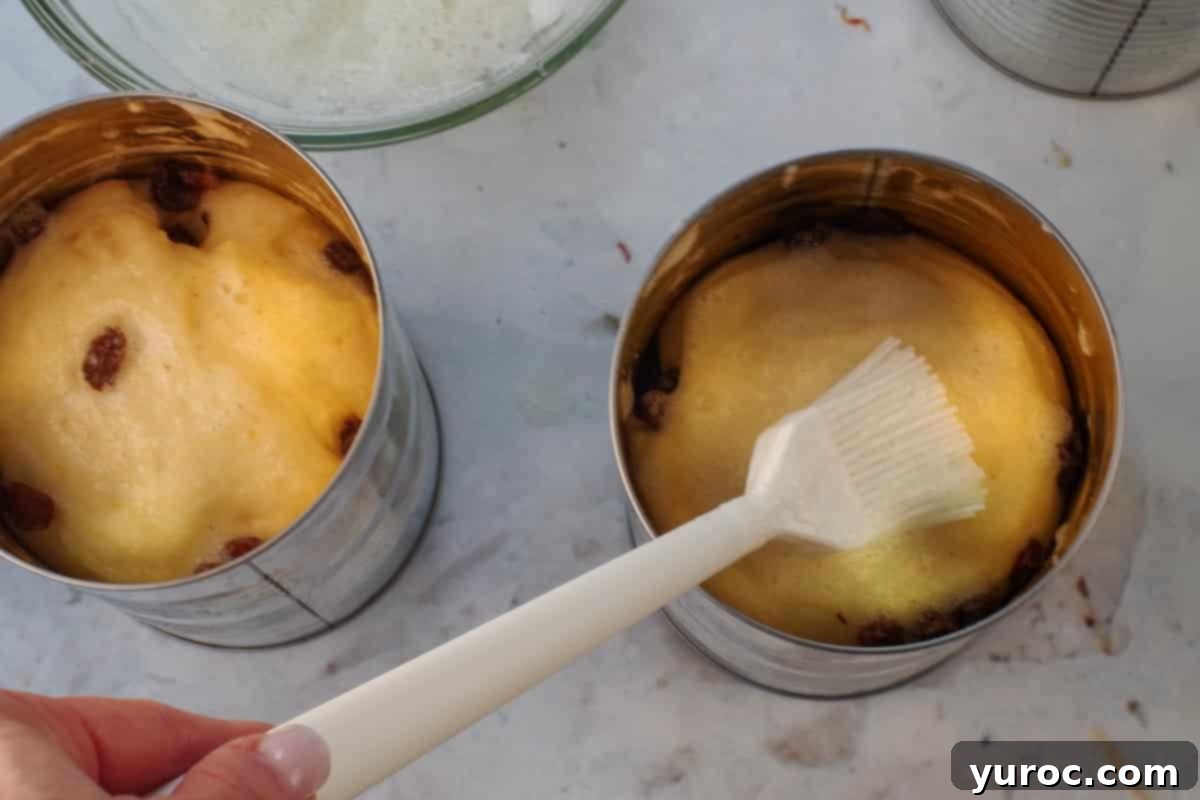
- Step 8: Brush and Bake. Once the dough has doubled in bulk in the tins, preheat your oven to 375 degrees F (190 degrees C). Using a pastry brush, gently brush the tops of the risen dough with the foamy egg white mixture. You likely won’t use all of it. Place the tins on a low rack in the preheated oven and bake for 20-25 minutes, or until the tops are beautifully golden brown. Keep a close eye on them; if the tops begin to brown too quickly, loosely tent the loaves with aluminum foil to prevent over-browning.
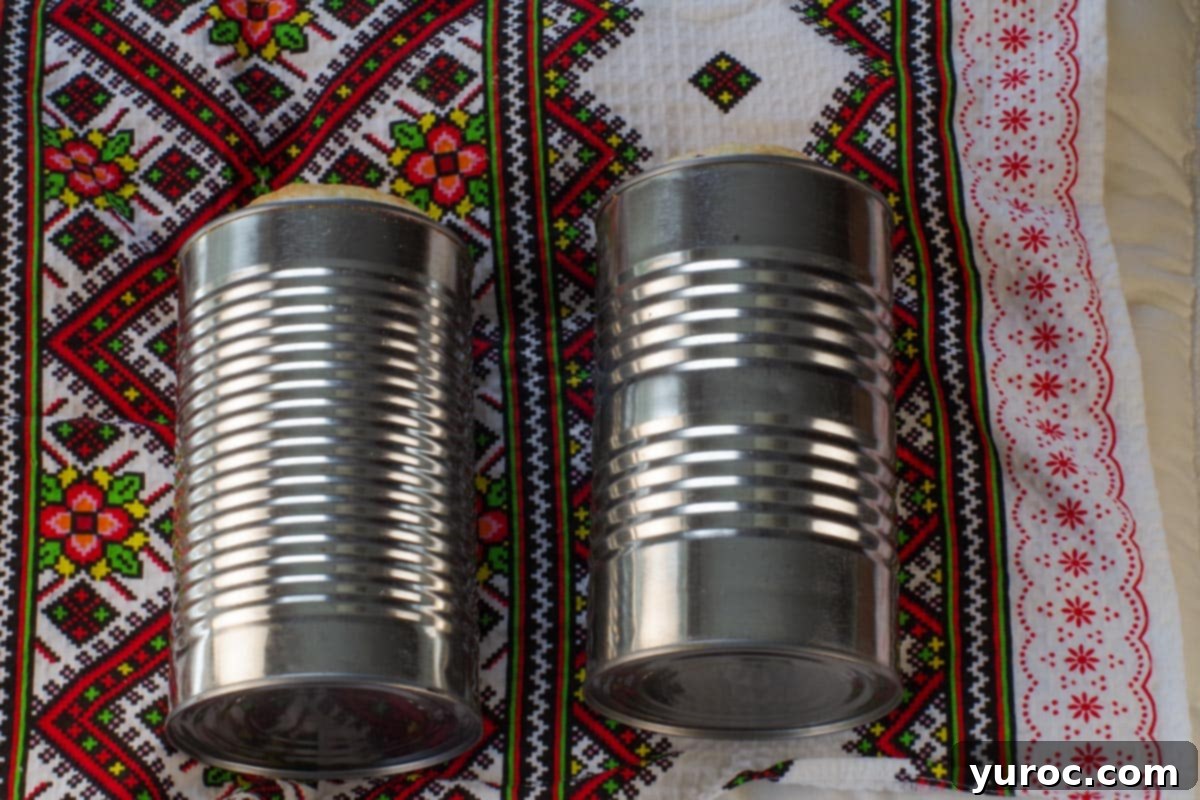
- Step 9: Check for Doneness. To ensure your Babka is perfectly baked, you can use the traditional method: remove a tin from the oven and gently tap the bottom with your knuckles. A hollow sound indicates it’s done. For a more precise check, especially with rich, sweet breads like Babka, use an instant-read thermometer. Insert it into the center of the loaf; a temperature of 180-190°F (82-88°C) confirms it’s fully baked. I highly recommend using an instant-read thermometer (affiliate link) – it’s an invaluable tool for all your cooking and baking! Once baked, remove the loaves from the oven and carefully place the cans onto pillows covered with clean tea towels.
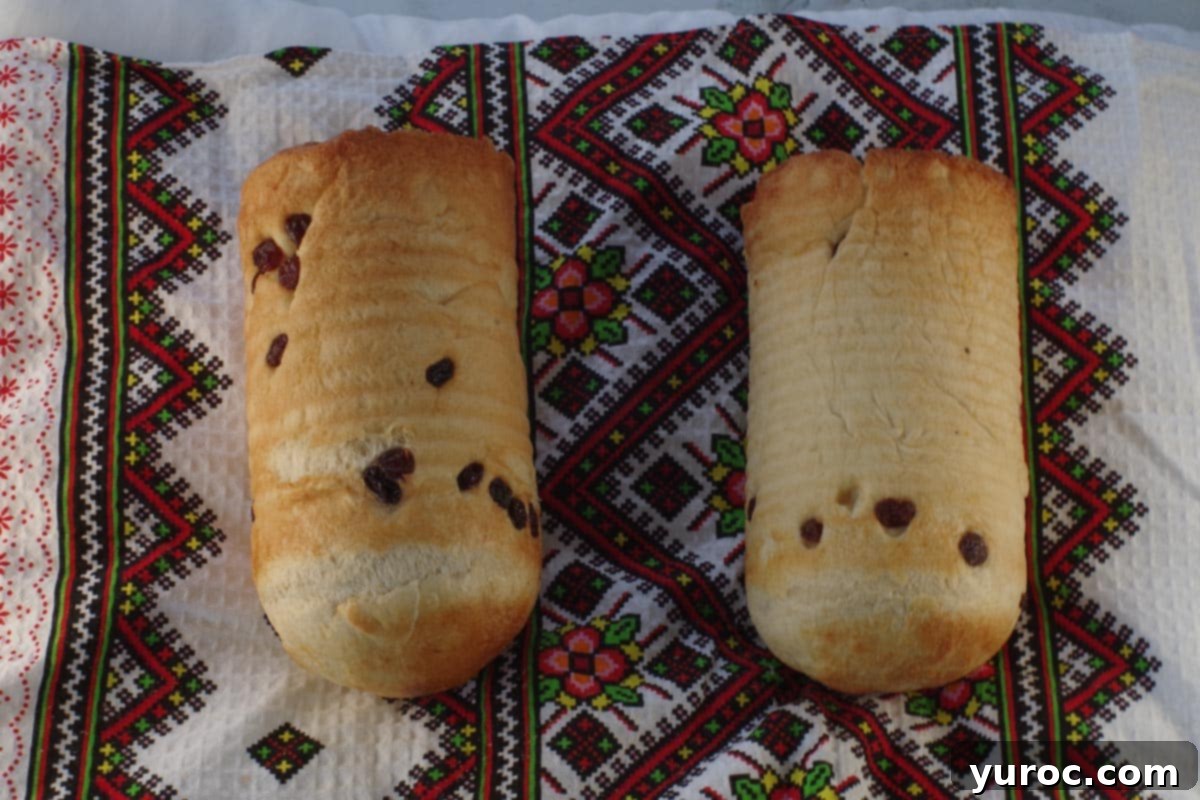
- Step 10: Cool and Serve. Allow the Babka to cool in their tins for about 5 minutes before gently removing them. A half spatula can be helpful to gently loosen the edges if needed. If you greased the tins thoroughly, they should slide right out. Place the warm loaves back onto the tea towel-covered pillows and gently rotate them once every 10 minutes or so. This crucial step ensures they cool evenly without getting dented or squished, maintaining their beautiful round shape. Once fully cooled, slice the loaves into rounds using a bread knife or any sharp knife, and serve with a pat of butter, if desired. Enjoy your homemade Ukrainian Babka!
Pro Tips for Perfect Ukrainian Babka (in the Bread Machine)
Achieve bakery-quality Ukrainian Babka every time with these expert tips:
- Room Temperature Ingredients – This is a fundamental rule for yeast baking. Ensuring all wet ingredients, including butter, eggs, and orange juice, are at room temperature (around 68-72°F or 20-22°C) allows them to emulsify and mix more evenly. Crucially, it also promotes better and more consistent yeast activation, leading to a superior rise and finer crumb.
- Flour Matters – The type of flour significantly impacts your Babka’s final texture. Canadian all-purpose flour is often preferred for its slightly higher protein content, which contributes to better gluten development and a chewier, more structured bread. If your local all-purpose flour contains less than 9 grams of protein per serving, consider using bread flour (which typically has 11% or more protein) to ensure adequate structure and prevent a dense loaf with insufficient volume.
- Proper Yeast Placement – Always create a small crater or well on top of the flour layer in your bread machine pan and place the yeast exclusively in this dry pocket. It is vital that the yeast does not come into direct contact with any liquid ingredients before the mixing cycle begins. Premature activation of the yeast can compromise its effectiveness, leading to a poor rise and a less airy texture.
- Use the Right Tins – The shape of Babka is part of its charm. Traditional cylindrical shapes are often achieved using old coffee or juice tins. If 48 oz (1.36 L) tomato juice tins are unavailable, consider using standard 9x5x2-inch loaf tins. You will likely only need two such tins for this recipe, but be aware that baking time may need to be adjusted and possibly extended due to the different shape and volume of dough per tin.
- Controlled Warm Environment for Rising – Yeast thrives in warmth. If your kitchen is naturally cool, especially during colder months, create a consistently warm environment for the dough’s second rise. A simple trick is to place the tins in a slightly warm oven that has been turned OFF, with just the oven light on. The minimal heat from the light bulb is often enough to create an ideal proofing temperature, ensuring a strong and even rise.
- Prevent Overbrowning – Babka’s rich dough can sometimes brown quickly due to its sugar content. If you notice the tops of your loaves are darkening too rapidly during baking, loosely tent them with aluminum foil. This acts as a shield, preventing scorching while allowing the interior to continue baking thoroughly.
- Doneness Check with Precision – While tapping the bottom for a hollow sound is a classic test, an instant-read thermometer offers superior accuracy. Insert the thermometer into the center of the loaf; a fully baked Babka should register an internal temperature between 180-190°F (82-88°C). This ensures the bread is cooked through without being dry or gummy.
- Cool on Pillows for Shape – To maintain the beautiful, rounded shape of your cylindrical Babka loaves and prevent them from collapsing or developing flat spots, cool them on soft pillows covered with clean tea towels. Gently rotate them every 10 minutes or so. This method provides soft, even support as the bread sets, allowing it to retain its desired form.
🍽 Essential Equipment for Your Babka Baking
While this recipe simplifies the kneading process, you will still need a few key pieces of equipment to make this sweet bread a success. You won’t require an electric hand mixer or a stand mixer for the dough itself, but a bread machine is essential for handling the initial mixing and first rise.
Here’s what you’ll need:
- Bread Machine: This is the star of the show, significantly reducing your hands-on time and effort for dough preparation. Any standard bread machine with a “Dough” cycle will work perfectly.
- Baking Tins: For the characteristic cylindrical shape of traditional Ukrainian Babka, I highly recommend using 3 large tomato juice tins (approximately 1 liter or 32-oz cans). It can be challenging to find suitable metal coffee tins nowadays, as many are now made of plastic or have plastic coatings. When selecting tins, always ensure they are made of uncoated metal (avoid anything with a white or light grey lining inside, which indicates a coating that might not be oven-safe). If round tins are truly unavailable, 9x5x2-inch loaf tins can be used, though you’ll likely only need two and the baking time may need slight adjustment.
- Bread Knife: Once your delicious Babka is baked and cooled, a sharp bread knife is indispensable for slicing it cleanly into beautiful rounds without tearing its delicate structure. *You can find my specific recommendation and affiliate links in the recipe card below.
- Instant-Read Thermometer: While not strictly mandatory, an instant-read thermometer is a fantastic tool for ensuring your Babka is perfectly baked through. It provides an accurate internal temperature reading, guaranteeing optimal texture and doneness every time.
🌡️ Storage Solutions for Freshness
Proper storage is key to keeping your delicious Ukrainian Babka fresh and flavorful for as long as possible:
- Room Temperature: Once completely cooled, store your Babka Easter Bread in an airtight container or a large Ziplock freezer bag at room temperature. It will remain wonderfully fresh for up to 5 days. Ensure it’s sealed well to prevent it from drying out.
- Freezing: This bread machine Babka freezes exceptionally well, making it perfect for meal prepping or enjoying long after Easter. To prepare for freezing, first wrap each loaf tightly in plastic wrap (Glad Press ‘n Seal works particularly well for this, creating an excellent seal). Then, place the wrapped loaves into a heavy-duty Ziplock freezer bag or an airtight freezer-safe container. Stored this way, your Babka will maintain its quality in the freezer for at least 3 months. When ready to enjoy, simply thaw at room temperature or gently warm slices in a toaster or oven.
❔ Frequently Asked Questions About This Recipe
Absolutely, yes! This bread machine Babka recipe is excellent for freezing. The best method for preserving its freshness is to wrap the cooled loaves tightly in plastic wrap (I prefer using Glad Press ‘n Seal for an extra secure seal) and then place them into a Ziplock freezer bag or an airtight freezer container. Properly stored, it will last in your freezer for at least 3 months, allowing you to enjoy this traditional treat long after the Easter season.
Yes, you certainly can! While the bread machine greatly simplifies the process, you can still achieve a wonderful Babka without one. You’ll need to mix and knead the dough by hand for about 10-15 minutes until it’s smooth and elastic, or use a stand mixer with a dough hook for about 8-10 minutes. After kneading, place the dough in a greased bowl, cover it, and let it rise in a warm place until it has doubled in bulk (this is the first rise). Punch it down gently, then let it rise a second time until doubled. Additionally, if you’re not using a bread machine, you’ll need to use active dry or instant yeast instead of bread machine yeast. Once the dough has completed its second rise, proceed with shaping, a final rise in the tins, and baking as directed in the recipe.
There are a couple of reliable ways to determine if your Babka is perfectly baked. Visually, the loaves should be beautifully golden brown on top. For a traditional check, gently remove a tin from the oven and tap the bottom with your knuckles; if it sounds hollow, the bread is likely done. For the most accurate assessment, I highly recommend using an instant-read thermometer. Insert it into the very center of the loaf; the internal temperature should register between 180-190°F (82-88°C) when it’s fully cooked through.
Absolutely! While an egg wash before baking gives a lovely shine, you have several options for glazing your Babka. If you prefer a different look or added sweetness, you can make a simple powdered sugar glaze (confectioners’ sugar mixed with a little milk, lemon juice, or orange juice). Another delightful option is to brush the warm bread with honey after it comes out of the oven for a subtle sheen and flavor. Remember, if you opt for a powdered sugar or honey glaze, always apply them AFTER the bread has been baked and has cooled slightly, never before baking.
Making Ukrainian Babka with the aid of a bread machine is truly a game-changer. It not only makes the process significantly easier but also yields a sweet, tender, and authentic-tasting traditional bread that rivals handmade versions. So, if you’re searching for an Easter Babka recipe that brings both tradition and convenience to your holiday table, you will absolutely adore this Bread Machine Ukrainian Babka!
More Delightful Ukrainian Recipes to Explore
Expand your culinary repertoire with these other fantastic Ukrainian recipes that are sure to impress:
- Hearty Ukrainian Cabbage Rolls (with Ground Beef and Rice)
- Classic Potato and Cottage Cheese Perogies
- Quick & Easy Beef Borscht (with Canned Beets)
- Crispy Air Fryer Kielbasa (Kovbasa)
Did your family ❤️ this recipe? Did you know that commenting and ⭐rating recipes is one of the best ways to support your favorite recipe creators? If you LOVED this recipe, please comment and rate it in the recipe card below, or share photos of your beautiful Babka on social media using the hashtag #foodmeanderings or by tagging @foodmeanderings! Your feedback means the world!

📋 Ukrainian Babka Recipe (Bread Machine)
Equipment
- bread machine
- 3 large tomato juice (48 oz /1.36 L) or 5- 500 g/l lb coffee tins
- bread knife
- instant read thermometer
Ingredients
- 1 large egg
- 3 egg yolks
- 4 tablespoon melted unsalted butter (cooled)
- 3 tablespoon white granulated sugar
- 3 tablespoon powdered skim milk
- ½ teaspoon salt
- 2 tablespoon fresh orange juice
- 1 tablespoon freshly grated orange zest
- 1 teaspoon vanilla extract
- 1 cup warm water (*minus 1 tbsp, should be lukewarm)
- 3 ¾ cup all-purpose flour * (I use Canadian all-purpose flour – 9% protein. See notes for alternatives.)
- 1 teaspoon bread machine yeast
- 1 cup raisins (optional)
- 3 egg whites (for egg wash)
- ¼ cup shortening * (for greasing tins, vegetable shortening or lard)
Instructions
- In a large bowl, beat the egg, egg yolks, cooled melted butter, sugar, salt, milk powder, orange juice, orange zest, vanilla extract, and 1 cup of warm water (minus 1 tbsp). Ensure the water is lukewarm.1 large egg, 3 egg yolks, 4 tablespoon melted unsalted butter (cooled), 3 tablespoon white granulated sugar, 3 tablespoon powdered skim milk, 2 tablespoon fresh orange juice, 1 tablespoon freshly grated orange zest, 1 teaspoon vanilla extract, 1 cup warm water (*minus 1 tbsp, should be lukewarm), ½ teaspoon salt
- Pour the liquid mixture into the loaf pan of your bread machine. Add the flour on top. Create a small crater in the flour and pour the bread machine yeast into it. Ensure yeast ONLY touches the flour and not any liquid. Then, put the bread pan back into the bread machine.
- Set the bread machine to the “Dough” cycle. When the ‘add fruit/ingredients’ signal goes off, add the raisins. If your machine doesn’t have a signal, add the raisins after the second knead. Omit raisins if preferred.1 cup raisins (optional)
- Meanwhile, prepare 3 juice tins (e.g., 48 oz / 1.36 L tomato juice tins) by generously greasing them with shortening.¼ cup shortening (for greasing tins, vegetable shortening or lard)
- Once the dough cycle is complete, remove the dough from the bread machine. Divide it into 3 equal balls. Place each ball into a greased juice tin and let the dough rise in a warm spot until it has doubled in bulk (approximately 45 minutes to 1 hour).
- Beat the 3 egg whites until they are light and foamy.3 egg whites (for egg wash)
- When the dough has doubled in bulk in the tins, use a pastry brush to gently brush the tops of the loaves with the foamy egg white mixture.
- Baking time: Bake in a preheated oven at 375°F (190°C) on a low rack for 20-25 minutes, or until the tops are golden brown. If the tops begin to brown too quickly, loosely cover them with aluminum foil for the remainder of the baking time.
- Check for doneness: You can use the old-fashioned way by removing a tin and tapping the bottom with your knuckles; a hollow sound indicates it’s done. For best accuracy, use an instant-read thermometer to check the internal temperature, which should be 180-190°F (82-88°C) for a fully baked bread. (I recommend this instant-read thermometer – it’s great for everything food related!)
- Remove the baked loaves from the oven. Cool them slightly in their tins for about 5 minutes before gently removing them onto pillows covered with clean tea towels.
- Allow the loaves to cool completely, gently rotating them every 10 minutes on the tea towels to help maintain their round shape and prevent dents. Once cooled, slice into rounds with a bread knife or sharp knife, and serve with butter if desired.
Notes
-
- Room Temperature Ingredients – For best yeast activation and an even mix, ensure all wet ingredients (butter, eggs, orange juice) are at room temperature.
-
- Flour Matters – Canadian all-purpose flour (9% protein) works well. If your flour is lower in protein, use bread flour (11%+) for better structure and volume.
-
- Proper Yeast Placement – Always place yeast in a dry crater on top of the flour, never directly touching liquid, to ensure optimal activation.
-
- Use the Right Tins – For traditional shape, use 3 large tomato juice tins (48 oz / 1.36 L). If unavailable, two 9x5x2-inch loaf tins will work, but may require longer baking time.
-
- Controlled Warm Environment for Rising – If your kitchen is cool, let the dough rise in a turned-off oven with the light on for consistent proofing.
-
- Prevent Overbrowning – If the tops brown too quickly, loosely tent the loaves with aluminum foil.
-
- Doneness Check – For precision, use an instant-read thermometer. The internal temperature should be 180-190°F (82-88°C).
- Cool on Pillows for Shape – To prevent collapsing and dents, cool babka on pillows covered with clean tea towels, rotating gently every 10 minutes to maintain shape.
