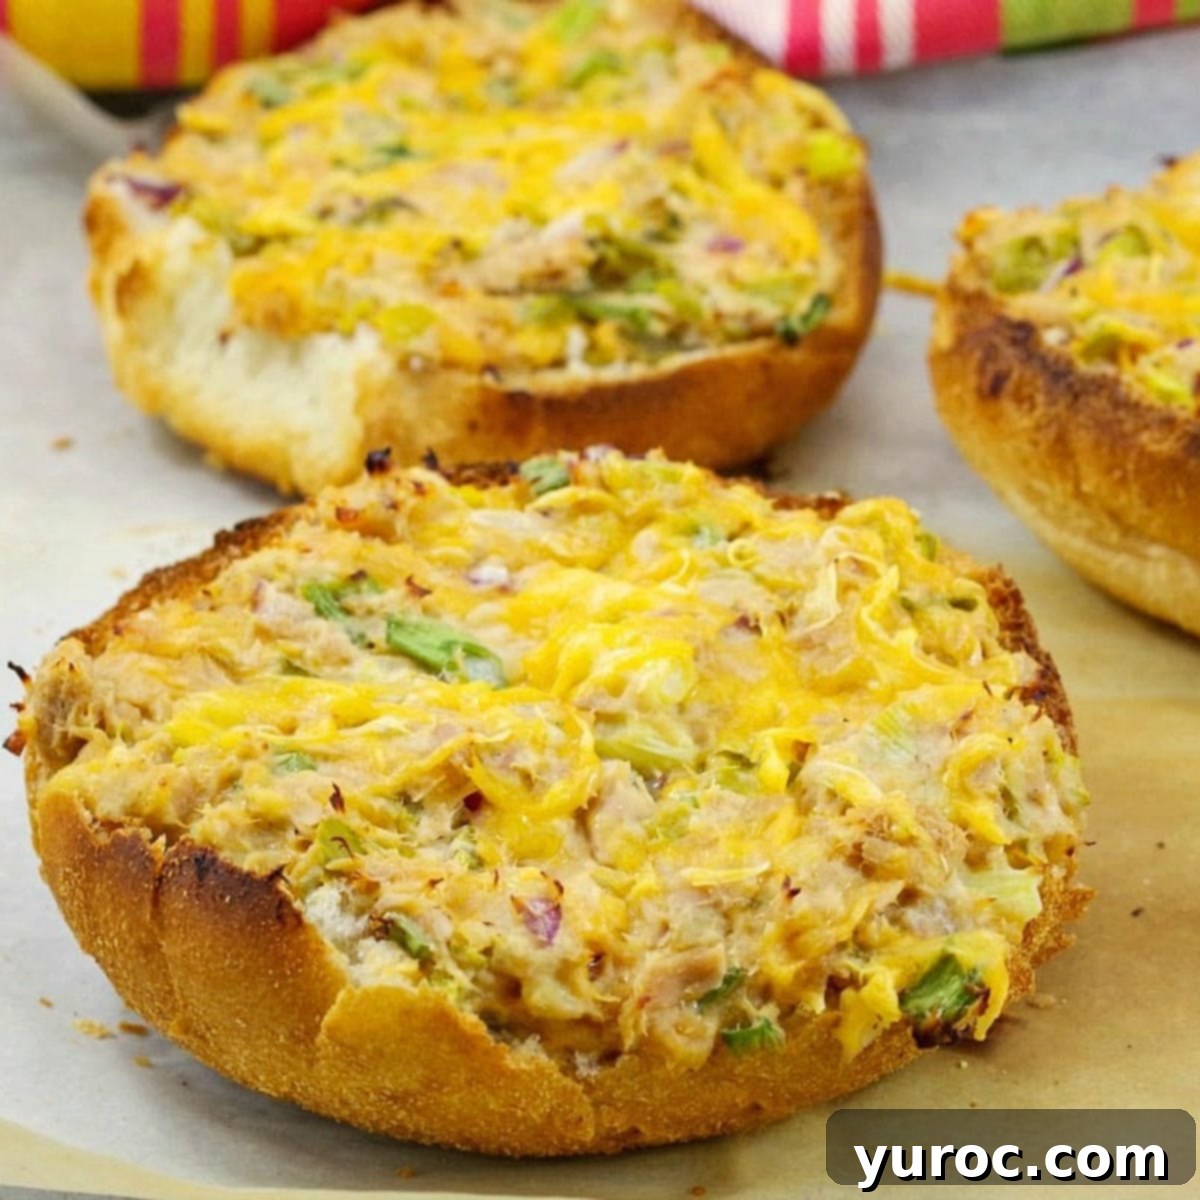
Healthy & Delicious Open Face Tuna Melts (No Mayo) – Quick, Cheesy & Spicy Comfort Food
Discover the ultimate recipe for Open Face Tuna Melts that are not only incredibly flavorful and satisfying but also healthy, a touch spicy, and wonderfully cheesy—all without a drop of mayonnaise! This fast and easy recipe, requiring less than 20 minutes from start to finish, is perfect for a quick weeknight dinner, a satisfying lunch, or even a convenient meal prep option. For those following the Weight Watchers program, you’ll be delighted to know these savory melts are also WW friendly, making them a guilt-free indulgence.
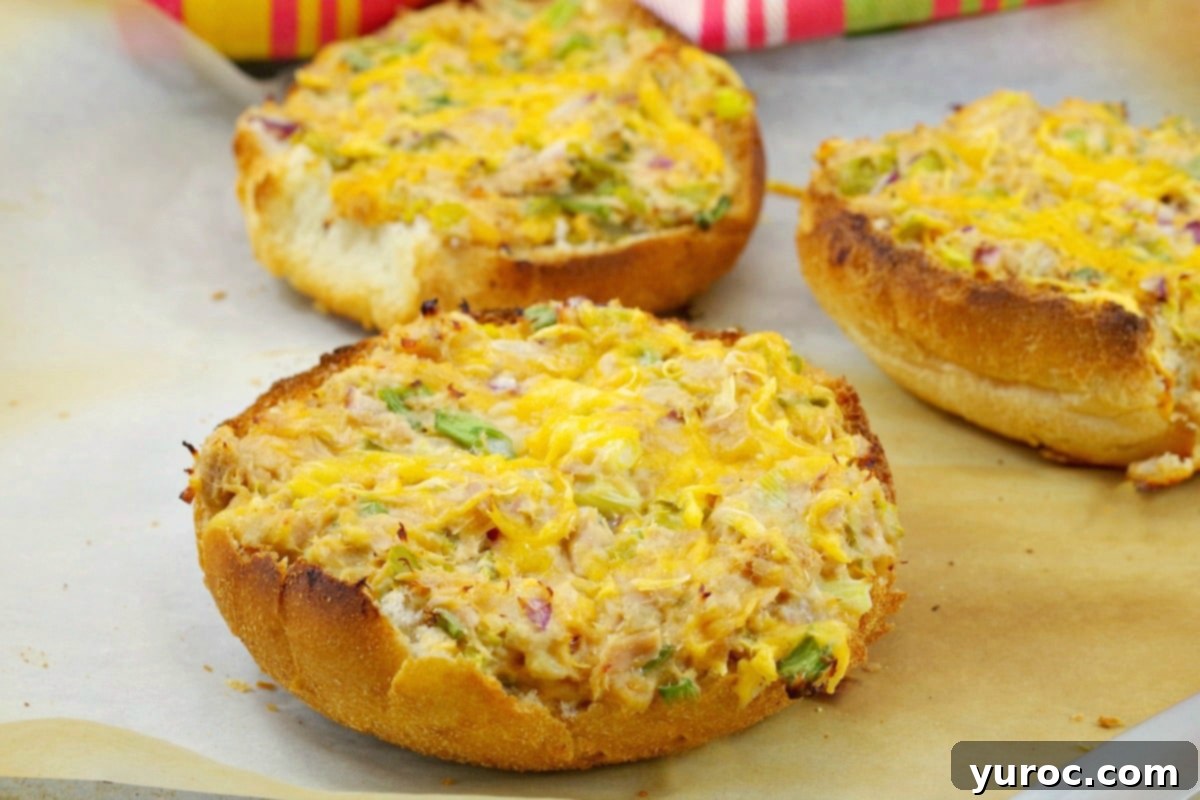
Forget bland, mayo-heavy tuna sandwiches. These unique tuna melts (completely mayo-free!) offer a comforting, economical, and wholesome meal that fits seamlessly into a busy lifestyle. Whether you’re rushing home from work before heading out to evening activities like soccer, dance, or hockey, these melts provide a fantastic solution for a speedy, nutritious meal. The best part? You can even prepare the tuna mixture the night before for an even quicker dinner on those extra hectic days!
This recipe is a heartfelt recreation of an unforgettable tuna melt I experienced at my husband’s aunt’s house years ago. It left such an impression that I still consider it the best tuna melt I’ve ever tasted. Sadly, I never had the chance to ask for her secret recipe before she passed. However, through careful experimentation and a lot of taste-testing, I believe I’ve captured the essence and deliciousness of that cherished memory, creating a truly exceptional dish that stands out from typical tuna melt recipes.
🍒 Reader Review: A Scrumptious Delight!
“I was searching for an open-faced tuna melt recipe similar to one my mother used to make. I tried this one and what a scrumptious delight! Nothing like mom’s, who always used mayo and a simple slice of cheese. She would have absolutely loved this recipe (minus the peppers, for her!). Thank you so much!” ⭐⭐⭐⭐⭐
[feast_advanced_jump_to]
If you’re a devoted tuna lover, or even if you’re skeptical, you absolutely must try these Tuna Burgers! They were so good, they even converted my tuna-hating son into a tuna enthusiast. Yes, they’re that good and are a testament to how versatile and delicious canned tuna can be when prepared creatively.
🥘 Essential Ingredients for Your Mayo-Free Tuna Melts
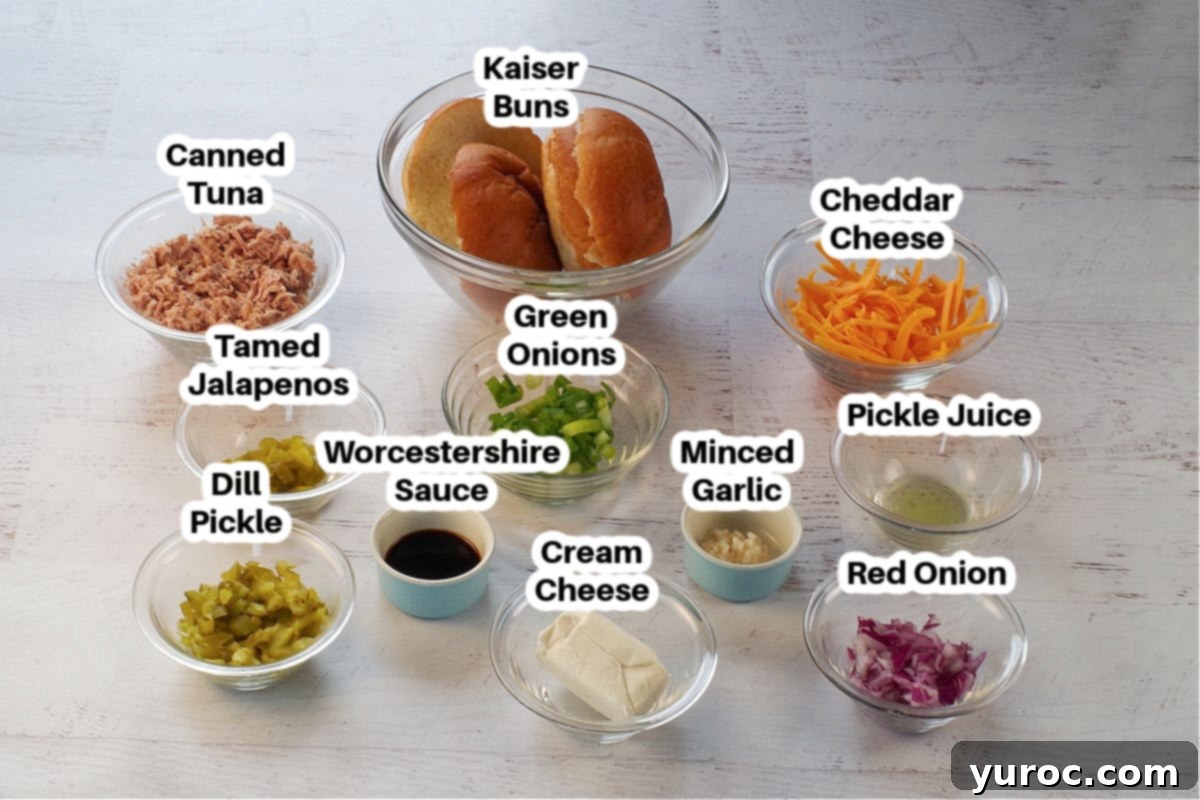
- Canned Tuna: The foundation of our melt! Make sure to drain it exceptionally well to prevent a watery filling. If you’re using chunk light tuna, take a moment to chop up any larger pieces for a more even texture. Light tuna is often preferred for lower mercury content, but albacore (white tuna) can also be used for higher Omega-3s, depending on your preference and frequency of consumption.
- Jalapenos: These add a fantastic, bright kick to your tuna melts. I personally prefer “tamed” or pickled jalapenos (readily available in jars at most grocery stores) as they offer a balanced heat without being overpowering. You have complete control over the spice level—add more for a bolder flavor, or omit them entirely if you prefer a milder sandwich. Mezzetta Tamed Jalapenos are a great brand to look for.
- Onions (Red & Green): Using both red and green onions is key to the unique flavor profile. Red onions contribute a sharper, more pungent flavor and a crisp texture, while green onions offer a milder, fresher onion note and a vibrant color. Together, they create a depth of flavor that’s truly satisfying.
- “Special Sauce” (Pickle Juice & Worcestershire Sauce): This dynamic duo is a secret weapon, providing tanginess and umami without the need for traditional lemon juice or excessive seasoning. Pickle juice adds a bright, briny kick, while Worcestershire sauce brings a savory depth that elevates the entire mixture.
- Cream Cheese: Our star ingredient for replacing mayonnaise! Cream cheese provides a rich, creamy texture and a delightful tanginess that mayo simply can’t replicate. It binds the ingredients beautifully and melts into a luscious topping. For a lighter option, fat-free or light cream cheese works wonderfully.
- Cheddar Cheese: I recommend using a low-fat sharp or old cheddar cheese for its robust flavor and excellent melting properties. The sharpness cuts through the richness of the tuna and cream cheese, creating a perfectly balanced bite. Of course, full-fat cheddar can be used if preferred.
*Please refer to the complete recipe card below for a full list of ingredients and precise quantities.
📖 Creative Variations & Smart Substitutions
One of the beauties of this tuna melt recipe is its adaptability. Feel free to customize it to your taste and what you have on hand:
- Spice Level: Craving more heat? Opt for regular canned or fresh jalapenos, or a pinch of red pepper flakes. If spicy isn’t your style, simply omit the jalapenos entirely.
- Onion Options: While the combination of red and green onions offers the best flavor, white or yellow onions can be used as alternatives. Mince them finely for the best integration into the tuna mixture.
- Bread Choices: Kaiser buns are a classic, but this recipe works with almost any sturdy bread. Experiment with white bread, rye bread, whole wheat bread, ciabatta, sourdough slices, hamburger buns, or even English muffins for a unique texture.
- Cream Cheese Alternatives: To manage fat content, fat-free or light cream cheese is a fantastic choice. If you’re out of cream cheese, Greek yogurt or even a small amount of mashed avocado can provide a creamy texture, though the flavor profile will shift slightly.
- Cheese Varieties: While sharp cheddar is recommended, feel free to use Monterey Jack, Swiss, a mozzarella blend, or even a pepper jack for an extra kick. Freshly grated cheese always melts better than pre-shredded varieties.
- Additional Flavors: Consider adding a teaspoon of Dijon mustard for extra depth, a sprinkle of fresh dill or parsley, or a dash of hot sauce to the tuna mixture for a personalized touch.
🔪 Step-by-Step: How to Make Irresistible Tuna Melts without Mayo
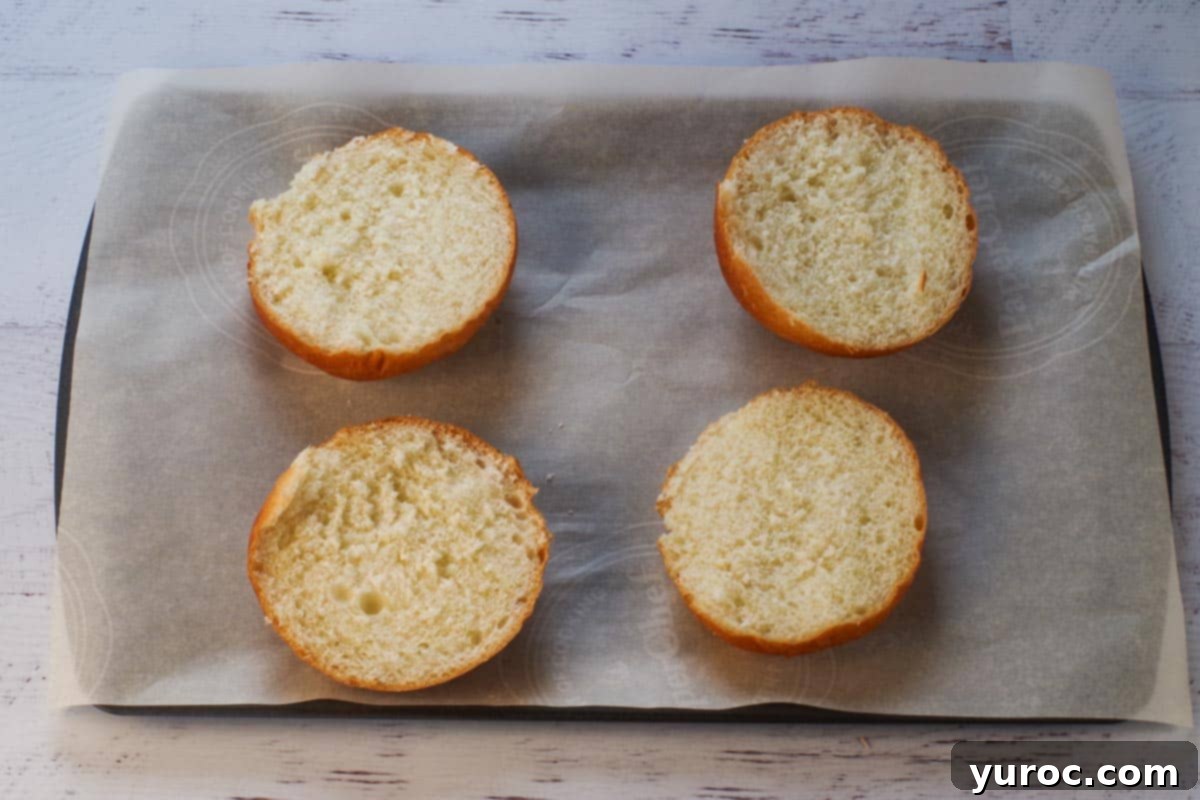
- Step 1: Prep the Oven and Baking Sheet. Begin by preheating your oven to 400 degrees F (205 degrees C). Line a baking sheet with parchment paper for easy cleanup and to prevent sticking. If you don’t have parchment, aluminum foil sprayed lightly with non-stick cooking spray will work just fine.
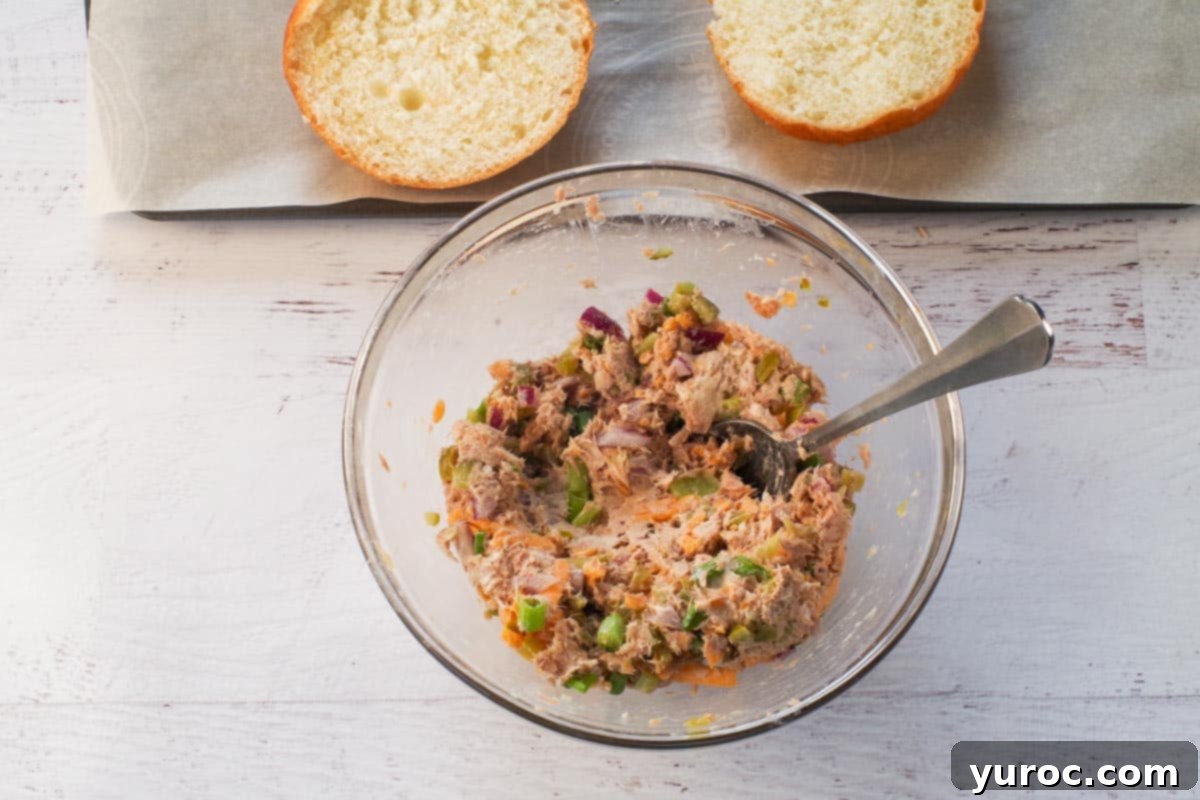
- Step 2: Combine the Tuna Mixture. In a medium-sized mixing bowl, combine all the tuna melt ingredients EXCEPT the buns and the garnish cheese. This includes the drained tuna, softened cream cheese, chopped green and red onions, pickle juice, Worcestershire sauce, chopped dill pickle, finely minced jalapenos, and garlic. Stir everything together until well combined and evenly distributed.
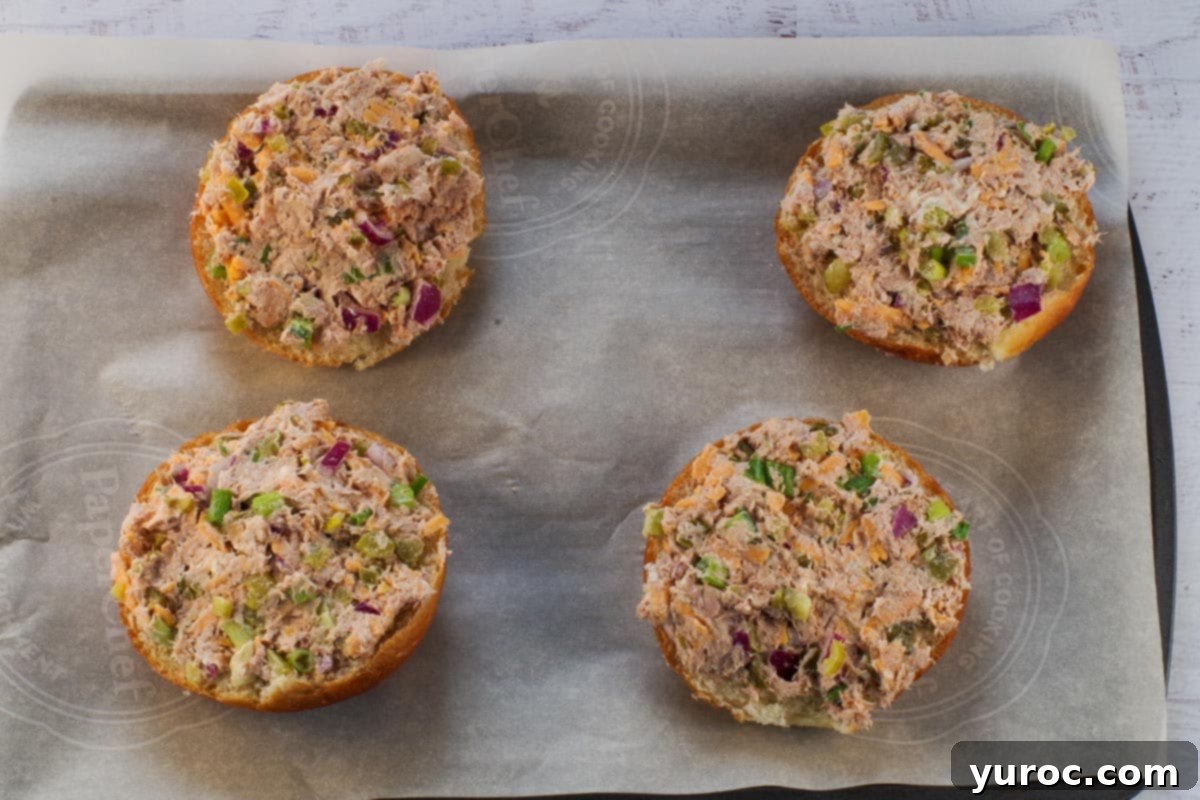
- Step 3: Prepare the Buns and Apply Mixture. Take your Kaiser buns and carefully slice them in half horizontally. Arrange the bun halves on the prepared baking sheet. Evenly divide the flavorful tuna mixture among all four bun halves, spreading it generously from edge to edge.
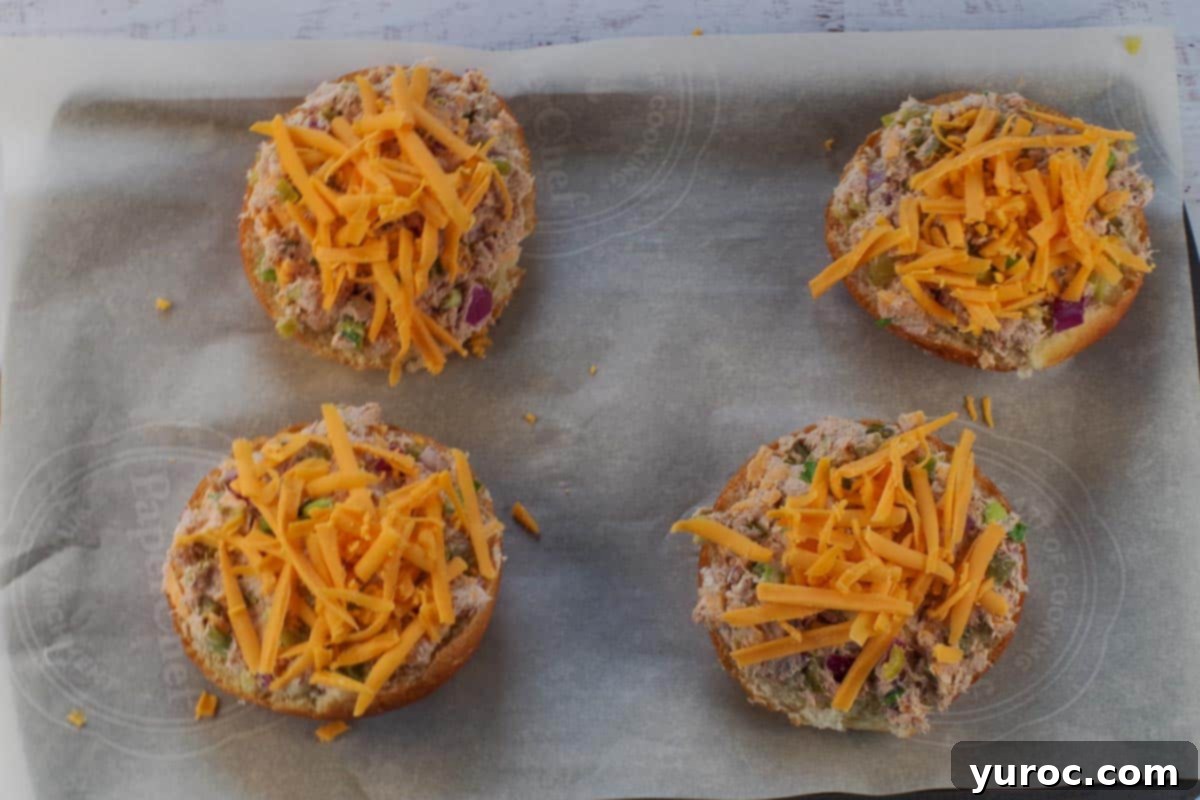
- Step 4: Top with Cheese. Divide the ½ cup of grated cheddar cheese into four equal portions. Sprinkle one portion over the top of each tuna-covered bun half. For an extra cheesy touch, you can always add a little more cheese, as I often do for maximum meltiness!
⏲️ Baking and Broiling for Perfection
Bake the open-faced tuna melts in the preheated oven for approximately 10 minutes. This allows the buns to toast slightly and the tuna mixture to warm through and meld its flavors. After 10 minutes, increase the oven temperature to broil (or 500 degrees F / 260 degrees C) for an additional 1-2 minutes. Keep a very close eye on them during this stage, as the cheese can brown and bubble quickly. The goal is a golden, bubbly cheese topping!
*A special note: If you are using low-fat cheese, it tends to brown and burn faster than full-fat cheese. Watch it extra carefully under the broiler to prevent over-browning.
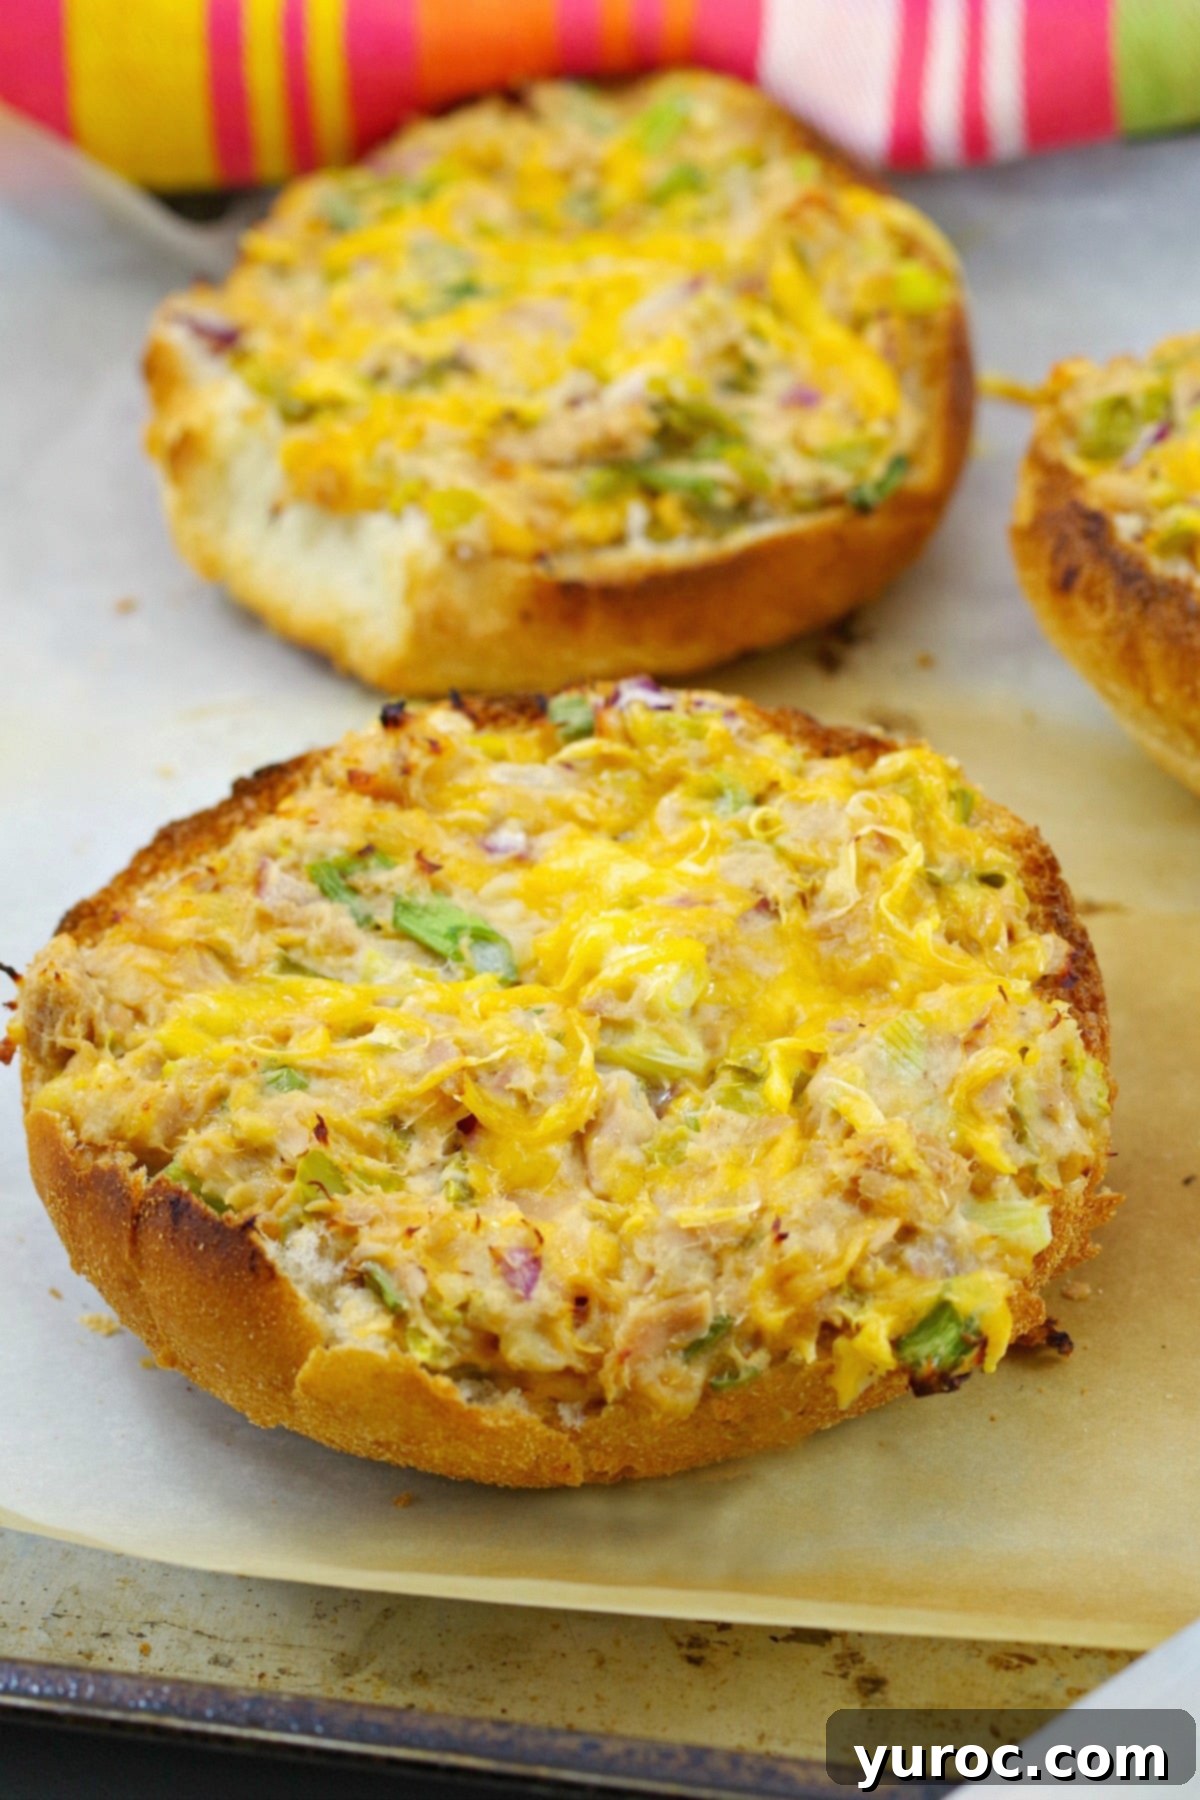
💡 Expert Tips for the Best Tuna Melts Every Time
- Pre-toast Your Bread: Lightly toasting the bread or buns before adding the tuna mixture is a game-changer. It creates a sturdy, crisp base that prevents sogginess and adds an extra layer of texture to your melt.
- Thoroughly Drain Tuna: This step cannot be stressed enough! Excess moisture from the canned tuna will make your filling watery and can lead to a soggy sandwich. Press out as much liquid as possible for a firmer, more flavorful mixture.
- Soften Cream Cheese: For a smooth and lump-free filling, ensure your cream cheese is at room temperature before mixing. This allows it to blend seamlessly with the tuna and other ingredients, making it easier to spread.
- Broiler-Safe Cookware: Always use a baking sheet or oven-safe rack that can withstand high broiler temperatures. A wire rack placed over a baking sheet can promote better air circulation, ensuring a crispier bottom.
- Grate Your Own Cheese: While convenient, pre-shredded cheese often contains anti-caking agents that hinder a smooth melt. Freshly grated cheese melts beautifully, creating that irresistible bubbly, golden crust.
- Flavor Customization: Don’t be shy about enhancing the flavor. A tiny dollop of Dijon mustard, a squeeze of fresh lemon juice, or even a few dashes of your favorite hot sauce can brighten the creamy richness of the tuna filling.
- Avoid Overloading: A common mistake is piling too much tuna mixture onto the bread. Spread a moderate, even layer to ensure the bread crisps up nicely and the sandwich is easy to eat.
- Watch the Broiler Closely: The broiling stage is quick and critical. Stay vigilant during those final 1-2 minutes to achieve a perfect golden-brown, bubbly cheese topping without burning it.
- Allow to Cool Slightly: Resist the urge to dive in immediately. Letting the melts cool for a minute or two after baking makes them easier to handle and prevents you from burning your mouth on the molten cheese.
🛠️ Recommended Equipment for Effortless Preparation
To whip up these amazing open-faced tuna melts, you’ll need just a few basic kitchen tools:
- A sharp knife for chopping onions, pickles, and splitting buns.
- A reliable cutting board to protect your countertops.
- A cheese grater (if you opt for block cheese over pre-shredded).
- A large baking sheet to hold your melts in the oven.
- Parchment paper is highly recommended for lining the baking sheet. It ensures easy cleanup and prevents the bottoms of the buns from sticking or burning, guaranteeing a perfect crisp every time.
You can also adapt this recipe for other appliances. If you have a toaster oven or an air fryer, both work wonderfully for achieving that perfect melty, golden finish. In a pinch, before I owned an air fryer or when it was too hot to turn on the main oven, I’ve even made these successfully using a regular toaster and microwave combination – though the oven/broiler method yields the best results!
While I certainly appreciate a classic cold tuna sandwich, there’s something undeniably comforting and superior about a hot sandwich. If you agree, you might also enjoy my other hot sandwich creations: the indulgent Mediterranean Monte Cristo Sandwich recipe, the incredibly easy No Cook Shredded Buffalo Chicken Sandwich (using rotisserie chicken), or my flavorful Turkey Reuben Panini Recipe.
🥫 The Health Benefits of Canned Tuna: What You Should Know
Canned tuna is indeed a healthy and convenient source of protein, but understanding the different types is crucial for making informed dietary choices. If your primary concern is mercury content, especially if you consume tuna more than a couple of times a month, it’s generally advised to stick with SKIPJACK (CANNED LIGHT TUNA). Skipjack tuna are smaller and have a shorter lifespan, resulting in lower mercury levels.
However, if maximizing your OMEGA-3 fatty acid intake is your priority, and you don’t eat tuna very frequently, then ALBACORE (CANNED WHITE TUNA) might be a better option. Albacore tuna are larger and tend to have higher levels of omega-3s, but also higher mercury content. For a deeper dive into the benefits and potential downsides of canned tuna, you can find comprehensive information here.
And if you’re hooked on canned tuna recipes and love the versatility of tuna melts, don’t miss my Two Cheese Tuna Mexi Melts (pictured below) for another creative and unique spin on this classic comfort food. It offers a distinct flavor profile that’s equally delicious!
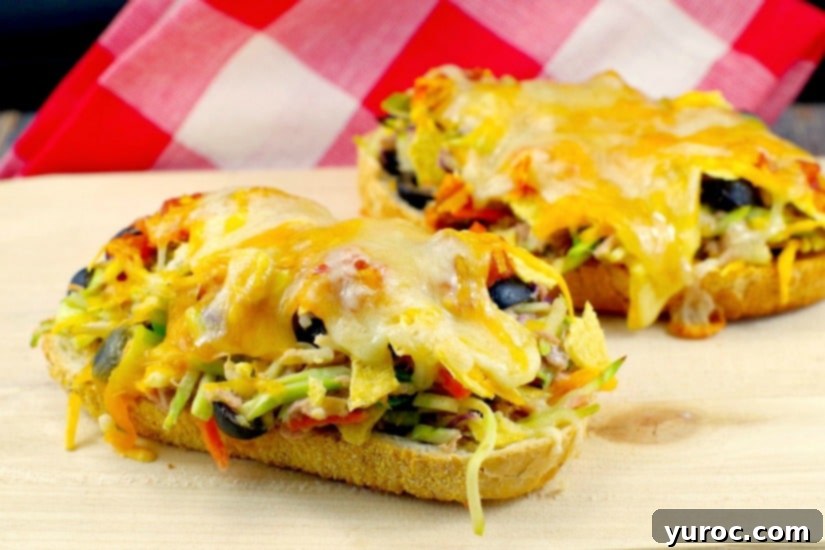
There’s simply something magical about a warm tuna melt fresh from the oven, with its perfectly warmed cream cheese, savory onions, and gooey, melted cheddar. It’s a dish that truly embodies the essence of cozy, satisfying comfort food, making it a perennial favorite for good reason.
👪 Adjusting Your Serving Size
This open-faced tuna melt sandwich recipe is designed to yield 4 generous servings. If you’re cooking for a larger crowd or meal prepping for the week, you can easily double or triple the recipe. Simply click on the serving number within the recipe card and select your desired quantity. The ingredient amounts will automatically adjust, saving you time and guesswork.
🔢 Weight Watchers Friendly: Points per Serving
For those mindful of their nutritional intake, this healthy tuna melt recipe is also Weight Watchers friendly, coming in at just 4 WW points per serving. *Note: You can further reduce the WW points by opting for fat-free cream cheese and selecting a lower-point bread or bun alternative, making it even more adaptable to your dietary goals.
🥗 Perfect Pairings: What to Serve with Your Tuna Melts
These classic open-faced tuna melts are incredibly versatile and pair beautifully with a variety of sides to create a complete and satisfying meal:
- Freshness: Simple tomato slices or a crisp green salad are always an excellent complement. Try my Strawberry Pecan Spinach Salad for a burst of fresh flavor.
- Soups: A hearty yet healthy soup makes for a comforting duo. My Healthy Minestrone Soup is a fantastic vegetarian option.
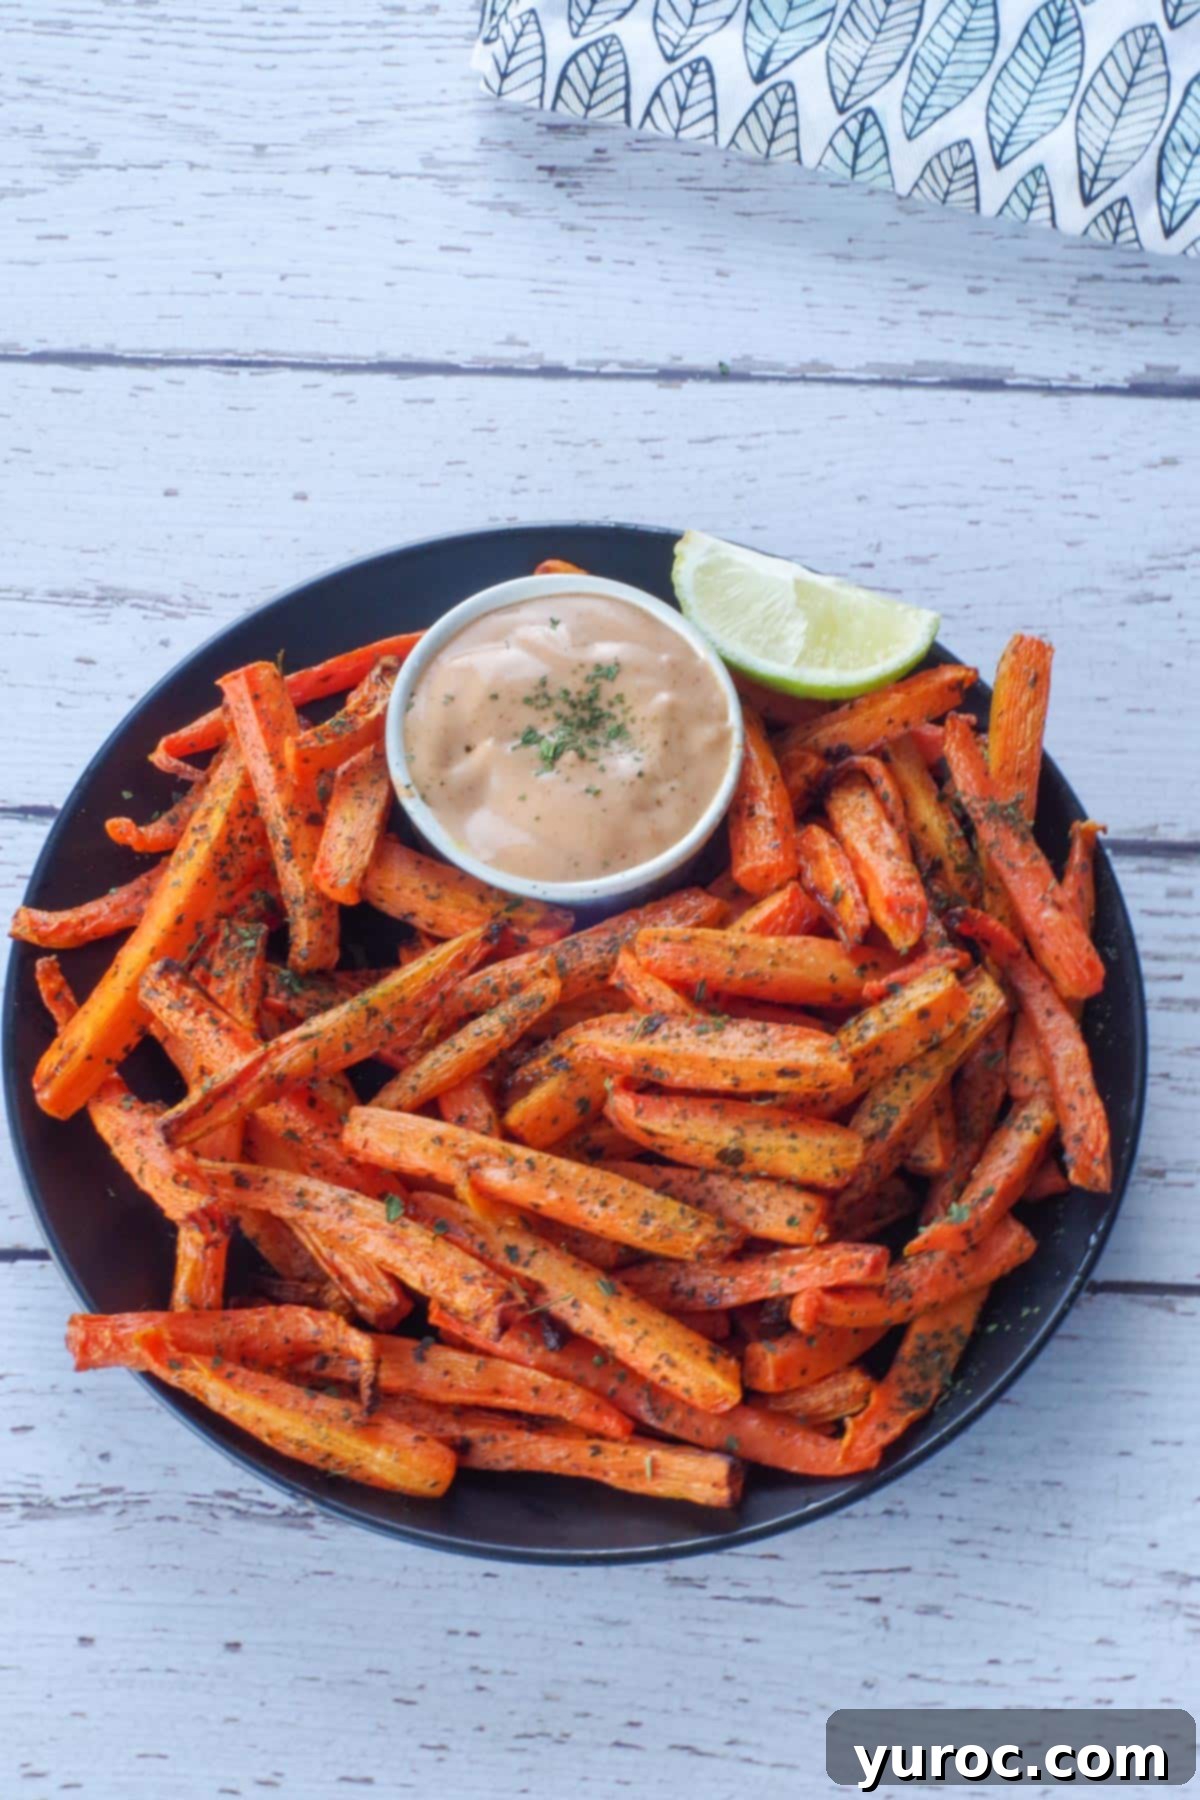
- Vegetables: Boost your veggie intake with some delightful sides. Serve with Air Fryer Carrot Fries (as shown in the image below, with a spicy mayo dip!) or a zesty Quick Cucumber Kimchi for a unique crunch.
🌡️ Storing and Reheating Your Tuna Melts
Storage: If you have leftovers, store these open-faced tuna melts in an airtight container in the refrigerator for up to 2 days. While they can last a bit longer, I generally don’t recommend keeping tuna-based dishes beyond 2 days, as the tuna can develop a stronger “fishy” taste. Unfortunately, the delicate texture of the ingredients means they do not stand up well to freezing.
Reheat: To reheat, simply place your tuna melt in the microwave for 30-45 seconds, or until warmed through and the cheese is soft again. For a crispier result, you can gently reheat them in a toaster oven or conventional oven at 350°F (175°C) for a few minutes until heated through and the cheese is bubbly once more.
❓ Frequently Asked Questions (FAQ’s)
Excellent question! Instead of mayonnaise, you can achieve a creamy and flavorful tuna mixture using ingredients like cream cheese (as in this recipe!), sour cream, mashed avocado, or Greek yogurt. Each offers a distinct flavor and texture profile, allowing for great versatility.
Yes, absolutely! You can assemble the tuna melts ahead of time, arrange them on a baking sheet, cover them tightly with plastic wrap or foil, and refrigerate for up to 24 hours. When ready to serve, reheat them in a preheated 375°F (190°C) oven for 8-10 minutes, or until thoroughly warmed through and the cheese is beautifully melted. Just note that the bread might soften slightly compared to a freshly made batch, but they will still be delicious.
Yes, this is a fantastic time-saving strategy! You can mix all the tuna filling ingredients (excluding the buns) up to 24 hours in advance. Store the mixture in an airtight container in the refrigerator. When you’re ready to make your melts, give the mixture a quick stir before spreading it on your bread. This makes dinner or lunch prep incredibly fast and convenient!
Preventing a soggy bottom is key to a great open-faced melt! Here are a few tips: 1) Use a sturdy, thicker-sliced bread like Kaiser buns or sourdough. 2) Lightly toast the bread beforehand; this adds an extra layer of structure and crunch. 3) Ensure your canned tuna is very well-drained to minimize moisture. 4) Avoid overloading the bread with too much tuna mixture; a moderate, even layer is best.
So, if you’re searching for a quick, healthy, and incredibly flavorful lunch or dinner idea, you are going to absolutely love this open-faced tuna melt recipe!
🍽️ More Delicious Tuna Fish Recipes to Explore
- Tuna Casserole with Macaroni
- Easy Tuna Dip Recipe (with Canned Tuna)
- Refreshing Tuna Stuffed Tomatoes
- Healthy Macaroni Salad (with Tuna)
Did your family ❤️ this recipe? Did you know that commenting and ⭐ rating recipes is one of the best ways to support your favorite recipe creators? If you LOVED this recipe, please comment and rate it in the recipe card below, or share photos on social media using the hashtag #foodmeanderings or tagging @foodmeanderings!
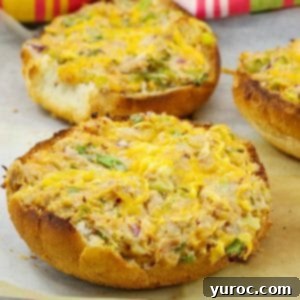

📋 Open Face Tuna Melt Recipe (No Mayo)
Print Recipe
Pin
Save RecipeSave Recipe
Rate
Add to Shopping ListGo to Shopping List
Equipment
-
baking sheet
-
cutting board
-
sharp knife
-
cheese grater
Ingredients
- ¼ cup fat free cream cheese softened
- ⅔ cup low-fat (sharp) old cheddar grated
- 184 gram can of tuna, flaked
- ⅓ cup green onions chopped
- 1 tablespoon worcestershire sauce
- 2 teaspoon pickle juice
- 1 large dill pickle, finely chopped
- 1-2 tablespoon tamed jalapenos finely chopped
- ¼ cup red onion, chopped
- ¾ teaspoon minced garlic
- 2 kaiser buns, split in half
Garnish
- ½ cup low-fat sharp (old) cheddar cheese grated
- black pepper and salt, as desired
Instructions
-
Preheat your oven to 400°F (205°C) and prepare a baking sheet by lining it with parchment paper for non-stick baking.
-
In a medium bowl, combine all the tuna melt ingredients, excluding only the Kaiser buns and the extra garnish cheddar cheese. Mix thoroughly until all ingredients are well incorporated.
-
Carefully slice the Kaiser buns in half. Evenly divide the prepared tuna mixture among all four bun halves, spreading it generously to cover each surface.
-
Divide the ½ cup of garnish cheddar cheese into four equal portions. Sprinkle one portion over the top of each tuna-covered bun half. Season with black pepper and salt to taste.
-
Bake in the preheated oven for 10 minutes. Then, switch your oven to broil (or increase temperature to 500°F / 260°C) and broil for an additional 1-2 minutes, or until the cheese is beautifully melted and bubbly. Serve your warm, delicious tuna melts immediately with raw veggies or a comforting soup.
Notes
Use toasted bread for better texture.
Lightly toasting the bread before adding the tuna mixture helps prevent it from becoming soggy and gives the sandwich a crisp base.
Drain the tuna thoroughly.
Removing as much moisture as possible from the canned tuna ensures the filling isn’t watery and helps the flavors bind more effectively.
Let the cream cheese soften at room temperature.
Softened cream cheese blends more smoothly with the tuna, preventing lumps and making it easier to spread evenly on the bread.
Use a broiler-safe baking sheet or rack.
Placing the sandwiches on a wire rack set over a baking sheet allows for even heat circulation and helps the bottoms stay crisp while the tops brown.
Grate your own cheese for better melt and flavor.
Pre-shredded cheese often contains anti-caking agents that affect melt quality. Freshly grated cheese melts more smoothly and tastes fresher.
Customize with a flavor punch.
Add a touch of Dijon mustard, a squeeze of lemon juice, or a few dashes of hot sauce to brighten and balance the creamy richness of the filling.
Don’t overload the bread.
Spread a moderate amount of the tuna mixture to avoid overwhelming the bread or making it too heavy to crisp properly.
Finish with a quick broil.
After baking, broil the sandwiches for 1–2 minutes to achieve a bubbly, golden-brown cheese topping—just keep a close eye to avoid burning.
Let them cool slightly before serving.
Allowing the melts to sit for 1–2 minutes after baking makes them easier to handle and prevents burning your mouth on the hot cheese.
