21 Game-Changing Kitchen Hacks & Cooking Tips That Will Transform Your Cooking and Save You Money
Over my many years in the kitchen, I’ve had the pleasure of discovering and being taught countless cooking and kitchen hacks. These aren’t just clever tricks; they are genuinely useful strategies that have consistently saved me precious time, reduced frustration, minimized food waste, and ultimately, saved me money. From streamlining meal preparation to preserving ingredients more effectively, these smart food hacks have become indispensable in my daily cooking routine.
Unlike some of the less practical “hacks” you might encounter online, the tips and tricks shared here are ones I rely on regularly. They are designed for real-world application, offering tangible benefits that make a genuine difference in the kitchen. Whether you’re a seasoned chef or a beginner cook, these easy food hacks are practical solutions that will help you cook smarter, not harder. Prepare to elevate your culinary game and discover how simple adjustments can lead to significant improvements in efficiency and economy. So, if you’re ready to unlock the best kitchen hacks and cooking tips, read on…
Many kitchen hacks or food hacks often promise revolutionary results but fall short, sometimes even adding more steps or complications than they resolve. I’ve sifted through countless ideas to bring you only the most impactful and genuinely useful tips. The easy kitchen hacks detailed below are tried and true, regularly integrated into my own cooking and baking. They are guaranteed to save you hassle, cut down on expenses, and are absolutely worth your time and effort!
Ingenious Kitchen Gadget Hacks & Time Savers
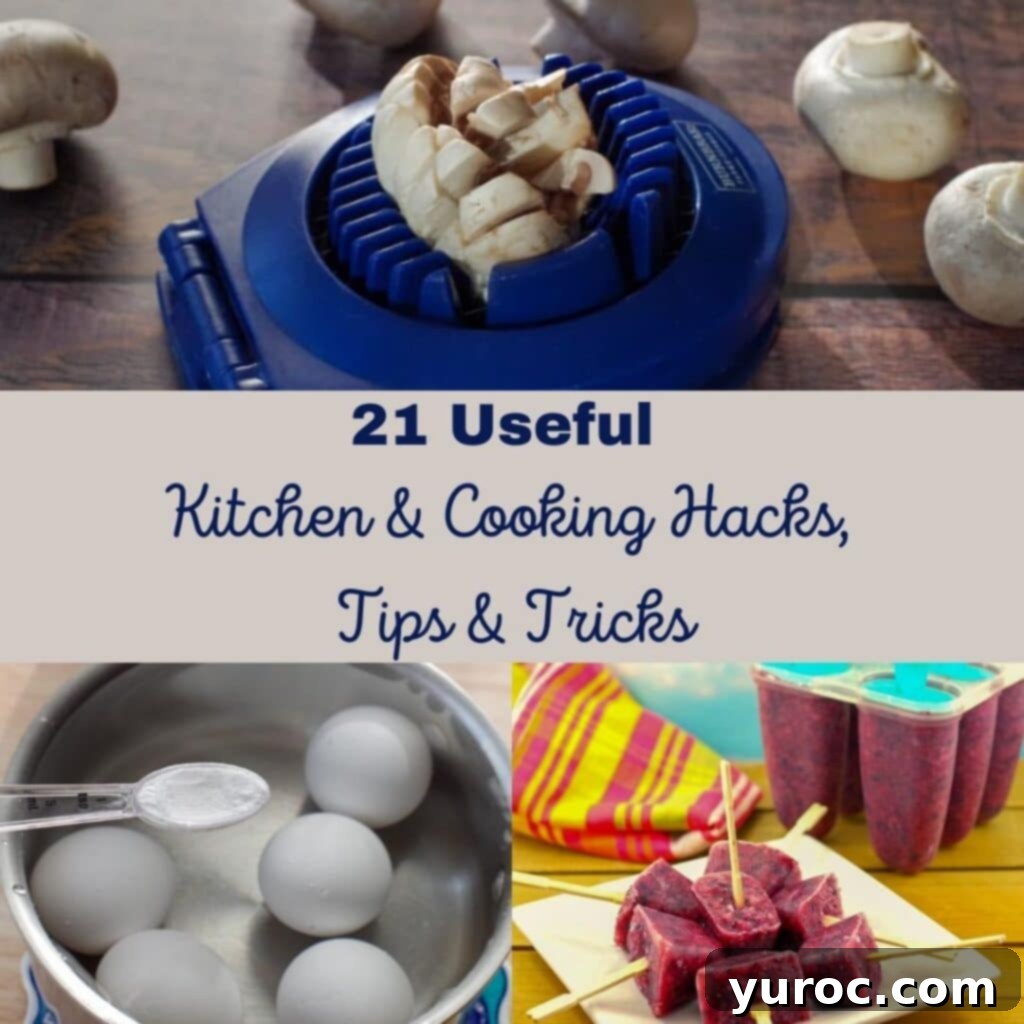
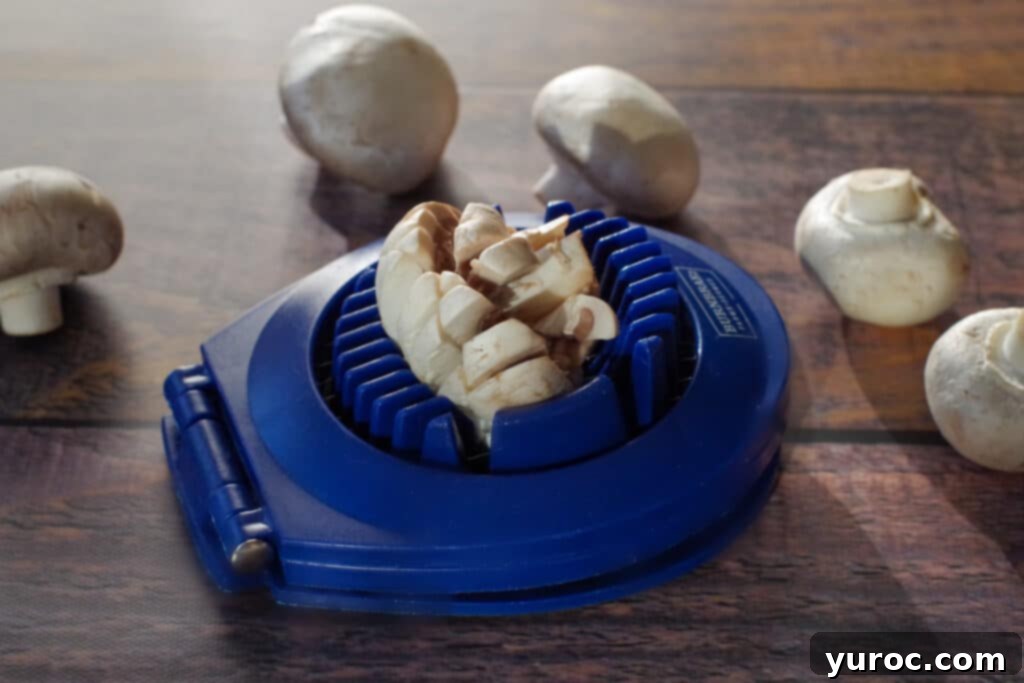
- Repurpose an Egg Slicer for Mushrooms or Strawberries (affiliate link). Don’t let your egg slicer collect dust! This humble gadget is a multi-tasking marvel. Beyond creating perfectly uniform slices for potato salad, it excels at quickly and evenly slicing delicate items like mushrooms and strawberries. This hack ensures consistent pieces for salads, desserts, or garnishes, making quick work of repetitive chopping tasks and getting more value from your kitchen tools. It’s a fantastic way to maximize your gadgets and simplify your food preparation.
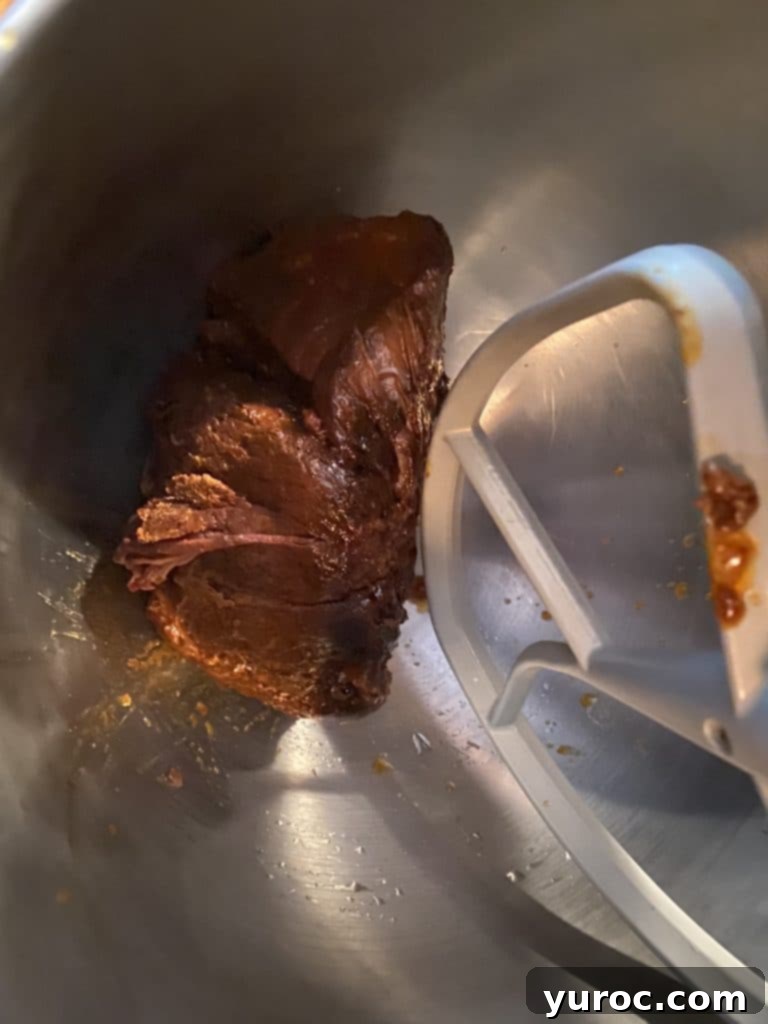
- Shred Cooked Meats Effortlessly with a Stand Mixer or Hand Mixer (affiliate link). If you’ve ever endured the tedious task of shredding large quantities of cooked beef, pork, or chicken with two forks, you’ll instantly appreciate this game-changing hack. Simply place your tender, cooked meat (like for pulled pork, shredded beef sandwiches, or shredded chicken) into the bowl of your stand mixer fitted with the paddle attachment, or use a hand mixer. Turn it on a low speed, and in mere moments, you’ll have perfectly shredded meat ready for tacos, casseroles, or sandwiches. This technique saves a tremendous amount of time and effort, making bulk meal prep significantly easier.
- Utilize Your Stand Mixer for Kneading Dough. For those who love baking but don’t own a bread machine, your stand mixer is an invaluable tool for kneading dough. Whether you’re making homemade pizza dough, artisanal bread, or any other recipe that requires extensive kneading, the stand mixer’s dough hook attachment can handle the hard work for you. It provides consistent, thorough kneading, developing the gluten necessary for elastic, airy doughs, all without the physical strain and mess of hand-kneading. This method ensures superior texture and saves your arms for more enjoyable tasks.

Your Freezer and Fridge: Essential Allies in the Kitchen!
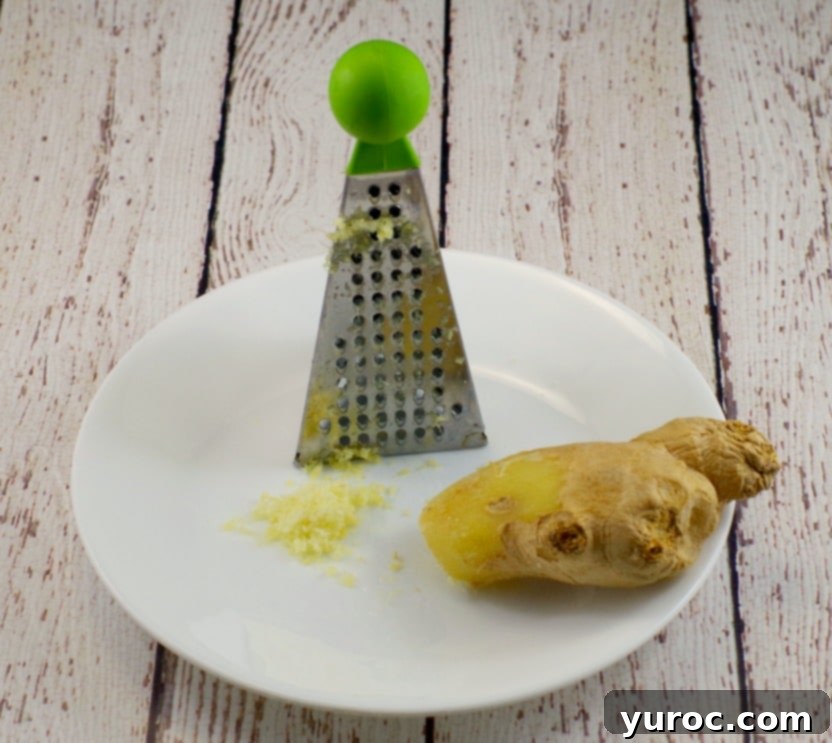
- Keep Fresh Ginger Frozen for Instant Grating. Say goodbye to shriveled, forgotten ginger roots! This hack ensures you always have fresh ginger on hand, without the waste. Store an entire knob of fresh ginger in a Ziplock freezer bag. When a recipe calls for ginger, simply pull it out, use a vegetable peeler to remove the skin from just the portion you need, then grate it directly into your dish. The frozen ginger grates beautifully and easily, delivering vibrant flavor. Pop the remainder back into the freezer; it will last for months, maintaining its fresh taste. Try this trick when making an EASY Baked Hoisin Chicken!
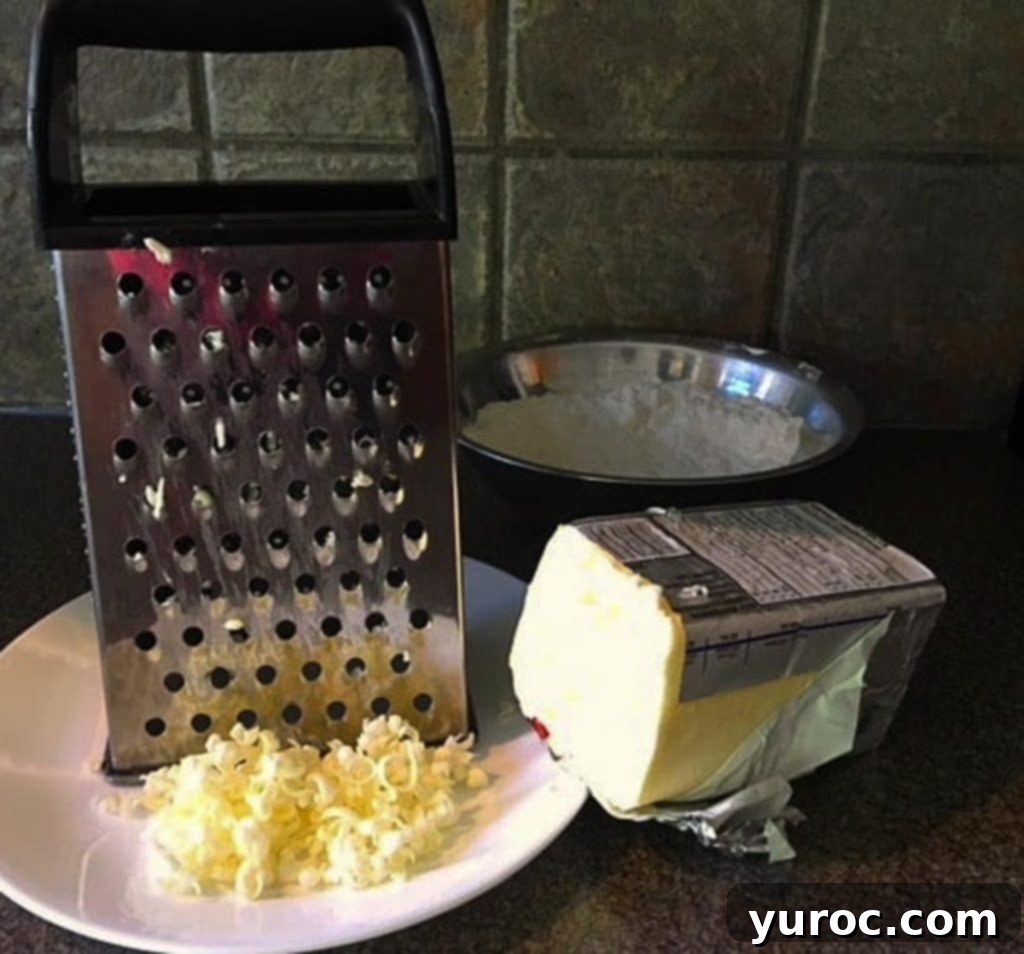
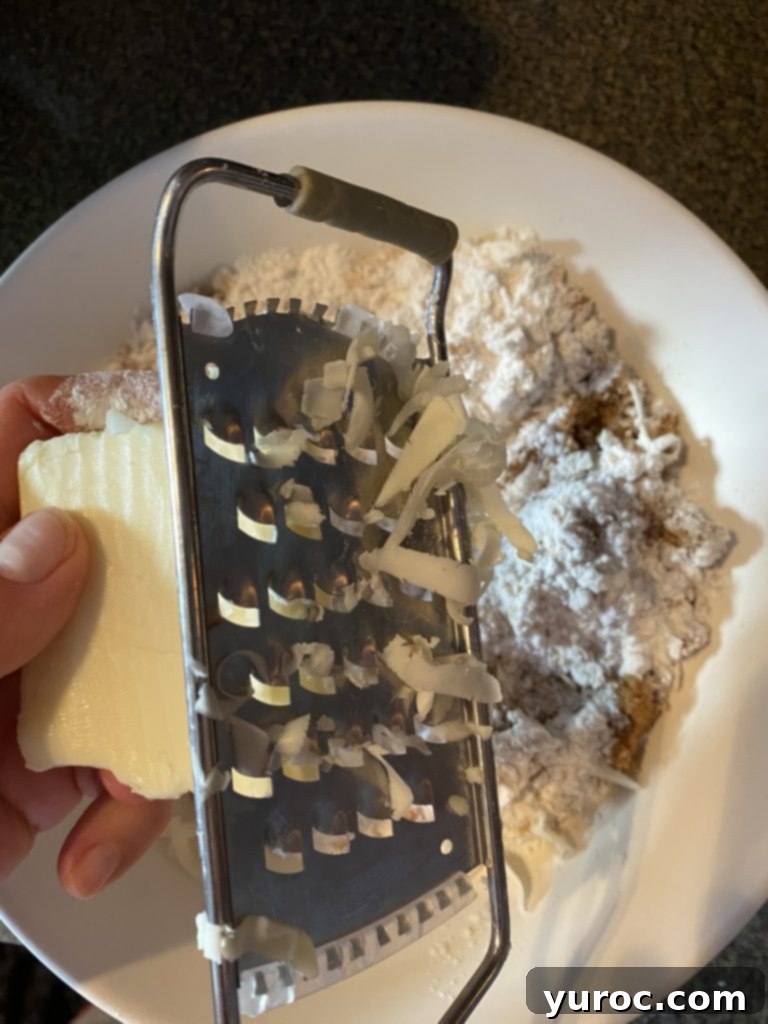
- Grate Frozen Butter into Recipes for Flakier Results. This is a baker’s secret weapon for achieving perfect pastries and crumbly toppings. Instead of struggling to cut in cold butter with a pastry cutter, which can be messy and time-consuming, freeze your butter solid. Then, use a standard cheese grater to grate it directly into your flour mixture. The tiny, cold butter shreds distribute evenly and quickly, melting slower in the oven to create more steam pockets, resulting in incredibly flaky scones, pie crusts, and crumbles. Plus, keeping butter frozen extends its shelf life significantly! I use this method for my raspberry scones, award-winning apple pie, triple berry crumbles, and apple crisps.

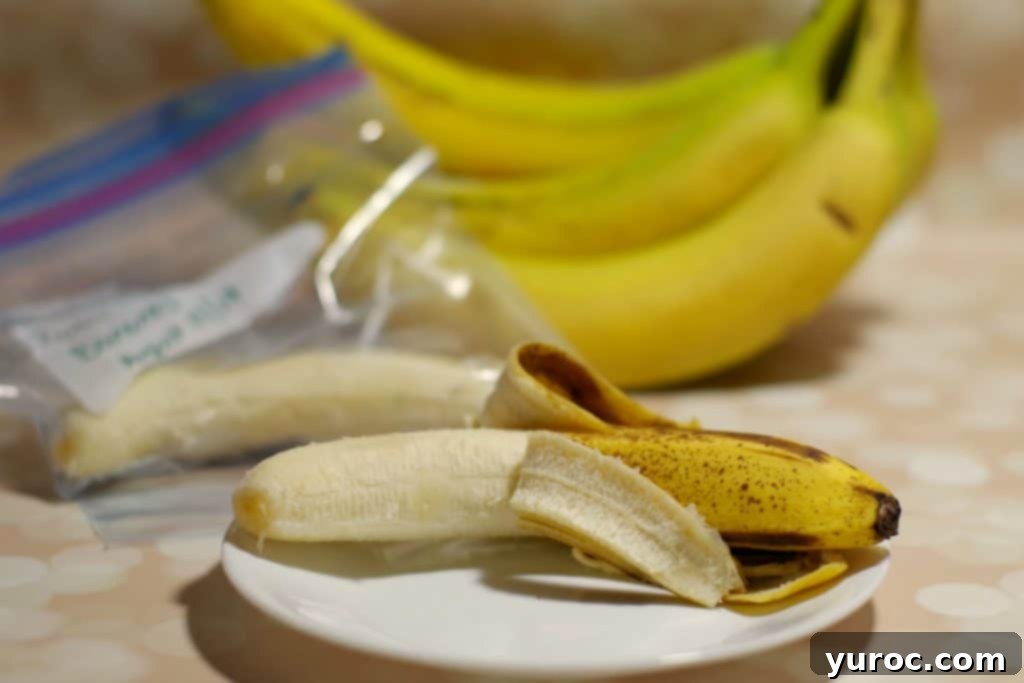
- Always Peel Bananas BEFORE Freezing Them! This simple act saves so much frustration. If you’ve ever tried to peel a rock-solid frozen banana, you know the struggle. Instead, peel ripe bananas, break them into manageable pieces if desired, and then place them in a Ziplock freezer bag. They’ll be ready to use straight from the freezer for smoothies, mashing into banana bread, or making “nice” cream. No more wrestling with icy peels! Just defrost, mash, and bake! Then make this delicious Healthy Tropical Banana Bread, Banana Nice Cream (with coconut and lime) or Chocolate Chip Pineapple Banana Muffins.
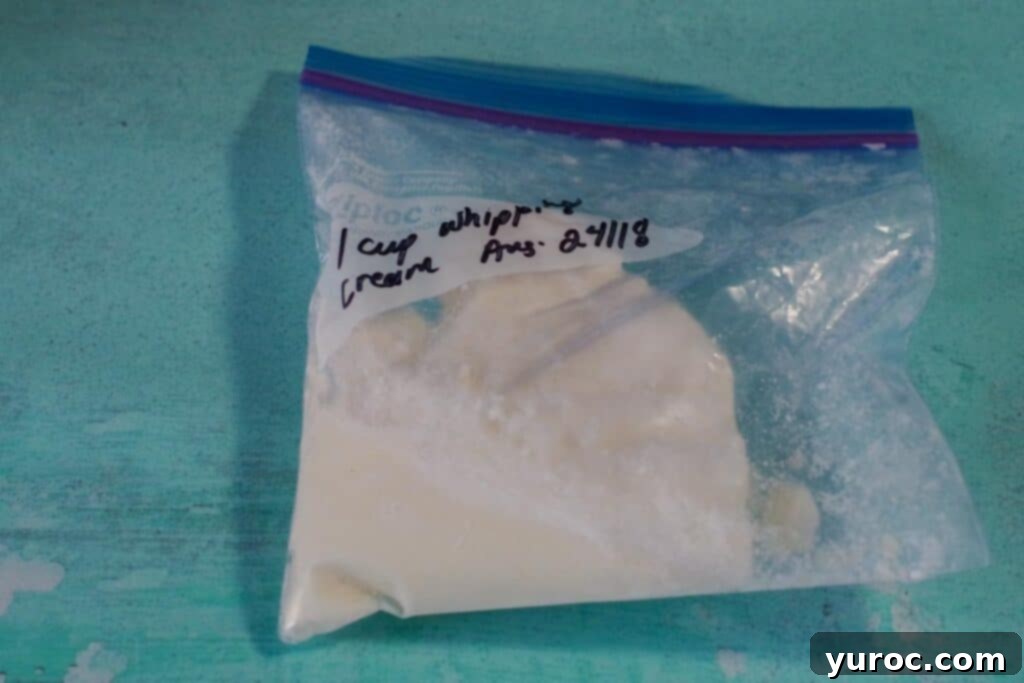
- Freeze Leftover Whipping Cream. Never let extra whipping cream go to waste again! If you find yourself with leftover heavy cream after a recipe, simply pour it into a Ziplock freezer bag. It can be frozen for up to 3 months. To use, defrost it overnight in the refrigerator. While it may not whip up quite as stiffly as fresh cream, it’s perfectly suitable for using in recipes that call for heavy cream, such as sauces, soups, or even in your coffee. This hack is a fantastic way to reduce food waste and save money.
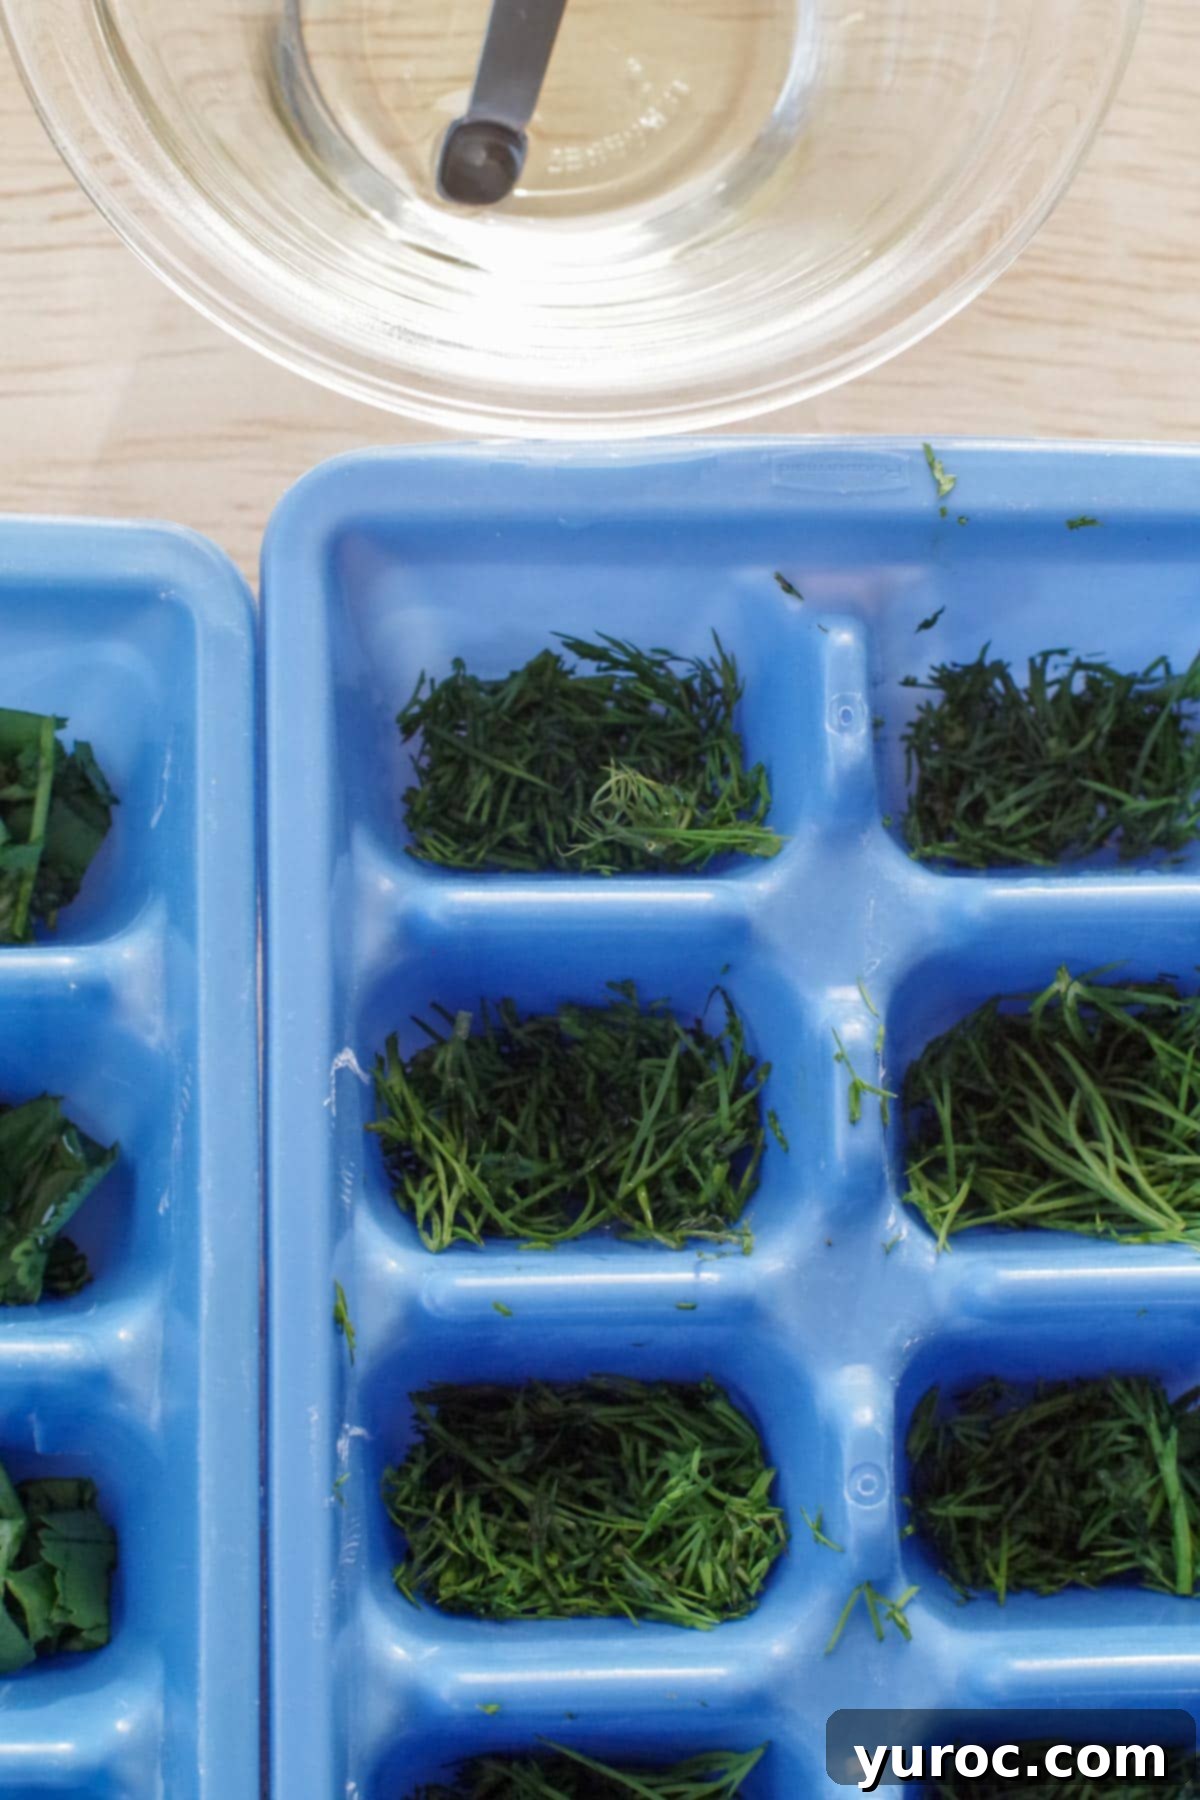
- Preserve Fresh Herbs in Ice Cube Trays with Oil or Water. If you grow your own herbs or often buy more than you can use, this hack is a lifesaaver for preventing waste. Simply freezing herbs alone can dehydrate them and diminish their flavor. The trick is to embed them in a little liquid.
How to Preserve Fresh Herbs in Ice Cube Trays:
- Finely chop your fresh herbs (e.g., basil, parsley, rosemary, thyme).
- Press about 2 teaspoons of the chopped herbs into each compartment of an ice cube tray.
- Add a small drop of olive oil (I find my ‘smidgen’ measuring spoonperfect for this) or simply fill the remainder of the compartment with water. The oil or water protects the herbs from freezer burn and preserves their vibrant flavor and color.
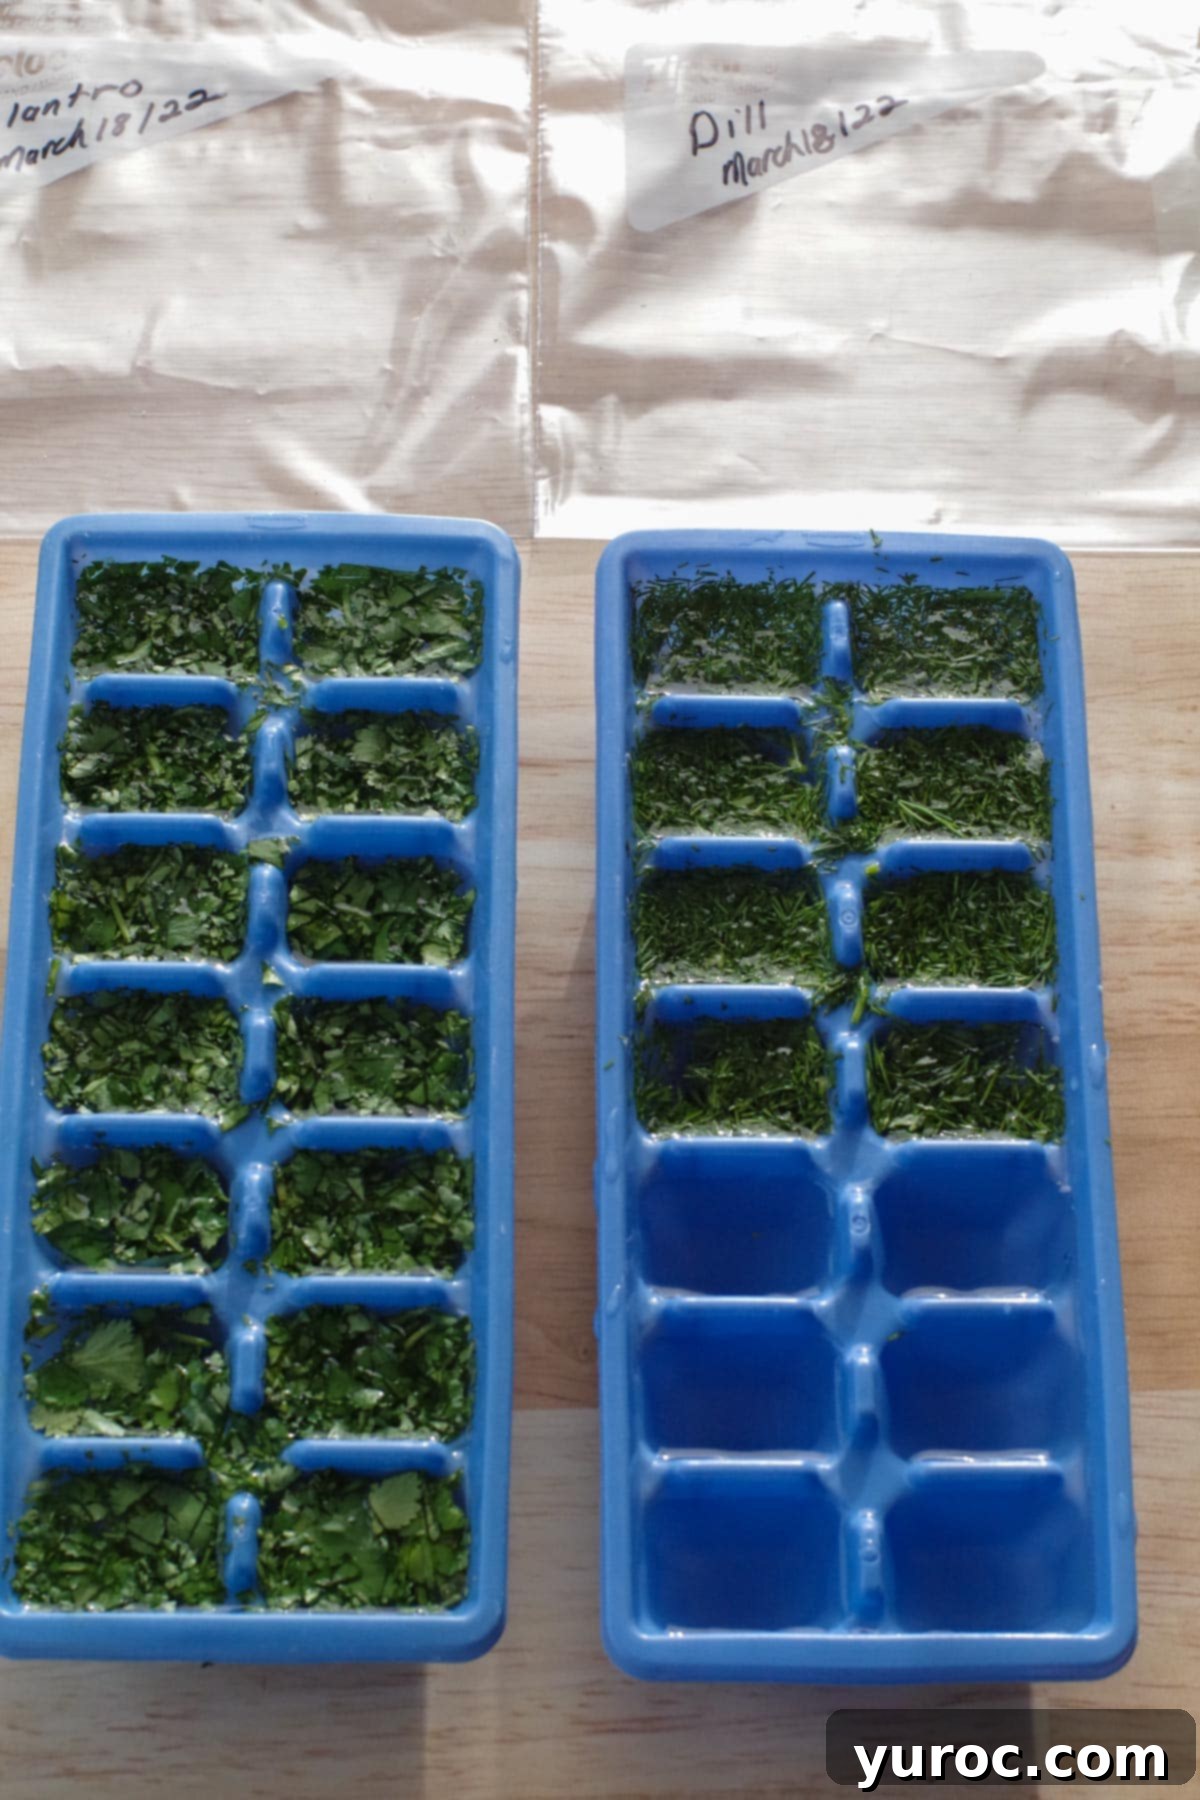
- Freeze until solid, typically a few hours or overnight.
- Once the herb cubes are completely frozen, transfer them to a labeled Ziplock freezer bag for convenient, long-term storage. These will keep in your freezer for up to 6 months.
- To use: Drop the frozen herb cubes directly into hot soups, stews, or sauces. For dishes where you want to sauté the herbs, simply let the water melt off or use the oil-infused cubes directly in your pan. This method provides fresh-tasting herbs year-round, cutting down on grocery costs and waste.
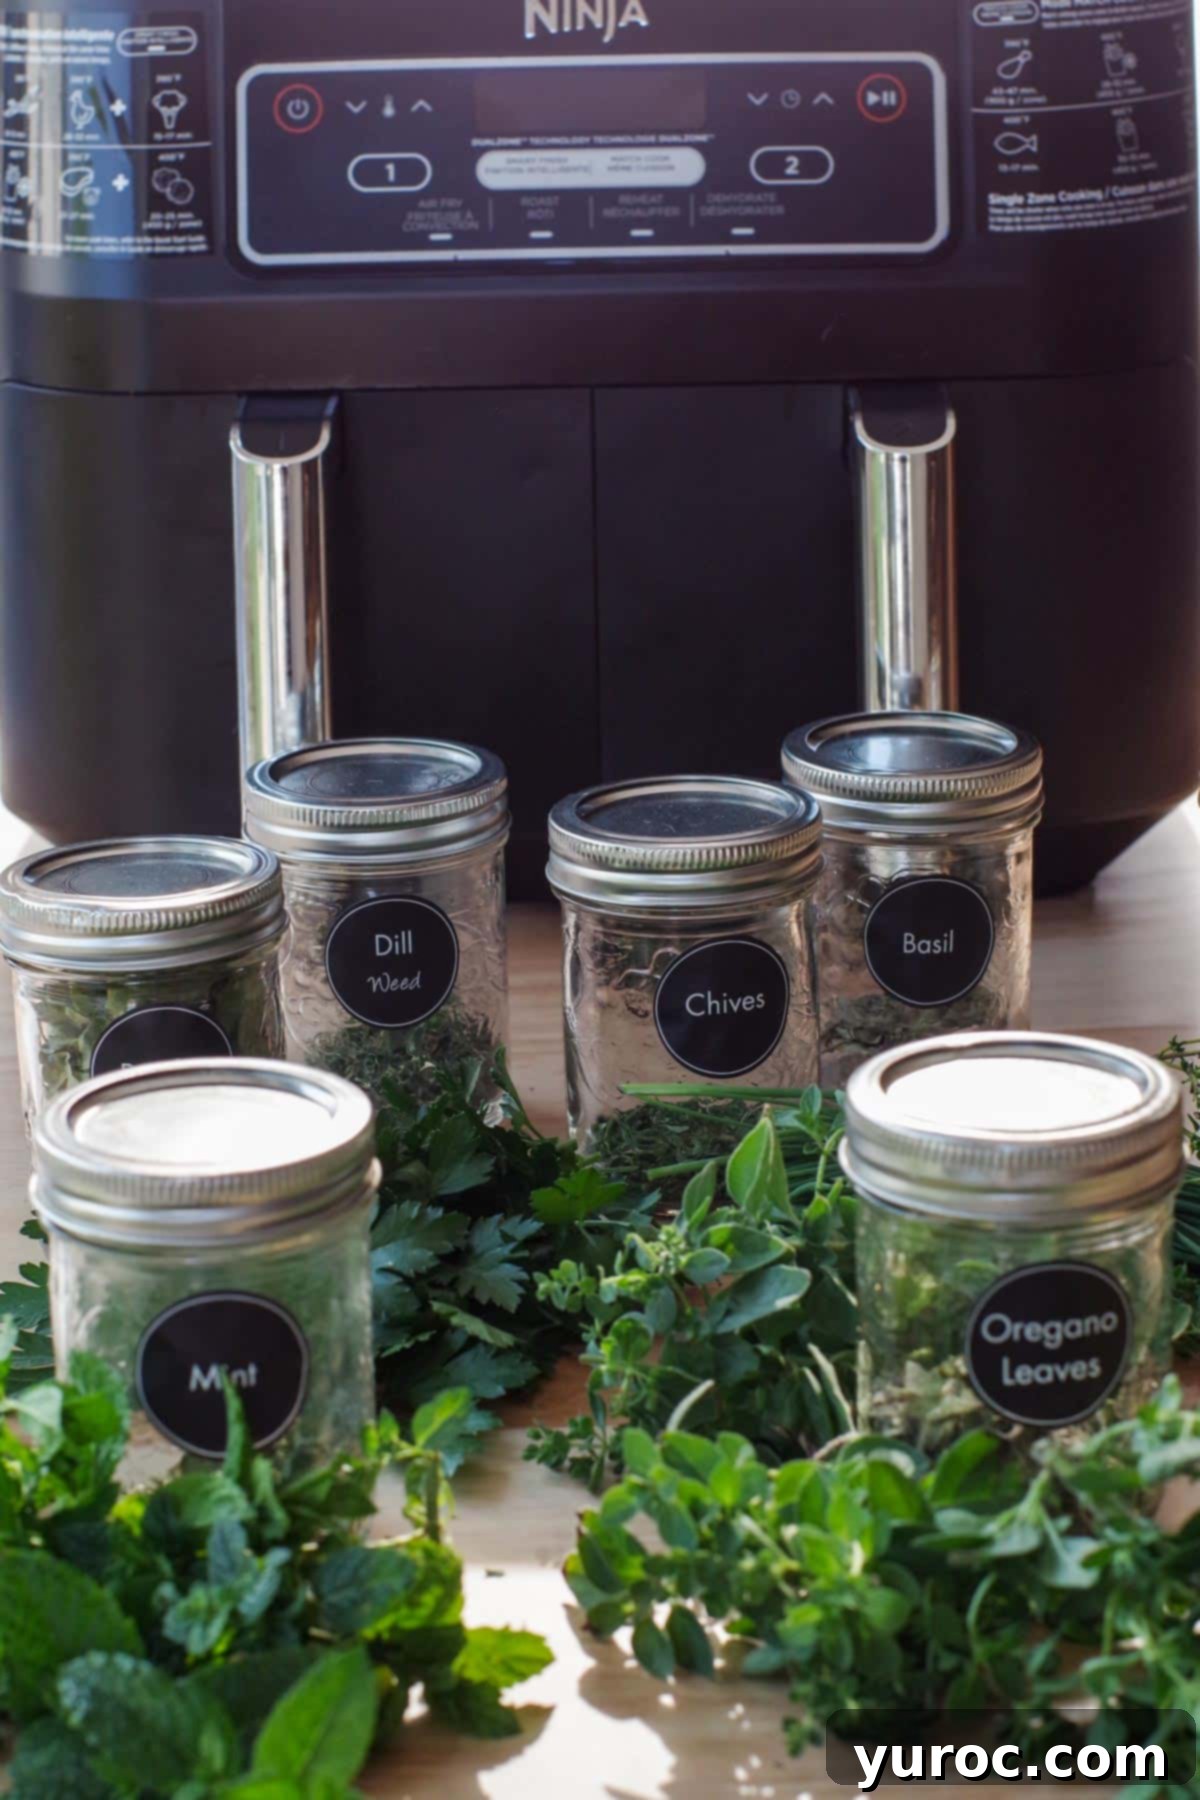
Alternatively, you can dehydrate your herbs in your air fryer! This is another excellent method for long-term storage, especially for herbs like rosemary, thyme, or oregano, providing a potent dried version for your spice rack.
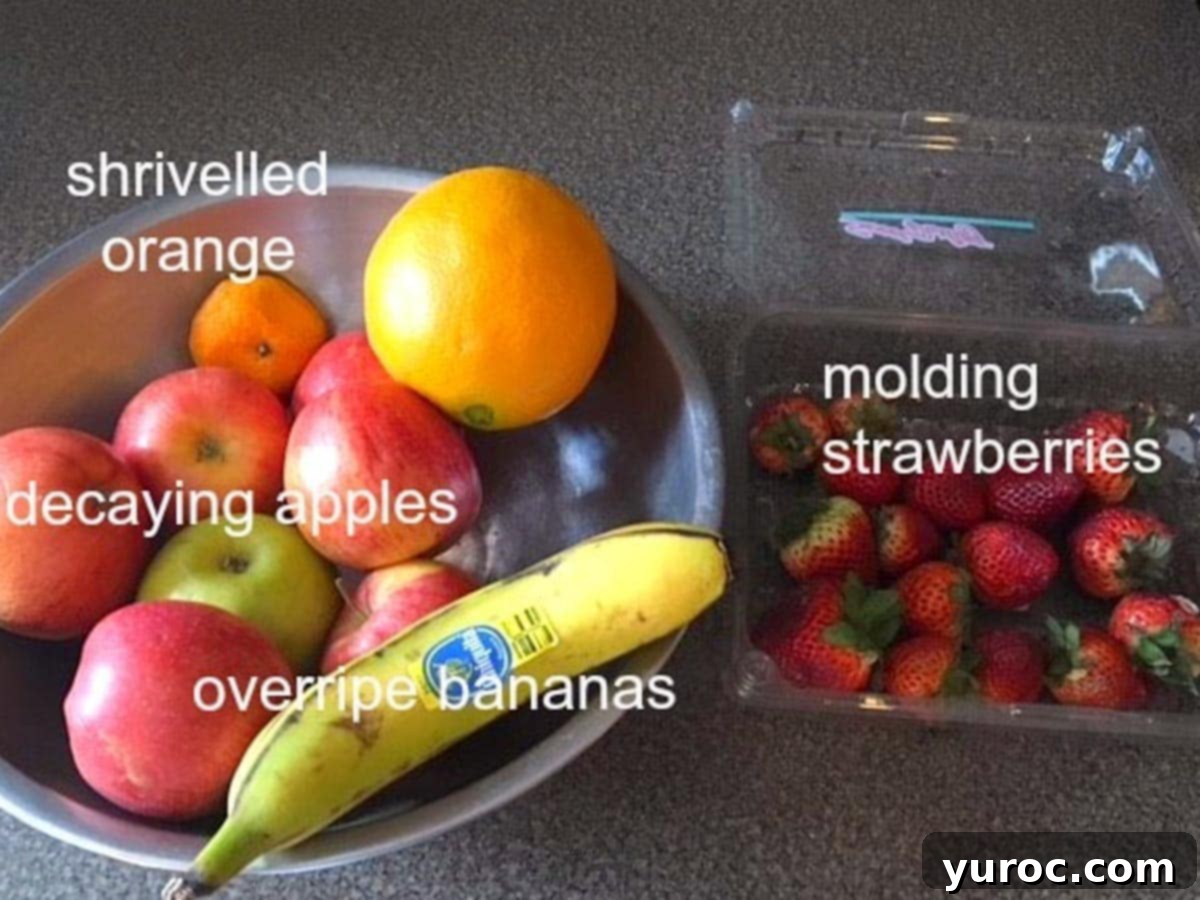
- Transform Overripe and Spoiling Fruit into Sugar-Free Popsicles or Fruit Cubes. Don’t let perfectly good fruit go to waste just because it’s a little past its prime. This eco-friendly and healthy hack turns nearly spoiled fruit into delicious, refreshing treats. Simply cut off any overly soft or spoiled portions, then puree the remaining good fruit in a blender. Pour the puree into popsicle molds for sugar-free fruit popsicles or into ice cube trays for convenient fruit cubes that can be added to smoothies, water, or yogurt. It’s an excellent way to reduce food waste, save money on snacks, and enjoy natural sweetness. See Fruit Popsicle Recipe for full instructions!

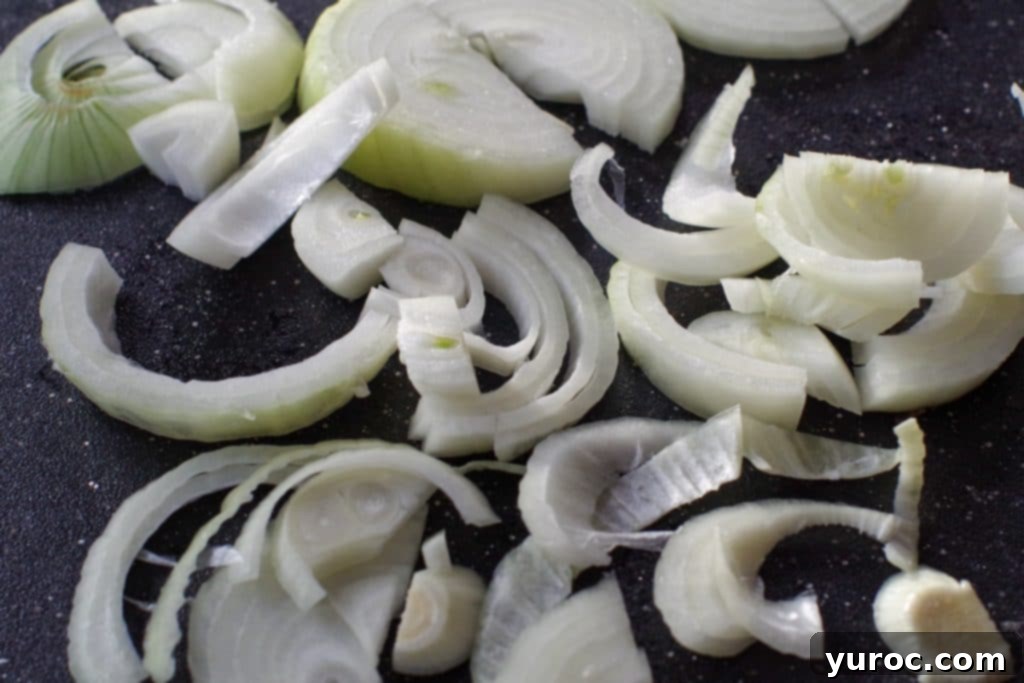
- Store Onions in the Fridge to Prevent Tears While Chopping. This simple, yet incredibly effective hack will spare your eyes from the stinging irritation that often accompanies onion chopping. The chemical compounds released when onions are cut are less volatile when the onion is cold. By storing your onions in the refrigerator for at least 30 minutes before chopping (or even permanently, though they should be stored separately from potatoes to prevent spoilage), you significantly reduce the amount of irritant released into the air. No more tears when chopping onions; this really works and makes meal prep much more pleasant!
Smart Cooking Tips & Tricks for Everyday Meals
- Use a Microplane Grater or Zester to Salvage Burnt Toast. Don’t despair if you’ve accidentally over-toasted your bread! Instead of tossing it out, grab a microplane zester. Gently rub the burnt surface of the toast against the microplane. The fine blades will efficiently scrape away the charred bits, leaving behind edible, unburnt toast. This hack is a quick and easy way to reduce food waste and save your breakfast. It works wonders for minor burns, making your toast perfectly palatable again!

- Eliminate “Fishy” Taste from Saltwater Fish by Soaking it in Milk. If you, like me, are not a fan of the strong, sometimes overpowering “fishy” taste in certain saltwater fish, this cooking trick is a must-try. Soaking fish in milk helps neutralize those stronger odors and flavors, resulting in a milder, more pleasant taste. The casein protein in milk binds to the compounds that cause the fishy smell, effectively drawing them out.
- Simply place your fish fillets in a shallow dish, cover them with milk, and let them soak for about 2 hours in the refrigerator. After soaking, drain the milk, pat the fish dry, and proceed with your recipe. This allows you to enjoy a wider variety of fish, including less expensive options like sole, without sacrificing flavor enjoyment. It’s especially great for dishes like Fish Tacos – YUM!


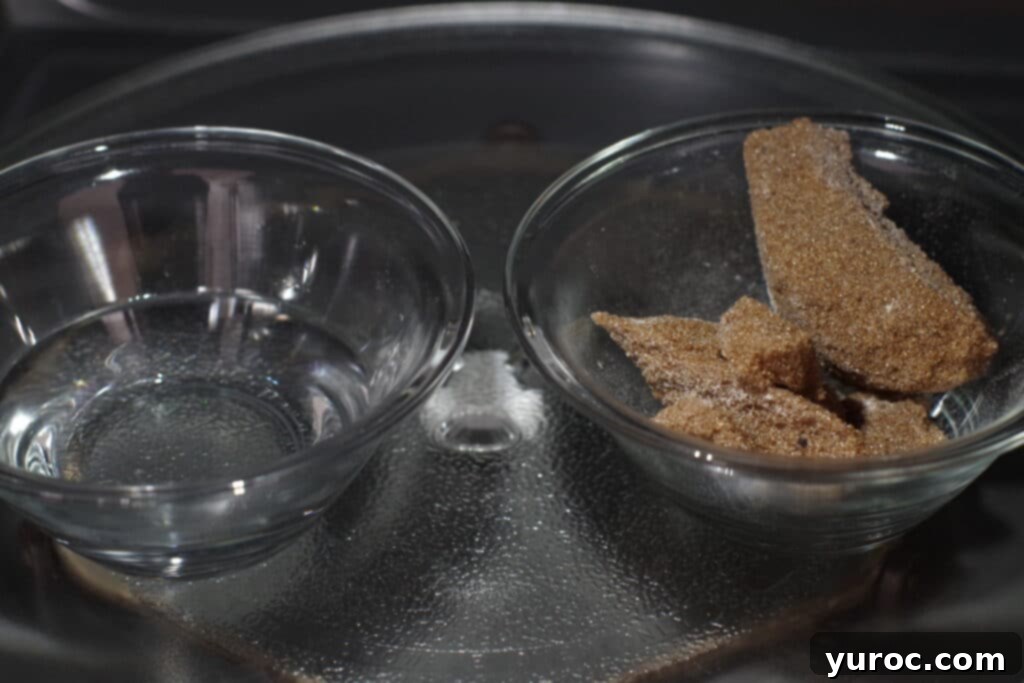
- Soften Hardened Brown Sugar in the Microwave. If your brown sugar has turned into a solid brick, don’t throw it out! Forget the old trick of adding a slice of bread; this microwave method is much faster and more effective. The key is to create a steamy environment that reintroduces moisture to the sugar crystals.
- Place the hardened brown sugar in a microwave-safe bowl.
- In a separate small mug or microwave-safe container, add about ¼ cup of water.
- Place both the bowl of brown sugar and the mug of water side-by-side in the microwave.
- Heat on high in 30-second intervals, checking the sugar after each interval. The steam from the water will soften the sugar, making it crumbly and usable again. Continue until it reaches your desired consistency, usually after 60-90 seconds total. This quick and easy method saves your ingredients and prevents food waste.
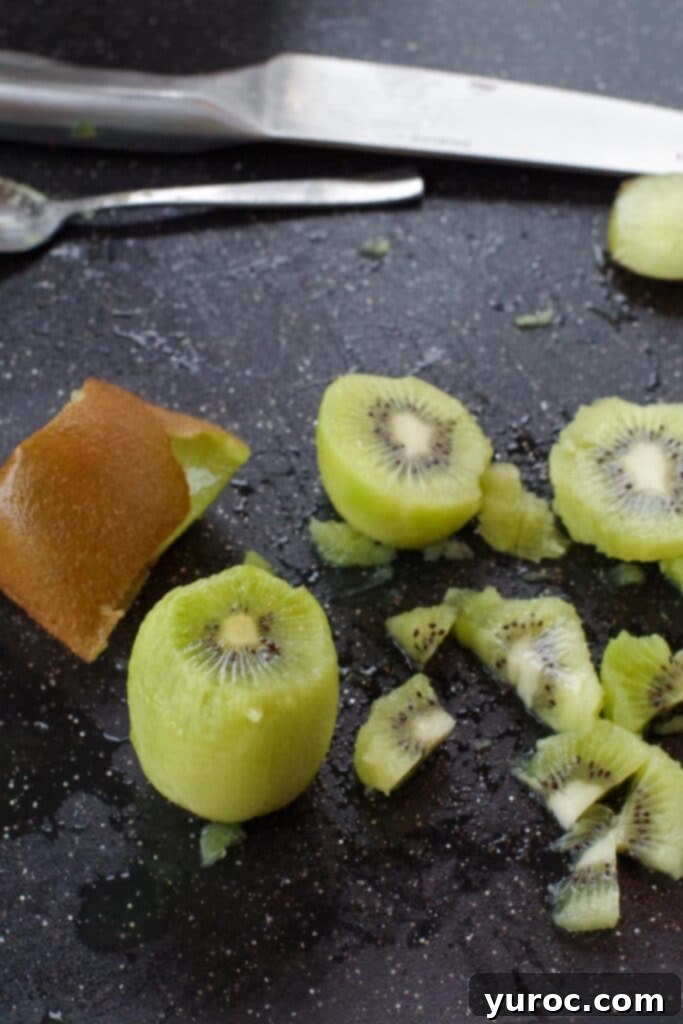
- Peel Kiwi with a Spoon for Maximum Fruit Yield. Peeling a kiwi can be surprisingly tricky, often resulting in a lot of wasted fruit stuck to the skin. The spoon method is a revelation! After trimming off both ends of the kiwi, insert a spoon just under the skin and carefully work it around the circumference of the fruit. The spoon will separate the flesh from the skin cleanly, leaving you with a perfectly peeled kiwi and minimal waste. It’s the easiest way to ensure you get to enjoy more of the delicious fruit. See a video demonstration on how to peel a kiwi with a spoon HERE. Enjoy your perfectly peeled kiwi straight up or add it to a refreshing fruit salad.
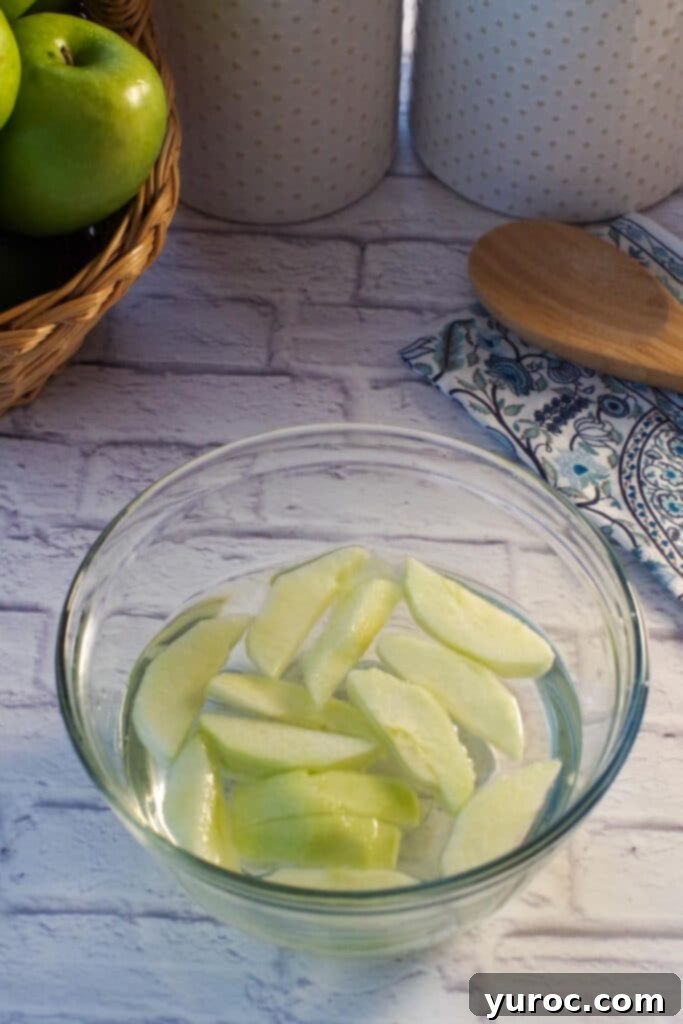
- Prevent Apple Slices from Turning Brown with a Lemon Juice and Water Soak. There’s nothing less appealing than brown, oxidized apple slices in a fruit salad or on a platter. This easy hack keeps your apples looking fresh and crisp for hours. The citric acid in lemon juice acts as an antioxidant, slowing down the enzymatic browning process that occurs when apple flesh is exposed to air.
- Simply soak your apple slices in a mixture of 4 cups of cold water and 1 tablespoon of freshly squeezed lemon juice for about 10 minutes. After soaking, drain and pat them dry. They will retain their vibrant color much longer.
- *It’s crucial to use real lemon juice from an actual lemon for the best results, as bottled lemon juice (like Realemon) may not be as effective due to preservatives or diluted acid content. I used this trick when making my Healthy Apple Crisp in a Mug video and needed my apple slices to look perfect for an extended period!
Clever Kitchen Substitutions to Save Your Recipes
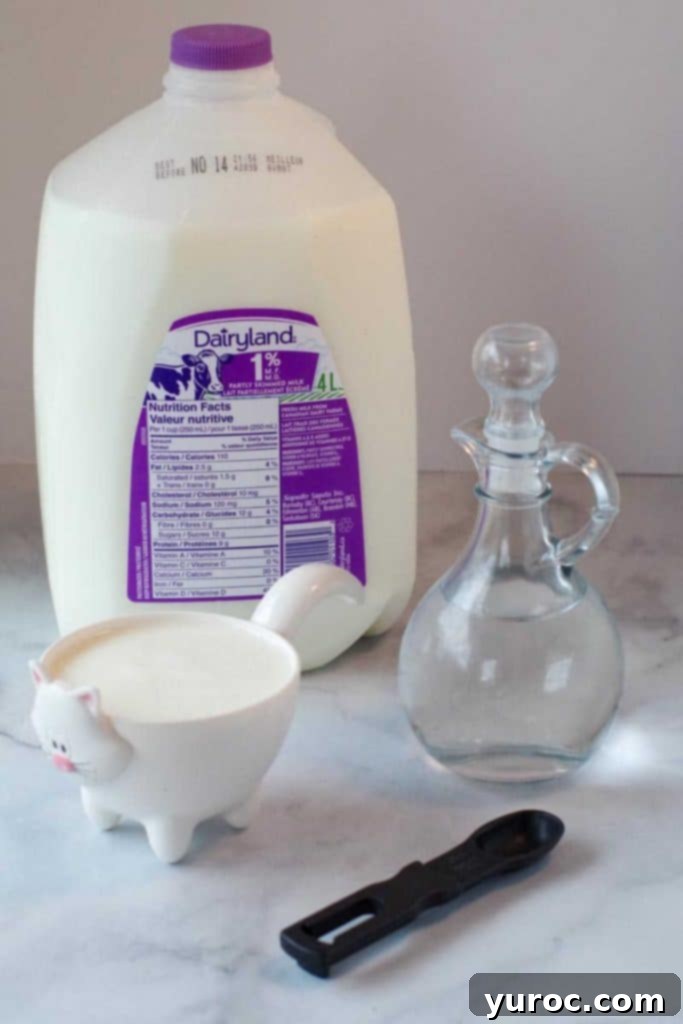
- Quick & Easy Homemade Buttermilk. Ever started a baking recipe only to realize you’re out of buttermilk? Don’t fret! You can easily make a fantastic substitute with ingredients you likely already have. For every cup of milk (dairy or non-dairy), simply add 1 teaspoon of white vinegar or lemon juice. Stir gently and let it sit for 5-10 minutes until it slightly curdles and thickens. This acidic milk mimics the tangy flavor and tenderizing properties of true buttermilk, making it perfect for recipes like Light Blueberry Cornbread, Healthy Bran Muffins, or fluffy pancakes. It’s a convenient and often lighter alternative that saves you a trip to the store.
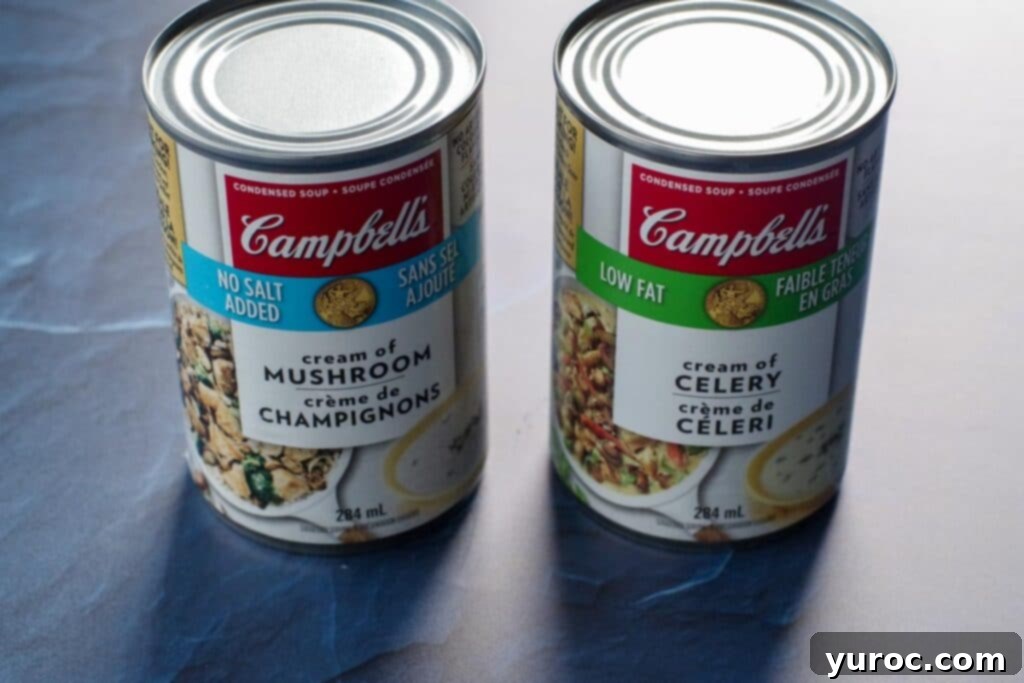
- Homemade Substitute for Canned “Cream of Anything” Soups. Canned cream soups are a common ingredient in many casseroles and comfort food recipes, but they can be high in sodium and preservatives, and you might not always have them on hand. This simple, homemade alternative allows you to create a fresher, more customizable base for your dishes. This happens to me all the time when I make my Easy Slow Cooker Chicken Stew or my Carrot Soup.
To make a substitute equal to one standard can of soup:
- 2 tablespoons butter
- 3 tablespoons all-purpose flour
- ½ cup milk (whole, 2%, or skim work fine)
- ½ cup chicken broth (or vegetable broth for a vegetarian option)
Melt the butter in a saucepan over medium heat, then whisk in the flour to form a smooth roux. Cook for about 1 minute, stirring constantly. Gradually whisk in the milk and chicken broth until the mixture thickens and is smooth, creamy, and bubbly. Season with salt and pepper to taste.
*You can easily adapt the flavor profile: add a pinch of celery seed or finely chopped celery for a “cream of celery” soup, or sauté some chopped mushrooms with the butter for a “cream of mushroom” flavor.
**To lighten it up, use light butter and non-fat milk. This homemade version is not only healthier but also tastes superior, giving your dishes a fresh, rich base.
Essential Egg Cooking Hacks!
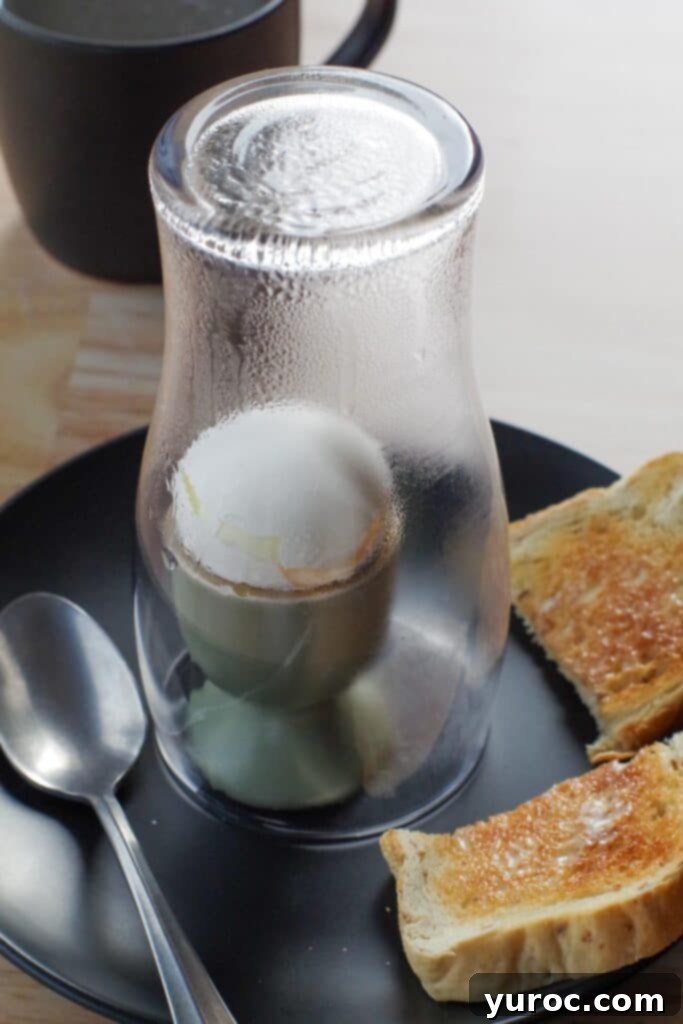
- Perfect an Undercooked Soft-Boiled Egg with a Glass. It’s a common dilemma: you crack open your soft-boiled egg, and the yolk is runnier than desired. Instead of discarding it, try this clever trick! Simply place the undercooked egg back into its shell (if the top is mostly intact) or directly into a small bowl. Cover the egg with a tall glass or mug, creating a steamy, enclosed environment. The residual heat trapped under the glass will gently continue to cook the egg for a few more minutes until it reaches your preferred level of doneness. *My Mom taught me this nifty cooking trick, and it saves many potentially wasted eggs!
*Tip for perfectly soft-boiled eggs every time:
- Gently place your egg in a small pot and cover it with cold water.
- Bring the water to a rolling boil over high heat.
- Once boiling, immediately reduce the heat to medium-low. This is a good time to put your bread in the toaster.
- When your toast is ready and buttered (usually 3-4 minutes after reducing heat), carefully remove your egg from the pot and cut it in half. It should be perfectly soft-boiled! And if it’s still a tad too runny, that’s when you employ the glass-cover hack.
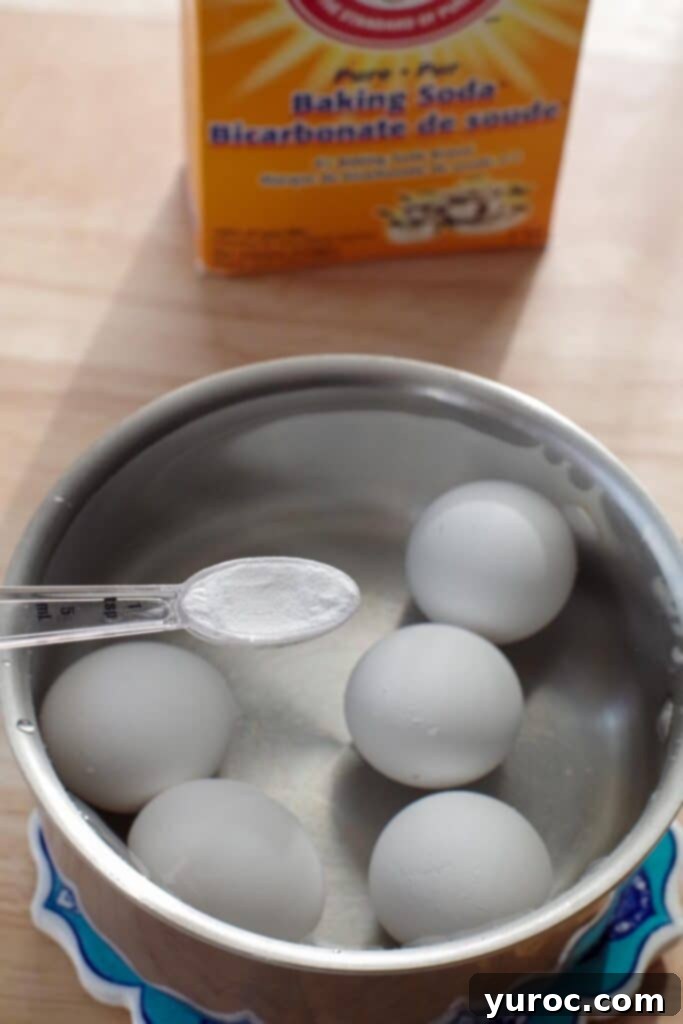
- Add a Teaspoon of Baking Soda to Water for Easy-Peel Hard-Boiled Eggs. Peeling hard-boiled eggs can often be a frustrating experience, with stubborn shells clinging to the whites, resulting in nicked and uneven eggs. This simple addition to the boiling water makes a world of difference. Adding a teaspoon of baking soda to the water before boiling your eggs increases the water’s alkalinity, which helps the egg white separate more easily from the inner membrane.
- The result is beautifully smooth, easy-to-peel hard-boiled eggs, ideal for recipes where presentation matters, such as Devilled Eggs or egg salads. No more struggling or wasting precious egg white!
- For even more comprehensive guidance on achieving PERFECT hard-boiled eggs, check out this informative video: How to Cook Hard Boiled Eggs.
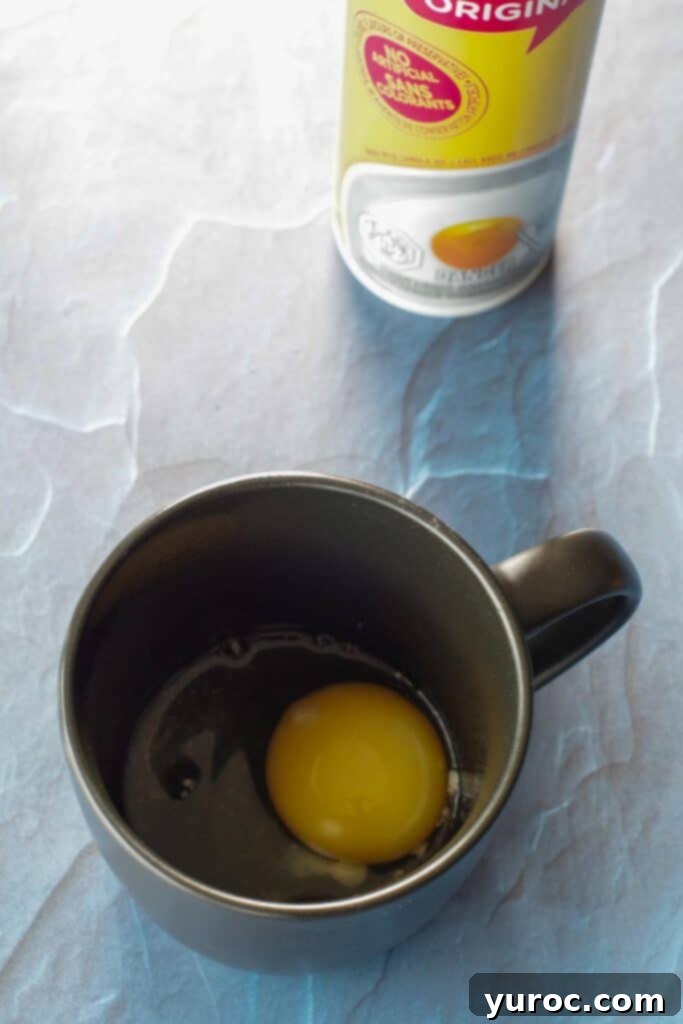
- Make Poached Eggs in the Microwave for Speed and Convenience. Traditional stovetop poaching can be finicky and time-consuming, requiring careful swirling and precise timing. If you haven’t found a reliable egg poacher (and I’m still searching for that perfect one!), this microwave trick is a revelation. It’s incredibly fast, perfect for a single serving, and minimizes fuss, making poached eggs accessible even on busy mornings. Try it with my Ukrainian Breakfast Sandwich or my Eggs Benedict.
Quick Poached Eggs in the Microwave:
- Lightly spray the inside of a standard coffee mug with non-stick cooking spray.
- Crack one egg carefully into the mug.
- Add about a tablespoon of water over the egg.
- **This step is critical:** Cover the mug with a microwave-safe lid or a small plate (this prevents splattering and helps cook the egg evenly).
- Microwave on high for 30-40 seconds, or until the egg white is set and the yolk is still runny (adjust timing based on your microwave’s power and desired doneness).
- Gently loosen the poached egg by running a knife or spoon around the inside edge of the mug. Carefully slide the egg onto your plate.
*Sometimes, if cooked too long, the egg can “pop” or explode due to steam buildup, which is why the cover/lid is essential (to contain any mess). Even if it pops, it’s often still perfectly edible.
**While you can attempt to cook more than one egg at a time in separate mugs, they may require additional cooking time and careful monitoring.
And last but not least, for dessert…
- Effortlessly Melt Chocolate in the Microwave. Forget the need for a cumbersome double boiler; perfectly melted chocolate is achievable with your microwave! I’ve never owned a double boiler, and this method works beautifully every time, provided you follow a few key steps.
- Break your chocolate into small, uniform pieces and place them in a microwave-safe bowl.
- Heat the chocolate on 50% power in the microwave. This lower power setting prevents the chocolate from overheating and seizing.
- After the first minute, remove the bowl and stir the chocolate thoroughly, even if it doesn’t look fully melted. The residual heat will continue to melt the chocolate.
- Continue heating in 30-second intervals at 50% power, stirring well after each interval, until the chocolate is smooth and completely melted. Patience and frequent stirring are key to prevent scorching and ensure an even melt.
*A crucial warning: ensure no water touches your chocolate, the bowl, or your utensils. Even a tiny drop of water can cause chocolate to “seize,” turning it into a grainy, unworkable paste. Keep everything dry for perfectly smooth, luscious melted chocolate.

I genuinely hope you find these cooking and kitchen hacks as useful and transformative as I do! Integrating these simple yet effective tips into your routine can dramatically improve your efficiency, reduce stress, and help you save money and minimize food waste in the kitchen. If you’ve tried any of these, or if you have your own tried-and-true favorite kitchen hacks, cooking tips, and tricks, I would absolutely love to hear about them! Please feel free to leave me a comment below and share your culinary wisdom. Happy cooking!
⭐ Reviews
Please RATE and leave a comment below if you liked this post!
How useful was this post?
Click on a star to rate it!
Average rating 4.8 / 5. Vote count: 34
No votes so far! Be the first to rate this post.