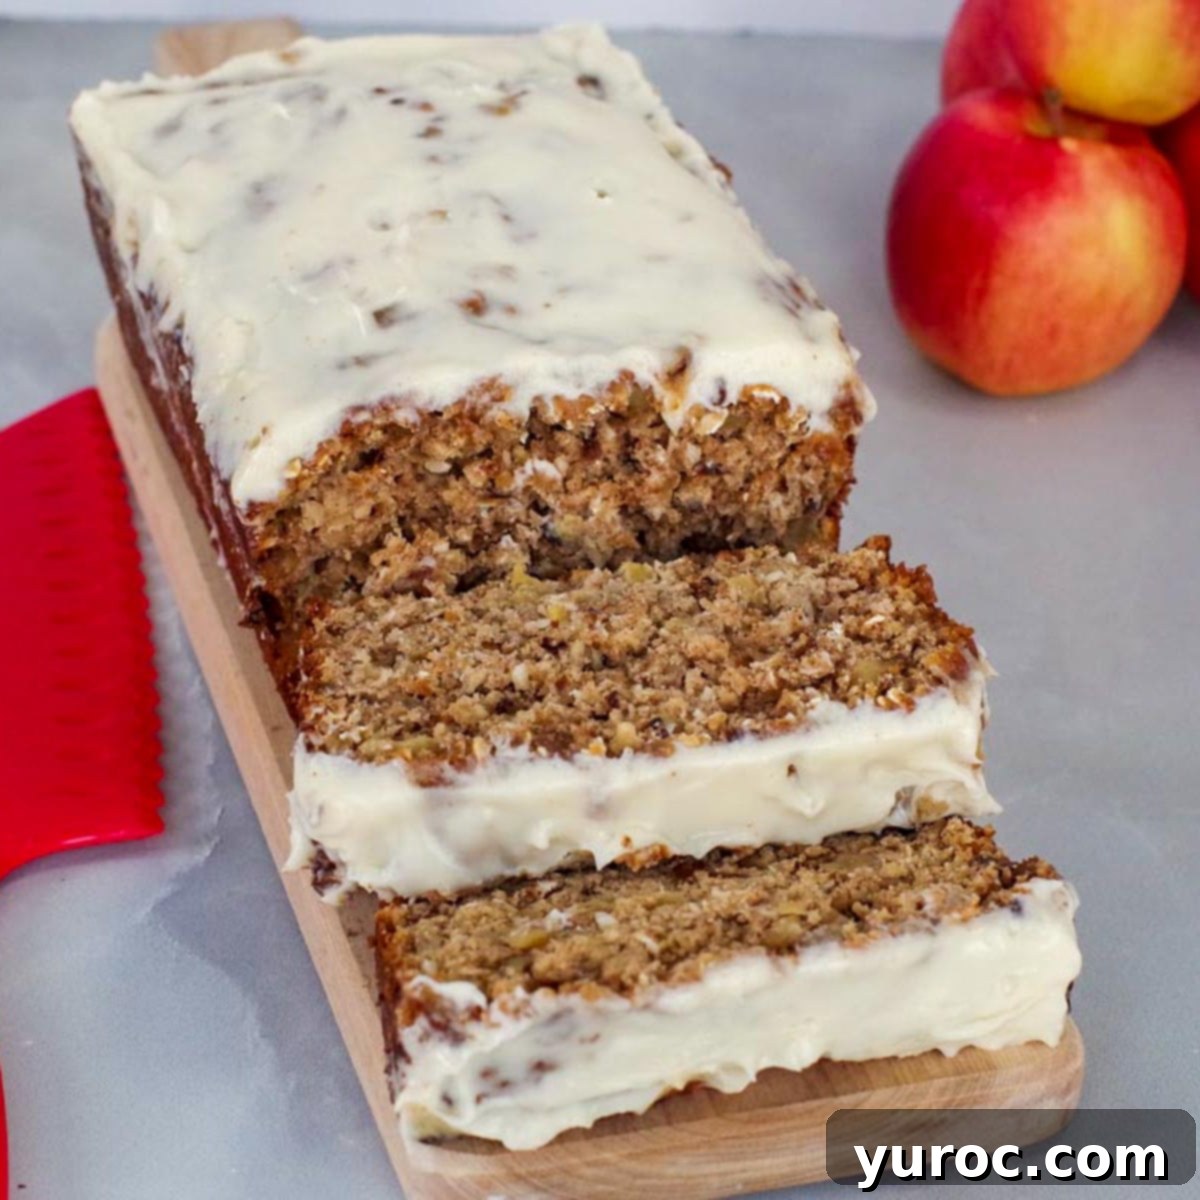
Delicious Apple Walnut Bread with Brown Butter Glaze: Your Ultimate Fall Baking Delight
As autumn leaves paint the landscape in vibrant hues, and the crisp air beckons for warmth, there’s nothing quite like the comforting aroma of freshly baked goods filling your home. Fall officially means it’s apple season, and we’re ready to celebrate with this irresistible Apple Walnut Bread with Brown Butter Glaze. This recipe captures the very essence of fall, combining the sweet-tart goodness of apples with the nutty crunch of walnuts and a hint of warm spices, all crowned with an unbelievably rich brown butter glaze. It’s more than just a quick bread; it’s a wholesome treat that feels indulgent, perfect for cozy mornings, delightful desserts, or a satisfying snack.
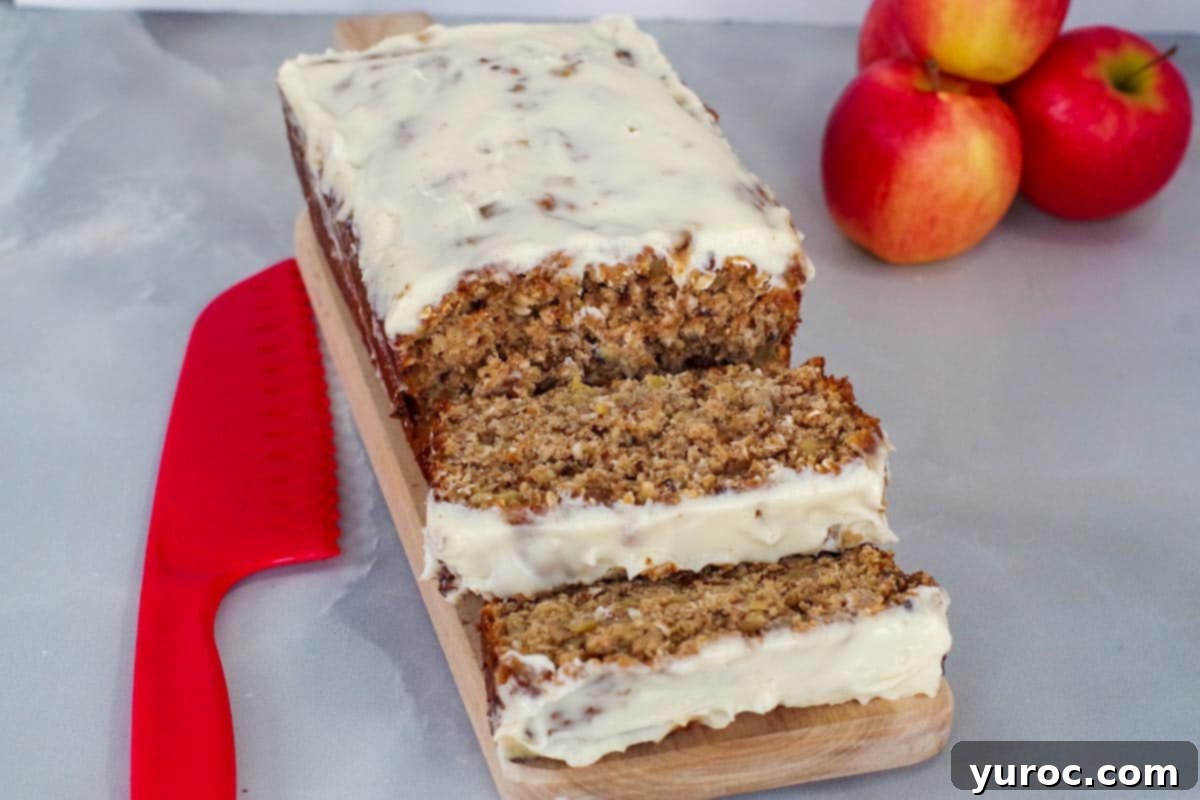
This Apple Walnut Loaf is a testament to simple, wholesome ingredients coming together to create something truly extraordinary. It’s incredibly moist, packed with flavors from cinnamon, coconut, and a secret ingredient – prunes – which add an incredible depth and tender texture. Despite being a healthier choice compared to many other baked goods, its rich taste and soft crumb make it feel like an apple loaf cake. Whether you’re looking for a quick breakfast to grab on a busy morning, a comforting dessert after dinner, or a lovely item to share at a potluck, this apple bread is sure to impress. Don’t forget to explore my other breakfast potluck ideas for more crowd-pleasing recipes!
For those who adore apple-infused treats, you’ll be thrilled to discover more of my favorite apple recipes. Be sure to try my flaky Apple Cinnamon Scones, the wonderfully simple Healthy Apple Crisp in a Mug (perfect for a quick single-serving delight), my savory Apple Sage Pork Chops, and the elegant Caramel Apple Betty Dessert Shooters! Each recipe offers a unique way to enjoy the versatile and delicious apple.
🍎 Essential Ingredient Notes for the Perfect Apple Walnut Bread
Developing this Healthy Apple Walnut Bread recipe years ago, I discovered that certain ingredients truly elevate its flavor and texture. One of my favorite baking secrets is the use of prunes, which I also feature in my Healthy Carrot Cake. They contribute an amazing taste and an exceptionally moist texture, often overlooked in modern baking. Incorporating them into this apple bread was a game-changer, adding a subtle sweetness and incredible moisture that will have everyone asking for your secret!
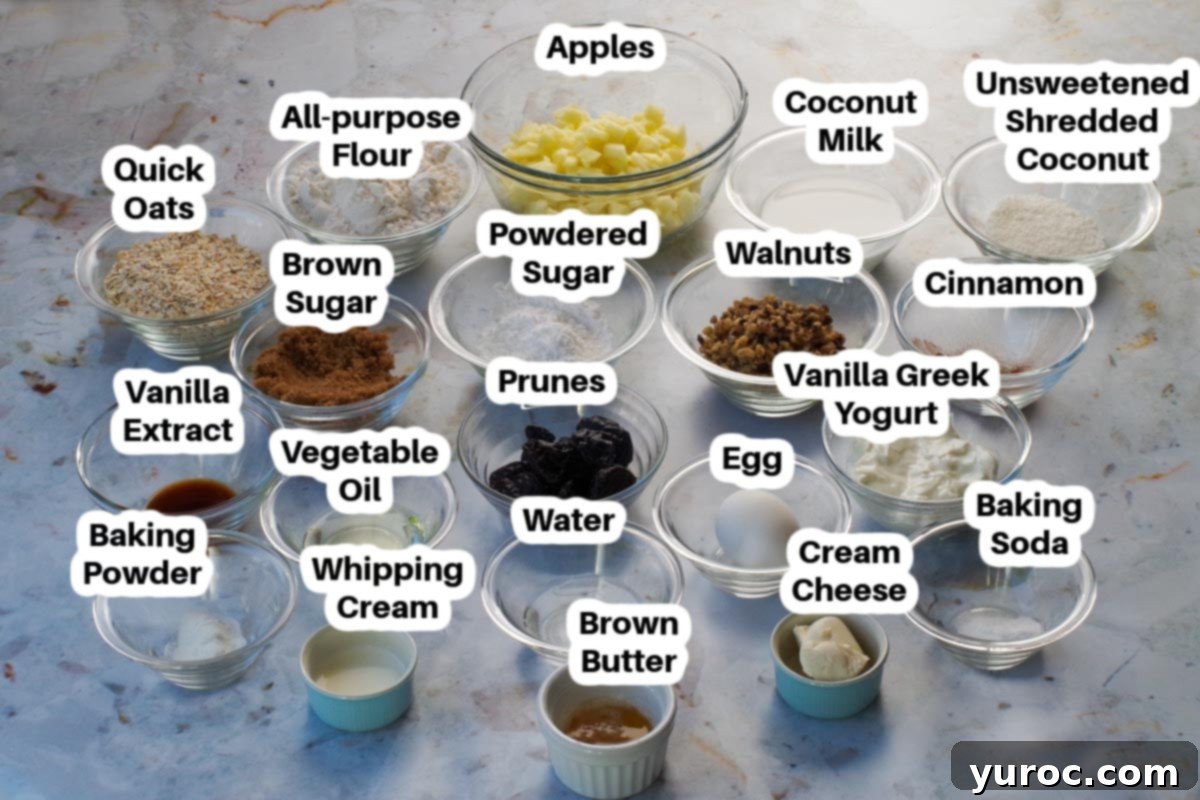
- Walnuts: These provide a delightful crunch and earthy flavor that pairs perfectly with apples. To save time, buy pre-chopped walnuts. For an extra layer of flavor and aroma, I highly recommend toasting your walnuts lightly before adding them to the batter. This simple step brings out their natural oils and nuttiness.
- Prunes: Ensure you use pitted prunes. Puréeing them with a small amount of water is key, as it helps distribute their natural sweetness and moisture uniformly throughout the bread. This process is essential for achieving the bread’s wonderfully soft and tender crumb, making it taste richer than you’d expect from a “healthy” recipe.
- Quick Rolled Oats: Quick oats are ideal for this recipe because their smaller size integrates seamlessly into the batter, creating a softer and more uniform texture compared to old-fashioned oats. Avoid instant oats, as they can turn gummy and mushy when baked, compromising the bread’s desired texture.
- Brown Sugar: You have the flexibility to use either dark or light brown sugar. Dark brown sugar will lend a deeper, more robust molasses flavor, while light brown sugar offers a milder, sweeter note. Both work beautifully to enhance the bread’s overall taste.
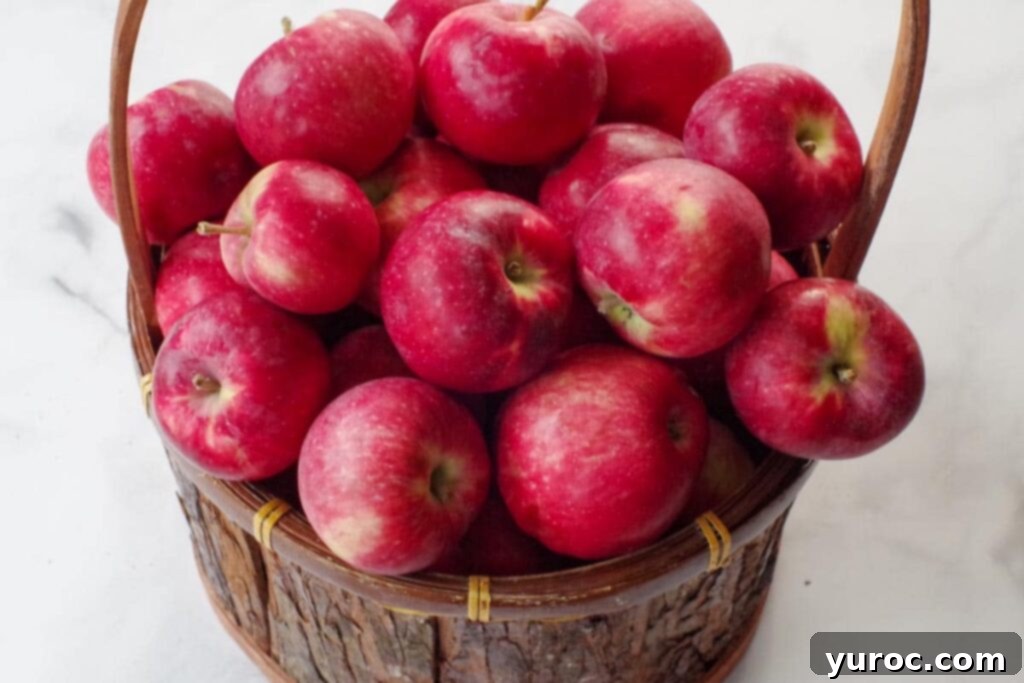
- Fresh Apples: The choice of apple significantly impacts the final texture of your bread. While many varieties work, Ambrosia or Gala apples are my top recommendations. They break down beautifully during baking, infusing the bread with their sweet, delicate flavor without leaving large, distinct pieces. Honeycrisp apples are also an excellent choice, offering a balanced sweetness and firm texture that holds up well. I advise against using Granny Smith apples for this particular recipe. Granny Smiths are known for maintaining their shape even after baking, which is great for pies but not ideal here; we want the apples to melt into the bread, contributing to its moist “cake-like” essence.
- Vanilla Greek Yogurt: I typically opt for low-fat vanilla Greek yogurt. It adds moisture, a hint of vanilla flavor, and a pleasant tang that balances the sweetness. The probiotics also contribute to a tender crumb.
- Coconut Milk: Using light coconut milk helps maintain the bread’s healthy profile while adding a subtle tropical note and additional moisture. It creates a wonderfully rich texture without being overly heavy.
- Unsweetened Shredded Coconut: Finely shredded coconut works best for a uniform distribution of flavor and a soft texture. If you prefer a more pronounced coconut texture, feel free to use medium shredded coconut or even larger flakes.
- Whipping Cream: For the glaze, ensure your whipping cream (also known as heavy cream) has a fat content between 33% and 36%. This higher fat content is crucial for achieving a thick, luxurious, and stable glaze.
- Cream Cheese: I use light/low-fat cream cheese for the glaze, but regular full-fat cream cheese can also be used for an even richer result. Softened cream cheese blends smoothly into the glaze.
- Powdered Sugar: Also known as confectioner’s sugar or icing sugar, this finely ground sugar is essential for a smooth, lump-free glaze.
*A full list of ingredients and precise quantities can be found in the detailed recipe card below.
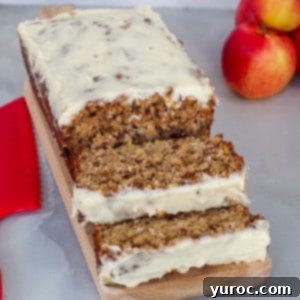
This apple bread is truly elevated by its luxurious brown butter glaze, which I consider its crowning glory. The photos, as good as they are, simply don’t do justice to the sheer deliciousness of this bread – it’s truly that good! My son, a tough critic, continuously begs me to make it again and again, always with an insistence on more brown butter glaze, of course!
I must confess, I have a slight obsession with brown butter. Its rich, nutty, caramelized notes are simply divine. I particularly love it in glazes, such as on my delectable Saskatoon Berry Loaf with Brown Butter Glaze and my indulgent Butter Tart Bundt Cake with Brown Butter Glaze. But its appeal isn’t limited to glazes; I also adore plain brown butter in recipes like my Award-winning Pecan Brown Butter Granola! My glaze for this apple bread is similar to a brown butter frosting, just a touch less thick and more pourable. Brown butter might seem a little old-fashioned, but it’s a timeless flavor that adds an unparalleled depth and sophistication to any dish, especially this delightful quick bread.
While this apple nut bread recipe incorporates healthier ingredients, it remains an indulgent treat. As I mentioned, it truly tastes more like a rich apple loaf cake than a simple bread. It’s not designed to be low-fat or strictly Weight Watchers friendly, though you can certainly make minor adjustments, as I do, by opting for lighter versions of certain ingredients to slightly reduce the fat and calorie content without sacrificing flavor.
📖 Creative Variations & Smart Substitutions
This Apple Walnut Bread recipe is incredibly versatile, allowing for easy substitutions and variations to suit your preferences or what you have on hand. Don’t be afraid to get creative and make it your own!
- Nuts: While walnuts provide a classic flavor, you can easily substitute them with an equal amount of chopped pecans. Pecans offer a slightly different, buttery sweetness that complements the apples beautifully. Feel free to use a mix of both if you like!
- Prunes: If prunes aren’t available or you prefer a different dried fruit, pitted dried apricots can be used as a substitute. They will offer a brighter, tangier note. However, for the ultimate moistness and depth of flavor, prunes are truly ideal and highly recommended. Remember to purée them with water regardless of your choice.
- Sugar: Brown sugar adds a lovely molasses flavor and moisture. If you don’t have it, you can substitute white granulated sugar, but you might lose a bit of the bread’s characteristic depth. For a reduced-calorie option, a sugar substitute like monk fruit can be used. When using monk fruit, you’ll typically need only half the amount of brown sugar specified, so adjust accordingly and taste as you go.
- Vegetable Oil: Canola oil is an excellent one-for-one substitute for vegetable oil in this recipe. Both are neutral in flavor and contribute essential moisture to the bread. You could also experiment with melted coconut oil for a more pronounced coconut flavor.
- Vanilla Greek Yogurt: If you only have plain Greek yogurt, you can absolutely use it! Simply add an extra ½ teaspoon of vanilla extract to the wet ingredients and an additional 2 tablespoons of brown sugar to compensate for the lack of sweetness and vanilla in plain yogurt. This ensures your bread maintains its balanced flavor profile.
🔪 Step-by-Step Guide: How to Make Apple Walnut Bread
Creating this delightful Apple Walnut Bread is a straightforward process, making it perfect for bakers of all skill levels. Follow these simple steps for a perfect loaf every time.
PREP WORK: Before you begin, preheat your oven to 350 degrees F (175 degrees C). Prepare a 9×5 inch loaf pan by generously spraying it with a non-stick cooking spray, ensuring your bread won’t stick.
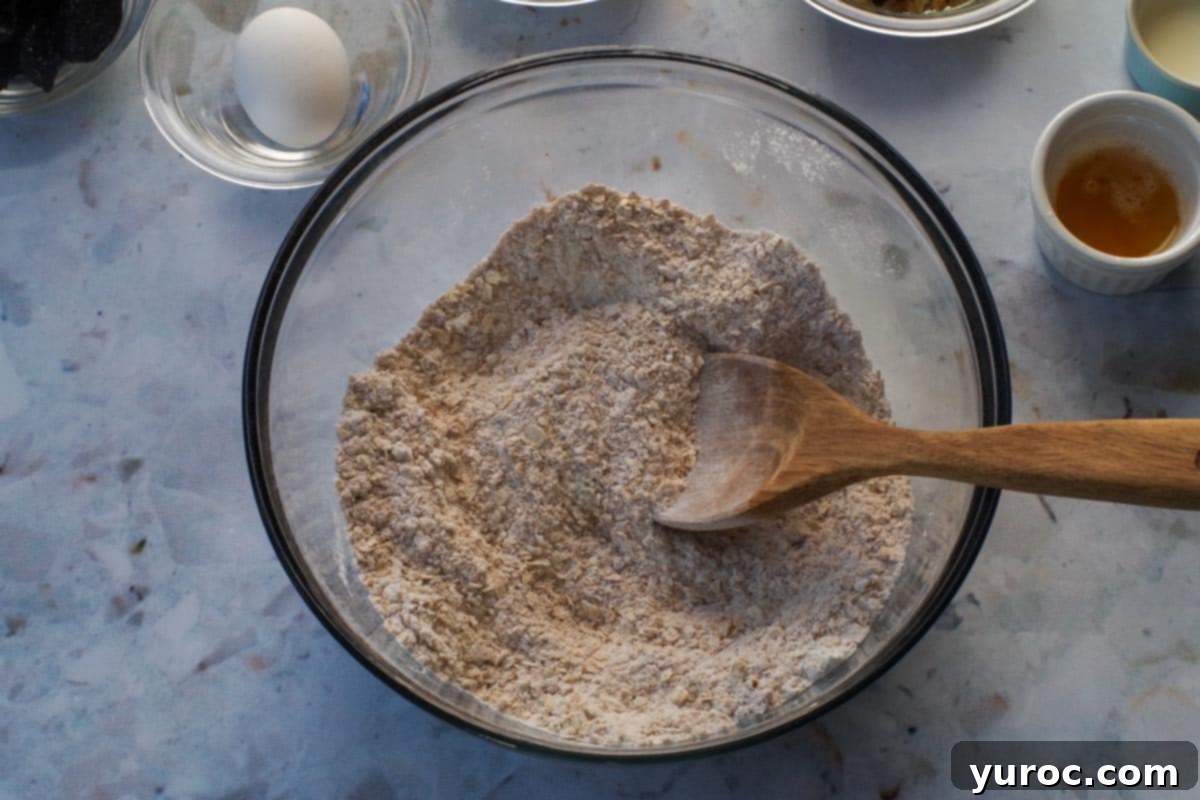
- Step 1: Combine Dry Ingredients. In a large mixing bowl, thoroughly whisk together the flour, quick rolled oats, baking soda, cinnamon, brown sugar, baking powder, and shredded coconut. Make sure these dry ingredients are well combined to ensure even leavening and flavor distribution. Set this bowl aside for now.
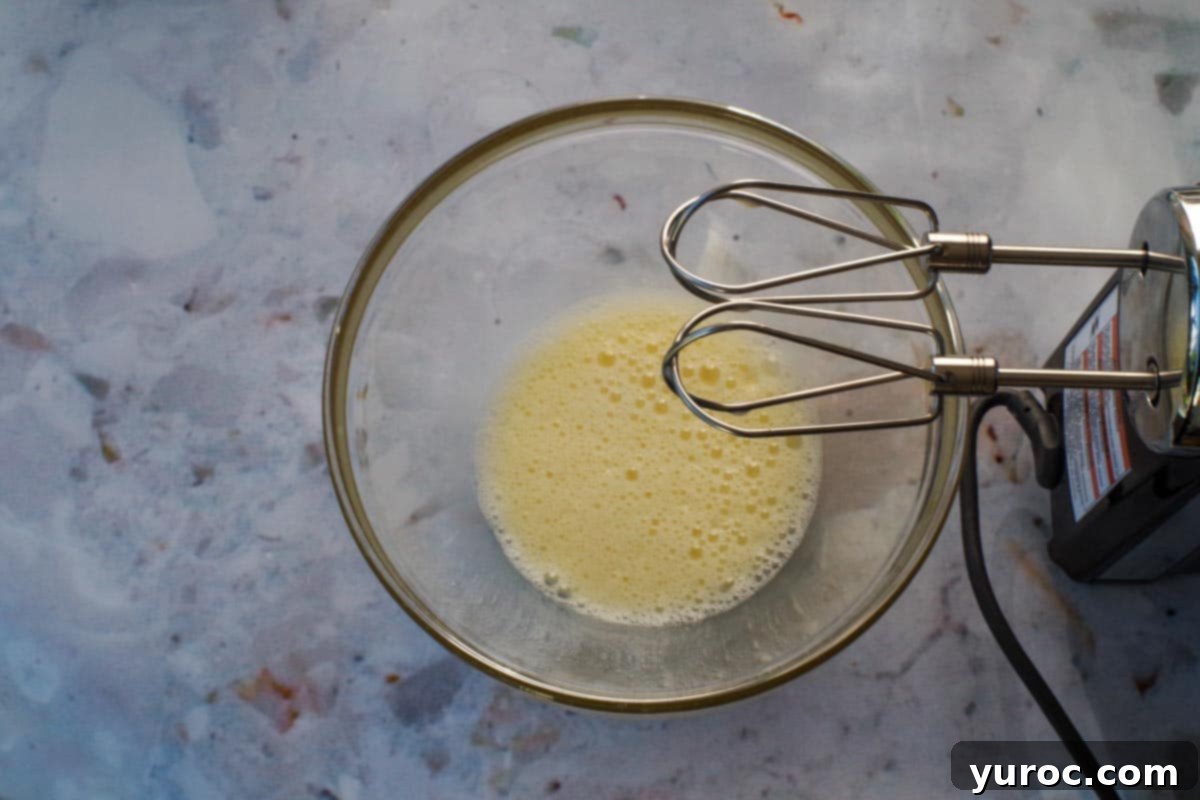
- Step 2: Prepare Wet Ingredients (Part 1). In a separate medium-sized bowl, beat the egg with an electric mixer until it becomes light and fluffy. This aeration adds lightness to the bread. Then, beat in the vegetable oil until fully incorporated.
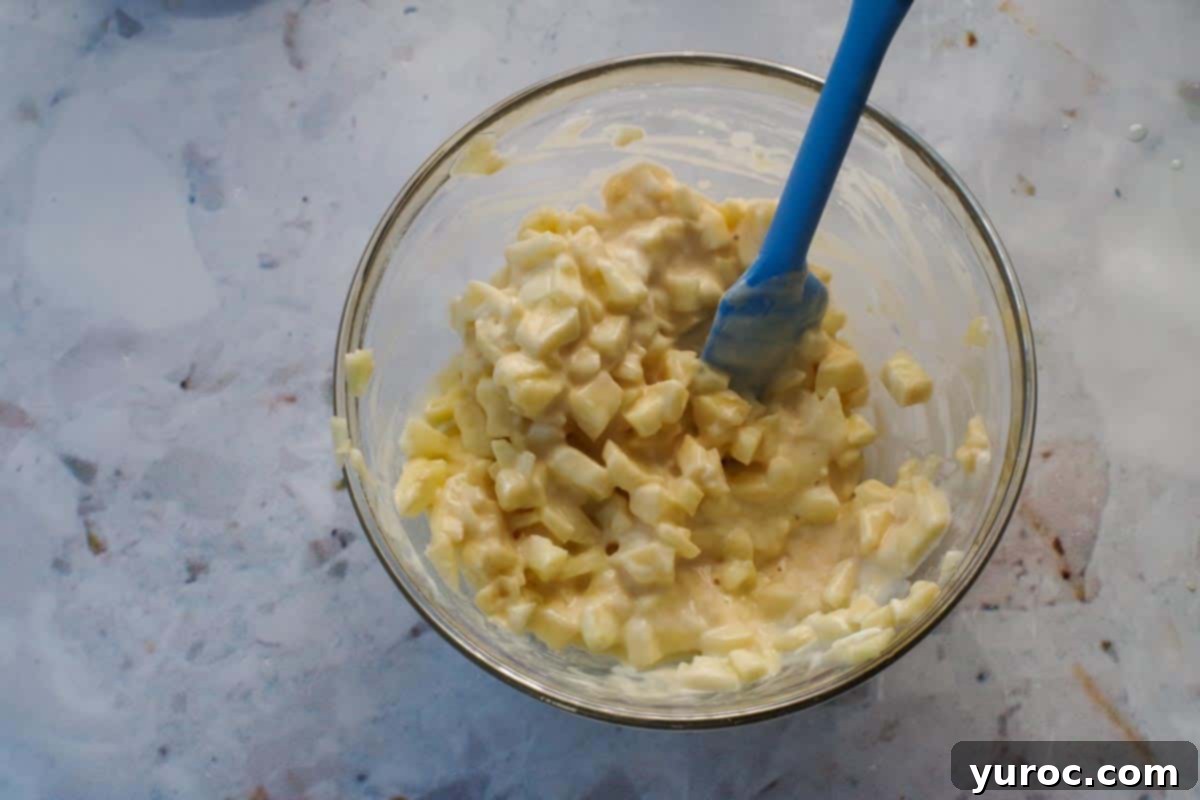
- Step 3: Incorporate Yogurt and Apples. Gently mix the vanilla Greek yogurt and vanilla extract into the egg and oil mixture. Once smooth, carefully stir in the finely chopped apple chunks. Ensure the apples are evenly coated.
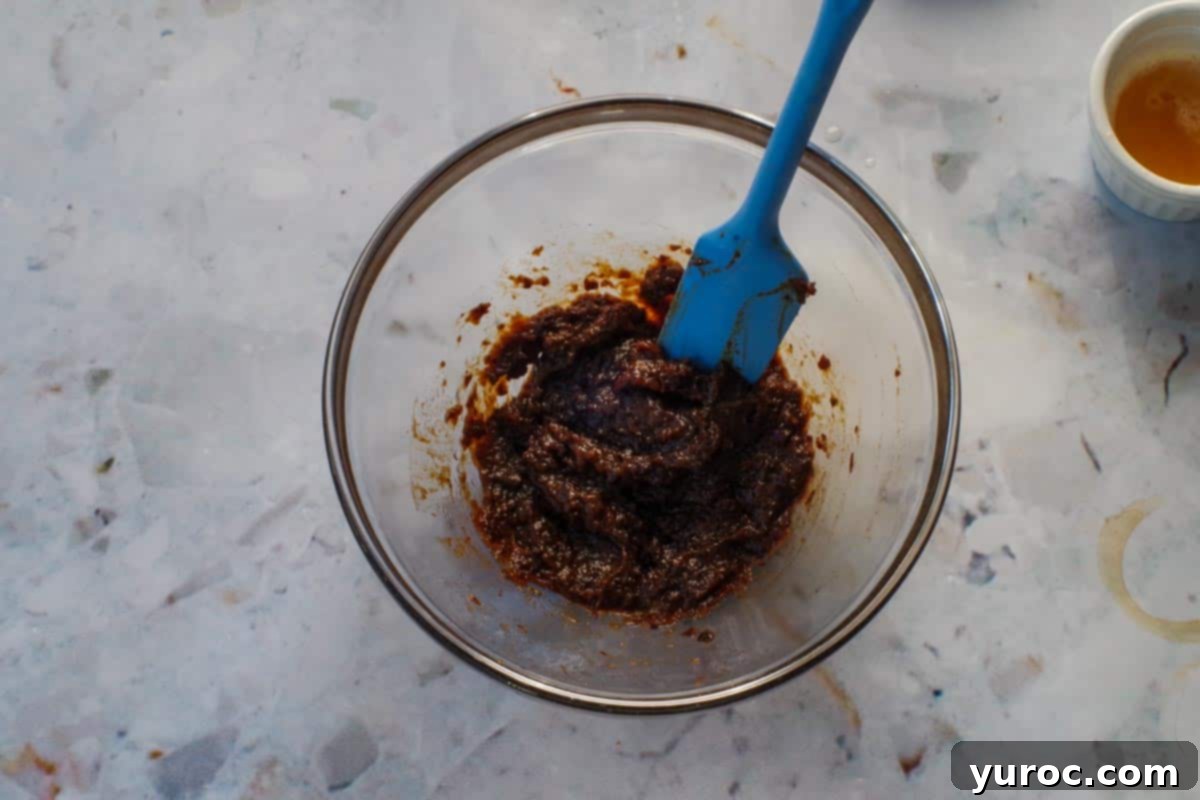
- Step 4: Purée the Prunes. In a food processor or using an immersion blender, purée the pitted prunes with the specified amount of water until you achieve a smooth, thick paste. This prune purée is essential for the bread’s incredible moisture.
*You can do this in a food processor or with an immersion blender for the best consistency.
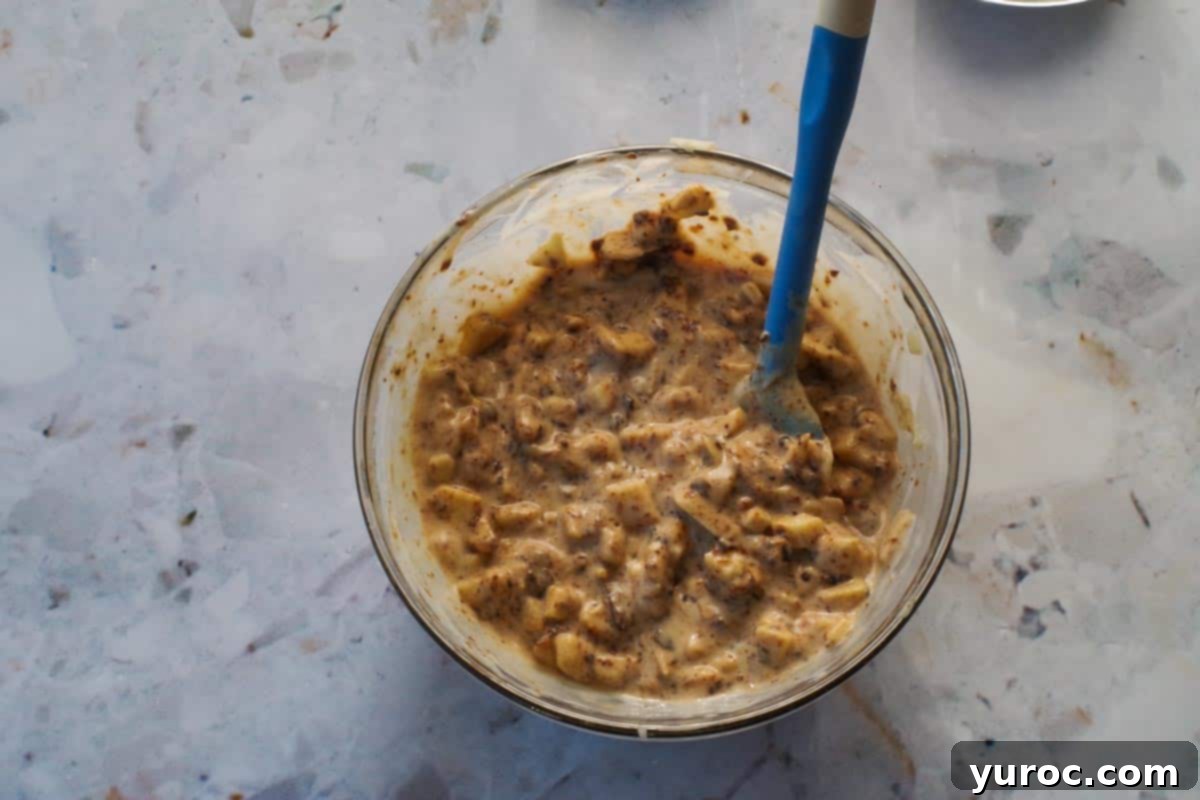
- Step 5: Complete Wet Ingredients. Add the prepared prune purée to the apple mixture. Follow by stirring in the light coconut milk until all wet ingredients are smoothly combined.
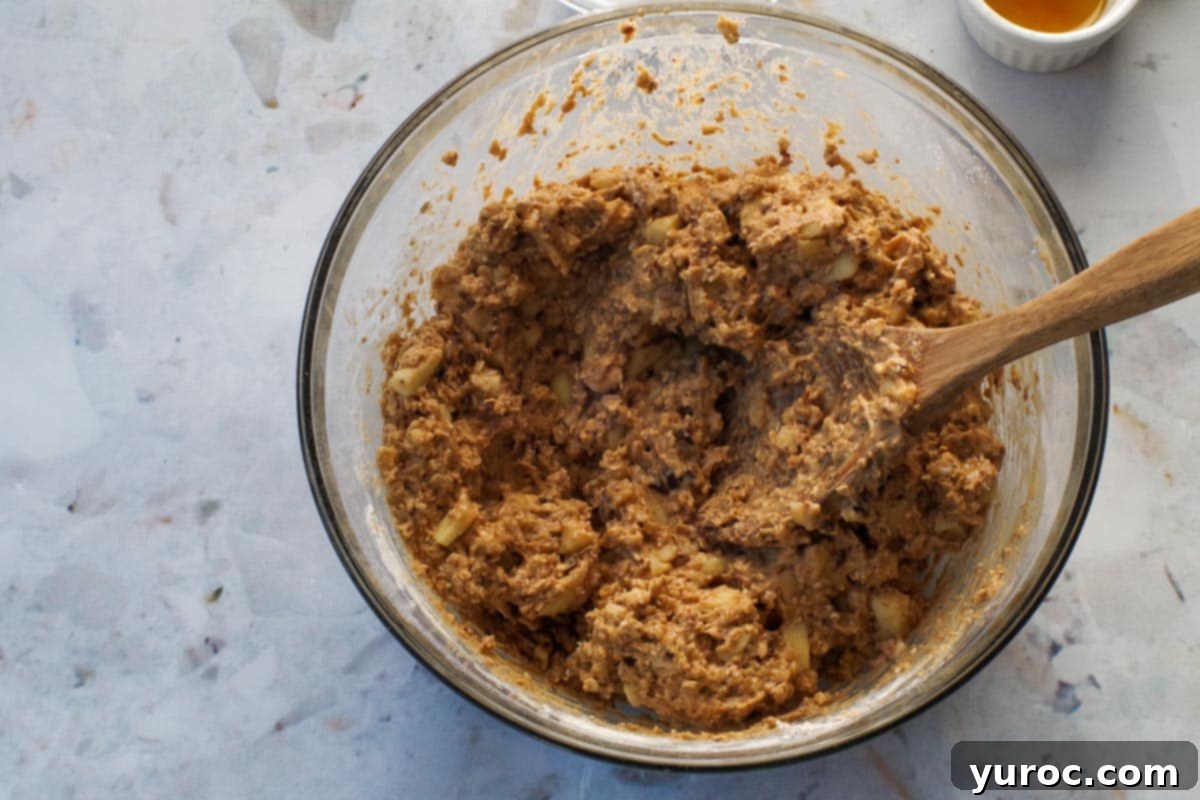
- Step 6: Combine Wet and Dry. Pour the wet ingredient mixture into the large bowl with the dry ingredients. Using a spatula, gently stir until just combined. Be careful not to overmix, as this can lead to a tough bread. Finally, fold in the ½ cup of chopped walnuts.
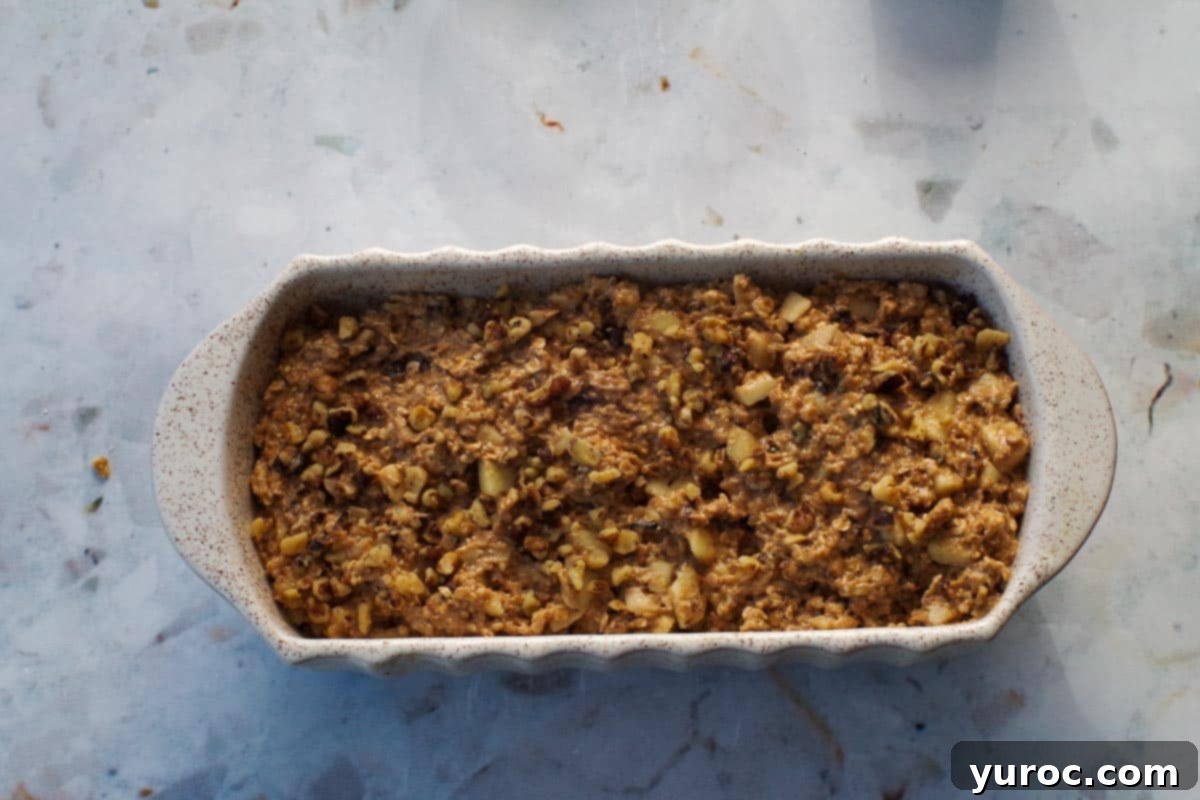
- Step 7: Fill Pan and Garnish. Pour the prepared batter evenly into your greased 9×5 inch loaf pan. For an extra touch of texture and visual appeal, sprinkle the top of the batter with the remaining 2 tablespoons of chopped walnuts.
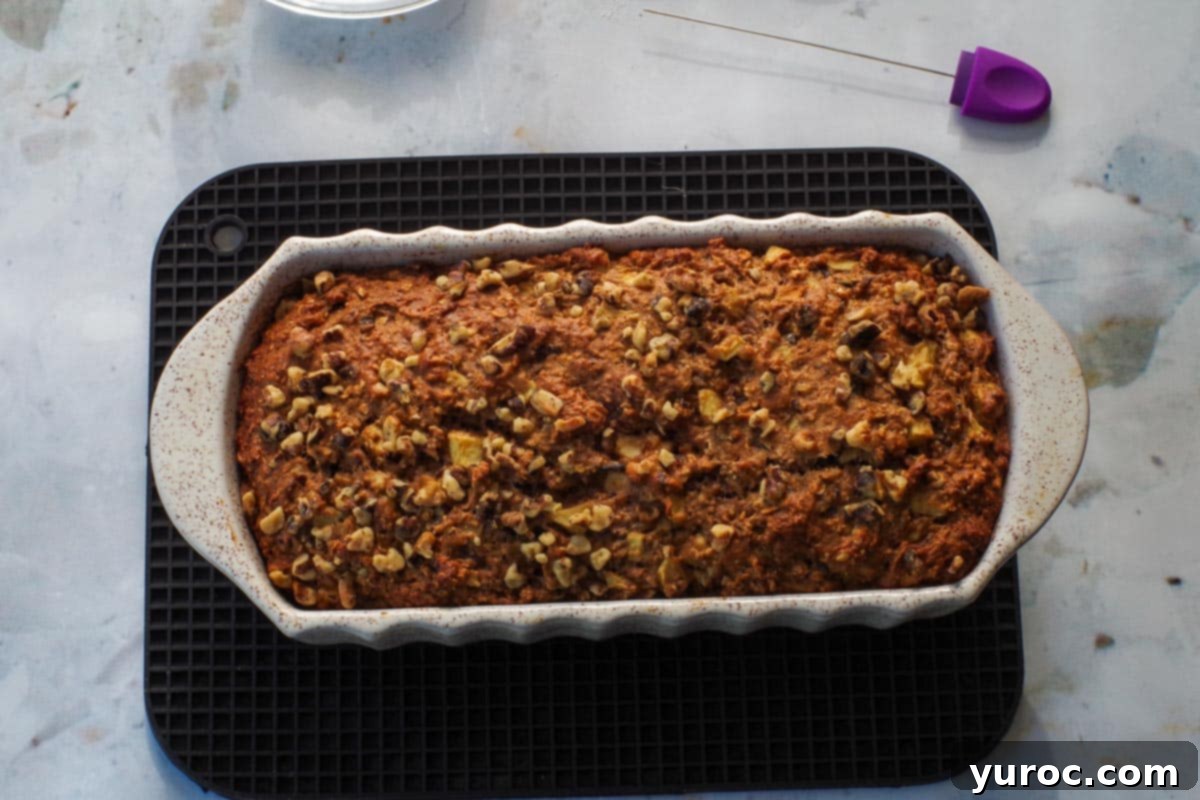
- Step 8: Bake to Perfection. Place the loaf pan in the center of your preheated oven. Bake for approximately 50-60 minutes, or until a cake tester or toothpick inserted into the center of the loaf comes out clean with no wet batter. If you notice the top browning too quickly, loosely tent the loaf with a piece of aluminum foil to prevent burning. Once baked, let the bread cool in the pan for 5 minutes before carefully transferring it to a wire rack to cool completely. This cooling process is crucial before glazing.
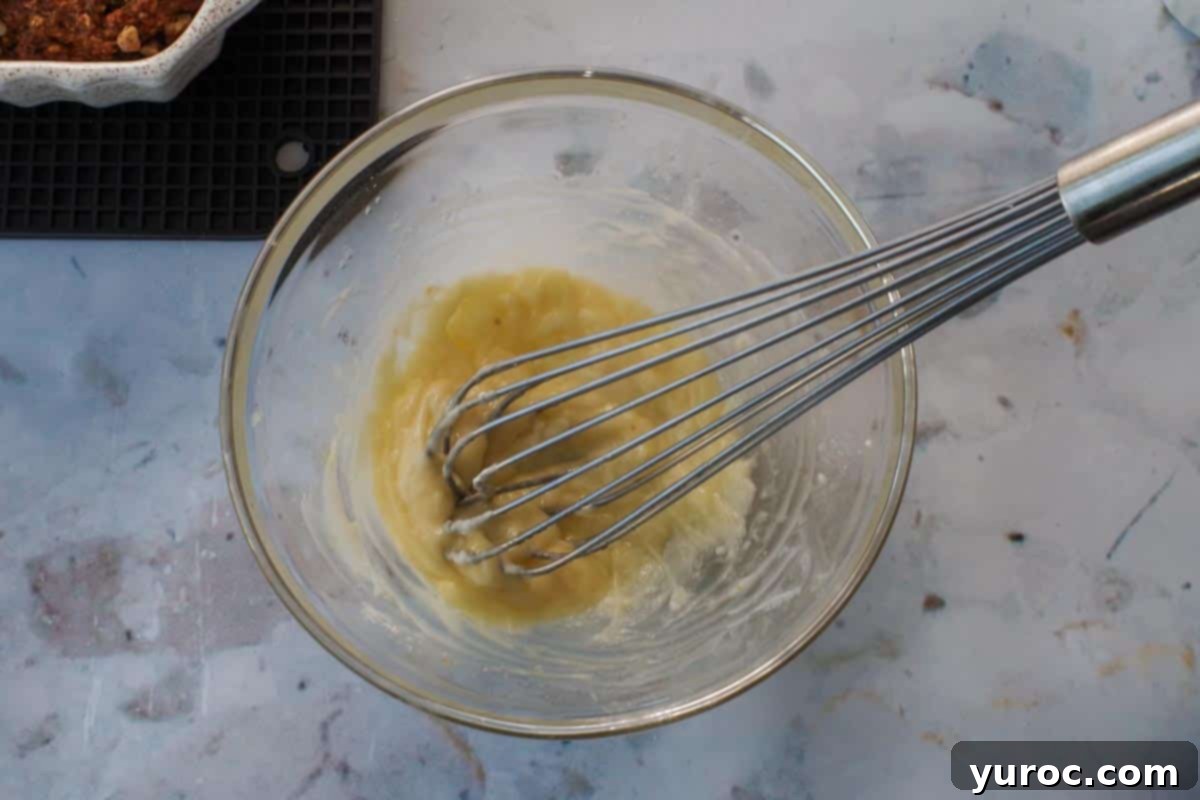
- Step 9: Prepare the Brown Butter Glaze. While the bread cools, prepare the star of the show: the brown butter glaze! First, brown the butter (if you’ve never done this, check out my video guide: How to Make Brown Butter). In a separate bowl, whisk together the whipping cream and softened cream cheese until smooth. Then, gradually add the powdered sugar, whisking until the mixture is completely smooth and lump-free. Finally, whisk in the slightly cooled brown butter until the glaze is silky and uniform.
*Don’t be shy about doubling this glaze recipe – it’s truly that good and worth every extra drop!
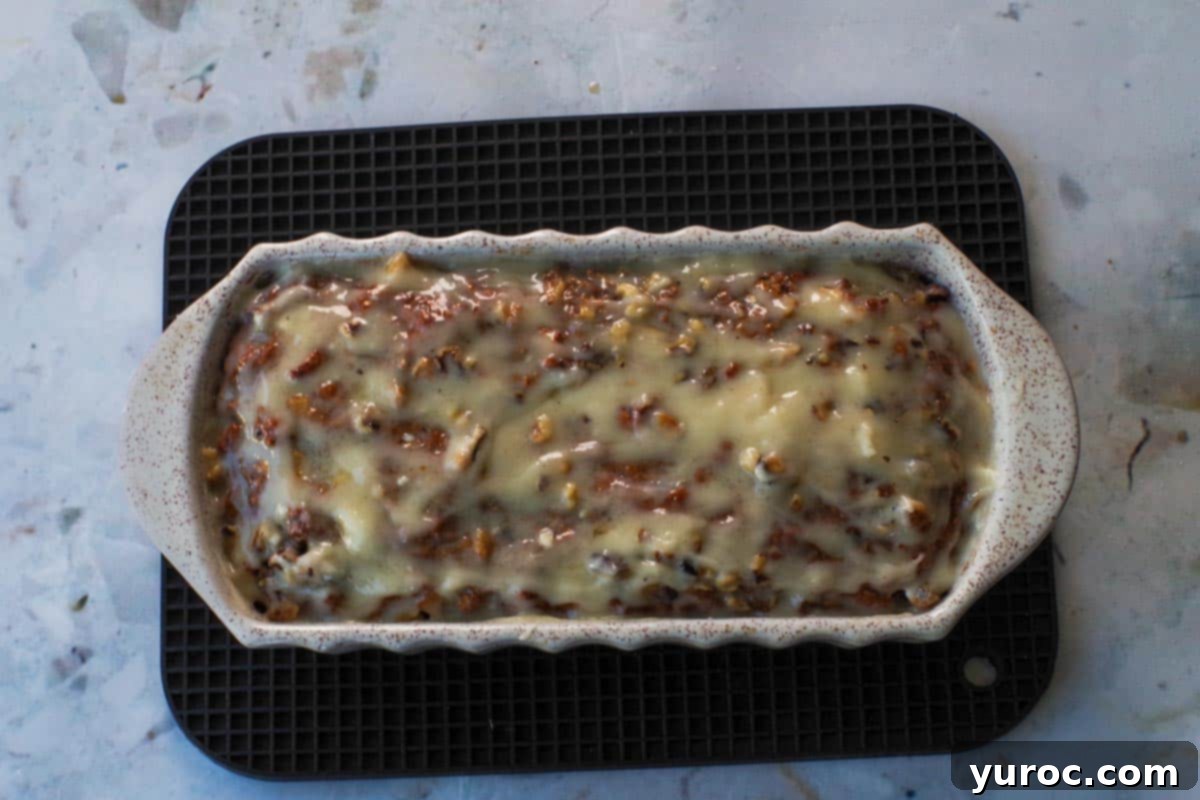
- Step 10: Glaze and Chill. Once the apple bread has cooled completely on the wire rack (this is essential to prevent the glaze from melting), generously pour the brown butter glaze over the top of the loaf. Allow the glaze to set by refrigerating the bread for about 15 minutes. This step helps the glaze firm up and creates that beautiful, slightly crackled finish.
🎥 Learn to Make Brown Butter: A Crucial Step!
If you’re new to the wonderful world of brown butter, don’t worry! It’s a simple technique that adds incredible depth and nutty flavor to this glaze (and many other dishes). Watch this helpful video to guide you through the process: How to Make Brown Butter.
🌟 Expert Recipe Tips for a Flawless Loaf
Achieving the perfect Apple Walnut Bread is easy with a few expert tips. These insights will help you bake a consistently moist, flavorful, and beautifully glazed loaf every time.
- Brown the Butter Carefully: This is arguably the most crucial step for the glaze. Brown butter can quickly go from a perfectly nutty, golden-brown state to a burnt, bitter mess. Keep a close eye on it, swirling the pan frequently. As soon as you smell a rich, nutty aroma and see golden-brown flecks at the bottom, remove it from the heat immediately and transfer it to a separate bowl to stop the cooking process.
- Don’t Overmix the Batter: When combining your wet and dry ingredients, stir just until the flour streaks disappear and everything is barely incorporated. Overmixing develops the gluten in the flour, which can lead to a dense, tough, and chewy loaf instead of the soft, tender crumb we’re aiming for.
- Slice the Loaf Only When Serving: To maintain maximum moisture and freshness, resist the urge to pre-slice the entire loaf. Cut individual slices as you need them. If you do slice portions ahead of time, make sure to cover any exposed cut surfaces tightly with plastic wrap to prevent them from drying out.
- Finely Chop the Apples: Smaller, evenly chopped pieces of apple are key for this recipe. They blend into the bread’s matrix better, ensuring uniform moisture distribution throughout the loaf and preventing undesirable large wet pockets. Plus, they soften more consistently.
- Toast the Walnuts First (Optional, but Recommended): While not strictly necessary, lightly toasting your walnuts before folding them into the batter significantly deepens their flavor. This brings out their natural oils and adds a wonderful, enhanced crunch that makes a noticeable difference in the final taste.
- Cover with Foil if Needed: During baking, if you notice the top of your loaf browning too quickly before the center is cooked through, loosely tent it with a piece of aluminum foil. This will shield the top from direct heat, allowing the inside to finish baking without the crust getting too dark or burnt.
- Cool Completely Before Glazing: Patience is a virtue when it comes to glazing. It is absolutely essential that the apple bread is completely cool to the touch before you pour on the brown butter glaze. If the bread is even slightly warm, the glaze will simply melt and slide right off, rather than setting beautifully.
- Check Doneness in the Center: The most reliable way to determine if your bread is fully baked is to insert a wooden skewer or toothpick into the very center of the loaf. If it comes out clean or with just a few moist crumbs attached, your bread is ready. If it comes out wet with batter, continue baking for a few more minutes and retest.
🍽 Essential Equipment for Apple Walnut Bread Baking
To successfully bake this Apple Walnut Bread, you’ll need a few standard kitchen tools. Having the right equipment makes the process much smoother and more enjoyable:
- 9×5 Loaf Pan: A sturdy 9×5 inch loaf pan (affiliate link) is essential. I particularly love loaf pans that come with lids; they are incredibly convenient for storing your cooled bread directly in the fridge or freezer without needing extra wraps.
- Cutting Board and Sharp Knife: For preparing your apples and other ingredients, a reliable cutting board and a sharp knife (affiliate link) are indispensable.
- Bread Knife: For perfectly clean and even slices once your bread is cooled, I highly recommend investing in a serrated bread knife (affiliate link). It makes slicing quick breads a breeze.
- Electric Hand Mixer: An electric hand mixer (affiliate link) is ideal for beating the egg until fluffy and achieving a smooth glaze.
- Apple Corer: An apple corer (affiliate link) can make quick work of preparing your apples.
- Cake Tester or Toothpick: A simple cake tester or toothpick is crucial for checking the doneness of your loaf.
- Food Processor or Immersion Blender: For puréeing the prunes, a food processor or an immersion blender will ensure a smooth consistency.
🌡️ Storage Solutions to Keep Your Bread Fresh
Proper storage is key to enjoying your Apple Walnut Bread for as long as possible. Whether you’re planning to enjoy it over a few days or save some for later, here’s how to keep it perfectly fresh:
- Fridge: This moist apple nut bread stays wonderfully fresh when stored correctly. Place the cooled loaf in an airtight container or a heavy-duty freezer-safe Ziploc bag. It will remain delicious for up to 3 days in the refrigerator. If it’s already sliced, ensure the exposed cut sides are covered with plastic wrap to prevent drying.
- Freezer: This recipe freezes exceptionally well, allowing you to enjoy homemade apple bread for months to come. You can freeze the entire loaf or individual slices. It will keep beautifully for up to 3 months in the freezer.
- Freezing in the Loaf Pan: If you prefer, you can freeze the loaf directly in its pan (which I often do for convenience!). Once completely cooled, cover the loaf tightly with Glad Press n’ Seal (affiliate link), then slide the entire pan into an extra-large freezer Ziploc bag. If your loaf pan comes with a lid (as mentioned in the equipment section), use that, but I still recommend an additional Ziploc bag for maximum freshness and to prevent freezer burn.
- Freezing Slices: For easy grab-and-go portions, slice the cooled bread and individually wrap each slice in plastic wrap, then place them in a freezer bag. This way, you can thaw only what you need.
👪 Serving Suggestions & Customization
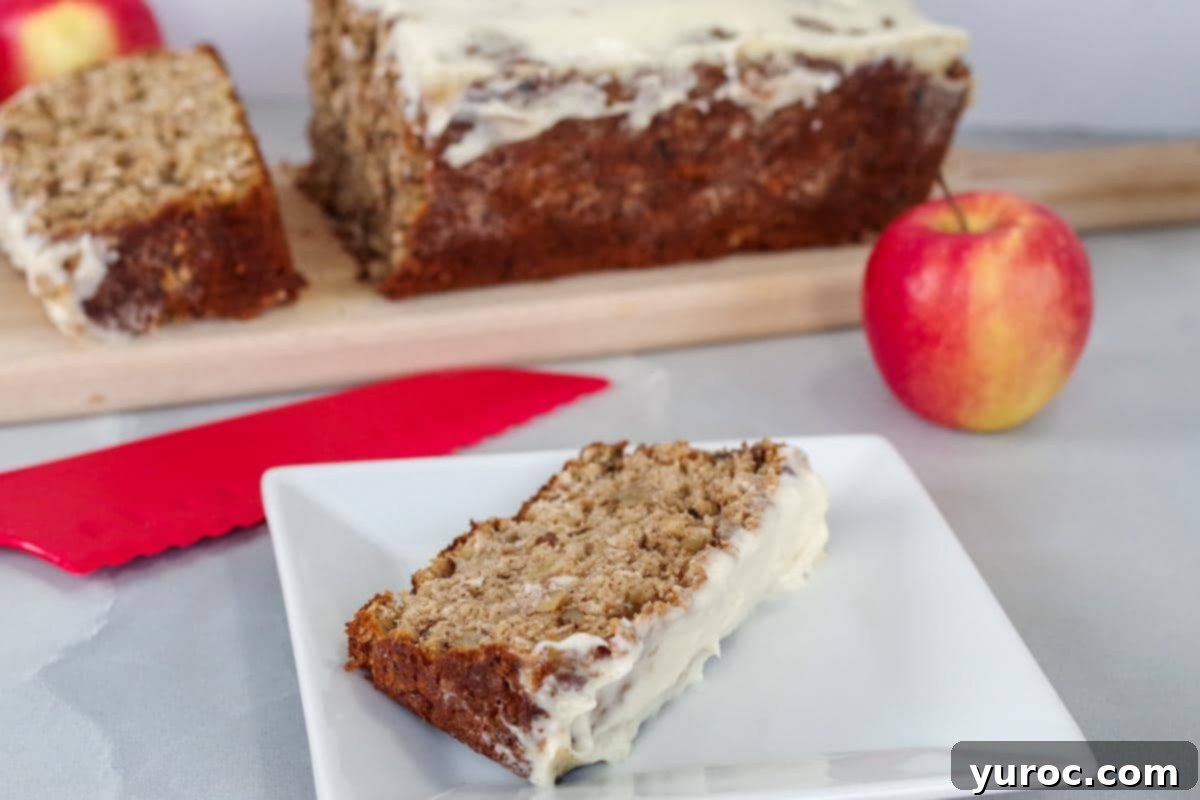
This Apple Walnut Bread recipe is designed to serve 8 generous slices, making it perfect for family breakfasts, gatherings, or simply enjoying throughout the week. If you prefer thinner portions, you can easily get 10 pieces from one loaf. The versatility of this recipe also allows for easy adjustments to suit larger crowds or meal prep needs.
You can effortlessly double or triple this recipe by using the serving size adjuster on the recipe card below. Simply click on the serving size, and select the number of servings you desire. Remember, if you’re making multiple loaves, you’ll need additional loaf pans. The good news is that any extra loaves freeze beautifully, as detailed in our storage section above, so you can always have a delicious homemade treat on hand!
Serve this apple bread warm or at room temperature. It’s fantastic on its own, but a dollop of whipped cream, a scoop of vanilla ice cream, or an extra drizzle of the brown butter glaze can take it to the next level, especially if serving as a dessert. For breakfast, enjoy it with a cup of coffee or tea.
❔ Frequently Asked Questions About Apple Walnut Bread
Absolutely! While the brown butter glaze adds an incredible layer of indulgence and flavor, the apple walnut bread itself is wonderfully moist, flavorful, and delicious enough to enjoy on its own. If you prefer a lighter loaf or are short on time, simply skip the glaze step.
If your glaze is too runny, gradually whisk in a little more powdered sugar, a tablespoon at a time, until it reaches your desired thicker consistency. If it’s too thick, add a very small splash (about ½ to 1 teaspoon) of whipping cream or milk and whisk until it thins out to the right, pourable consistency.
Yes, you can use frozen apples, but it requires a bit of preparation. Make sure they are completely defrosted before you use them. Crucially, pat them very dry with paper towels to remove any excess moisture. Too much liquid from frozen apples can make your batter too wet and result in a dense or gummy bread.
Mini loaves are a fantastic idea, especially for gifting or portion control! This recipe adapts well to mini loaf pans. Just be sure to reduce the baking time significantly. Mini loaves typically bake for about 25-35 minutes. Always check for doneness by inserting a toothpick into the center of a mini loaf – it should come out clean.
For this recipe, quick rolled oats (or simply “quick oats”) are recommended because their finer texture blends seamlessly into the batter, ensuring a soft and uniform crumb. Avoid instant oats, as they can turn mushy. Steel-cut oats are not suitable for this recipe as they require a much longer cooking time and will remain too chewy in the bread.
You can make minor adjustments to further enhance its healthy profile. Consider increasing the amount of whole wheat flour (up to 50% of the total flour) for more fiber. You can also reduce the brown sugar by a tablespoon or two, or use a sugar substitute like monk fruit as mentioned in the variations. Using unsweetened shredded coconut is also a good choice, and you can reduce the amount of glaze or omit it entirely for fewer calories.
Didn’t find the answer you’re looking for?
Ask AI to answer based on this specific recipe
If you’ve been searching for a quick bread recipe that truly embodies the flavors of autumn, this Apple Walnut Bread with its irresistible Brown Butter Glaze is your perfect match. It’s a moist, rich, and utterly delicious creation that will quickly become a fall baking favorite in your home.
🍞 Explore More Delicious Quick Breads
If you loved this Apple Walnut Bread, you’ll be delighted by these other quick bread recipes from my collection, perfect for any time of year!
- Classic Date Nut Loaf
- Old Fashioned Lemon Bread
- Healthy Carrot Bread
- Brown Sugar Cinnamon Swirl Bread (with Lemon Glaze)
Did your family ❤️ this recipe? Did you know that commenting and ⭐ rating recipes is one of the best ways to support your favorite recipe creators? If you LOVED this recipe, please take a moment to comment and rate it in the recipe card below, or share your beautiful photos on social media using the hashtag #foodmeanderings and tagging @foodmeanderings! Your support truly helps!

📋 Apple Walnut Bread (with Brown Butter Glaze) Recipe
Equipment
- apple corer
- bread knife
- cutting board
- sharp knife
- loaf pan
- electric mixer
Ingredients
For the Apple Walnut Loaf:
- 1 cup quick rolled oats
- 1 ¼ cup all-purpose flour
- 1 teaspoon baking soda
- 1 teaspoon baking powder
- ½ cup packed brown sugar
- 2 fresh apples, Gala or Ambrosia peeled, cored and finely chopped
- ½ cup low-fat vanilla Greek yogurt
- ½ cup pitted prunes
- 2 tablespoons water
- 2 tablespoons vegetable oil
- 1 large egg
- 1 teaspoon vanilla extract
- 1 teaspoon ground cinnamon
- ½ cup light coconut milk
- ¼ cup fine shredded unsweetened coconut
- ½ cup chopped walnuts, plus 2 tbsp for topping
For the Brown Butter Glaze:
- 3 tablespoons unsalted butter, browned
- 1.5 tablespoons whipping cream (heavy cream, 33-36% fat)
- 1.5 tablespoons light cream cheese, softened to room temperature
- ½ cup powdered sugar
Instructions
For the Apple Walnut Loaf:
- Preheat your oven to 350 degrees F (175 degrees C). Prepare a 9×5 inch loaf pan by thoroughly spraying it with non-stick cooking spray to prevent sticking.
- In a large mixing bowl, combine the all-purpose flour, quick rolled oats, baking soda, ground cinnamon, brown sugar, baking powder, and shredded coconut. Whisk these dry ingredients together thoroughly and set aside.
- In a separate medium bowl, use an electric mixer to beat the egg until it’s light and fluffy. Gradually beat in the vegetable oil until well combined. Then, mix in the vanilla Greek yogurt and vanilla extract. Finally, stir in the finely chopped apple chunks.
- Purée the pitted prunes with the water using a food processor or immersion blender until a smooth paste forms.
- Add the prune purée to the apple mixture, then stir in the light coconut milk until all the wet ingredients are thoroughly combined.
- Pour the wet ingredients into the large bowl containing the dry ingredients. Stir gently with a spatula until just combined, being careful not to overmix. Fold in the ½ cup of chopped walnuts.
- Pour the batter evenly into your prepared loaf pan. Sprinkle the top with the remaining 2 tablespoons of chopped walnuts for extra crunch and visual appeal.
- Bake in the center of the preheated oven for 50-60 minutes, or until a cake tester or toothpick inserted into the center comes out clean. If the top begins to brown too quickly, loosely tent the loaf with aluminum foil. Let the bread cool in the pan for 5 minutes, then carefully transfer it to a wire rack to cool completely before glazing.
For the Brown Butter Glaze:
- While the bread is cooling, prepare your brown butter. Melt the butter in a light-colored saucepan over medium heat, stirring occasionally. It will foam, then turn clear, then golden with nutty aroma and brown flecks at the bottom. Immediately remove from heat and pour into a heatproof bowl to stop cooking. (See VIDEO in NOTES if you’re new to this technique).
- In a large bowl, whisk together the whipping cream and softened cream cheese until smooth and creamy. Gradually add the powdered sugar, whisking until the mixture is completely smooth and lump-free.
- Whisk the slightly cooled brown butter into the cream cheese mixture until the glaze is smooth, uniform, and beautifully iridescent.
- Once the loaf is completely cool, pour the brown butter glaze generously over the top, allowing it to drip down the sides.
- Refrigerate the glazed loaf for about 15 minutes to allow the glaze to set beautifully before slicing and serving.
Notes
-
- Brown the butter carefully: Watch it closely, as it can burn quickly. As soon as it smells nutty and turns golden brown, remove from heat.
-
- Don’t overmix the batter: Stir just until the dry ingredients are incorporated to ensure a tender loaf.
-
- Slice only when serving: To keep the loaf moist, avoid pre-slicing. Instead, cut slices as you serve them. If pre-sliced, cover exposed pieces with plastic wrap.
-
- Finely chop the apples: Smaller pieces blend better, keeping the bread moist and preventing wet pockets.
-
- Toast the walnuts first: Lightly toasting them enhances their flavor and adds extra crunch.
-
- Cover with foil if needed: If the top browns too quickly, tent loosely with foil to prevent burning.
-
- Cool completely before glazing: Ensure the loaf is fully cool, or the glaze will melt and slide off.
-
- Check doneness in the center: Insert a toothpick in the middle – it should come out clean or with just a few crumbs.
-
- Fridge: This apple nut bread can be stored in a sealed container or freezer Ziplock bag for up to 3 days in the fridge.
- Freezer: This recipe freezes well for up to 3 months. You can leave it in the loaf pan to freeze, if you prefer (I do this sometimes). Simply cover the loaf with Glad Press n’ Seal (affiliate link) and slide the entire loaf into an extra large Ziplock freezer bag. Or you can use a loaf pan that comes with a lid (see equipment above). I would still put that into a Ziplock bag, just to ensure it stays as fresh as possible.
Nutrition
