How to Dehydrate Herbs in Your Air Fryer: A Simple Guide to Preserving Fresh Flavors
There’s nothing quite like the vibrant flavor and aroma of fresh herbs to elevate any dish. As an avid gardener, I revel in growing a bountiful selection of herbs throughout the summer months. However, the abundance often leads to a common dilemma: how to use them all before they wilt and go to waste. This very challenge led me to invest in an air fryer with a dedicated dehydration function – and the results have been nothing short of amazing! If you’re a fellow herb enthusiast with an air fryer featuring a dehydrator, and you’re curious about how to dehydrate herbs in the air fryer, then you’ve come to the right place. Follow my detailed, step-by-step instructions below to transform your fresh harvest into a pantry full of flavorful dried herbs.
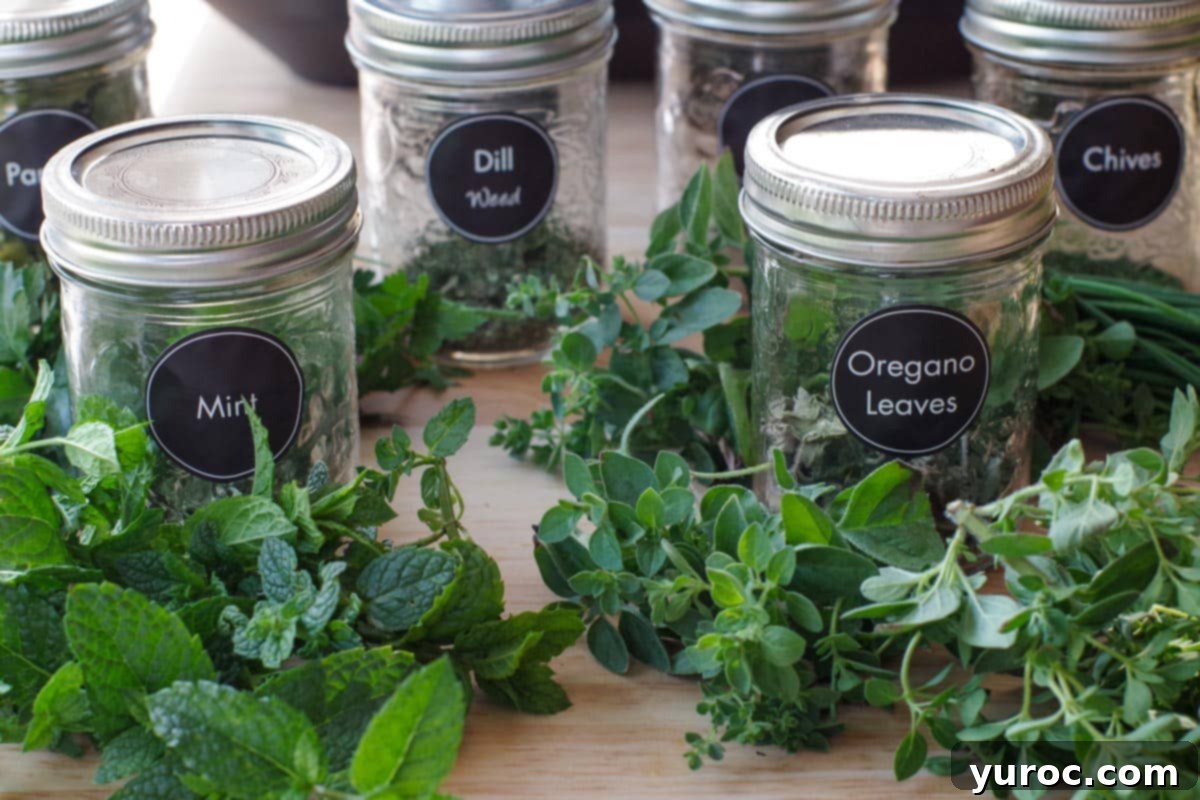
My air fryer has quickly become an indispensable kitchen appliance, and the dehydration feature has only amplified its utility. This method truly offers the best way to preserve your summer garden’s bounty, ensuring you can enjoy its fresh taste long after the growing season ends. Discover why air fryer dehydration stands out as the superior technique for drying herbs, providing potent flavor and extended shelf life.
Reader Review
“I have a Ninja Air fryer and this technique on drying herbs nailed it. Yesterday I successfully air dried basil and lime basil, using the Match cooking! After previous dismal attempts at dehydrating my precious herbs, I was thrilled. Follow steps given and you will be as thrilled as I am. Note covering the herbs with the rack is critical!” ⭐⭐⭐⭐⭐
Drying your garden herbs by dehydrating them in an air fryer is an ideal preservation method for several compelling reasons. Firstly, unlike traditional oven drying, it won’t heat up your kitchen, which is a significant advantage during hot summer months, especially if you lack air conditioning. This makes the process much more comfortable and energy-efficient. Secondly, it offers incredible convenience, as it doesn’t tie up your main oven, leaving it free for other culinary tasks. The air fryer’s compact size and efficient operation mean it uses less space and consumes considerably less energy than a conventional oven.
Moreover, air fryer dehydration is significantly faster than traditional air drying methods, which can often take a week or more. The rapid removal of moisture is key to preserving the herbs’ delicate flavor, vibrant aroma, and potent nutritional value. By quickly extracting all water content, this method locks in the freshness and essence of your herbs, ensuring they maintain their quality for an extended period. This means you can continue to savor the taste of your homegrown herbs throughout the colder winter months, long after your garden has gone dormant.
Why Dehydrate Herbs?
Dehydrating herbs offers a distinctly superior method of preservation compared to simple air drying or oven drying. This technique involves gently “cooking” the herbs at a low temperature, specifically designed to extract all moisture content without actually baking or roasting them. The controlled, low-heat environment of an air fryer’s dehydrator setting yields exceptional results, producing perfectly dried herbs.
The primary benefit of this controlled moisture removal is the remarkable preservation of their vital nutrients, intense flavor, and aromatic compounds. Unlike other drying methods where some of these qualities can diminish, dehydration locks them in, ensuring your herbs remain potent and flavorful for longer. Furthermore, using an air fryer for dehydration is incredibly easy, highly convenient, and impressively energy-efficient. You’ll find that air fryer dehydrated fresh herbs are vastly superior to store-bought dried herbs, which often lose much of their character and intensity during commercial processing. Your homemade dried herbs will offer a much richer, more authentic flavor profile, making your cooking truly shine.
Dehydrating Herbs vs. Drying Herbs
Understanding the difference between dehydrating and other drying methods is crucial for achieving the best results with your precious herbs. When you air dry herbs, the process is considerably longer, typically requiring at least a week, and sometimes even longer depending on humidity levels and the specific herb. This prolonged exposure to ambient air can lead to a significant loss of nutrients, delicate flavors, and essential aromas. Moreover, air drying carries a higher risk of mold development, especially for herbs with high moisture content like basil, chives, and mint, particularly in humid environments. Mold can not only ruin your harvest but also pose health risks.
Oven-drying herbs, while faster than air drying, also has its drawbacks. Conventional ovens operate at much higher temperatures than a dehydrator setting, which means the herbs tend to get “cooked” rather than gently dried. This cooking process can significantly reduce their potency and flavor, making the final product less vibrant. As a result, you might need to use a much larger quantity of oven-dried herbs in your recipes to achieve the same flavor impact, which defeats the purpose of preservation. Dehydrating in an air fryer, however, focuses on efficient moisture extraction at optimal low temperatures, ensuring that the herbs retain their structural integrity, vibrant color, and all those essential volatile oils that give them their distinctive taste and smell.
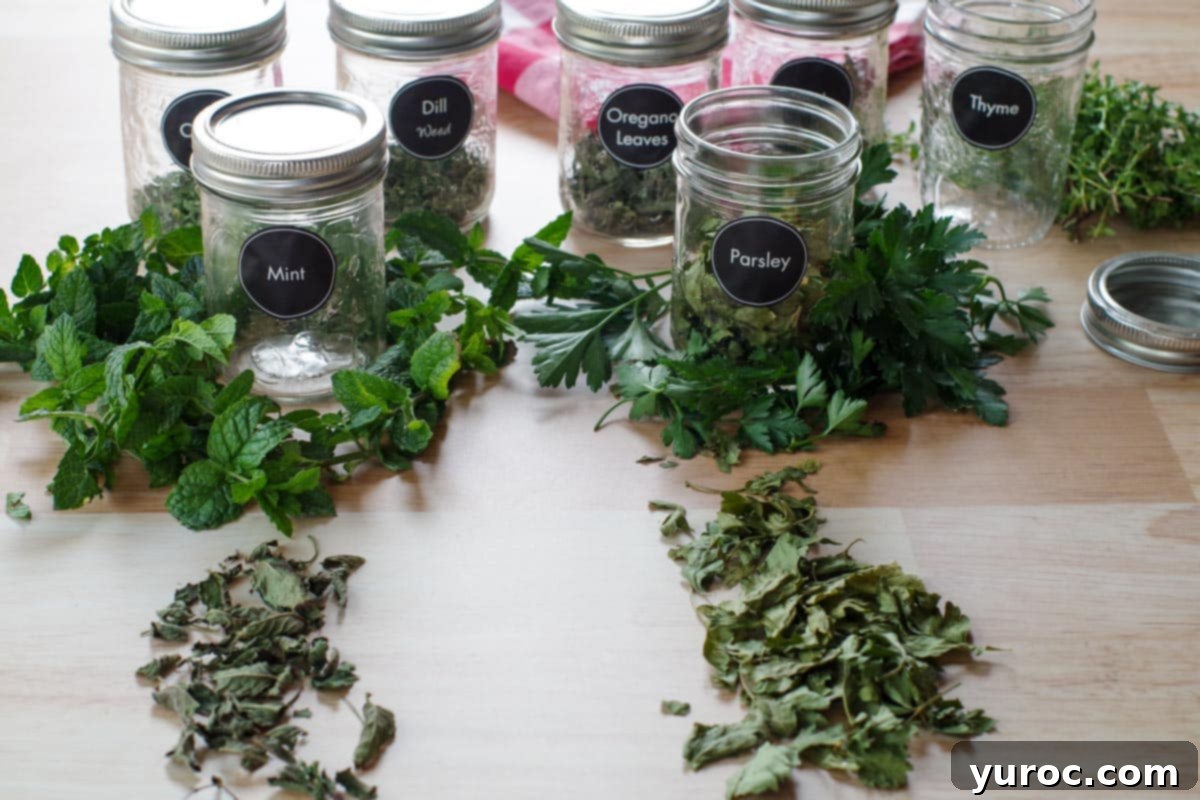
Uses for Dehydrated Herbs
Once your herbs are perfectly dehydrated, their culinary possibilities are endless! You can confidently use your air fryer-dried herbs in any recipe that calls for store-bought dried herbs. What’s even better is that their superior flavor and potency often make them interchangeable with fresh herbs in many dishes. A general rule of thumb when substituting dried for fresh is to use half the amount. For example, if a recipe calls for one tablespoon of fresh basil, use half a tablespoon of your homemade dried basil for an equally impactful flavor.
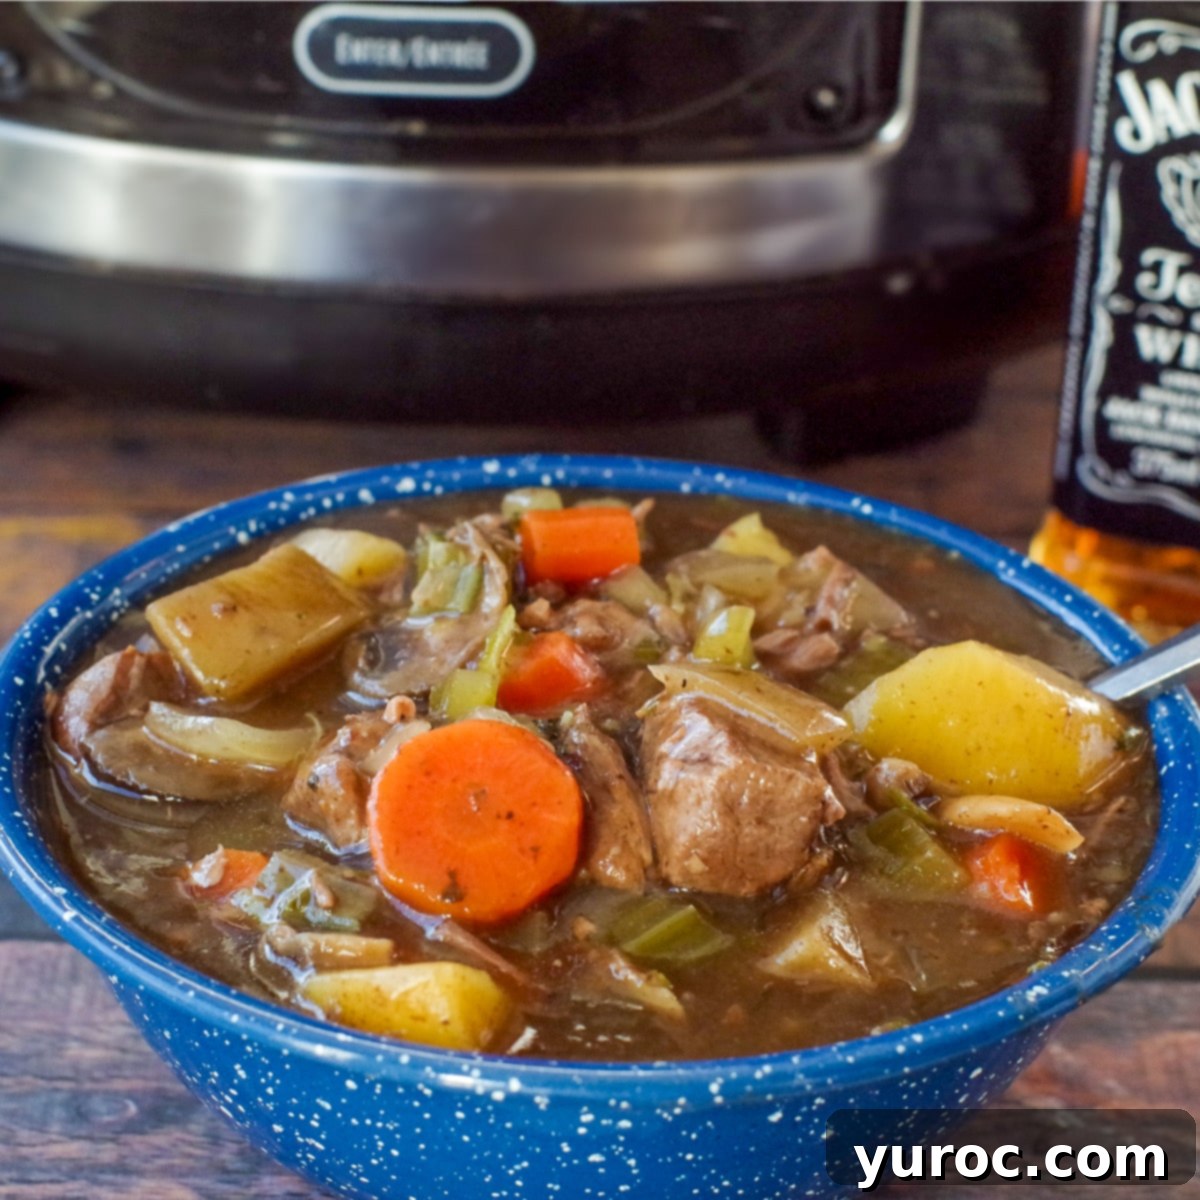
These flavorful additions are fantastic in a wide array of dishes. They’re excellent in soups, enriching broths and stews with depth and warmth. Add them to sauces, like marinara or creamy pasta sauces, for an authentic taste. They also shine in hearty stews (such as the Slow Cooker beef stew pictured below), casseroles, salad dressings, and even homemade bread or focaccia. Beyond cooking, you can incorporate them into homemade spice blends, flavored oils or vinegars, or even potpourri for a delightful aroma. Dehydrated herbs are a fantastic way to impart robust flavor to countless dishes and are an invaluable tool for extending your summer harvest, allowing you to enjoy your garden’s bounty year-round.
Ingredient Notes
The beauty of dehydrating herbs in an air fryer is its versatility. You can use virtually any type of herb you cultivate in your garden or purchase from a local farmer’s market. The process remains consistent regardless of the herb variety.
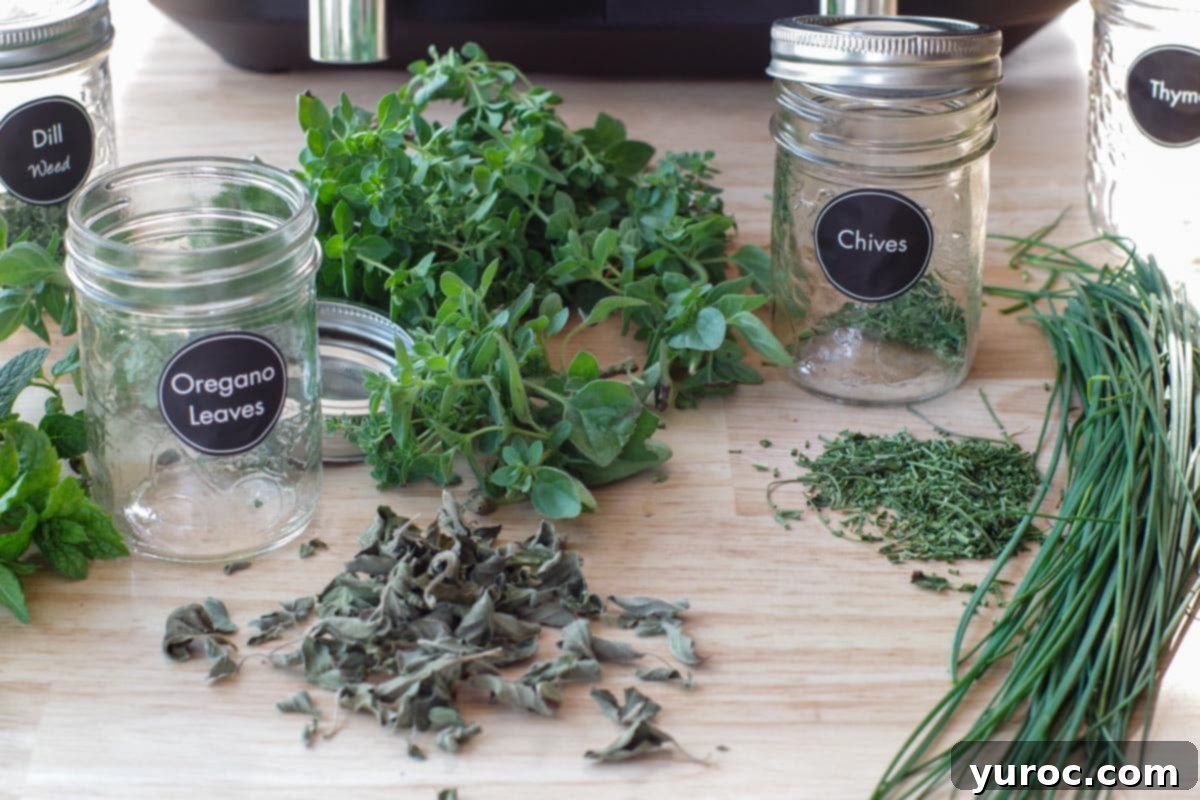
Whether you’re looking to dehydrate fresh basil leaves for Italian dishes or aromatic rosemary for roasted meats, the air fryer dehydration technique ensures consistent, excellent results. The method’s effectiveness is uniform across a wide spectrum of herbs.
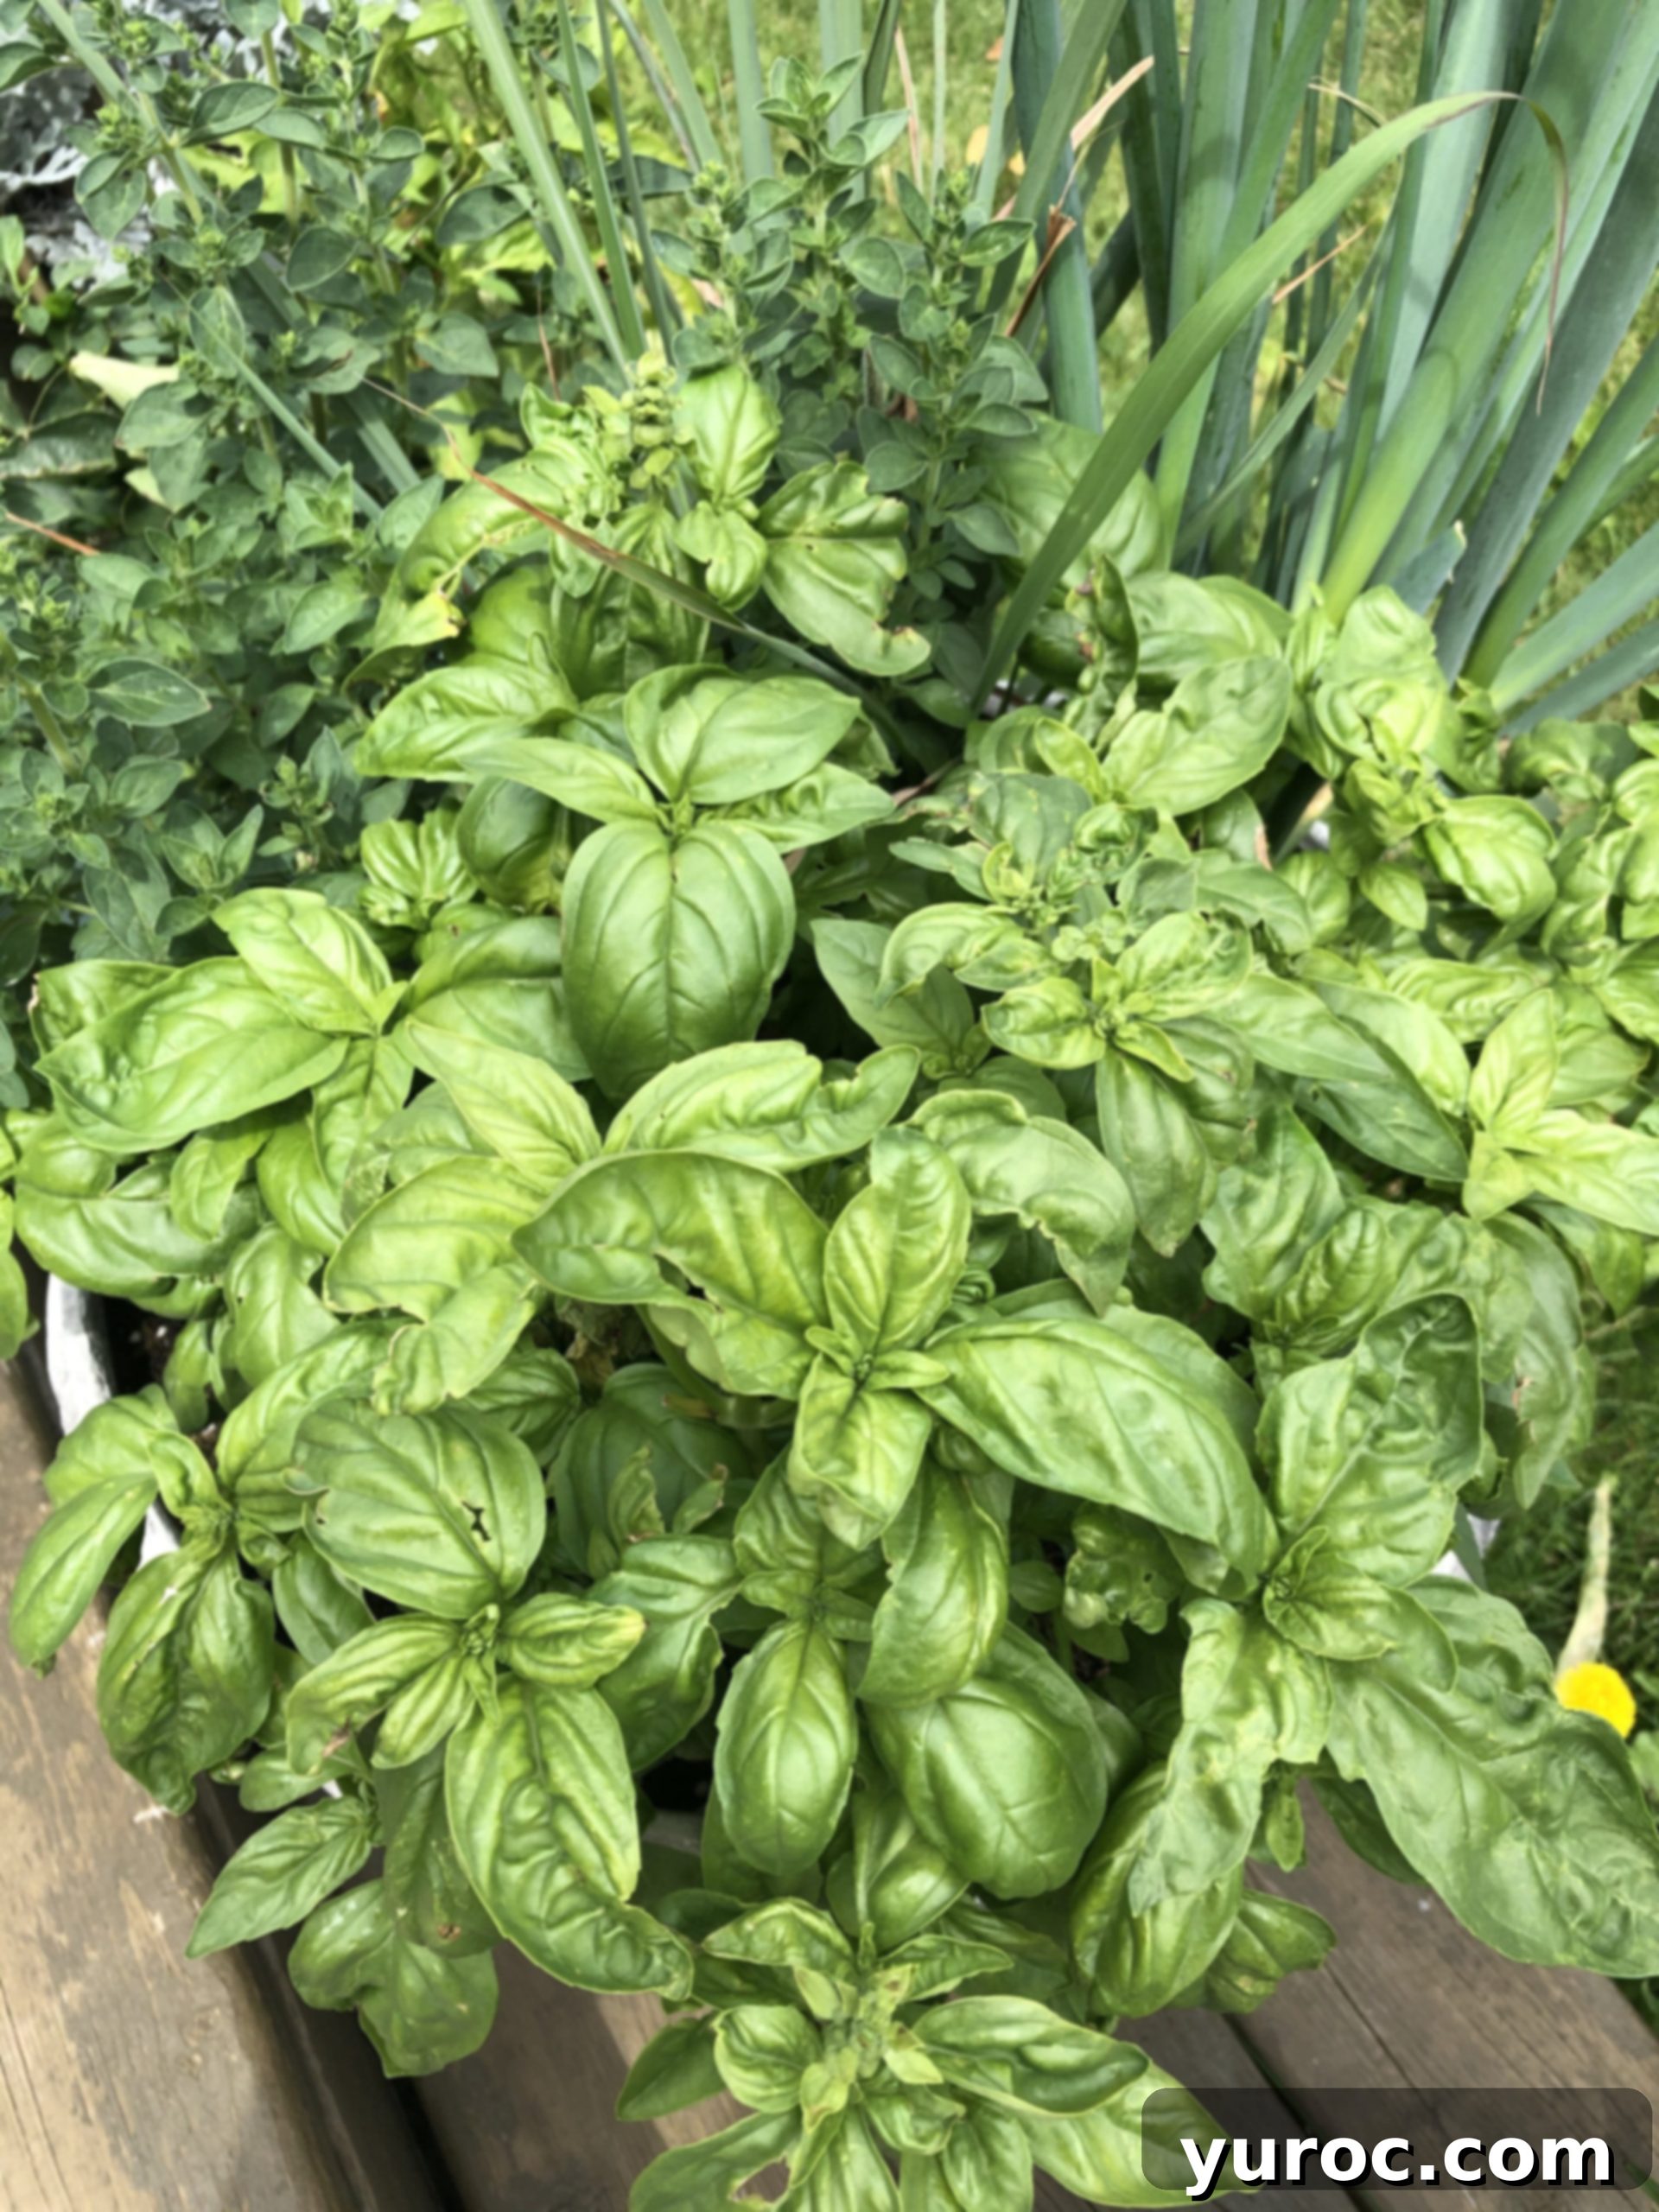
Feel free to experiment with any herbs you wish to preserve. Here’s a list of common herbs that dehydrate wonderfully in an air fryer:
- Oregano: A pungent, aromatic herb essential for Mediterranean and Mexican cuisine.
- Tarragon: Known for its distinct anise-like flavor, perfect for French dishes and sauces.
- Thyme: Earthy and slightly minty, pairs well with poultry, vegetables, and stews.
- Chives: Mild oniony flavor, great for garnishes and creamy dishes.
- Mint: Refreshing and versatile, ideal for teas, desserts, and savory dishes.
- Cilantro: Bright, citrusy flavor, a staple in many Asian, Latin American, and Indian cuisines.
- Dill: Feathery leaves with a unique tangy taste, excellent with fish, potatoes, and pickles.
- Rosemary: Piny, woody aroma, strong flavor for roasted meats, bread, and potatoes.
- Basil leaves: Sweet and peppery, foundational for Italian and Southeast Asian cooking.
- Parsley: Fresh, clean flavor, a ubiquitous garnish and ingredient in almost any cuisine.
- Sage: Earthy, slightly peppery, traditionally used with poultry, pork, and stuffing.
- Bay leaves: Adds a subtle, savory depth to soups, stews, and braises.
- Lemongrass: Citrusy and pungent, a key flavor in Thai and Vietnamese dishes.
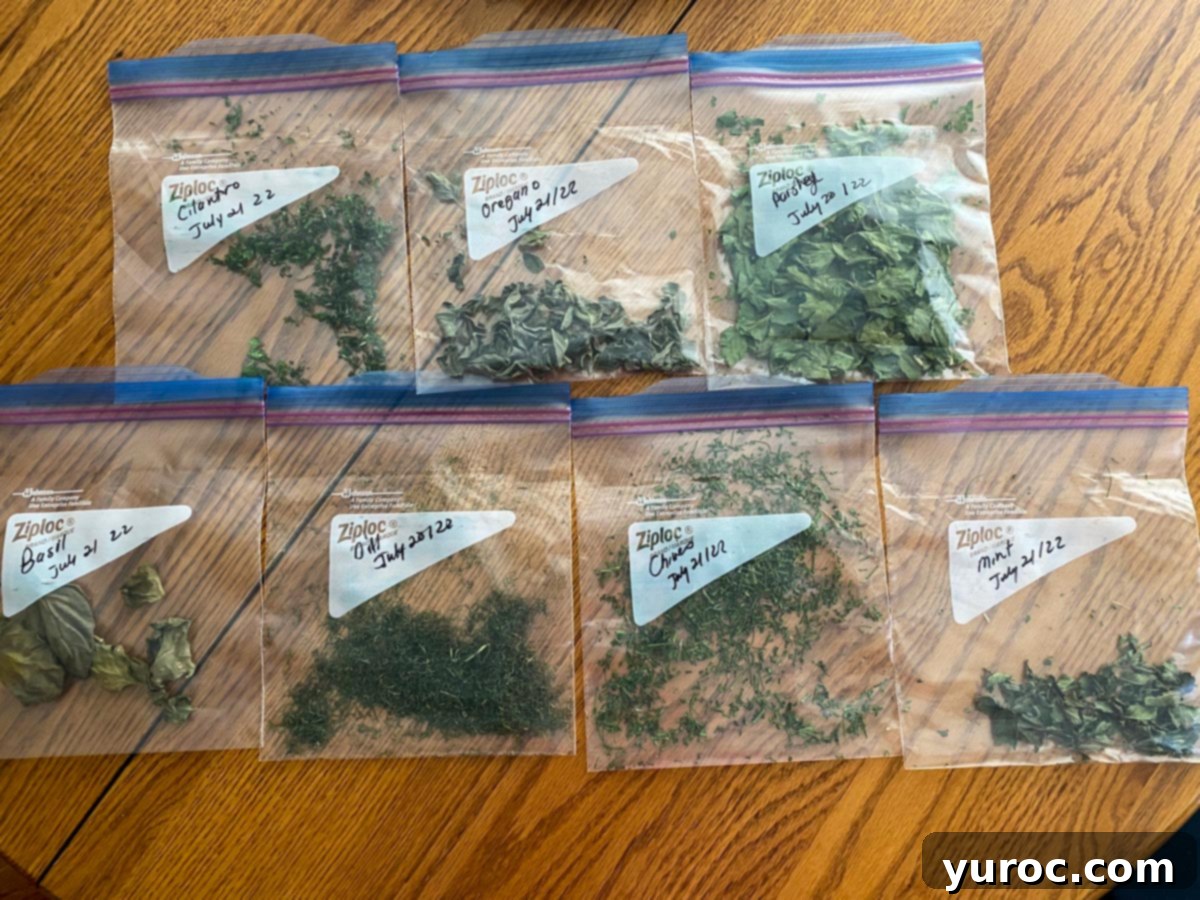
Step-by-Step: How to Dehydrate Herbs
Dehydrating fresh herbs in your air fryer is a remarkably straightforward process, ensuring you get perfectly preserved, flavorful herbs every time. Follow these detailed steps for the best results:
Begin by carefully selecting your herbs. Always aim to pick the freshest, most vibrant leaves from the top of the plant. This not only ensures the best quality for drying but also encourages further healthy growth of the herb plant. For herbs like basil, mint, and oregano (as demonstrated with oregano in the example below), simply pinch off the individual leaves. For herbs with more defined stalks, such as dill and thyme, it’s best to trim whole stalks. To learn more about the optimal times and methods for harvesting your specific herbs, you can explore resources HERE.
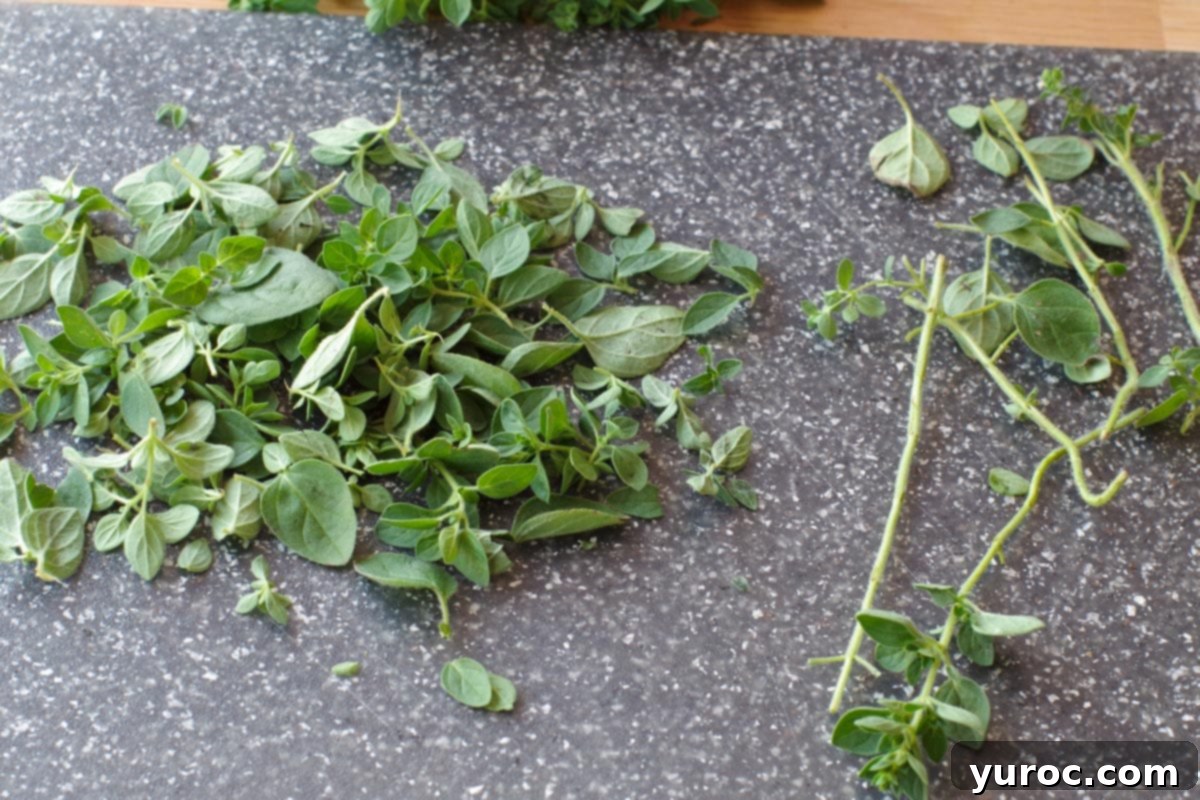
Once harvested, meticulously remove individual leaves from their stems. This can be done by hand, a therapeutic process that allows you to inspect each leaf, or with the help of an herb stripper, a handy tool particularly useful for herbs with woody stems (refer to the “Expert Tips” section for more details).
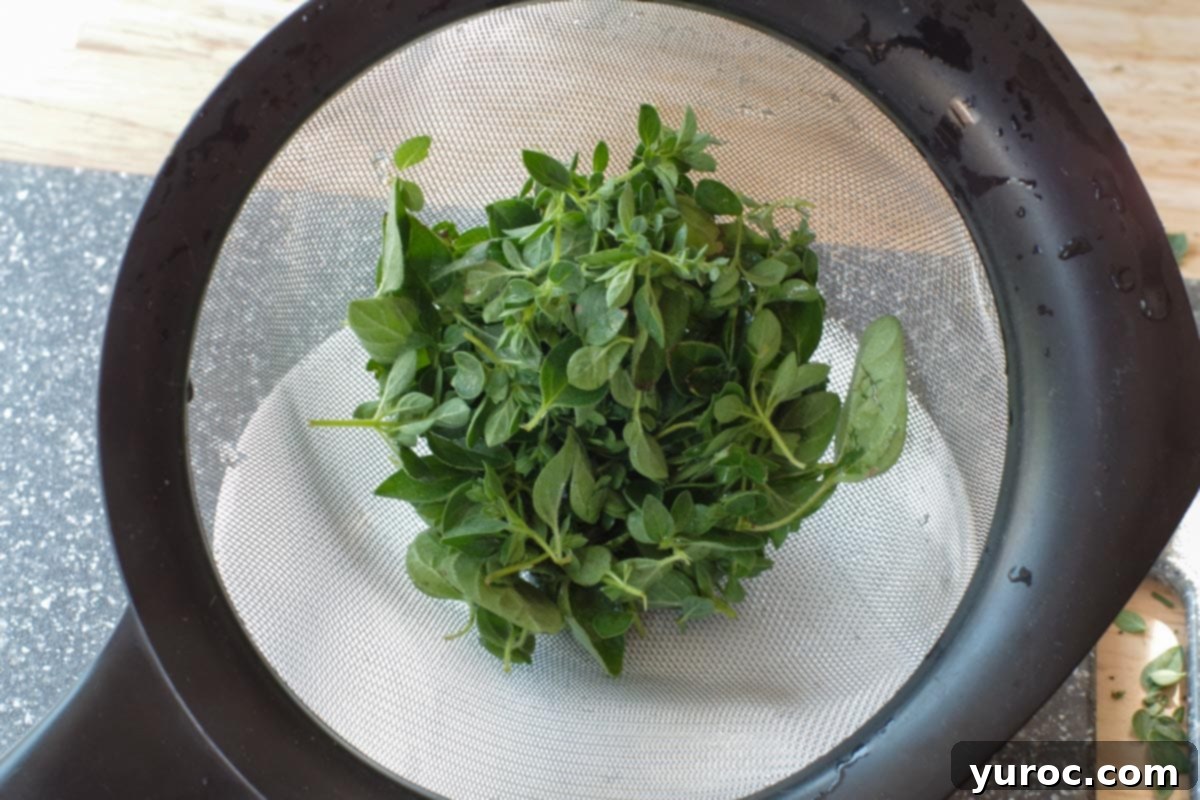
Thoroughly clean and rinse your herbs under cool, running water. This step is crucial before air fryer dehydration. Even if your herbs are homegrown and pesticide-free, washing removes any lingering dirt, dust, tiny debris, or potential small pests that may be hiding on the plant. It also gives you a final opportunity to inspect the leaves and pick out any bruised, discolored, or otherwise undesirable parts, ensuring only the best quality herbs are dehydrated.
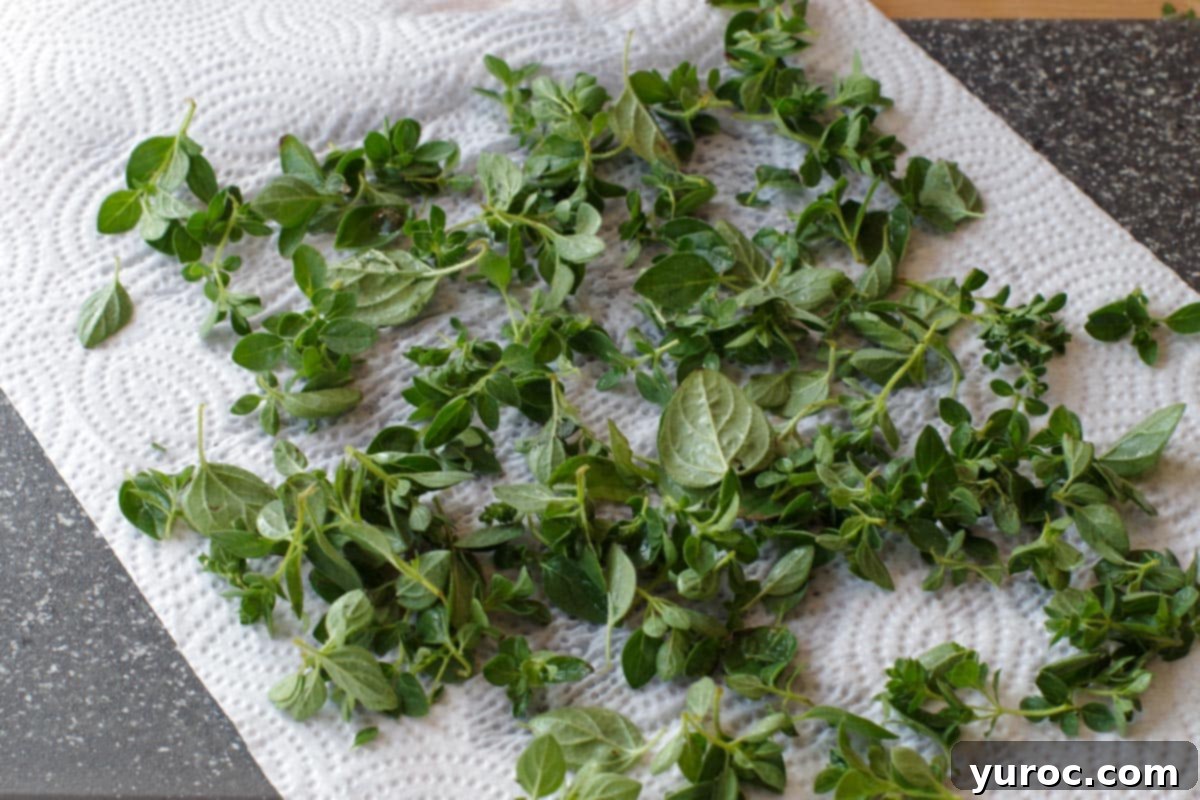
After rinsing, lay your herbs in a single layer on clean paper towels. This initial drying helps absorb excess surface water, which speeds up the dehydration process and prevents steaming.
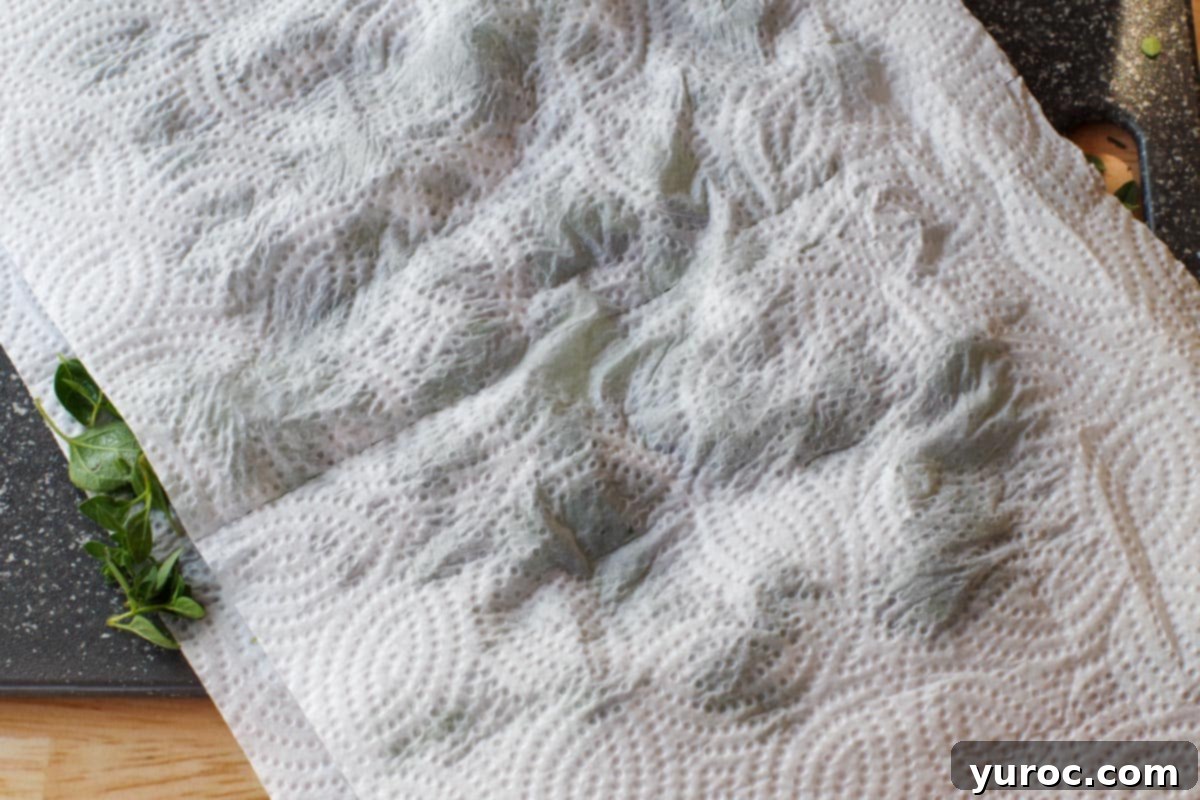
Gently pat the herbs dry with additional paper towels. It’s important to remove as much surface moisture as possible without bruising the delicate leaves. The drier they are going into the air fryer, the more efficiently they will dehydrate.
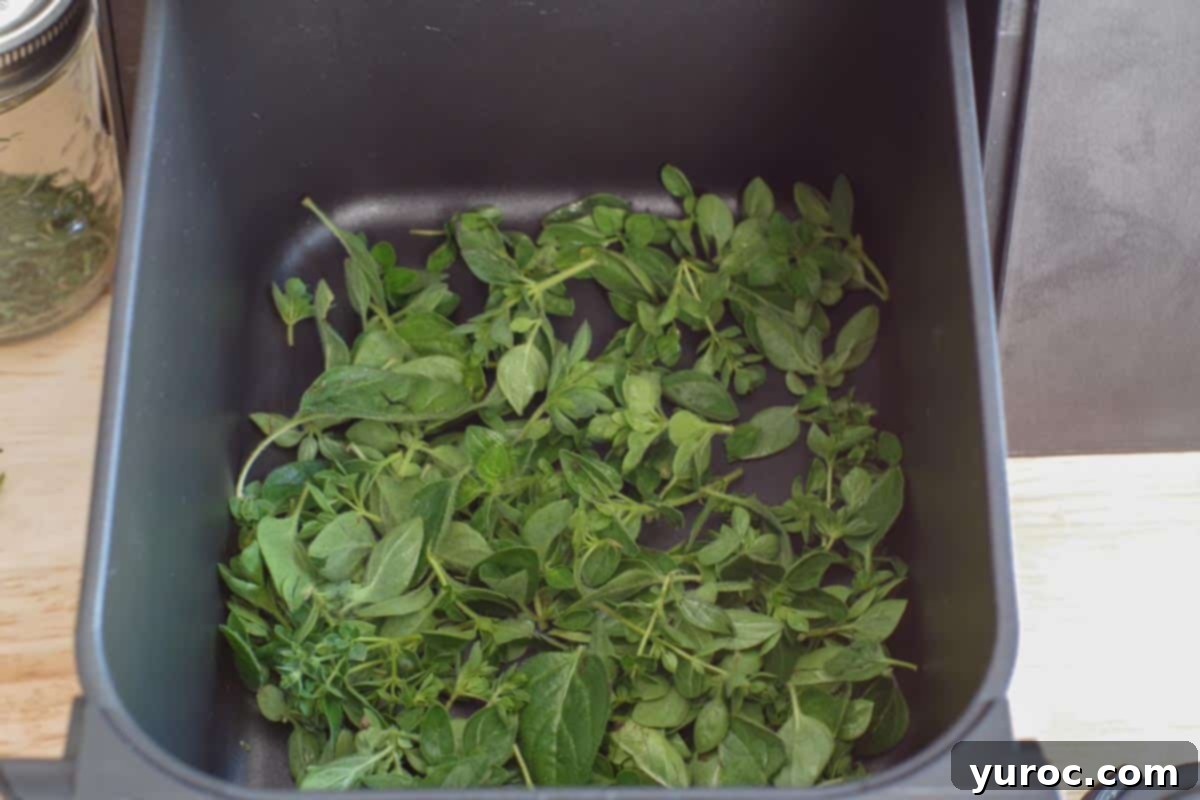
Arrange the prepared herbs in a single layer within your air fryer drawer or basket. Avoid overcrowding, as good airflow is essential for even and efficient dehydration. Ensure there’s enough space for the air to circulate freely around each leaf.
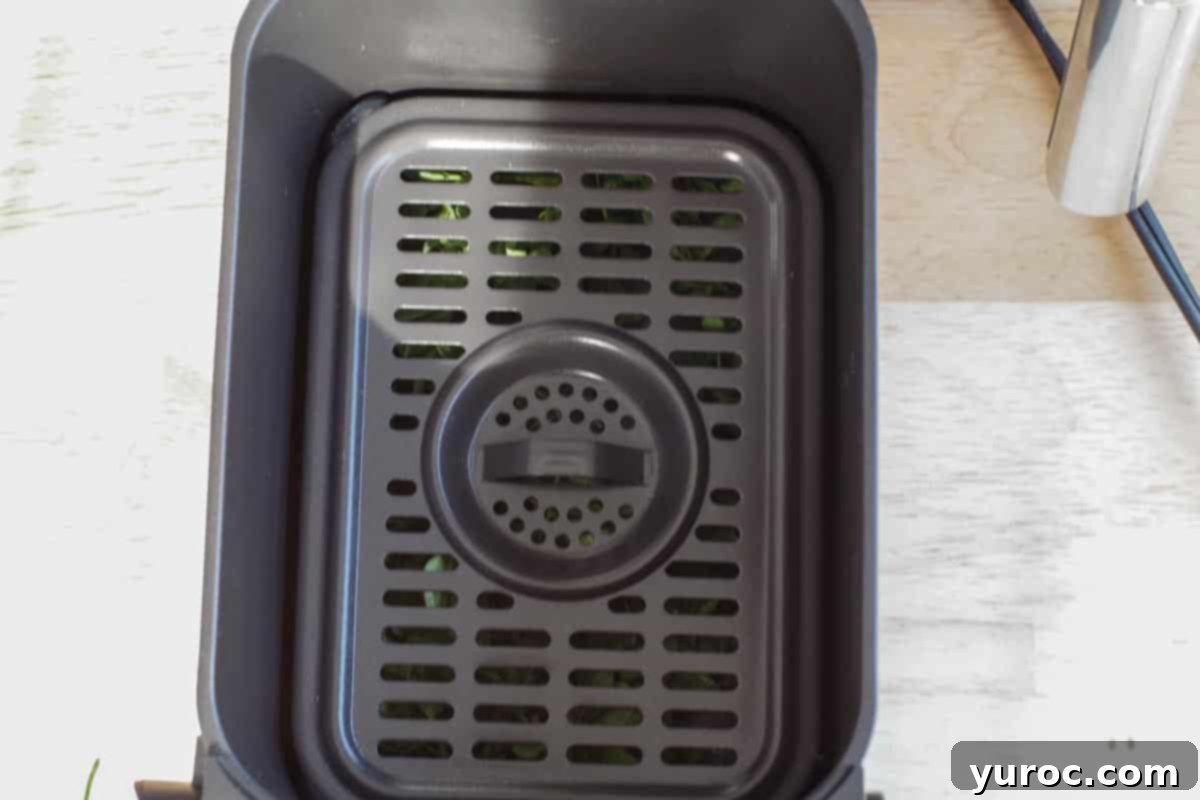
To prevent lighter herbs from being blown around by the air circulation and potentially touching the heating element, place a metal rack or a fine mesh muslin bag over them. If you’re dehydrating different types of herbs simultaneously in separate sections of a dual-drawer air fryer or in the same basket, using muslin bags for each type is highly recommended to keep them separate and easily identifiable (see “Equipment” for more details).
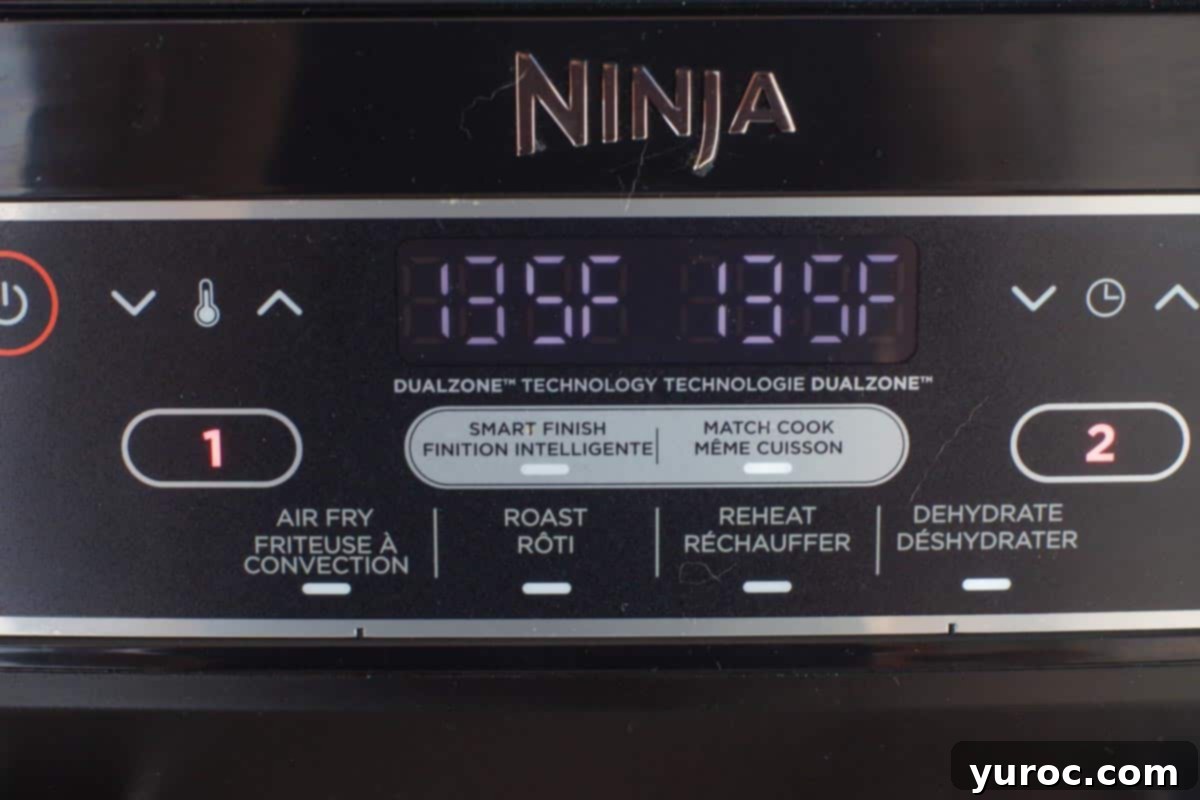
Activate the dehydrator function on your air fryer. Set the temperature to 135 degrees Fahrenheit (57 degrees Celsius). This low temperature is crucial for gently removing moisture while preserving the herbs’ essential oils, color, and nutritional integrity. If you own a Ninja Foodi dual-drawer air fryer and are using both drawers, ensure you utilize the “Match Cook” function to synchronize the settings across both compartments.
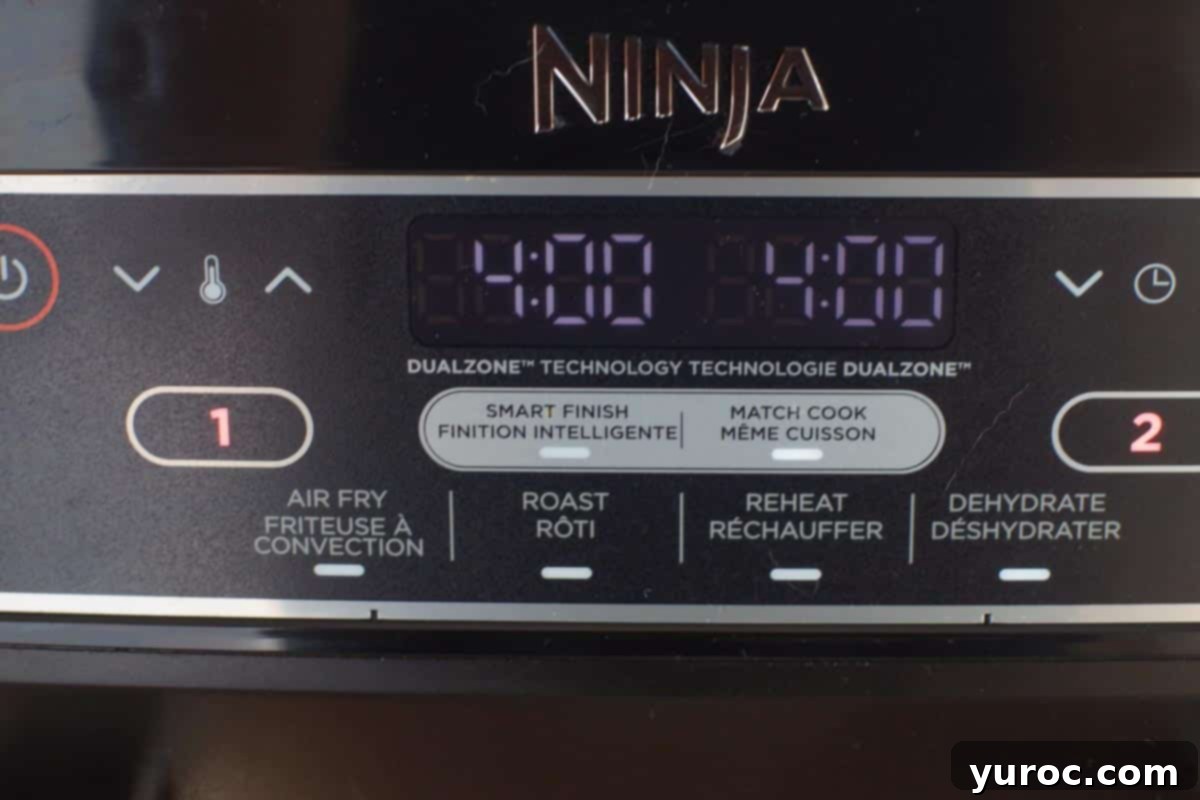
Allow the herbs to dehydrate for approximately 3-4 hours, or as recommended by your specific air fryer’s operating manual. Dehydration times can vary slightly depending on the type of herb and its initial moisture content. After the dehydration cycle is complete, let the herbs stand in the air fryer for about 15 minutes to cool down and allow any residual moisture to dissipate. Once fully cooled and crisp, store them in airtight sealed mason jars (refer to the “Storage” section for optimal preservation techniques).
Expert Tips for Perfect Air Fryer Dehydrated Herbs
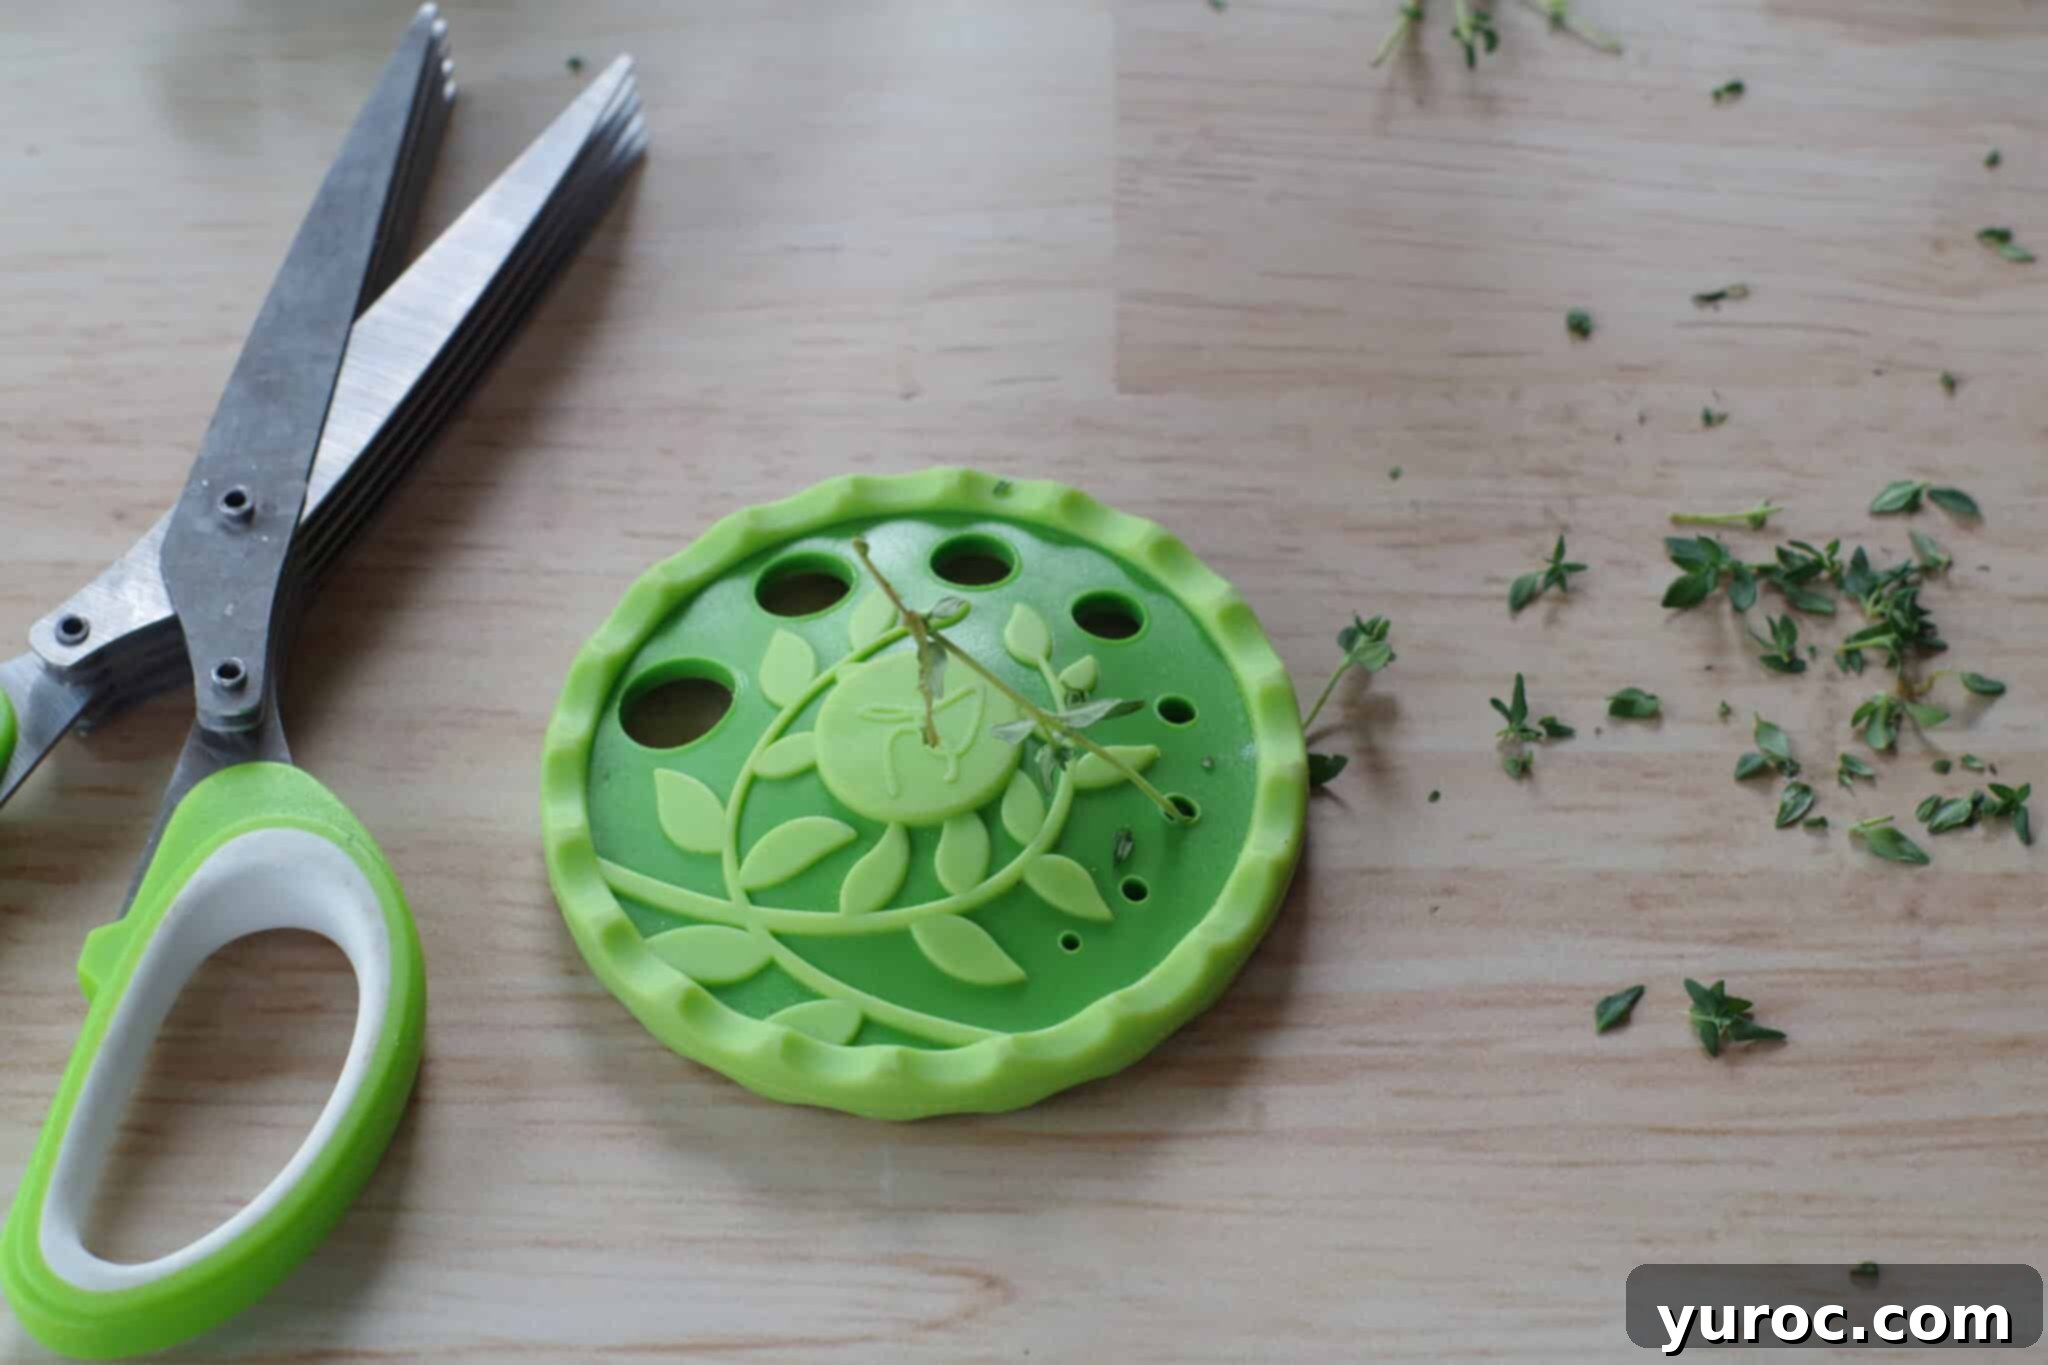
- Utilize an Herb Stripper for Woody Stems. For herbs with woody stems and small leaves, such as tarragon or thyme (as elegantly demonstrated in the image below), an herb stripper and trimmer set (affiliate link) can significantly speed up the preparation process. These tools are designed to efficiently remove leaves while minimizing damage. For tender herbs like chives, sharp kitchen scissors are usually the most effective tool for a clean cut.
- Optimize Airflow for Even Drying. The key to successful dehydration is consistent airflow around all parts of the herbs. Avoid the temptation to overcrowd your air fryer drawer or basket. Instead, spread the herbs in a single, even layer to ensure maximum air circulation. If your air fryer model features multiple racks, make it a practice to rotate them halfway through the dehydration cycle. This simple step helps to promote consistent drying and prevents uneven results, where some herbs might be perfectly crisp while others remain slightly damp.
- Maintain the Right Temperature. Precision in temperature is paramount for preserving the delicate flavor and beneficial nutrients of your herbs. Always set your air fryer to 135°F (57°C) or the absolute lowest available dehydrating setting. Higher temperatures risk “cooking” the herbs, which can drastically reduce their potency, diminish their vibrant color, and ultimately compromise their essential oils and flavor profile. Low and slow is the golden rule for herb dehydration.
- Prevent Herbs from Flying Around. Lighter, more delicate herbs can easily be whisked around by the air fryer’s powerful fan, potentially blowing into the heating element and causing an unpleasant burning smell or even damage. To counteract this, always place a fine mesh muslin bag or a protective rack directly over the herbs. If your air fryer does not come with an appropriate rack, a perforated silicone mat can also serve as an effective barrier to keep your herbs securely in place during the dehydration process.
- Check for Dryness Before Storing. A crucial step before storing your dehydrated herbs is to ensure they are completely dry. Properly dehydrated herbs should be brittle and crumble easily between your fingers with a distinct rustling sound when gently shaken. If they still feel pliable, slightly soft, or leathery, they haven’t lost enough moisture. Return them to the air fryer for an additional 30-minute dehydration cycle and recheck until they reach the desired crispness. Storing insufficiently dried herbs can lead to mold and spoilage.
- Store for Maximum Freshness. To extend the shelf life and retain the peak flavor of your dried herbs, it’s generally best to store them whole rather than crushing them immediately. Crush them just before you are ready to use them in your cooking, as this releases their aromatic oils more intensely. Always store your dried herbs in airtight glass jars, kept in a cool, dark place, away from direct heat, excessive moisture, and sunlight. These conditions are vital for preserving their color, flavor, and potency for the longest possible duration.
- Label Your Herbs Clearly. Proper labeling is a simple yet essential step for an organized and efficient pantry. Use clear labels that include the specific herb name and the date of dehydration. This allows you to easily track their freshness and ensures you use older batches first. For those seeking even longer storage solutions beyond the typical 1-2 years (or 2-3 years if kept whole), consider vacuum-sealing your herbs, which offers an additional layer of protection against oxidation and moisture.
Essential Equipment for Herb Dehydration
To successfully dehydrate herbs using this method, the most crucial piece of equipment you’ll need is an air fryer equipped with a dedicated food dehydrator function. Many modern air fryer models now offer this versatile setting, making them more than just a tool for crispy fries. I personally love my Ninja Foodi dual drawer air fryer (affiliate links) for its efficiency and ability to handle larger batches, but numerous other reputable brands and models also include this convenient dehydrate setting.
A vital tip I learned from experience: the first time I attempted this, I neglected to cover the herbs with a rack. As a result, the lightweight leaves were blown around by the air circulation, many of them flying up into the heating element – which was a messy and frustrating task to clean out. To avoid this common issue, you can use the racks that often come with your air fryer, simply placing them over the herbs to hold them down. Alternatively, fine mesh muslin bags (affiliate links) are an excellent solution. These bags are particularly useful if you wish to dehydrate more than one type of herb simultaneously within a single air fryer drawer or its main basket, as they keep each herb variety neatly separated while allowing ample airflow for proper drying.
Storage for Long-Lasting Freshness
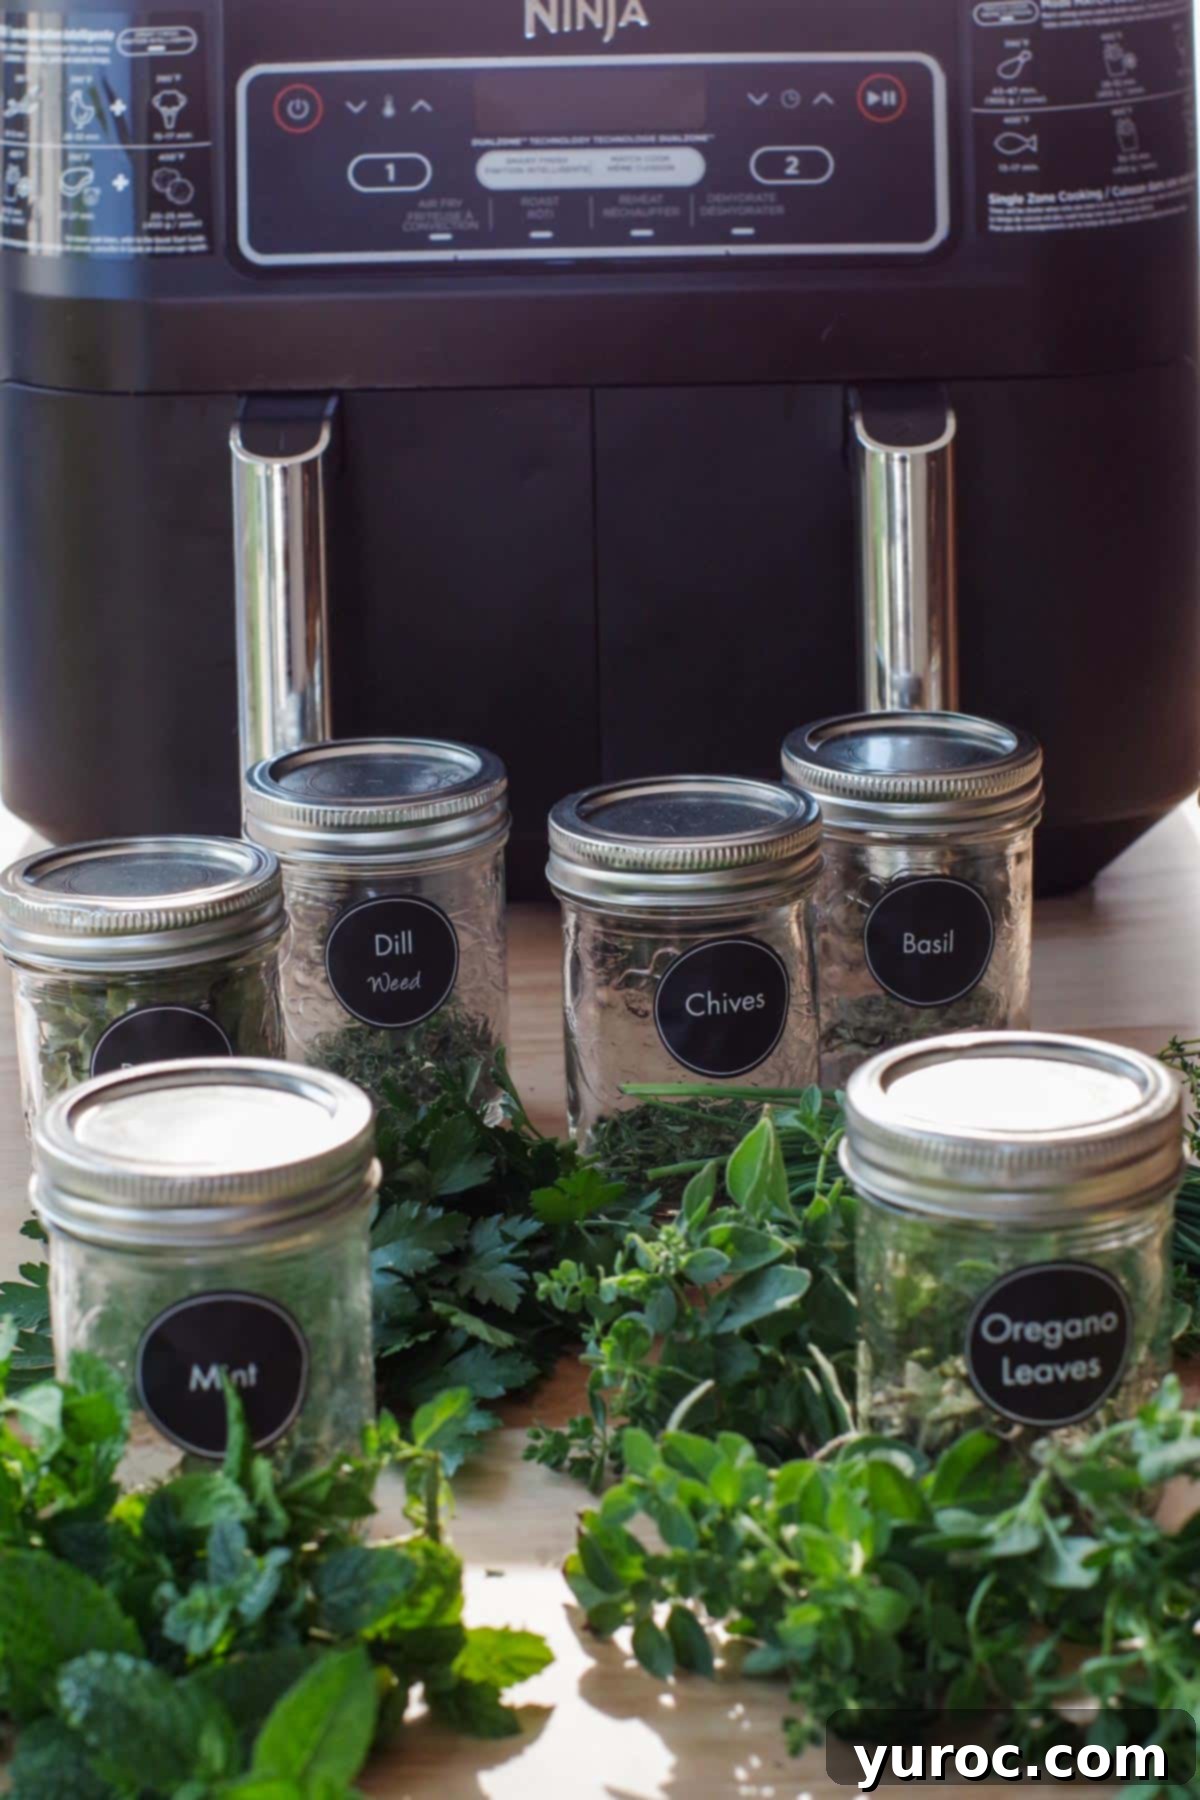
Proper storage is just as important as proper dehydration when it comes to preserving the quality and extending the shelf life of your homemade dried herbs. Once your herbs are completely cool and brittle, they must be stored in an airtight container to protect them from moisture, light, and air, which can degrade their flavor and potency over time. The absolute best way to store dried herbs is in glass containers, specifically sealed glass jars (affiliate link) like mason jars. Glass is non-porous and creates an excellent seal, preventing any external elements from affecting the herbs. While less ideal, you can also store them in sturdy, resealable plastic bags like Ziplock bags, ensuring you press out as much air as possible before sealing.
To help you organize your pantry and easily identify your preserved herbs, consider purchasing labels(affiliate link) specifically designed for spice jars, available on platforms like Amazon or Etsy. Be sure to label each jar with the herb name and the date of dehydration.
For maximum longevity, it’s highly recommended not to break up the dried leaves until you are just about ready to use them in your cooking. Keeping the leaves whole helps to lock in their essential oils and maintain their structural integrity, significantly extending their shelf life. Whole dehydrated herb leaves can potentially last for up to 2-3 years when stored correctly, whereas if you crumble or grind them immediately, their potency and flavor will begin to diminish much faster, typically lasting only 1-2 years. Always store your jars in a cool, dark, and dry place, such as a pantry or cupboard, away from heat sources like stoves or direct sunlight.
Frequently Asked Questions About Dehydrating Herbs
Yes, absolutely! You can dehydrate a wide variety of ingredients with your air fryer, provided it has a specific “dehydrate” setting. This function typically operates at a very low temperature with consistent airflow, perfect for moisture removal. Beyond common herbs like basil, oregano, thyme, and rosemary, you can also dehydrate many food items such as fruits (e.g., strawberries, apricots, apples), vegetables (e.g., mushrooms, tomatoes, zucchini slices), and even thinly sliced meats for jerky (e.g., ham, beef).
Compared to oven drying, using the dehydrator setting on an air fryer is quite energy-efficient. An air fryer typically consumes about 1 kilowatt per hour (kWh) when running on its dehydrate setting. Since the process usually takes around 4 hours, a full cycle would use approximately 4 kWh. In contrast, a standard oven, which runs at higher temperatures and is less efficient for this purpose, can use about 2 kilowatts per hour, meaning it would consume significantly more energy for a comparable duration.
Yes, you can dehydrate different types of herbs simultaneously, but it’s advisable to group similar herbs together. Herbs vary in their moisture content and thickness, which affects their drying time. For example, herbs with a higher moisture content, such as basil and mint, will generally take longer to dry than drier, more delicate herbs like rosemary and thyme. If you’re drying multiple types at once, make sure to check each herb separately and remove those that finish first to prevent over-drying.
If your herbs are turning brown, dark, or losing their vibrant green color during dehydration, it’s usually an indication that the temperature was too high or they were left in the air fryer for an excessive amount of time. The goal of dehydration is to gently remove moisture, not to cook or roast the herbs. Always set your air fryer to the lowest possible dehydrating temperature, typically 135°F (57°C), and monitor your herbs periodically. A good practice is to check them every hour or so, especially if you are new to dehydrating a particular type of herb.
The drying time for herbs in an air fryer can vary depending on the specific model, the type of herb, and its initial moisture content. However, on average, most herbs will take between 3 to 4 hours to fully dehydrate. For instance, my Ninja Foodi air fryer typically takes a full 4 hours when set to its lowest dehydrate setting (135 degrees Fahrenheit / 57 degrees Celsius). It’s always best to consult your air fryer’s operating manual for precise timing recommendations specific to your appliance.
In conclusion, drying herbs in your air fryer using its dehydrate setting is by far the most effective and efficient method to preserve the superior flavor, rich aroma, valuable nutritional content, and full potency of your fresh herbs. This simple technique ensures that you can enjoy the essence of your garden harvest for many months, and even years, to come, enhancing your culinary creations with vibrant, homemade dried herbs.
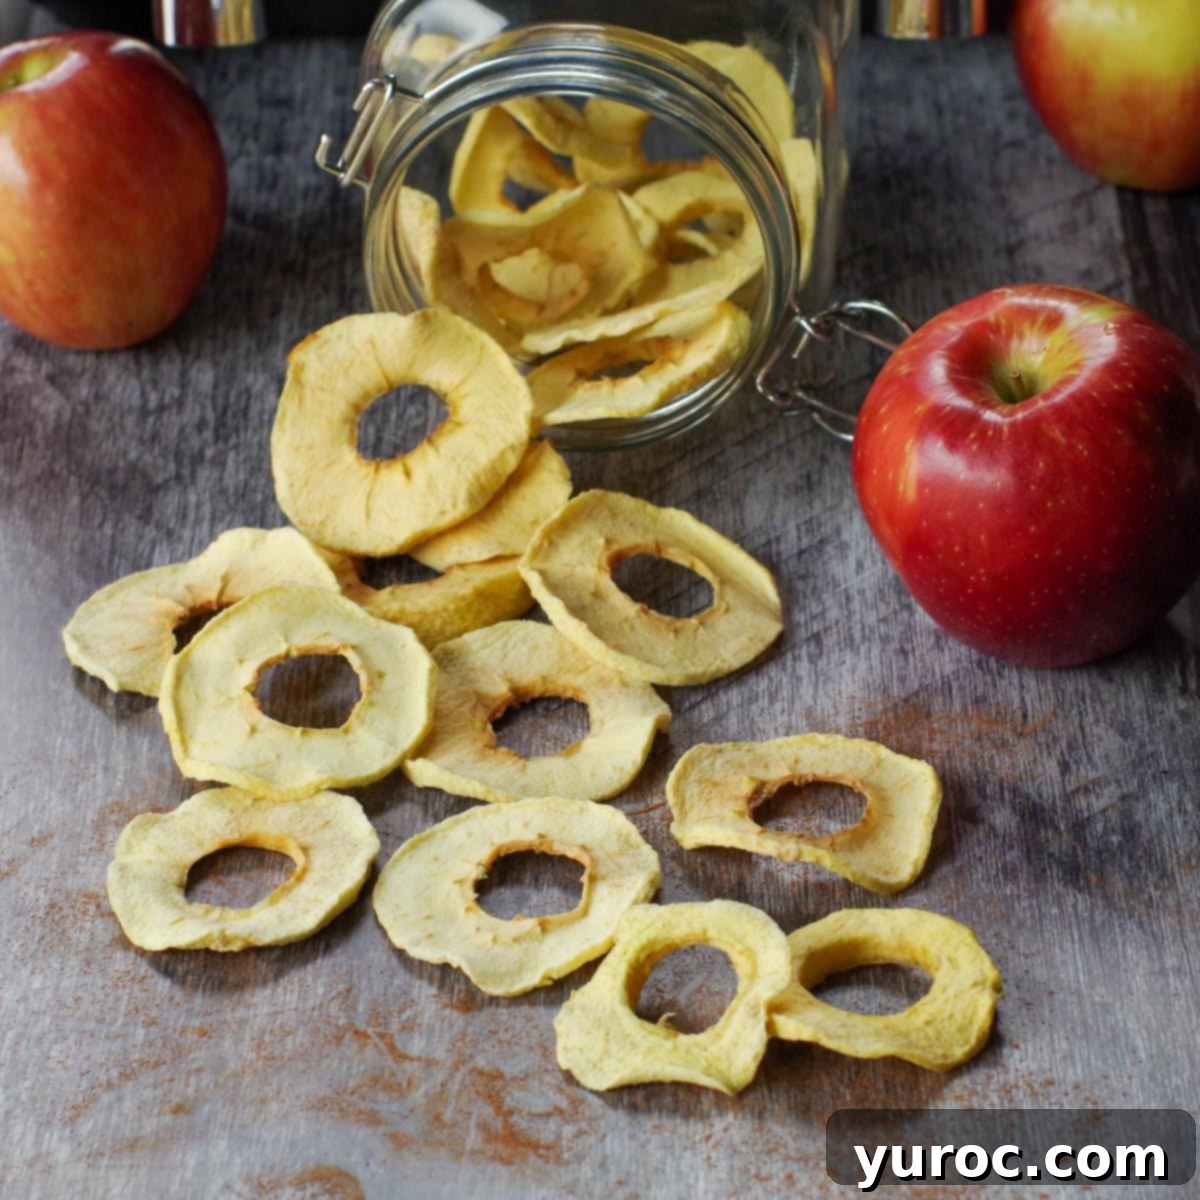
And for another fantastic preservation project, be sure to check out my detailed instructions for dehydrating apples in your air fryer!
Customer Reviews
Please leave a star rating and comment! Your feedback is greatly appreciated.
How useful was this post?
Click on a star to rate it!
Average rating 4.7 / 5. Vote count: 89
No votes so far! Be the first to rate this post.
More Recipes for Your Dried Herbs
- Healthy Slow Cooker Chicken Stew
- Easy Healthy Minestrone Soup
- Healthy Leftover Ham Pasta with Peas
- Secret Ingredient Spaghetti Sauce

🌿How to Dehydrate Herbs in Air Fryer Directions
Equipment
Supplies
- fresh herbs * you any type of fresh herb (Oregano shown in this example)
Instructions
- Remove leaves from stems (see Top Tip)
- Clean and rinse herbs.*It’s important to wash herbs your herbs before dehydrating them in an air fryer. Although they may not have pesticides or herbicides on them, washing removes any dirt, debris, or pests that may on the plant. It also helps you identify and pick out bad leaves.
- Dry herbs by placing them on paper towels.
- Pat herbs dry with more paper towel.
- Place herbs in your air fryer drawer or basket.
- Place the rack over the herbs or use a mesh muslin bag (see Equipment) if doing more than one type of herb per drawer.
- Use the dehydrator function on your air fryer, set to 135 degrees F or 57 degrees C.*If you have a Ninja Foodi dual and are using both drawers, use match cook.
- Dehydrate for 3-4 hours, according to your air fryer’s operating manual.Let stand for about 15 minutes after the process is complete.Store in sealed mason jars (see Storage)
Notes
-
- Use a herbs stripper for herbs with woody stems. it’s handy to use an herb stripper and trimmer set (affiliate link). This works well for herbs with woody stems and small leaves (like tarragon or thyme, as shown). I use scissors to cut chives.
-
- Optimize Airflow for Even Drying. Avoid overcrowding your air fryer drawer basket; spread the herbs in a single layer for even dehydration. If your air fryer has multiple racks, rotate them halfway through for consistent drying.
-
- Maintain the Right Temperature. Set your air fryer to 135°F (57°C) or the lowest available dehydrating setting to preserve flavor and nutrients. Higher temperatures may “cook” the herbs rather than properly dehydrate them, reducing their potency.
-
- Prevent Herbs from Flying Around. Use a fine mesh muslin bag or place a rack over the herbs to prevent them from blowing into the heating element. If your air fryer doesn’t have a rack, try using a perforated silicone mat to keep herbs in place.
-
- Check for Dryness Before Storing. Herbs should crumble easily between your fingers when fully dehydrated.If they feel slightly soft, return them to the air fryer for an additional 30-minute cycle.
-
- Store for Maximum Freshness. Keep dried herbs whole and crush them just before using them to retain flavor. Store in airtight glass jars away from heat, moisture, and sunlight for the longest shelf life.
-
- Label Your Herbs. Use clear labels with the herb name and dehydration date to track freshness. Consider vacuum-sealing herbs for extended storage beyond the usual 1-2 years.