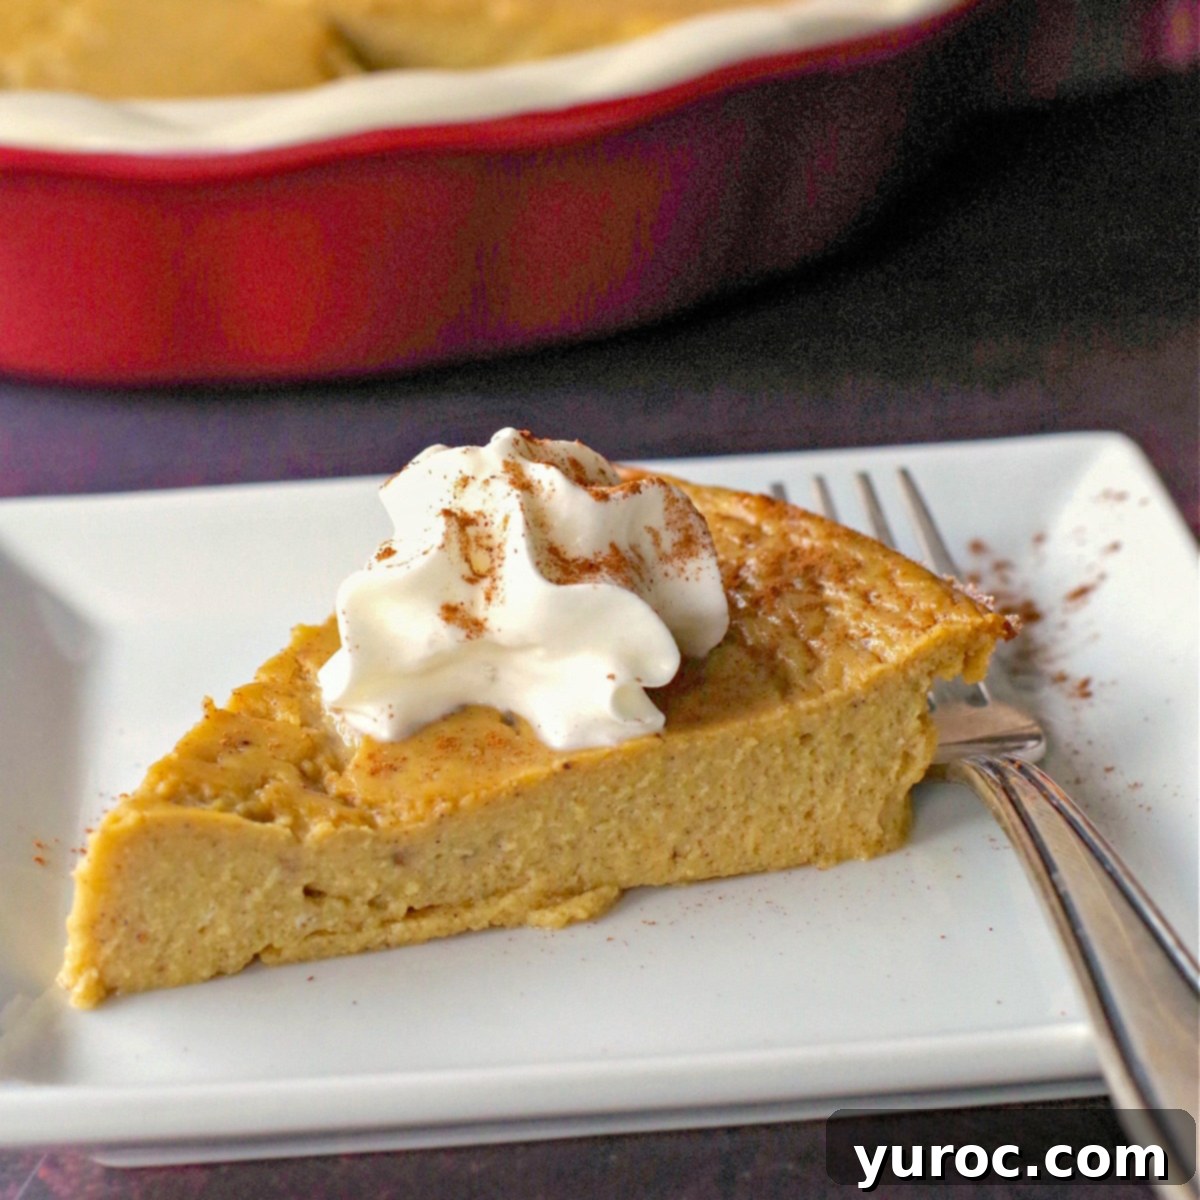
Weight Watchers Crustless Pumpkin Pie: Your Healthy, Low-Point Holiday Dessert Solution
There’s nothing quite like the comforting aroma and rich, spicy flavor of pumpkin pie to truly signal the holiday season. For many, including myself, it’s the ultimate festive dessert, a non-negotiable part of Thanksgiving, Christmas, and countless other celebratory gatherings. But what if you’re dedicated to maintaining a healthy lifestyle, perhaps following the Weight Watchers program, and find traditional pumpkin pie’s high point value daunting? The good news is, you don’t have to sacrifice your favorite treat. This Weight Watchers Crustless Pumpkin Pie recipe is here to save your holidays!
Imagine indulging in a luscious, creamy pumpkin pie that tastes every bit as decadent as its traditional counterpart, but without the guilt. This incredibly delicious crustless version clocks in at just 3 WW points per serving, making it a truly smart choice for anyone watching their intake. Say goodbye to compromising on flavor or feeling deprived – with this recipe, you can truly have your pie and eat it too, celebrating the season without derailing your wellness goals.
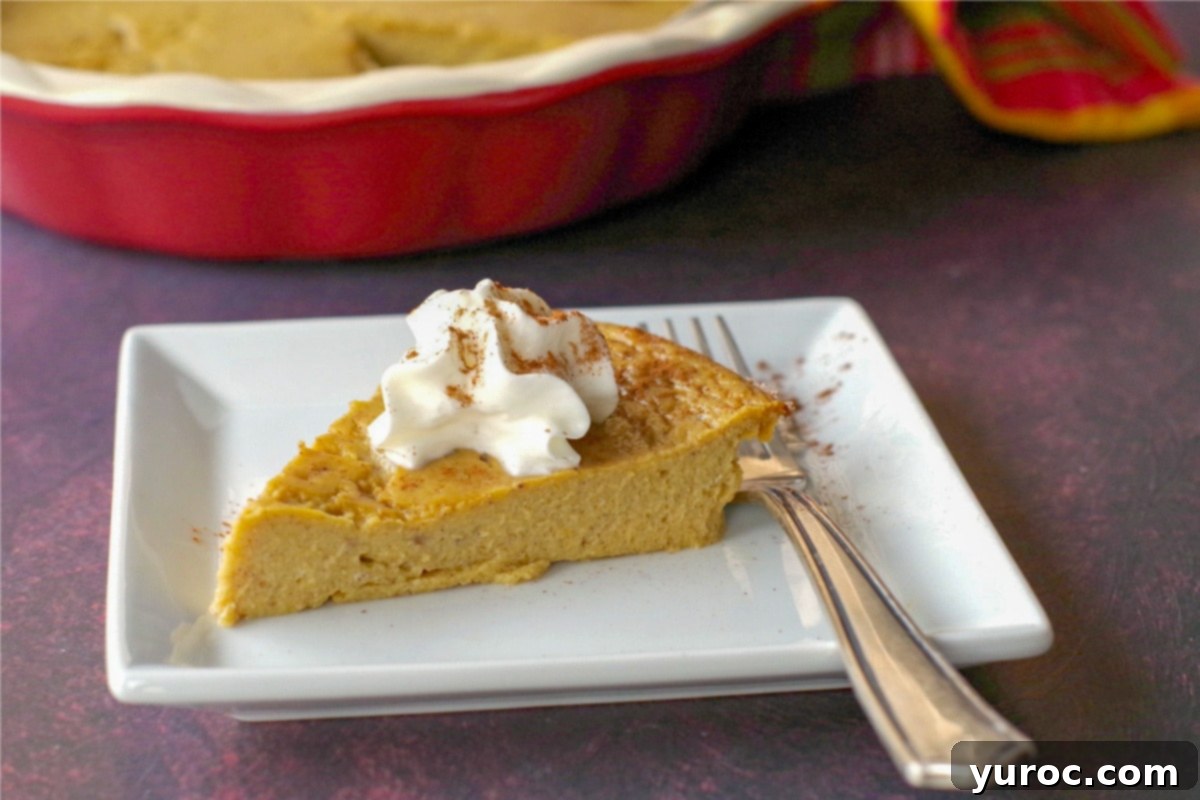
A typical slice of classic pumpkin pie can set you back around 14 Weight Watchers points, primarily due to the butter and flour in the crust and often excessive sugar. Our crustless alternative drastically cuts down on those points while delivering all the authentic pumpkin flavor you crave. Beyond being a fantastic low-WW-point option, this healthy no-crust pumpkin pie is also low-carb, naturally gluten-free (eliminating the crust removes the main gluten source), and made without any artificial sweeteners or sugar substitutes. This commitment to real, wholesome ingredients ensures you’re enjoying a genuinely healthy dessert that aligns with a clean eating philosophy.
This WW Pumpkin Pie recipe becomes an instant favorite during the bustling holiday season. It’s not just a standalone dessert; it perfectly complements a full festive meal. Consider pairing it with a succulent Crockpot Turkey Breast with Quinoa Cranberry Dressing for a flavorful main course, and delightful Healthy Glazed Carrots as a wholesome side dish. Together, they create a holiday menu that’s both indulgent and mindful of your health.
[feast_advanced_jump_to]
🍒 Reader Review: Real Feedback on Our Healthy Pumpkin Pie
The true test of any recipe lies in the feedback from those who make it part of their lives. Here’s what one satisfied reader had to say about this game-changing crustless pumpkin pie:
“This is awesome, I’m on Weight Watchers and I’m thrilled to be able to have some of my favorite pie. I used Sukrin Gold brown sugar alternative (0 calories, zero sugar, it’s delish). My husband is diabetic, so it was great. Thanks!” ⭐⭐⭐⭐⭐
This review perfectly encapsulates why this recipe is so beloved: it provides a delicious, satisfying dessert that fits various dietary needs, from Weight Watchers to diabetic-friendly options, all without sacrificing taste.
You know how sometimes when you crave ice cream, you just want the creamy goodness without the cone? This crustless pumpkin pie offers that exact same satisfaction. While I truly adore a flaky, buttery crust – especially my No Fail Pie Crust (Cold Water Pastry) – there are many occasions when I don’t want or need the extra calories and carbohydrates that come with it. Traditional pie crusts, though delicious, are often dense in fats and refined flours, adding significantly to the overall nutritional profile of a dessert.
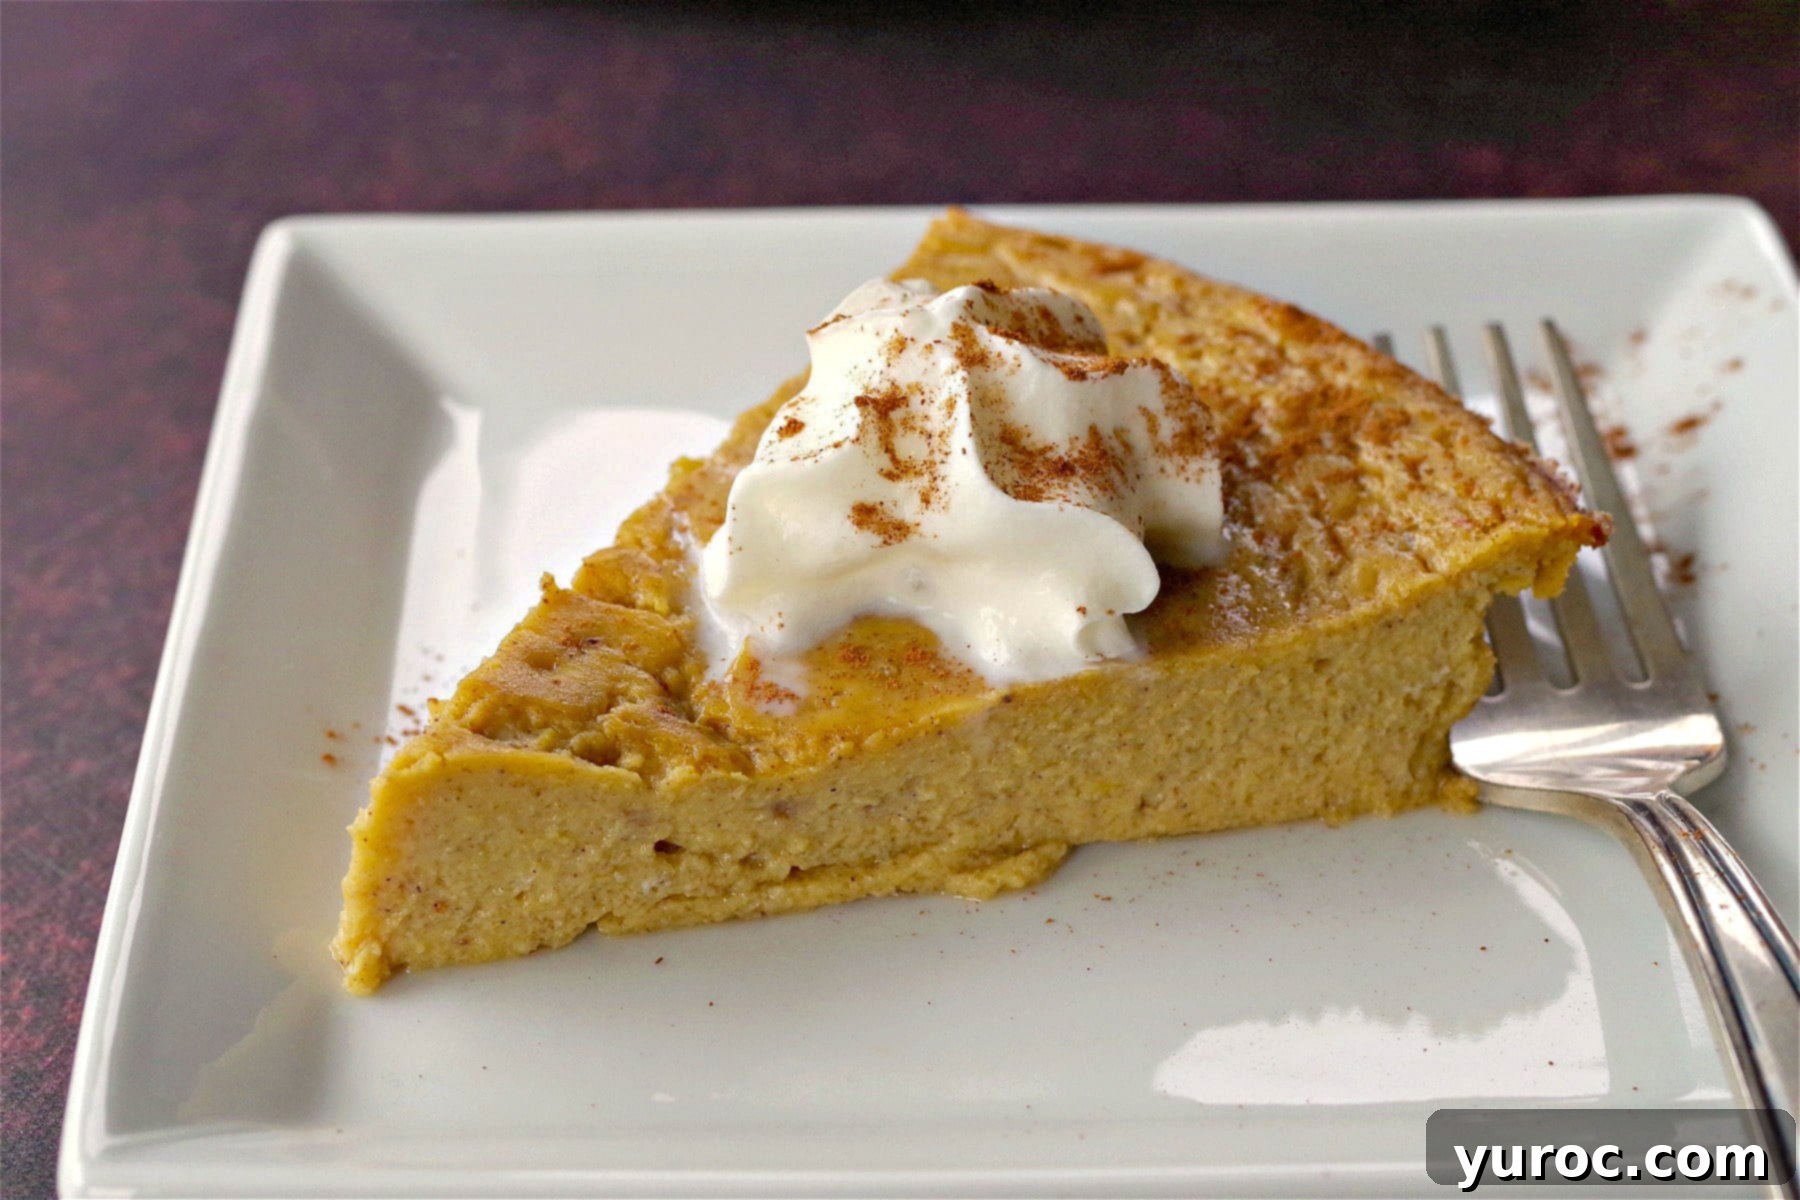
For those times when your heart simply yearns for the silky, spiced pumpkin filling, this No Crust Pumpkin Pie, also affectionately known as Impossible Pumpkin Pie due to its almost magical ability to form a crust-like bottom during baking, is absolutely perfect. It allows the star of the show – the rich, aromatic pumpkin custard – to truly shine. In fact, this healthy crustless pumpkin pie is so incredibly satisfying and flavorful that you genuinely won’t miss the crust at all. Its creamy texture and vibrant taste stand proudly on their own, making it a delightful dessert choice for any occasion, especially when you’re focusing on lighter options.
My personal journey with the Weight Watchers program spans over two decades! Throughout these 20-ish years, I’ve learned invaluable lessons about healthy eating, portion control, and finding balance. If you’re curious about my experiences and insights, you can read all about my personal Weight Watchers (WW) Journey HERE. And for practical tips and strategies to help you on your own path, be sure to explore my comprehensive Weight Watchers Tips & Tricks!
My motivation to create my own Weight Watchers-friendly recipes began when I discovered beloved dishes that, while delicious, were surprisingly high in points. I realized there was a need to adapt these favorites, making them lighter and healthier without compromising on taste. This passion deepened significantly when I observed a growing trend towards incorporating artificial sweeteners into many “diet” or “light” dessert recipes. When I first embarked on my Weight Watchers journey many years ago, artificial sweeteners were not a common ingredient, nor were they heavily promoted as healthy alternatives.
Frankly, I cannot stand the distinct aftertaste of many artificial sweeteners, nor do I appreciate how those sugar substitutes can sometimes make me feel. My philosophy revolves around using “real food” ingredients as much as possible, even in healthier adaptations. If you share this sentiment and prefer to avoid artificial sweeteners in your healthy desserts, then you’ve come to the right place! I’ve dedicated a section of my site to Weight Watchers Dessert Recipes (WW dessert recipes) without artificial sweeteners. You’ll find a delightful array of options, including this WW-friendly Healthy Old-fashioned Banana Cream Pie with Graham Cracker Crust, which is another testament to delicious, wholesome indulgence.
This no-crust pumpkin pie truly embodies my approach to Weight Watchers cooking: it’s a fantastic way to enjoy a classic comfort food while staying on track with your wellness goals. While many recipes for similar pies exist, this particular one stands out because it prioritizes real food ingredients, ensuring an authentic flavor and a truly satisfying experience. It’s a testament that healthy eating doesn’t mean sacrificing the joy of delicious desserts.
🥘 Ingredient Notes for the Perfect Crustless Pumpkin Pie
Crafting the perfect crustless pumpkin pie starts with understanding your ingredients. Each component plays a crucial role in achieving the rich flavor and smooth texture that makes this dessert so irresistible. Here are some key notes to help you select and prepare your ingredients:
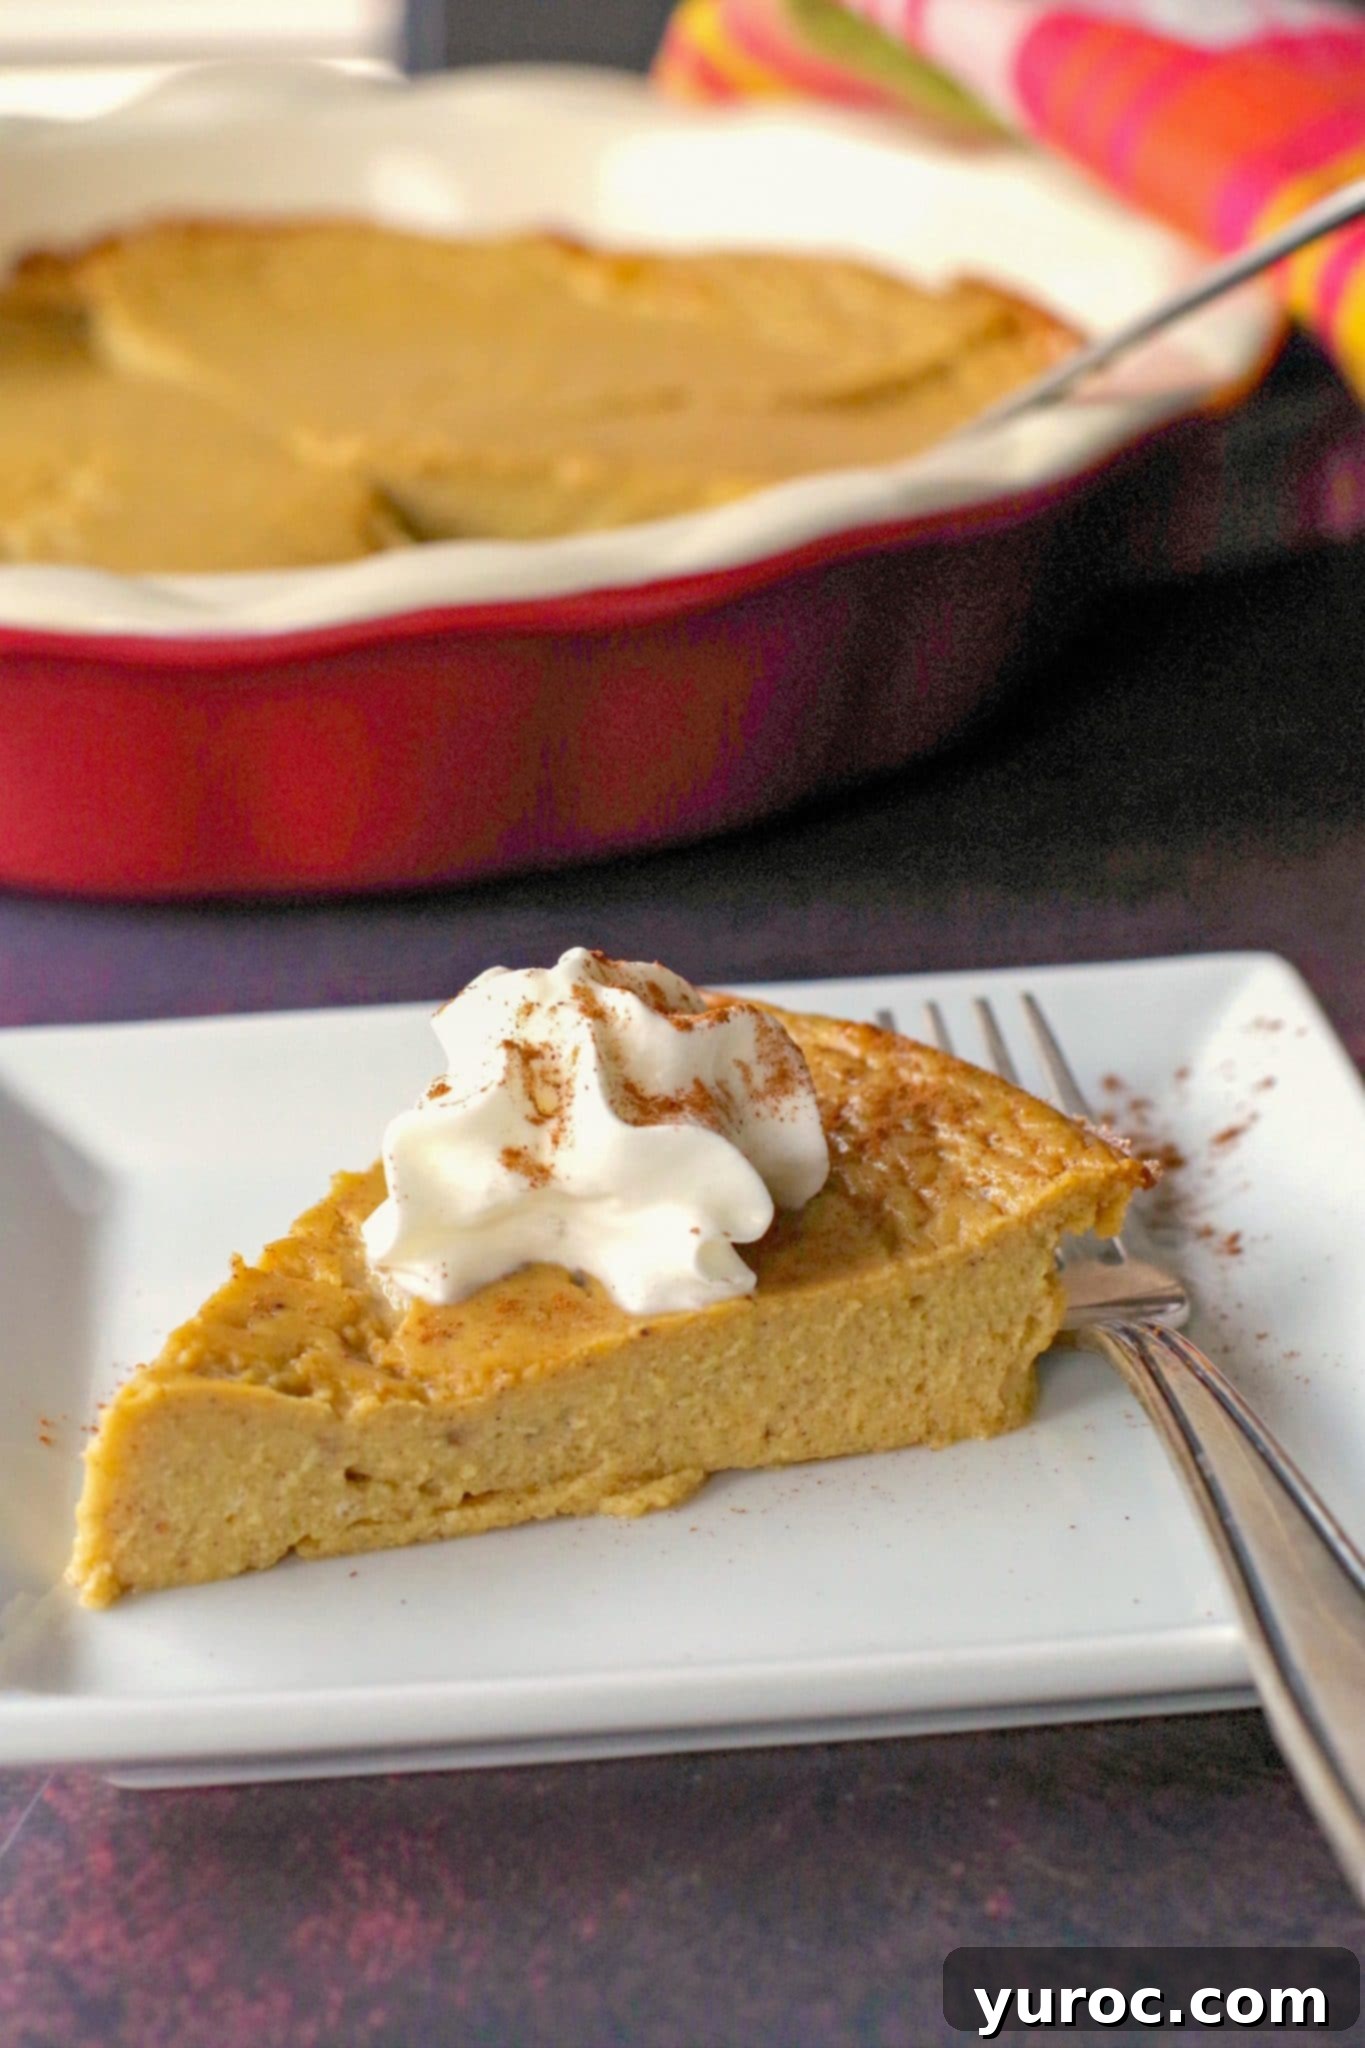
*Note: The choice of brown sugar (dark or light) and whether you use canned or fresh pumpkin puree will influence the final color of your pie. For instance, the pie showcased in the hero photos uses light brown sugar, resulting in a slightly lighter hue, while the process images feature dark brown sugar, giving the pie a deeper, richer color. Both yield delicious results, so choose based on your preference!
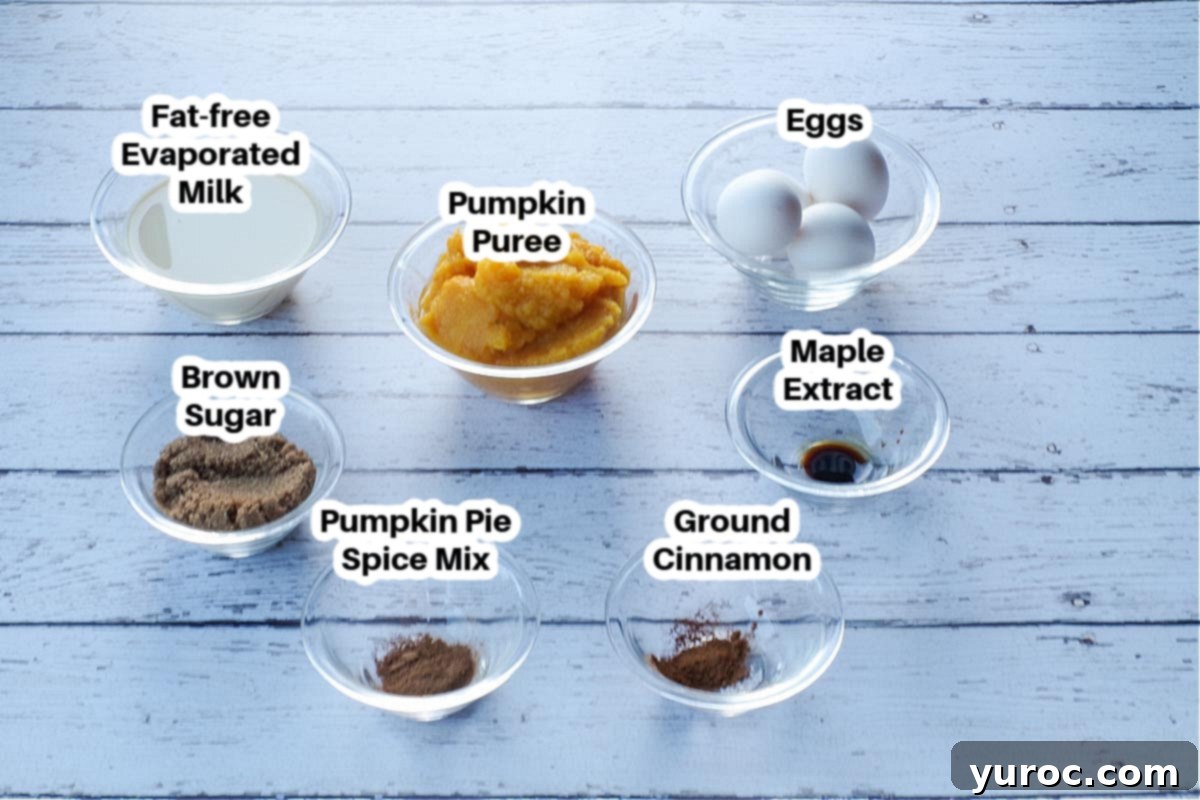
- Pumpkin Purée: You can use either fresh homemade pumpkin puree or high-quality canned pumpkin puree. It doesn’t truly matter which you choose for the structural integrity of the pie, but many argue that homemade puree offers a fresher, more vibrant pumpkin flavor. Just ensure you are buying pure pumpkin puree, NOT canned pumpkin pie filling, which contains added sugars and spices that will alter the recipe’s balance.
- Maple Extract: This is a secret weapon for adding a profound depth of flavor without piling on extra calories. While maple syrup is delicious, using maple extract provides that distinctive warm, sweet, and slightly smoky maple essence without the sugar content. A little goes a long way in enhancing the overall autumnal spice profile of the pie.
- Pumpkin Pie Spice: This convenient spice blend is a lifesaver, combining cinnamon, ginger, nutmeg, and cloves into one harmonious mix. Using a pre-blended spice ensures consistency and saves you the hassle of measuring out multiple individual spices. It’s the quintessential flavor that defines pumpkin pie.
- Brown Sugar: Brown sugar is preferred over white granulated sugar in this recipe because it imparts a richer, more complex sweetness with subtle caramel notes. These deep flavors complement the pumpkin beautifully. Feel free to use either light or dark brown sugar; dark brown sugar will give a slightly more intense molasses flavor and a darker color to your pie.
- Evaporated Milk (Fat-Free): Using fat-free evaporated milk is key to keeping this recipe Weight Watchers friendly while maintaining a wonderfully creamy custard texture. Evaporated milk is thicker and richer than regular milk because about 60% of the water content has been removed, making it an excellent base for a dense, smooth pumpkin filling without adding significant fat or calories.
*Please refer to the recipe card below for the complete list of ingredients and precise quantities needed for this delightful Weight Watchers Crustless Pumpkin Pie.
🔪 Step-by-Step: Crafting Your Weight Watchers Crustless Pumpkin Pie
Making this healthy crustless pumpkin pie is surprisingly simple, proving that delicious and diet-friendly desserts don’t have to be complicated. Follow these straightforward steps to create a perfect, creamy pie:
Prep & Preheat: Begin by preheating your oven to 400 degrees F (204 degrees C). While the oven heats, thoroughly spray a 9-inch deep dish pie plate with a nonstick cooking spray. This crucial step prevents the pie from sticking and ensures easy serving later.
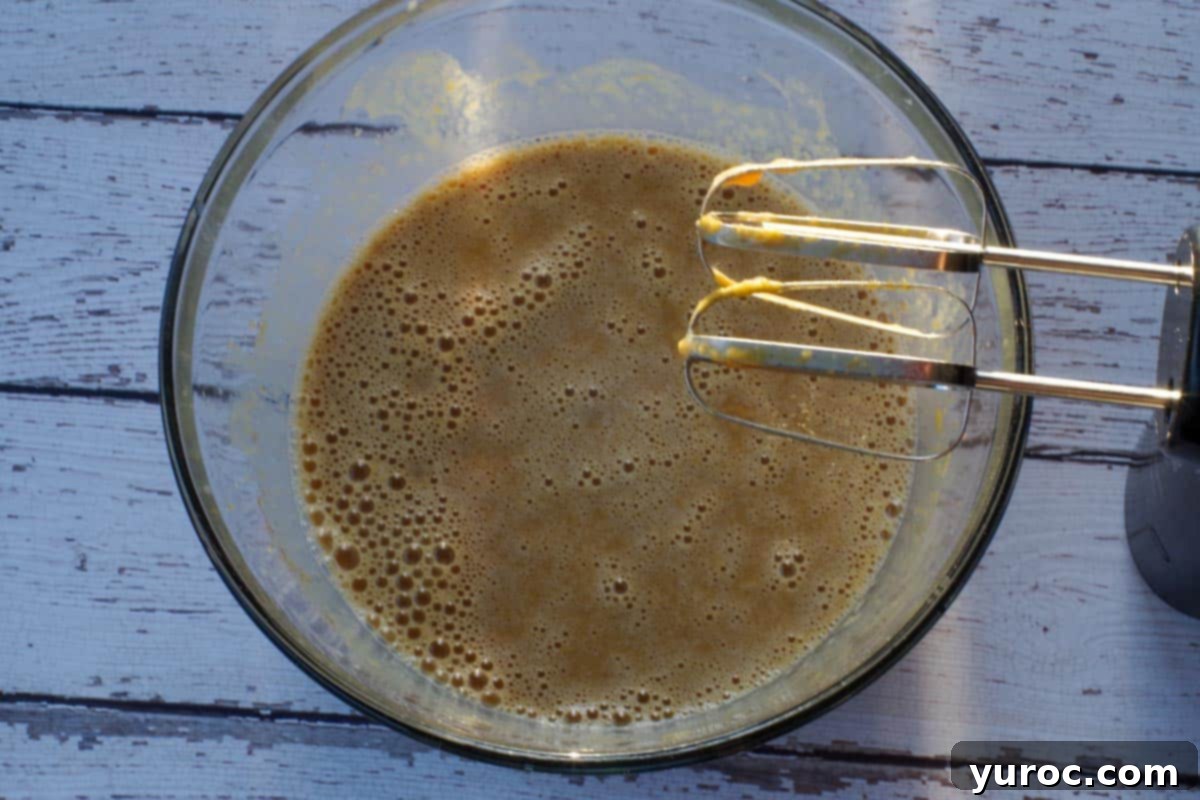
- Step 1: Combine All Ingredients. In a large mixing bowl, combine all the wet and dry ingredients listed in the recipe card. Use an electric mixer to blend everything until just combined, typically about 30 seconds. Remember to scrape down the sides of the bowl to ensure all ingredients are fully incorporated. The key here is to mix until smooth but do not overbeat! Overmixing can introduce too much air, which might cause the pie to puff up excessively and crack more as it cools.
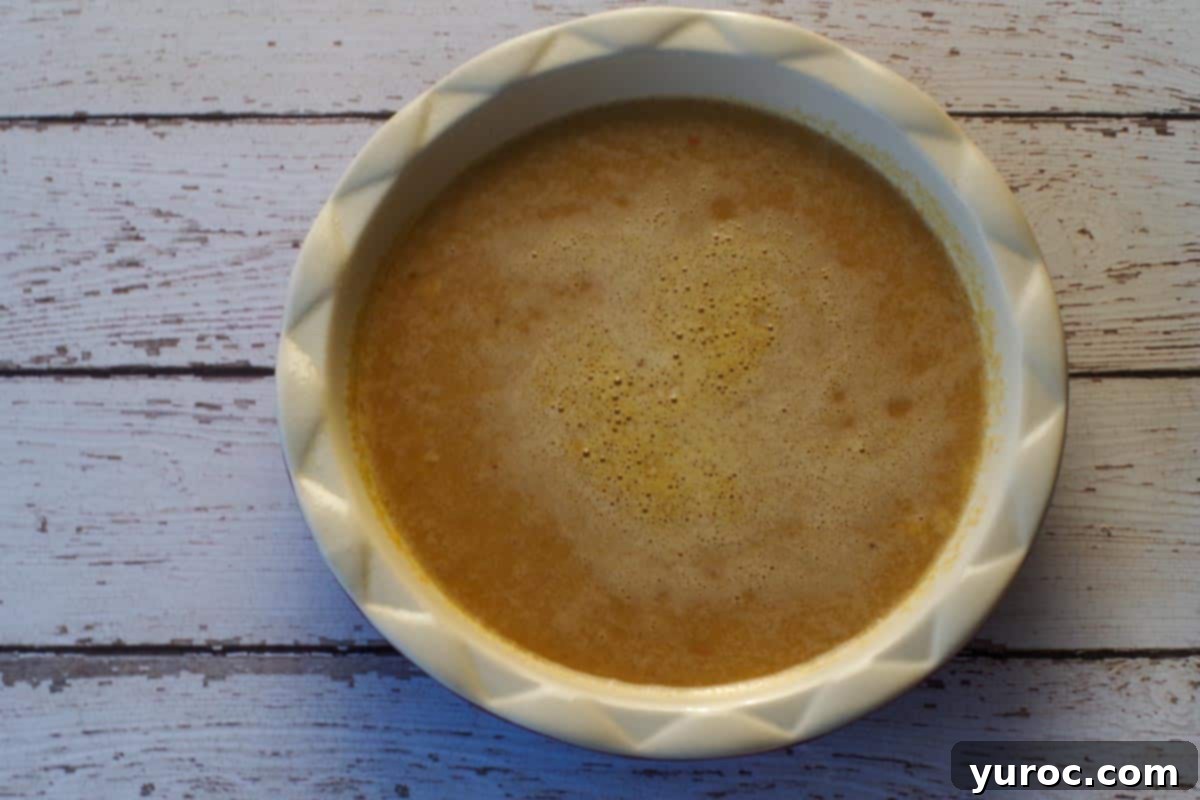
- Step 2: Pour into Pie Plate. Carefully pour the perfectly blended pumpkin pie mixture into your prepared, greased deep dish 9-inch pie plate. Ensure the mixture is distributed evenly.
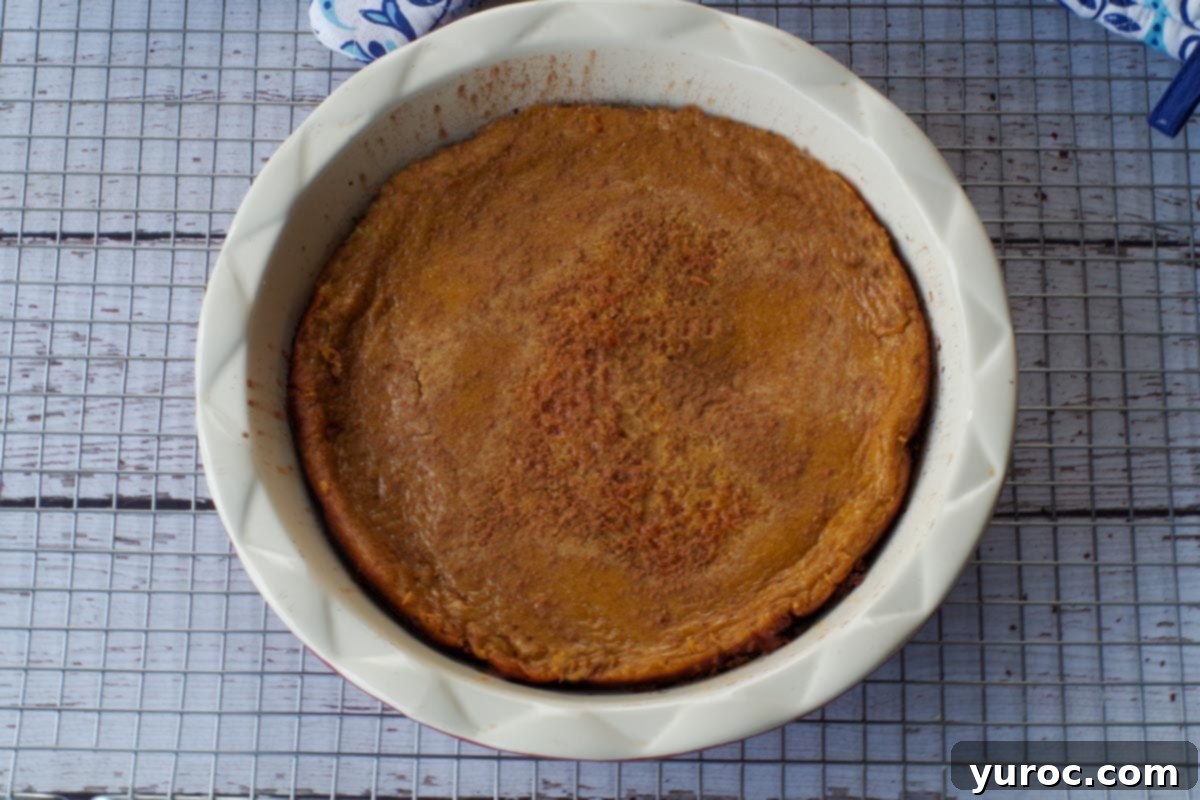
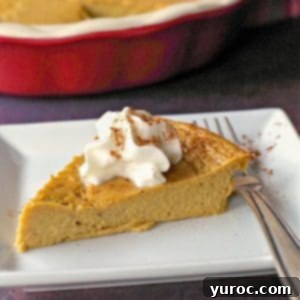
- Step 3: Bake to Perfection. Place the pie in the preheated oven and bake at 400 degrees F (204 degrees C) for an initial 15 minutes. This higher temperature helps to set the edges. Then, reduce the heat to 375 degrees F (190 degrees C) and continue baking for another 30-40 minutes. The pie is done when it’s set – a cake tester or toothpick inserted into the center comes out clean. Once baked, transfer the pie to a wire rack to cool completely. Important Note: It’s completely normal for the pie to puff up significantly when it first comes out of the oven. Don’t worry, it will gently deflate as it cools. If you notice any small cracks or imperfections on the surface, don’t fret; a dusting of cinnamon or a dollop of WW-friendly whipped cream (see our top tips for this!) will elegantly cover them, making your pie look picture-perfect.
✅ Expert Recipe Tips for a Flawless Crustless Pumpkin Pie
Achieving a perfectly creamy and delicious crustless pumpkin pie is easy with these expert tips:
- Don’t Overmix the Filling: Mixing the filling just until all ingredients are combined is crucial. Overbeating introduces too much air into the mixture, which can cause the pie to puff up excessively during baking. While it will deflate, too much air can also lead to more pronounced cracking on the surface as it cools, affecting the final aesthetic.
- Utilize Room Temperature Ingredients: For the smoothest and most evenly baked pie, ensure your eggs and evaporated milk are at room temperature before mixing. Ingredients at similar temperatures emulsify better, creating a more uniform batter that bakes consistently. This prevents curdling and results in a silkier custard.
- Bake on the Lower-Middle Oven Rack: Positioning your pie on the lower-middle rack ensures that the bottom of the pie sets properly without overbrowning the top. This placement also allows for optimal heat circulation around the pie, contributing to even cooking and a beautifully consistent texture.
- Check for Doneness Early: Ovens can vary significantly, so it’s always wise to start checking your pie for doneness about 5 minutes before the suggested baking time ends. Overbaking can lead to a dry, crumbly texture rather than the desired silky, custardy consistency. A clean cake tester or toothpick from the center is your best indicator.
- Prevent Wateriness from Fresh Pumpkin: If you’re using fresh, homemade pumpkin puree, it’s essential to drain any excess liquid before measuring and adding it to your batter. Fresh puree can sometimes hold more moisture than canned, and neglecting this step could result in a pie with a slightly soggy or watery texture.
- Cool Completely Before Slicing: Patience is key! Allow your crustless pumpkin pie to cool entirely on a wire rack, and preferably chill it in the refrigerator for at least a few hours (or even overnight). This cooling period is vital for the custard to fully set and firm up. Cutting into a warm pie will likely result in collapsed, messy slices.
- Enhance Flavor Overnight: Like many spice-based desserts, the flavors of this pumpkin pie deepen and meld beautifully if it’s made a day in advance and thoroughly chilled overnight. The spices become more pronounced, and the custard achieves an even more harmonious taste.
- Gracefully Conceal Cracks: Should your pie develop small cracks on its surface (which can happen, and is perfectly normal for custard-based pies), don’t despair! A light dusting of ground cinnamon, a sprinkle of powdered sugar, or a generous dollop of Weight Watchers-friendly whipped cream will easily hide any imperfections, making your pie look presentation-ready.
- Serve Slightly Chilled or at Room Temperature: While the pie needs to cool and set completely, serving it straight from the oven isn’t ideal for the best texture. For a truly creamy custard experience, serve your crustless pumpkin pie slightly chilled or at a cool room temperature. A few hours in the fridge truly enhances its luxurious, smooth consistency.
- Batch Baking Tip: If you plan to double or triple this recipe for a large gathering, it’s best to bake each pie on its own oven rack. Avoid stacking multiple pies on one rack, as this can impede proper heat circulation and lead to uneven baking. Give each pie ample space for optimal cooking.
This Weight Watchers Crustless Pumpkin Pie truly stands out as a light, quick, and easy-to-make dessert that is immensely satisfying. It’s proof that healthy eating doesn’t mean sacrificing the flavors and traditions you love, especially during the festive season.
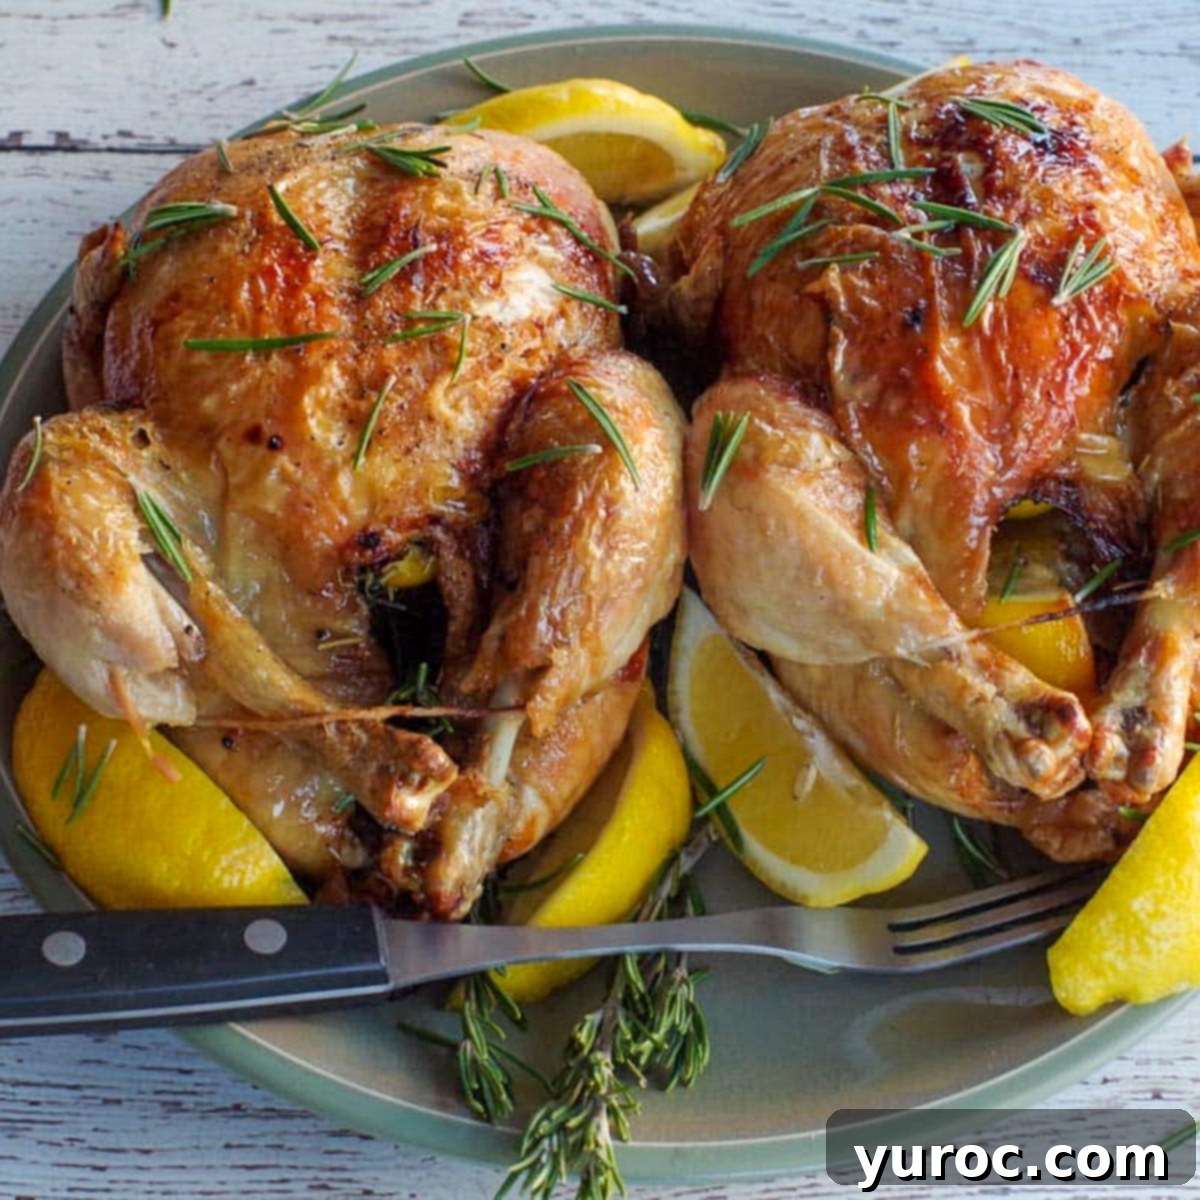
If you’re planning a full Weight Watchers friendly Thanksgiving dinner, look no further! This pie pairs wonderfully with a succulent Air Fryer Roast Chicken, offering a healthier yet equally flavorful alternative to traditional roasted turkey. Complete your meal with creamy Chipotle Mashed Potatoes for a touch of savory warmth and spice. These dishes ensure your holiday feast is both delicious and aligned with your wellness goals.
💡 Top Tips for Serving & Ingredient Hacks
Beyond the recipe steps, a few extra tips can elevate your crustless pumpkin pie experience:
- Weight Watchers Friendly Whipped Cream: Don’t underestimate the power of a dollop of whipped cream! I highly recommend serving this pie with a light, real whipped cream because it’s incredibly satisfying and surprisingly low in points – often just 1 point for 4 tablespoons, depending on the brand. This small indulgence adds a luxurious texture and balances the rich pumpkin flavor beautifully. Look for brands like Dairyland or Gay Lea (if available in your region) as they often offer WW-friendly options that are low in points. This is a dessert that the entire family will love, and the kids won’t even realize how healthy it is!
- Making Your Own Pumpkin Puree: For an even fresher taste and to control every ingredient, consider making your own pumpkin puree. It’s simpler than you might think and can be very economical, especially if you have access to fresh pumpkins. Check out my detailed guide on how to cook a whole pumpkin and make your own pumpkin puree the easy and economical way. Homemade puree can sometimes offer a brighter, more intense pumpkin flavor.
👪 Serving Size for Your Healthy Pumpkin Pie
This recipe for Weight Watchers Crustless Pumpkin Pie is designed to serve 8 delicious slices. Each slice offers a satisfying portion without overindulging. If you’re hosting a larger gathering or simply want to have extra on hand, you can easily scale the recipe. The recipe card allows you to double (yielding 16 servings or 2 pies) or even triple (24 servings or 3 pies) the amounts with a simple click on the servings number. The ingredient quantities will automatically adjust for you. Just remember to have additional pie plates ready for baking multiple pies!
🔢 Weight Watchers Points Breakdown
One of the most appealing aspects of this dessert is its Weight Watchers friendliness. This particular Weight Watchers Crustless Pumpkin Pie is not just the best-tasting crustless pumpkin pie you’ll find, but it’s also incredibly low in points. According to the Weight Watchers app, each generous slice is only 3 WW points. This is a remarkable reduction compared to a traditional pumpkin pie, which typically averages around 14 WW points per serving. For those who wish to reduce the point value even further, you could experiment with using a zero-calorie sugar substitute like monk fruit in place of brown sugar. However, the current recipe uses real brown sugar for its superior flavor profile while still keeping points exceptionally low.
🌡️ Storage Tips for Freshness
Proper storage is essential to keep your crustless pumpkin pie fresh and delicious for as long as possible. For short-term storage, such as a day or two, simply cover the pie tightly with plastic wrap directly over the surface of the pie to prevent a skin from forming and to keep it from absorbing refrigerator odors. For longer storage, up to 3 days, transfer any leftover slices or the entire pie to an airtight container before placing it in the fridge. This method will help maintain its creamy texture and prevent it from drying out or becoming spongy. Always store it in the refrigerator due to the dairy and egg content.
❔ Recipe FAQs: Your Questions Answered
Yes, absolutely! You can prepare this no-crust pumpkin pie in advance, which is a fantastic time-saver during busy holiday preparations. However, for optimal texture and freshness, I recommend making it no more than a day ahead of when you plan to serve it. While it stores well in the fridge for up to 3 days, you might notice a slight change in texture – it can become a little less “springy” and potentially a bit spongy or soggy over time. Enjoying it within the first 24-48 hours after baking will give you the best experience.
Yes, this crustless pumpkin pie freezes remarkably well, making it an excellent option for meal prep or for enjoying a taste of the holidays long after the season ends. To freeze, ensure the pie is completely cooled after baking. Then, wrap it tightly in several layers of plastic wrap, followed by a layer of aluminum foil, or place it in an airtight freezer-safe container. It can be frozen for up to 3 months. When you’re ready to enjoy it, thaw it overnight in the refrigerator before serving.
For this recipe, you have the flexibility to use either fresh, homemade pumpkin puree or good quality canned pumpkin puree. Both options will yield delicious results. The most crucial detail to remember is to always purchase or prepare pure pumpkin puree. Do NOT use canned pumpkin pie filling, as it already contains sweeteners and spices that are not accounted for in this recipe, and using it would significantly alter the flavor profile and point value of your healthy Weight Watchers pie.
A 9-inch deep dish pie plate is ideal for this recipe, as it allows for a thicker, more substantial pie filling. If you only have a regular 9-inch pie dish, that will work too, but your pie might be slightly thinner. Ensure you spray your dish thoroughly with nonstick cooking spray to prevent sticking, as there is no crust to act as a barrier.
Pumpkin pie lovers everywhere will truly adore this Weight Watchers Crustless Pumpkin Pie! It offers all the traditional, heartwarming flavors without any of the added guilt, making it a staple for any health-conscious dessert enthusiast.
And if your love for all things pumpkin and healthy desserts knows no bounds, and you’re in the mood for a creamy, spiced cheesecake, don’t forget to try my WW-friendly Skinny Pumpkin Cheesecake with Oreo Cookie Crust! For those moments when you need a quick pumpkin fix and don’t want to bake an entire pie, my Microwave Crustless Pumpkin Pie in a Mug is the perfect single-serving solution. Enjoy the delightful taste of pumpkin in every healthy bite!
More Delicious Weight Watchers Desserts to Enjoy
- Weight Watchers Apple Crisp
- Healthy & Light Carrot Cake
- Microwave Chocolate Banana Mug Cake (WW Mug Cake)
- Baileys No Bake Cheesecake
Did your family❤️this recipe? Did you know that commenting and⭐rating recipes is one of the best ways to support your favorite recipe creators? If you LOVED this recipe, please comment and rate it in the recipe card or share photos on social media using the hashtag #foodmeanderings or tagging @foodmeanderings !

📋 Crustless Pumpkin Pie Recipe
Print Recipe
Pin
Save Recipe
Save Recipe
Rate
Dessert
American, Canadian
Vegetarian
8
slices
108
kcal
Terri Gilson
10 minutes
35 minutes
45 minutes
Prevent your screen from going dark
Add to Shopping List
Go to Shopping List
Equipment
-
deep dish pie pan
(or a regular 9 inch pie dish) -
large mixing bowl
Ingredients
-
1 ½
cups
pumpkin puree, canned pumpkin or fresh pumpkin
*NOT pumpkin pie filling -
4
whole
large eggs -
¼
teaspoon
maple extract -
1
teaspoon
pumpkin pie spice mix -
½
teaspoon
ground cinnamon -
⅓
cup
brown sugar -
1
cup
evaporated milk- fat free
Metric
Instructions
-
Preheat oven to 400 degrees F (204 degrees C) and spray a pie plate with nonstick cooking spray.
-
In a large bowl, combine all ingredients. Mix with an electric mixer until combined (30 seconds) scraping sides of bowl.1 ½ cups pumpkin puree, canned pumpkin or fresh pumpkin,
4 whole large eggs,
¼ teaspoon maple extract,
1 teaspoon pumpkin pie spice mix,
½ teaspoon ground cinnamon,
⅓ cup brown sugar,
1 cup evaporated milk- fat free -
Pour into a greased pie plate.
-
Bake at 400 degrees F/204 degrees C for 15 minutes.
-
Reduce heat to 375 degrees F (190 degrees C) and bake for 30-40 minutes more, until pie is set (cake tester or toothpick comes out clean). Move to wire rack to cool.
Notes
-
Don’t Overmix – Mix the filling just until combined. Overbeating can incorporate too much air, causing the pie to puff excessively in the oven and crack more as it cools.
-
Use Room Temperature Ingredients – Bringing eggs and evaporated milk to room temperature helps the batter blend smoothly and bake more evenly.
-
Bake on the Lower-Middle Rack – This ensures the pie cooks through without overbrowning on top.
-
Check Early for Doneness – Start checking the pie 5 minutes before the suggested time. Every oven is different, and overbaking can make the texture dry instead of silky.
-
Avoid Wateriness – If using fresh pumpkin puree, drain excess liquid before measuring to prevent a soggy texture.
-
Cool Completely Before Slicing – Allow the pie to fully set as it cools. Cutting too soon will cause slices to collapse or look messy.
-
Boost Flavor Overnight – Like many spice-based desserts, the flavor deepens if the pie is made a day ahead and chilled overnight.
-
Hide Cracks Gracefully – If your pie develops small cracks, a dusting of cinnamon or a dollop of WW-friendly whipped cream makes them disappear.
-
Serve Slightly Chilled or at Room Temp – For the best texture, avoid serving it straight from the oven. A few hours in the fridge makes the custard extra creamy.
-
Batch Baking Tip – If doubling or tripling the recipe, bake each pie on its own oven rack rather than stacking, to ensure even cooking.
Storage:
Store this pie in plastic wrap if you’re only storing it for a day or two. Otherwise, store it in an airtight container in the fridge for up to 3 days.
Nutrition
Serving:
1
slice
|
Calories:
108
kcal
(5%)
|
Carbohydrates:
17
g
(6%)
|
Protein:
6
g
(12%)
|
Fat:
2
g
(3%)
|
Saturated Fat:
1
g
(6%)
|
Cholesterol:
83
mg
(28%)
|
Sodium:
73
mg
(3%)
|
Potassium:
243
mg
(7%)
|
Fiber:
1
g
(4%)
|
Sugar:
14
g
(16%)
|
Vitamin A:
7394
IU
(148%)
|
Vitamin C:
2
mg
(2%)
|
Calcium:
128
mg
(13%)
|
Iron:
1
mg
(6%)
Did you make this recipe?
Please leave a star rating and review below!
