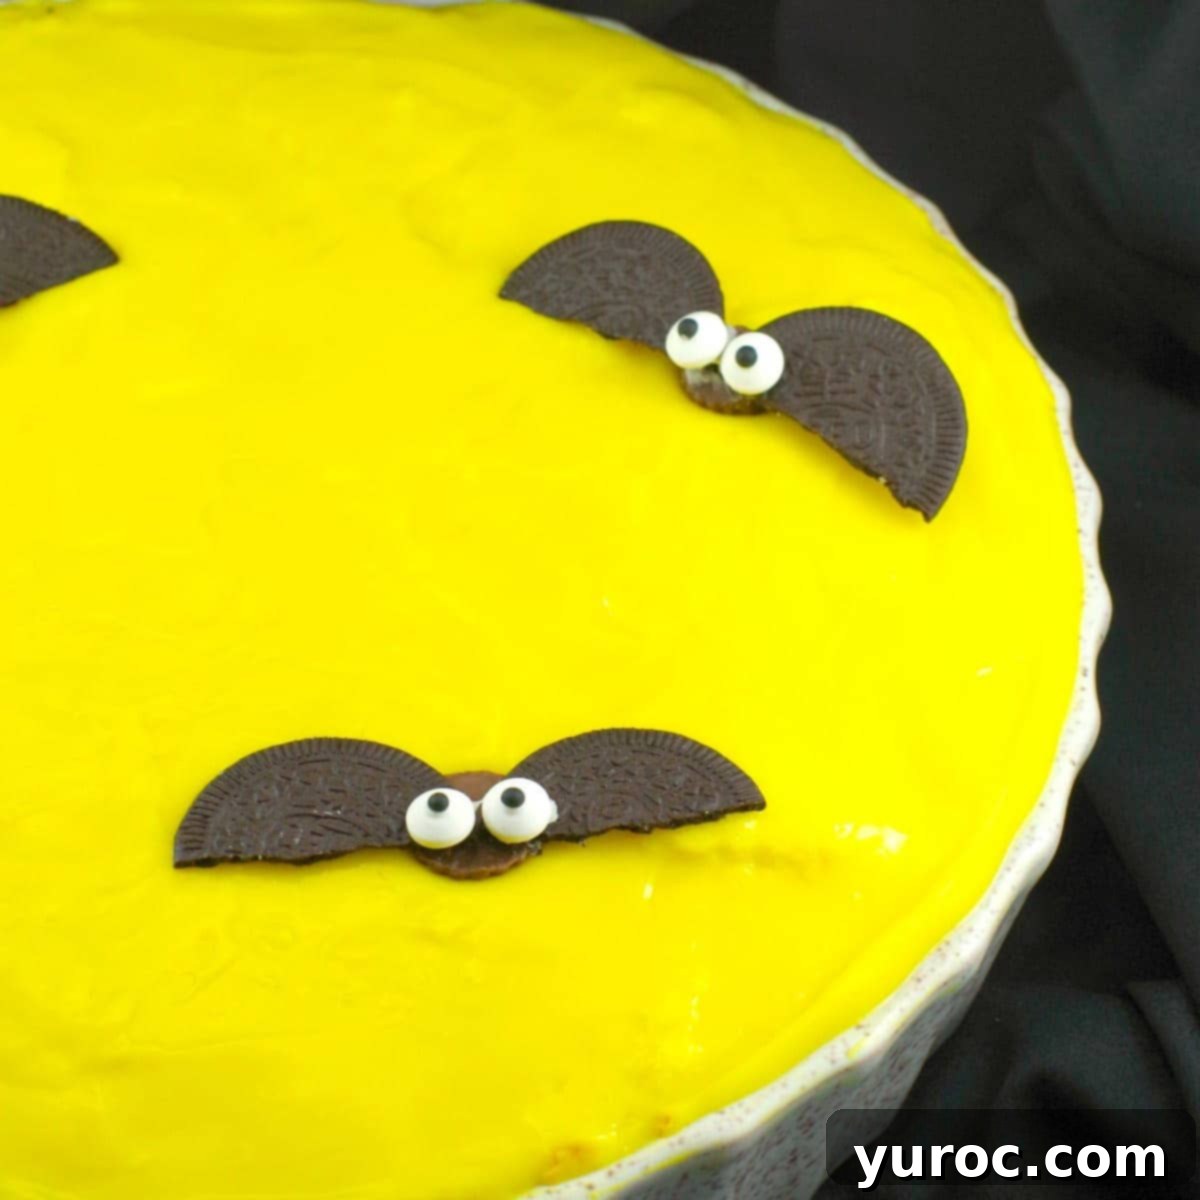
Spooktacular No-Bake Boston Cream Halloween Pie: An Easy & Creamy Treat with Oreo Bats!
Are you searching for a show-stopping Halloween dessert that’s both incredibly easy to make and guaranteed to impress? Look no further than this **No-Bake Boston Cream Halloween Pie!** Forget the typical pumpkin pies or elaborate jack-o-lantern confections. This unique “inside-out” Boston Cream Pie offers a delightful twist, featuring a rich Oreo cookie crust, a luscious, creamy whipped cream and vanilla filling, and adorable chocolate Oreo bats perched on top. It’s the ultimate hassle-free, yet utterly enchanting, dessert perfect for any Halloween gathering, spooky party, or festive family dinner.
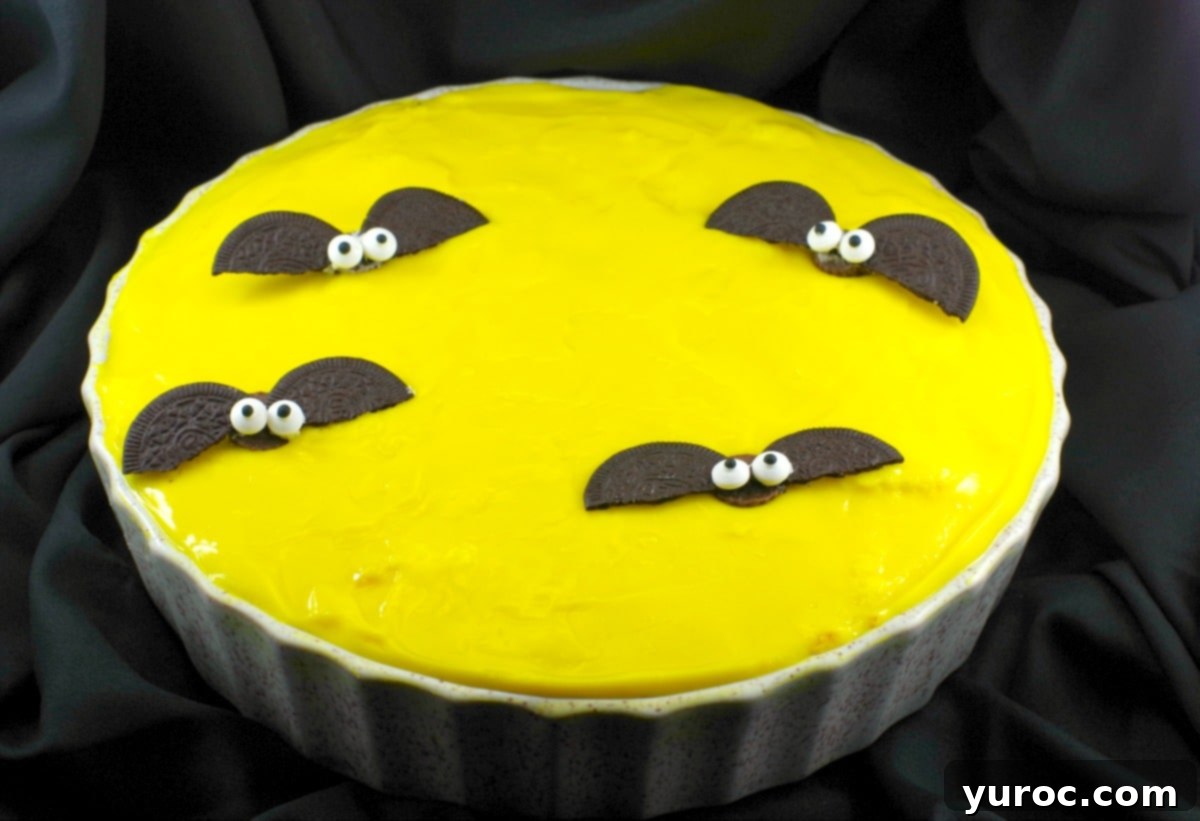
Inspired by the beloved Boston cream donut, this Halloween Moon Pie transforms a classic flavor profile into a festive and fun dessert experience. Its no-bake nature makes it an ideal choice for busy hosts, allowing you to whip up a fantastic treat without ever turning on your oven. If you’re tired of traditional Halloween pies and craving something a little different, this easy and fun recipe is sure to become your new favorite spooky season staple!
Halloween preparations can be a whirlwind of costumes, decorations, and party planning. Just recently, I was facing a work potluck and still hadn’t decided on my costume, let alone what dish to bring. While I was confident many colleagues would dress up – a lesson learned from past experiences – there’s always that lingering fear of being the *only* one. I’ve been there before, like a scene straight out of “Legally Blonde,” arriving in a full Playboy Bunny costume only to find everyone else in street clothes. Awkward, to say the least! On that particular occasion, I was dressed as Betty Crocker, and thankfully, I had a spectacular dessert in tow that saved the day: this very **No-Bake Boston Cream Halloween Pie!**
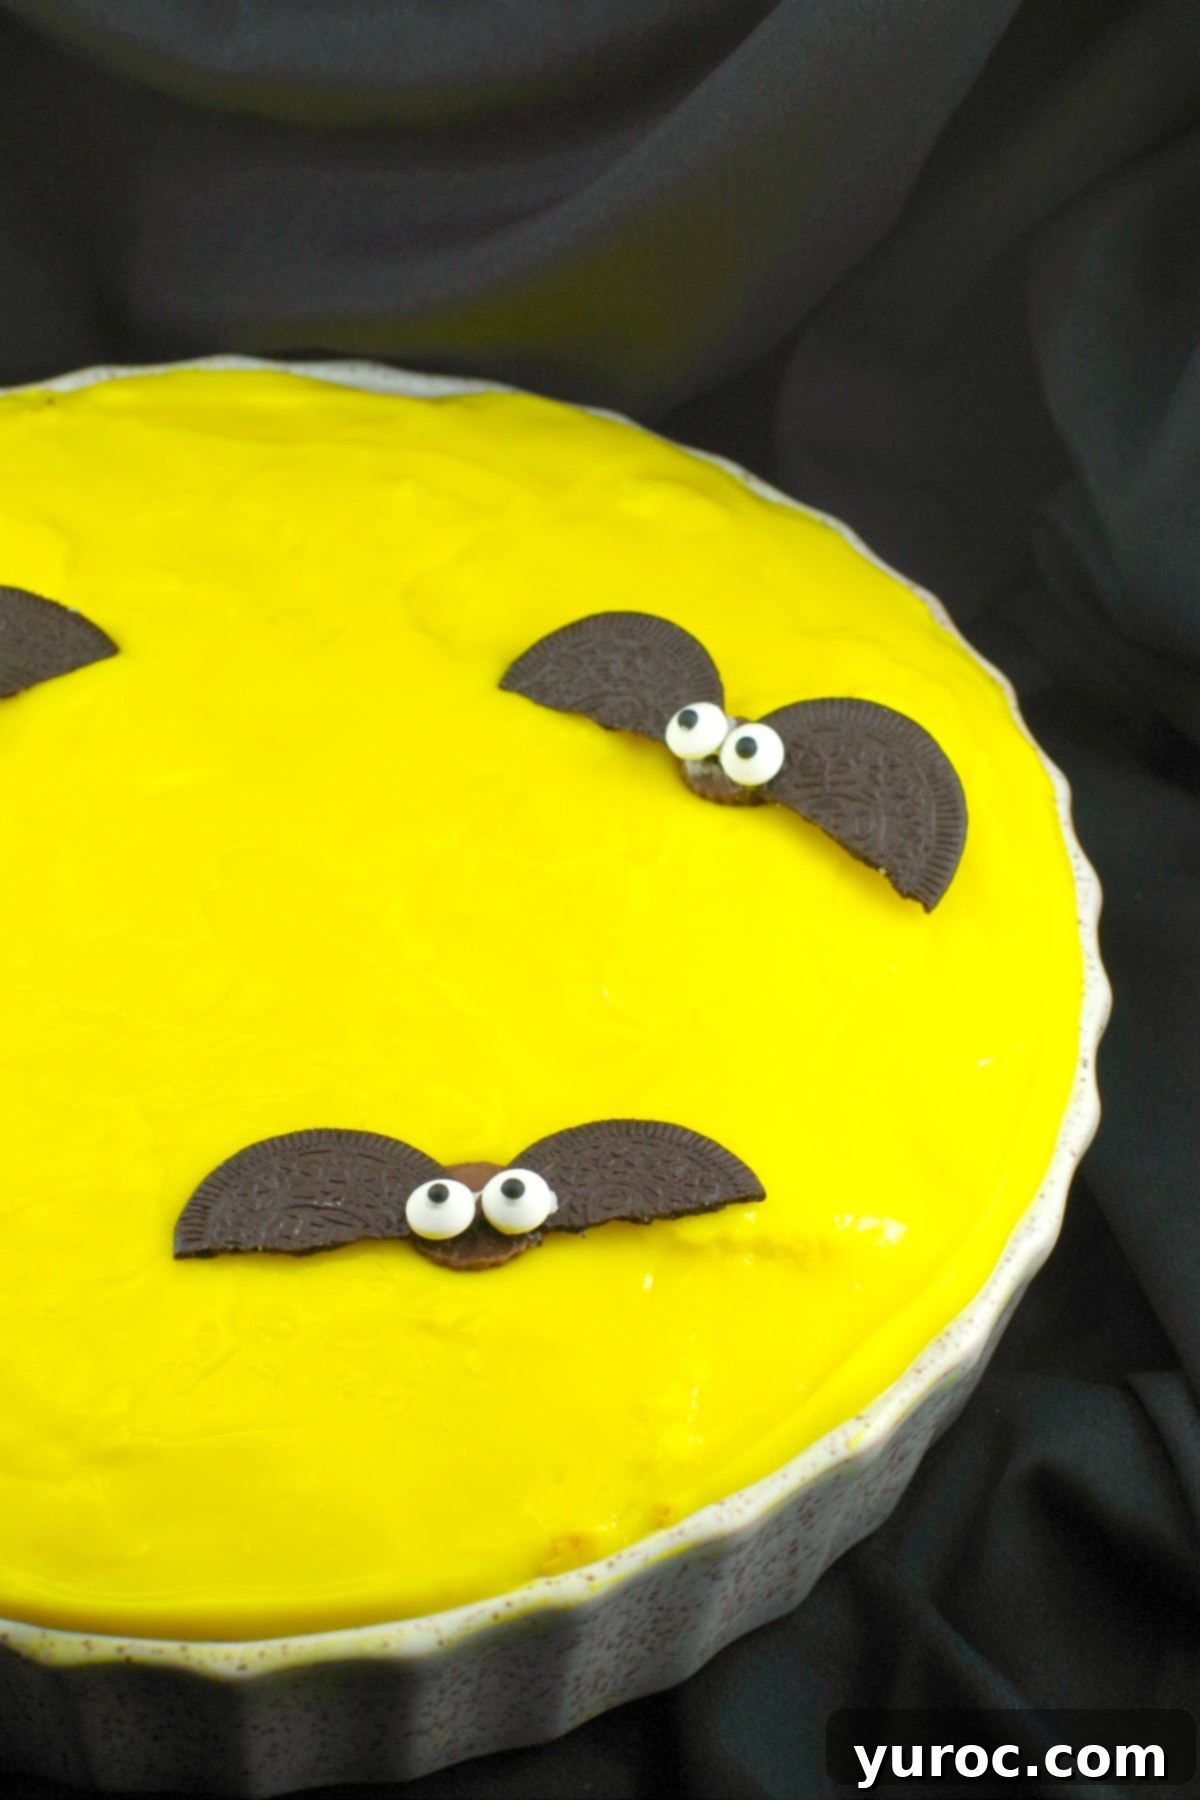
It’s not your traditional baked pie, but its ease, fun factor, and unique “inside-out” Boston cream flavor make it an absolute winner for Halloween parties. The combination of a crunchy Oreo crust, a smooth vanilla pudding filling that resembles a full moon, and adorable chocolate bats creates a dessert that’s both visually appealing and incredibly delicious. This pie is a perfect example of how a simple recipe can be elevated into a festive masterpiece, especially when time is of the essence and you want to avoid oven stress.
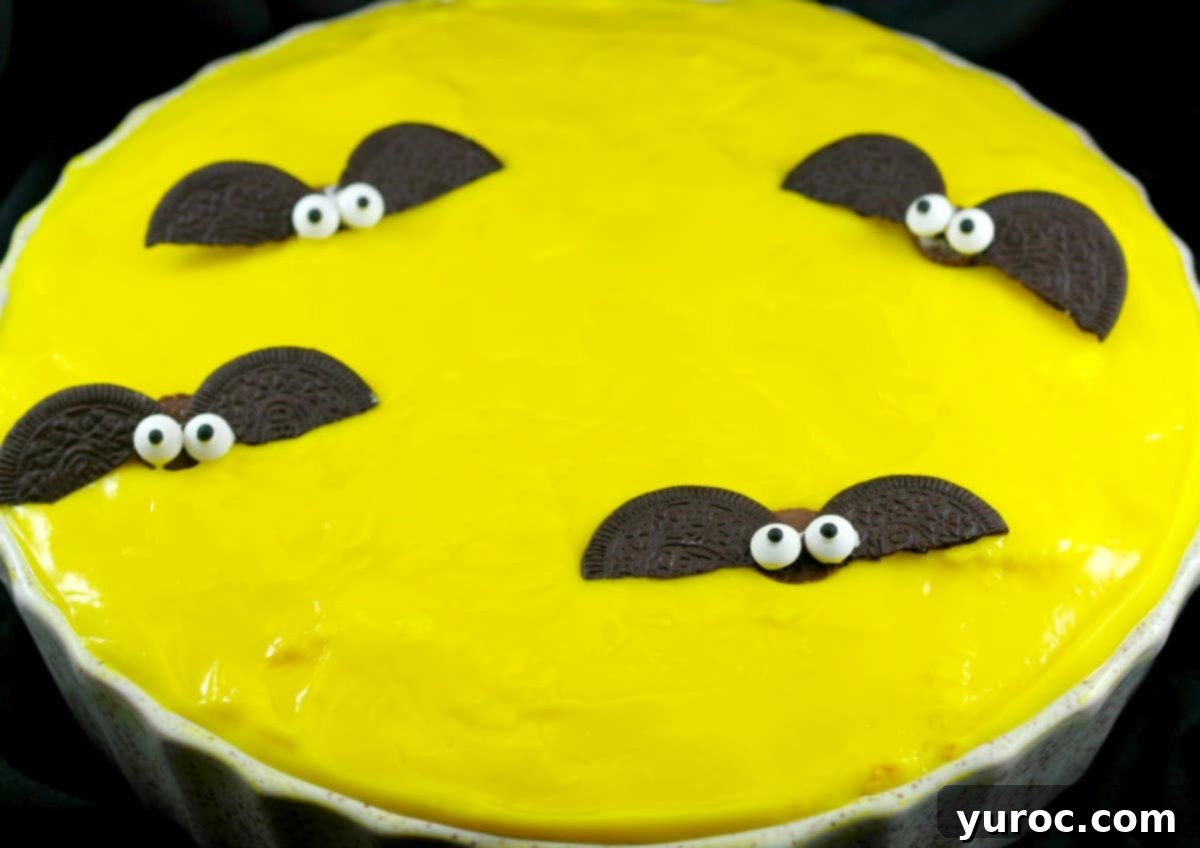
The inspiration for this delightful creation stems from two of my favorite things: the captivating imagery of a bright Halloween moon adorned with bats and witches, and my unwavering love for No-Bake Boston Cream Pie. Merging these two passions resulted in this “inside-out” version, which captures the spooky spirit of Halloween while delivering that classic, comforting Boston cream taste. If you’re on the hunt for cute Halloween dessert ideas and share my fondness for Boston cream, this whimsical and spooky treat is guaranteed to be a hit with both kids and adults alike.
Planning a full Halloween spread? Beyond this incredible pie, you might also be looking for other fantastic Halloween party ideas. Don’t forget to check out these Halloween Potluck Foods for a complete menu that will make your gathering truly unforgettable!
🎃 Essential Ingredient Notes for Your Halloween Moon Pie
Crafting this delicious No-Bake Boston Cream Halloween Pie is a breeze, especially with these simple ingredients. Here’s a deeper dive into what you’ll need and why:
- Oreo Chocolate Baking Crumbs: These form the dark, rich foundation of your pie crust, providing a wonderful contrast to the creamy filling. You can easily find pre-made crumbs, or for an extra fresh touch, crush whole Oreo cookies yourself (as I do in my No-Bake Black Forest Cheesecake recipe). Using crushed Oreos ensures a consistent flavor and texture throughout the crust.
- Melted Unsalted Butter: Essential for binding the cookie crumbs together, creating a firm and flavorful crust that holds its shape beautifully.
- White Granulated Sugar: A touch of sugar in the crust enhances the sweetness and helps with the binding process.
- Semi-Sweet Baking Chocolate: For the decadent chocolate glaze. Opt for high-quality baker’s bars rather than chocolate chips, as baking chocolate melts smoother and provides a more professional finish and richer flavor. This is key for that shiny, perfect moon effect.
- Corn Syrup: A crucial ingredient for the glaze, corn syrup gives it a beautiful sheen and helps prevent it from becoming too brittle once set, making it easier to cut and enjoy.
- Yellow Food/Icing Color: To achieve that iconic bright yellow “moon” color for your vanilla pudding. It’s vital to use concentrated gel icing coloring (such as Wilton icing coloring – affiliate link) instead of liquid grocery store food coloring. Gel colors provide a much more vibrant and true hue without adding excess moisture to your pudding.
- Fresh Whipped Cream: This creates a light, airy layer that complements the rich chocolate and sweet pudding. While homemade whipped cream is always a treat, you can absolutely substitute it with a frozen dessert topping like Cool Whip for convenience without sacrificing flavor.
- Instant Vanilla Pudding: For speed and ease, instant vanilla pudding is your best friend. I typically use the pre-made snack-size containers for ultimate convenience, but you can also prepare pudding from a mix according to package directions.
- White Pound Cake (or Angel Food Cake/Vanilla Loaf Cake): This forms a tender, cakey layer within the pie, truly giving it the “inside-out Boston Cream Pie” experience. Slice it or break it into pieces to fit your pie dish. It soaks up the flavors wonderfully.
- Reese’s Peanut Butter Cups (Miniature): These are the bodies of your adorable chocolate bats. Make sure to get the miniature size for the perfect scale.
- Oreo Cookie (Thins) Sandwich Cookies: The thin Oreo cookies are perfect for creating the delicate, realistic-looking bat wings.
- Frosting (Store-bought or Homemade): You’ll only need a small amount to act as “glue” for attaching the edible eyes to your bats. Royal icing works particularly well for quick setting.
- Edible Eyes: These add a whimsical, slightly spooky touch to your chocolate bats, bringing them to life!
💡 Top Tip for Vibrant Color!
When adding color to your vanilla pudding, steer clear of standard grocery store liquid food coloring. It often produces muted shades and can thin your pudding. For brilliant, consistent results, I highly recommend using concentrated gel icing coloring, such as Wilton icing coloring (affiliate link). A little goes a long way to achieve that perfect Halloween moon yellow!
🔪 Easy Step-by-Step Instructions for Your Spooky Pie
Preparing this delightful No-Bake Boston Cream Halloween Pie is surprisingly simple, making it a fantastic activity for all ages. Kids will love helping with the layering and especially decorating the adorable chocolate bats! If you’re looking to skip the usual Halloween cupcakes at your next potluck, this easy and kid-friendly Halloween dessert is an excellent, unique alternative.
The star decorations, the chocolate bats, are also very straightforward to create. I adapted the concept from Chelsea’s Messy Apron, which offers excellent step-by-step photo instructions for assembling them. Just remember one crucial tip: **do NOT place the bats on this Halloween pie until just before you’re ready to serve!** This will keep them looking their best and prevent any unfortunate mushy mishaps, as I’ve learned from experience.
Speaking of parties, I recall a time when a friend promised a costume party, assuring me others would dress up. I arrived in my elaborate costume only to find her in just a wig! “A wig is not dressing up!” I silently fumed. And as more parents arrived, not a single one was in costume. The silver lining? My costume was so good, I was completely unrecognizable, which was a blessing since I preferred not to be known by some attendees. It seems being ‘incognito’ came in handy that night. While I’m still debating my next costume, one thing is certain: this Halloween Pie recipe is my dependable secret weapon for effortless party success!
🛠️ Essential Equipment for Perfect Pie Making
To successfully assemble this impressive No-Bake Boston Cream Halloween Pie, you’ll need a few key pieces of kitchen equipment:
- Large Deep Pie Dish: A dish measuring at least 10.5 inches in diameter and 2.5 inches deep is ideal for accommodating all the delicious layers of this pie. This depth ensures each layer has enough space to contribute to the overall texture and presentation. (e.g., Check out this deep pie pan – affiliate link).
- Electric Hand Mixer: While not strictly necessary for every step, an electric hand mixer will make whipping the cream (if making it from scratch) and mixing other ingredients much faster and easier, ensuring a smooth, consistent texture throughout your pie. (e.g., Find a reliable electric hand mixer here – affiliate link).
- Rubber Spatula: Essential for gently spreading the crust, glaze, and filling layers without disturbing the previous components.
- Microwave-Safe Bowls or Double Boiler: For melting the chocolate for your glaze, ensuring it’s smooth and perfectly tempered.
👪 Serving Your Delicious Halloween Pie
- This No-Bake Boston Cream Halloween Pie, with its distinct layers, has a consistency that’s somewhat akin to a trifle once cut. While it has a solid pie crust at the bottom, the upper layers are creamy and soft. Before serving, it’s best to cut deeply into the bottom crust to ensure clean slices, just as you would with a traditional baked pie.
- Critical Bat Tip: If you are not serving the pie immediately, refrigerate it until you’re ready. However, **DO NOT** place the chocolate bats on top until literally moments before serving. I learned this the hard way – if the bats sit on the creamy surface for too long, they will absorb moisture, become mushy, their edible eyeballs might run, and they will lose their adorable, spooky appeal. Trust me on this!
🌡️ Storing Your Halloween Treat
To keep your No-Bake Boston Cream Halloween Pie fresh and delicious, store it in an airtight container in the refrigerator for up to 3 days. A word of caution: **do NOT cover the pie directly with plastic wrap.** The plastic will inevitably stick to the pudding layer, creating a mess and potentially ruining the smooth surface when you try to remove it.
This delightful No-Bake Boston Cream Halloween Pie is not only delicious but also wonderfully portable, making it an excellent choice for potlucks, parties, or any festive Halloween gathering. Its sturdy crust and layered structure make it easy to transport, ensuring it arrives at your destination in perfect condition, ready to be devoured.
Looking for more Halloween party food ideas? Here’s another fun and spooky recipe: My Phantom Pierogi Pizza Pops! These savory treats are just as much a crowd-pleaser as our sweet pie.
And to complete your Halloween feast, pair it with Halloween Witch Punch – a vibrant, non-alcoholic drink that adds a magical touch to any celebration!
🌟 Your Feedback Matters: Comments & Reviews!
Did you know that leaving comments and ratings on recipes is one of the best ways to show support for your favorite recipe creators? If you absolutely loved making and enjoying this No-Bake Boston Cream Halloween Pie, please take a moment to share your thoughts! You can comment and rate it directly in the recipe card below, or better yet, share your fantastic photos on social media using the hashtag #foodmeanderings or by tagging @foodmeanderings! Your feedback and shares truly help others discover and enjoy these recipes.
Whether you choose to don a spooky costume or prefer a more subtle festive look, having a reliable and easy Halloween dessert recipe in your repertoire is always a brilliant idea. This No-Bake Inside Out Boston Cream Halloween Moon Pie is that perfect solution! So, this year, take a delicious detour from your standard apple, cherry, or pumpkin pie. Embrace the spooky fun and treat your friends and family to this unique and irresistible no-bake delight!
Happy Halloween, and happy baking (or, in this case, no-baking)!

🌕 No-Bake Boston Cream Halloween Pie Recipe
Print Recipe
Pin
Save RecipeSave Recipe
Rate
Add to Shopping ListGo to Shopping List
Equipment
-
electric hand mixer
Ingredients
Pie:
Pie Crust:
- ½ 400g box of Oreo chocolate baking crumbs
- ½ cup unsalted butter melted
- 2 tablespoon white granulated sugar
Pie Glaze:
- 6 oz melted semi- sweet chocolate
- 1 tablespoon corn syrup
- ¼ cup melted butter
- ½ teaspoon yellow gel paste food/icing colouring * don’t use grocery store food coloring- it will be difficult to get the right color
Pie Filling:
- 2 cups whipped cream homemade or frozen dessert topping -e.g. Cool whip
- 12 99g containers snack size instant vanilla pudding * 3 packages of 4 pudding
- 1 270g – 370 g white pound, angel food or loaf cake sliced or broken up
Chocolate Bats: (**SEE NOTES)
- 4 miniature Reeses peanut butter cups
- 4 Oreo Chocolate (thins) Sandwich Cookies
- dabs frosting/icing * I use royal icing
- 8 Edible eyes
Instructions
Pie Preparation:
-
Lightly spray the inside of a 10.5-inch round, 2.5-inch deep dessert dish with non-stick cooking spray. Alternatively, you can use two shallow (1.5-inch deep) 9-inch pie plates.
Note: If using a single 9-inch pie plate, simply cut the recipe quantities in half. You can input ‘8’ servings, and the recipe will automatically adjust for you.
Crafting the Crust:
-
In a large bowl, combine the Oreo cookie baking crumbs, ½ cup of melted unsalted butter, and 2 tablespoons of white granulated sugar. Mix thoroughly until the crumbs are well moistened and clump together. Press this mixture evenly and firmly into the bottom of your prepared pie plate. Place in the refrigerator to chill for 10 minutes to help it set.
Preparing the Glaze:
-
While the crust chills, prepare the glaze. Melt the 6 oz of semi-sweet baking chocolate in the microwave at half power (50% setting) for about 2 ½ to 3 minutes, stirring every 30 seconds, until completely melted and smooth. Alternatively, use a double boiler for a gentler melt. Once melted, stir in ¼ cup of melted butter and the corn syrup until well combined and glossy.
**IMPORTANT NOTE: Be careful not to overheat the chocolate in the microwave, and ensure no water comes into contact with it, as either can cause the chocolate to seize and become unusable.
-
Carefully pour the warm chocolate glaze evenly over the chilled Oreo cookie crust. Gently spread it with a spatula, taking care not to disturb the crust or mix crumbs into the chocolate. Ensure the entire surface is covered. Refrigerate until the glaze is firm, which usually takes about 15 minutes.
Assembling the Filling:
-
Once the chocolate glaze is firm, spread the whipped cream evenly over the chocolate cookie crust. Next, arrange the sliced or broken pieces of white cake over the whipped cream layer, creating a soft, cakey base for the pudding.
-
In a separate bowl, add the yellow gel food/icing coloring to your instant vanilla pudding. Mix well until you achieve your desired vibrant yellow color, resembling a glowing Halloween moon. Set this aside briefly.
-
Gently spread the yellow vanilla pudding over the cake layer, smoothing it out with a butter knife or spatula until it is flush with the edge of the pie plate. Add more pudding or remove any excess as needed to create a perfectly level top.
Creating the Chocolate Bats: (**SEE NOTES BELOW)
-
Carefully remove the wrappers from the miniature Reese’s peanut butter cups. These will be the bodies of your bats.
-
Take the Oreo thin sandwich cookies, break each in half, and then gently separate the two cookie pieces from the cream filling. Scrape off the frosting from the inner side of each cookie half. You should now have 8 “bat wings.”
-
Press one cookie piece into the left side of a Reese’s cup and another cookie piece into the right side, creating the appearance of wings.
-
Using a dab of frosting or icing (royal icing works wonderfully for quick setting), attach two edible eyes to the top center of each Reese’s cup bat body. Repeat this process for the remaining 3 bats.
-
Final Step: Just before serving, carefully place your assembled chocolate bats on top of the yellow pudding “moon” layer of the pie. Serve immediately to enjoy them at their best!
***CRITICAL NOTE: If you do not intend to serve the pie right away, keep it refrigerated without the bats. DO NOT place the bats on the pie until immediately before serving. If left on too long, they will absorb moisture from the pudding, becoming mushy, their edible eyes may run, and they will lose their charming appearance (this unfortunate event happened to me, so learn from my mistake!).
Notes
Nutrition
Did you make this recipe? Please leave a star rating and review below!
👻 More Spooktacular Halloween Recipes!
If you’re still in the mood for more festive treats and eats to complete your Halloween celebration, explore these other fantastic recipes:
- Boo Batter Ice Cream (No-Churn)
- Halloween Jack o’Lantern Cupcakes
- Witches Brew Halloween Trifle (with Jello Worms)
- Salted Toffee Halloween Caramel Apples
