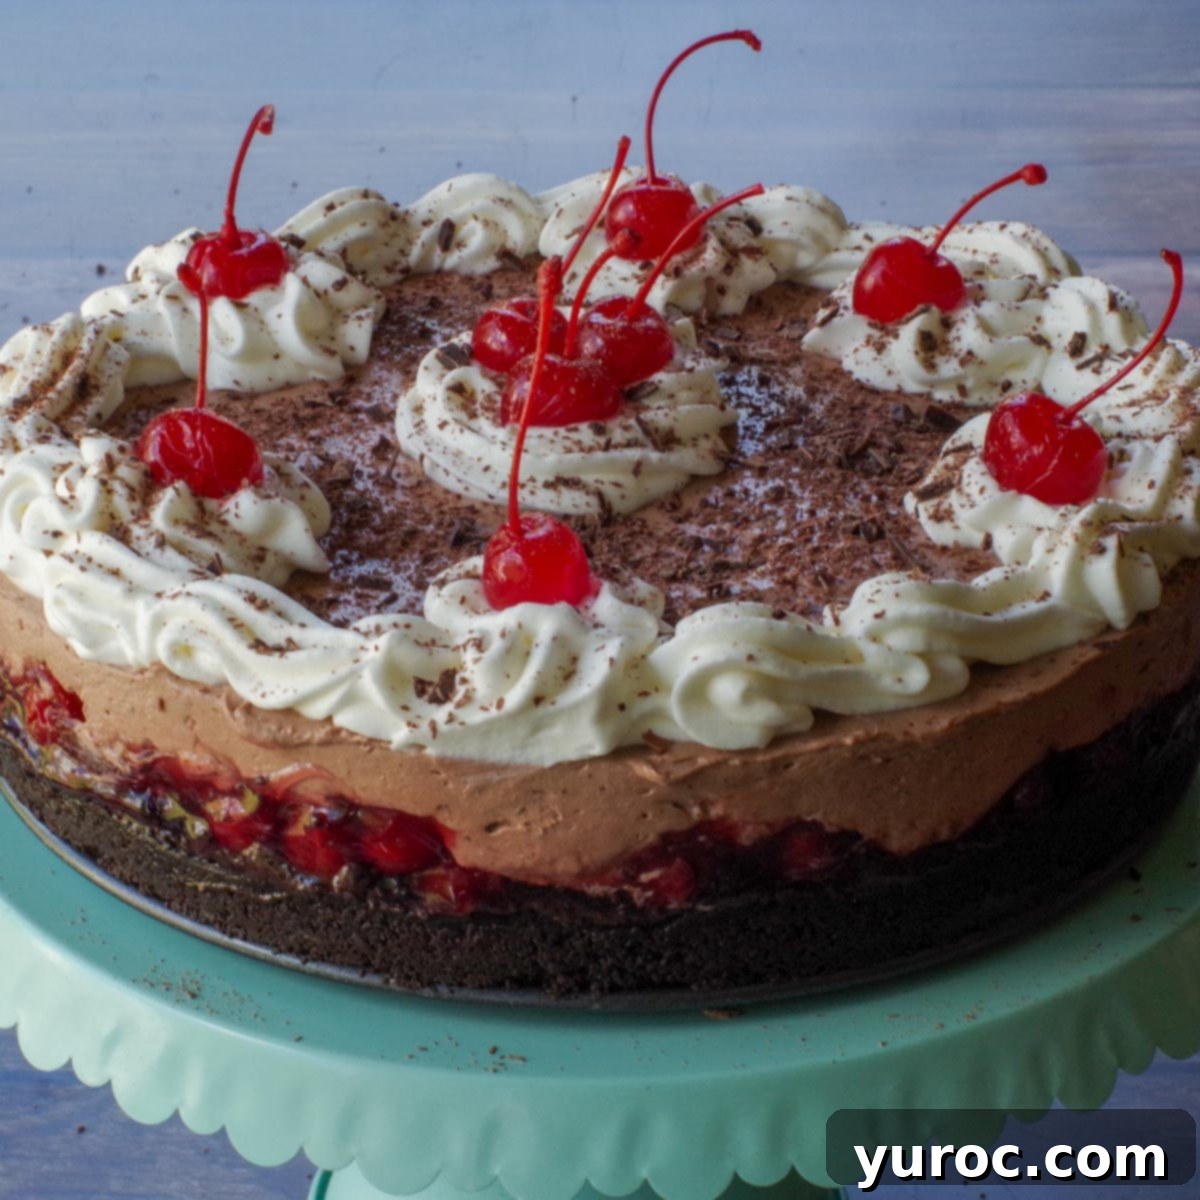
Decadent No-Bake Black Forest Cheesecake: An Effortless Chocolate Cherry Dream
If you’re a connoisseur of classic Black Forest Cake and a devoted fan of creamy cheesecake, prepare to fall in love with this extraordinary No-Bake Black Forest Cheesecake. This recipe offers a unique and delightfully rich chocolate cheesecake experience, complete with a luscious cherry filling and a perfectly crunchy Oreo cookie crust. Its elegance is completed with a simple yet beautiful decoration of fluffy whipped cream frosting and vibrant maraschino cherries. This dessert captures all the iconic flavors of the beloved German gateau without ever needing to turn on your oven.
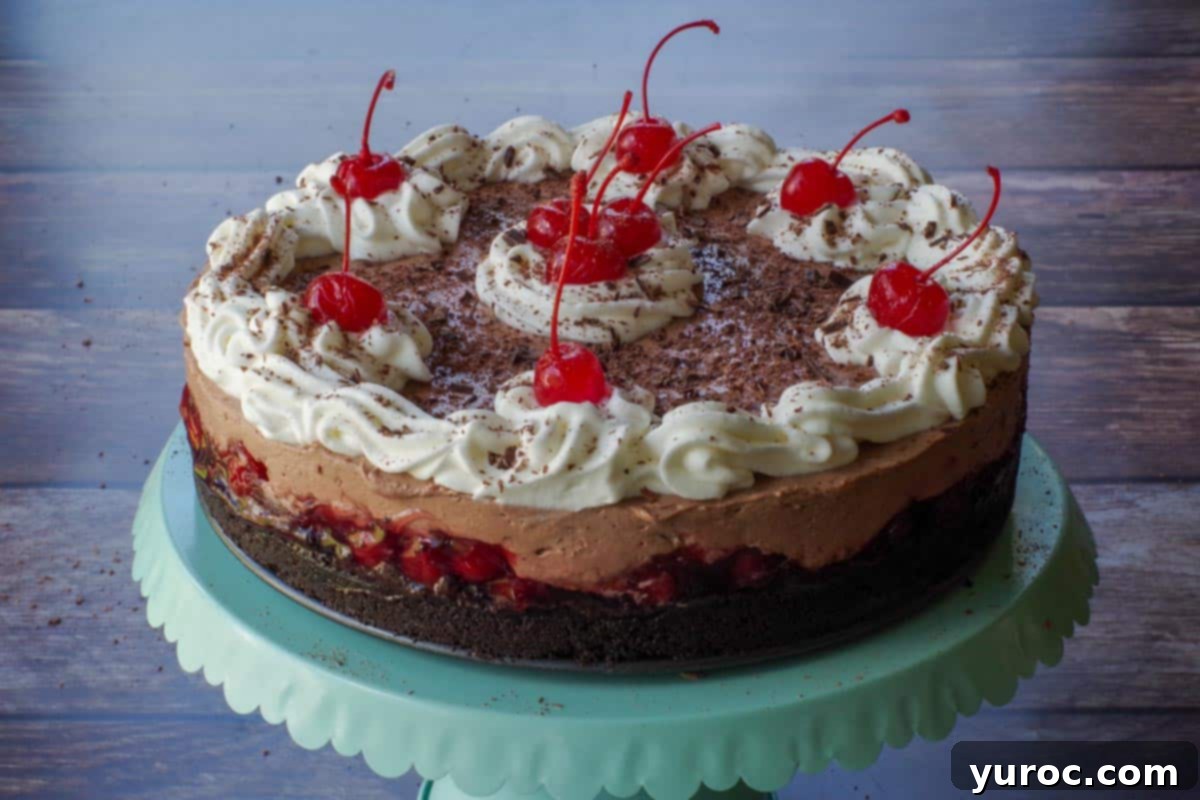
While this Black Forest Cheesecake finds particular popularity during the holiday season, its refreshing, no-bake nature makes it an ideal easy dessert for summer gatherings and a perfect choice for any special occasion throughout the year. Its rich, deep flavors also provide a comforting treat during cooler months, proving its versatility. This delightful cheesecake was creatively inspired by my popular Black Forest Cake and my indulgent No-Bake Chocolate Cheesecake recipes, combining the best elements of both worlds into one unforgettable dessert.
Creating a show-stopping dessert doesn’t have to mean spending hours in the kitchen. This no-bake cheesecake simplifies the process significantly, allowing you to achieve bakery-quality results with minimal effort. The combination of the crumbly chocolate cookie base, the sweet and tangy cherry layer, and the smooth, decadent chocolate cream cheese filling creates a symphony of textures and flavors that will impress even the most discerning palates. It’s the perfect solution for potlucks, birthday celebrations, or simply when you crave a rich, homemade treat without the fuss of baking.
🍒 What Our Readers Are Saying!
“I am not usually a fan of no-bake cheesecake, but this cake was amazing! The flavors are perfectly balanced, and it was so easy to make. This is a must for the summer!” ⭐⭐⭐⭐⭐
If you’re a fan of the classic Black Forest flavor profile and enjoy the convenience of no-bake recipes, you’ll also adore my other creations. Be sure to try my refreshing No-Bake Black Forest Trifle, a layered dessert that’s quick to assemble and bursting with flavor, or my sophisticated No-Bake Black Forest Tiramisu, which offers a delightful twist on an Italian classic, infusing it with rich chocolate and cherry notes. These recipes are perfect for expanding your repertoire of effortless, crowd-pleasing desserts.
Essential Tips for a Perfect No-Bake Cheesecake
Achieving a flawless no-bake Black Forest Cheesecake is simple with these expert tips:
- **Gelatin Temperature is Key:** When mixing gelatin, always use hot water, NOT boiling water. Boiling water can actually degrade the gelatin’s setting power, preventing your cheesecake layers from firming up properly. Hot water (around 105-115°F or 40-46°C) is ideal for dissolving it smoothly and effectively.
- **Stabilize Your Whipped Cream:** For beautifully piped decorations and a cream that holds its shape, it’s crucial to stabilize your whipped cream. Without stabilization using piping gel or gelatin, your whipped cream may deflate or weep, especially if the cake sits out for a while. This ensures your garnish looks fresh and appealing.
- **Prepare Your Pan Generously:** Always spray your springform pan generously with non-stick cooking spray, or line the bottom with parchment paper and spray the sides. This simple step is vital for easy unmolding and ensures your cheesecake comes out clean and intact, preventing any sticking.
- **Fine Crumb Crust for Stability:** Make sure your Oreo cookies are ground into a very fine crumb, almost like sand. This fine texture allows the butter to bind the crumbs tightly, forming a sturdy and even crust that won’t crumble when sliced.
- **Careful Chocolate Melting:** When melting chocolate, avoid getting any water near it, as even a tiny drop can cause the chocolate to seize and become clumpy. Melt chocolate gently in the microwave at 50% power in short intervals (e.g., 30 seconds at a time), stirring between each, to prevent overheating and seizing. A double boiler is another excellent, gentle method.
- **Set Layers for Clean Lines:** Ensure the cherry layer is completely set before carefully adding the cream cheese layer. This critical step prevents the layers from bleeding into each other, giving your cheesecake distinct, beautiful stripes. Patience here pays off!
- **Dry Cherries for Pristine Garnish:** Pat maraschino or cocktail cherries dry with a paper towel before garnishing the cake. Excess moisture can cause the red dye to run onto your white whipped cream, spoiling the visual appeal.
- **Freeze Unadorned:** Do not freeze this cake once it’s decorated with whipped cream. Whipped cream can become watery and lose its texture upon thawing. Instead, freeze the plain cheesecake and wait until it is completely defrosted in the refrigerator before adding the fresh whipped cream and cherry decorations.
🥘 Ingredient Spotlight: Crafting Your Cheesecake Layers
Understanding the role of each ingredient is essential for perfecting this recipe. Here’s a closer look at what you’ll need to create this decadent dessert:
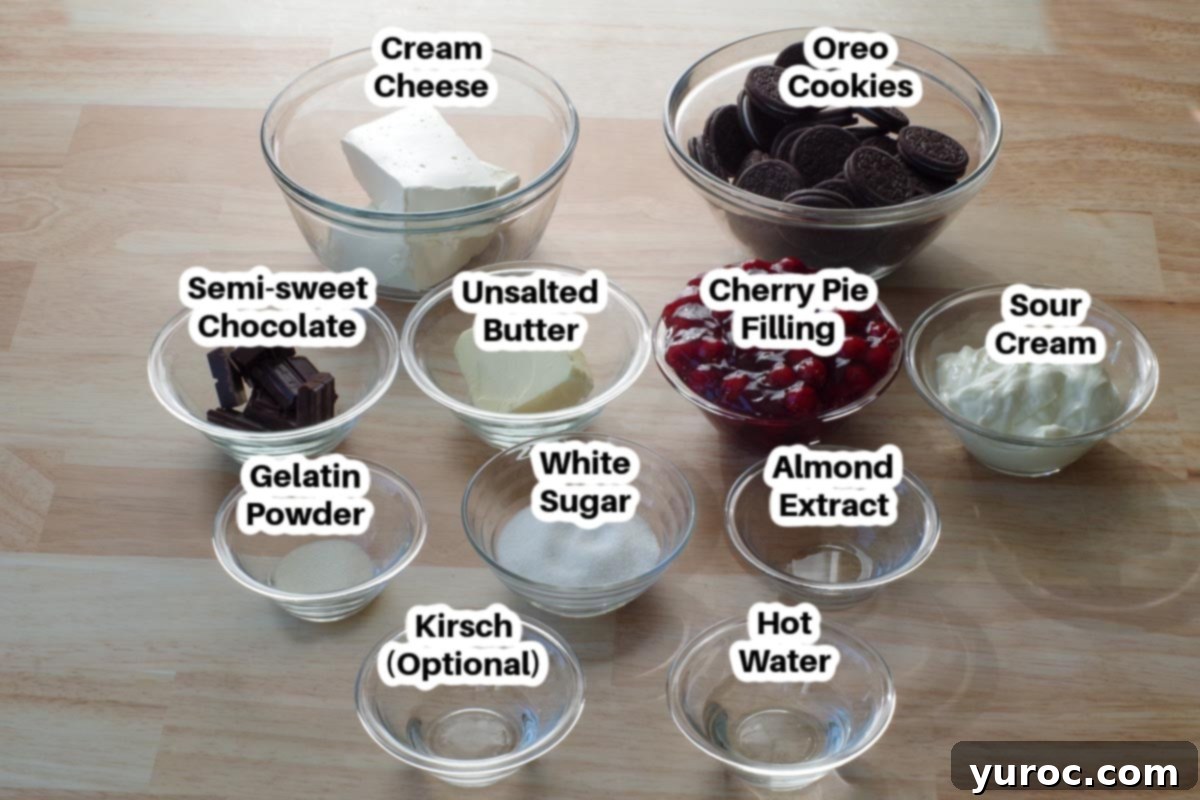
- Unsalted Butter: I prefer using unsalted butter for the crust because it allows for precise control over the overall saltiness of the dessert. You won’t need to add any additional salt, ensuring a balanced flavor.
- Oreo Cookies: These iconic chocolate sandwich cookies are the foundation of our irresistible crust. Crushing them into fine crumbs and binding them with melted butter creates a sturdy, flavorful, and deeply chocolatey base that perfectly complements the rich cheesecake. If you don’t have a food processor, a Ziploc freezer bag and a rolling pin work just as effectively for crushing.
- Gelatin Powder: As this is a no-bake cheesecake, gelatin is our secret weapon for achieving that firm, sliceable texture without baking. It acts as a setting agent, giving both the cherry and cheesecake layers their structure.
- Cherry Pie Filling: To keep this recipe simple and convenient, we use canned cherry pie filling. This provides a wonderfully sweet and tart cherry layer with minimal fuss. When combined with a touch of almond extract, it creates a flavor profile reminiscent of classic Black Forest desserts.
- Cream Cheese: The heart and soul of any cheesecake! Make sure your cream cheese is at room temperature to ensure it creams smoothly with the sugar, creating a light, airy, and lump-free texture. Full-fat cream cheese offers the richest flavor and texture.
- Sour Cream: This ingredient adds an extra layer of richness, a subtle tang, and a beautifully creamy consistency to the chocolate cheesecake layer. It helps balance the sweetness and contributes to the dessert’s overall smooth mouthfeel.
- Semi-Sweet Chocolate: Using high-quality semi-sweet baker’s chocolate is crucial for a deep, rich, and authentic chocolate flavor in our cheesecake. When melted and incorporated, it transforms the cream cheese mixture into a decadent chocolate delight.
- Almond Extract: This small addition makes a big difference! A hint of almond extract in the cherry filling layer beautifully enhances the cherry flavor and adds a unique, sophisticated depth that truly elevates the Black Forest experience.
- Kirsch (Optional): Kirschwasser, a clear cherry brandy, is traditionally used in Black Forest preparations. If you choose to include it, it will significantly intensify the cherry-almond flavors, adding an authentic and aromatic note to your cheesecake.
- Whipped Cream: For the best results in flavor and texture, always opt for real whipped cream for your frosting and garnish. Its light, airy consistency and fresh dairy taste provide a perfect contrast to the rich cheesecake.
📖 Creative Variations & Smart Substitutions
Feel free to customize this Black Forest Cheesecake to suit your taste preferences or dietary needs with these simple variations:
- Crust Alternatives: While Oreo cookies provide a classic dark chocolate flavor, you can certainly get creative with your crust. If you can find them, chocolate baking crumbs or even graham cracker crumbs with a touch of cocoa powder can make excellent alternatives. For a different texture, try incorporating finely chopped toasted nuts into your crumb mixture.
- Cream Cheese Choices: The recipe calls for full-fat cream cheese for maximum richness, but you have options. Reduced-fat or even non-fat cream cheese can be used for a lighter version, though be aware that the texture might be slightly less dense and creamy.
- Butter Options: Unsalted butter is recommended for better control over the flavor, but salted butter can be used in a pinch. Just keep in mind that it will impart a slightly saltier note, which can subtly cut through the sweetness of the cheesecake.
- Alcohol-Free or Different Spirits: The Kirsch is entirely optional. I’ve made this cheesecake without alcohol, and it’s absolutely delicious on its own! If you want to include a spirit but prefer something different, cherry brandy is a suitable substitute for Kirsch, but remember that cherry brandy tends to be sweeter, so adjust other sweet elements if necessary.
- Cherry Filling from Scratch: For those who love to bake from scratch, you can replace the canned cherry pie filling with a homemade cherry pie filling. This allows you to control the sweetness and add fresh cherry flavor, which can truly elevate the dessert.
- Whipped Cream Style: You can use a simple, plain whipped cream topping for garnish, or for a more structured and stable topping, consider using a stabilized whipped cream frosting. The stabilized version will hold its shape better for piping and display.
- Fresh Cherry Garnish: For a more gourmet touch and seasonal appeal, fresh cherries can be used to decorate the top of the cake instead of maraschino cherries. Their vibrant color and natural sweetness are a beautiful addition.
🔪 Step-by-Step: Crafting Your No-Bake Black Forest Cheesecake
Get ready to create a masterpiece with these easy-to-follow instructions:
Preparation: Before you begin, generously spray a 9 or 10-inch springform pan with non-stick cooking spray, ensuring the sides are well-coated. This will make unmolding your finished cheesecake a breeze.
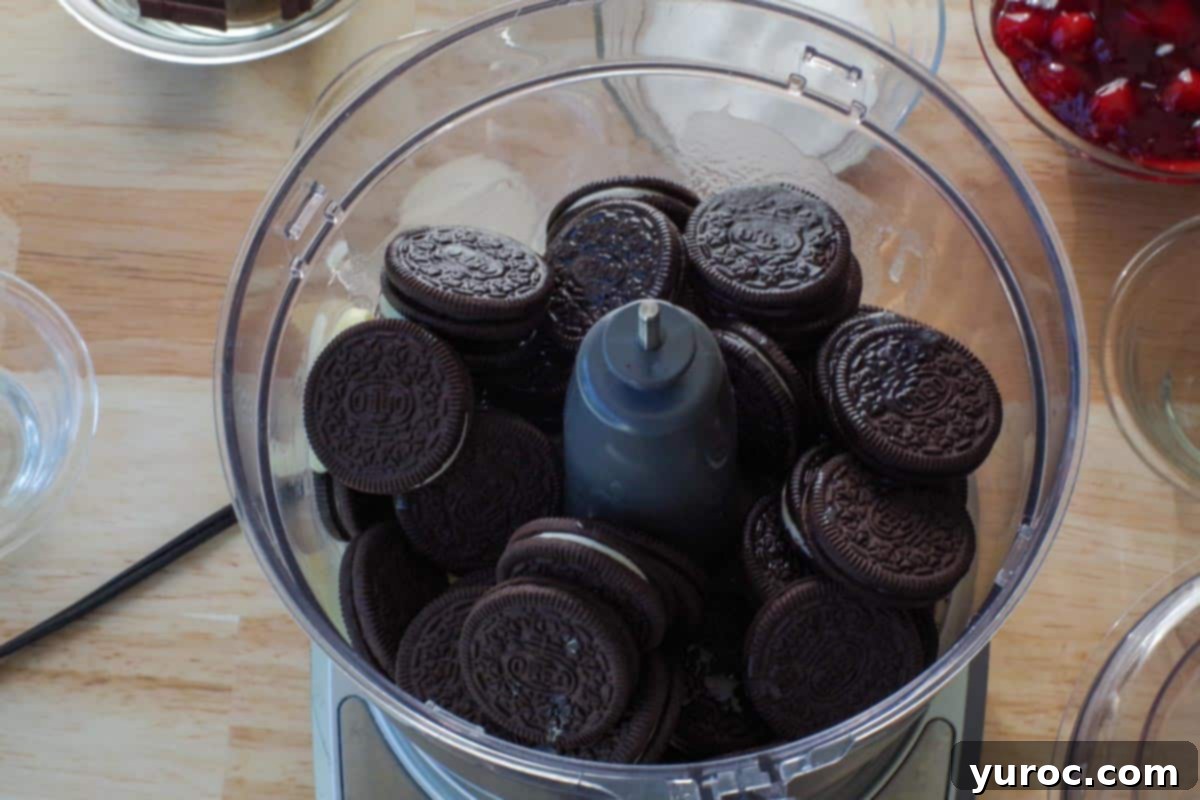
- Step 1: Prepare the Crust Ingredients. Begin by melting your unsalted butter. Once melted, add both the butter and the entire package of Oreo cookies (no need to remove the cream filling!) into the bowl of a food processor.
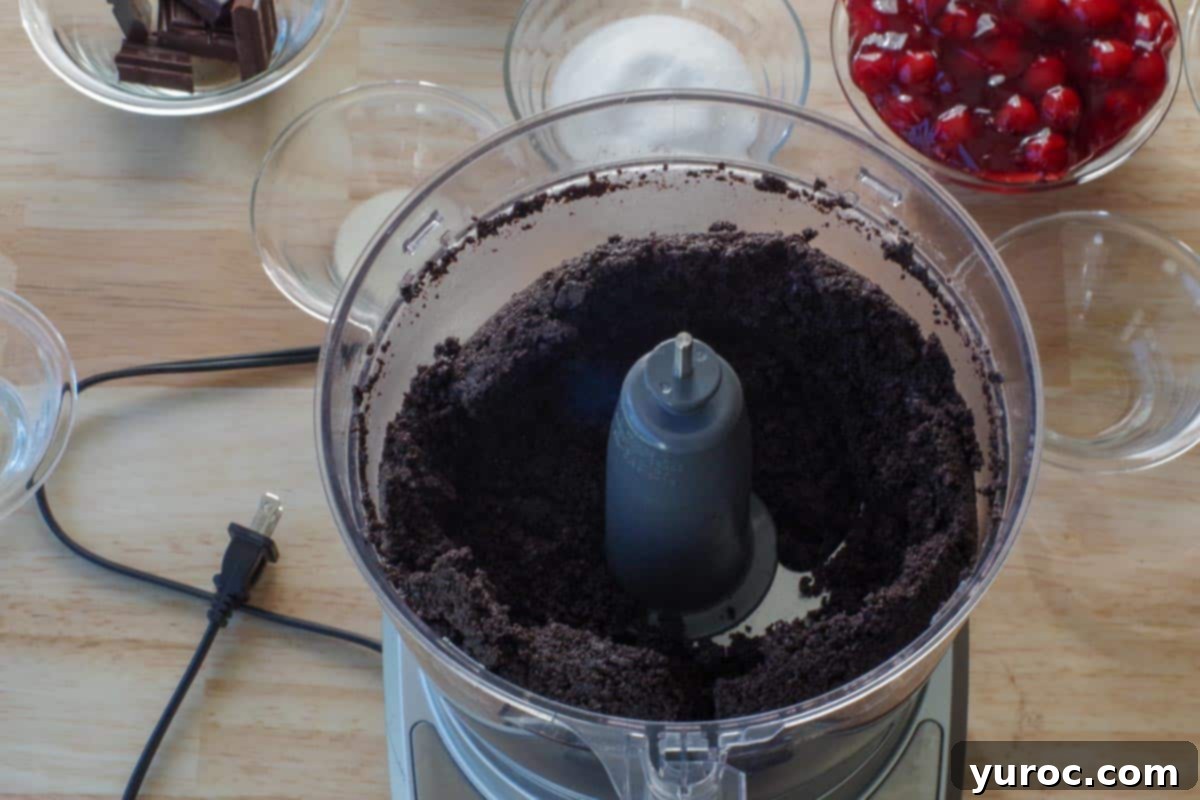
- Step 2: Create the Oreo Crumb. Process the Oreos and butter on high speed until the mixture is fully combined and forms a fine, uniform crumb. It should resemble wet sand and hold together when pressed. This ensures a stable and delicious crust.
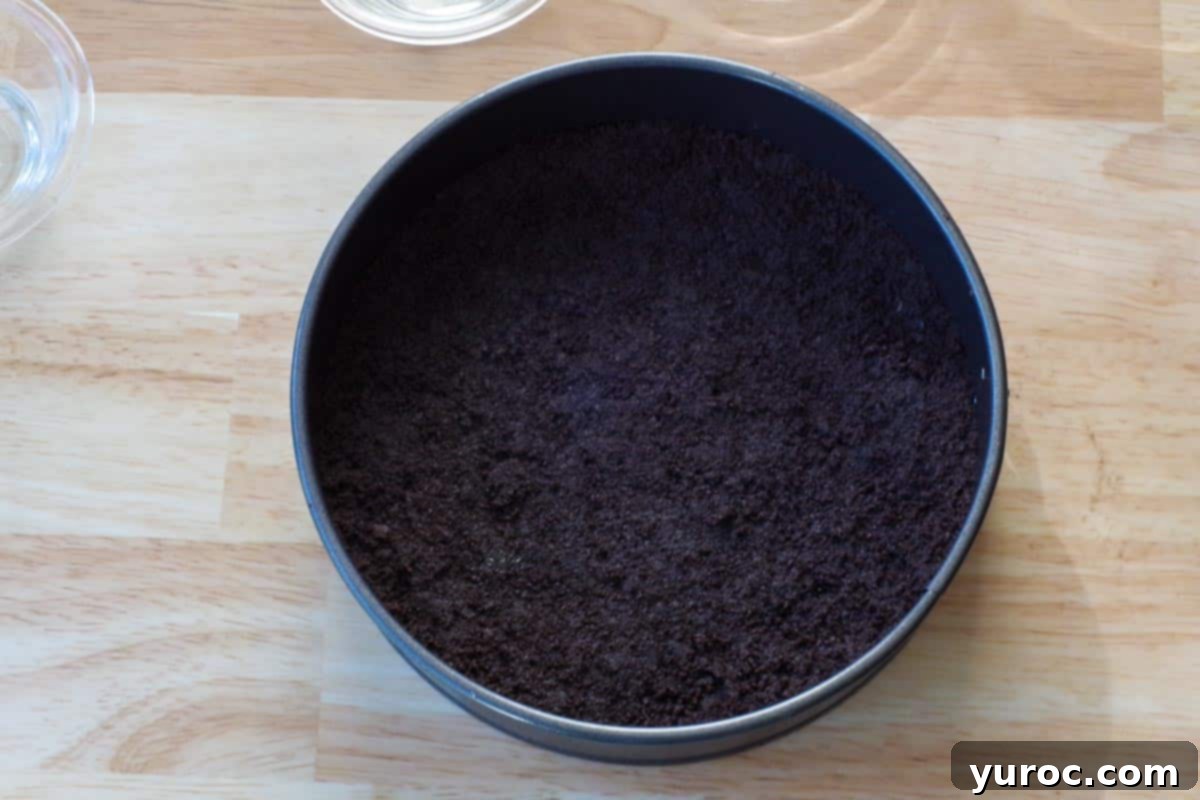
- Step 3: Form the Crust. Transfer the Oreo crumb mixture into your prepared 9-inch springform pan. Use the back of a spoon or your fingers to press the crumbs firmly and evenly into the bottom of the pan, creating a compact and level crust.
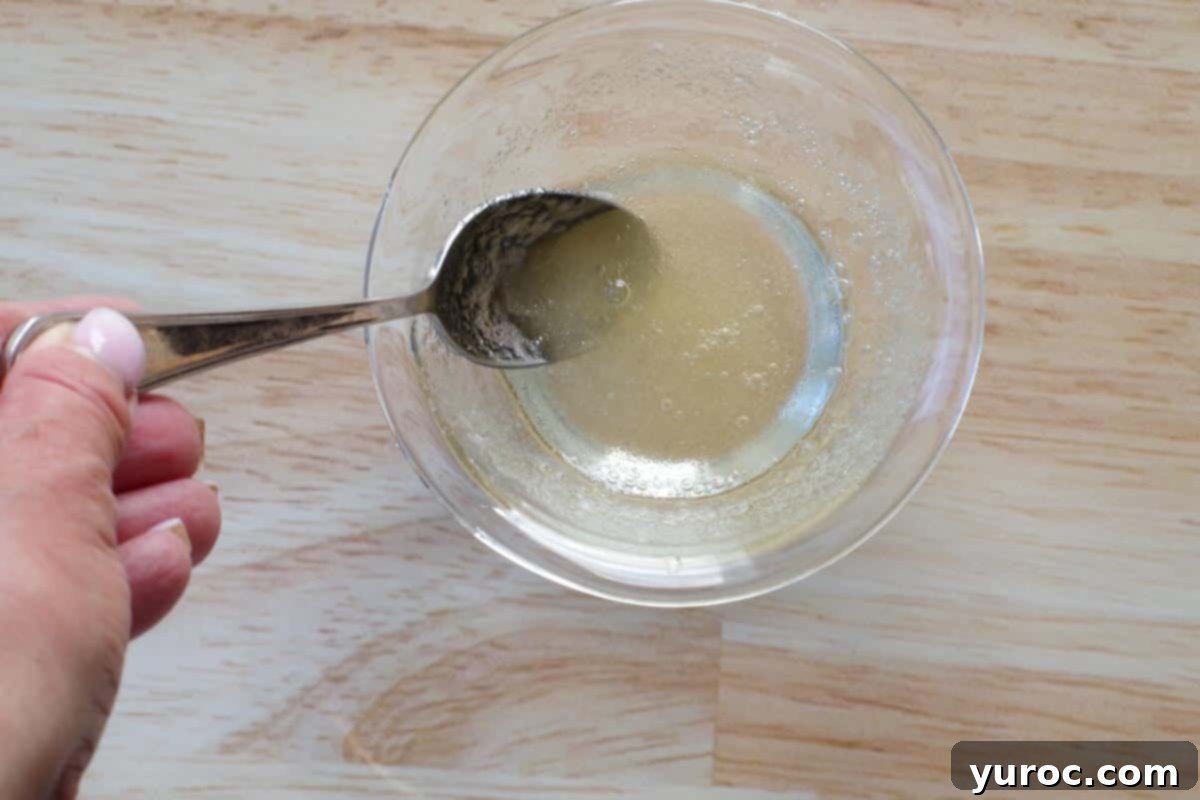
- Step 4: Dissolve Gelatin for Cherry Layer. In a small bowl, stir one 7-gram package of gelatin powder into 2 tablespoons of hot (not boiling) water. Stir continuously until the gelatin is completely dissolved and no granules remain.
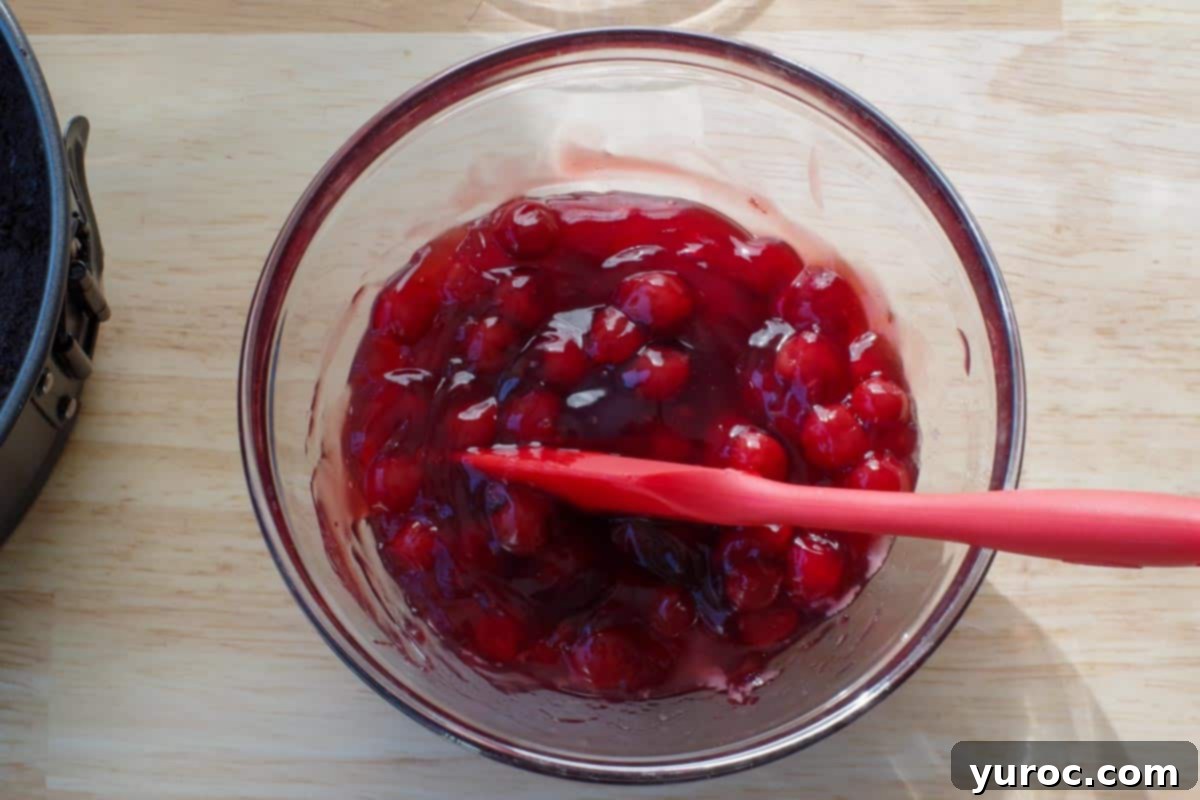
- Step 5: Prepare Cherry Filling. In a separate bowl, combine the canned cherry pie filling with the almond extract and the dissolved gelatin mixture from the previous step. Stir well to ensure all ingredients are evenly incorporated. This will create a flavorful and structured cherry layer.
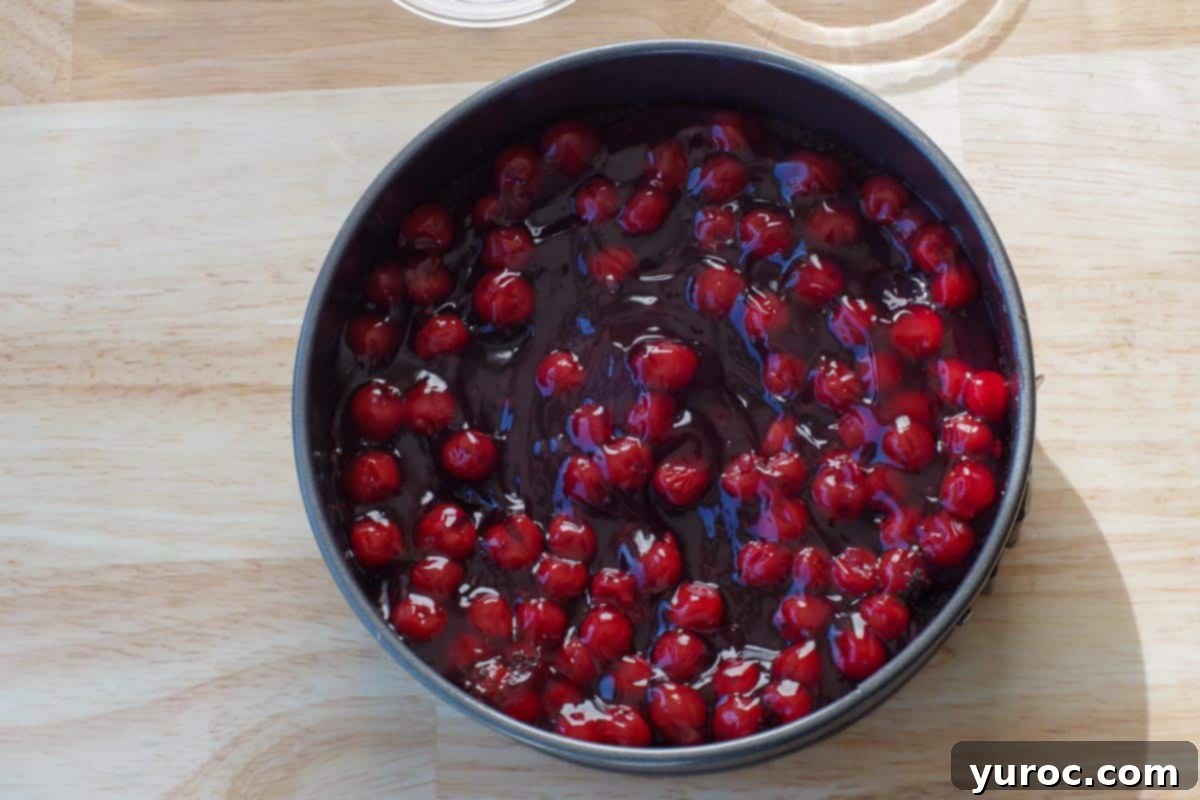
- Step 6: Chill the Cherry Layer. Carefully pour the prepared cherry pie filling mixture over the pressed Oreo crust in the springform pan. Gently spread it out to form an even layer. Place the pan in the refrigerator to chill and set while you prepare the cheesecake layer; this usually takes about 15-20 minutes until firm.
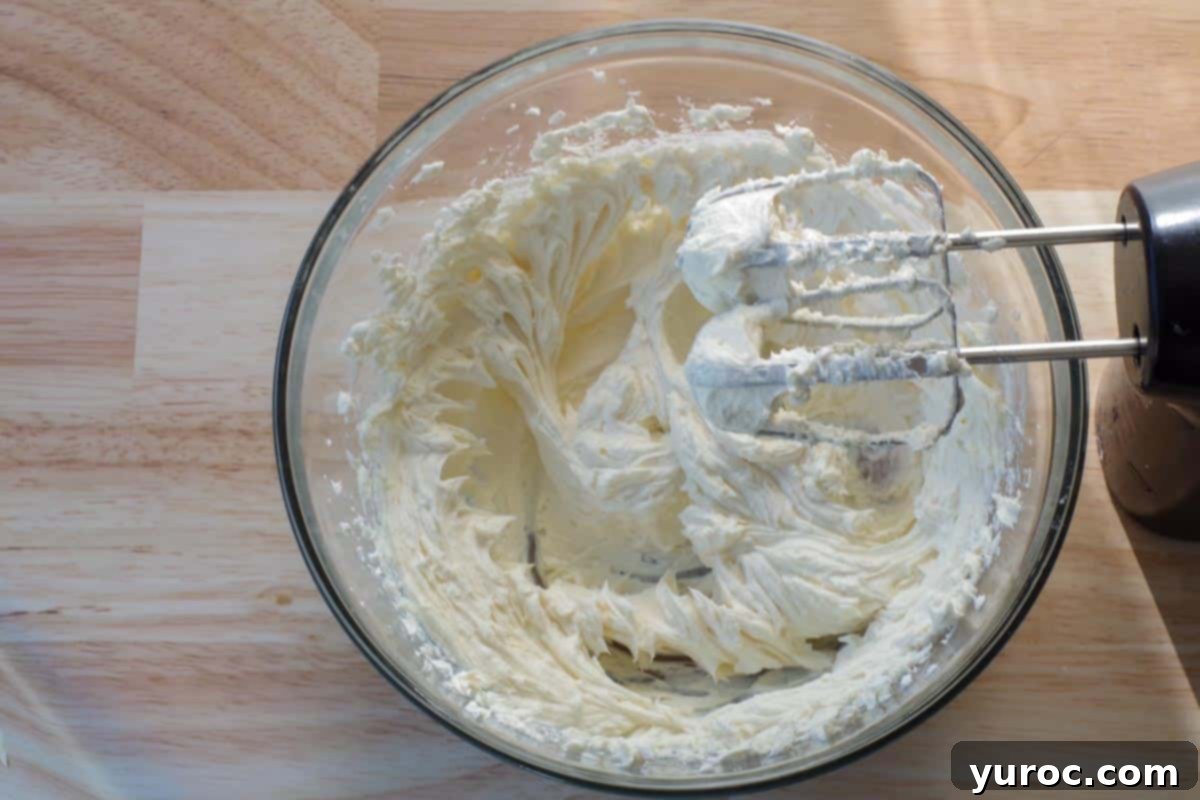
- Step 7: Create the Cheesecake Base. In a large mixing bowl, combine the softened cream cheese and white granulated sugar. Using an electric mixer, beat them together on medium speed until the mixture is light, fluffy, and completely smooth, with no lumps remaining.
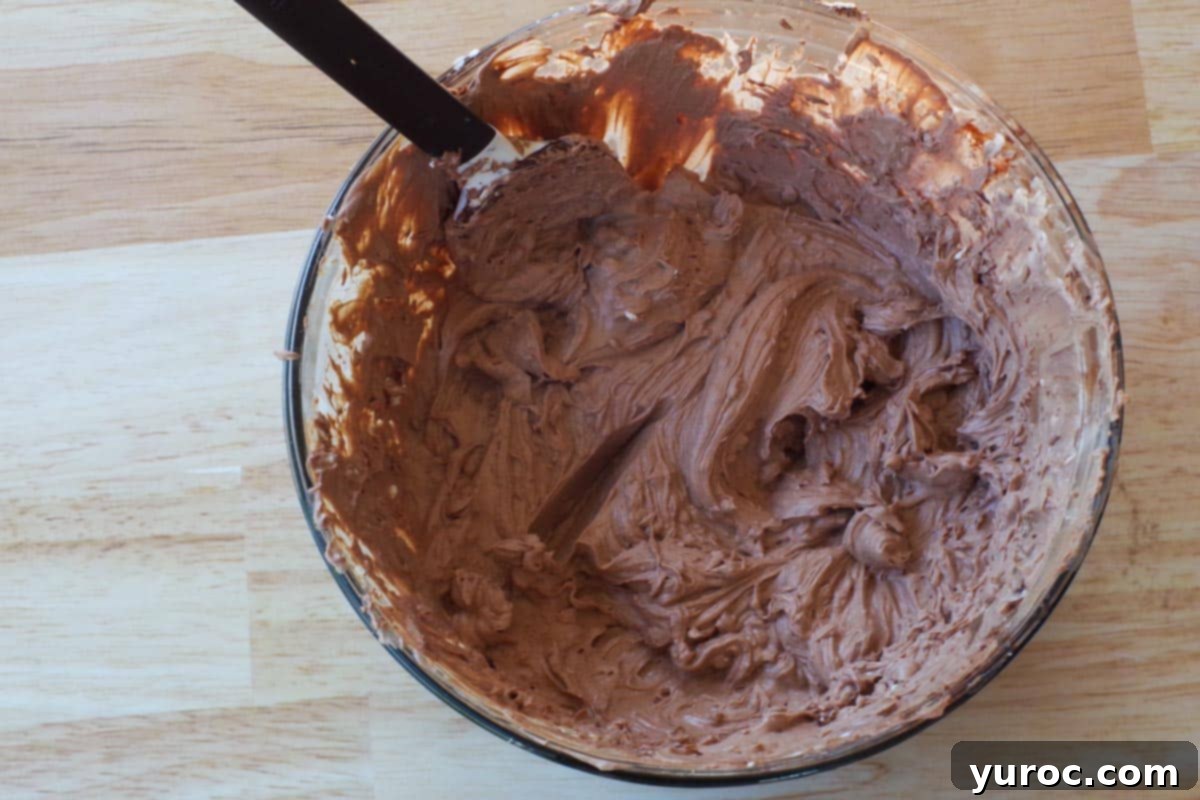
- Step 8: Incorporate Chocolate and Sour Cream. Melt the semi-sweet chocolate in the microwave at 50% power for 2-3 minutes, stirring every 30 seconds, until just melted and smooth. Immediately add this melted chocolate to the cream cheese and sugar mixture. Beat until well combined. Next, beat in the sour cream until the mixture is homogenous and creamy. Dissolve the second 7-gram package of gelatin in 2 tablespoons of hot water (as in Step 4) and beat this dissolved gelatin mixture into the chocolate cream cheese. If you are using Kirsch, now is the time to add it and beat it in.
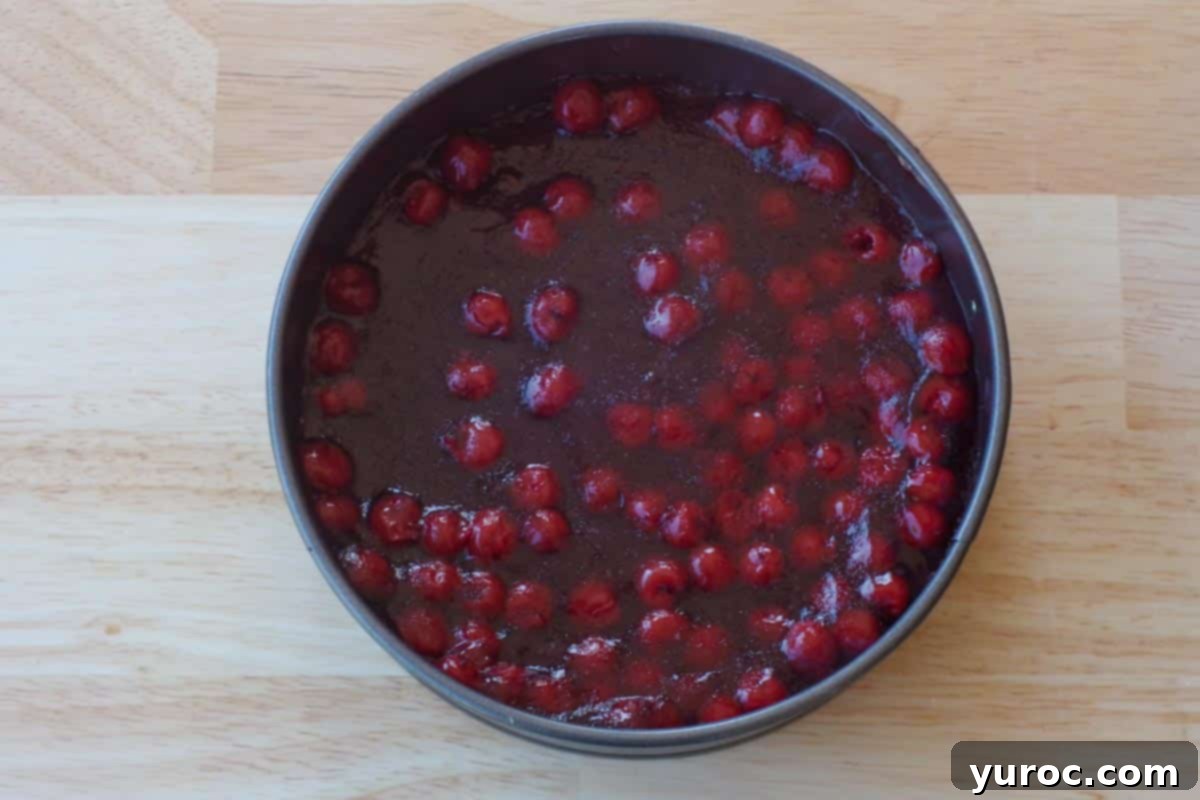
- Step 9: Confirm Cherry Layer is Set. Retrieve the springform pan from the refrigerator. Gently touch the surface of the cherry pie filling; it should be firm and set, indicating it’s ready for the next layer.
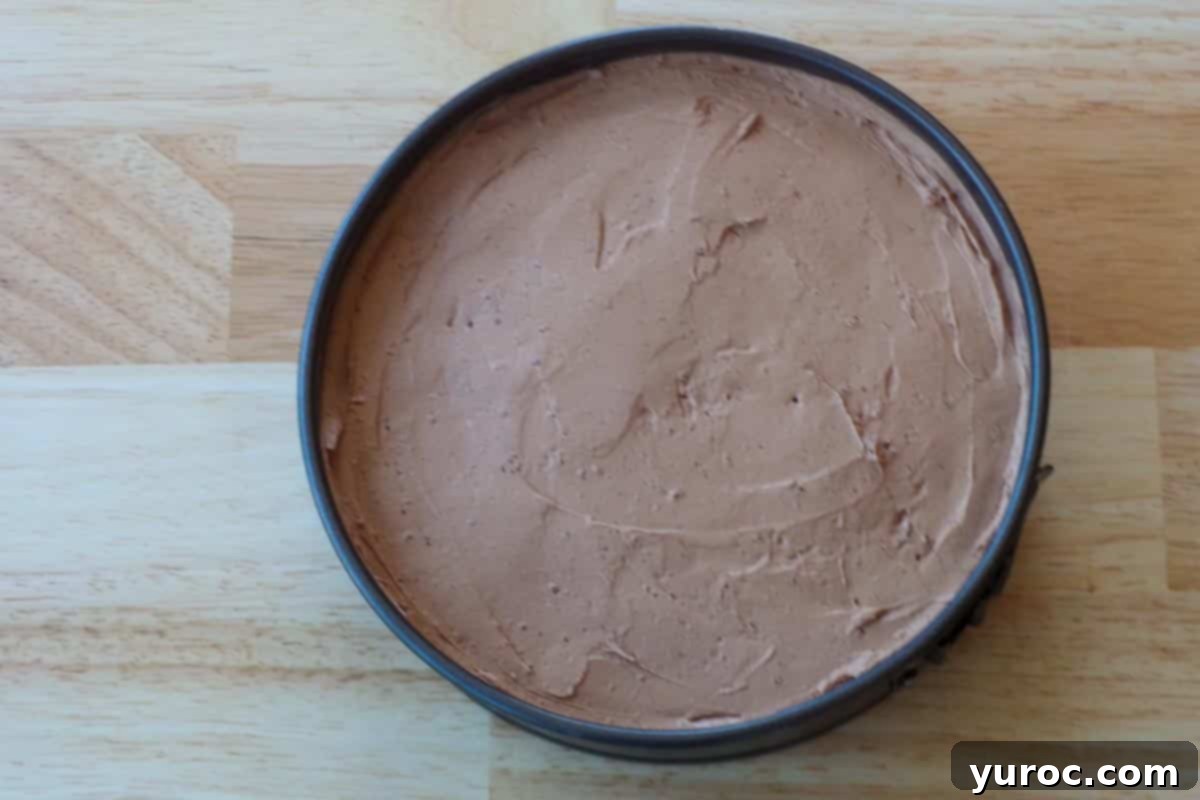
- Step 10: Assemble and Chill. Carefully spoon the chocolate cheesecake mixture over the set cherry pie filling, spreading it gently and evenly across the top using a butter knife or an offset decorating spatula. Cover the pan loosely with plastic wrap and chill it in the refrigerator for at least 3-4 hours, or preferably overnight, to allow the cheesecake to fully set. Once set, unmold the cheesecake by carefully releasing the springform pan. For a smooth finish, you can gently run a hot cake decorating spatula (dipped in hot water and wiped dry) or a warm butter knife along the sides and top.
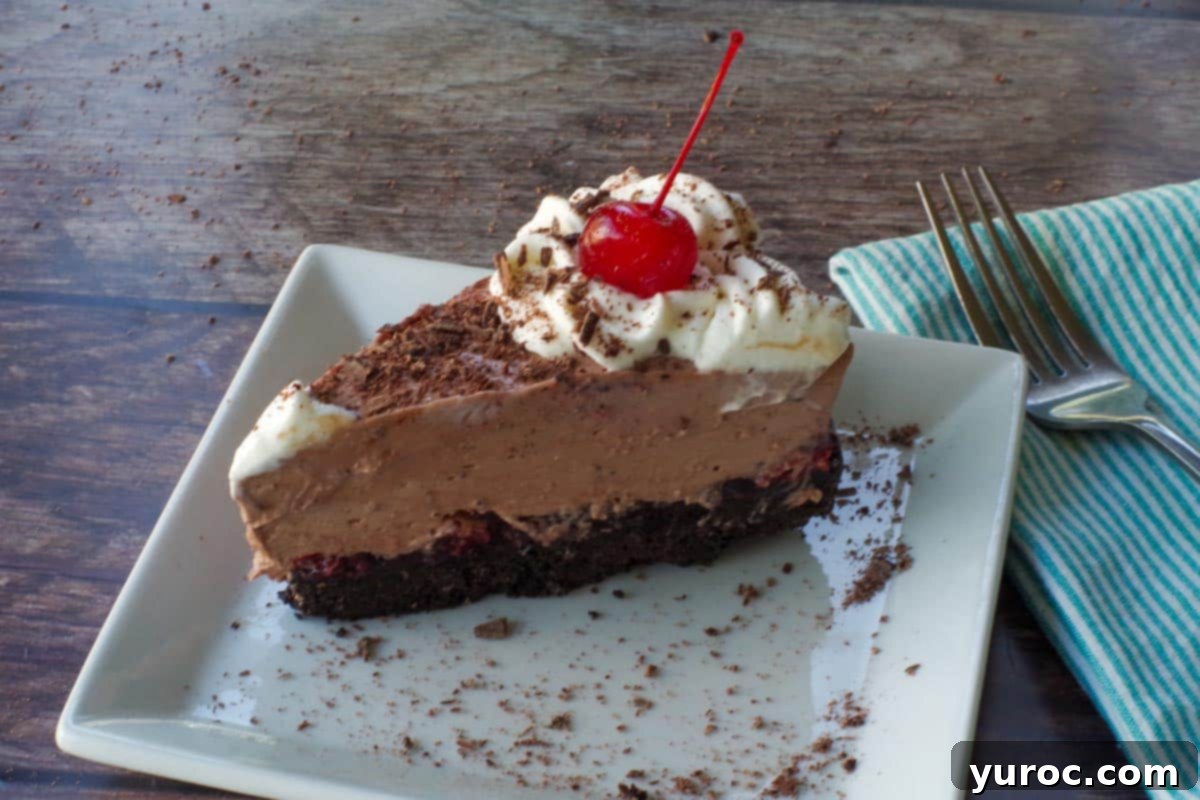
- Step 11: Garnish and Serve. The final touch! Decorate your cheesecake with stabilized whipped cream frosting. For beautiful piping, use a 1M tip and a pastry bag to create swirls or rosettes around the edge. Sprinkle generously with chocolate shavings (achieved by using a box grater or vegetable peeler for curls) and place pat-dried maraschino cherries with stems (or cocktail cherries) on top. Patting the cherries dry prevents any color bleeding onto your cream. Your spectacular no-bake Black Forest Cheesecake is now ready to impress!
🎥 Visual Guide: Mastering Whipped Cream Piping
For those who love visual learning, here is a helpful video demonstrating how to pipe with a 1M tip. I specifically use the “shell” technique, which is the first one shown in the video, to achieve elegant borders and dollops on my cheesecakes and cakes. This will guide you in creating beautiful, professional-looking whipped cream decorations for your Black Forest Cheesecake.
Watch the 1M Piping Tip Tutorial Here
🥗 Perfect Pairings: What to Serve with Black Forest Cheesecake
While this Black Forest Cheesecake is a decadent dessert on its own, pairing it with the right meal can elevate your dining experience. The rich chocolate and cherry flavors, combined with the creamy texture, make it a wonderful conclusion to a variety of savory dishes. Think about contrasting flavors and textures that won’t overpower the dessert but rather complement its richness.
- Creamy Bacon Ranch Chicken Pasta Salad
- Baked Beef Cannelloni Recipe
- Chicken Souvlaki Wrap
- Crock Pot Pork Pineapple Carnitas
Chef’s Top Tip for Stabilized Whipped Cream
For the absolute best results when topping your cheesecake, especially if you plan on piping intricate designs or want your cream to hold up for an extended period, it’s essential to stabilize your whipped cream. If you’re not using a dedicated Whipped Cream Frosting recipe, you can achieve stabilization by adding piping gel or gelatin. I recommend using approximately 2 tablespoons of piping gel and 2 teaspoons of white granulated sugar for every cup of whipping cream. Furthermore, always use whipping cream or heavy cream with at least 33% fat content; this higher fat percentage is crucial for achieving stiff peaks and a stable, pipeable consistency that won’t easily deflate.
🌡️ Storage Solutions for Your Cheesecake
Proper storage is key to keeping your No-Bake Black Forest Cheesecake fresh and delicious. For short-term storage, keep the cheesecake in an airtight container in the refrigerator for up to 3-4 days. A large square container or a specialized cake carrier (affiliate link) works perfectly to maintain its freshness and protect its delicate layers. This ensures the cheesecake retains its creamy texture and rich flavor.
For longer storage, this cheesecake freezes beautifully for up to 3 months. However, it’s crucial to freeze the cake *without* the whipped cream and maraschino cherry decorations. Whipped cream can become watery and lose its texture when thawed. To defrost, simply transfer the frozen cheesecake to the refrigerator overnight. Once fully thawed, you can then add your fresh whipped cream and cherry garnishes just before serving, ensuring a perfect presentation and taste.
👪 Flexible Serving for Any Occasion
This recipe yields a generous Black Forest Cheesecake, perfect for sharing. It typically makes 12-16 servings, depending on how large you prefer to slice each piece. One of the convenient features of this recipe is its adaptability. You can easily adjust the serving size to suit your needs; simply click on the serving number in the recipe card below and select your desired quantity. The ingredient amounts will automatically adjust, saving you time and effort. If you decide to double or triple the recipe for a larger gathering, remember you will need additional springform pans.
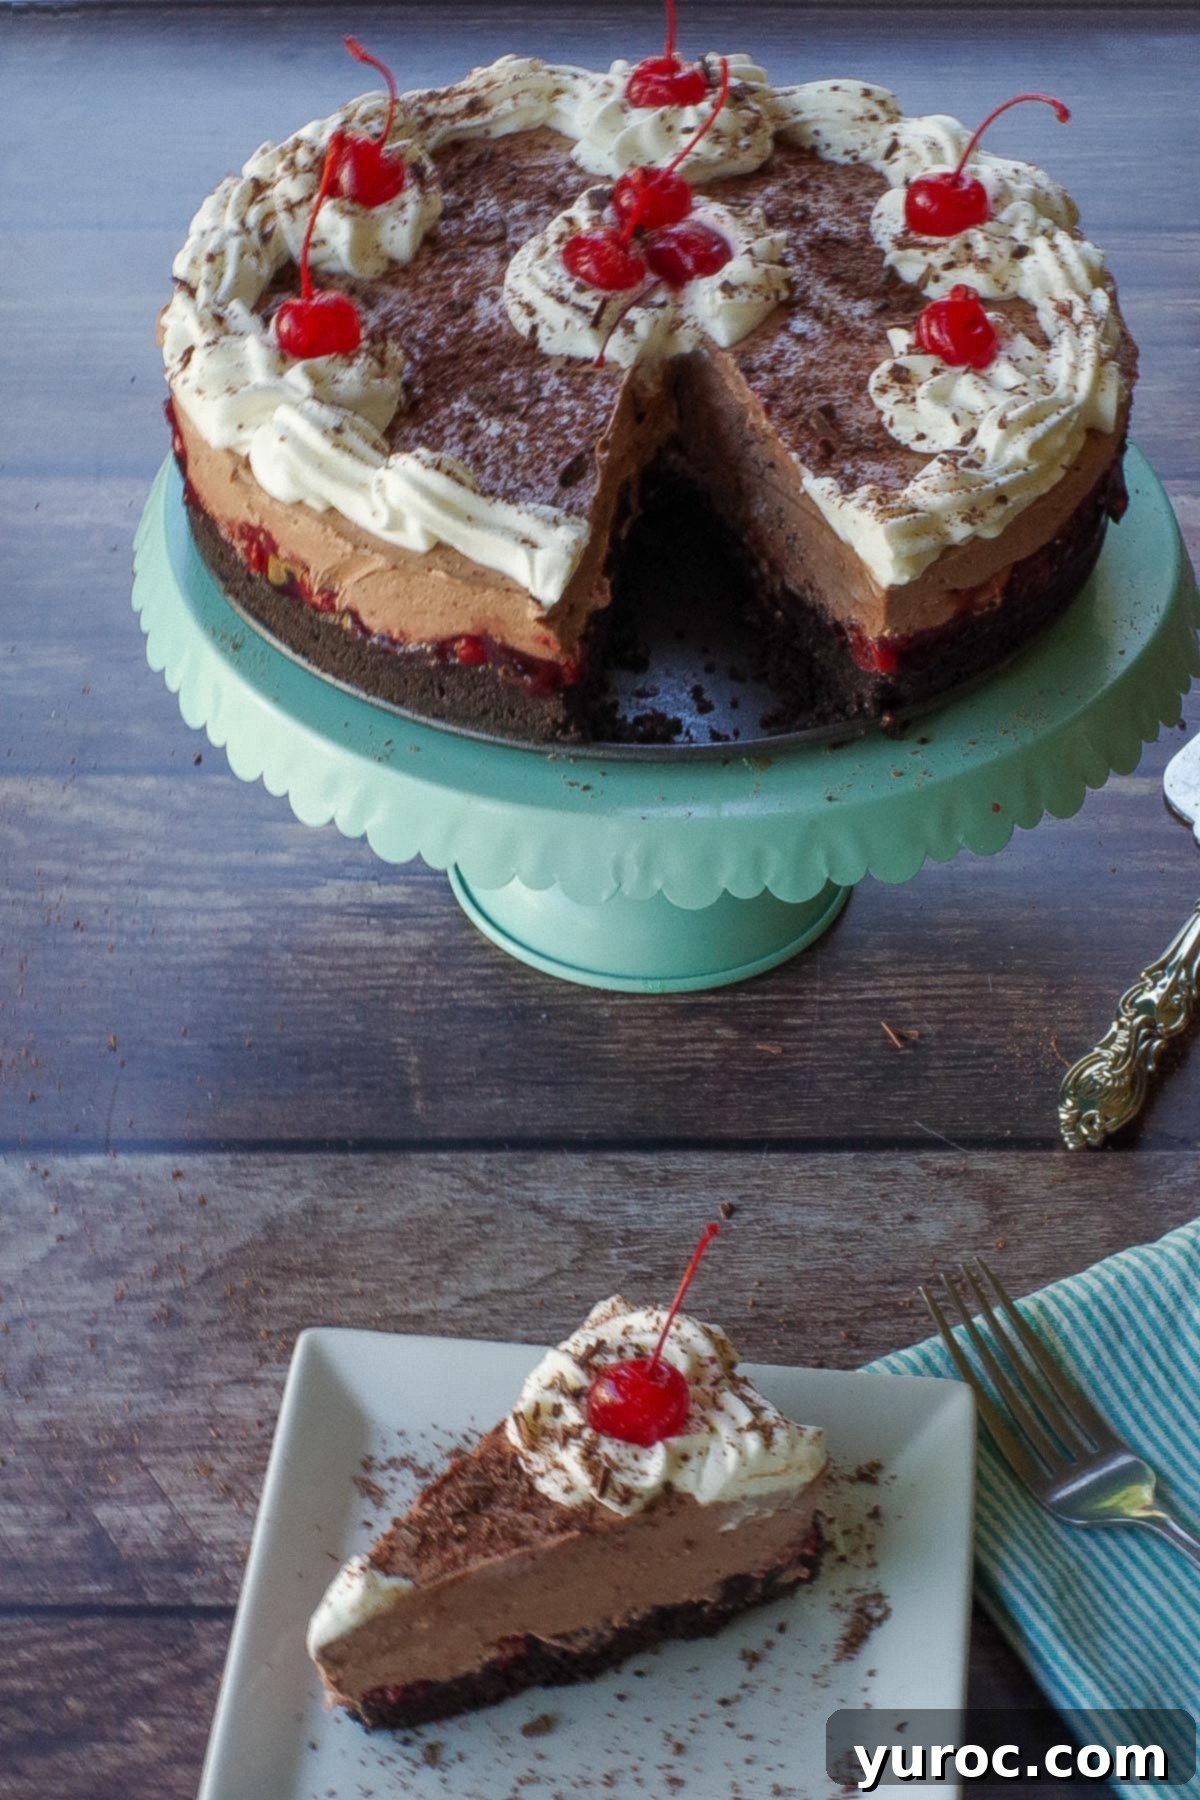
If you’re searching for a dessert that effortlessly combines ease of preparation with stunning presentation and incredible flavor, this No-Bake Black Forest Cheesecake is unequivocally the one. It’s guaranteed to be a hit at any gathering, leaving everyone craving another slice!
Discover More Irresistible No-Bake Cheesecake Creations
Once you’ve fallen in love with the convenience and deliciousness of this no-bake Black Forest masterpiece, you’ll want to explore even more delightful no-bake cheesecake recipes. Here are some other fantastic options to satisfy your sweet tooth:
- Strawberry Rhubarb Cheesecake (No Bake)
- Baileys No-Bake Cheesecake
- Birthday Cake Cheesecake (No Bake)
- No-Bake Saskatoon Berry Cheesecake (in a jar)
Did your family ❤️ this recipe? Did you know that commenting and ⭐ rating recipes is one of the best ways to support your favorite recipe creators? If you LOVED this recipe, please comment and rate it in the recipe card or share photos on social media using the hashtag #foodmeanderings or tagging @foodmeanderings!

📋 No-Bake Black Forest Cheesecake Recipe
Equipment
-
springform pan 9 or 10-inch
-
electric mixer
-
food processor
-
offset decorating spatula
-
pastry bag
-
1M piping tip
Ingredients
Crust:
- ¼ cup unsalted butter melted
- 35 Oreo cookies (439 gram package)
Cherry Filling:
- 7 g package of gelatin powder
- 2 tbsps hot water
- 1 teaspoon almond extract
- 14 oz can of cherry pie filling
Cheesecake layer:
- 16 oz cream cheese, softened at room temperature 2-8 oz packages
- ⅓ cup white granulated sugar
- 8 ounces semi-sweet chocolate squares (baker’s chocolate) 1 oz each semi-sweet chocolate (melted)
- 1 cup sour cream
- 1 tablespoon Kirsh optional
- 7 g package of gelatin powder
- 2 tablespoon hot water
Garnish
- Whipped cream frosting (see recipe in notes) or whipped cream (see top tip) * about 2 cups
- shaved chocolate
- maraschino cherries with stems/cocktail cherries
Instructions
-
Prep: Generously spray a 9-inch springform pan with non-stick cooking spray.
Crust:
-
Place melted butter and Oreo cookies in food processor.¼ cup unsalted butter, 35 Oreo cookies
-
Mix on high until combined into crumb.
-
Press into a 9-inch springform pan.
Cherry filling:
-
Stir 1-7 g pkg of gelatin into 2 tbsps (hot- not boiling) water and stir until dissolved.7 g package of gelatin powder, 2 tbsps hot water
-
Combine cherry pie mixture with almond extract and gelatin mixture from the previous step. Place in fridge to set while you are doing the next step.1 teaspoon almond extract, 14 oz can of cherry pie filling
Cheesecake layer:
-
Beat cream cheese and sugar together until fluffy.16 oz cream cheese, softened at room temperature, ⅓ cup white granulated sugar
-
Melt chocolate in microwave at 50% power for 2-3 minutes, until just melted (or use a double boiler) and add to cream cheese and sugar mixture. Beat in sour cream. Dissolve the other 7 g package of gelatin in 2 tablespoon hot water and beat into chocolate cream cheese mixture. If using, add Kirsch or cherry brandy.8 ounces semi-sweet chocolate squares (baker’s chocolate), 1 cup sour cream, 7 g package of gelatin powder, 2 tablespoon hot water, 1 tablespoon Kirsh
-
Remove the pan from the fridge – the cherry pie filling should be set (it takes about 15-20 minutes).
-
Spoon the chocolate cream cheese mixture over set cherry pie filling. Smooth chocolate cream cheese mixture on top of cherry layer. Cover and chill in the fridge for at least 3-4 hours or overnight.
-
Unmold and smooth sides and top with a hot cake decorating spatula (see equipment in recipe card) or butter knife.
Garnish
-
Garnish with whipped cream frosting, chocolate shavings, and maraschino cherries with stems/cocktail cherries. Pipe the whipped cream frosting with a 1M tip and pastry bag. Pat cherries dry before placing on cake. *If you don’t have a tip and pastry bag, just add the whipped cream as a 4th layer, once the cake is set. *Do this in the pan, then unhinge it. You can serve with additional whipped cream as well. Shave chocolate with a box grater or vegetable peeler (If you want curls).
Notes
-
- Mix gelatin with hot water, NOT boiling water. Boiling water can prevent gelatin from setting properly.
-
- Make sure you stabilize your whipped cream with piping gel or gelatin, or it won’t hold its shape for long.
-
- Spray the springform pan generously with non-stick cooking spray for easy release.
-
- Ensure the cookies are ground into a fine crumb for a sturdy crust.
-
- Do not get water near anything you use for melting chocolate, and melt chocolate at 50% power in the microwave, or it will seize.
-
- Be sure the cherry layer is fully set before adding the cream cheese layer to prevent mixing.
-
- Pat the cocktail cherries dry before garnishing the cake; otherwise, their color may bleed.
-
- Do not freeze this cake decorated with whipped cream; wait until the cake is completely defrosted before adding the whipped cream.
